
Prey Guide Walkthrough: Story Objectives
The Repo Man
The Repo ManAfter I scanned the Coral for Alex, the data transfer was corrupted by Command Walter Dahl, an “HR Consultant” for the TranStar board of directors. Alex won’t meet with me because Dahl’s tech officer, KASPAR, is locking him out of the system. Dahl’s command shuttle should have the information on where to find the tech officer. |
Ghosting DahlObjective Summary: January told me Commander Dahl can use my tracking bracelet to find out where I am. I could deactivate my bracelet in Deep Storage. I’ll need to find the Personnel Tracking workstation and enter my ID num ber (0913). Remember that tracking bracelet on your wrist? Commander Dahl can use it to track your movements through Talos I. It’s a good idea to disable the tracking bracelet as soon as possible. You can resume this objective once you reach Deep Storage. |
Obtaining Alex’s arming key isn’t going to be as easy as first anticipated. Dahl’s arrival has complicated things, causing Alex to go into hiding. You’ll need to locate Dahl’s tech officer, KASPAR, before you can finish uploading the Coral Node scan data. KASPAR’s location is unknown, but perhaps there’s a clue aboard Dahl’s shuttle? But before heading to the Shuttle Bay, make a detour in Deep Storage to disable your tracking bracelet. Dahl has flooded the station with Military Operators, so keep your Disruptor Stun Gun equipped while transitioning from Alex’s Office to Deep Storage.
Deep Storage
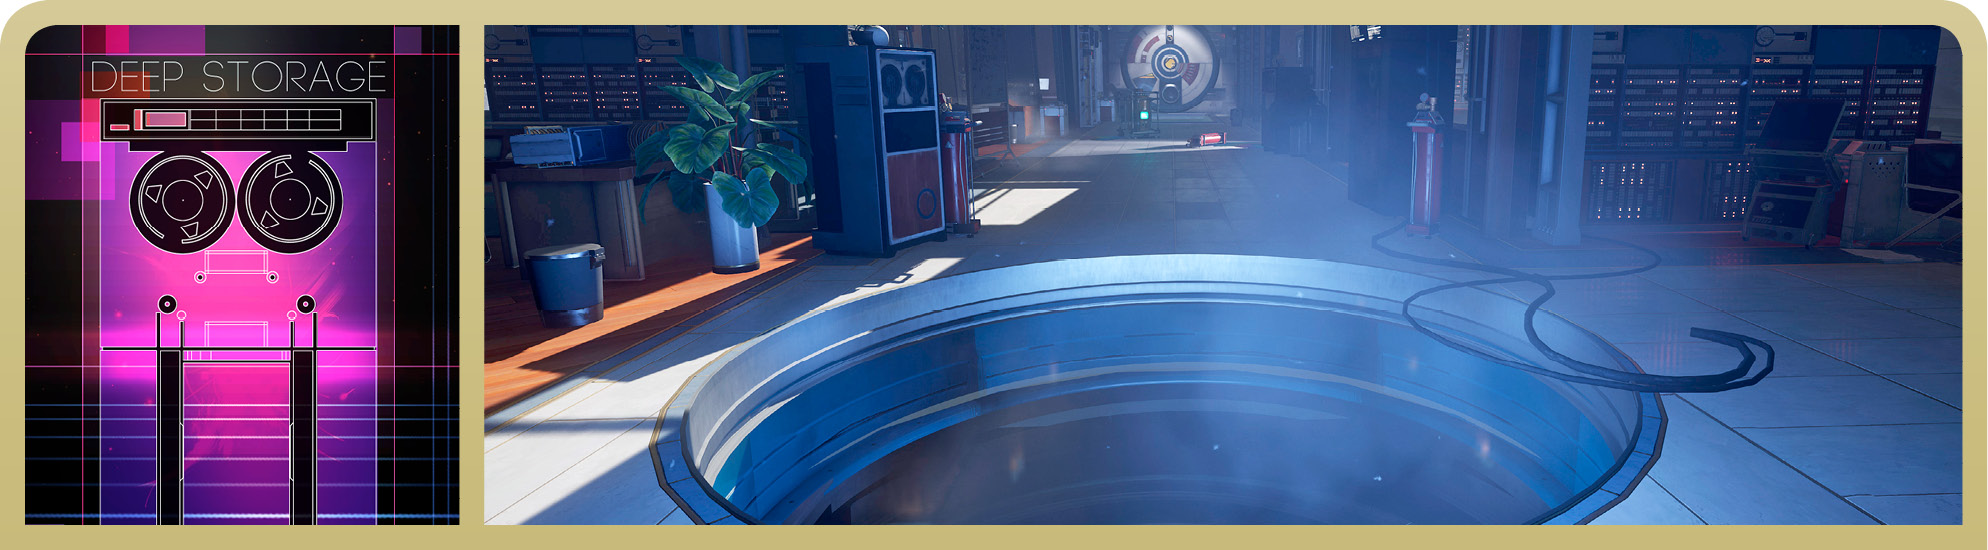
Like the Arboretum, Coral has expanded into Deep Storage since your first visit. Along with Coral, there may be some Phantoms lurking about. So be ready for a fight as you make your way to the Command Center. Along the way you are contacted by Dr. Igwe. He has some unconventional plans for Commander Dahl.
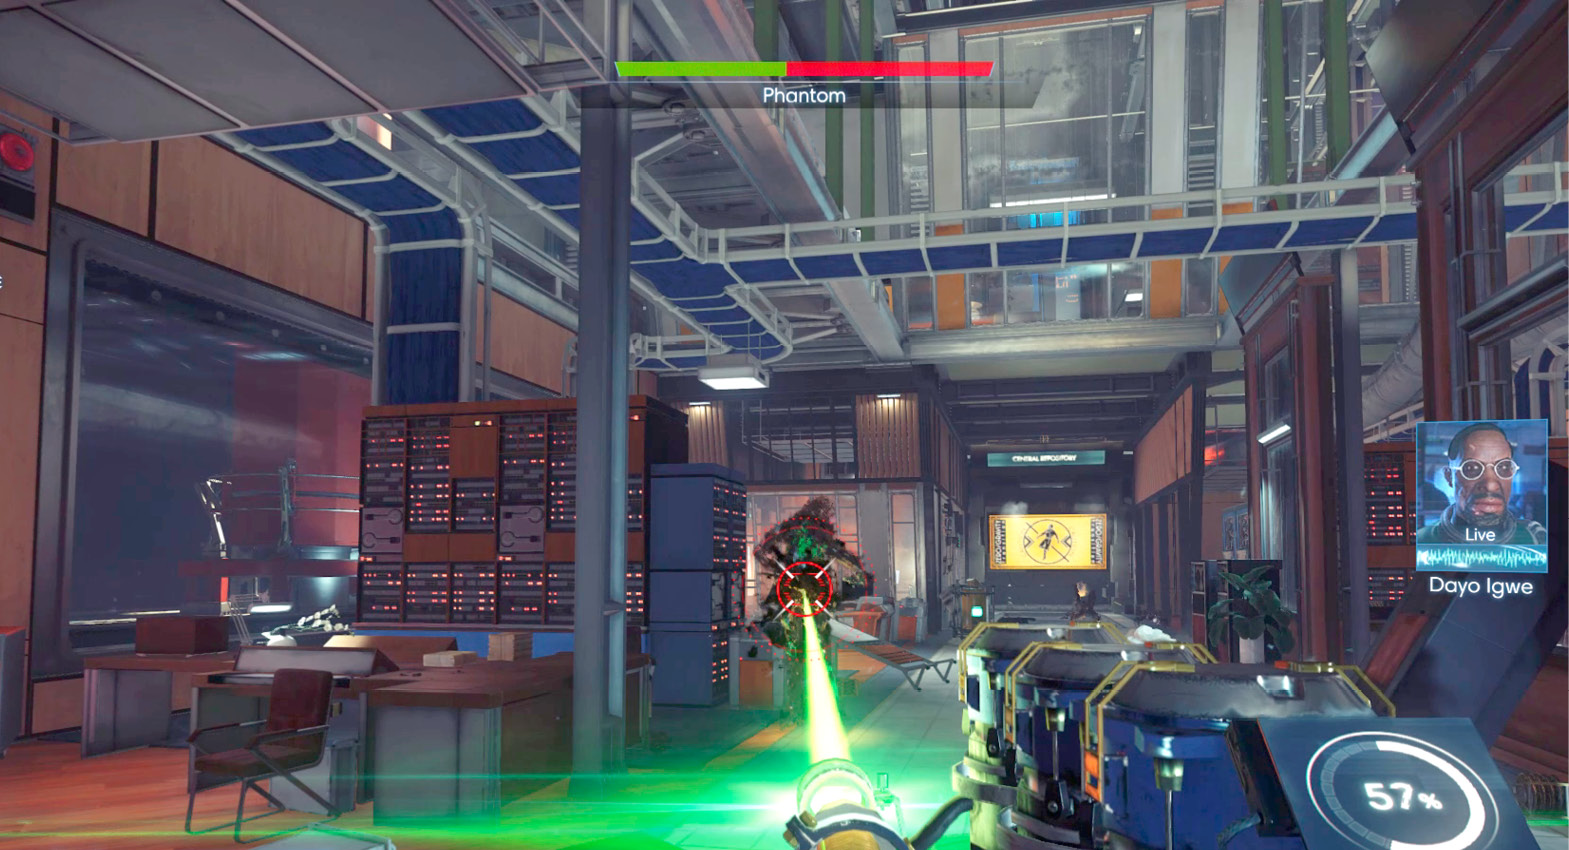
Incapacitate DahlObjective Summary: Igwe contacted me after Commander Dahl arrived on Talos I. Igwe wants to meet in my office before I confront Dahl, so he can propose an idea. For some reason, Dr. Igwe wants you to incapacitate Commander Dahl. It’s unclear what his intentions are, but he wants to discuss it further in your office. You can resume this objective when your return to the Talos I Lobby. |
Command Center
Ghosting Dahl (continued)In the Command Center, access the Personnel Tracking workstation and enter your bracelet ID number: 0913. This deactivates your tracking bracelet, making it much tougher for Dahl to find you. Dahl is impressed by your resourcefulness, but reports he’s closing in on Alex. Fortunately, Alex removed his tracking bracelet long before Dahl’s arrival, so he’ll be safe for now. Return to the Arboretum to begin your trek toward the Shuttle Bay. 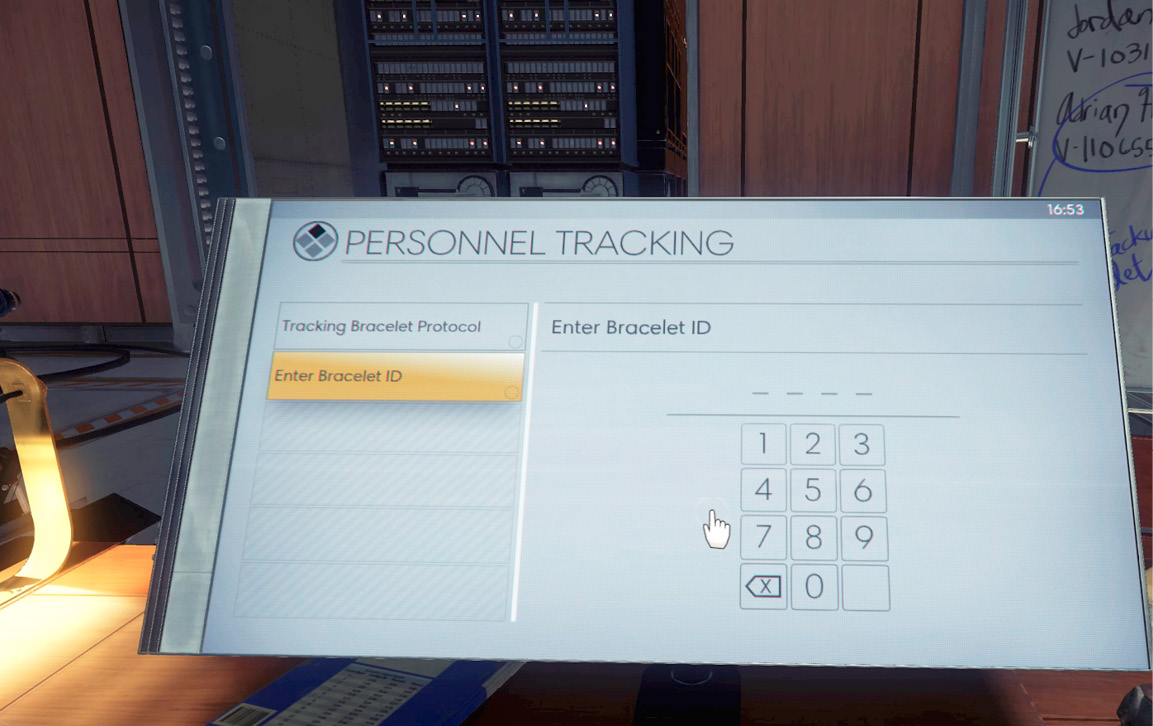
|
Arboretum
Exit Deep Storage and head for the main lift leading to the Talos I Lobby. Keep your Disruptor Stun Gun equipped and be ready to engage more Military Operators. Along the way, you’re contacted by Luther Glass. He’s under attack in the Trauma Center, which triggers a new optional objective (giving you more reason to make a detour in the Talos I Lobby). As you near the lift, you’re contacted by Dr. Igwe. He has yet another favor to ask. Access the main lift and ride it down to the Talos I Lobby.
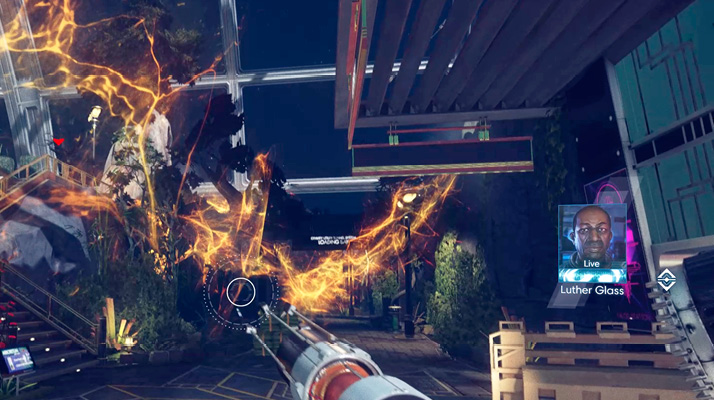
Help Luther GlassObjective Summary: An engineer from Life Support named Luther Glass is trapped in the Trauma Center. He’s asked me for help. If you already explored the Trauma Center, you already know Luther Glass is dead. Is this some sort of trap staged by Dahl or the Typhon? You can resume this objective when you access the Trauma Center located in the Talos I Lobby. |
Gustav LeitnerObjective Summary: Dr. Igwe asked me to retrieve a connectome related to the late Gustav Leitner, a famed pianist who had his brain scanned at TranStar. Igwe gave me an audio sample of a concerto snippet that will open a safe in his cabin when played from my TranScribe. Completing this objective requires a return to Crew Quarters. Put off this objective until you’ve found all the clues for the Treasure Hunt optional objective (this also requires you to return to Crew Quarters). |
Talos I Lobby

As you exit the main lift, take a look around to locate several Typhon organisms including Cystoid Nests, a pair of Telepaths, and a Weaver. While you can sneak past these enemies quite easily, it’s best to take them out. You’ll be passing through the Talos I Lobby multiple times in the near future, so it’s a good idea to sanitize the area of all threats. Deploy turrets in areas where they can attack these enemies while you support with your Q-Beam and Nullwave Transmitters. Once the lobby is clear of Typhon, head for the Trauma Center.
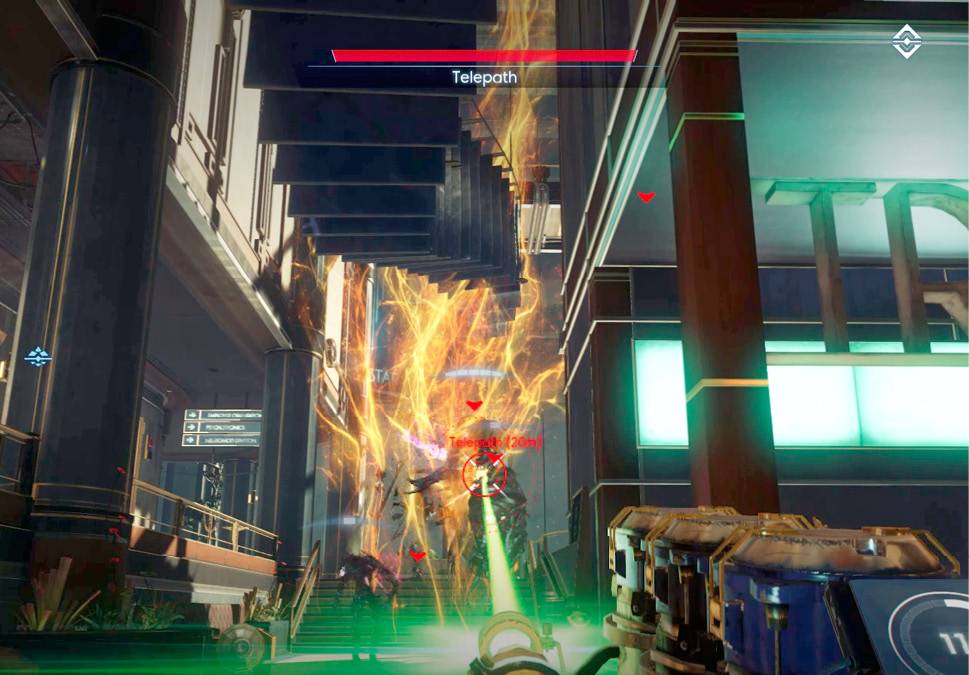
Mikhaila IlyushinObjective Summary: I helped Mikhaila get her booster shots. She seems okay now and has made her way to my office. I’m supposed to meet her there. If you saved Mikhaila in the Power Plant, she contacts you soon after entering the Talos I Lobby. She wants you to meet her in your office. |
Trauma Center
Help Luther Glass (continued)As suspected, the request to help Luther Glass is a trap, staged by Commander Dahl. The Trauma Center is flooded with Military Operators. Toss EMP Charges at groups of these Operators to disable them, then attack with your Disruptor Stun Gun. Destroy all the Military Operators to complete this objective. However, more Military Operators will continue spawning from the Operator Dispenser. So watch your back while operating in the Trauma Center. 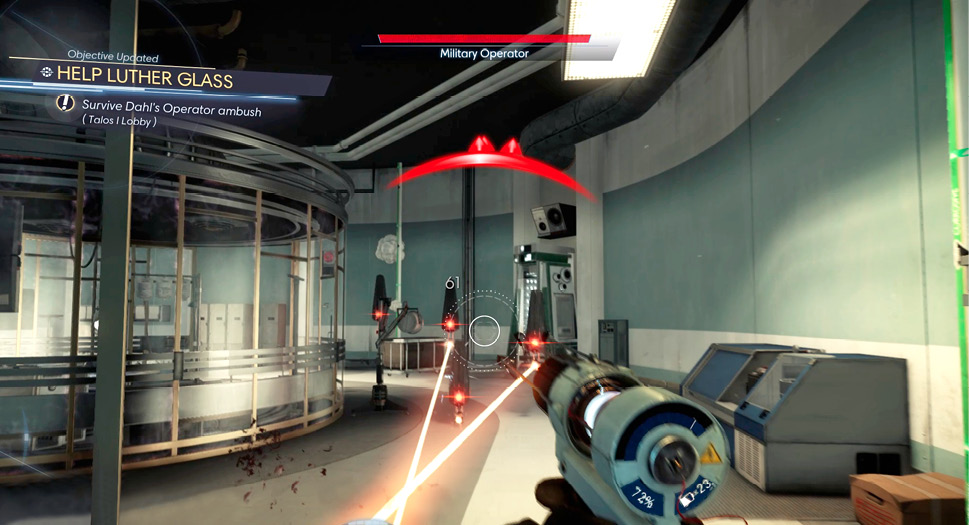
|
Hendrik DeVries’ Office
| Notable Items | Neuromod (3) |
Do No Harm (continued)While you’re in the Trauma Center, pay a visit to Hendrik DeVries’ office using the keycard retrieved from his body by the main lift in the Arboretum Foyer. Access DeVries’ workstation and download the decryption key in the Files tab. This allows you to play the recording (Morgan’s Breakdown) found on DeVrie’s TranScribe. The recording references a cryptic sequence: A, C, B, A, C. While you’re still in DeVries’ office, use the code 7324 to open his safe and retrieve three Neuromods. 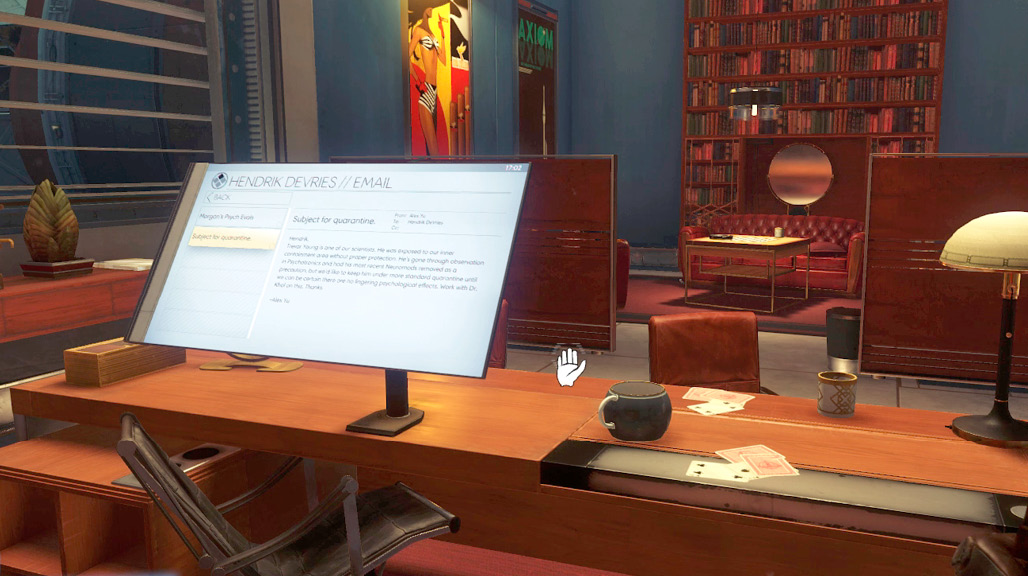
|
Mathias Kohl’s Office
| Notable Items | Neuromod (3) | Audio Recording: Session Log: Morgan Yu |
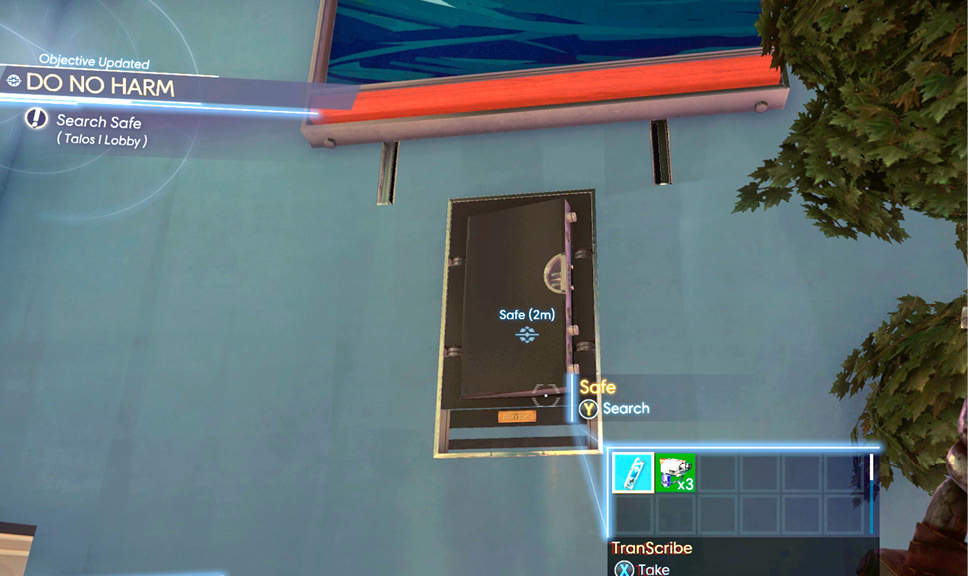
Do No Harm (continued)Enter Mathias Kohl’s office and access his workstation. In Utilities, choose to begin a new behavior test. Next, access the behavior test workstation near the office’s entrance. The test offered here is the same one you took earlier in the Simulation Lab. Answer the questions using the same sequence retrieved from DeVries audio recording: A, C, B, A, C. This opens a secret safe in Kohl’s office containing a TranScribe and three Neuromods. The audio recording on the TranScribe is taken from one of Morgan’s sessions with Dr. Kohl. Morgan is frustrated by the memory loss caused by the Neuromod experiments. 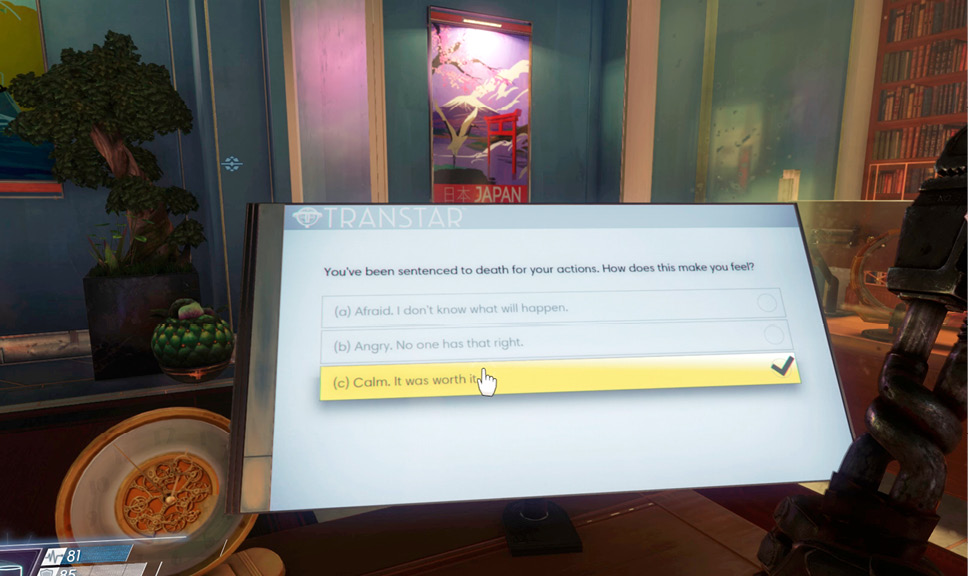
|
Secure Pharmaceuticals
| Notable Items: | Neuromod | Anti-Rad Pharma Fabrication License |
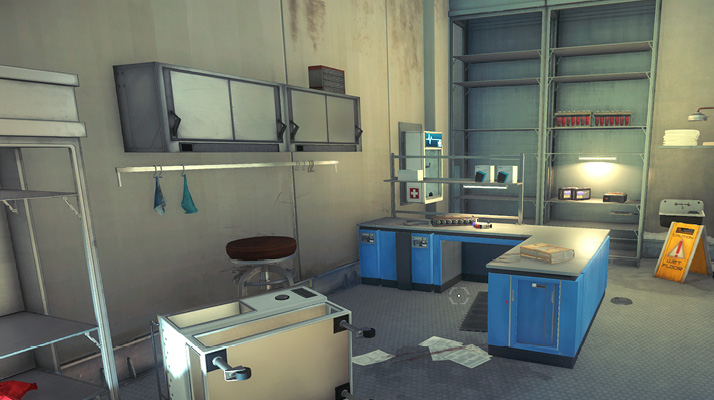
Use the keycard retrieved from Regina Sellers’ remains (in the Crew Quarters) to open the door to Secure Pharmaceuticals. Regina Sellers was the Phantom found near the Recycler. Inside, gather a few items, including a Neuromod, two Psi Hypos, and an Anti-Rad Pharma fabrication license. Beth Ino is also found here. Search her body and the nearby shelves to retrieve more supplies.
Morgan Yu’s Office
| Notable Items: | Neuromod | Weapon Upgrade Kit |
| Suit Chipset: Last Chance CoREV1 | Password: Volunteer Database |
Incapacitate Dahl (continued)Enter your office and speak with Dr. Igwe. He has a plan for Commander Dahl. Dahl is a recipient of multiple Neuromods. Removing Dahl’s more recent Neuromods will make him forget his orders to infiltrate Talos I. Once his memory is reset, Dr. Igwe feels he can convince Dahl to pilot the command shuttle back to Earth. But you’ll need to find Dahl and incapacitate him for this plan to work. You can resume this objective later, once you identify Dahl’s location. 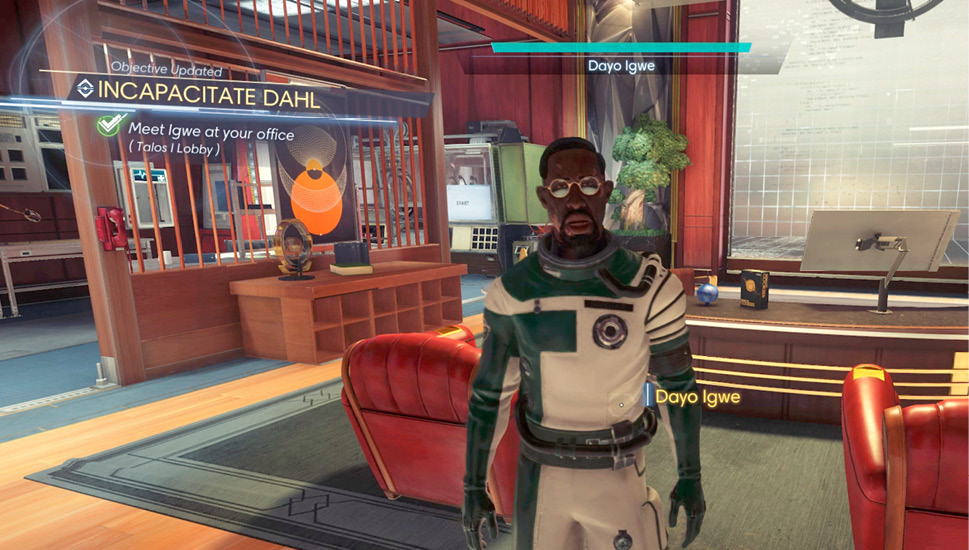
|
Mikhaila’s FatherObjective Summary: Mikhaila wants to know what happened to her father. Deep Storage has an archive of audio logs. She’s asked me to dig up the last entry that matches her father’s volunteer number. Talking to Mikhaila completes the Mikhaila Ilyushin objective, rewarding you with the Last Chance CoREV1 Chipset. But she has another objective for you. Apparently Mikhaila’s father was one of the volunteer test subjects on Talos I. She wants to know what happened to him. She’s provided you with the password to access the Volunteer Database. You can resume this objective later when you return to Deep Storage. 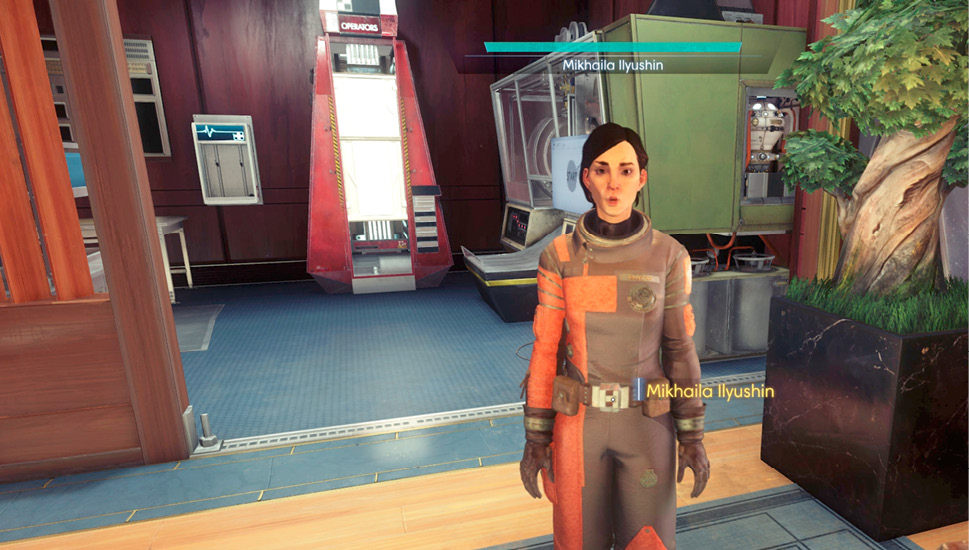
|
Before leaving Morgan’s office, take a moment to visit the Recycler and Fabricator. This is a good opportunity to consolidate your inventory by recycling junk. If necessary, fabricate some ammo and Medkits. Once you’re ready, head back downstairs and enter the Shuttle Bay to investigate Dahl’s command shuttle.
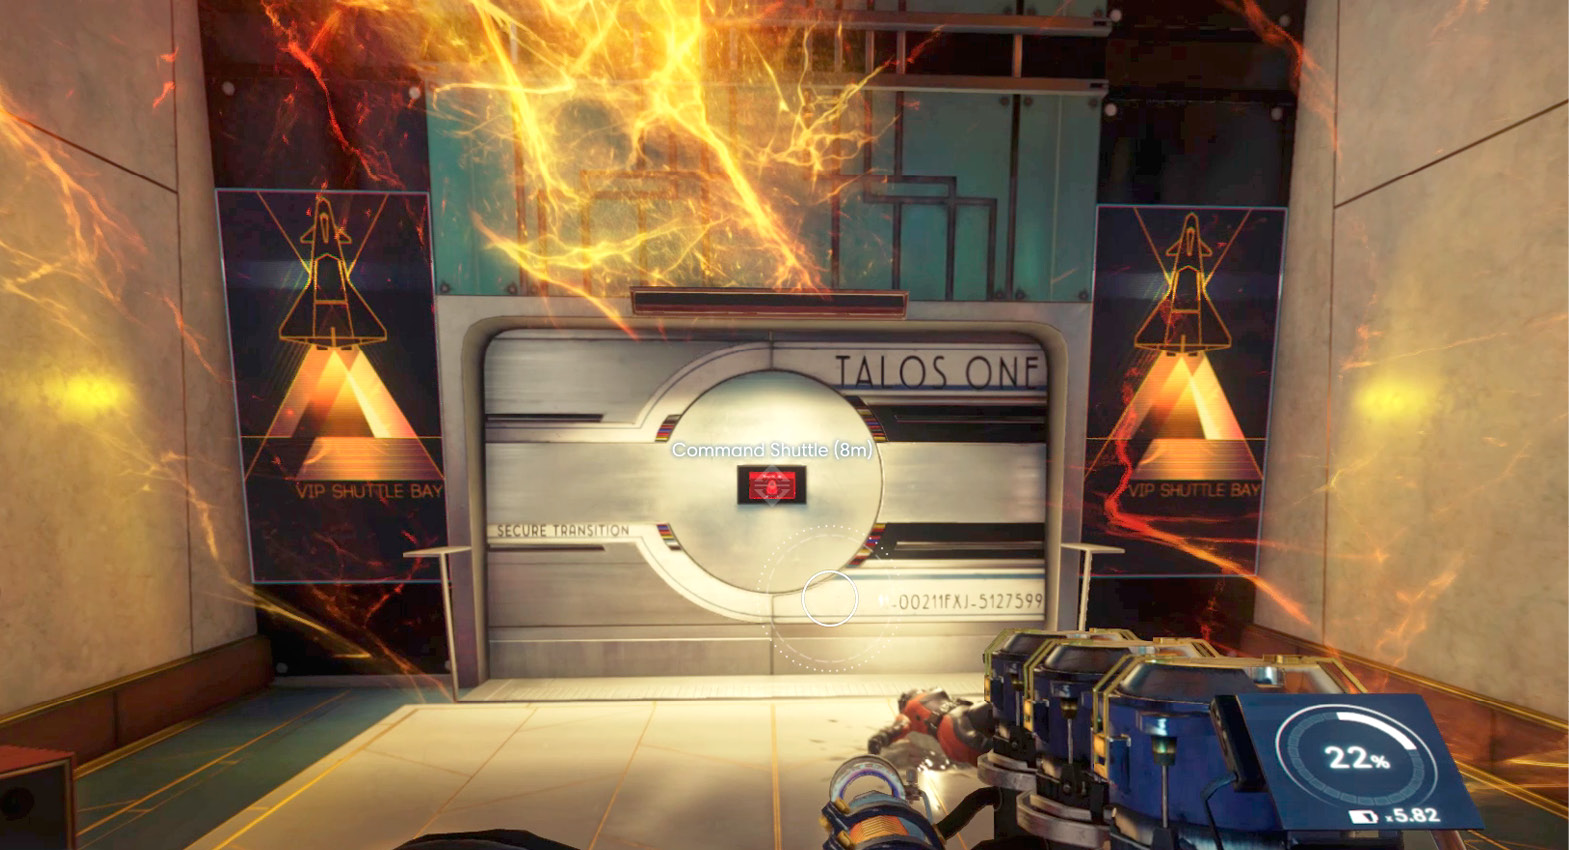
Shuttle Bay
Foyer
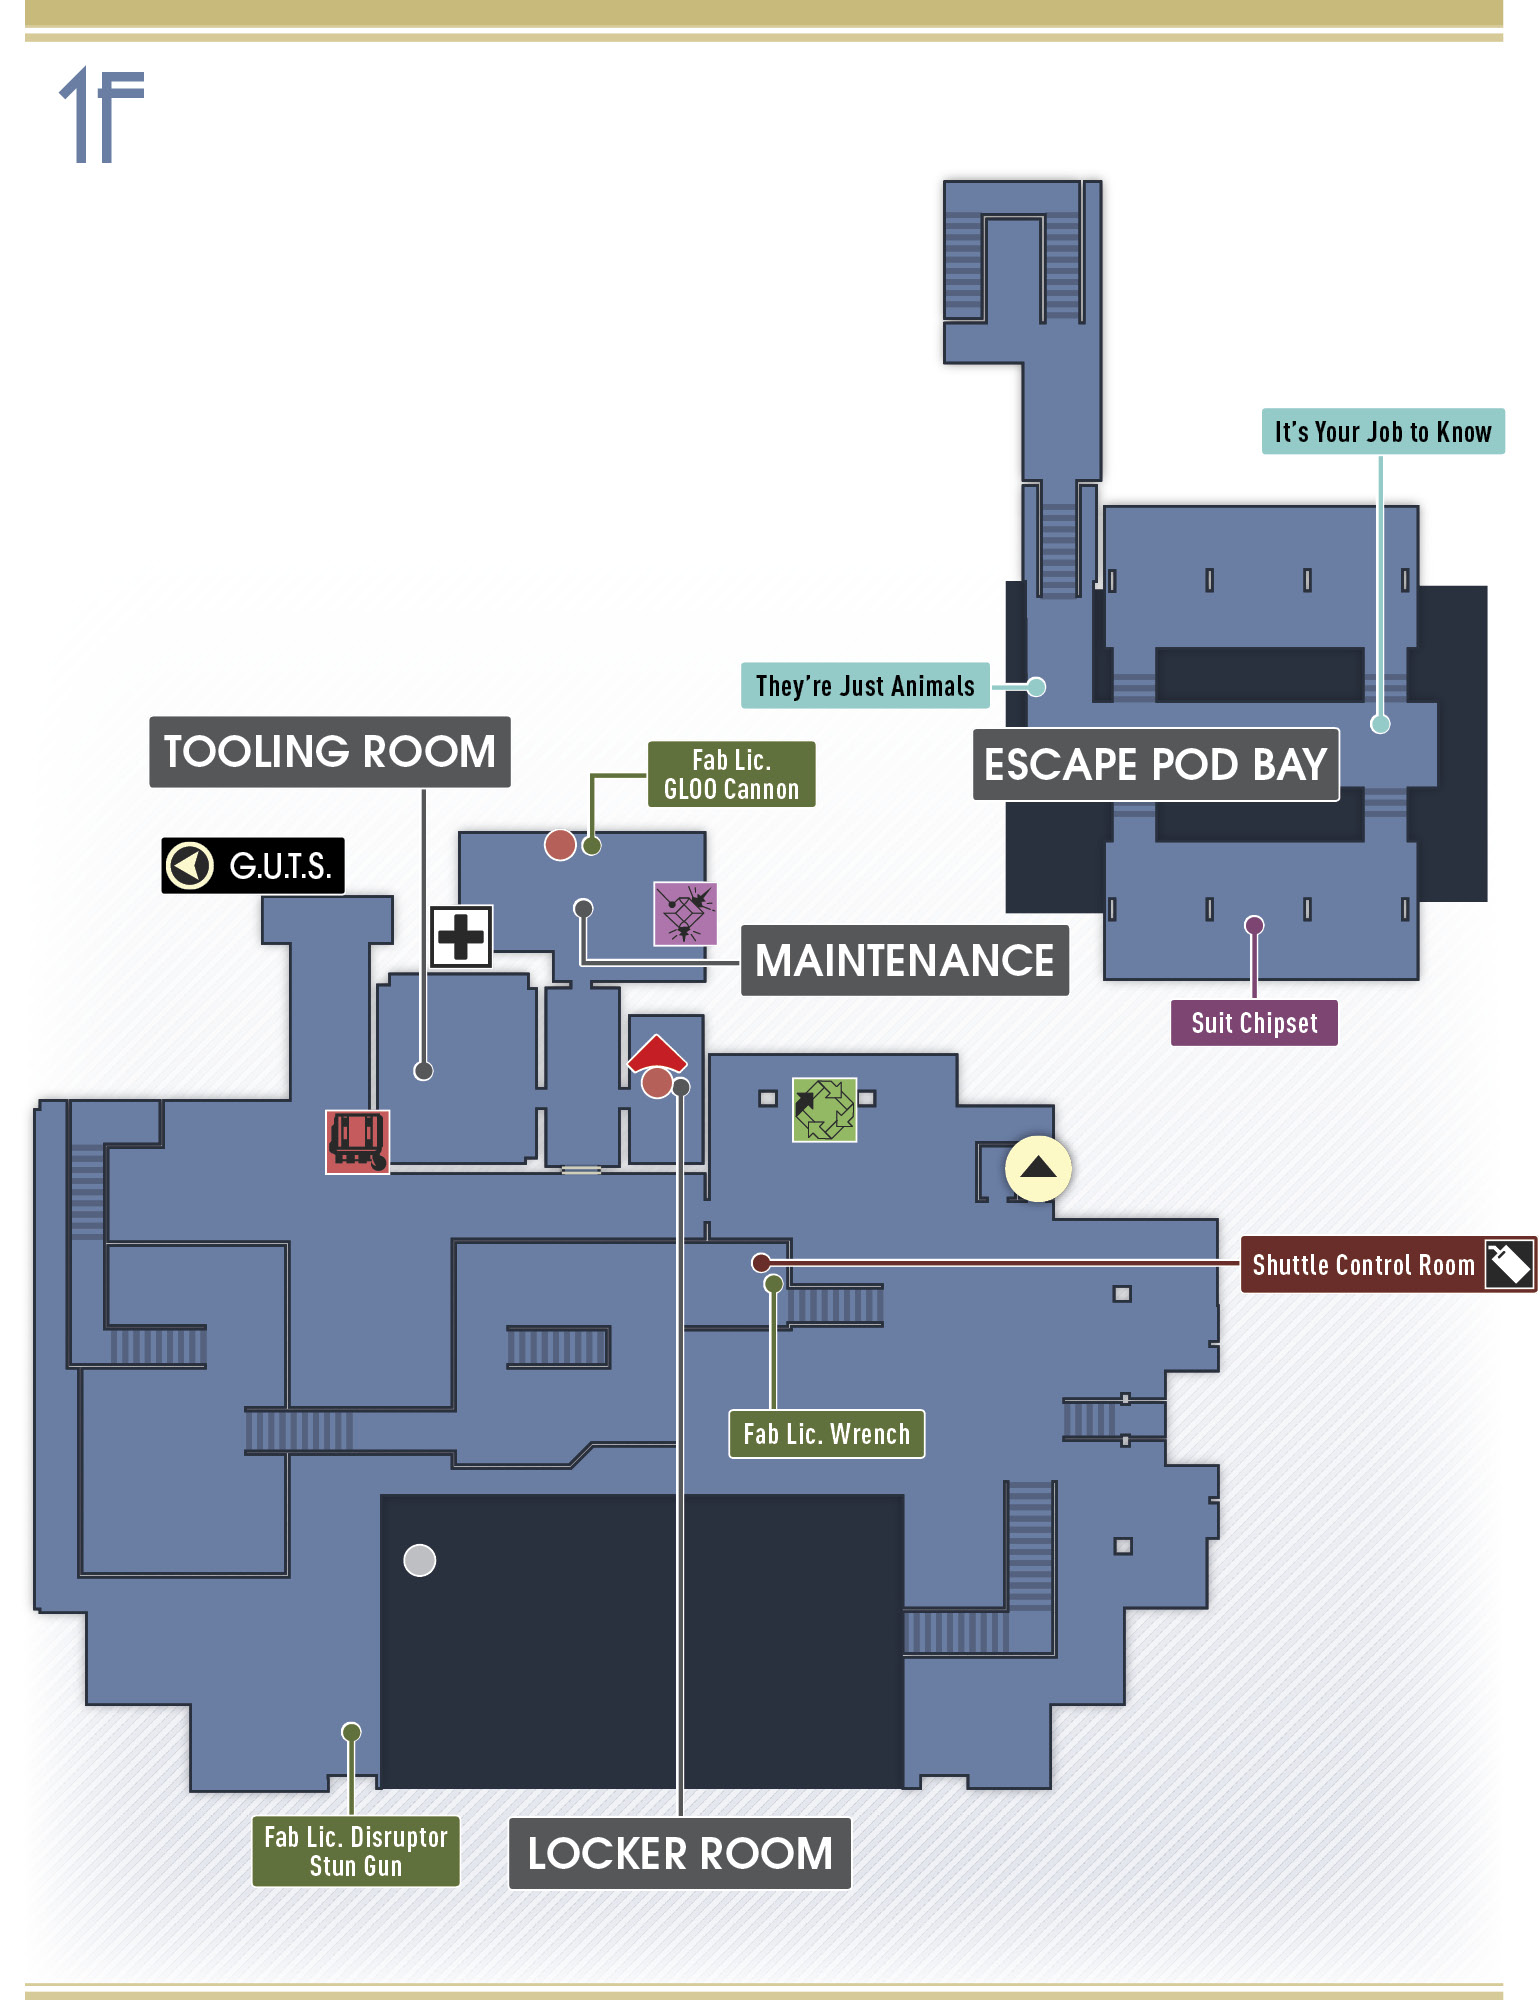
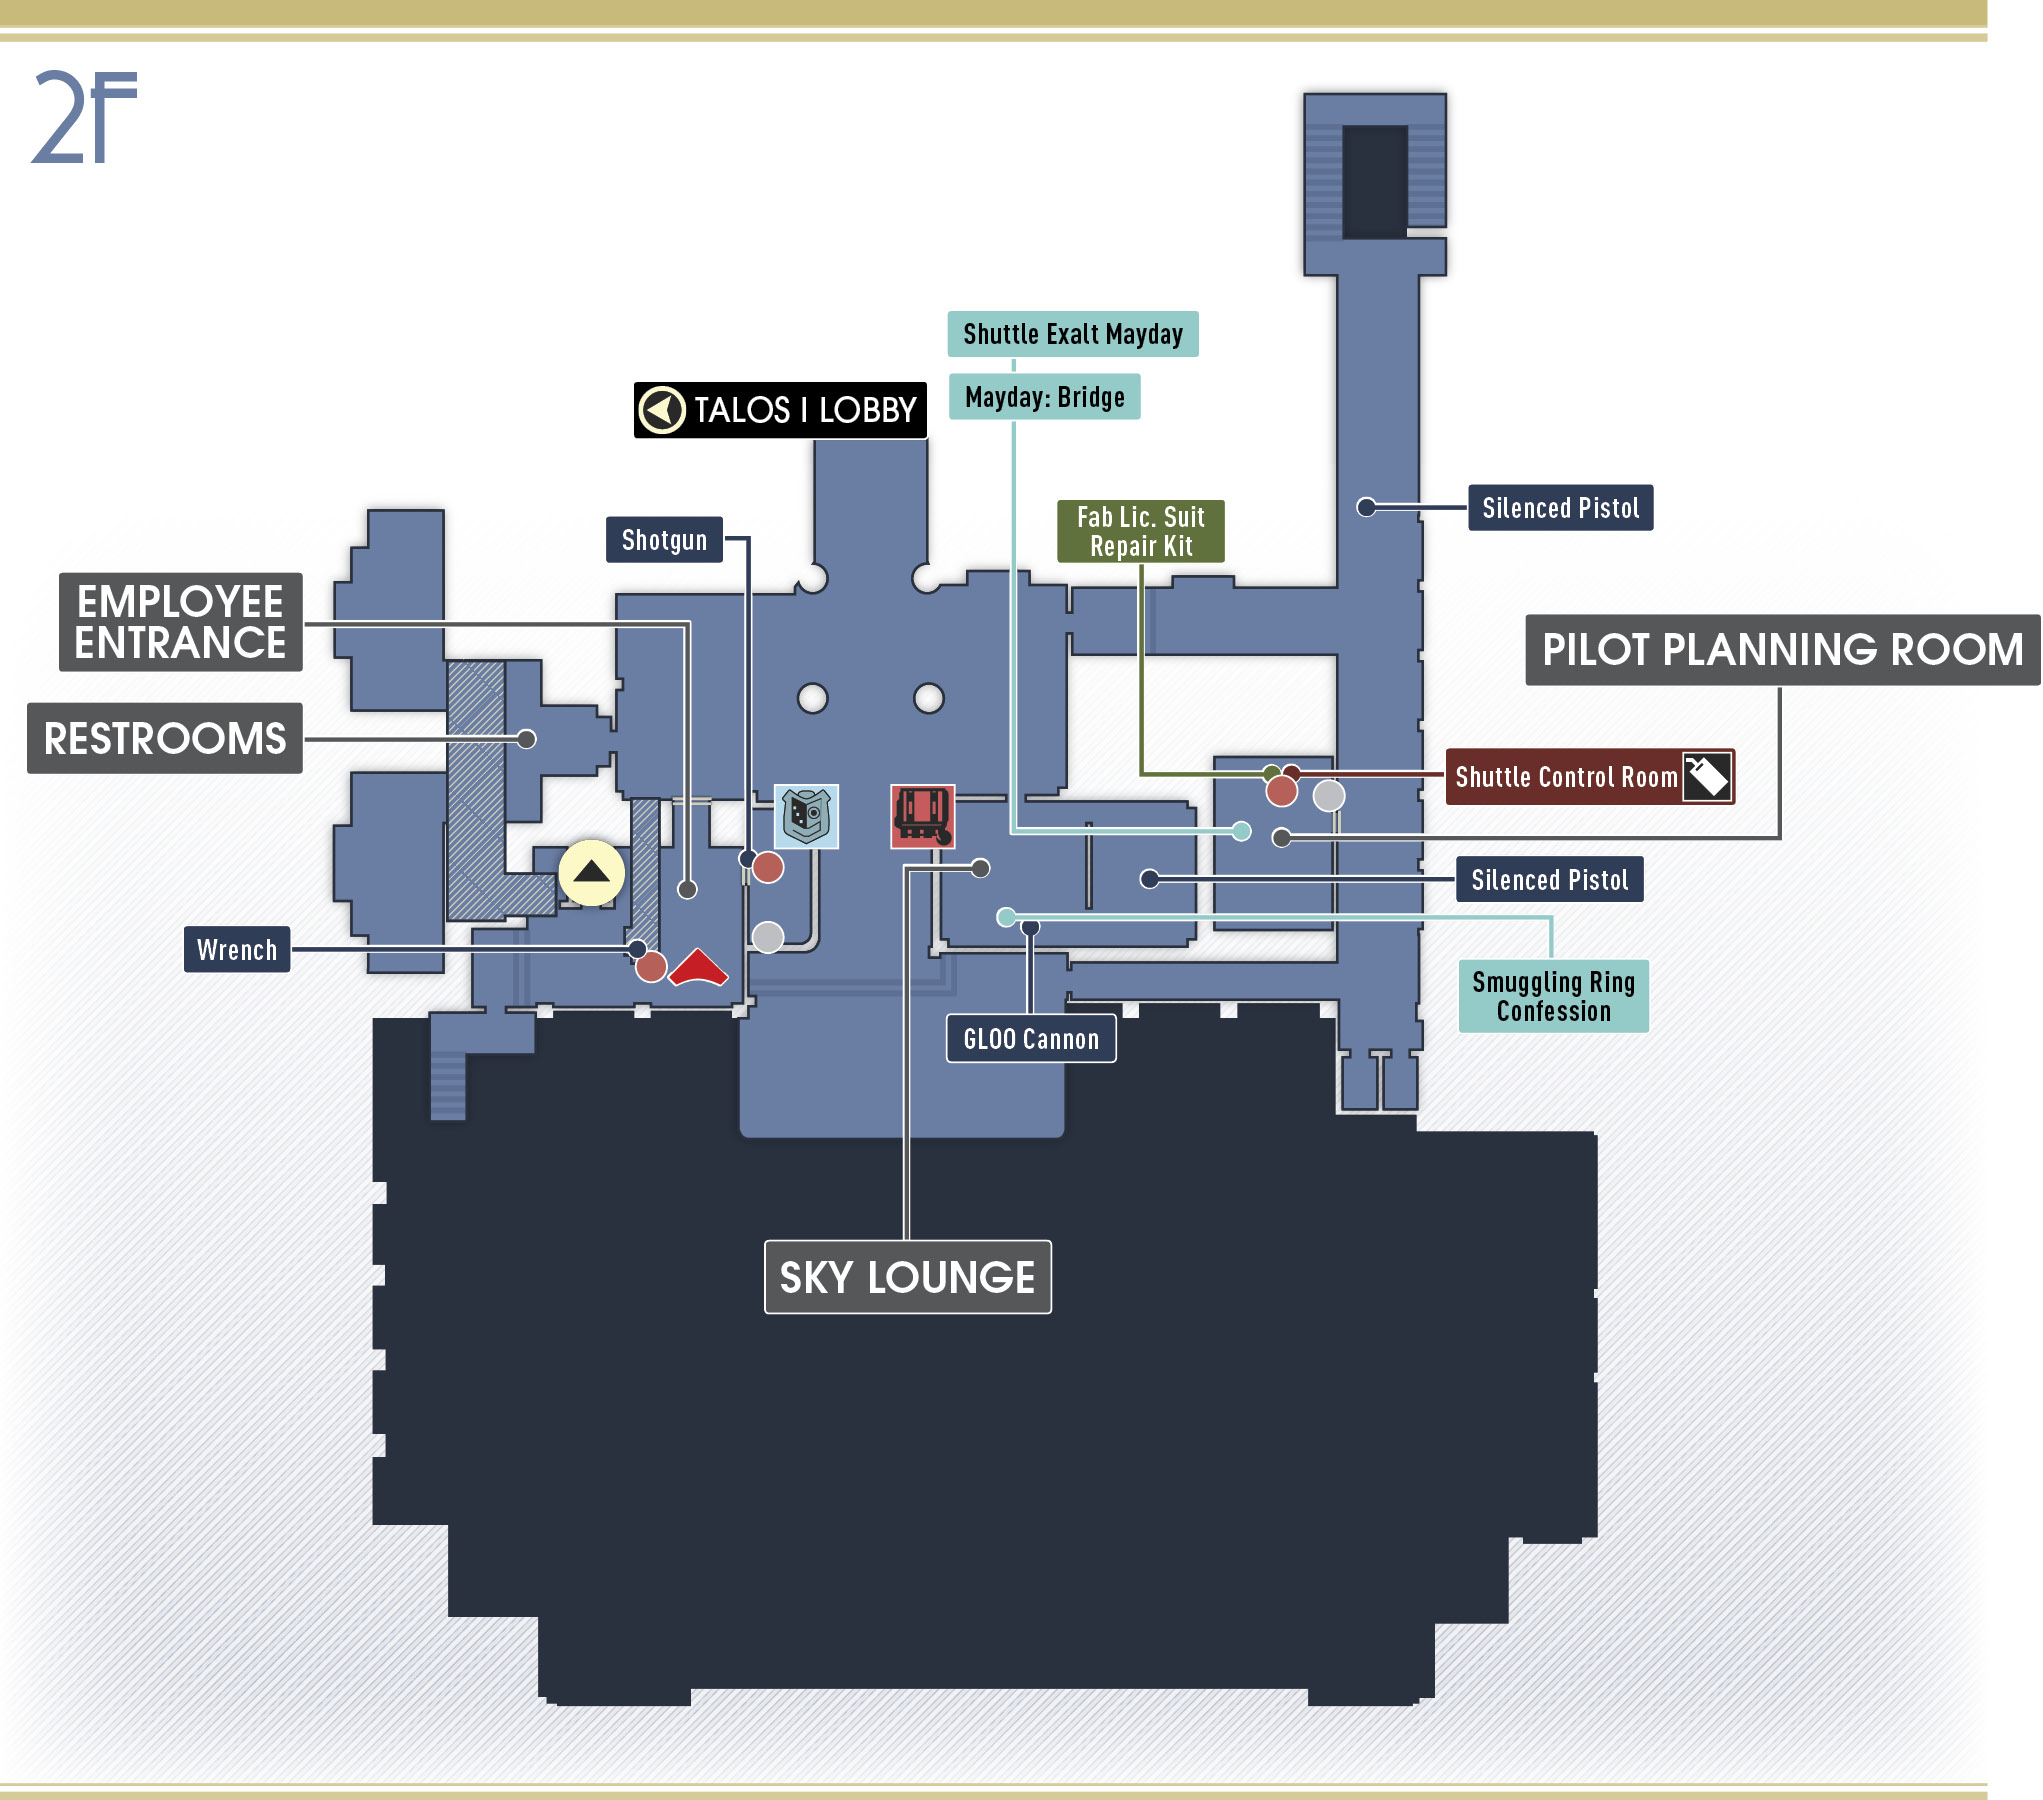
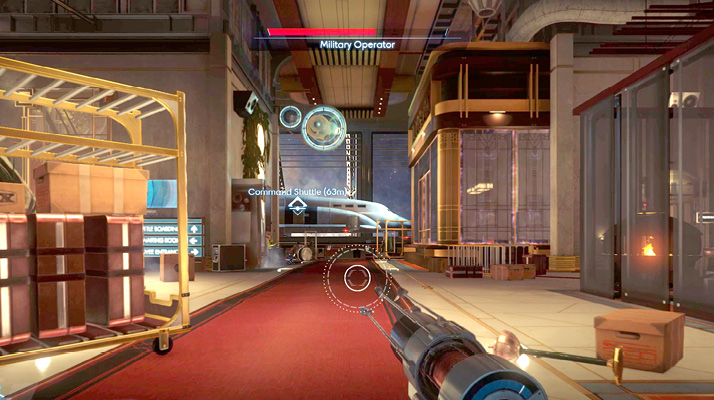
Dahl’s command shuttle is docked in the Shuttle Bay. You need to access Flight Control to extend the jetway. Make note of the turrets and Military Operators fighting the Phantom just ahead. In this sense, the Military Operators work in your favor and fight against the Typhon organisms. But they’ll attack you as well, so keep your Disruptor Stun Gun equipped at all times while exploring the Shuttle Bay. Before rushing toward Flight Control, take some time to explore this area. Begin your exploration with the nearby Sky Lounge.
Sky Lounge
| Notable Items: |
| GLOO Cannon |
| Silenced Pistol |
| Audio Recording: Smuggling Ring Confession |
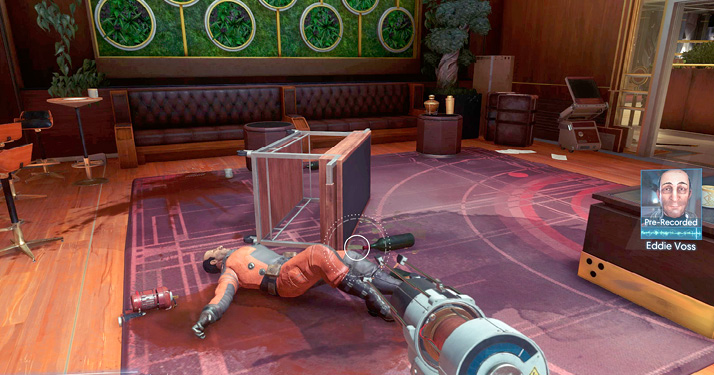
This swanky lounge once served as a waiting area for guests arriving and departing Talos I. Now it’s empty, albeit for the body of Eddie Voss. He was one of the Talos I smugglers. Search his body to retrieve a TranScribe and some other supplies. On the TranScribe’s recording (Smuggling Ring Confession) Eddie Voss admits to being part of the smuggling ring responsible for stealing Neuromods and other items from Talos I.
Pilot Lounge
| Notable Items: | Neuromod | Keycard: Shuttle Control Room |
| Suit Repair Kit Fabrication License | Audio Recording: Shuttle Exalt Mayday | |
| Audio Recording: Mayday: Bridge | Weapon Upgrade Kit |
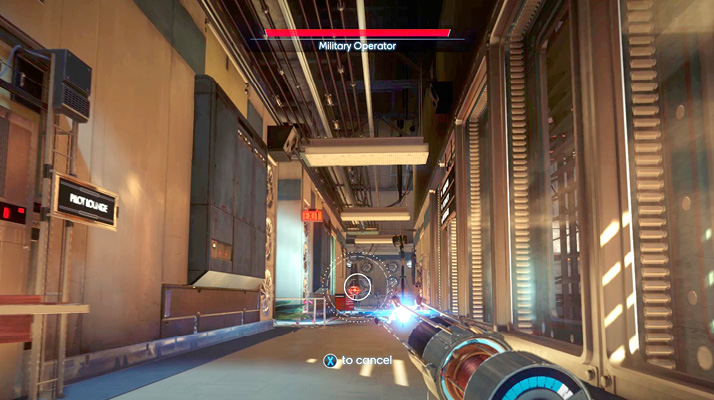
Exit the Sky Lounge and return to the Foyer. Move past the Operator dispenser, careful to destroy any Military Operators you encounter nearby. After passing the Operator dispenser, turn left and open the cage-like door to access a path leading to a Grav Shaft. Power to the Grav Shaft has been shut down, but you can restore it later. Instead, turn to the door leading to the Pilot Lounge and input the keycode you retrieved from Octavia Figgs in the Staff Lounge. There may be a Military Operator patrolling near the door. Get ready to take it out with your Disruptor Stun Gun.
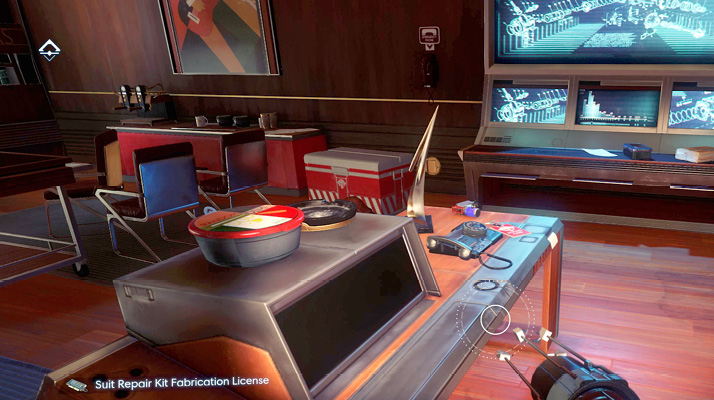
Enter the lounge and gather a few items from the desk including a Neuromod, a keycard to the shuttle control room, and a Suit Repair Kit fabrication license. There are also some supplies and ammo in the nearby lockers. Next, search the body of Galel Sief to recover her TranScribe. The TranScribe contains two recordings from shuttle pilot Hunter Hale.
Derelict ShuttleObjective Summary: Hunter Hale, pilot of the shuttle Exalt, sent a mayday not too far from the station. Might be worth investigating to see what happened. Listen to the Shuttle Exalt Mayday recording to trigger this optional objective. The recording reveals that the shuttle Exalt experienced some sort of technical trouble not far from Talos I and is now adrift. The shuttle’s pilot, Hunter Hale, had plans to escape the shuttle but it’s unclear how far he got. You can investigate the shuttle later, when you perform your next spacewalk. |
Escape Pod Bay
| Notable Items: |
| Audio Recording: They’re Just Animals |
| Audio Recording: It’s Your Job to Know |
Exit the Pilot Lounge and turn left to access the Escape Pod Bay, located down a flight of stairs. As you enter the bay, you’re contacted by Frank Jones over comms. Jones and Emmanuella DeSilva are trapped in one of the escape pods. The pod is stuck in one of the launch tubes. Just like the escape pods in Life Support, the pods here seemed to malfunction. As a result, the bay is filled with several dead crew members. Search Nils Kjaergaard and Drew Springer’s bodies to retrieve a couple TranScribes. These recordings chronicle the tragic malfunctions with the escape pods.
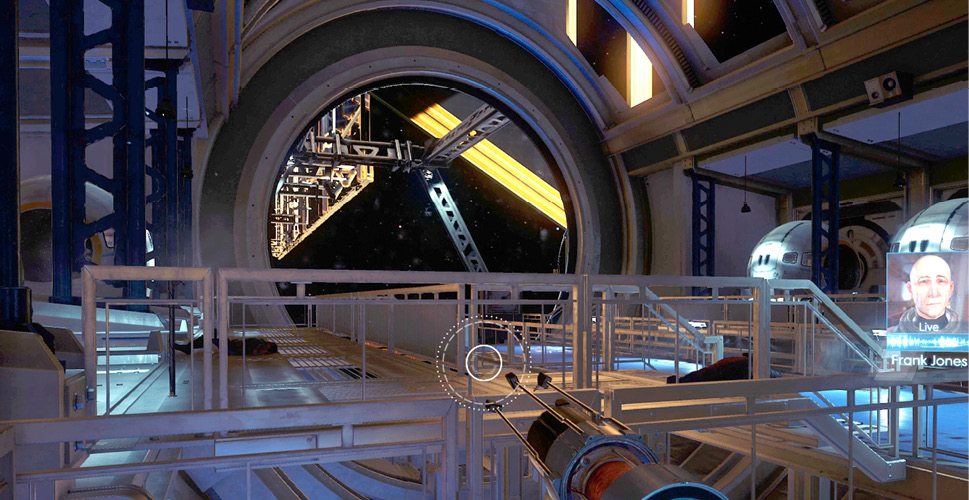
Escape AttemptObjective Summary: Frank and Emmanuella are trapped in an escape pod that failed to launch completely. The exterior hatch on the launch tube is stuck. If I get to the station exterior and blow the hatch, the pod can be manually launched. This objective is automatically assigned once you enter the Escape Pod Bay. But there’s nothing you can do now. Resume this objective later when you access the Talos I exterior. |
Airlock
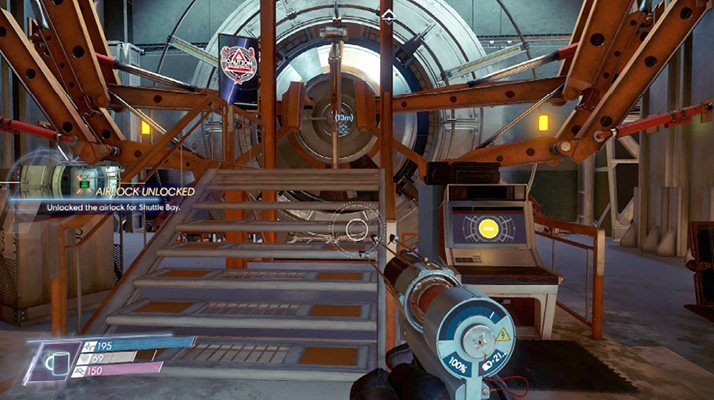
Return to the Grav Shaft near the Pilot’s Lounge. While the Grav Shaft is currently without power, you can use your propulsion system to slowly descend one of the shafts. Following your descent, approach the airlock and disengage its internal lock. You can now access the Talos I exterior and help Frank and Emmanuella. While you’re out there, you can also figure out what happened to shuttle Exalt.
Talos I Exterior
Escape Pod Launch Tube
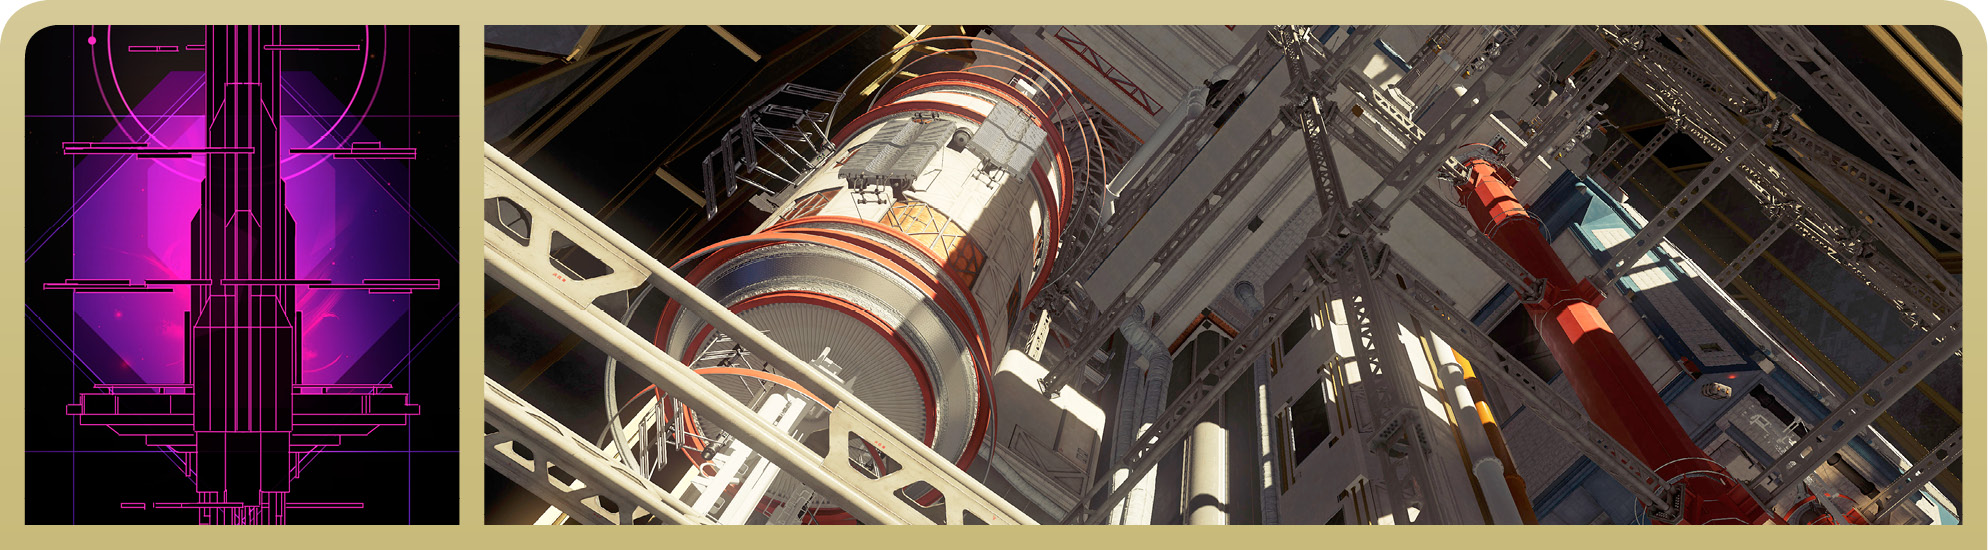
Escape Attempt (continued)As you exit the Shuttle Bay’s airlock, be mindful of Military Operators in the area, along with the usual Typhon hazards. Try to keep your distance and let these units fight among themselves. Follow the waypoint marker to the escape pod launch tube where Frank and Emmanuella are trapped. Using your pistol, shoot the four red explosive bolts. This allows the escape pod to clear the tube when you initiate a manual launch. You can resume this objective when you return to the Escape Pod Bay. 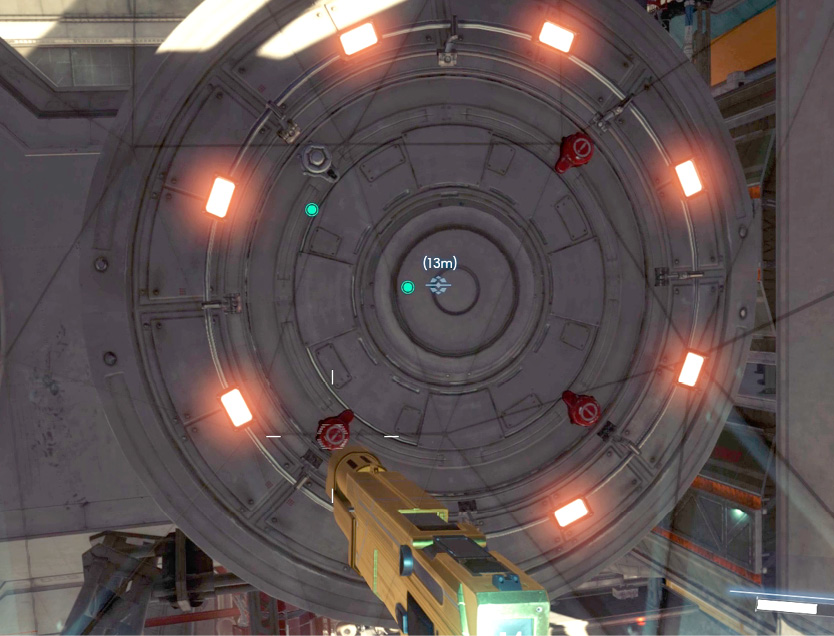
|
Shuttle Exalt
| Notable Items: | Neuromod | Audio Recording: Mayday Bridge | Audio Recording: Shuttle Exalt Mayday |
| Silenced Pistol | Typhon Lure Fabrication License | The Starbender Cycle: Book 5 | |
| Typhon Lure |
Derelict Shuttle (continued)Shuttle Exalt is adrift, not far from the Shuttle Bay. Be on the lookout for the object surrounded by Coral. The shuttle has been attacked by a Weaver, so use your Psychoscope to locate this threat before getting too close. Once you spot the Weaver, toss a Nullwave Transmitter at it and attack it with your Q-Beam. Try to eliminate any nearby Cystoids before approaching the shuttle. 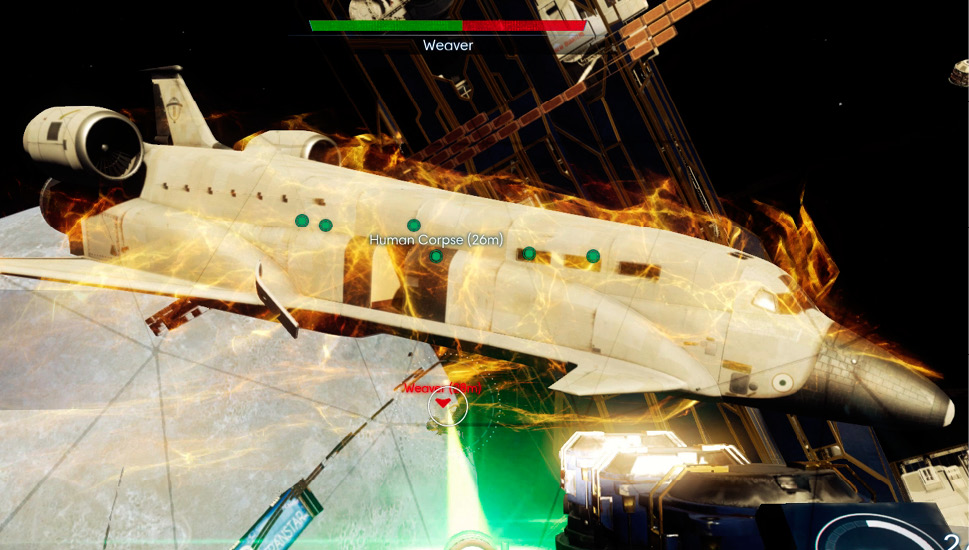
Move to the shuttle’s starboard side and look for an open hatch. Push inside to locate the body of Hunter Hale. Search Hale’s body to retrieve a TranScribe and some other supplies. Taking the TranScribe completes this objective. However, you shouldn’t leave the shuttle just yet. 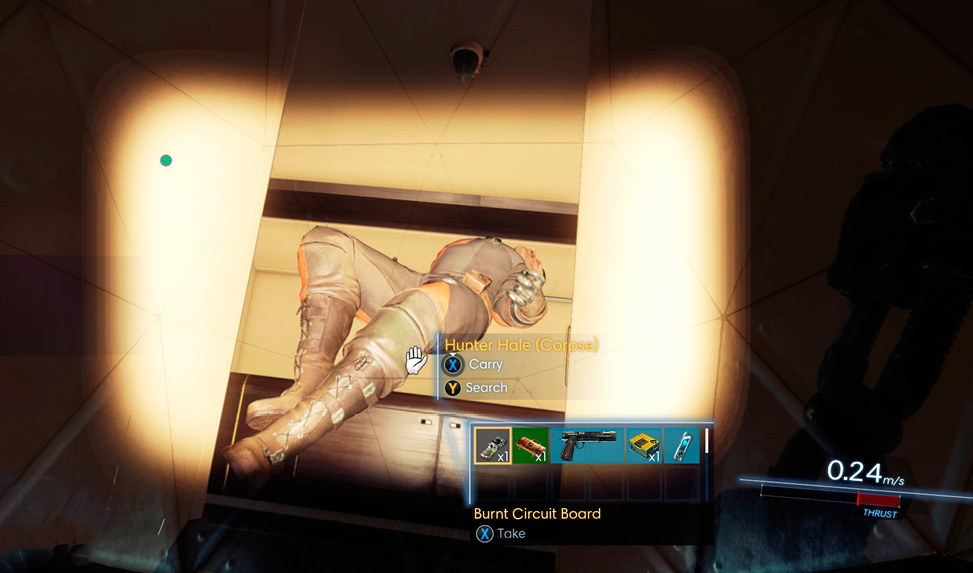
Enter the shuttle to gather a few more supplies. Move to the cockpit and search the floating briefcase to retrieve a Neuromod, a Typhon Lure, and a Typhon Lure fabrication license. The back of the shuttle is mostly filled with dead volunteers and the fifth book in The Starbender Cycle series. Repair the control panel in the back and access the nearby power kiosk to restore emergency power to the shuttle. This allows you to access the cargo hold. Search the luggage in the cargo hold to gather more supplies. When you’re finished searching the shuttle, return to the Shuttle Bay’s air lock. 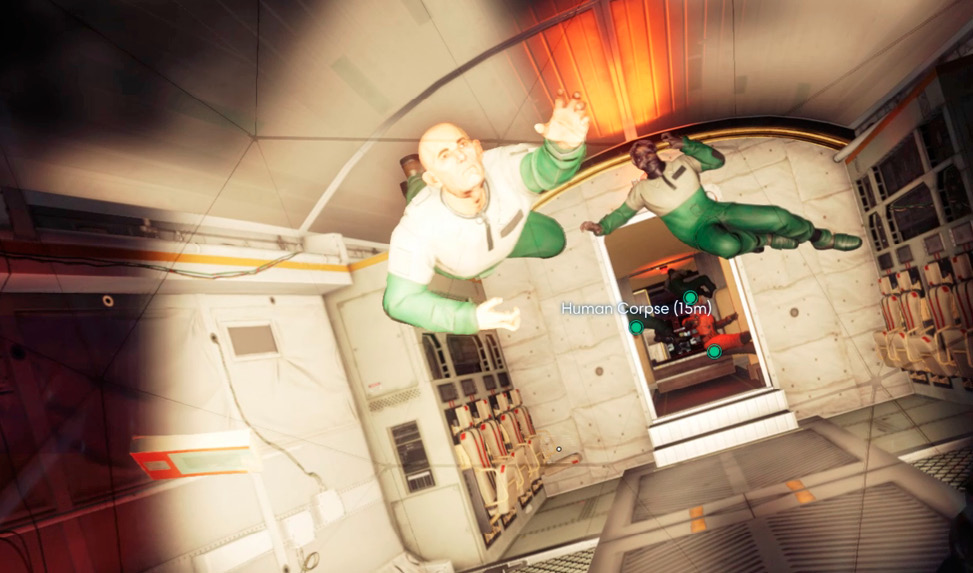
|
Shuttle Bay
Mechanic Facilities
| Notable Items: | Neuromod | Recycler Charge |
| EMP Charge | The Starbender Cycle: Book 2 | |
| GLOO Cannon Fabrication License |
Upon your return to the Shuttle Bay, enter the nearby Mechanic Facilities. The Shuttle Control Room keycard is sufficient for unlocking this door. Beware of Mimics lurking in the Tooling Room on the left. Once you’ve identified and dealt with these threats, search the Tooling Room for supplies. There are some spare parts and a Recycler Charge that you can take. Access Scott Parker’s workstation and restore power to the Shuttle Bay’s Grav Shafts within the Utilities tab. Cross the hall into the Locker Room to grab an EMP Charge and read Book 2 of The Starbender Cycle.
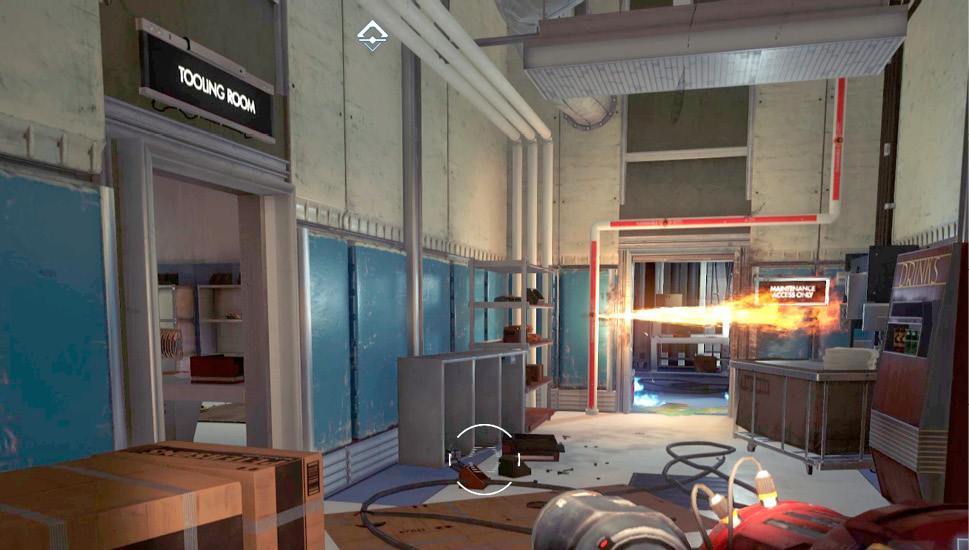
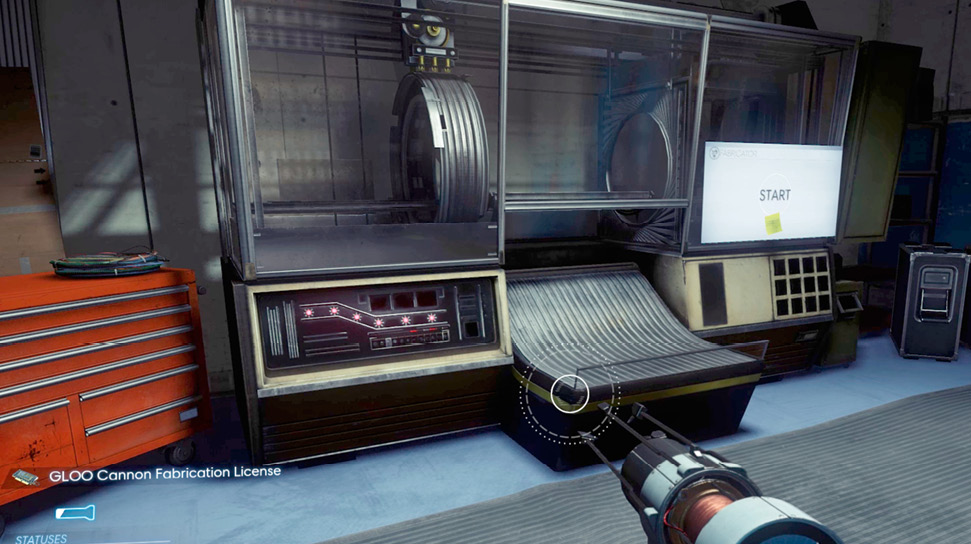
The room at the back contains a Fabricator and some supplies, including a Neuromod, a Medkit, and a GLOO Cannon fabrication license. A sternly worded note on the Fabricator warns personnel to stop making duplicate items. Apparently whoever wrote this wasn’t aware of Mimics. Take a moment to fabricate anything you may need, and then exit the Mechanic Facilities.
Mechanic Storage
| Notable Items | Keycard: Shuttle Control Room |
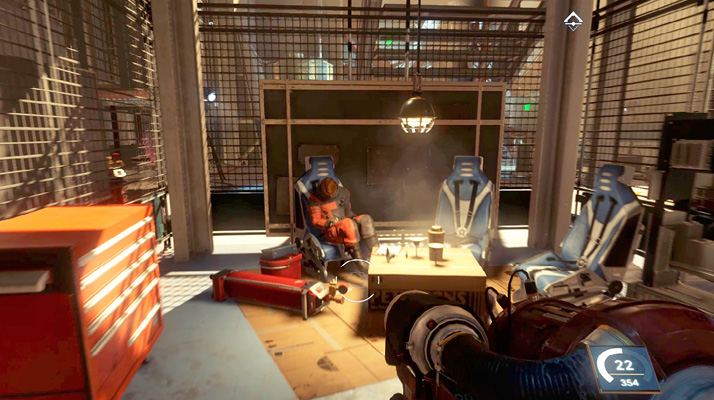
The cage-like enclosure outside the Mechanic Facilities contains some more supplies, including another Shuttle Control Room keycard found on Scott Parker’s body. Hack into Frank Jones’ workstation atop the cage to read three emails.
Escape Pod Bay
Escape Attempt (continued)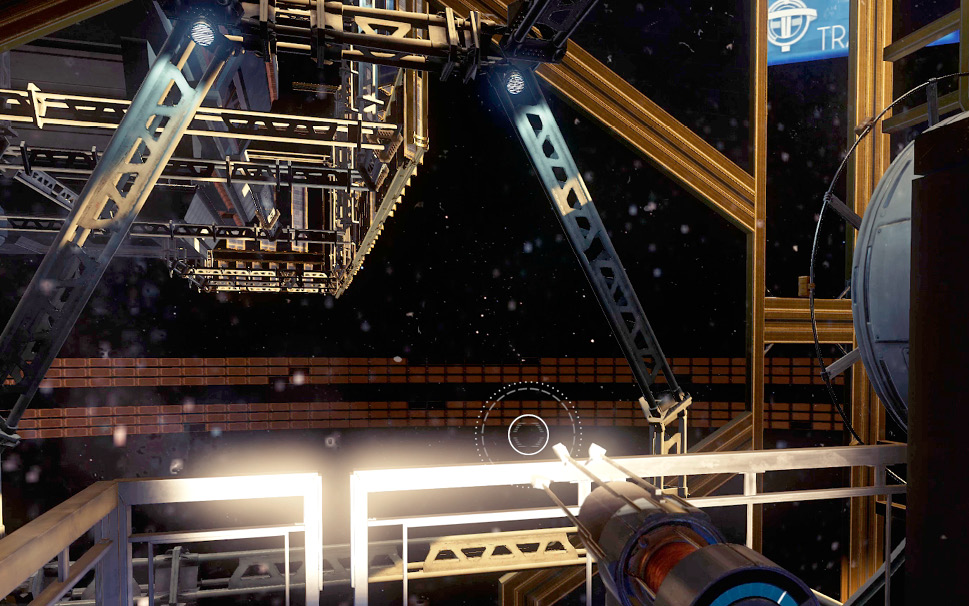
Now that the Grav Shafts are online, return to the Escape Pod Bay and open the maintenance access panel at the end of the central walkway. This gives you access to the escape pod console. The pod status screen shows that there is a malfunction with pod 2. Select the Auxiliary Launch Controls tab and launch pod 2. A countdown is initiated before Frank and Emmanuella’s escape pod is launched. 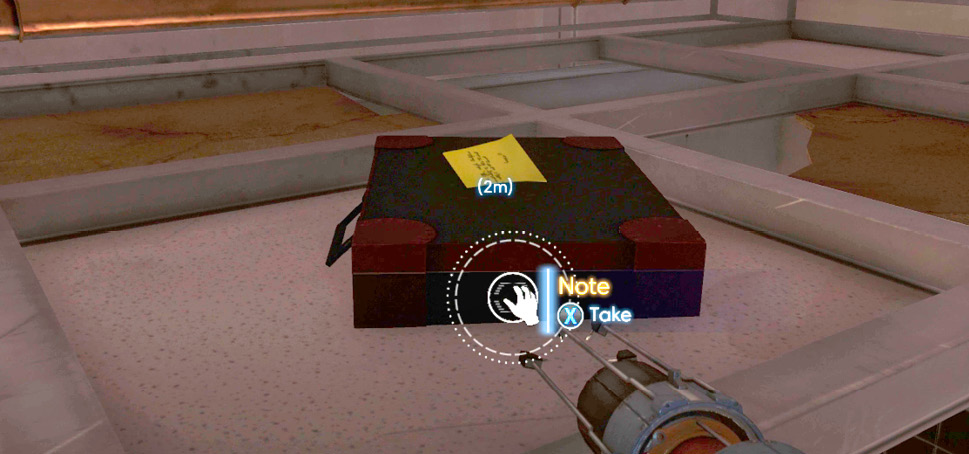
Emmanuella thanks you over comms and provides a waypoint to a reward. Follow the waypoint to the locker room in the Mechanic Facilities. Here you find a briefcase stashed above the ceiling containing two Neuromods. As the note inside the briefcase indicates, these Neuromods were originally intended for Emmanuella’s ailing mother on Earth. She was unable to get them off the station. They belong to you now. |
G.U.T.S. Access
Before proceeding to Flight Control, take a quick detour into the G.U.T.S. This is the quickest way to investigate Melindra’s treasure map for the Treasure Hunt objective. Plus, there are some items you can retrieve in Fuel Storage. The door leading to G.U.T.S. is located near the Mechanic Facilities. It is just beyond the Operator dispenser.
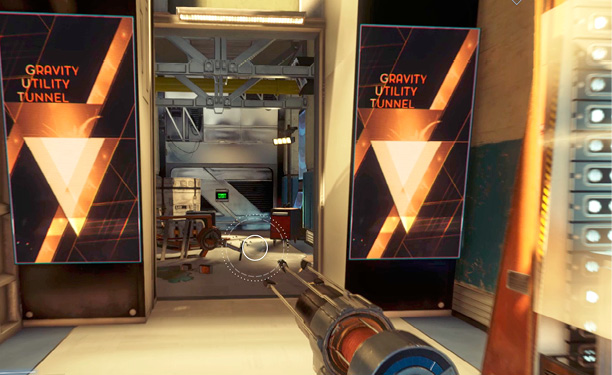
Gravity Utility Tunnel System

Fuel Storage
| Notable Items: | Keycard: Fuel Storage | Neuromod (3) |
| Nullwave Transmitter (2) | Recycler Charge (2) |
Treasure Hunt (continued)Immediately after entering Fuel Storage, turn to the left and investigate the wall opposite of the Grav Shaft. Turn on your flashlight to locate a 1 painted on the wall. Melindra’s map points to this location. Wait until the clue is registered before moving on. If you have been following this walkthrough, you have now investigated all four treasure maps, each pointing to a number. You can resume this objective when you return to Crew Quarters. There’s a reward waiting for you in Abigail Foy’s cabin. 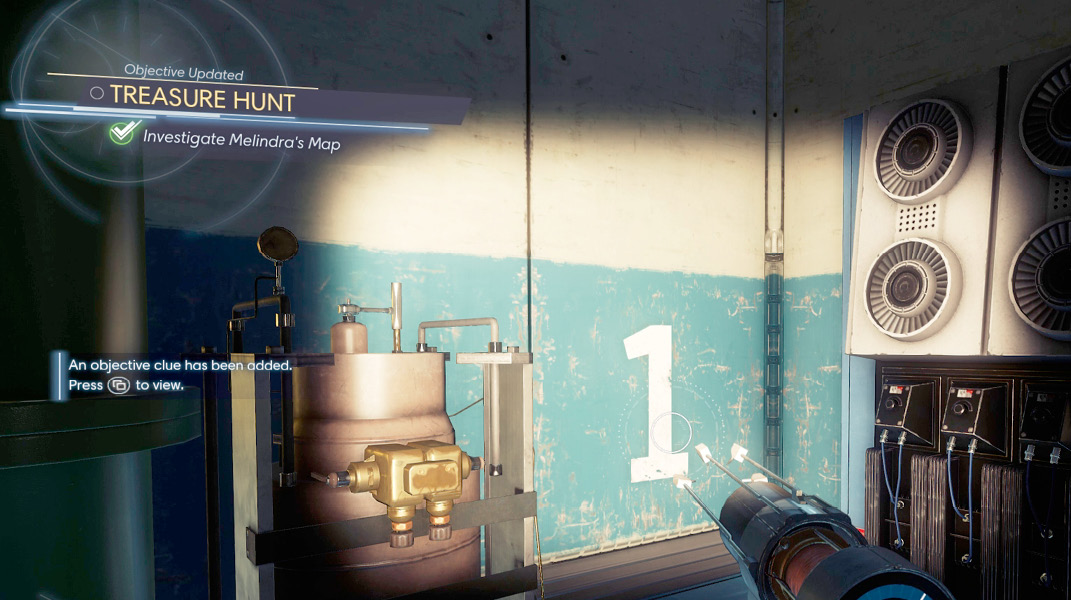
|
While you’re in Fuel Storage, take a moment to look around. A Thermal Phantom patrols the area below the damaged catwalk. Toss a Nullwave Transmitter down at the Thermal Phantom, then engage this foe with the Q-Beam until it explodes. There may be a few Military Operators in here as well, so be ready to take them out with your Disruptor Stun Gun.
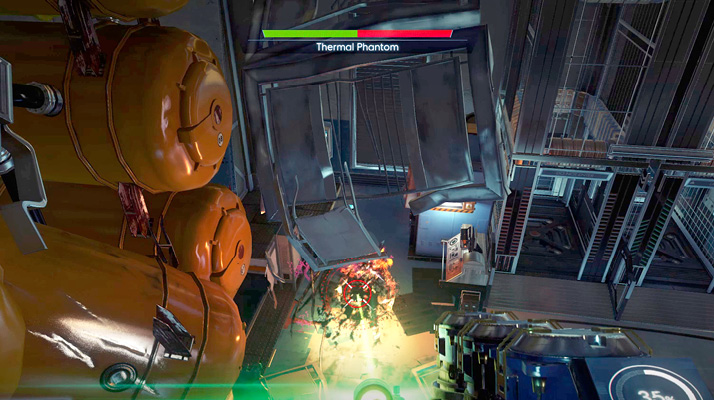
Drop to the floor below. Carefully avoid any Mimics or fires here. There are large pools of flammable fuel covering the floor, so be ready to put out any fires with your GLOO Cannon. Once the floor is clear of threats and hazards, you can restore power to the room by accessing the Power Control Terminal next to the Grav Shaft.
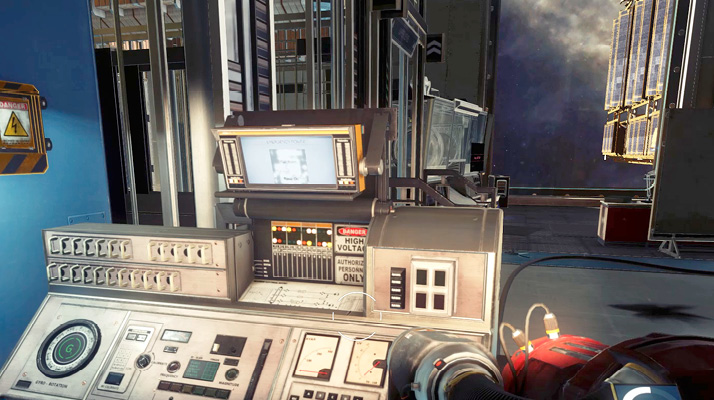
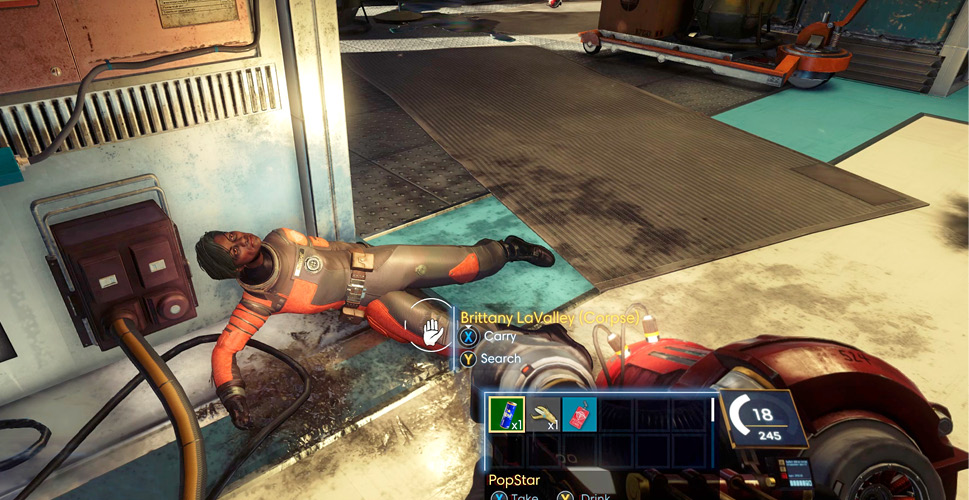
Locate the body of Brittany LaValley beneath an electrical junction in the center of the room. If the electrical junction was damaged during fights with the Thermal Phantom and Military Operators, take the time to repair it before approaching. Search Brittany LaValley to recover a keycard to the nearby storage room. The storage room contains three Neuromods and two Nullwave Transmitters. Two Recycler Charges can be found on the floor outside the storage room. Following your search of Fuel Storage, enter the Grav Shaft to facilitate your return to the Shuttle Bay.
Shuttle Bay
Information Booth
| Notable Items: | Neuromod | Shotgun | Weapon Upgrade Kit |
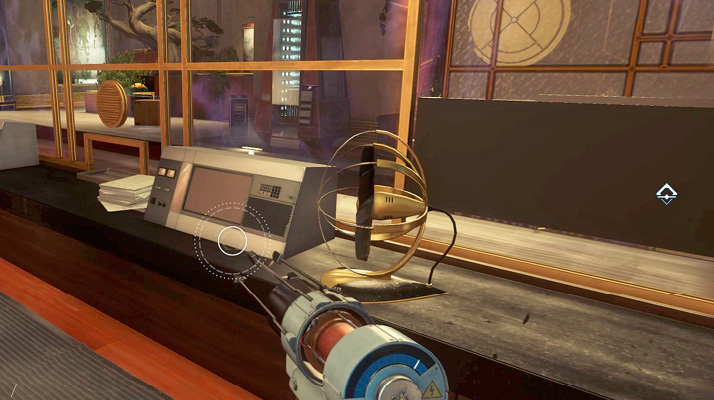
Upon your return from the G.U.T.S., access the stairs leading above the Mechanic Storage cage. Follow the adjoining catwalk toward the Grav Shaft providing access to Flight Control. Before using the Grav Shaft, enter the nearby Information Booth. The Shuttle Control Room keycard unlocks this door. Inside you find the body of Blaine Cooly, one of the station’s security officers. A Neuromod and a Shotgun can be found next to his body. Hack into the security station to download a map of the Shuttle Bay. There’s also a Weapon Upgrade Kit sitting on the nearby counter. Upon exiting the booth, turn right and unlock the door leading back to the foyer. This allows you to access this area more easily later.
Mia Bayer’s Office
| Notable Items: | Neuromod (2) | Nullwave Transmitter (2) | Suit Chipset |
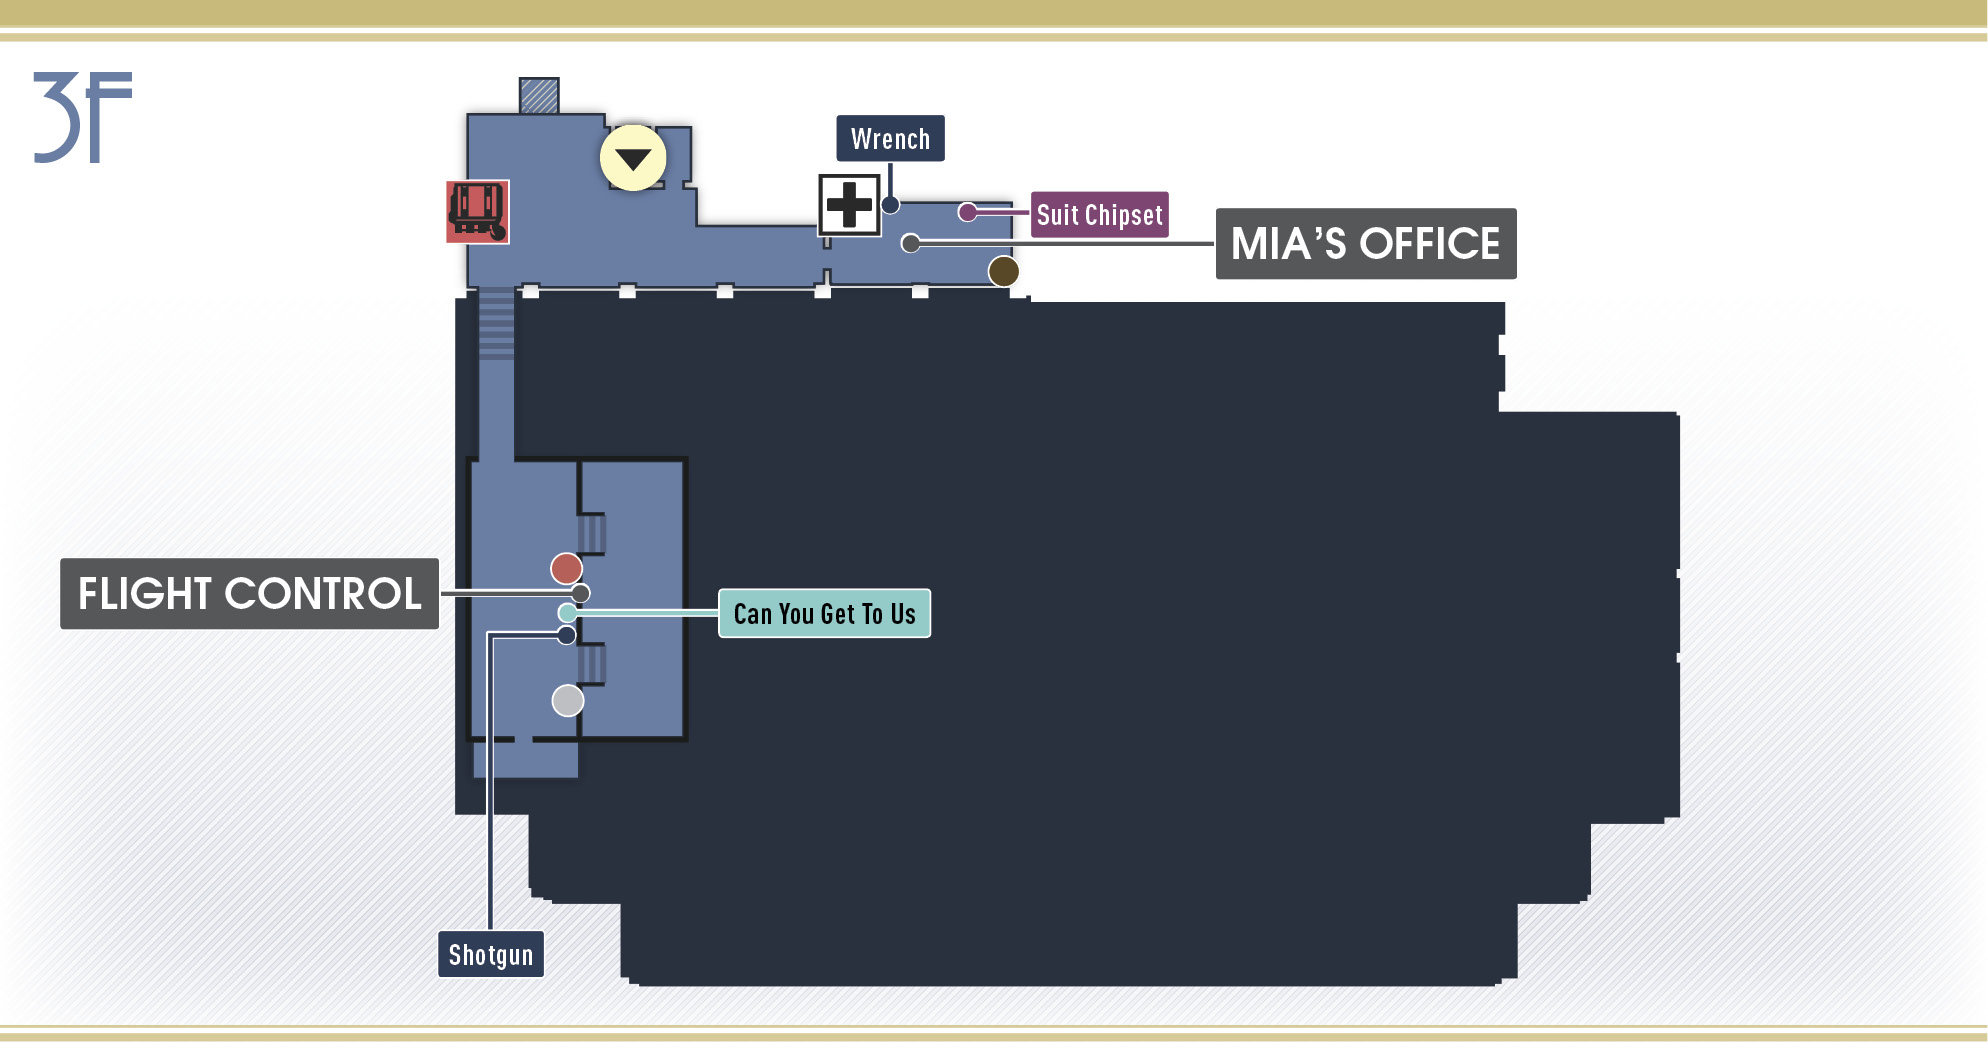
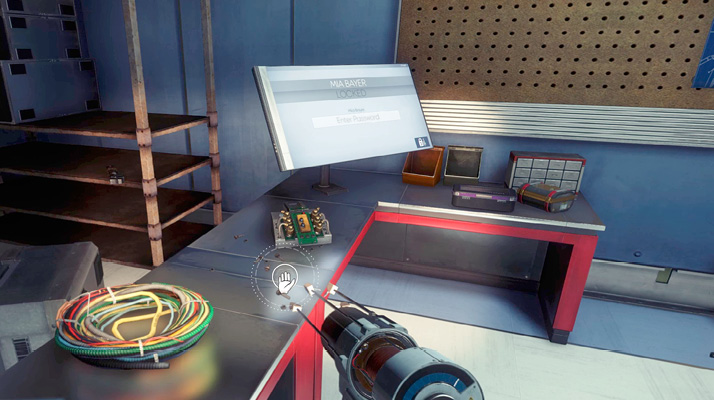
Step up into the Grav Shaft and ride it up to the next floor. Watch for Military Operators spawning here from the nearby Operator Dispenser. Keep your Disruptor Stun Gun equipped and be ready to zap any Operators that emerge. Before entering Flight Control, take a look inside Mia Bayer’s office. The office has a few supplies, including a Medkit, a Psi Hypo, and a Suit Chipset. If you have the Hacking III ability, you can crack Mia’s safe. It contains two Nullwave Transmitters and two Neuromods. Mia’s workstation can also be hacked with Hacking III if you want to read a few emails.
Flight Control
| Notable Items: | Neuromod | Audio Recording: Can You Get to Us | Shotgun |
The catwalk leading to Flight Control is damaged. So take a running leap and use your propulsion system to glide toward the door. If you fall short, simply enter the Grav Shaft and try again. Installing the ARTX Propulsion Gen 1 or Gen 2 Suit Chipsets can make this jump a lot easier.
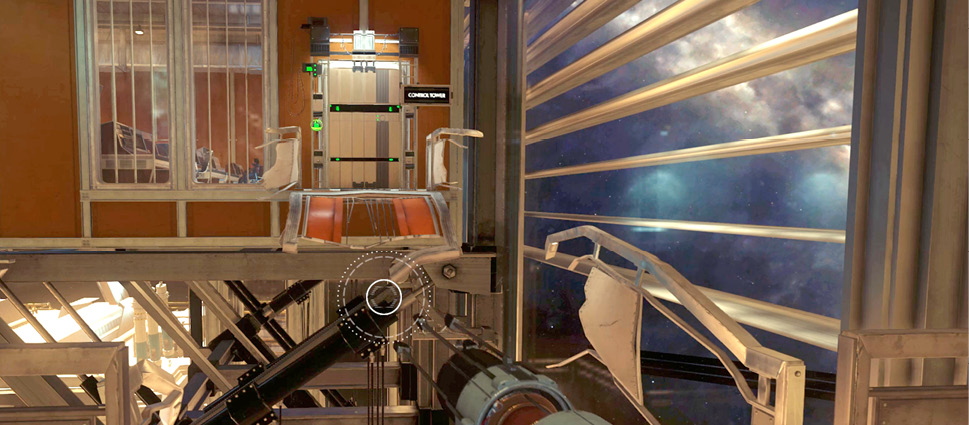
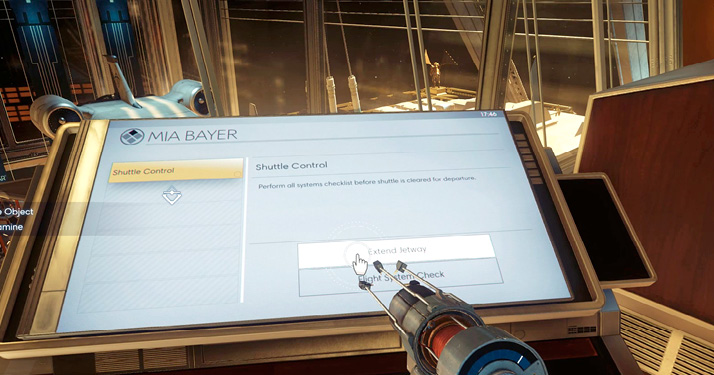
As you enter Flight Control, be ready to eliminate two Military Operators with your Disruptor Stun Gun. Grab the Neuromod and TranScribe on the nearby console then search Mia Bayer’s body to retrieve more supplies. Next, access the workstation to extend the jetway to the command shuttle. Watch through the window as the jetway ramp extends to the shuttle. Running a flight system check reveals that all systems are nominal. This shuttle can be used to escape Talos I, but you’ll need to find a pilot.
Command Shuttle
| Notable Items: |
| Neuromod |
| Audio Recording: Dahl’s Orders |
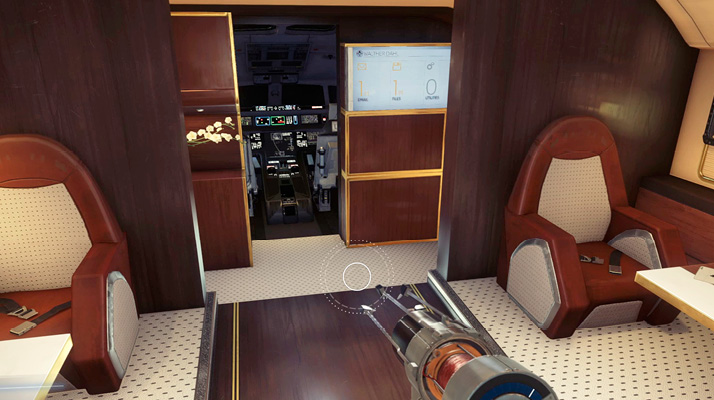
Break the window in Flight Control and leap out, using your propulsion system to glide down to the jetway. Open the shuttle door and step inside. There’s no sign of Dahl or KASPAR. The door to the cargo hold is locked. You can retrieve the keycard for this door from Dahl.
Grab some food and a Neuromod from the shuttle’s cabin while making your way toward the cockpit. A terminal near the cockpit gives you access to Walter Dahl’s email and files. The email reveals the name of his mission, Camazotz. Access the Files tab to download an audio recording. Listen to the recording (Dahl’s Orders) to hear the details of Dahl’s mission from William Yu. Under authorization of the TranStar board of directors, Dahl has been sent to Talos I to destroy the station and everyone on board, including Morgan and Alex. Listening to the recording reveals the location of KASPAR, Dahl’s tech officer. KASPAR’s location is determined randomly, appearing in the Neuromod Division, Hardware Labs, Psychotronics, or the Talos I’s exterior. Regardless of KASPAR’s location, return to the Talos I Lobby once you’re finished exploring the Shuttle Bay.
The Repo Man (update)Dahl’s command shuttle had information on the tech officer’s location and evidence that Dahl’s orders came directly from my father. I need to track this tech officer down and cut him off. |
Talos I Lobby

Dahl Ultimatum—Cargo BayObjective Summary: Commander Dahl is threatening to suffocate everyone in the Cargo Bay. I may be able to restore oxygen via the Oxygen Control regulators in Life Support, but Dahl will likely be waiting for me. After leaving the Shuttle Bay, Dahl contacts you, triggering this optional objective. In an attempt to draw you out, Dahl has cut-off oxygen to the Cargo Bay. If you don’t act fast, Sarah Elazar and her officers will die. You have 15 minutes to restore the flow of oxygen to the Cargo Bay via the Oxygen Flow Control Room in Life Support. Access the main lift and ride it down to Life Support. 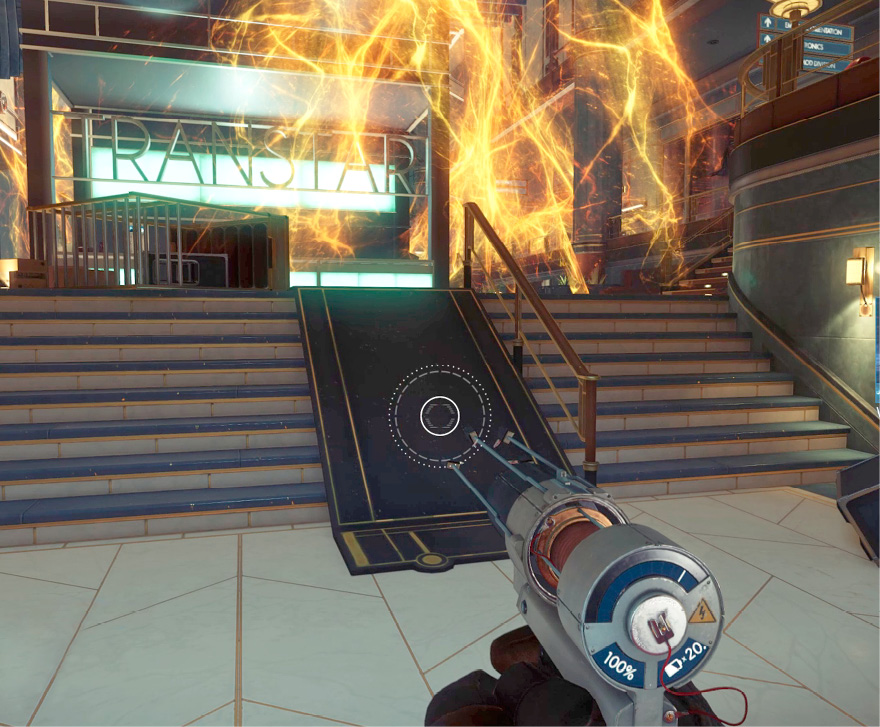
|
Life Support
Atmosphere Control
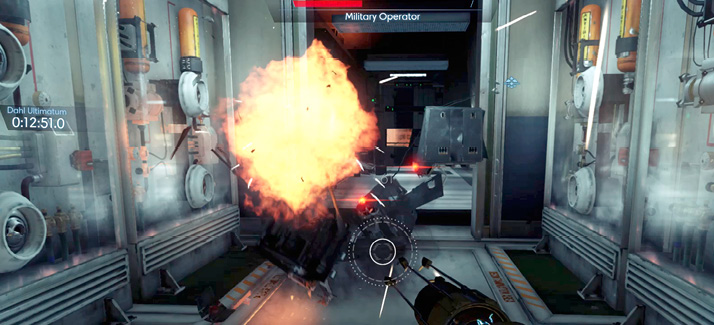
Upon your arrival in Life Support, make a beeline for Atmosphere Control. Be prepared to encounter more Military Operators along the way. There may also be some Thermal Phantoms in Atmosphere Control. If possible, avoid contact with these enemies and let them fight among themselves. Be ready to defend yourself if you’re spotted.
Oxygen Flow Control Room
| Notable Items: | Keycard: Dahl’s Cargo Hold | Silenced Pistol | Air Mixture Regulator |
Incapacitate Dahl (continued)Having already visited the Oxygen Flow Control Room, the door should be unlocked. If it’s not, sneak in via the window by the staircase or the maintenance access panel and adjoining duct. Sneak into the room to prevent Dahl from spotting you. Incapacitate Dahl using your Disruptor Stun Gun and search his body to recover the keycard to the command shuttle’s cargo hold. Dr. Igwe congratulates you on your efforts and promises to contact you later. The clock is still ticking for those trapped in the Cargo Bay. Better get to work on restoring the oxygen flow. 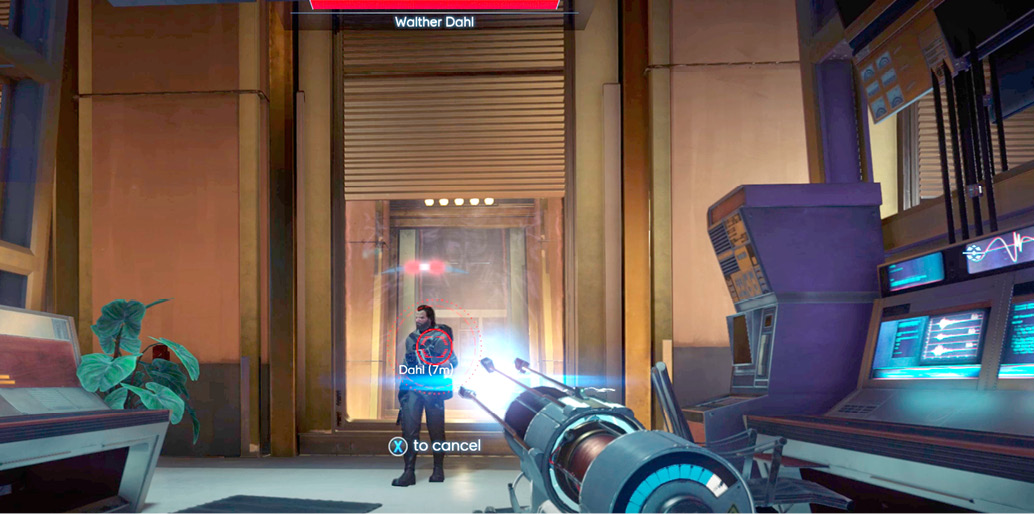
|
Dahl Ultimatum—Cargo Bay (continued)Once Dahl has been killed or rendered unconscious, turn to the Oxygen Control panel on the right. There’s a damaged Air Mixture Regulator on the floor. Repair this device and install it in the Air Mixture Regulator Socket within the open Cargo Bay panel. Sarah Elazar reports that air has begun to circulate in the Cargo Bay. This objective is now complete. Now it’s time to track down KASPAR. 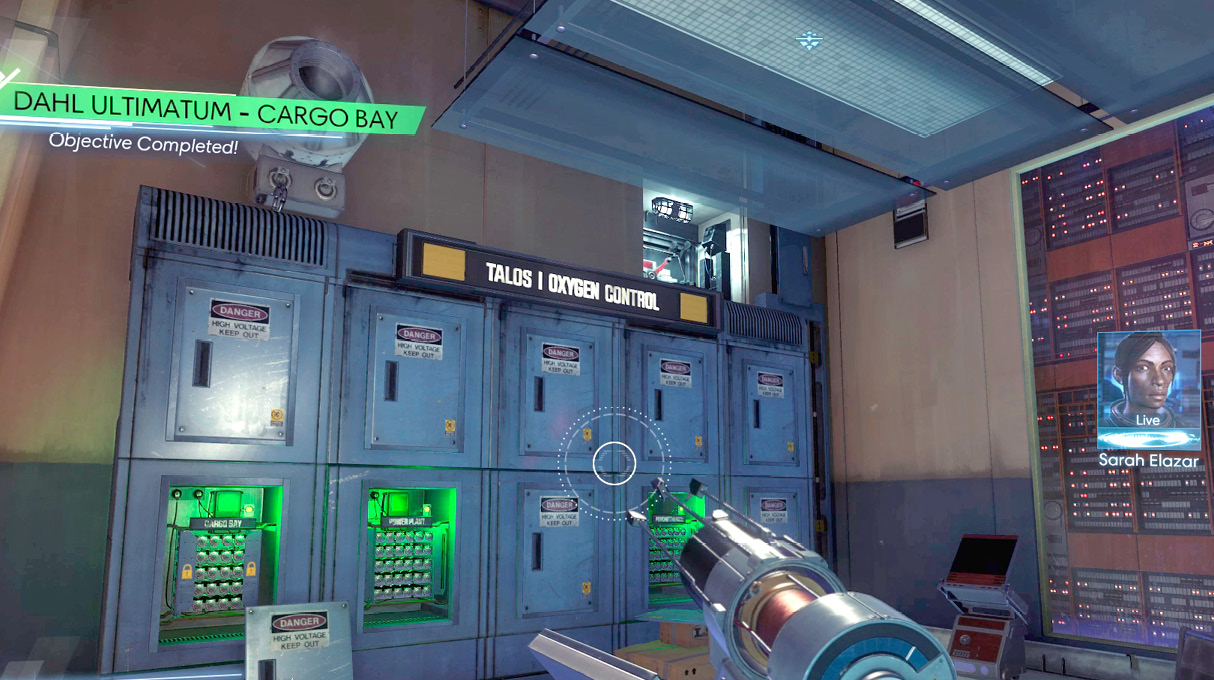
|
Neuromod Division
Foyer
| Notable Items: |
| Keycode: Security Booth |
| Password: Security Station |
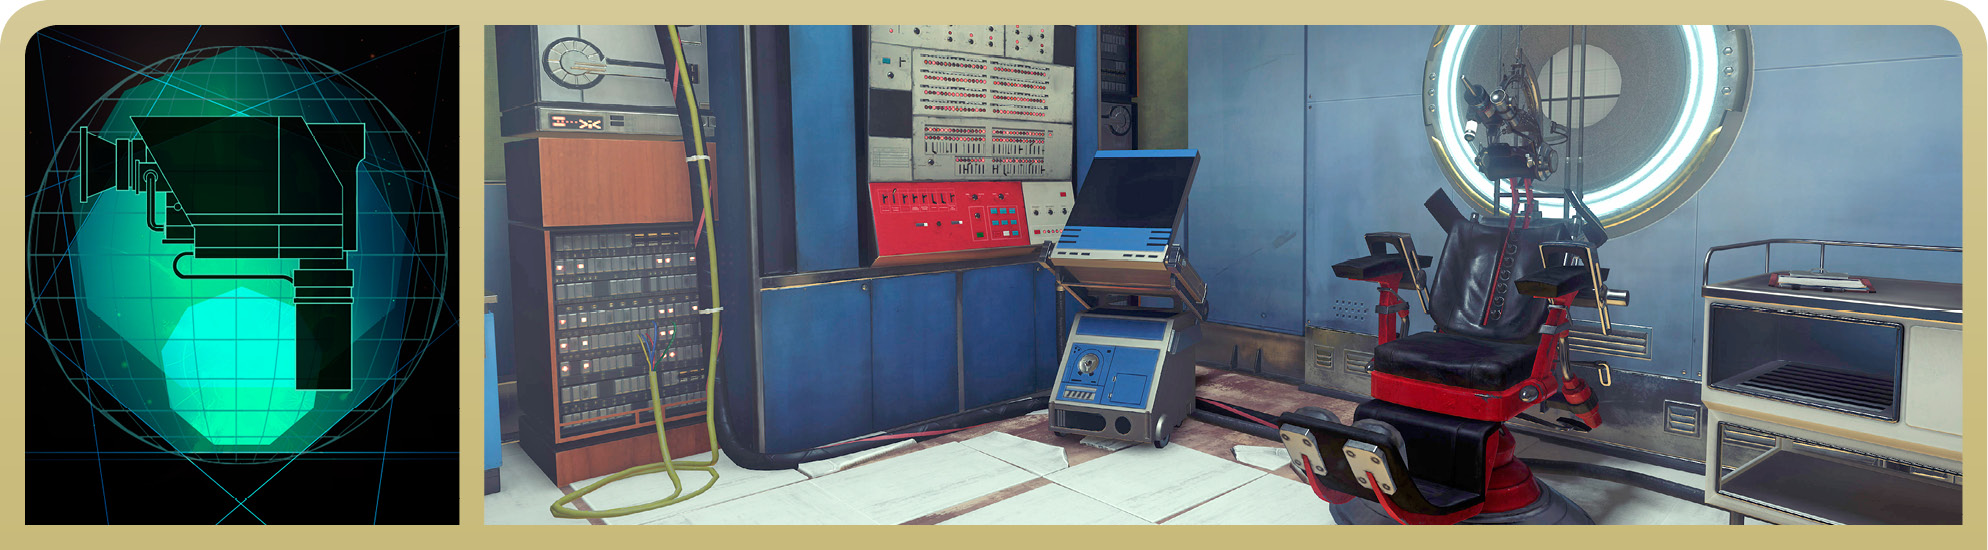
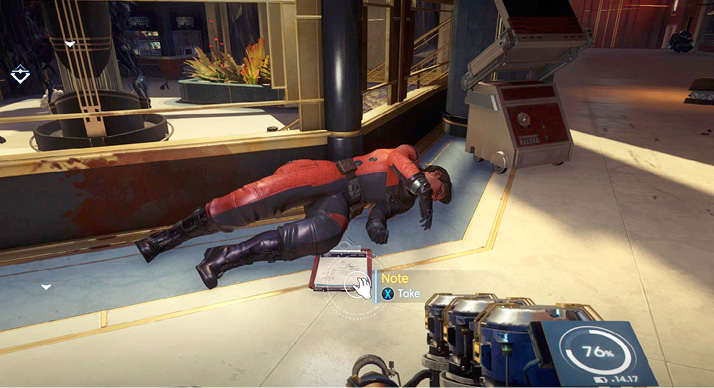
If KASPAR is located in the Neuromod Division, make that your next stop. The Neuromod Division can be accessed via the Talos I Lobby. As you enter the Neuromod Division, expect to encounter several Military Operators as well as Typhon enemies, including a Technopath. There’s even a possibility of encountering a Nightmare in the Foyer. Stay low and avoid giving away your position, allowing the Military Operators and Typhon organisms to fight each other. Stay along the periphery of the foyer and help the Military Operators engage the Typhon with your Q-Beam. If you killed or incapacitated Dahl in Life Support, the Military Operators are no longer a threat to you, so there’s no need to attack them. Once the foyer is clear of Typhon, search Divya Naaz’s body (near the Talos I Lobby door) to retrieve a note containing the keycode to the security booth and the password to the security station inside. The note also includes a drawing detailing a covert path into Halden Graves’ office.
Security Booth
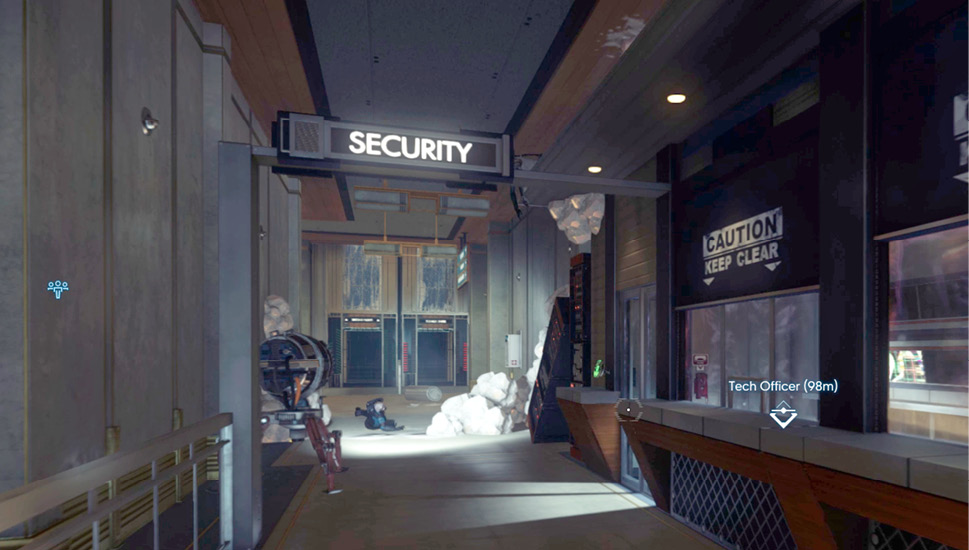
Use the keycode retrieved from Divya Naaz’s note to open the door to the security booth. Inside, access the security station to download a map of the Neuromod Division. Under the security station’s Utilities tab, unlock the Skill Recorder door. This unlocks the door down the hall, giving you access to facility where Dr. Igwe is taking Dahl. You can deal with Igwe and Dahl later. For now, continue to the Simulation Lab to locate KASPAR.
Simulation Lab
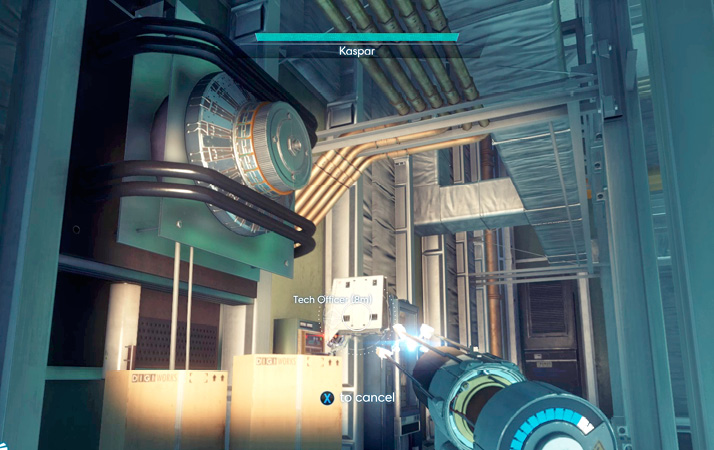
KASPAR is located in Simulation Stage B. This is the room with the helicopter simulator that is surrounded by Looking Glass screens. Watch out for Phantoms while advancing to this stage. When possible, stay out of the way and let the friendly Military Operators deal with the Phantoms. As you get closer to KASPAR’s location, it becomes clear what you’re dealing with—KASPAR is a modified Operator. Break the Looking Glass screen and use your Disruptor Stun Gun to destroy KASPAR. Alex contacts you after KASPAR is eliminated. He’s ready to meet you in the Arboretum. Before meeting Alex, take care of some unfinished business in the Neuromod Division.
Volunteer Testing
| Notable Items: | Neuromod |
| Nullwave Transmitter (3) |
Incapacitate Dahl (continued)Enter the Skill Recorder Analysis room you unlocked earlier in the security booth and head upstairs to the Volunteer Testing room. By now, Dr. Igwe has transported Dahl to this room. Igwe is preparing to remove Dahl’s most recent Neuromod in an effort to wipe Dahl’s memory, but he needs your help. Access the surgery console and select the Surgical Procedures tab to engage the surgical harness. Next, select the Neural Scan tab to perform a neural scan. Finally, return to the Surgical Procedures tab to perform the neurotomy. Successfully removing Dahl’s Neurmod unlocks the This Never Happened achievement/trophy. 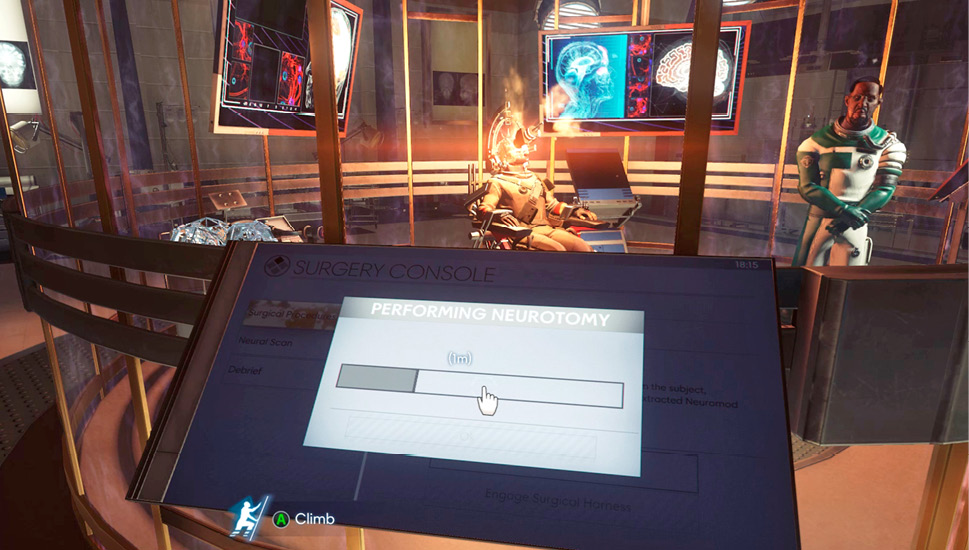
Dahl regains consciousness following the procedure, but is understandably confused. Dr. Igwe feeds Dahl a story and convinces him to pilot the command shuttle back to Earth. Dahl contacts you when the shuttle is ready for departure. Enter the surgical chamber following the procedure to gather a Neuromod and two Nullwave Transmitters. 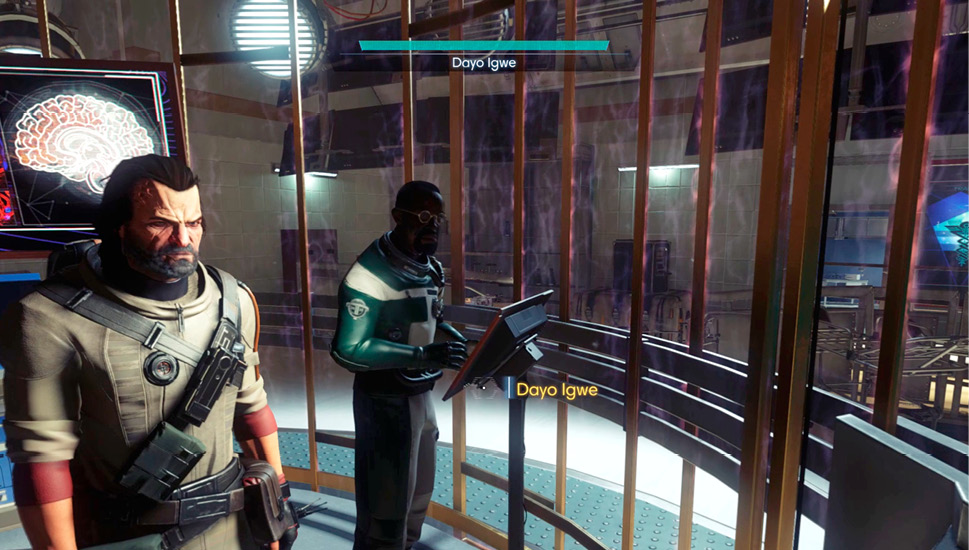
|
Volunteer Quarters
While you’re in the Neuromod Division, take some time to explore the second floor. Using the keycode you retrieved from Bianca Goodwin’s workstation (in the Talos I Lobby) open the door to Volunteer Quarters. The power is out here, so turn on your flashlight and locate the power kiosk within the locker room. Watch out for Mimics hiding here.
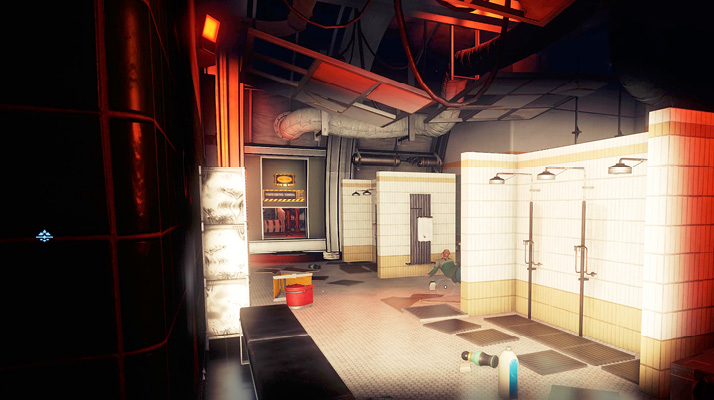
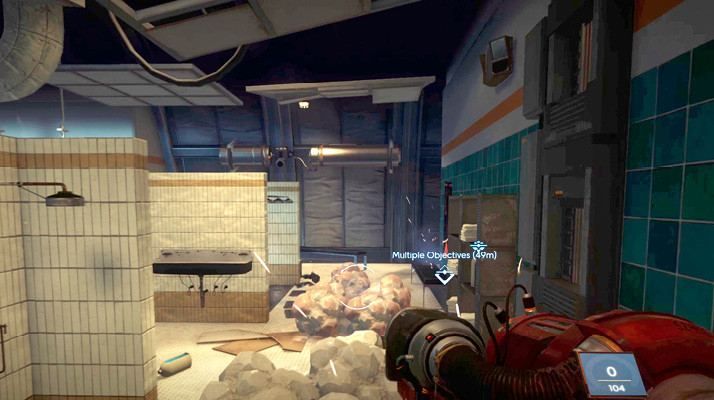
The damp floor of the locker room becomes electrified when power is restored. Use your GLOO Cannon to make a path back to the Volunteer Quarters entrance. Along the way you come under attack by a Poltergeist. Wait for the Poltergeist to show itself, then take it out with your Shotgun.
Volunteer Security
| Notable Items: | Recycler Charge (3) | Disruptor Stun Gun Fabrication License |
| Weapon Upgrade Kit | Keycode: Volunteer Quarters |
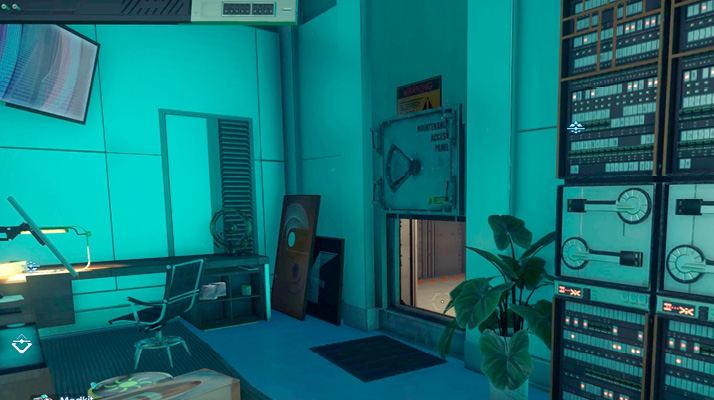
Enter the door behind the front desk in the Volunteer Quarters to access this security room. Inside, grab some Recycler Charges, a Disruptor Stun Gun fabrication license, spare parts, a Medkit, and a Weapon Upgrade Kit. Josh Hawkins’ workstation contains an email revealing the keycode to Volunteer Quarters. The workstation also contains a utility allowing you to unlock the door to the Volunteer Quarters. Once you’re finished searching this room, enter the duct behind the desk. This leads to Fabrication. Use your GLOO Cannon in the duct to reach a high ledge, then continue into Fabrication.
Fabrication
| Notable Items: |
| Neuromod |
| Recycler Charge (4) |
| Suit Chipset |
| Keycard: Halden Graves’ Office |
| Turret (3) |
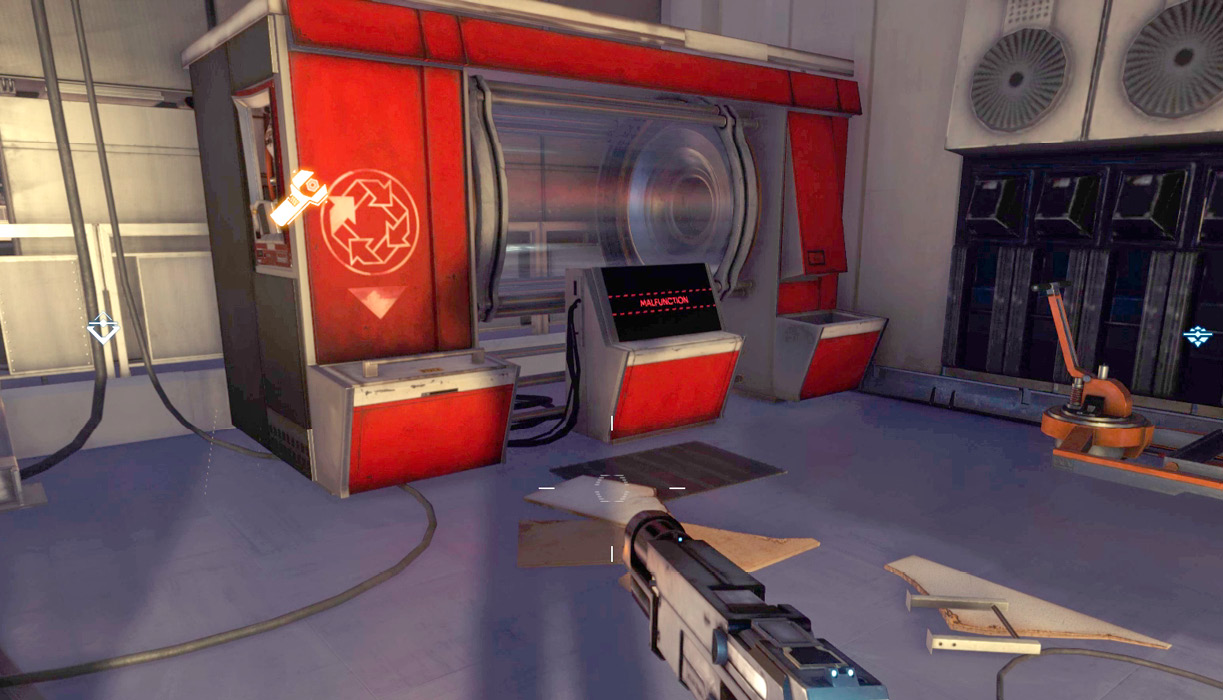
You emerge from the duct into an upper floor control room overlooking Fabrication. Search this area for a Suit Chipset, then locate a hatch on the far side of the room. Step through the hatch to drop down into a room containing a damaged Recycler. If necessary, repair the Recycler and recycle any junk in your inventory. There are two Recycler Charges on the crate next to the Recycler.
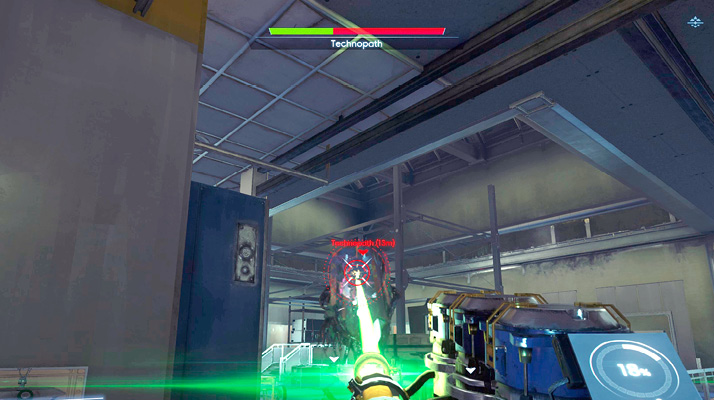
Sneak onto the Fabrication facility’s main floor and watch for a turret-wielding Technopath patrolling here. It may be accompanied by some corrupted Operators. Toss an EMP Charge at the Technopath to stun it and disable the turrets. Finish off the Technopath with your Q-Beam before it can recover. Eliminate the corrupted Operators using your Disruptor Stun Gun.
Following the fight, search the body of Frederick Steele to retrieve the keycard to Halden Graves’ office. You can now access Grave’s office and reset the Neuromod fabrication license. Use the nearby Grav Shaft to access Graves’ office.
Halden Graves’ Office
| Notable Items: |
| Audio Recording: Dr. Igwe’s Wife |
| Audio Recording: Neuromod Secret Ingredient |
| Neuromod Fabrication License |
Copy Protection (continued)Equip your GLOO Cannon before entering Halden Graves’ office and be ready to engage a Greater Mimic. Once the office is clear, access Graves’ workstation. Under the Utilities tab, select Neuromod Licenses then renew the license. You can now fabricate as many Neuromods as you like, with no limits. This completes the Copy Protection objective. Continue searching Graves’ office to locate his body, TranScribe, and a Neuromod fabrication license—the TranScribe contains two recordings. 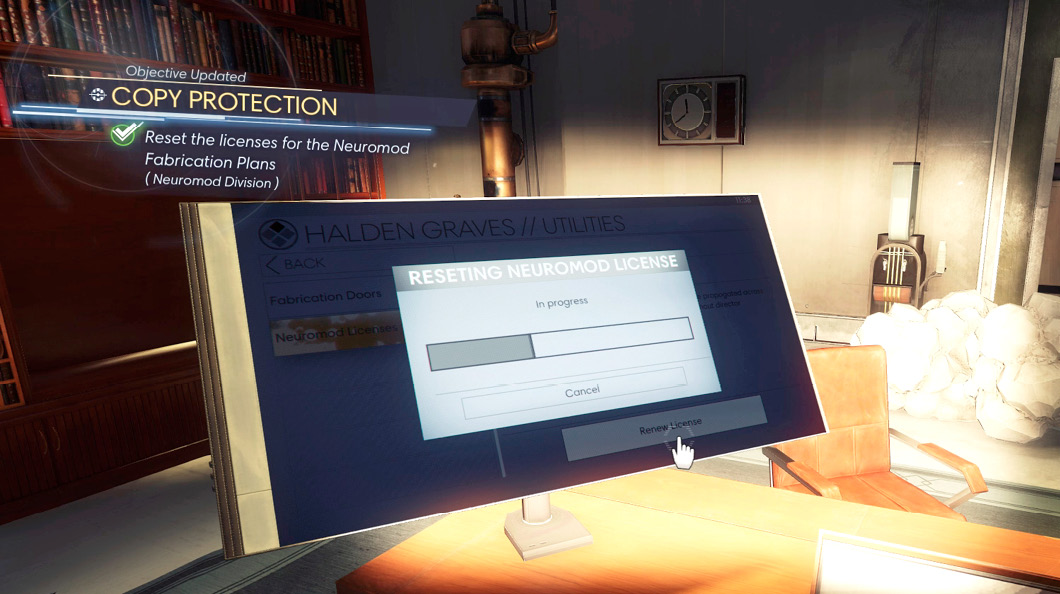
|
Hardware Labs
Atrium
Talos Smuggling Ring (continued)Return to the Atrium in Hardware Labs. Ride the Grav Shaft to the upper level and look for the red alarm box next to the statue of William Yu. This is the sixth and final smuggling ring drop point. Use a GLOO deposit to reach the alarm and whack the bell three times with your wrench to unlock the hidden safe. It contains a Neuromod. Finding all six smuggling ring drop points earns you the Black Market achievement/trophy. 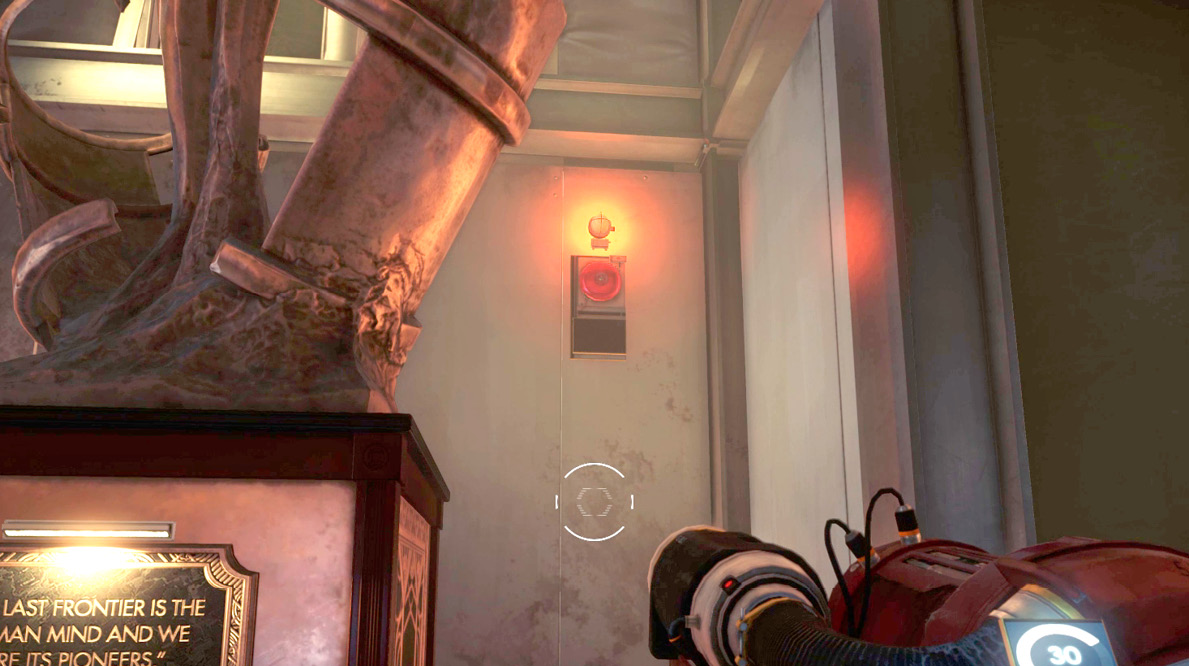
|
Beams and Waves Lab
| Notable Items: | Q-Beam Cell Fabrication Plan | Q-Beam Fabrication Plan |
The Blackbox Project (continued)Use the keycard retrieved from Josh Dalton’s body in the G.U.T.S. to open the door to the Black Box lab. Here you must confront the Phantom which possessed Lane Carpenter. Once you’ve dealt with the Phantom, search its remains to retrieve a Q-Beam Cell fabrication plan. Access the workstation to download a Q-Beam fabrication license and a memorandum on the Blackbox Project. The memorandum reveals the nature of this secretive project. It involved attaching Q-Beams to Operators, creating the Military Operators you’ve become acquainted with. Before leaving the lab, stock-up on Q-Beam cells scattered about. 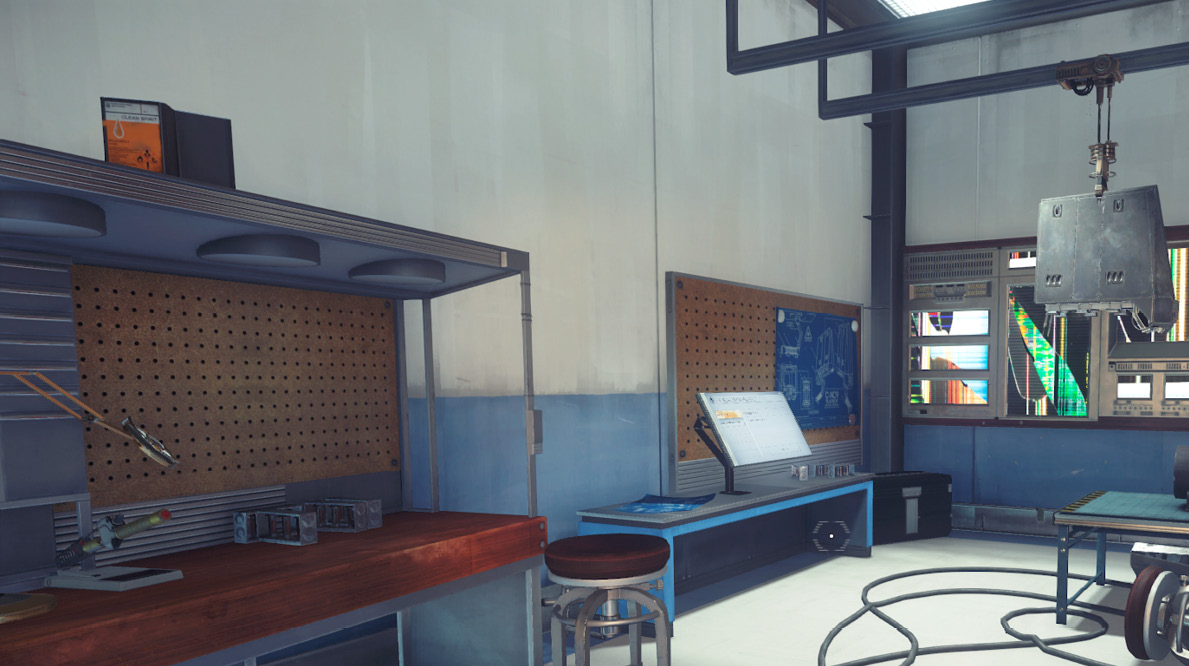
|
Crew Quarters
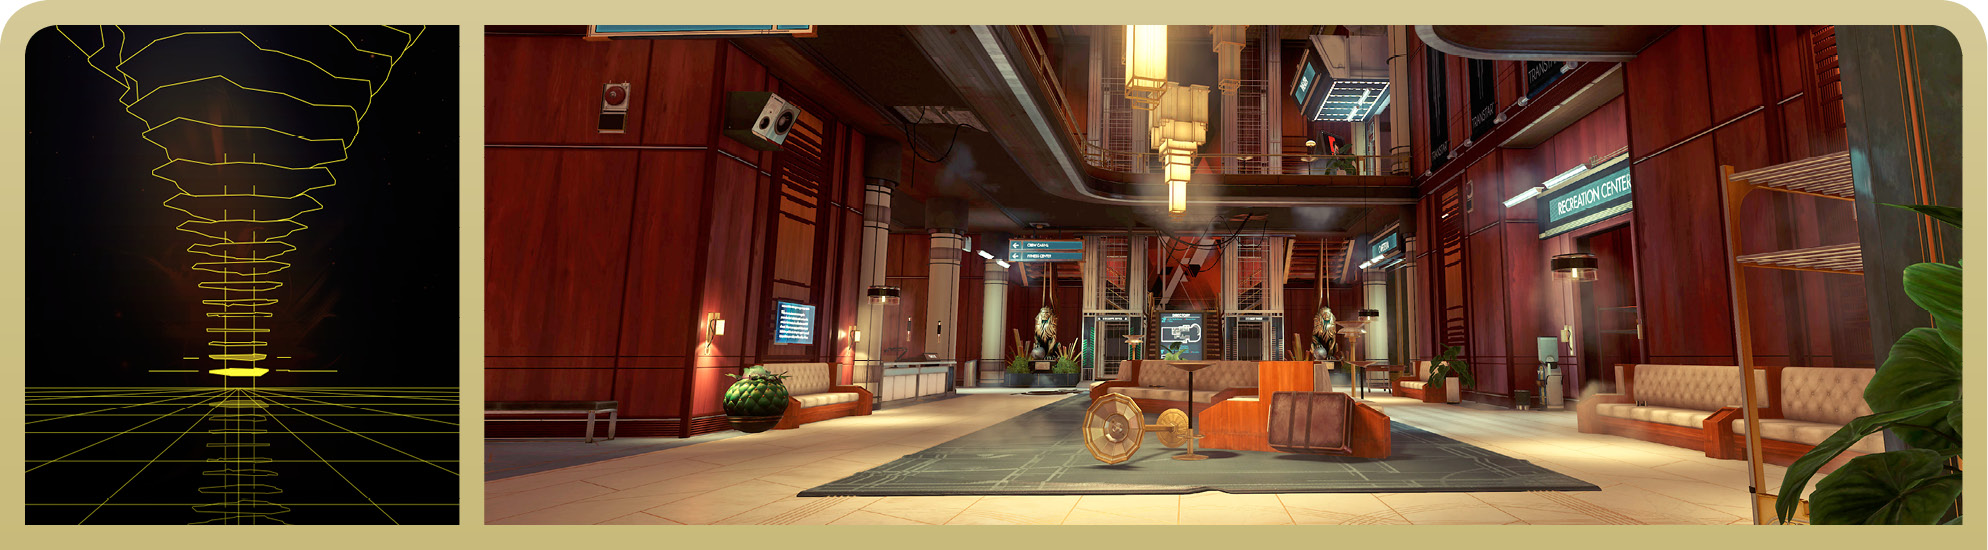
Abigail Foy’s Cabin
| Notable Items: | Adventurer’s Toolkit v1.X Chipset Fabrication License | Game Master’s Ire v1.X Chipset Fabrication License |
Treasure Hunt (continued)Now that you’ve investigated all four treasure maps, return to Abigail Foy’s cabin and access her workstation. Under the Hidden Treasure tab, use different combinations of the numbers 1, 3, 5, and 6 until the correct code is discovered (the code is random, but always uses those four digits). These numbers correspond to the numbers discovered while investigating each treasure map. If you actually found each number, you’re rewarded with the Adventurer’s Toolkit v1.X Chipset fabrication license. Once fabricated and installed, this chipset provides a variety of helpful buffs. However, if you cheated and simply input the code without investigating all four maps, you receive the Game Master’s Ire v1.X Chipset fabrication license. This chipset only applies negative buffs. 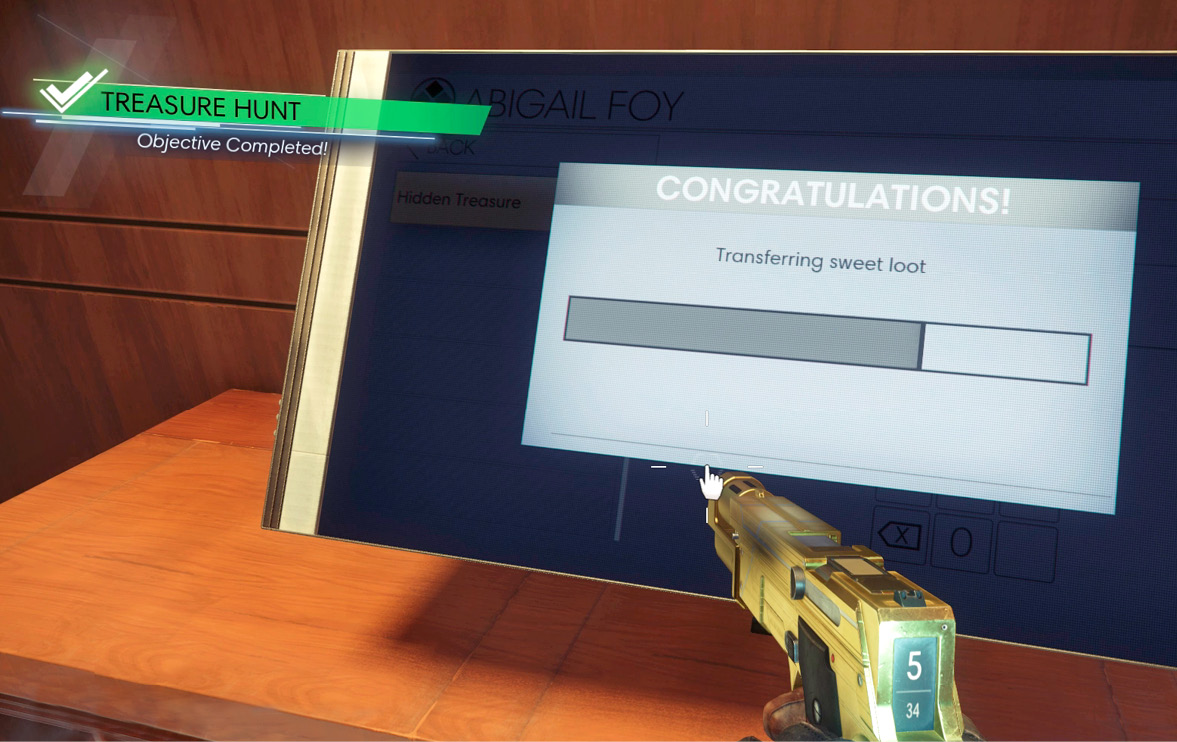
|
Dayo Igwe’s Cabin
| Notable Items: | Neuromod | Gustav Leitner Connectome |
Gustav Leitner (continued)Enter Dayo Igwe’s cabin and play the Leitner Music Sample recording on your TranScribe. As the music plays, a hidden safe is revealed behind the Gustav Leitner poster next to Igwe’s bed. Open the safe to retrieve a Neuromod and the Gustav Leitner Connectome. This connectome must be returned to Dr. Igwe to complete this objective. He can be found in Morgan’s office. 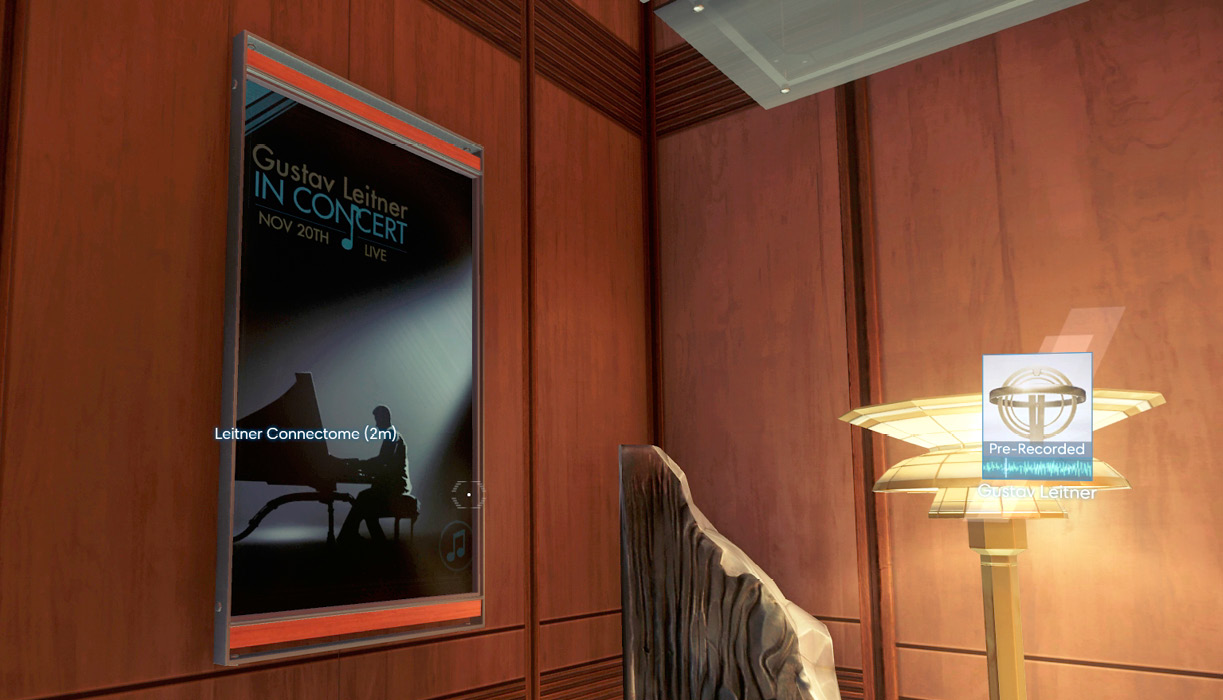
|
Deep Storage
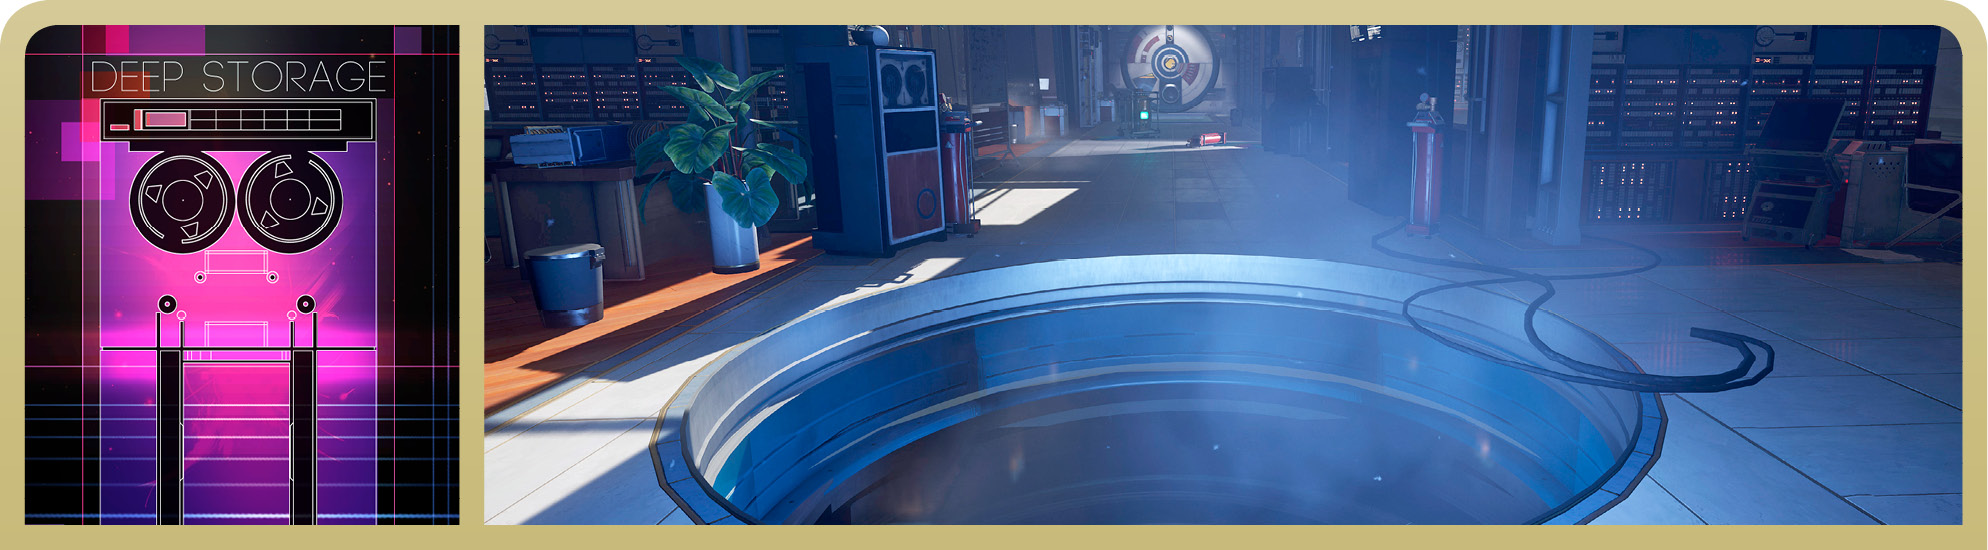
Confidential Records
Mikhaila’s Father (continued)Return to Deep Storage and enter the Confidential Records room on the second floor. Watch out for Phantoms and Mimics along the way. Access the Volunteer Database terminal and input the password provided by Mikhaila. This gives you access to an audio file chronicling the last moments of Yuri Adronov’s life. He was a test subject on Talos I and died while undergoing experiments at the direction of Alex and Morgan. You can choose to transfer the file to your workstation in the Lobby, allowing Mikhaila to hear it. Or you can choose to delete it, keeping Mikhaila in the dark about her father’s fate. It’s best to transfer the file and deal with the consequences. Mikhaila is excited to listen to the file and promises to wait for you in your office. 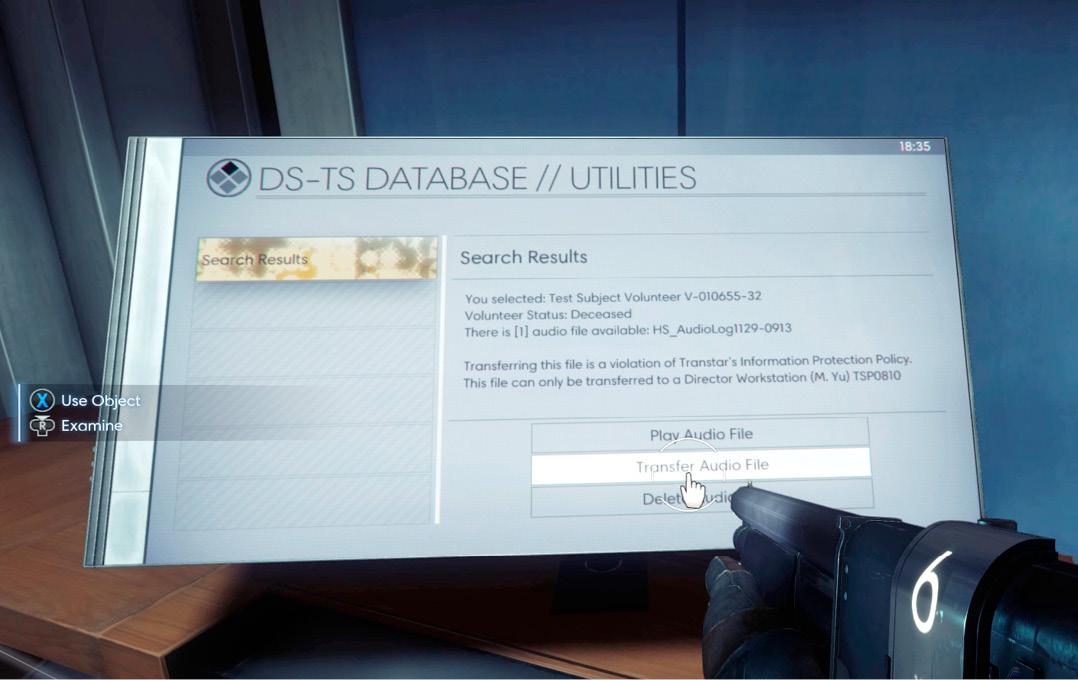
|
Gravity Utility Tunnel System

Cargo Processing
Trouble ProcessingObjective Summary: I located a Cargo Processing workstation in the airlock between Cargo Bay and G.U.T.S. There appears to be a lot of cargo trapped in the space between, and the processing system is offline until the system is activated in both G.U.T.S. and Cargo Bay. Once I complete the process I can open the airlock door in G.U.T.S. and access the cargo. Travel through the G.U.T.S. Cargo Tunnel in the direction of the Cargo Bay. At the end of the tunnel, access the workstation in the Cargo Processing area—there appears to be a malfunction. In the workstation’s Utilities tab, select Activate G.U.T.S. Processing to trigger this optional objective. You now have eight minutes to enter the Cargo Bay and activate cargo processing. 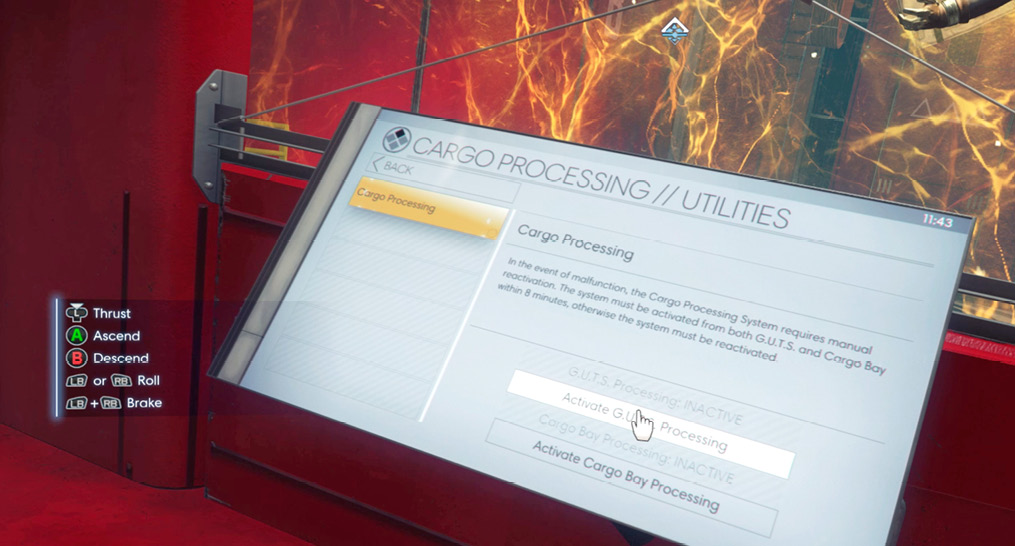
In the Cargo Bay, exit the G.U.T.S. loading bay and access the nearby workstation. In the Utilities tab, select Activate Cargo Bay Processing. 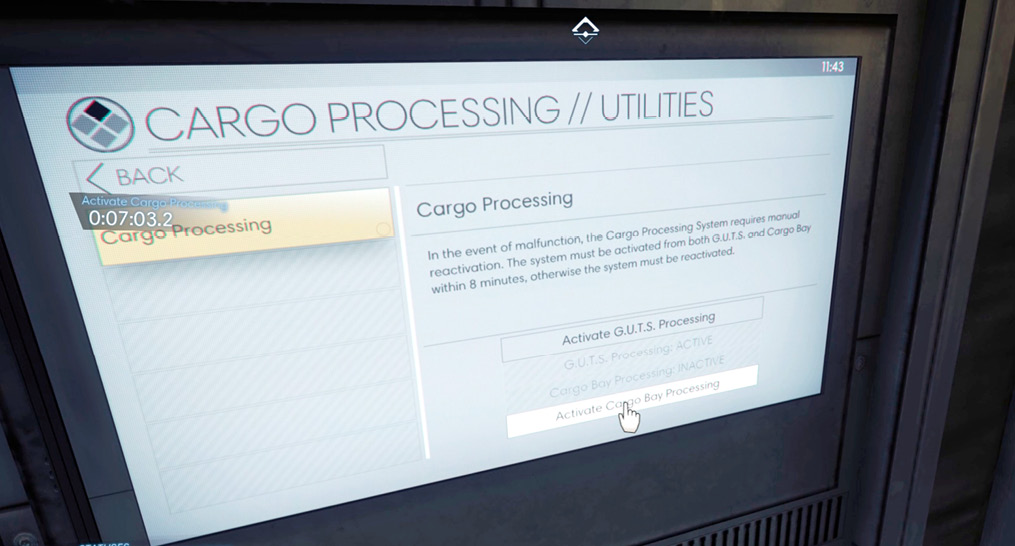
Return to the Cargo Processing workstation in the G.U.T.S. and select Open Cargo Door from the Utilities tab. This opens the large door nearby, allowing you to access a cargo hold filled with shipping containers. Search the containers to retrieve supplies. You can finally access Container 6473, assuming you unlocked it earlier in Cargo Bay B via Kirk Remmer’s workstation. 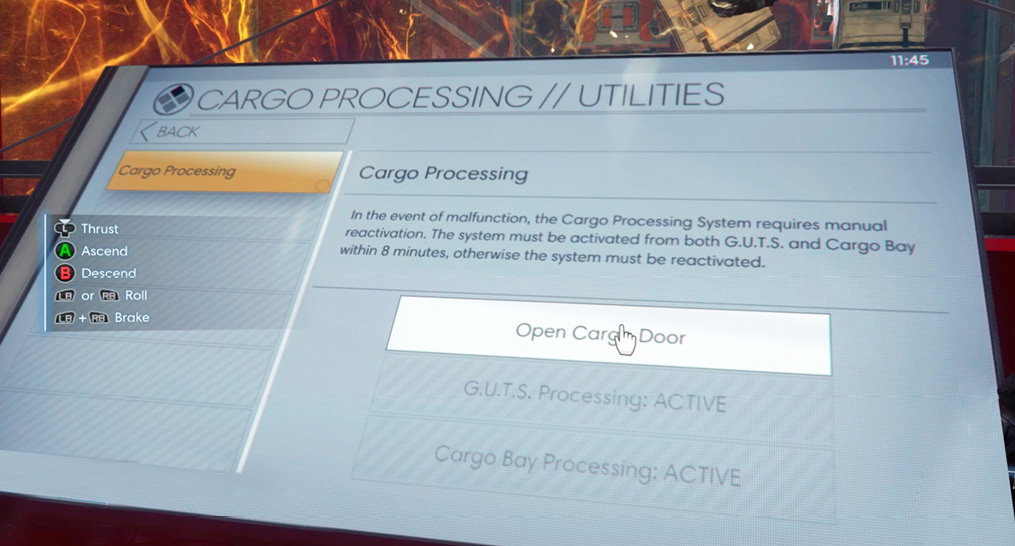
|
Talos I Lobby

Morgan Yu’s Office
Gustav Leitner (continued)Speak to Dr. Igwe in your office to hand over the Gustav Leitner Connectome. He’s grateful for your assistance and rewards you with a Scope Chipset. You also unlock the A Gift to the World achievement/trophy for returning the Connectome to Dr. Igwe. 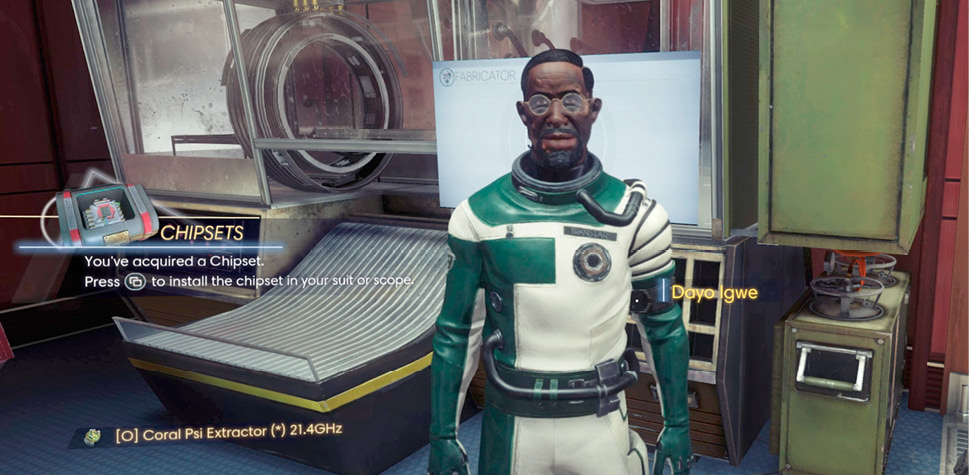
|
Mikhaila’s Father (continued)Speak to Mikhaila following your return from Deep Storage. She provides you with more supplies as a sign of gratitude. Access your workstation and play the audio file transferred from the Volunteer Database. Needless to say, Mikhaila is shocked to learn that Morgan had a hand in her father’s death. But at least she knows the truth. Playing the audio file for Mikhaila earns you the Self-Incriminating achievement/trophy and completes this objective. 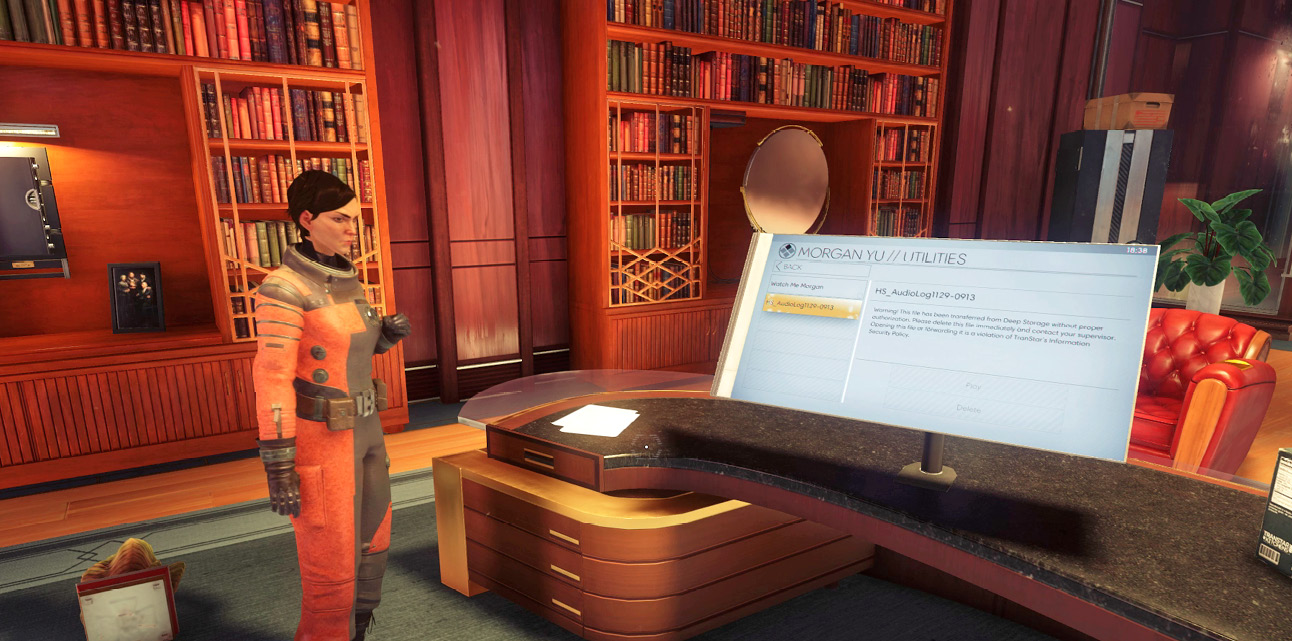
|
Arboretum
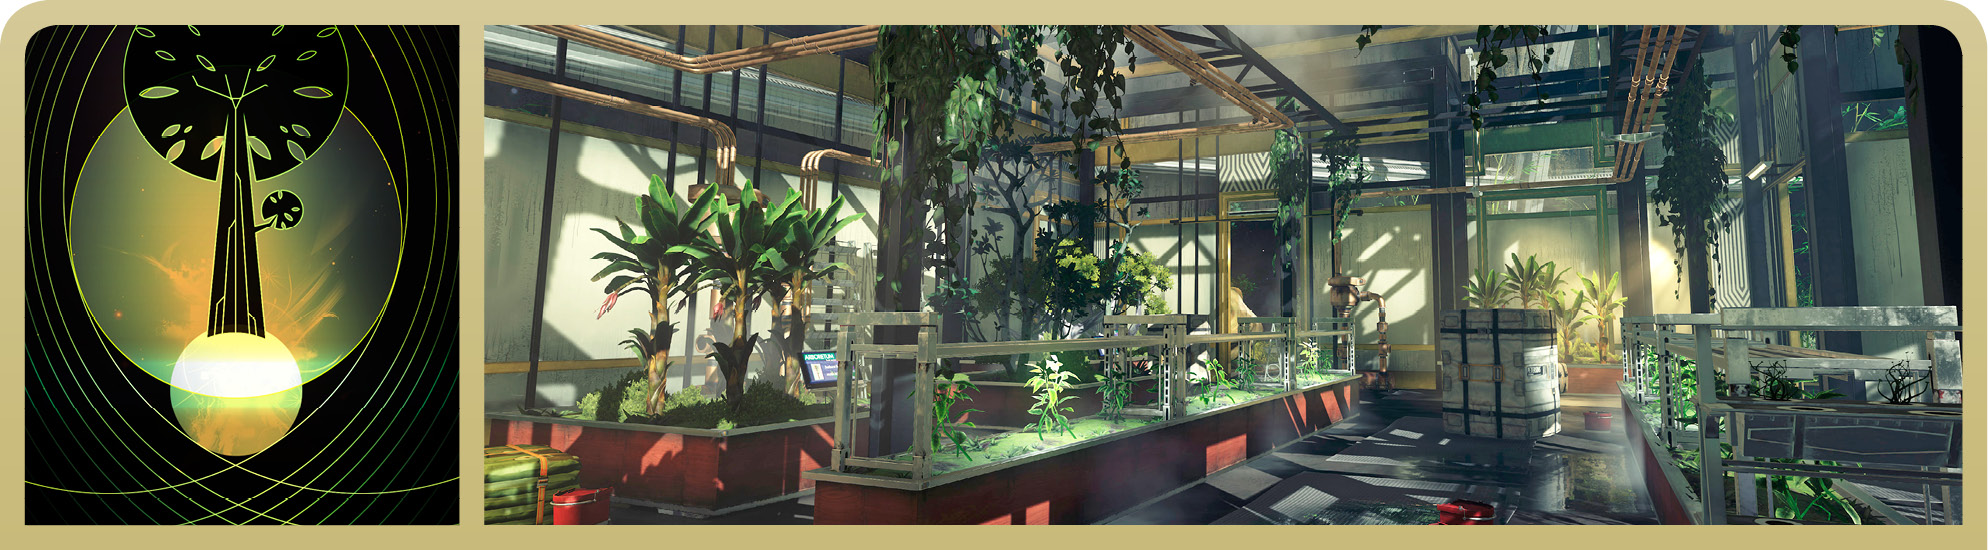
Alex’s Office
| Notable Items: |
| Prototype Nullwave Transmitter License |
| Audio Recording: Just in Case |
| Alex’s Arming Key |
| Neuromod (2) |
| Cherished Family Photo |
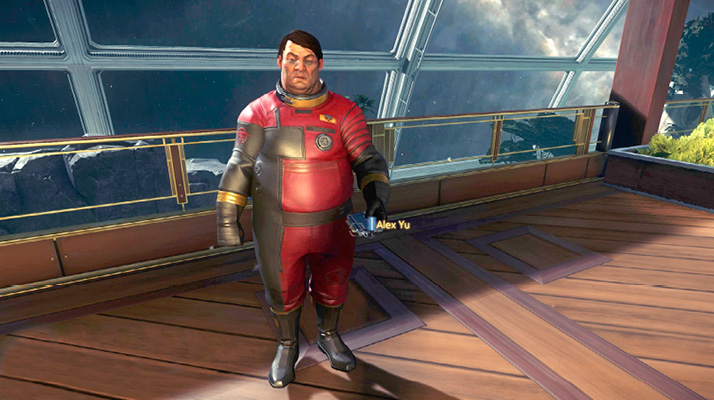
Follow the waypoint marker to an area outside Alex’s office. Here you find an exposed switch on the wall. Interact with the switch to open a secret doorway, revealing Alex’s bunker. Alex has been hiding out here since the Typhon broke containment. You can search the bunker later, but for now, listen to what Alex has to say.
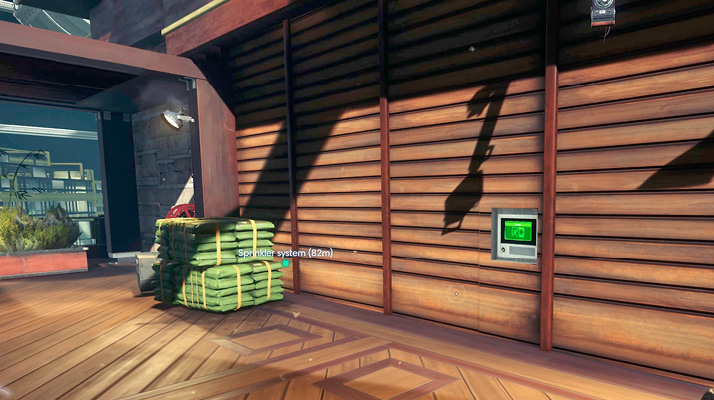
Alex is willing to hand over his arming key, but he wants you to hear him out first. He reports that the Coral Nodes you scanned earlier are broadcasting a secret message out into space. But it’s unknown what the message is or who it’s being sent to. Alex gives you a fabrication plan for the prototype Nullwave Device. This device is designed to hijack the Coral’s signal and deliver a lethal shock to all Typhon organisms. Needless to say, Alex feels using the Nullwave Device is the best course of action, preserving Talos I and all of TranStar’s research.
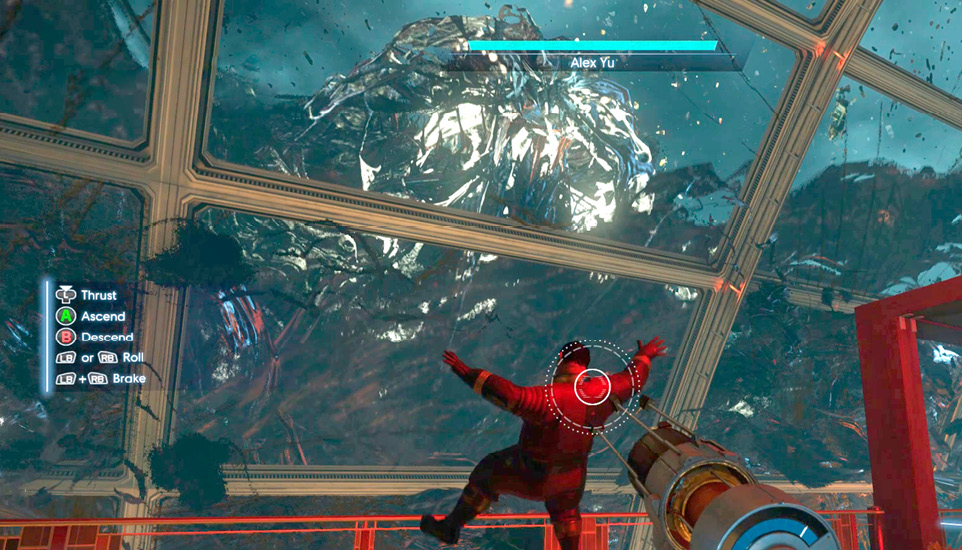
Just as Alex is about to hand over his arming key, a massive Typhon entity appears outside the station. As this entity collides with the station, the Arboretum loses gravity. Immediately zap Alex with your Disruptor Stun Gun and grab his body, preventing him from floating away. Alex will lose consciousness anyway, due to a lack of oxygen (using the Disruptor Stun Gun simply expedites the process). Once he’s unconscious, search Alex to retrieve his TranScribe, arming key, two Neuromods, and a family photo. Securing Alex’s arming key completes The Keys to the Kingdom objective, allowing you to initiate Talos I’s self-destruct sequence.
Alex’s Bunker
| Notable Items: | Audio Recording: If Things Go Sideways |
| Silenced Pistol |
Save AlexObjective Summary: Alex lost consciousness after the Apex Typhon assaulted the station and cracked the Arboretum dome. If I want him to live I need to get him into the safety of his bunker before he runs out of air. While he’s unconscious, grab Alex and pull him into his bunker. While you’re in the bunker, take a look around to gather a few items, including Morgan’s TranScribe and a Medkit. Upon exiting the bunker, interact with the exterior lock to seal Alex inside. He eventually recovers and meet you on the Bridge. 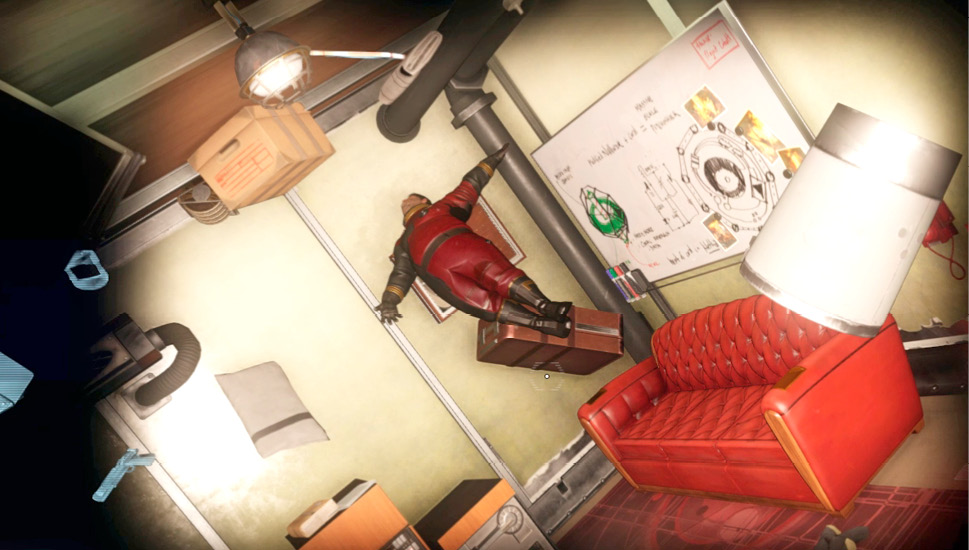
|