Prey Guide Walkthrough: Story Objectives
First Day on the Job
Morgan’s Apartment
| Notable Items | TranStar Uniform |
First Day on the JobAlex convinced me. I’m going to join him aboard the Talos I space station. The work we’re doing up there is too good to pass up. Plus, he says he’s got a surprise. I have to jump through some hoops at the training center before I board the shuttle. |
Today is the big day. Shortly after waking, you receive a call from Alex—your big brother. Alex has sent a helicopter to pick you up. He also reminds you not to forget your TranStar uniform. Before getting dressed and heading out the door, take a moment to explore the apartment. This is a good opportunity to familiarize yourself with the game’s controls and systems. Don’t worry—the helicopter won’t leave without you.
Start by walking over to your workstation. Interact with the screen to automatically input your password. Once you’ve acquired a password for a workstation, the password field is automatically filled, allowing you to log in. Three unread emails are waiting on your workstation—one from Thomas Tucker (of Human Resources at Talos I), and a couple from Alex. Make a habit of reading all emails, as they sometimes contain helpful information.
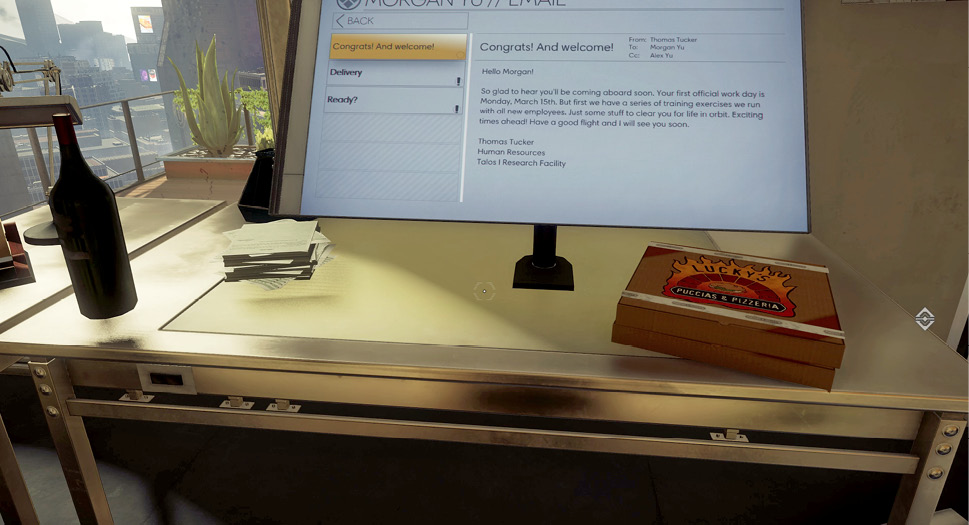
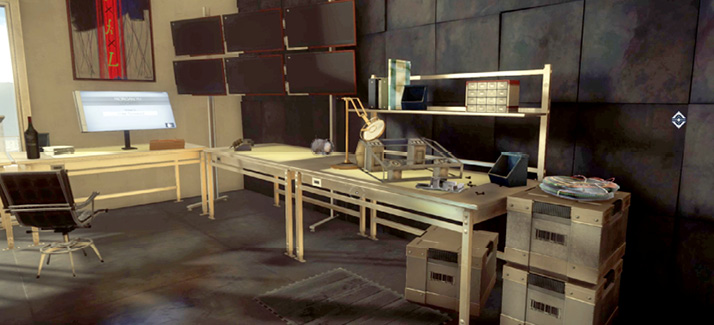
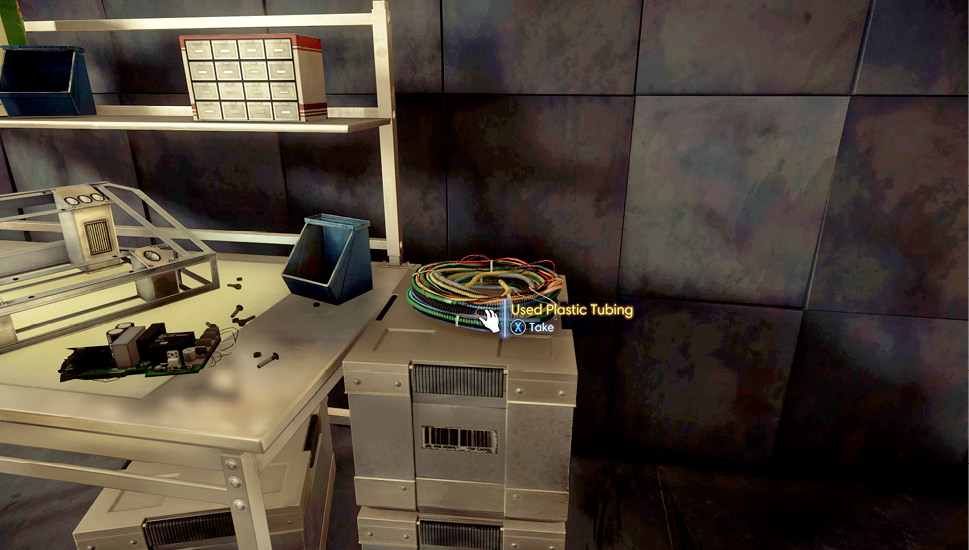
Next, take a look at the various items scattered across Morgan’s work area. Some of these items can be added to your inventory. These include frayed wire, a burnt circuit board, and used plastic tubing. At first glance, these items appear as nothing more than junk. But once you’re aboard Talos I, items like this can be recycled and used to create new objects. Don’t worry about taking any of these items now.
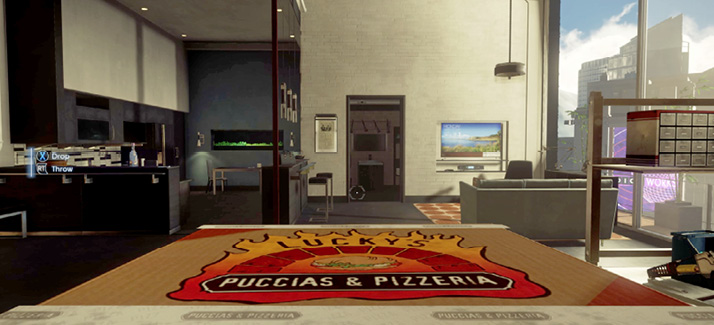
Grab the pizza box next to the workstation. Larger items like this can be picked up but not added to your inventory. Initially, you can only pick up small objects like small boxes or coffee mugs. But through the installation of Neuromods you can increase your strength, allowing you to pick up much larger objects. Once an object is in your hands, you can either drop or throw it. Sometimes it’s necessary to pick up items like this to clear a path. Go ahead and toss the pizza box across the apartment. Throwing objects can break items and inflict damage on enemies—tossing items is also a good way to distract enemies.
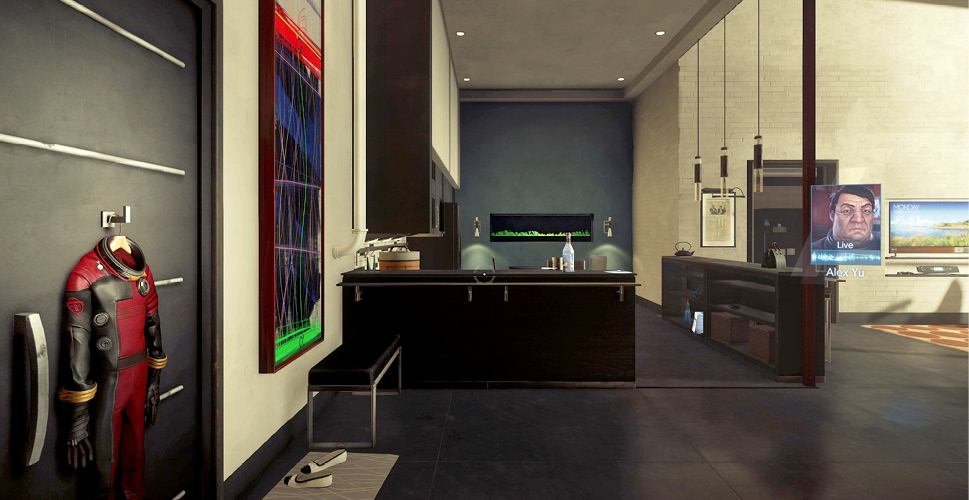
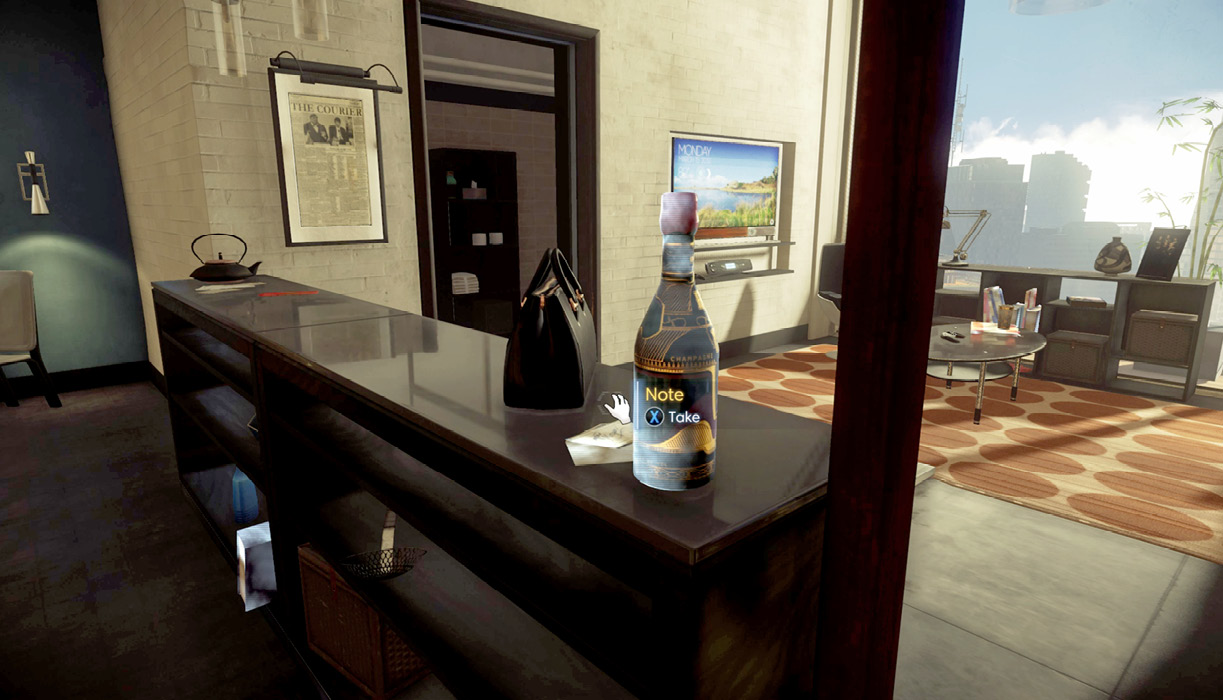
Now take a look around the kitchen. A congratulatory note from Alex and a bottle of wine are on the counter. Keep your eyes peeled for notes like this and always add them to your inventory. Sometimes notes can contain important information like passwords and safe combinations. You can either drink or add the bottle of wine to your inventory. However, drinking alcohol will temporarily blur your vision.
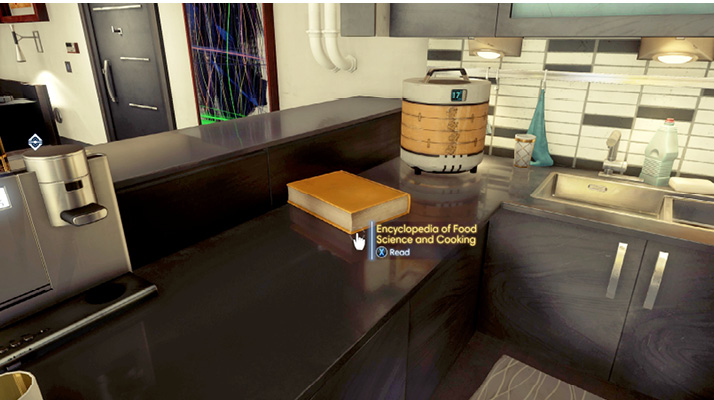
In addition to notes, you can read excerpts from books and magazines. Take a look at the Encyclopedia of Food Science and the cook book on the kitchen counter. This includes an entry on Transglutaminase. Excerpts from books are saved to the Data/Notes tab of your TranScribe and can be reviewed at a later time. More books and magazines can be found in the apartment. Check the bookcase by the coffee table.
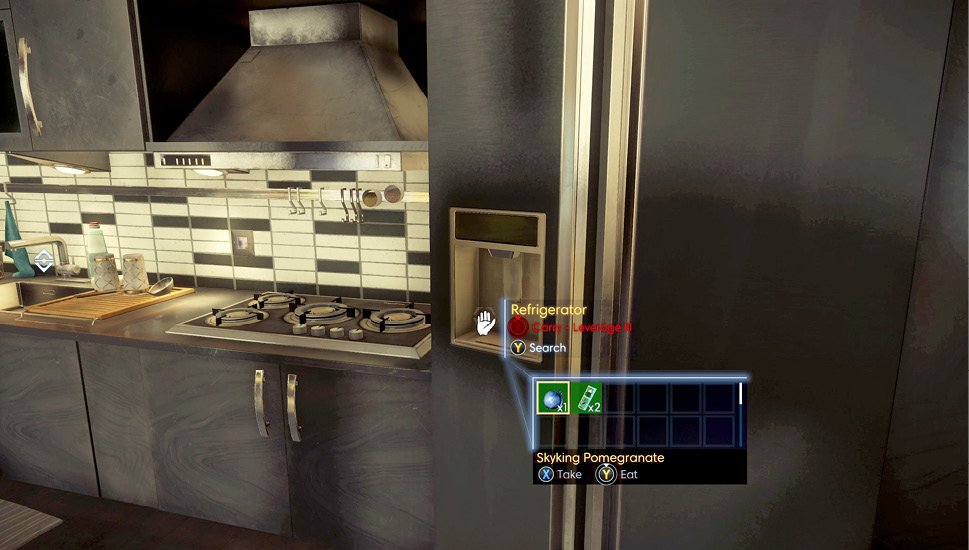
Stay in the kitchen and interact with the refrigerator and various cabinets. Here you find a number of consumable items, including a pomegranate, tea, and other snacks. Food items can be consumed to restore health. You don’t need to take (or eat) any of these items now, but it’s a good idea to know where these items are stored.
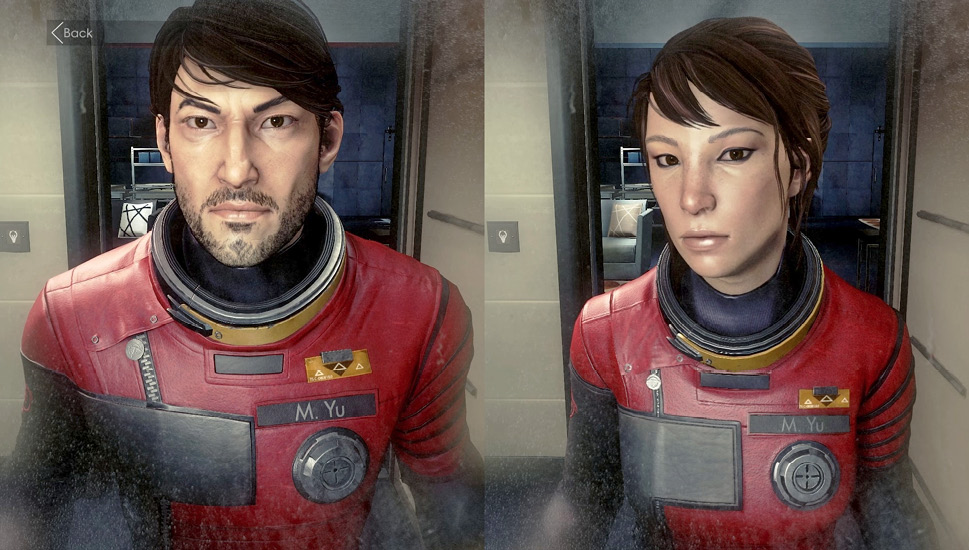
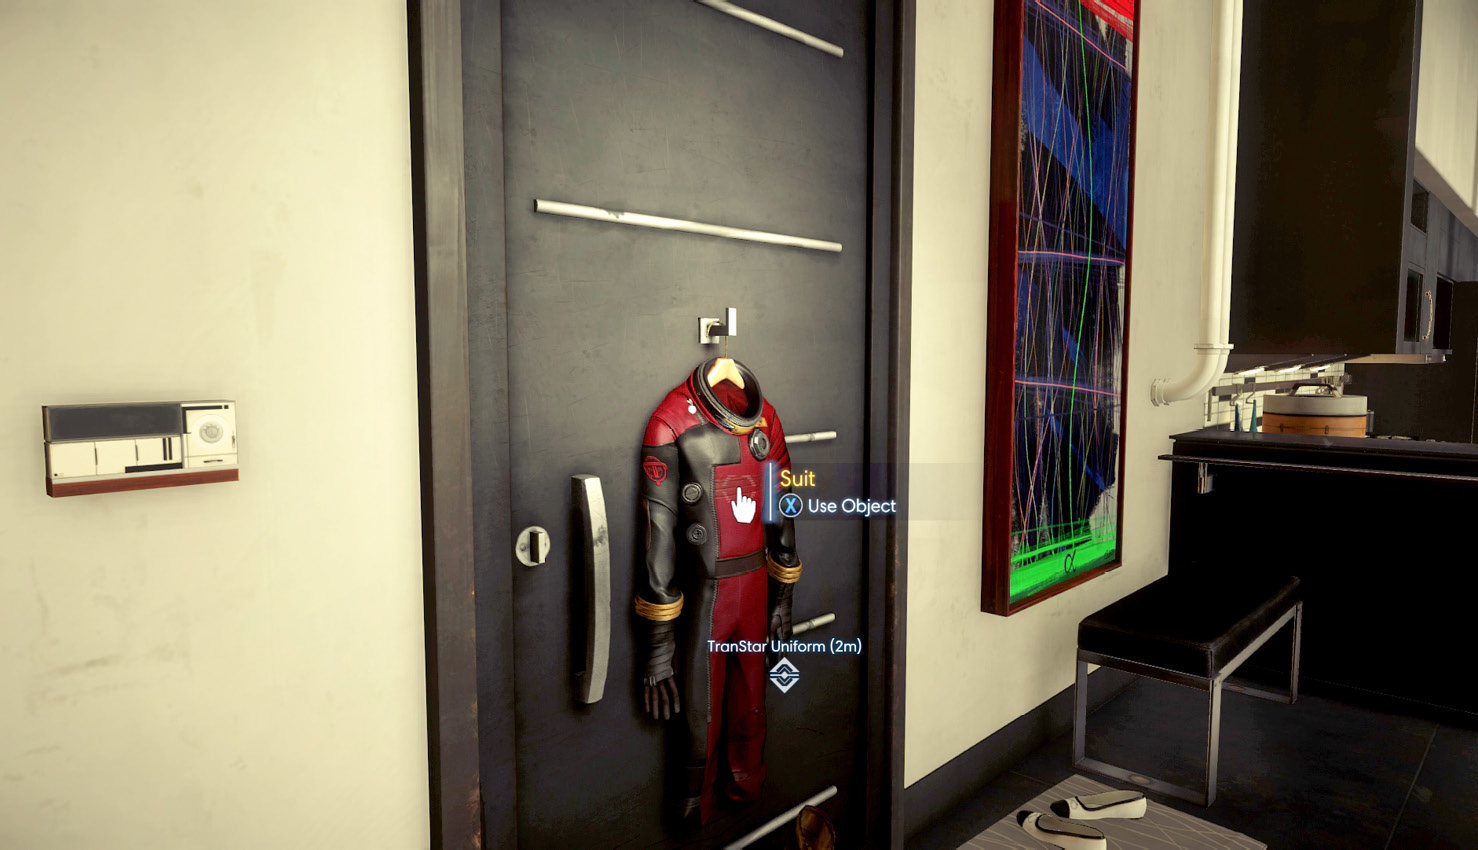
Your TranStar uniform is hanging on the back of the door next to the bed. Interact with the uniform to put it on. You’re now ready for your first day at TranStar. Open the door and step into the adjoining hallway.
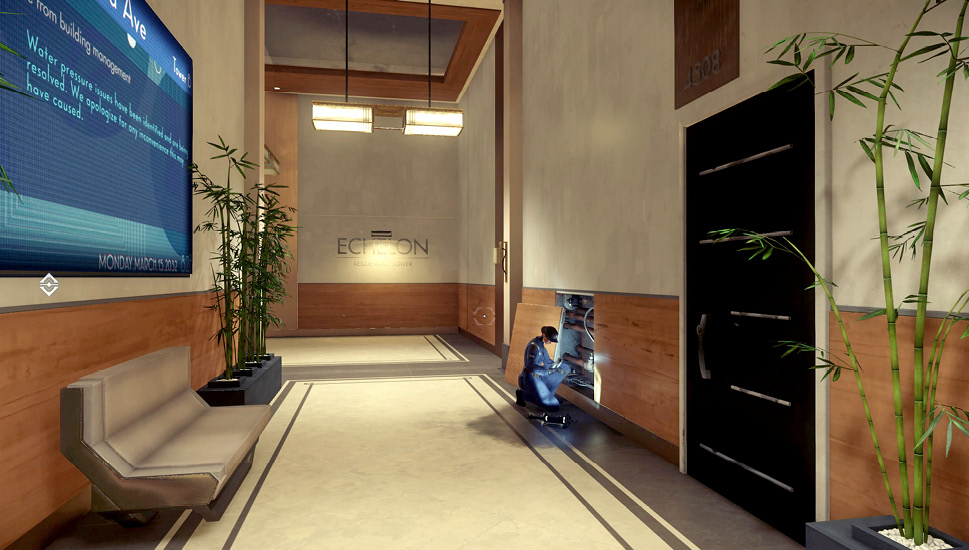
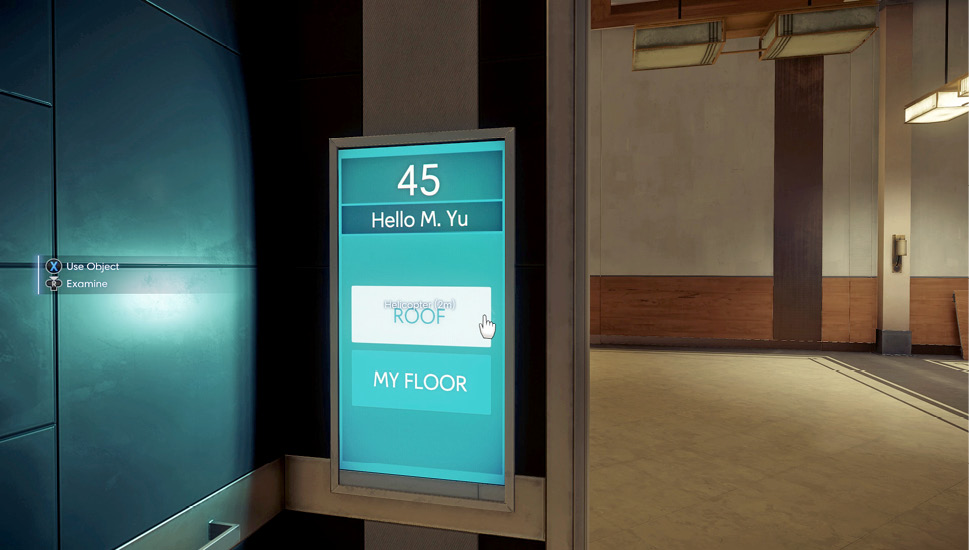
After exiting the apartment, turn left and advance down the hallway. Just ahead, a technician is busy working on an exposed panel. As you approach the technician, look in her direction. Once you’re close enough, her name (Patricia Varma) appears on the screen. Go ahead and talk to her. She says there’s a chopper waiting for you on the rooftop. Walk past Patricia and turn left to approach the elevator. Follow the on-screen prompts to practice jumping, crouching, sprinting, and sliding. Inside the elevator, select the roof as your destination.
Exit the elevator and open the door leading to the apartment building’s rooftop. As promised, a TranStar helicopter is waiting to ferry you to the test center. Step up to the helicopter and interact with the door to climb aboard. Once you’re nestled in your seat, feel free to look around as the helicopter flies through the city.


TranStar Testing Facility
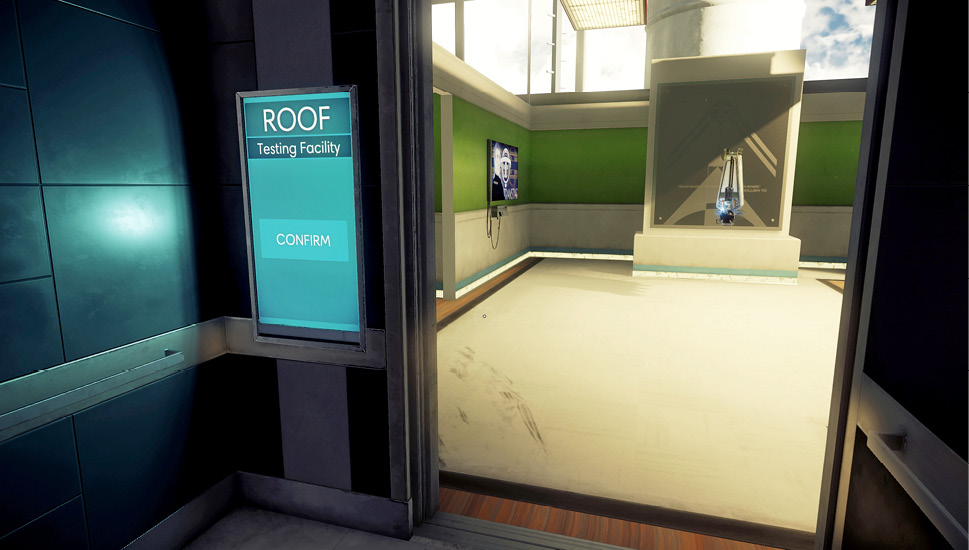
Morgan automatically departs the helicopter shortly after it lands atop the TranStar building. Step into the open doorway and turn right to enter another elevator. The elevator seems to recognize you. Confirm your appointment by interacting with the blue screen on the doorway’s left side. The elevator then descends to the testing facility on the 71st floor.
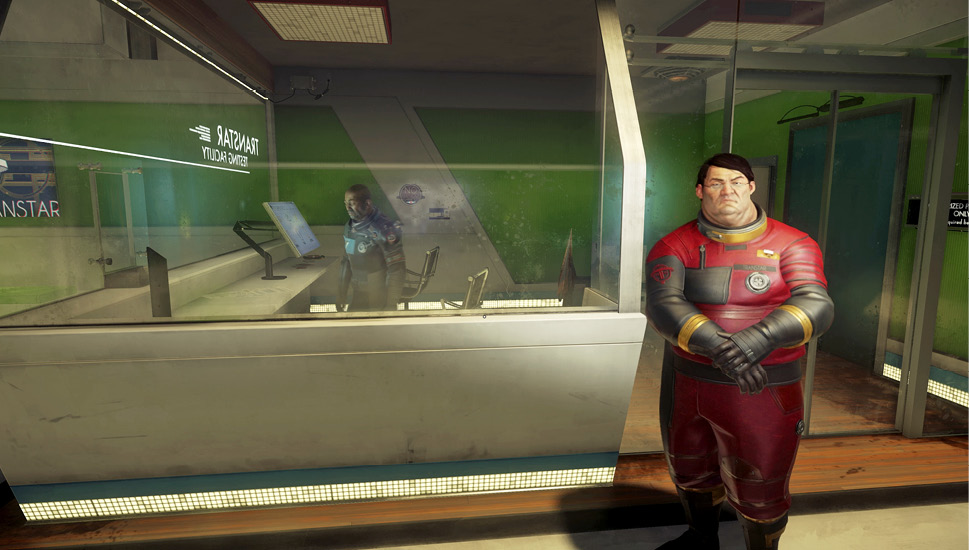
Alex is waiting for you at the testing facility’s reception desk. He gives you a quick pep talk before the testing commences. He assures you there’s nothing to worry about, even if the tests seem unconventional. Once you’re finished talking with Alex, enter the open door at the end of the hall to access the first testing room.
Test Room A
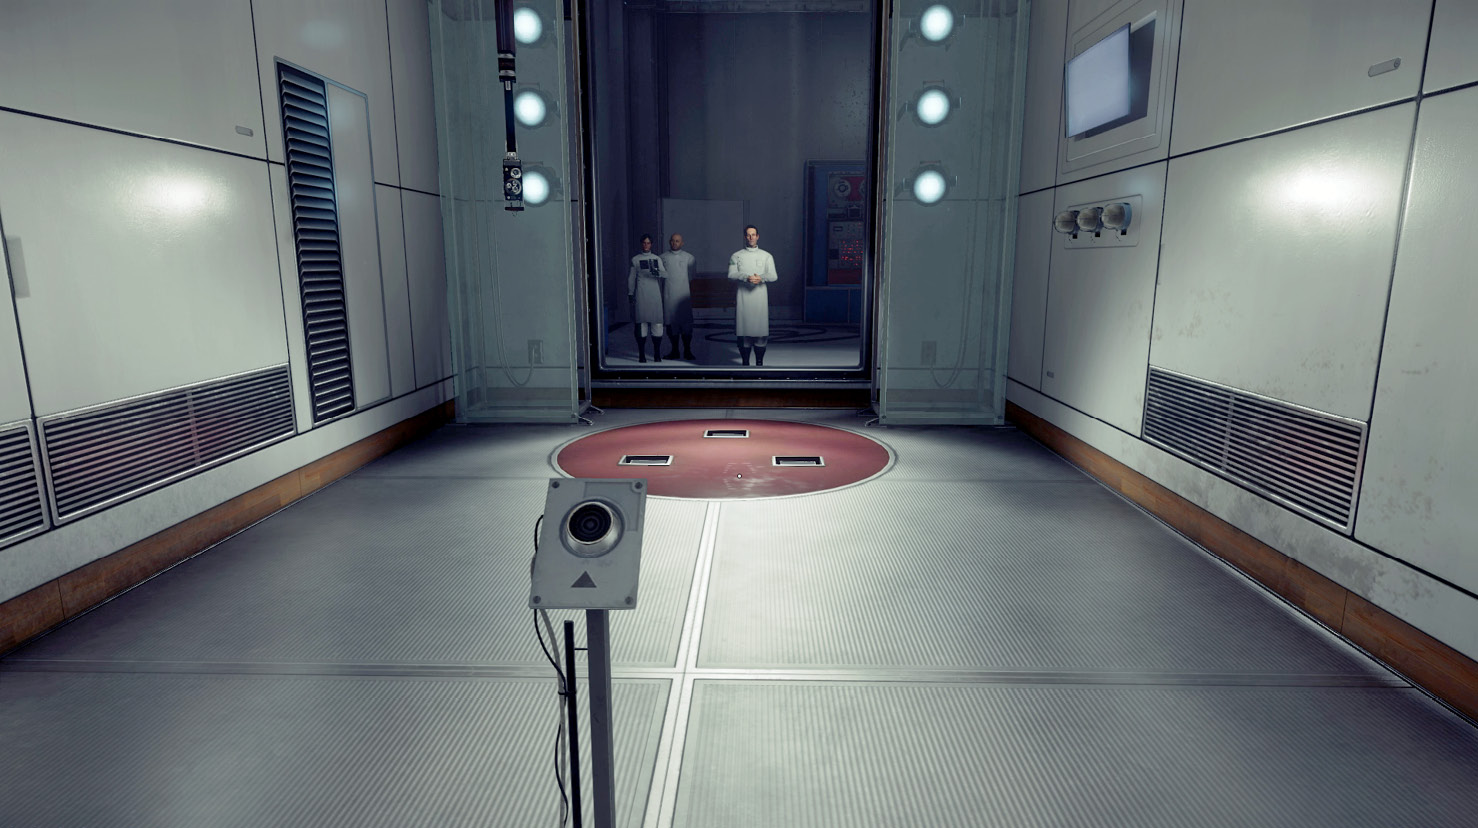
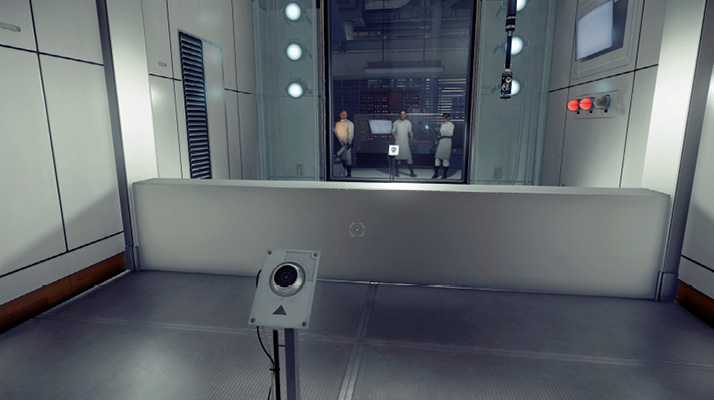
Dr. Bellamy speaks to you from behind a pane of glass, partitioning the testing room from an observation area. For the first test, he wants you to remove three boxes from a red circle on the floor. When you’re ready, press the red button near the room’s entrance; then approach the boxes as they appear from hatches in the floor. Pick up one box at a time, throwing each away from the red circle—thrown boxes have a tendency to bounce, so make sure they don’t bounce back into the red circle. Once you’ve completed the test, continue through the open doorway.
Test Room B
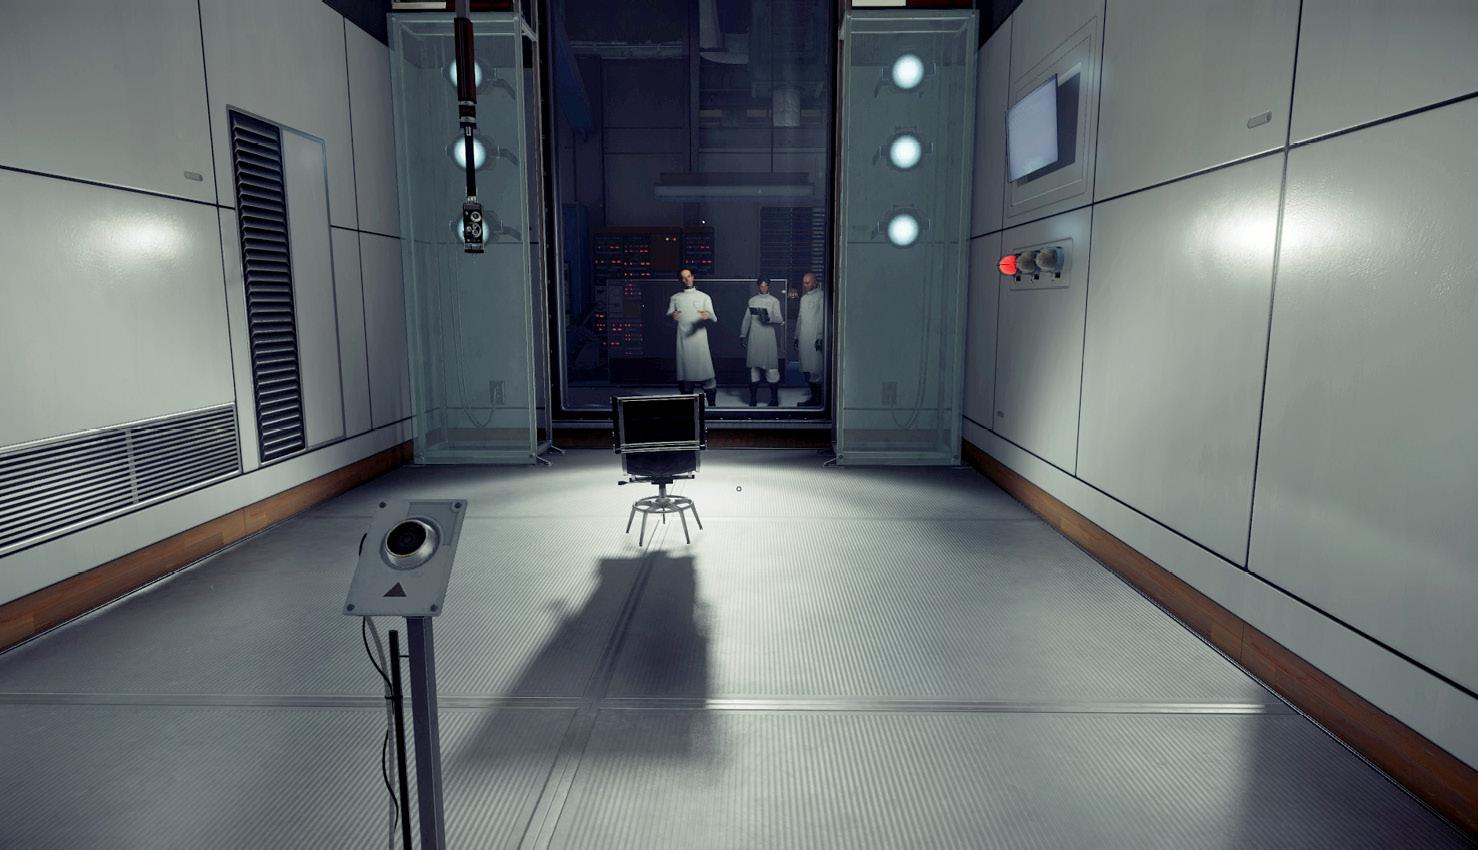
For the next test, Dr. Bellamy wants you to hide in this room. Unfortunately, there aren’t too many places to hide, with the exception of a small, black chair in the center of the room. Press the red button to initiate the test; then approach the chair. Crouch behind the chair in an attempt to hide. It may not be the most ideal hiding spot, but it’s the best you can do in this room. Dr. Bellamy seems to be troubled by a lack of synaptic register. Continue to the next room.
Test Room C
In this test, Dr. Bellamy wants you to cross the room as quickly as possible and press a blue button on the far side. Press the red button to start the test; then sprint toward the low wall in the center of the room. As you approach the low wall, jump to mantle over it—this is a fast and efficient way to clear low objects while maintaining speed. Continue to the blue button and press it to complete the test. Despite your success, something seems to be bothering Dr. Bellamy. Apparently, they’re having some trouble with the equipment. Regardless, he instructs you to continue the testing process in the adjoining room.
Test Room D
Take a seat behind the terminal in this room. Dr. Bellamy wants you to answer a series of questions. Pick the answers which make the most sense to you. Press Start on the screen to begin the test. Read through each question and pick any answer. There are no right or wrong answers, so don’t overthink it.
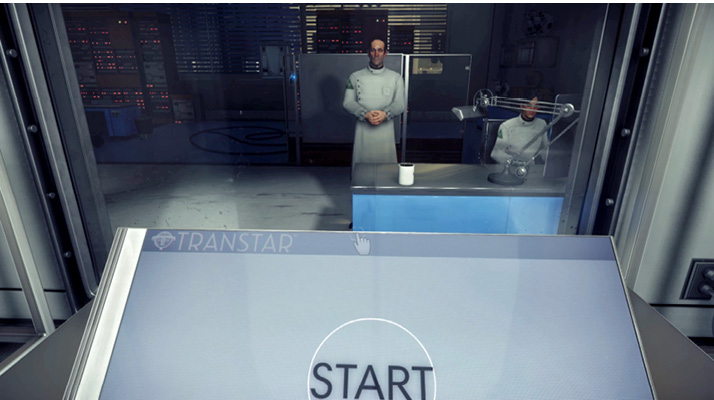
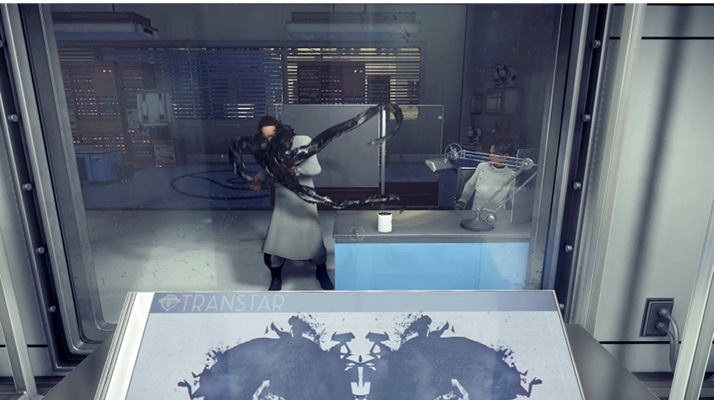
After answering the fifth question, a Rorschach image is displayed on the screen. But instead of studying the image, keep an eye on the desk near Dr. Bellamy—a coffee mug seems to appear from nowhere. As he picks up the mug, an ink-black entity attacks him, gripping his neck with its long tentacle-like arms. This is a Mimic, one of the Typhon studied by TranStar on Talos I. But what is it doing on Earth? As Dr. Bellamy struggles to separate himself from the Mimic, green gas is pumped into the room. Within seconds your vision blurs and you lose consciousness.
Morgan’s Apartment
| Notable Items: | TranStar Uniform |
You wake up in your apartment. But something’s not right. You have woken at exactly the same time and day as you did earlier. Was it all a dream? A nightmare? Everything in the apartment seems to have been reset. The pizza box is still by the workstation and any items you may have picked up earlier are now back where you retrieved them. Oh, and there’s nothing in your inventory. What’s going on?
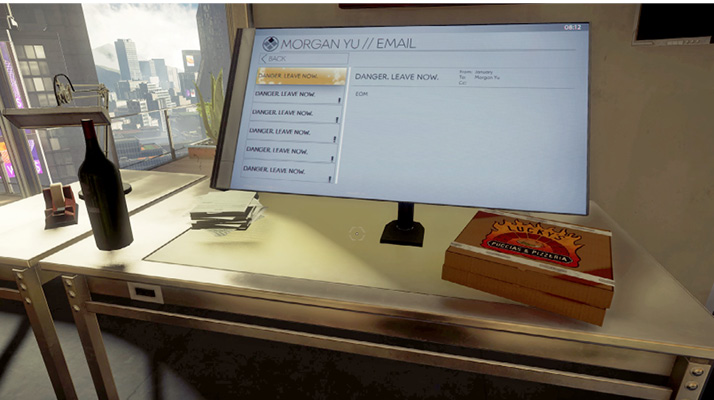
Accessing the workstation reveals six new emails. Chillingly, all six emails are identical, sent from someone named January. The emails all warn you to leave now.
Before exiting the apartment, take a moment to gather some things. Grab all the items near your workstation, including the frayed wire, burnt circuit board, and used plastic tubing. There are more recyclable objects in the nightstand near the closet. Next, go to the kitchen and pack all the food you can find, searching the refrigerator and cabinets. You don’t need to eat or drink any of these items now, but they’ll come in handy later if you sustain injuries.
Apartment Hallway
| Notable Items: | Wrench |
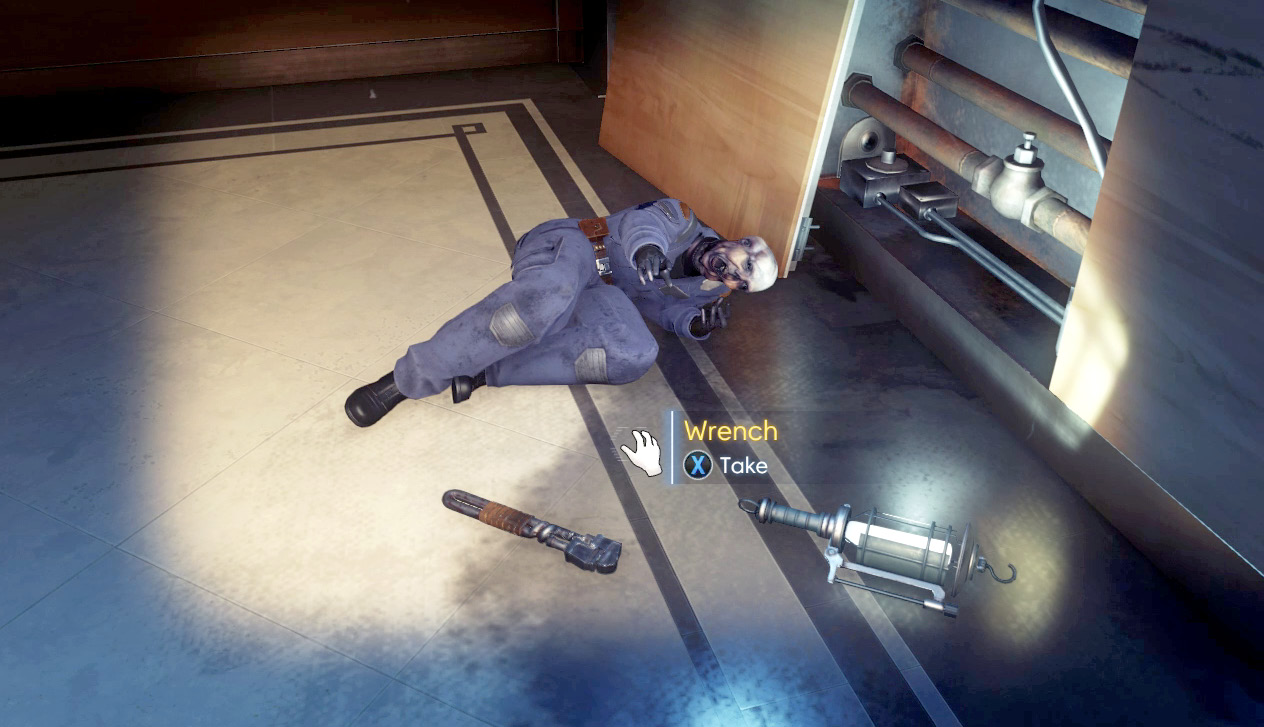
Once you’ve ransacked your apartment, put on your TranStar uniform and enter the adjoining hallway. Something is definitely wrong. The lights in the hall are out and the technician you spoke to earlier (Patricia Varma) appears to have suffered a particularly gruesome death. Approach the technician’s body and activate your flashlight to get a better view. Grab the wrench next to Patricia’s body. This is your first weapon, ideal for smashing objects and bludgeoning enemies. Next, search Patricia’s body to retrieve some spare parts. You can use spare parts to repair various objects. After searching Patricia, you get a call from someone named January—the same January who sent the emails. January says that what you witnessed yesterday was real and urges you to find a way to escape your apartment. You’re not safe.