Prey Guide Walkthrough: Story Objectives
An Office with a View
Talos I Lobby

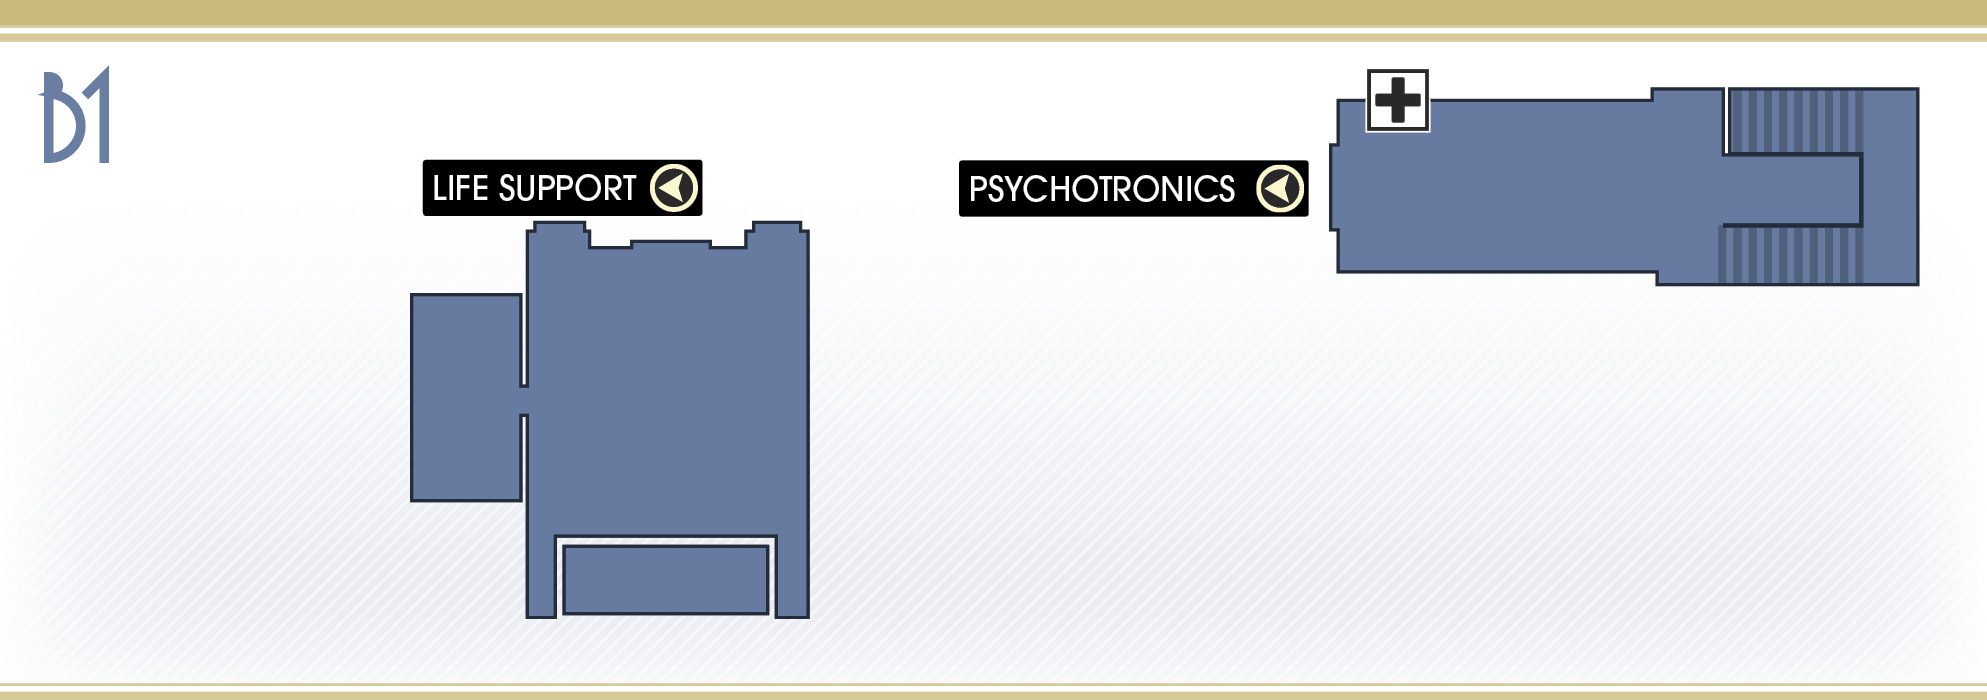
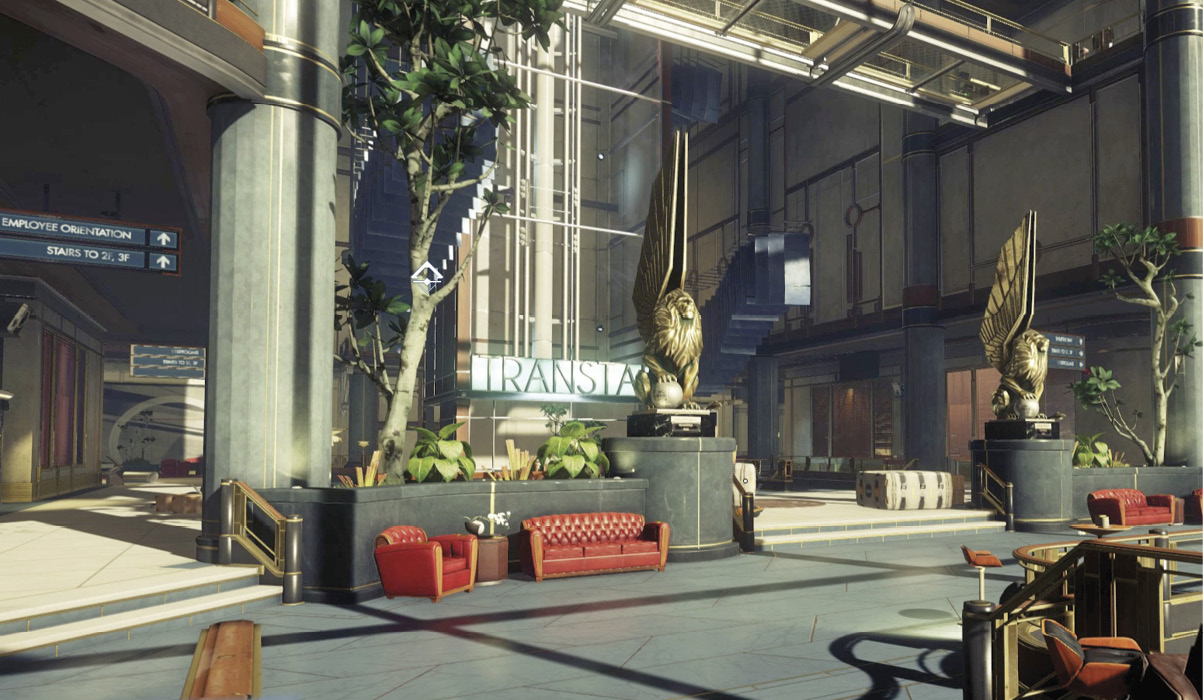
After exiting the Neuromod Division, advance through the adjoining hall. Stop to search the body of Nash Underwood for supplies. Then continue to the end of the corridor to enter a massive lobby. Peering out the large window confirms your suspicions. You’re not on Earth. You’re aboard Talos I, orbiting Earth’s moon. Descend the curved staircase leading to the lobby’s main floor. January gives you a new objective. Apparently, there’s a video you need to see, accessible in your office on the lobby’s third floor. Before you make a beeline for your office, take some time to explore the lobby in an effort to gather supplies—search bodies and trash cans for items.
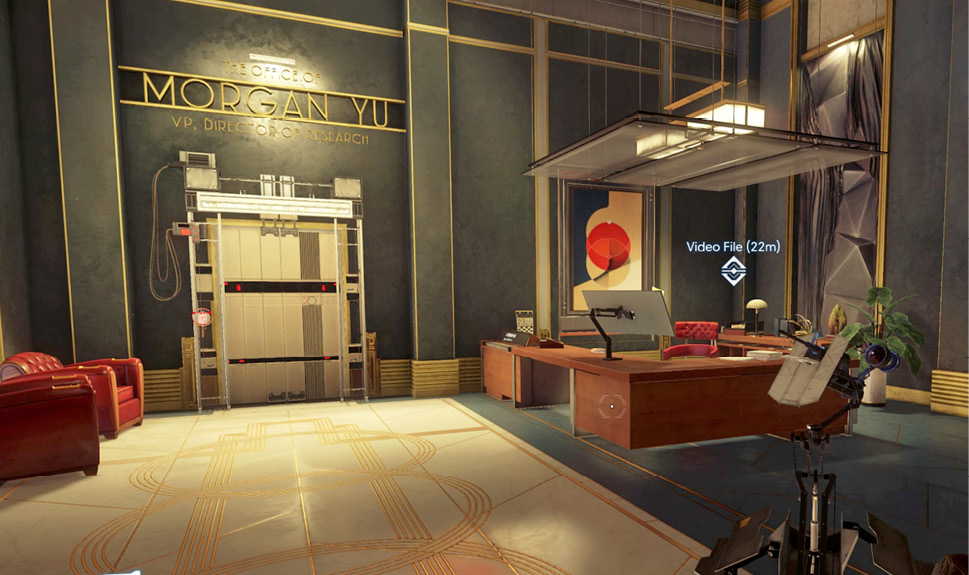
An Office with a ViewI’ve been aboard Talos I for a long time, trapped in some kind of repeating test, but I have no memory of how I got here. January says there’s a video I need to see that will answer my questions. |
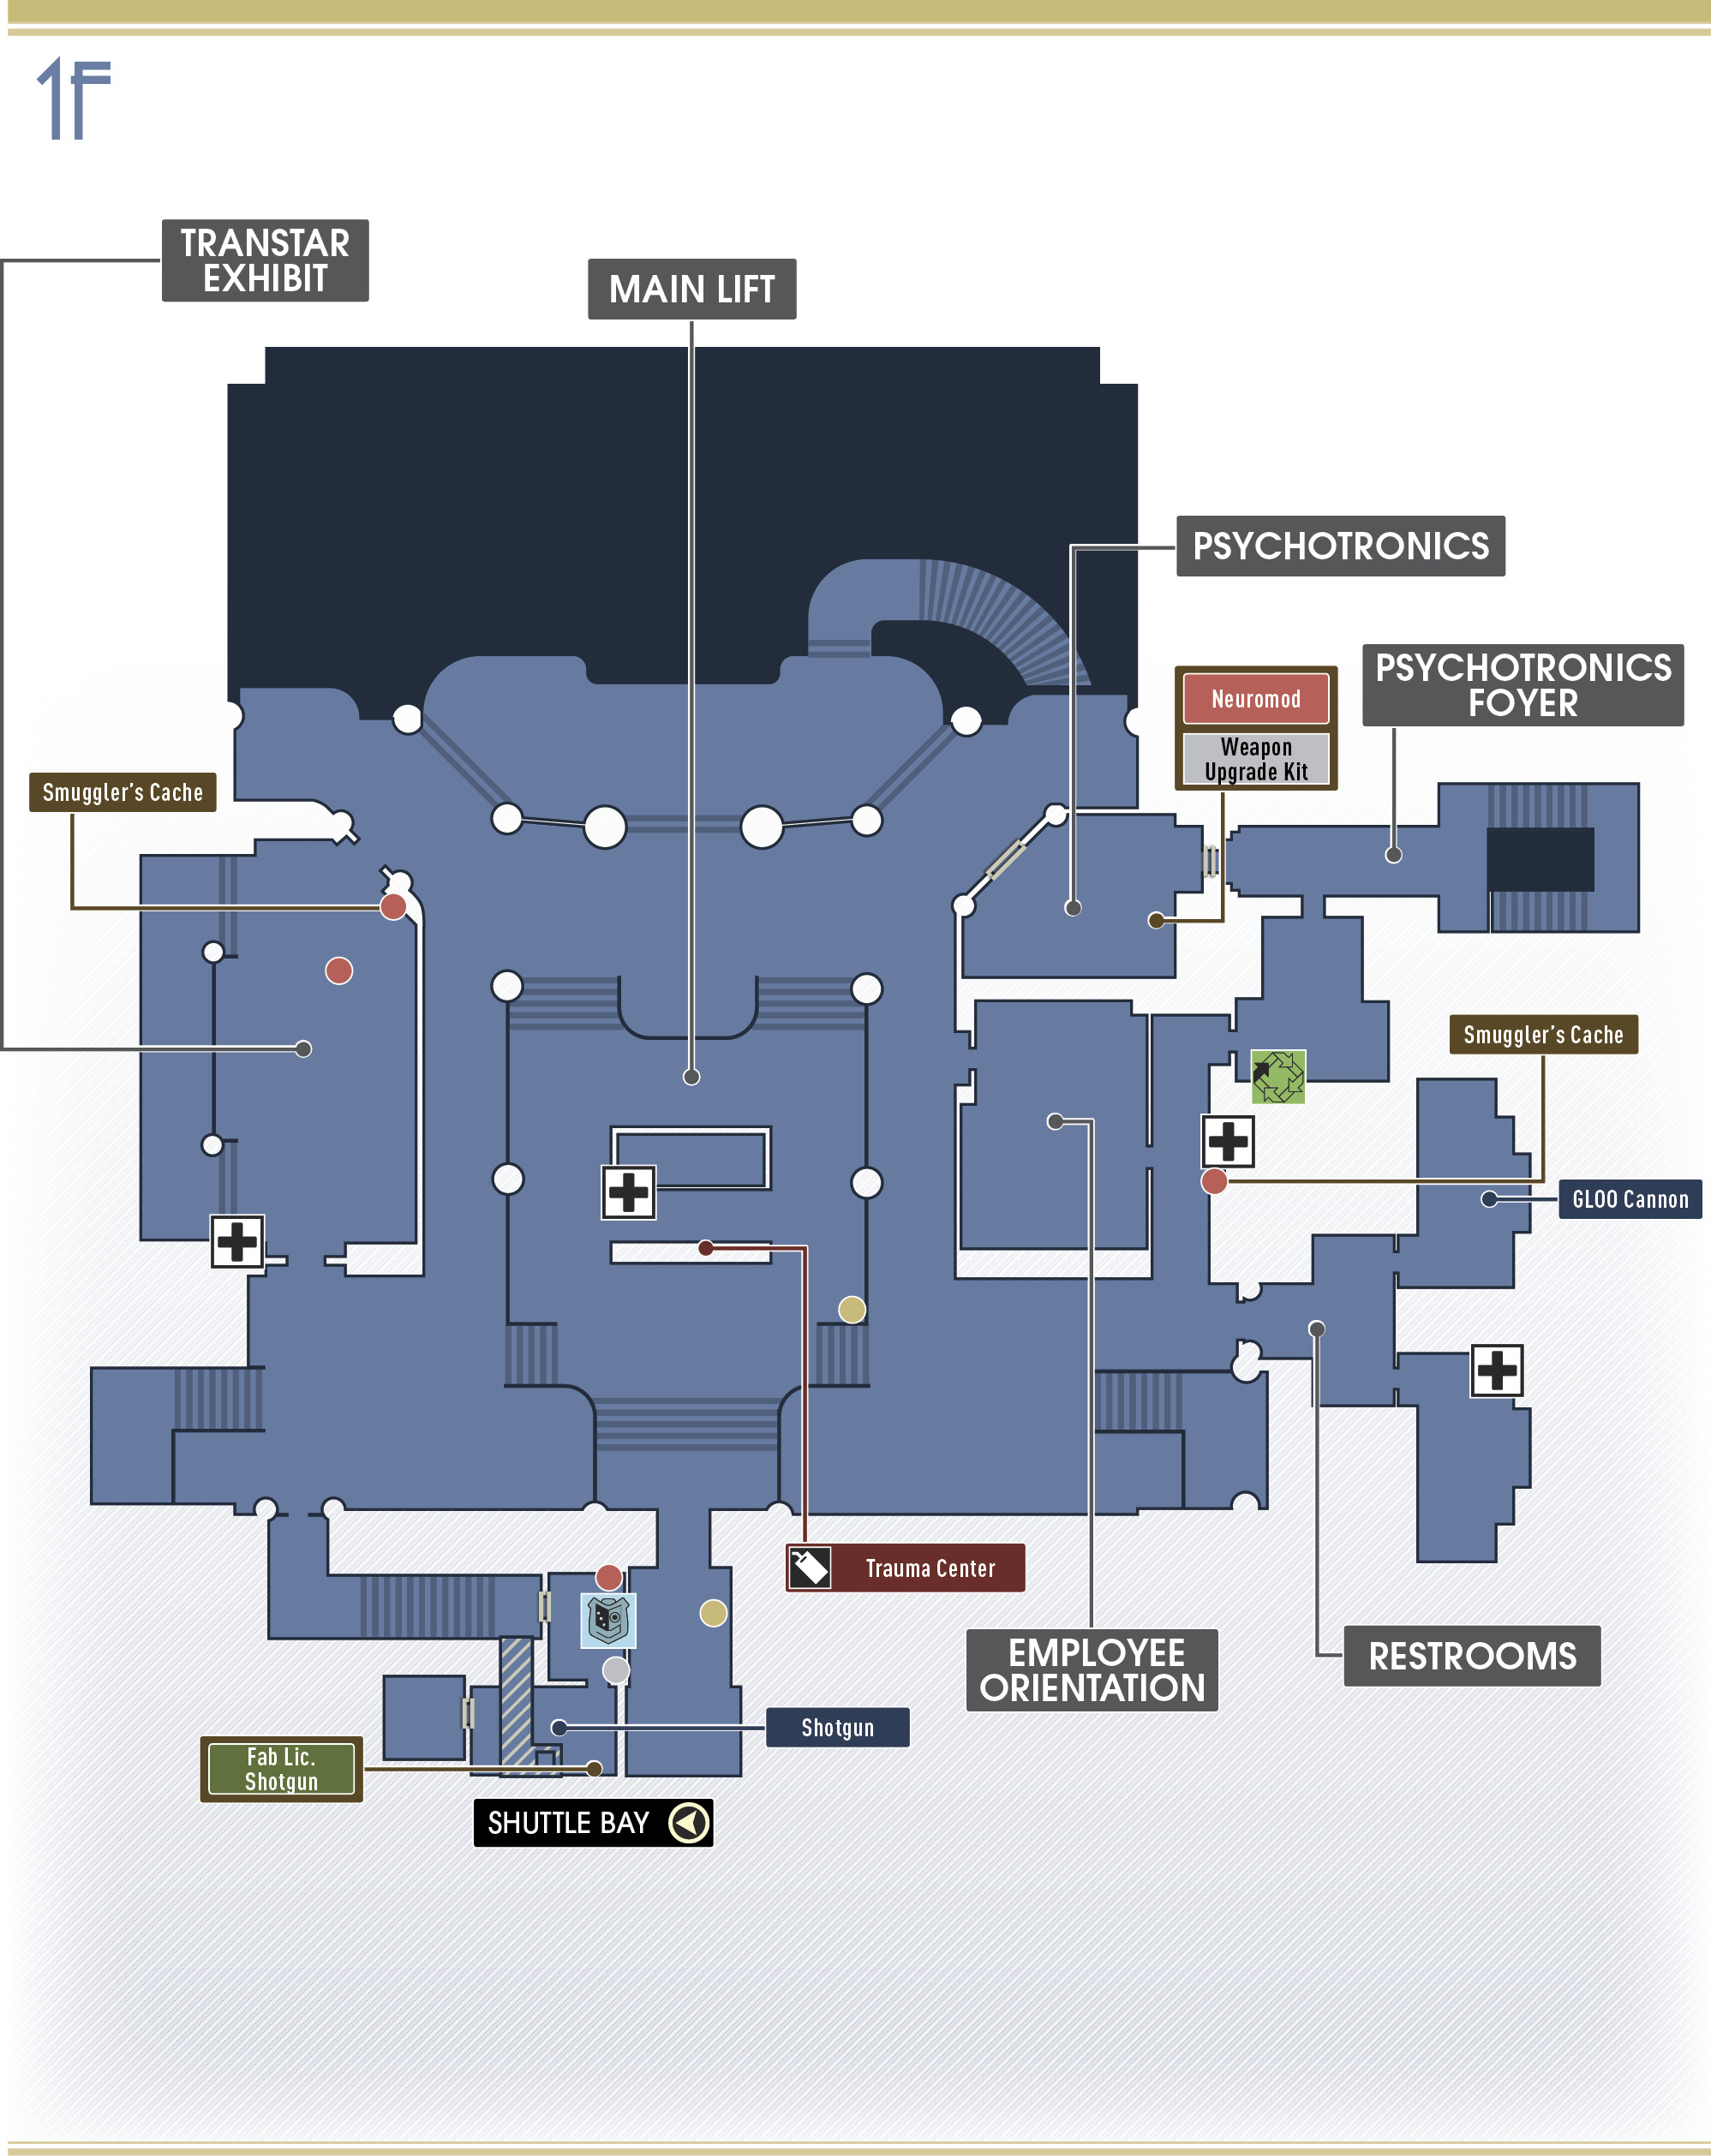
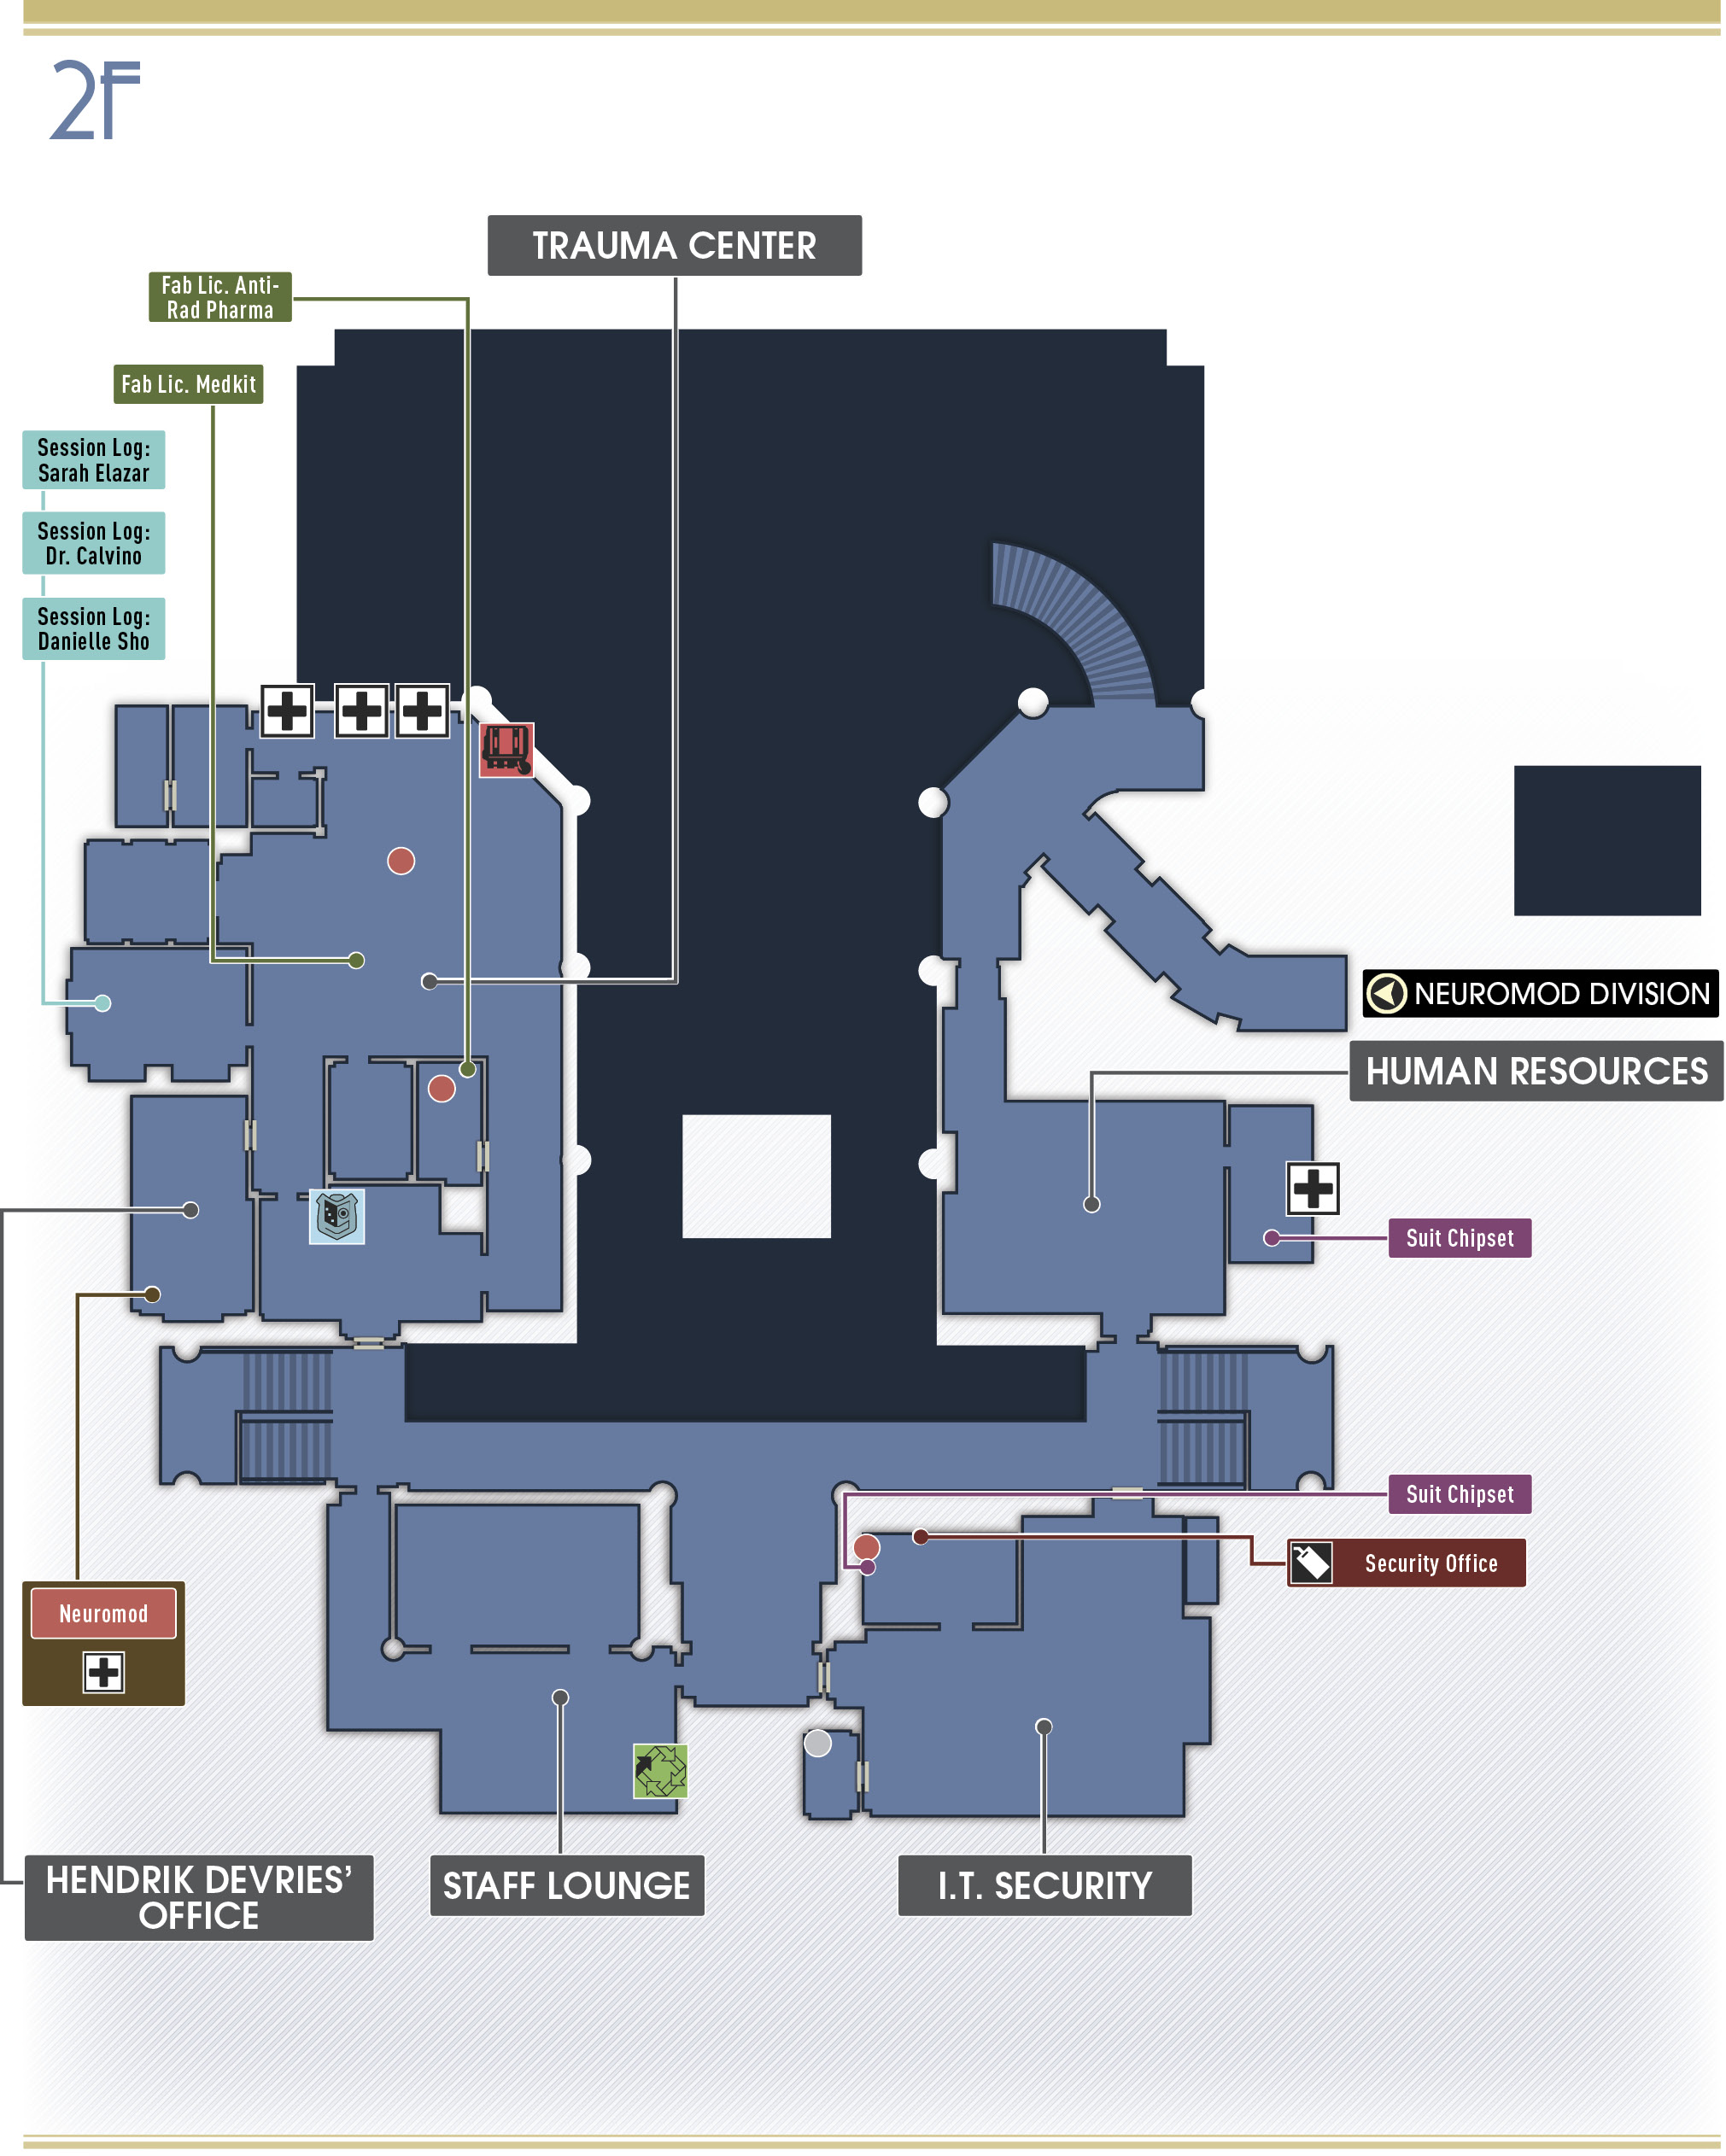
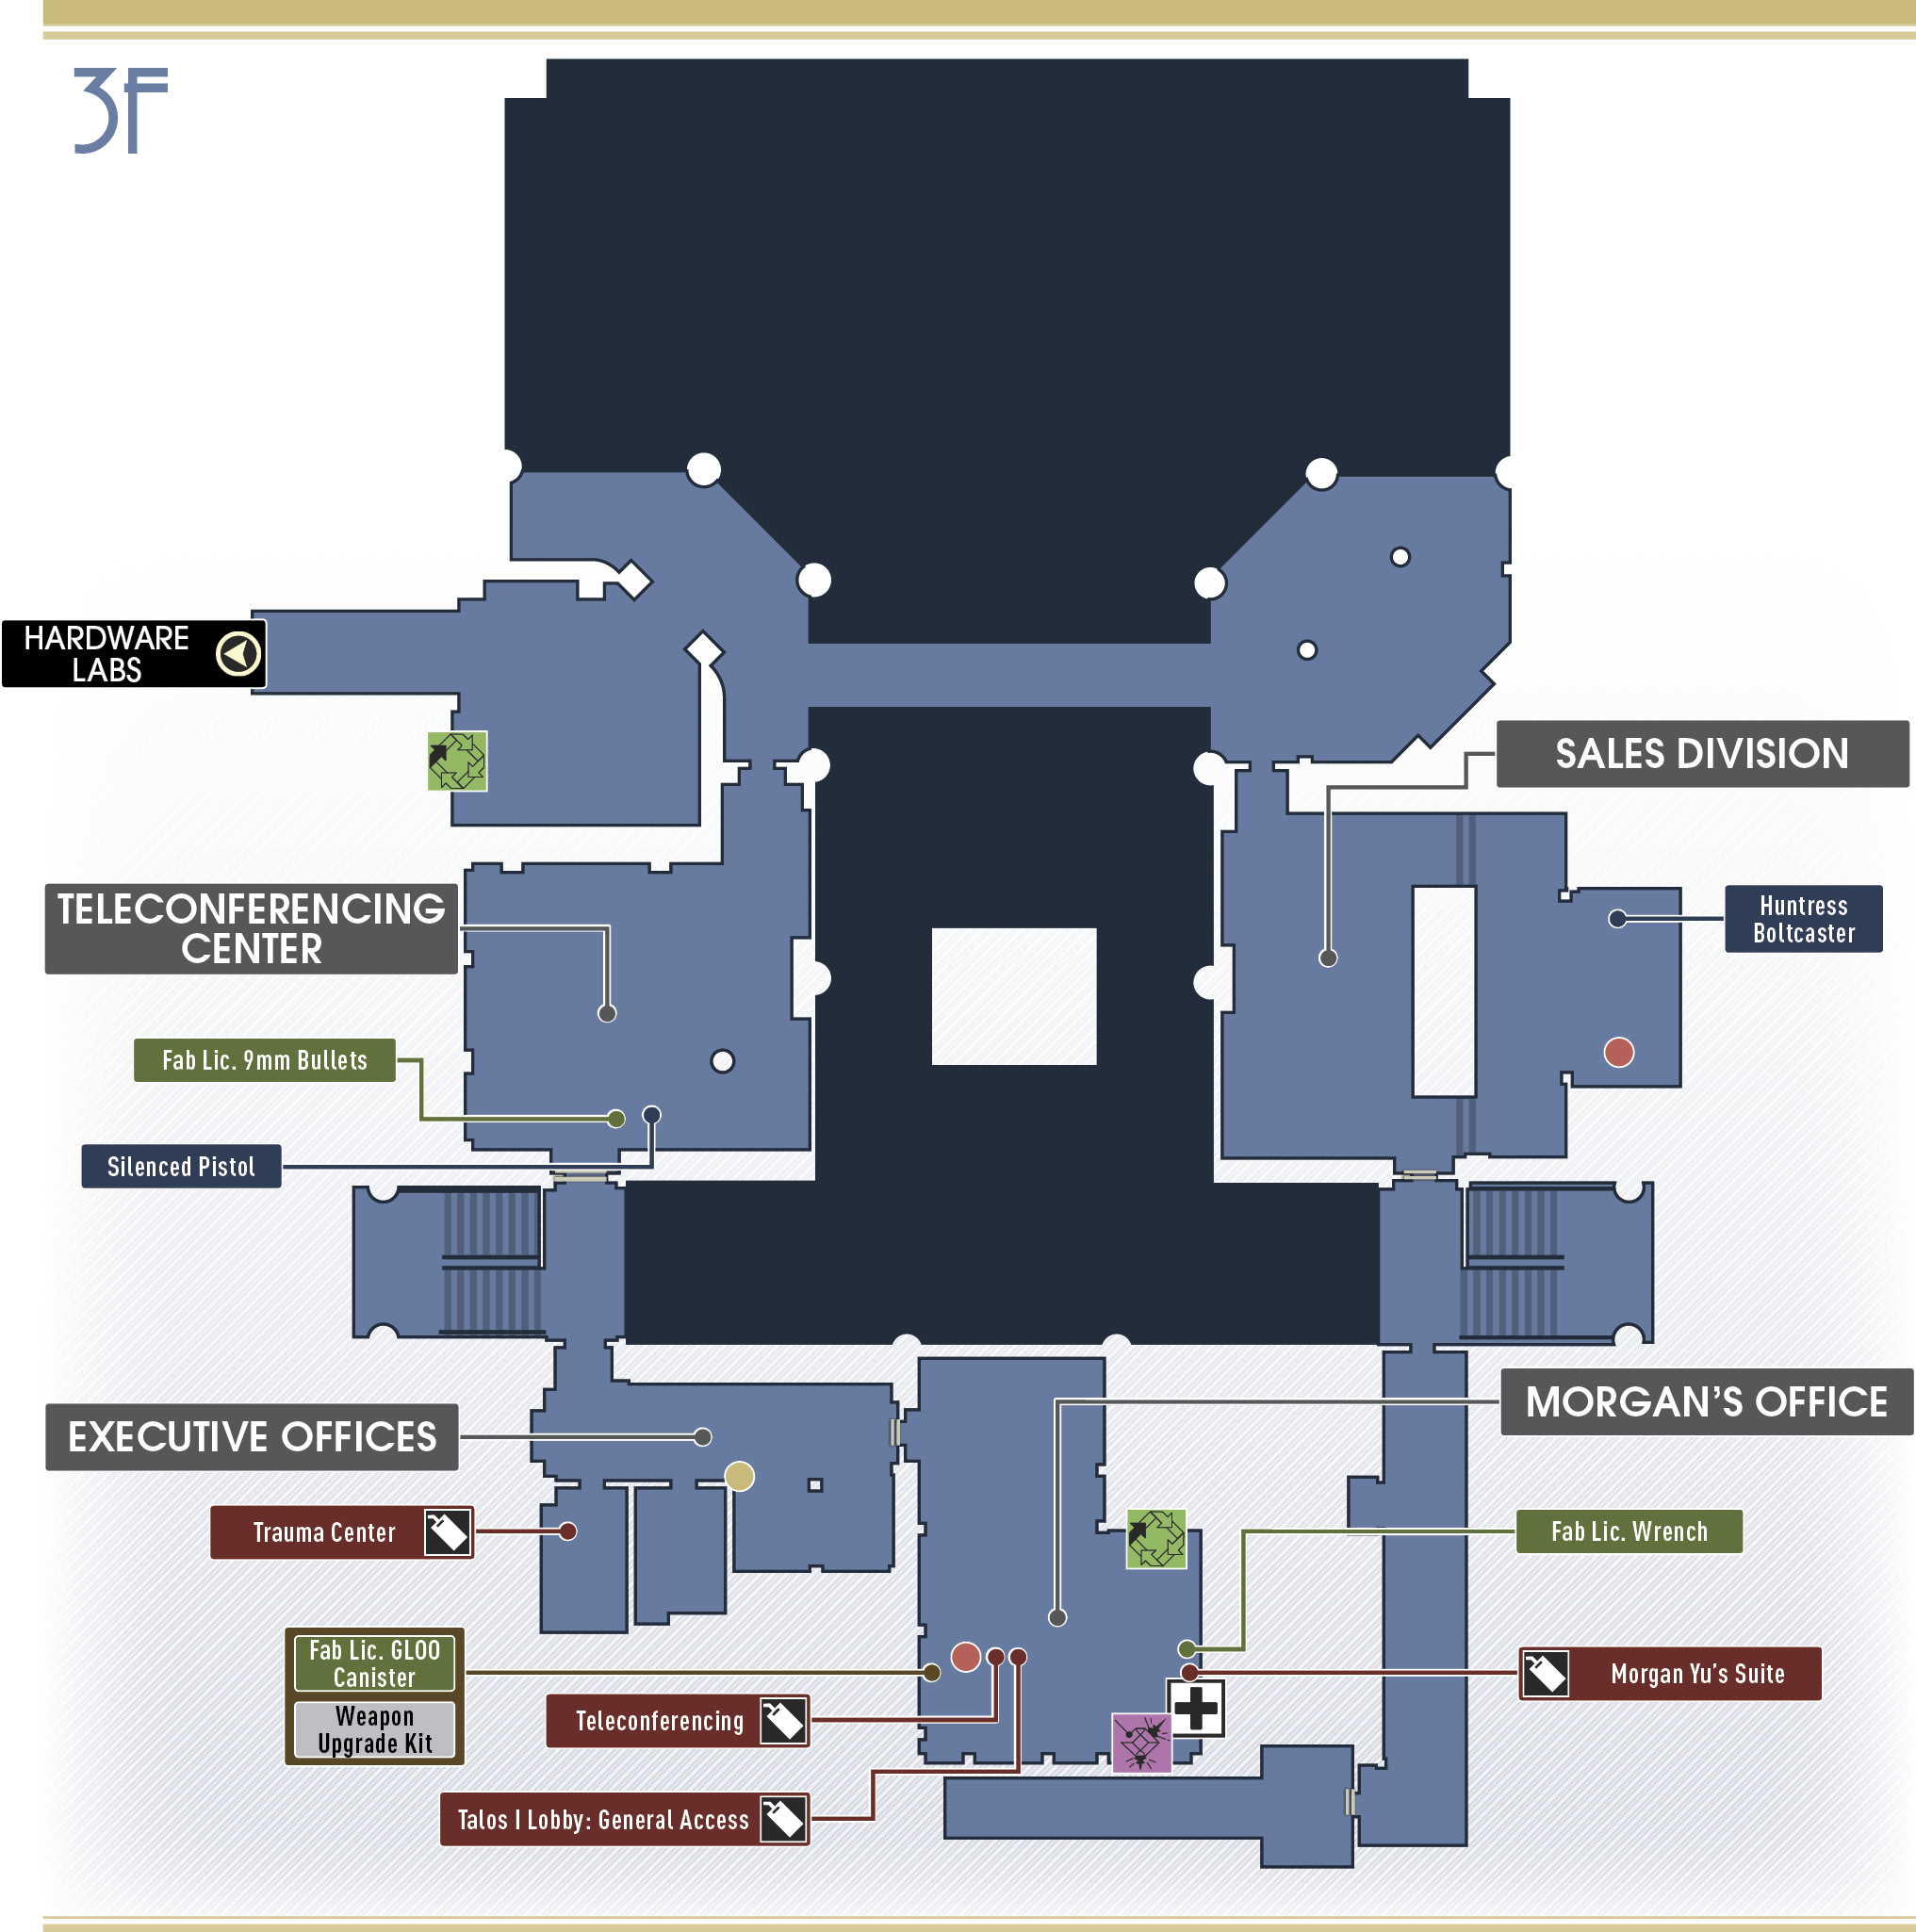
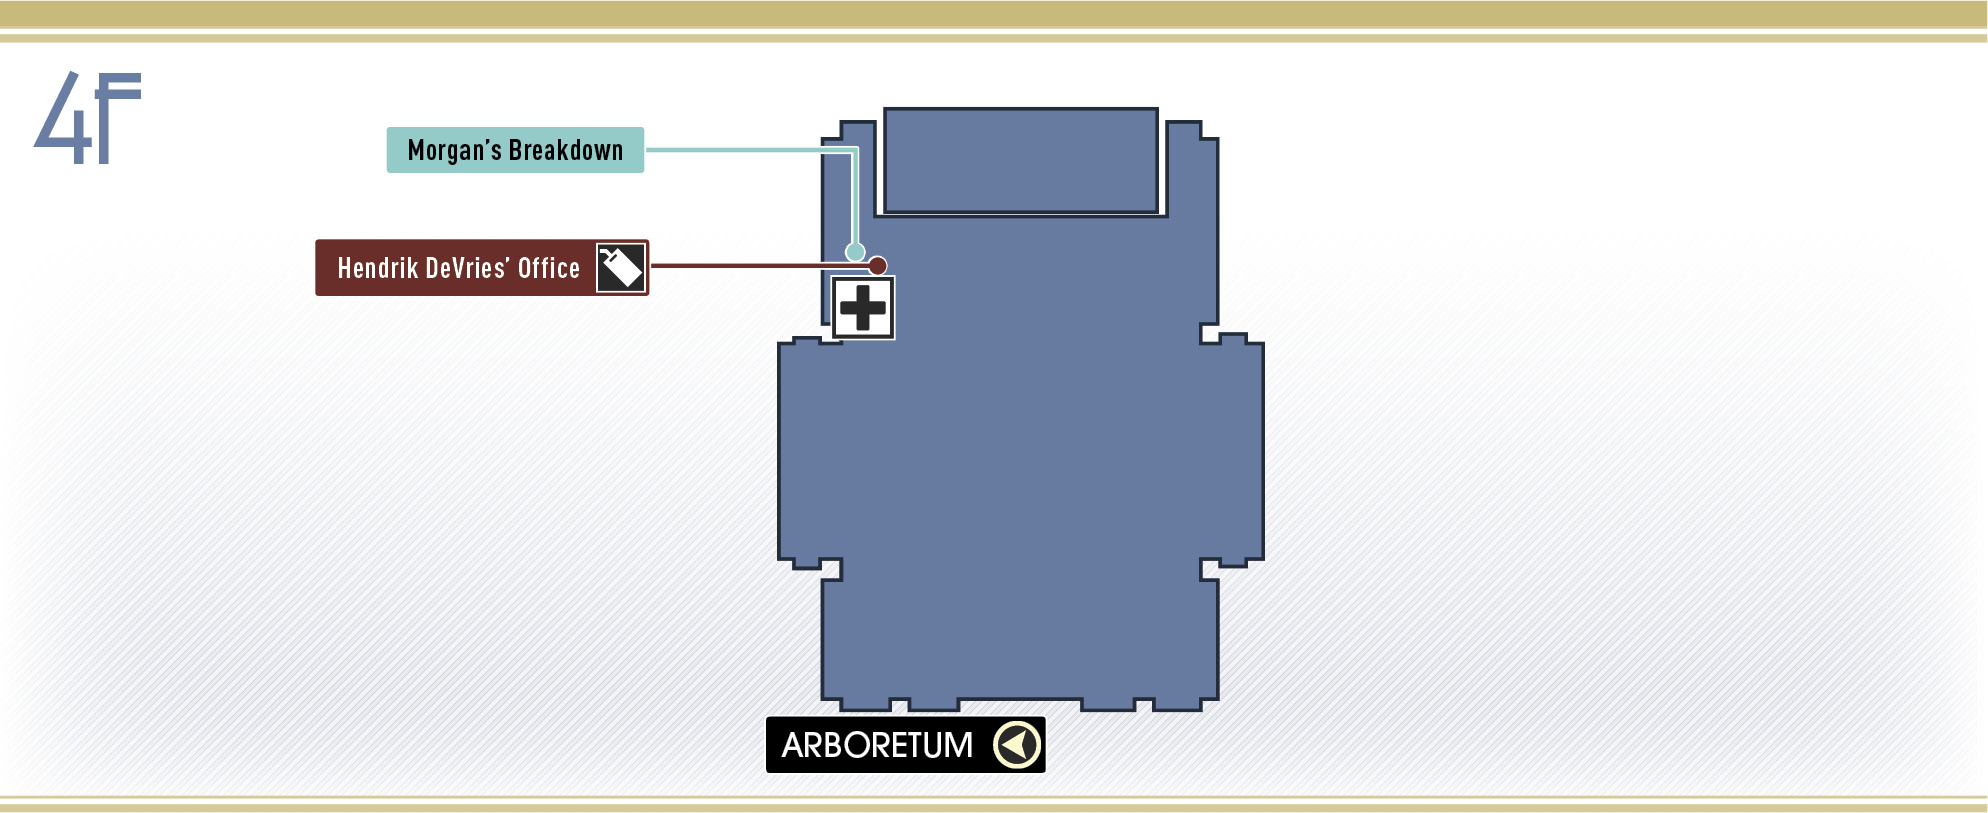
TranStar Exhibit
| Notable Items | Neuromod |
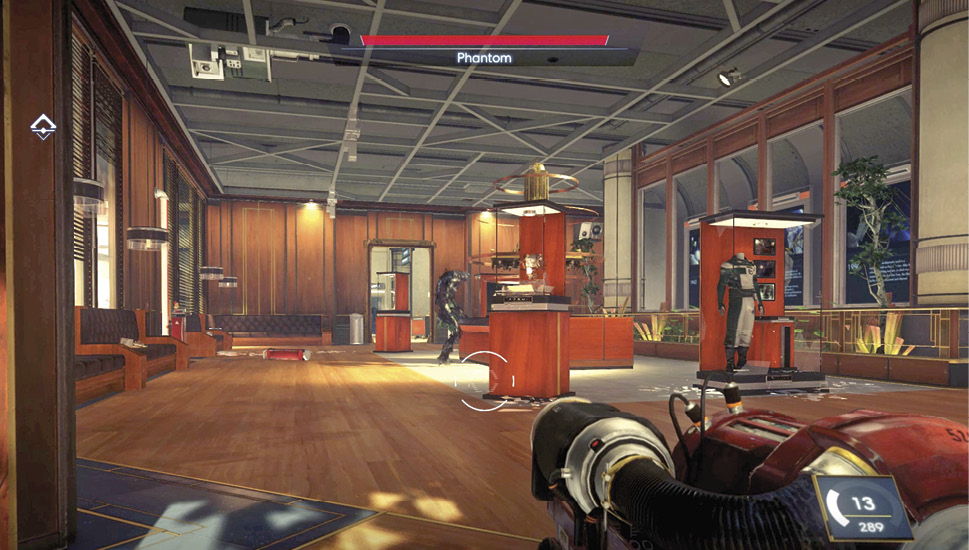
There’s a Neuromod on display in the TranStar Exhibit, located on the lobby’s first floor. However, there’s also a Phantom patrolling this room filled with TranStar artifacts and memorabilia. Drop to a crouch and sneak toward the exhibit’s doorway in an effort to spot the Phantom. Unlike Mimics, Phantoms are far more aggressive entities, capable of devastating ranged Kinetic Blast attacks. Given your current gear, you don’t want to draw its attention. Monitor the Phantom’s movements and look for an opportunity to grab the Neuromod without being spotted. It’s crucial to stay low and quiet; otherwise, the Phantom will detect your presence. If you’re spotted, immediately attack the Phantom with the GLOO Cannon and run away. The GLOO Cannon will temporarily disable the Phantom, giving you ample time to escape with your newly acquired Neuromod.
Staircase
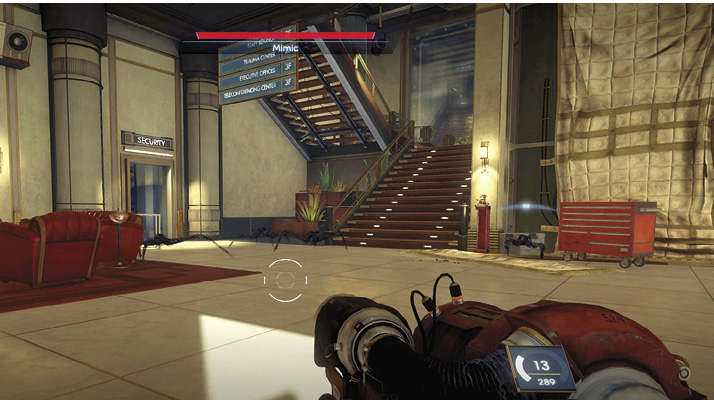
Cautiously approach the staircase leading to the Executive Offices—this area is swarming with Mimics. Target the Mimics with the GLOO Cannon and methodically take them out with your wrench. Your activity near the staircase may draw the attention of the Phantom in the TranStar Exhibit. If this occurs, immobilize the Phantom with the GLOO Cannon and run up the stairs to the Executive Offices. If you ever feel overwhelmed, running is always a viable option.
Executive Offices
| Notable Items: |
| Keycard: Trauma Center |
| Keycode: Volunteer Quarters |
| Keycode: Morgan Yu’s Office |
| Password: Jason Chang |
Ascend the staircase to the third floor and turn right to enter the Executive Offices. Start by searching Bianca Goodwin’s office. Inside you’ll find a keycard for the Trauma Center (if you don’t have one already). Also, read the Volunteer Attitude email on Bianca’s workstation to retrieve the keycode to the Volunteer Quarters. The office next to Bianca’s once belonged to Dr. Bellamy—but he’s since moved out. An email on Dr. Bellamy’s workstation reveals the testing was all Morgan’s idea.
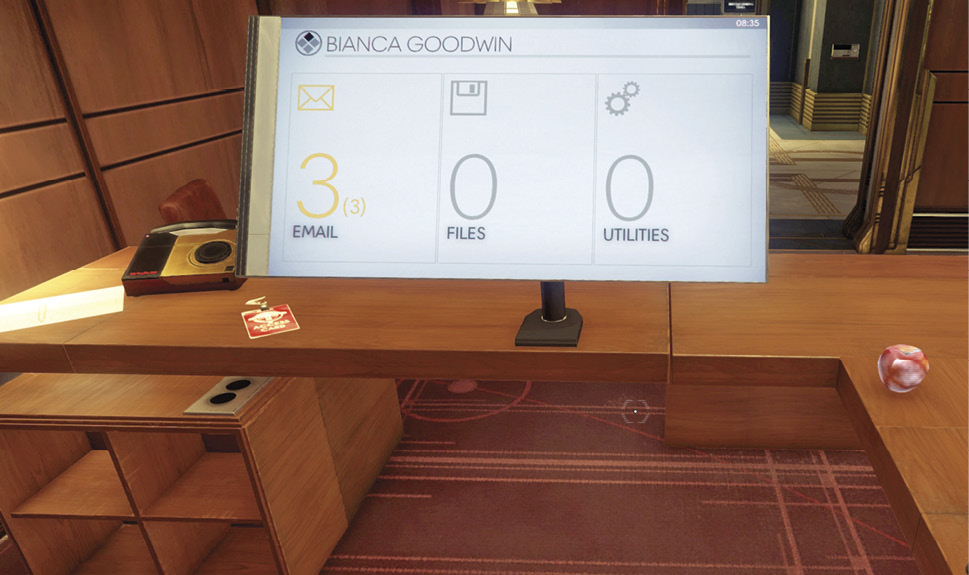
The title above the next door is a bit of a revelation. Morgan isn’t just some test subject. Rather, Morgan is the Vice President and TranStar’s director of research. Morgan’s office is guarded by a turret. Turrets are designed to attack Typhon entities that move within their field of view. Leave the turret here for now and proceed to Jason Chang’s desk. January sends the keycode to Morgan’s office as you near the desk. Jason’s workstation is locked, but his password is on the note attached to the screen. An email on Jason’s workstation reveals the keycode to Morgan’s office. Approach the door and enter the provided code to gain access.