Prey Guide Walkthrough: Story Objectives
The Keys to the Kingdom
The Keys to the KingdomI left myself instructions to destroy Talos I if the Typhon broke out. The process requires two arming keys, mine and my brother’s. I managed to secure a fabrication plan for mine, but I don’t think Alex will be as straightforward. |
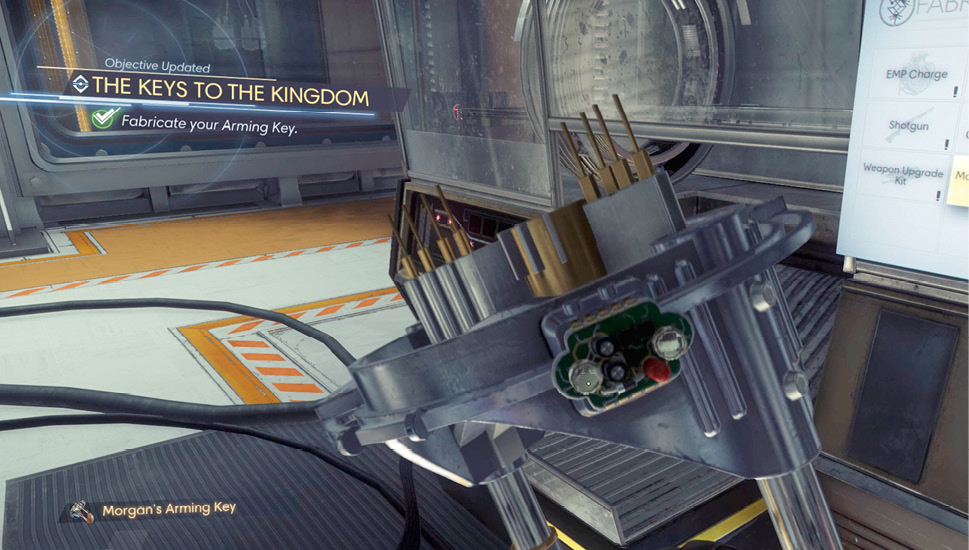
Walk over to the fabricator and create your arming key. It takes two arming keys to initiate the station’s self-destruction protocol. You now have one of the keys. Now you need to find Alex’s arming key. Danielle Sho contacts you after downloading the plans for the arming key. She suggests escaping Deep Storage via one of the data vault modules. These modules are designed to be jettisoned to the event of a catastrophic failure. Danielle already used one of two modules to escape the station. But there’s one more module you can use to access the station’s exterior.
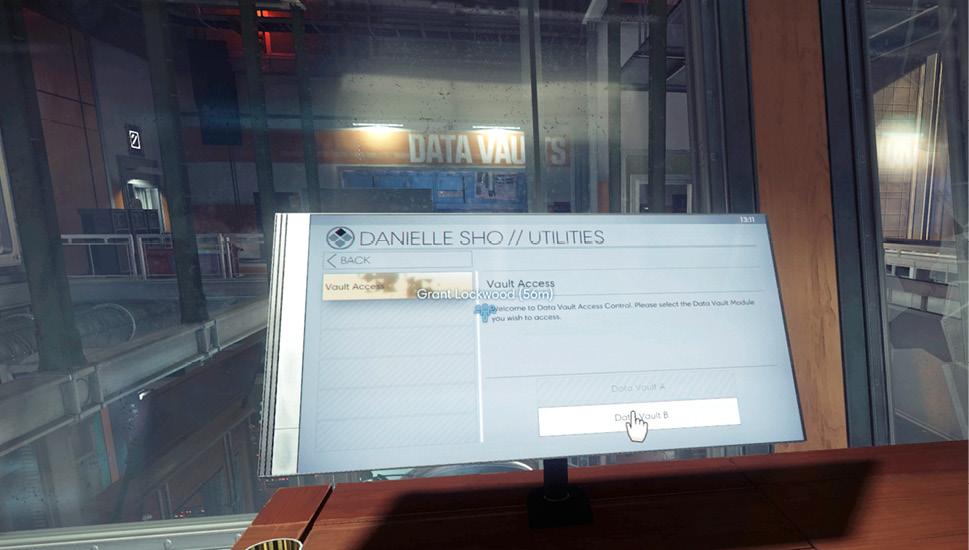
Access Danielle Sho’s workstation and select the Utilities tab to unlock Data Vault B. You can now enter this data vault and use it to escape Deep Storage. While you’re in Danielle’s workstation, download a Nullwave Transmitter Fabrication Plan. An email chain from Alex references an unauthorized Operator created by Morgan—is he talking about December and January? It appears you’ve managed to keep both Operators a secret from Alex, Danielle, and Dr. Calvino.
Treasure Hunt (continued)Download Melindra Shadowcorner’s treasure map from Danielle Sho’s workstation. You now have all four treasure maps. Study each map and look for clues as you continue exploring Talos I. |
Disgruntled Employee (continued)While you’re in the command center, access the personnel tracking terminal next to Danielle’s workstation. Enter Grant Lockwood’s employee ID (1129) to activate his tracking bracelet. Use the security station downstairs to locate him. Apparently, he’s floating somewhere outside the station. You’ll need to find his body to complete this objective. 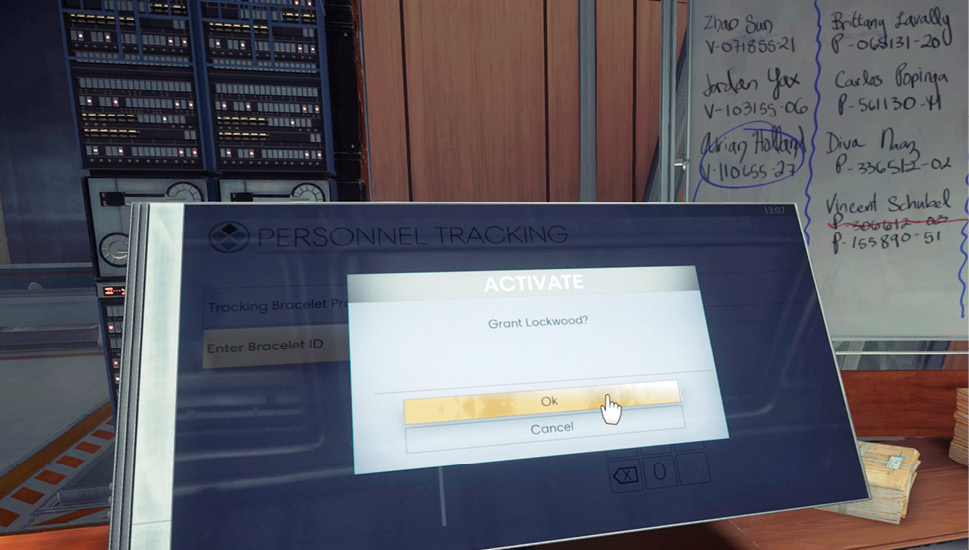
|
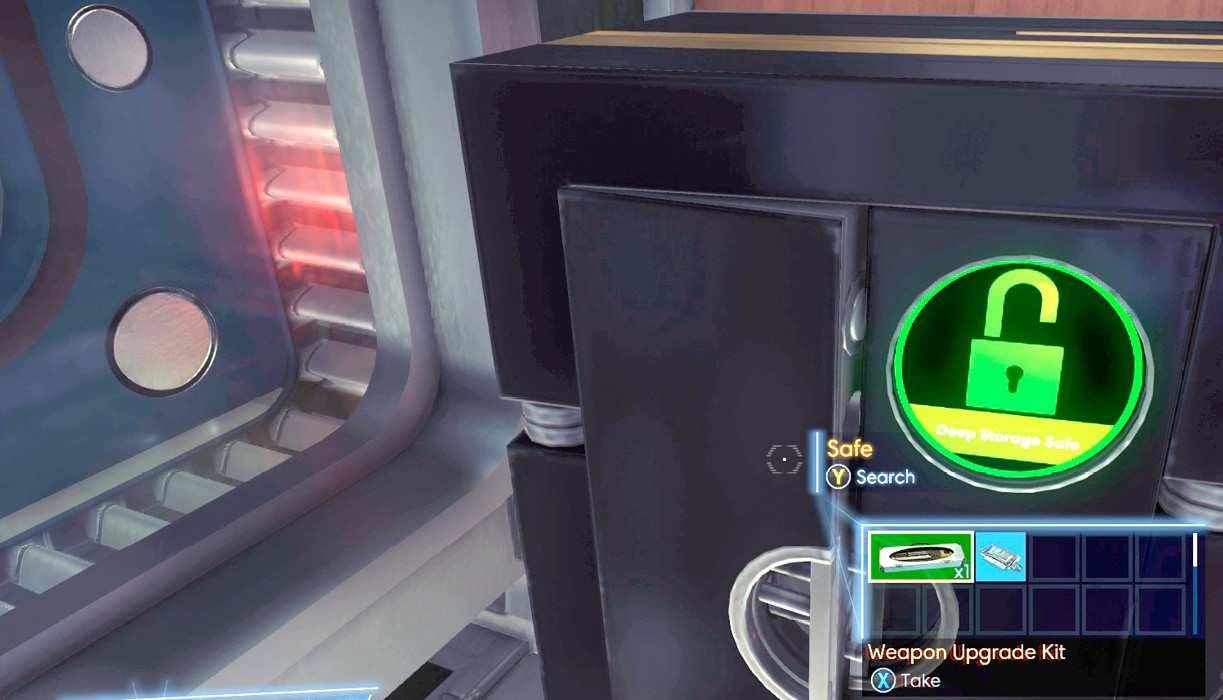
Before leaving the command center, grab the note on the back of Danielle’s workstation to retrieve the keycode for the Deep Storage safe. The safe is located in the back corner of the command center, near the exterior window. This safe contains a Weapon Upgrade Kit and Q-Beam Cell fabrication license. Now that you can manufacture your own Q-Beam ammo, do so right away, using the Fabricator. You can now use the Q-Beam more frequently.
Confidential Records
| Notable Items: | Typhon Lure | EMP Charge |
| Neuromod | Disruptor Stun Gun Fabrication License | |
| Scope Chipset |
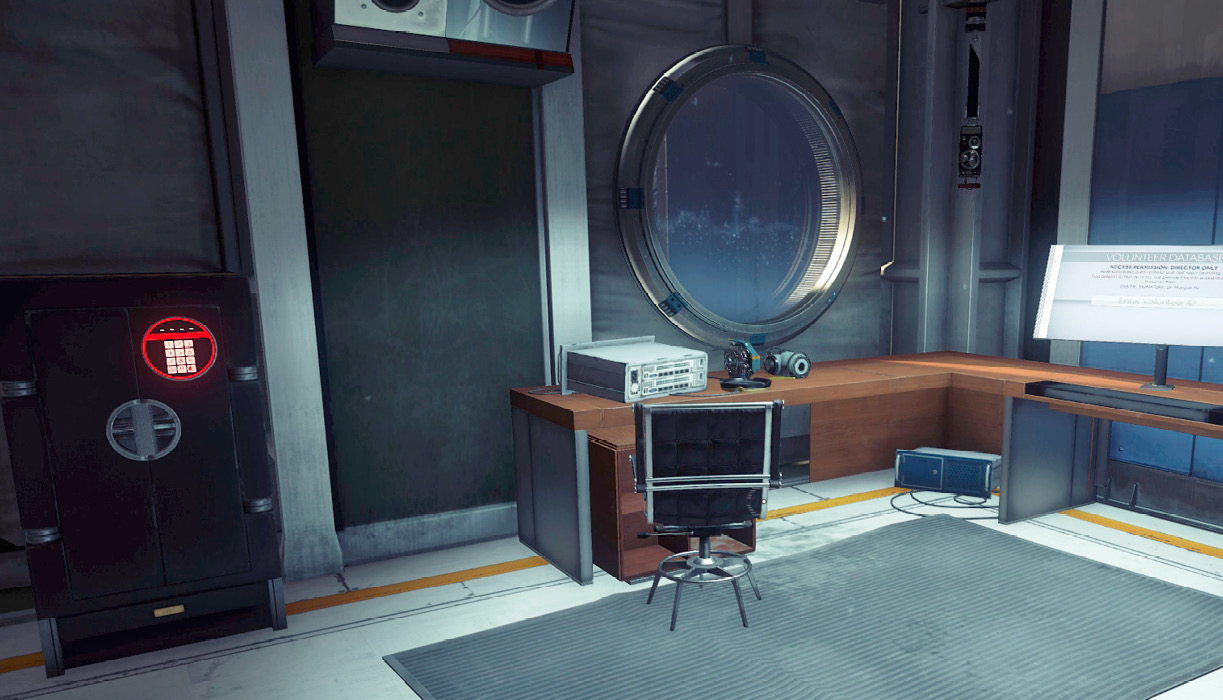
Exit the command center and approach the door labeled Confidential Records, near Ivy Song’s work area. Unlocking the door to this room requires the Hacking IV ability. But there’s another way in. The top of the room isn’t sealed. Use your GLOO Cannon to create a makeshift series of steps to scale the area above the door, then drop in from the ceiling, using your propulsion system to slow your descent. Once inside, gather a Typhon Lure and EMP Charge. The safe in this room uses the same keycode as the one in the command center. Open the safe to retrieve a Neuromod, a Disruptor Stun Gun fabrication license, and a Scope Chipset.
Data Vaults
| Notable Items: |
| Neuromod |
| Shotgun |
| GLOO Cannon |
The door to the data vaults is blocked by a large tape drive. You’ll need the Leverage III ability to move it. If you don’t possess the ability or prefer a sneakier way in, you can enter from above. Equip your GLOO Cannon and cross the catwalk toward the command center. Fire a GLOO deposit to the side of the command center’s door. Climb atop the GLOO deposit, then jump toward a platform just above the catwalk. From the platform, jump to a narrow walkway above the data vault’s entrance. Locate the horizontal vents outside the data vaults—using your GLOO Cannon, create a ramp to reach the ledge above the vents. This allows you to cross a white, tubular duct running above the data vaults room. Fire a GLOO deposit into the malfunctioning electrical junction nearby to avoid getting electrocuted.
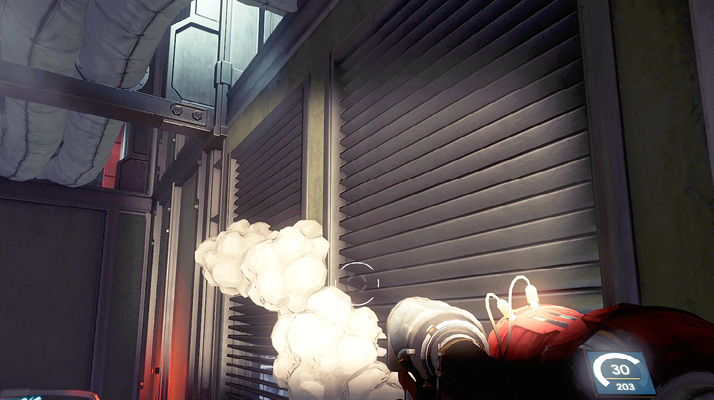
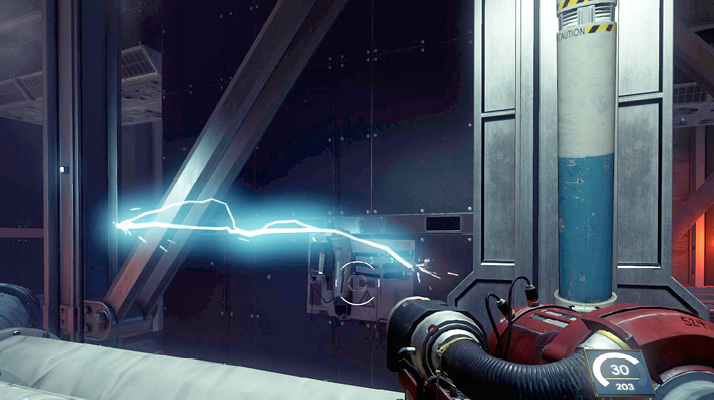
Once above the data vaults room, activate your Psychoscope to scan for threats. There’s a Weaver, Phantom, and a few Cystoid Nests in the room below. Equip your Q-Beam and take out the Weaver first. Next, eliminate the Phantom and Cystoid Nests. Once the area is clear of hostiles, drop into the data vaults room, using your propulsion system to slow your descent.
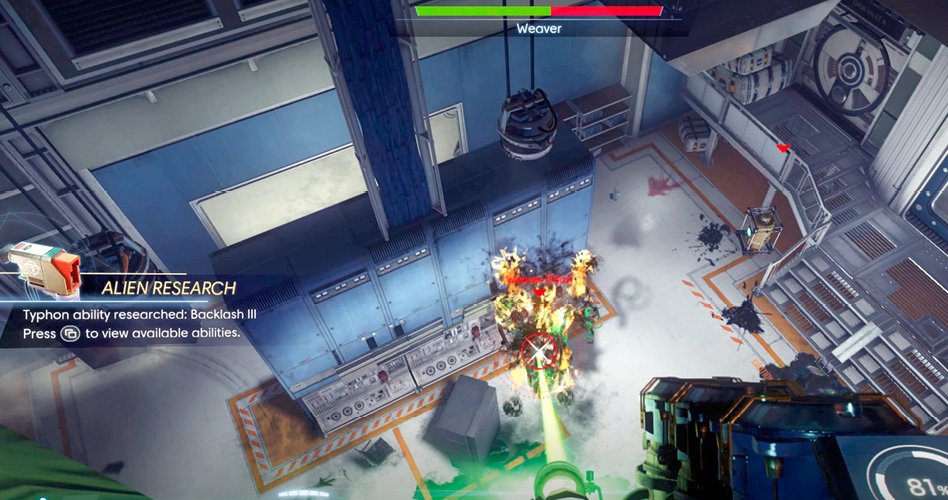
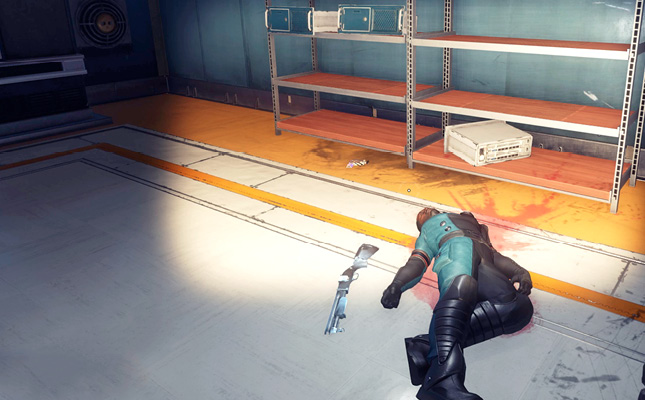
Even with the Typhon threats eliminated, the data vaults room remains hazardous. There’s a damaged electrical junction near the door spewing arcs of electricity and several pools of flammable liquids have been set ablaze. Put out the fires with your GLOO Cannon and watch your step as you search this area. A Neuromod is on the floor near the shelves in the back corner, along with a Shotgun.
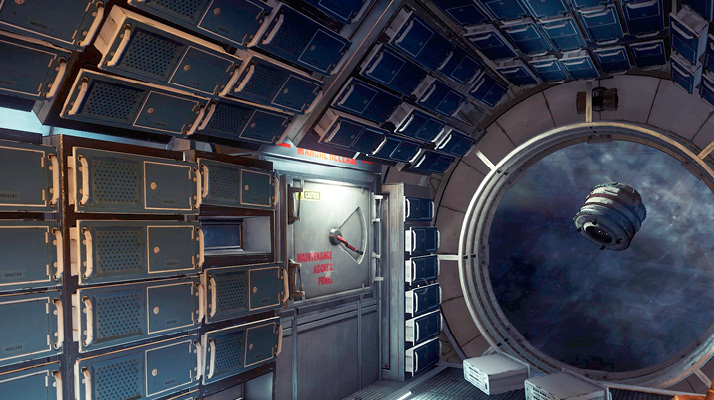
Enter the door leading to Data Vault B. Then pass through two more doors to enter the actual vault. These vaults are essentially escape pods for the station’s research data. They were designed to be jettisoned in the event of a catastrophic event. For some reason, Alex chose not to jettison the vaults. Perhaps he feels the situation is salvageable. Danielle Sho already escaped Deep Storage in Data Vault A. Now it’s your turn to leave in Data Vault B. Open the maintenance access panel on the right side of the vault and press the white button to trigger a manual release. Objects begin to float as the vault is released from Talos I. A sudden jolt from the vault’s rocket knocks you backward, causing you to lose consciousness.
Talos I Exterior
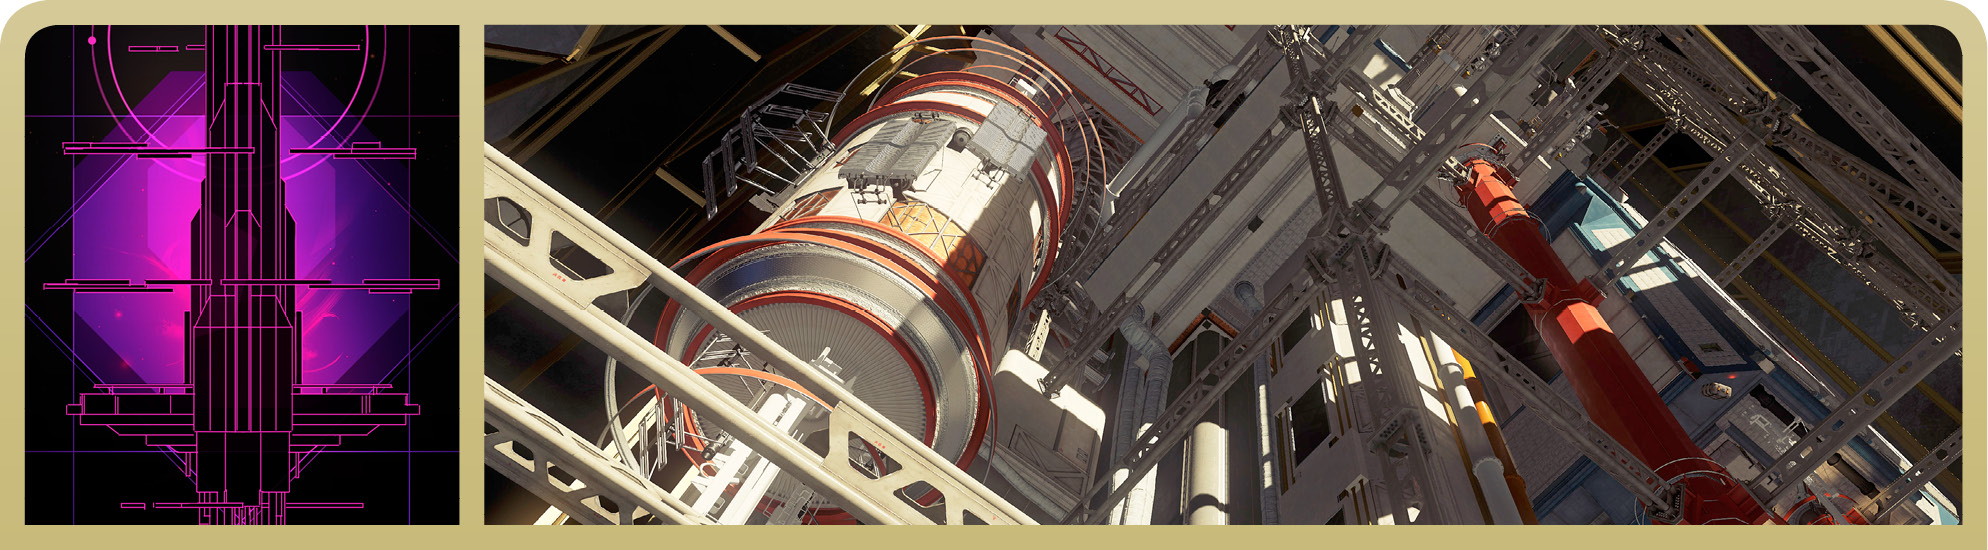
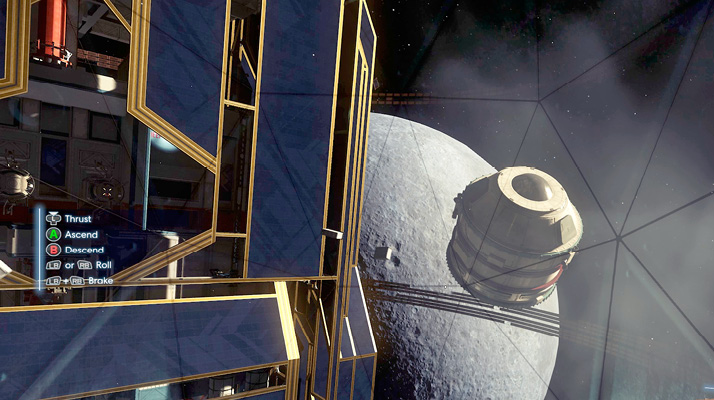
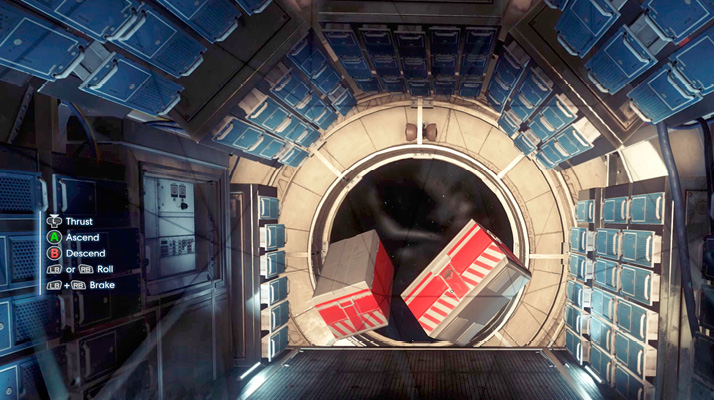
After regaining consciousness, exit the data vault by pressing the white button next to the door. As you exit, Sarah Elazar contacts you over comms. She suggests heading to the Cargo Bay—there’s an opening there you can use to gain access to the station. Talos I is officially locked down and all airlocks are sealed, including those you previously unlocked. As you begin to maneuver, activate your Psychoscope to spot Cystoids. Avoid them or eliminate them with your weapon of choice. Before traveling too far, search Data Vault A (floating nearby) for supplies. Two supply crates are inside containing food, spare parts, a Suit Patch Repair Kit, and two Medkits—it looks like Danielle Sho was well-prepared when she escaped.