Prey Guide Walkthrough: Story Objectives
Detour
DetourI need to make my way to Deep Storage, a data processing facility of the Arboretum. The main lift is inaccessible, but January says there’s another way up. First I’ll have to get through the Psychotronics lab. |
Security Office
| Notable Items: |
| Weapon Upgrade Kit |
| Shotgun |
| Keycode: Holding Room |
| Shotgun Shells Fabrication License |
| Recycler Charge |
| EMP Charge |
| Nullwave Transmitter |
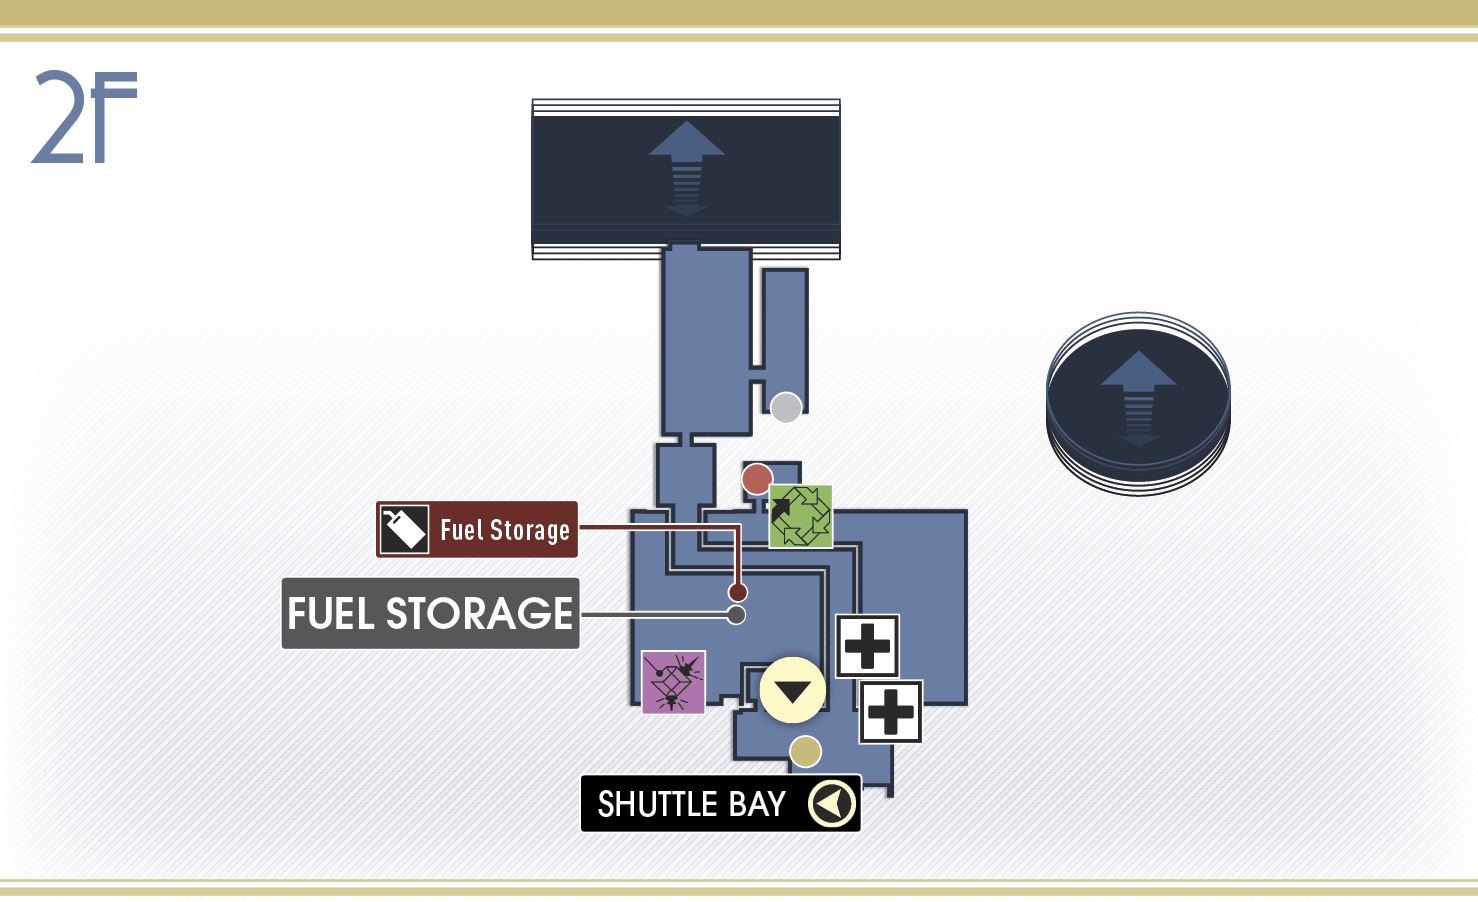
Before heading to the Psychotronics lab, take a moment to explore the rest of the Talos I Lobby. Start by heading to the Security Office, located near the Shuttlebay door. The door to the Security office is locked, but you can unlock it with a well-placed shot from the Huntress Boltcaster. First, locate the manual override button next to the door inside the security booth. Next, take aim through one of the openings in the security booth’s window—you must crouch and back up to line-up the shot. Once you hit the button, the door at the back of the security booth opens. You can access the booth from the hall (labeled Security) near the stairway leading to Trauma Center and Staff Lounge.
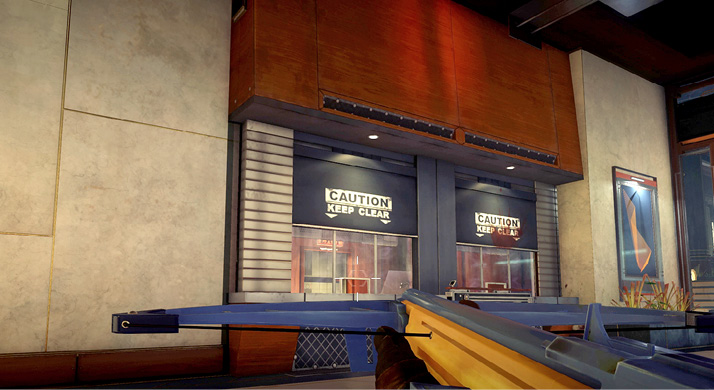
Access the security station inside the security booth and download the map to the lobby. Three emails from Nils Kjoergaard reveal that several people are trapped in the Shuttlebay requesting help from the station’s security. The security booth contains a Weapon Upgrade Kit as well as the sheet for Elias Black’s character in Fatal Fortress, a popular role playing game played by station personnel.
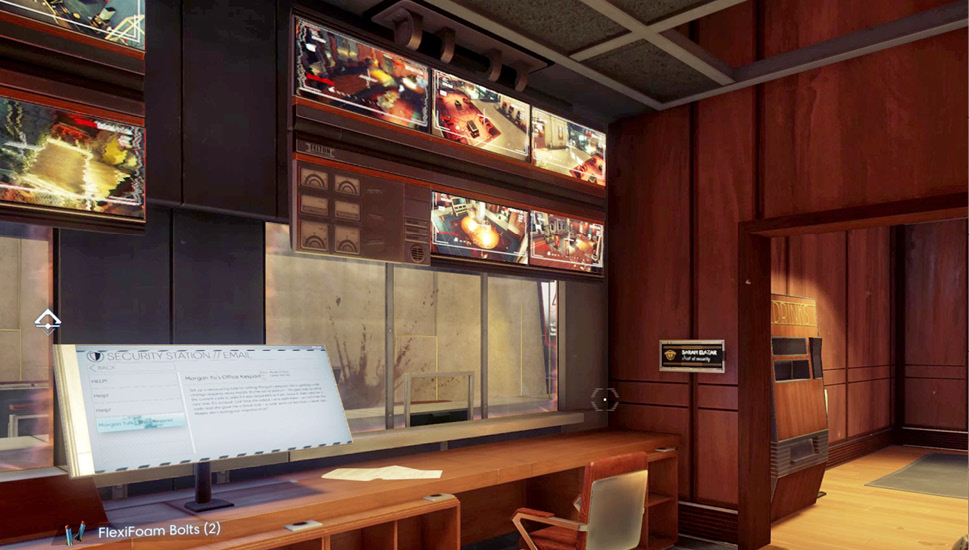
Sarah Elazar’s office is adjacent to the security booth. Grab the shotgun on Sarah’s desk. The shotgun is a powerful close-range weapon, ideal for dishing out heavy damage to Phantoms and other advanced Typhon entities. But unlike the Silenced Pistol, the shotgun is very loud.
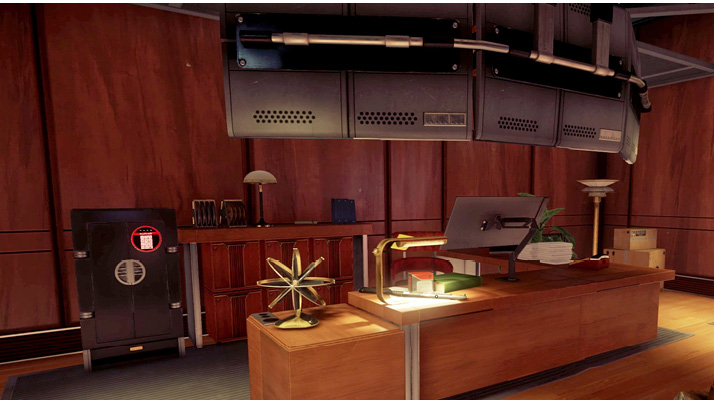
Use it sparingly, only once you’ve been detected. An email on Sarah’s workstation (from Alex) hints at a missing keycard labeled EP101—it sounds important. Retrieve the note attached to the lamp next to Sarah’s workstation. The note contains the code to the nearby holding room: 1129. Open the safe near Sarah’s desk by inputting the code: 0526. The safe contains a Shotgun Shells fabrication license as well as an EMP Charge, Recycler Charge, and a Nullwave Transmitter.
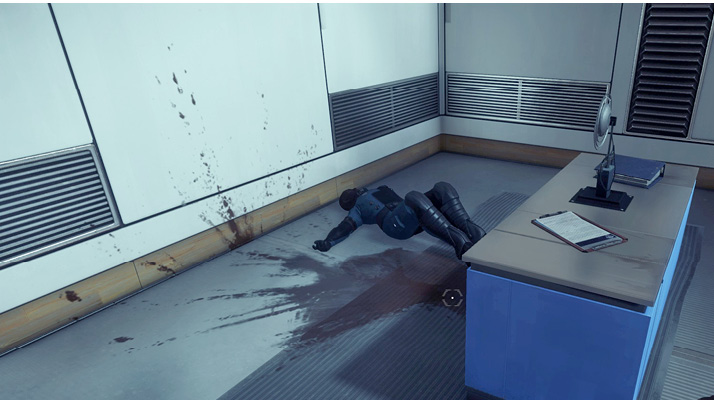
Unlock the door to the holding room using the code (1129) from the note on Sarah’s desk. But be ready to confront a Mimic waiting inside. In addition to the Mimic, the room contains the body of Demetri Bowser. Bowser was present during the incident in the Simulations Lab. The note on the desk reveals information about unnumbered Neuromods in Yuri Kimura’s office, trigging the optional Stolen Neuromods objective.
Stolen NeuromodsObjective Summary: I discovered that Yuri Kimura, one of TranStar’s Neuromod installers, has off-the-books Neuromods in her office in the lobby. I should recover them. If you haven’t discovered them already, head to the Sales Division (on the third floor) and retrieve the four Neuromods located beneath Yuri Kimura’s desk. This is a sizable stash, well worth the time it takes to retrieve them. But beware of the Phantom roaming the Sales Division—the Phantom was once Yuri Kimura. 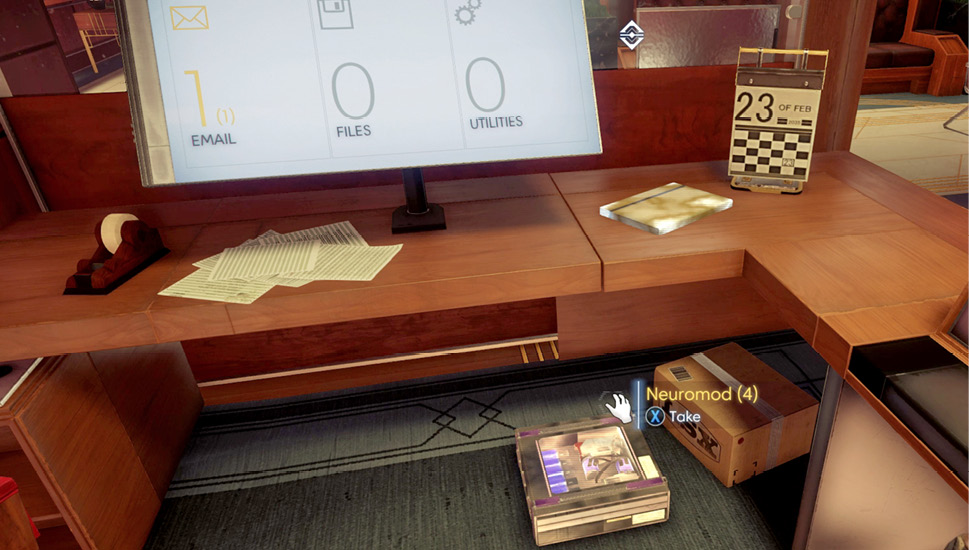
|
Staff Lounge
| Notable Items: | Audio Recording: This isn’t a Drill |
| Keycode: Pilot Lounge |
Access to the Staff Lounge is restricted due to a damaged door. But there’s another way in. Return to your office on the third floor and turn to the large window overlooking the lobby. Shatter the window with your wrench and drop onto the second-floor balcony below, using your propulsion system to slow your descent. From this balcony, you can access the Staff Lounge as well as IT Security. But watch out for a Mimic hiding nearby.
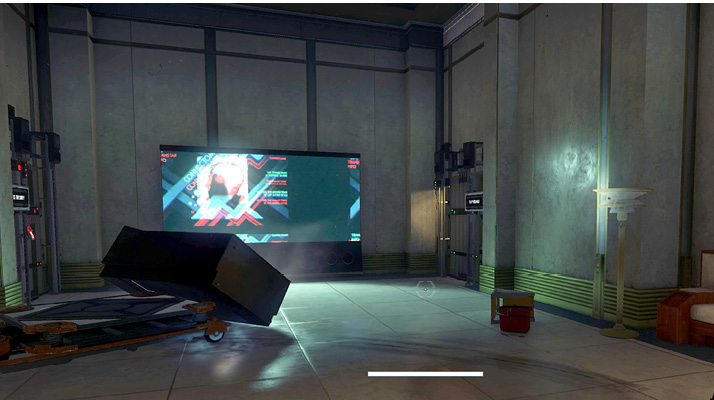
This recreational room features a well-stocked kitchen and a Recycler. Several Mimics are also lurking about. Eliminate the Mimics then raid the kitchen for supplies. In the kitchen, you find the body of Octavia Figgs. Grab her TranScribe to retrieve another recording (This isn’t a Drill). Listening to the recording reveals the keycode to the Pilot Lounge in the Shuttle Bay.
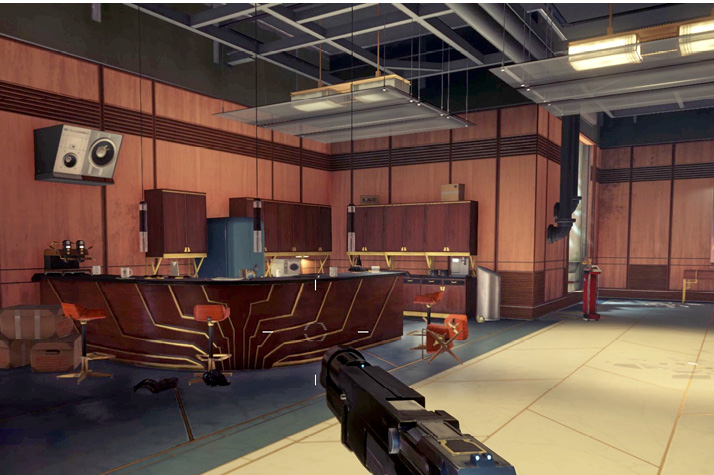
Trauma Center
| Notable Items: | Neuromod | Audio Recording: Session Log: Dr. Calvino |
| Audio Recording: Session Log: Sarah Elazar | Audio Recording: Session Log: Danielle Sho | |
| Keycode: Psychotronics Access | Medkit Fabrication License |
While the door to the Trauma Center is locked, the keycard can be retrieved from the reception desk on the first floor or from Bianca Goodwin’s office on the third floor. But think twice before entering. The Trauma Center is patrolled by a Phantom and a Thermal Phantom. Make sure your weapons are fully loaded, particularly the Shotgun, GLOO Cannon, and Q-Beam. Access the terminal inside the waiting room. This is actually a security station allowing you to download a map of the lobby as well as track crew members.
The Corpse Vanishes (continued)While accessing the security station in the Trauma Center, read the “Incoming Casualties” email. This reveals Dr. Bellamy’s body has been moved to Psychotronics under directions from Alex. Dr. Bellamy’s tracking bracelet is located on the desk next to the security station. This objective can be resumed once your gain access to Psychotronics. 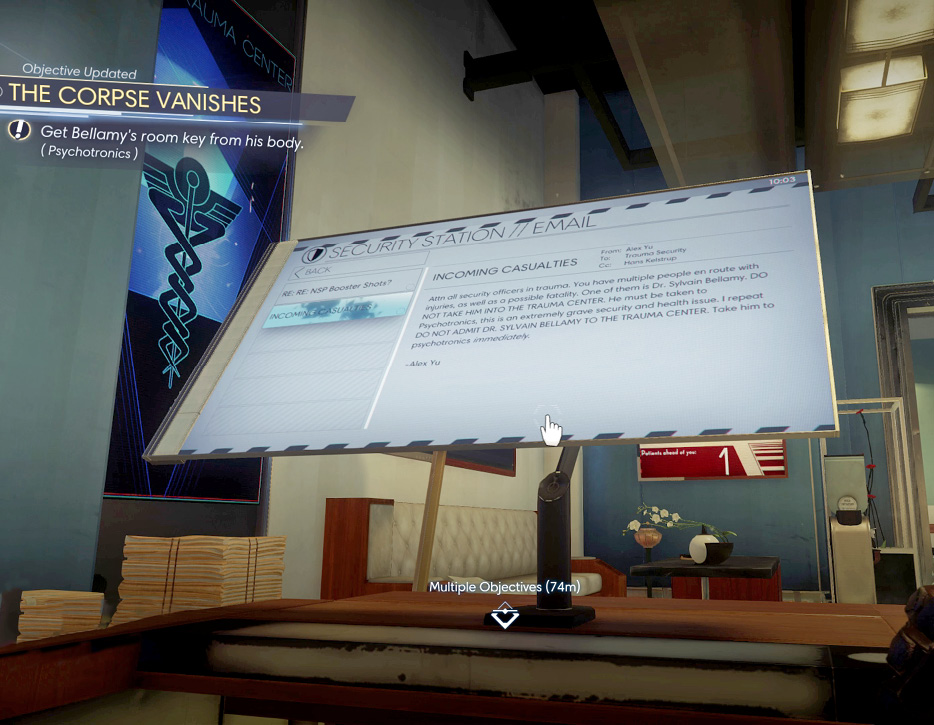
|
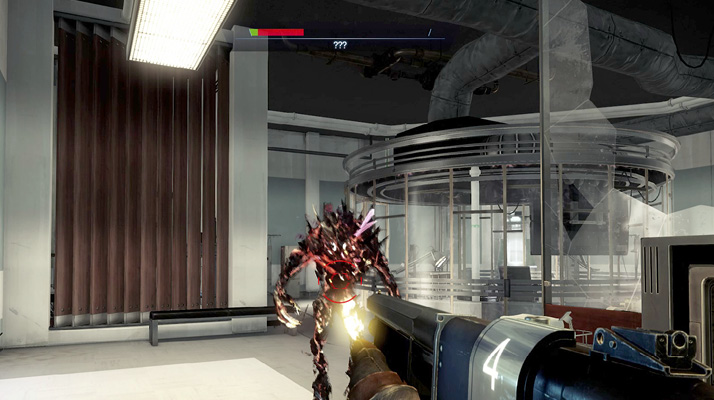
Before exploring the rest of the Trauma Center, eliminate the Phantom and Thermal Phantom. Try to isolate and target the Phantom first, taking it out with the GLOO Cannon and Shotgun. Next, focus your attacks on the Thermal Phantom. This deadly Phantom variant relies on fiery area-of-effect (AoE) attacks. Keep moving to avoid getting scorched. The Thermal Phantom can be slowed with the GLOO Cannon, but you need to keep moving. Keep your distance and open fire with the Q-Beam. If your Q-Beam is running low on ammo, rely on the Shotgun to take down the Thermal Phantom.
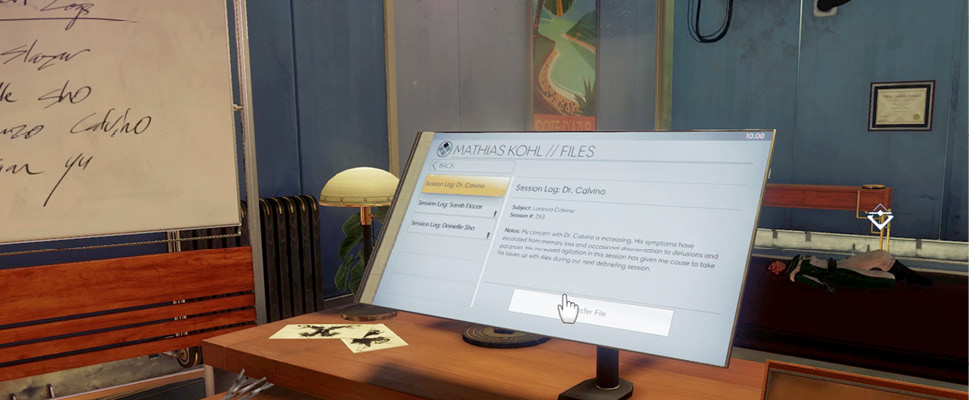
Enter Mathias Kohl’s office, Talos I’s counselor. Search April McGuire’s body (located near the doorway) for supplies. Then access Kohl’s workstation. The Files tab contains audio recordings for three patients: Dr. Calvino, Sarah Elazar, and Danielle Sho. Transfer all three files to your TranScribe.
Locate Luther Glass’ body in the chamber at the back of the Trauma Center. His body holds a single Neuromod. Nearby, access the Operator dispenser to deploy a Medical Operator. Talk to it to receive medical assistance, taking you to full health. When possible, make use of Medical Operators to heal—save Medkits and other health items for later. While you’re in this area, search the various cabinets and deceased crew members for supplies. A fabrication license for Medkits is located near Regina Sellers’ workstation, sitting next to a microscope.
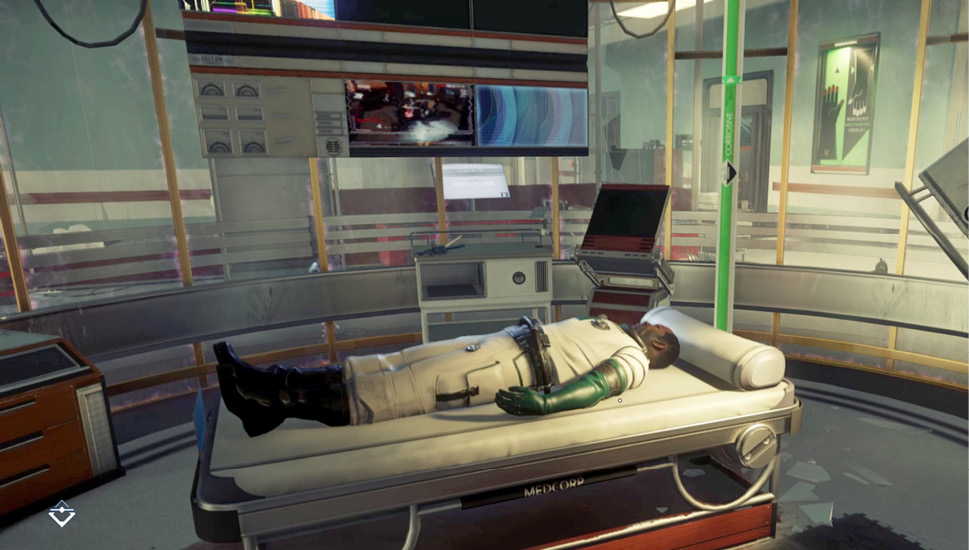
Psychotronics Foyer
| Notable Items: | Weapon Upgrade Kit |
| Neuromod (4) | |
| Optional Objective: Who is December? |
The General Access keycard opens the door to the Psychotronics Foyer, on the first floor. In addition to Elias Black’s workstation, this room also contains a safe. While the safe’s code isn’t readily available, it can be hacked if you have the Hacking II skill. The safe contains a Weapon Upgrade Kit as well as four Neuromods. These contents alone make Hacking a worthwhile skill to add to your repertoire.
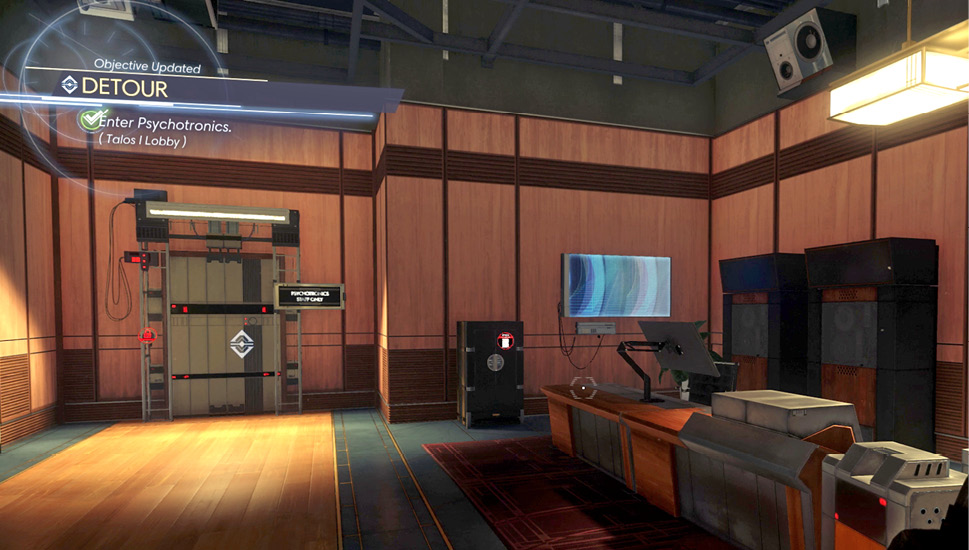
Who is December?Objective Summary: I’ve been contacted by another Operator named December. Like January, it has my voice. However, December’s directive is to help me escape Talos I. It claims that before I lost my memory, I hid the key to Alex’s private escape pod in the debriefing room of the Neuromod Division. 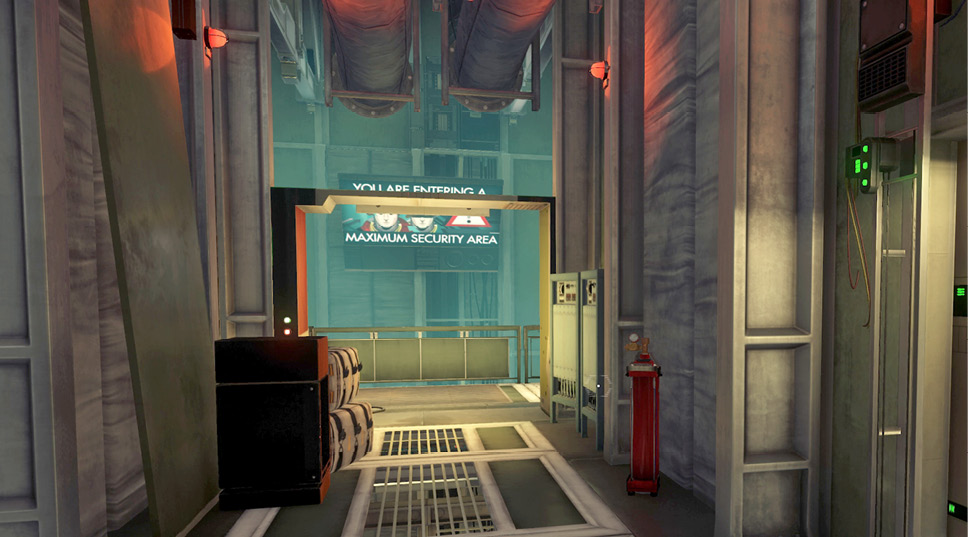
An Operator named December contacts you upon your entrance to the next corridor in the Psychotronics foyer. Unlike January, this Operator has instructions to help you escape the space station using Alex’s escape pod. Taking on this optional objective requires you to backtrack through the Neuromod Division, where the game began. Consider doing this now, before continuing to Psychotronics. But be prepared to face more Typhon along the way. Back in the Neuromod Division, head for the Simulation Debriefing room. Climb atop the tall console on the left side of the room to locate Alex’s keycard. Instead of finding a keycard to Alex’s escape pod, you find a note from Alex. It looks like he figured out what you were up to and removed the keycard. But there’s still a briefcase here containing a number of supplies, including food and a Disruptor Stun Gun. December contacts you and asks to meet in the Neuromod Division’s foyer. 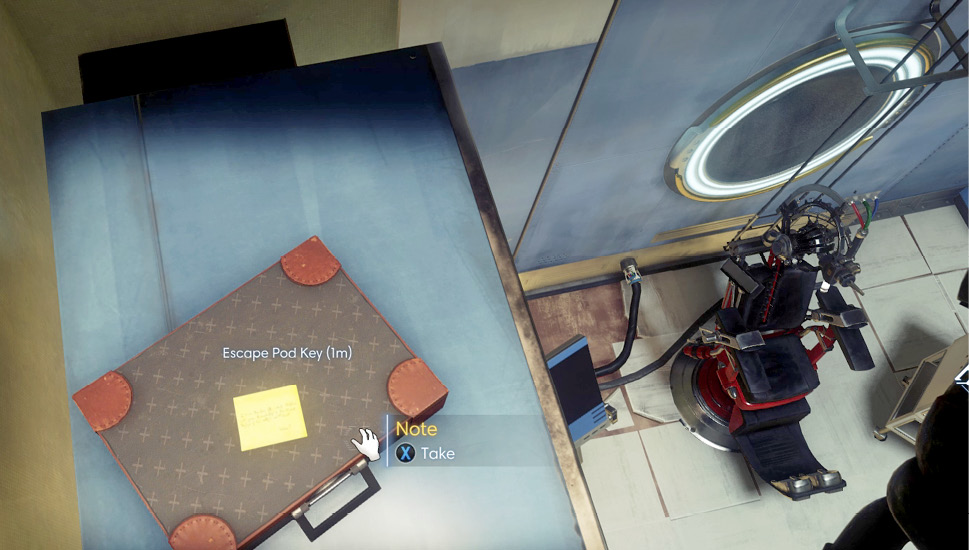
By the time you reach the foyer, January has already caught up and destroyed December. January urges you to continue with your path through G.U.T.S., insisting that Operators like December cannot be trusted. Search December’s remains to retrieve a Neuromod and a note. The note reveals the code to Alex’s office safe, located in the Arboretum. Perhaps the escape pod’s key is located in the safe? You can continue this objective once you obtain access to Alex’s office. 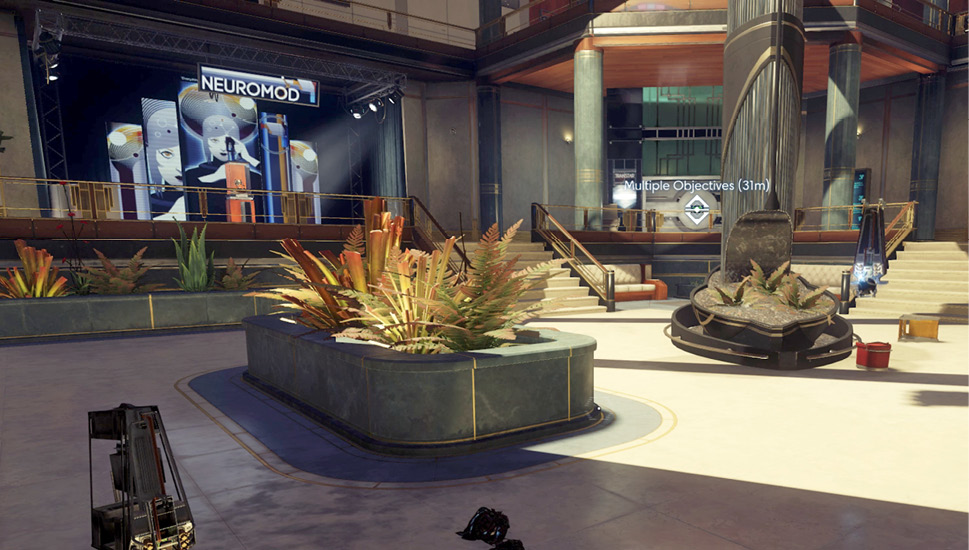
|
Back in the Psychotronics Foyer, advance through the corridor where December initially contacted you and cautiously descend a large stairwell. An Etheric Phantom (like the one you encountered in the Teleconferencing Center) is patrolling this stairwell. Given the tight confines of the stairwell, it’s nearly impossible to sneak past this threat. So take aim with the Q-Beam and open fire. If the Q-Beam runs out of ammo, switch to the GLOO Cannon in an effort to immobilize the enemy. Then open fire with the Shotgun to finish the job.
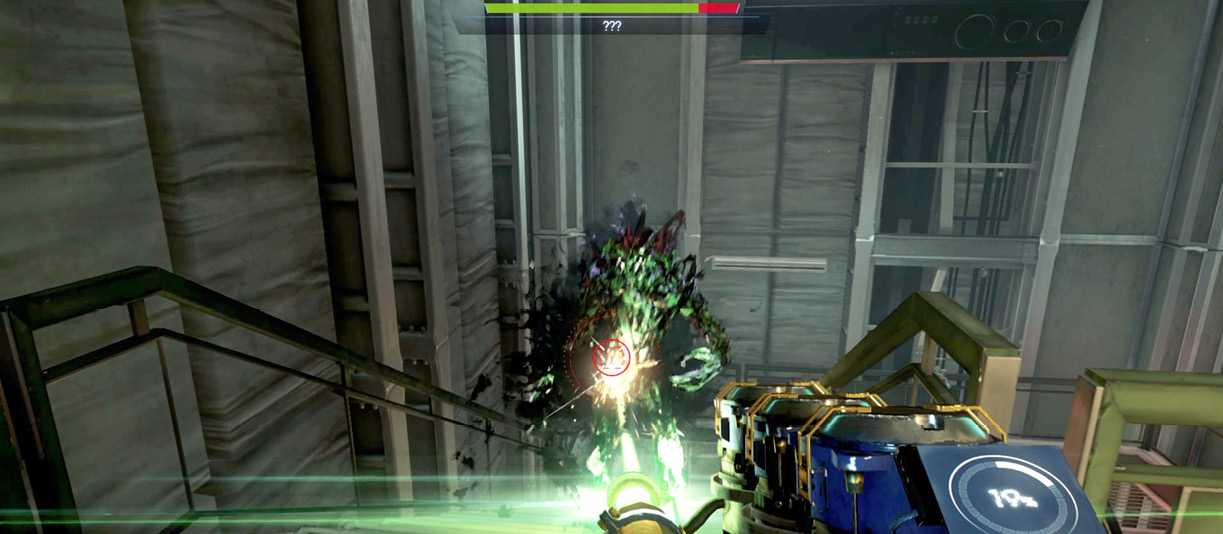
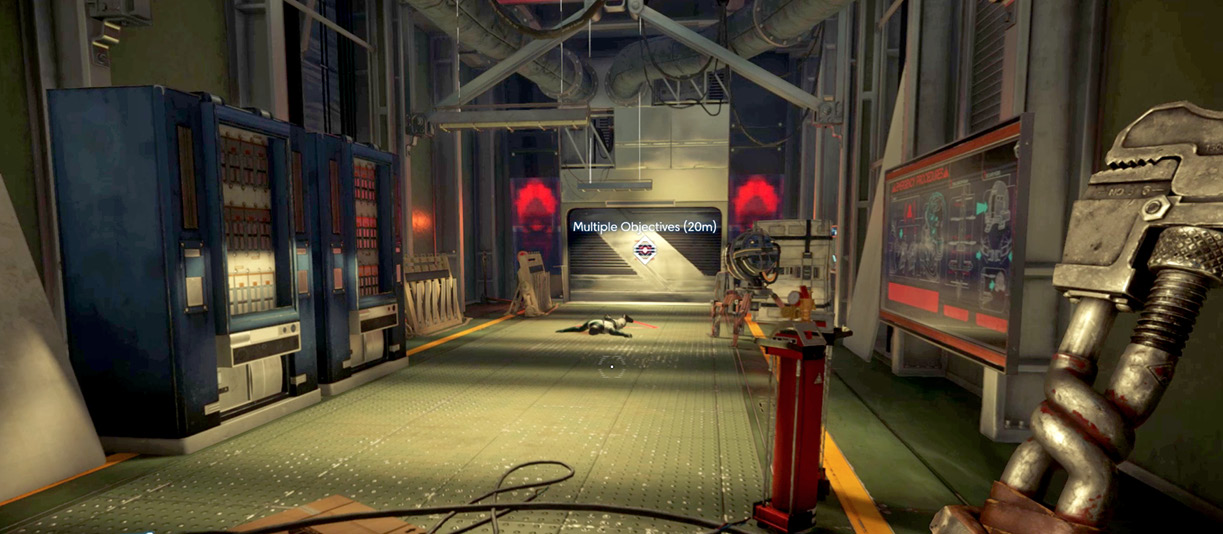
Search the area around the base of the stairwell for more supplies. Then proceed to the door at the end of the corridor, leading to Psychotronics. Joel Weeks’ body lies on the floor in front of the doorway. Search his body for supplies. Then interact with the door to enter Psychotronics.
Psychotronics
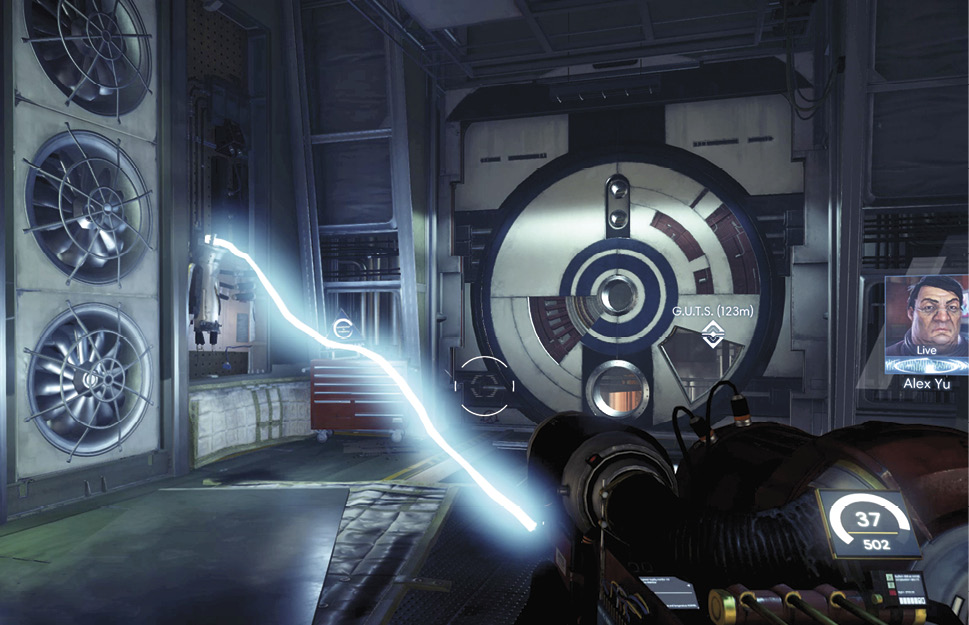
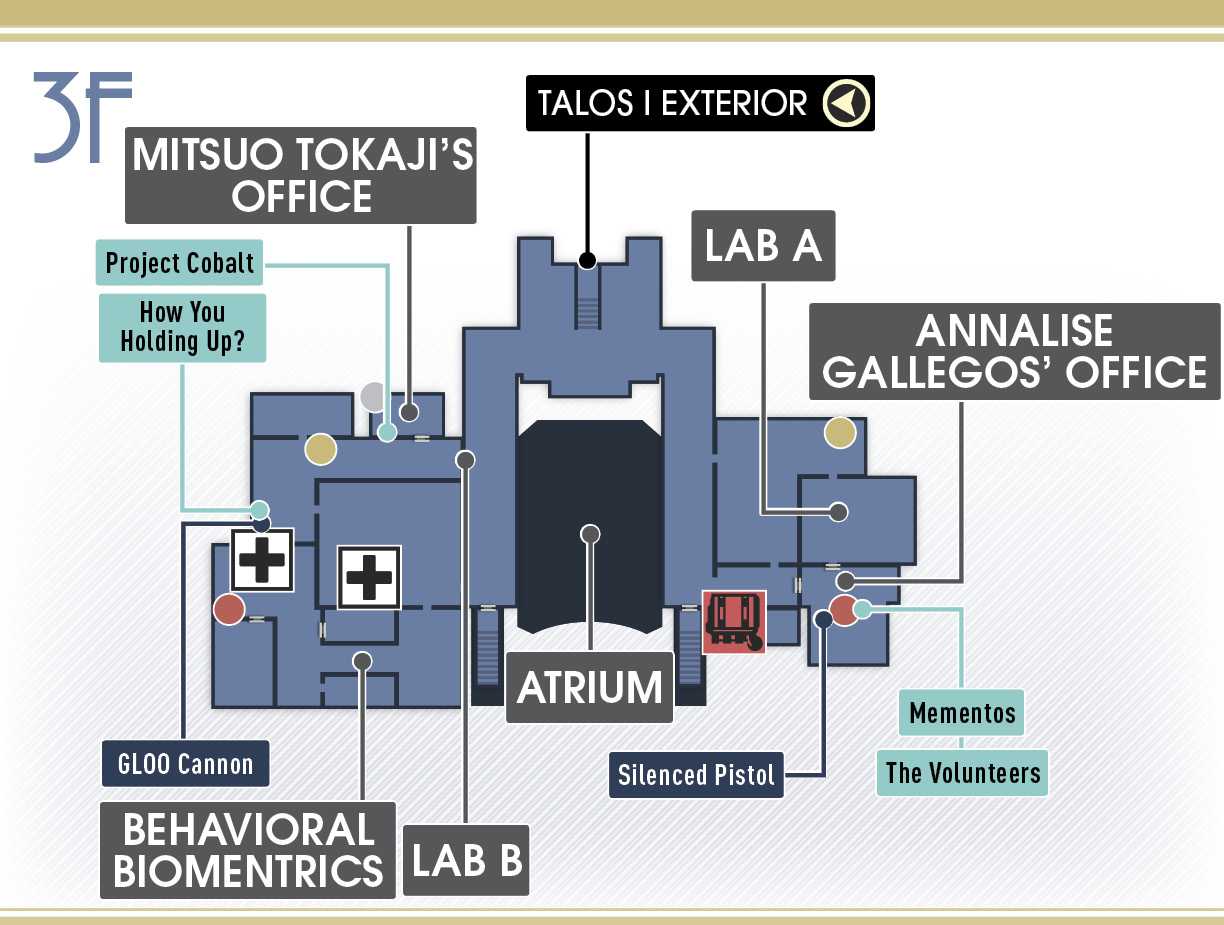
Since elevator access to the Arboretum is currently unavailable, January plotted an alternative route through the Psychotronics Lab. From here you can access the Gravity Utility Tunnel System (G.U.T.S.) and proceed to the Arboretum, at the top of the station. But Psychotronics isn’t safe—this is where the Typhon first broke containment. Arcs of electricity intermittently block your path, crackling from a damaged electrical junction on the corridor’s left side. Hit the electrical junction with your GLOO Cannon. This temporarily halts the electrical arcs, allowing you to pass through the door at the end of the corridor. If you have spare parts and the Repair II skill, you can fix this electrical junction.
Security Checkpoint
| Notable Items: |
| Weapon Upgrade Kit |
| Silenced Pistol |
| Turret (2) |
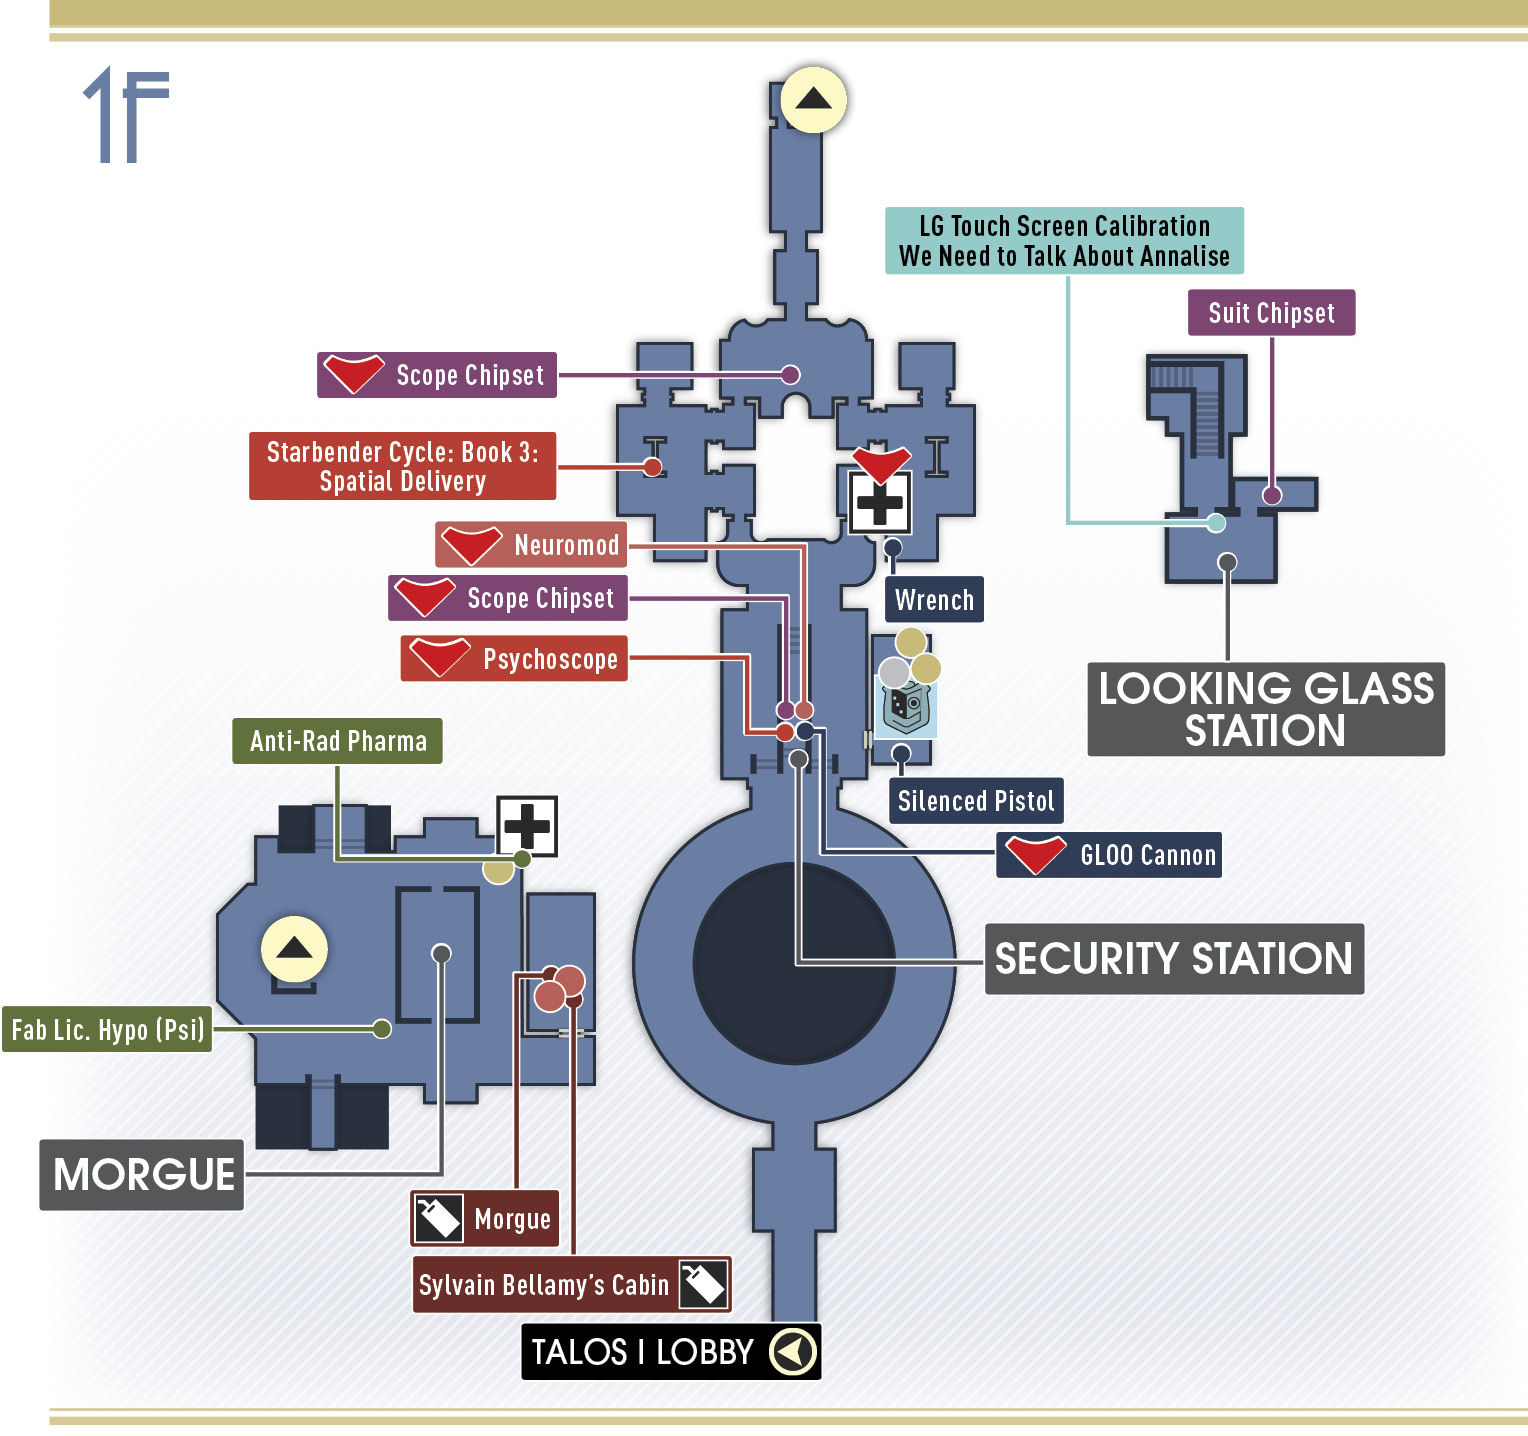
Just beyond the door is a large circular room with perimeter paths, both leading to a security checkpoint. Watch out for Mimics lurking about this area. The door to the security booth is locked, but you can hack it if you possess the Hacking II skill. Otherwise, break the window to the door’s left using your wrench. Next, take aim at the security station inside using your Huntress Boltcaster. First, shoot the Utilities tab on the screen. Next, shoot the button at the bottom of the screen to unlock the security booth’s door.
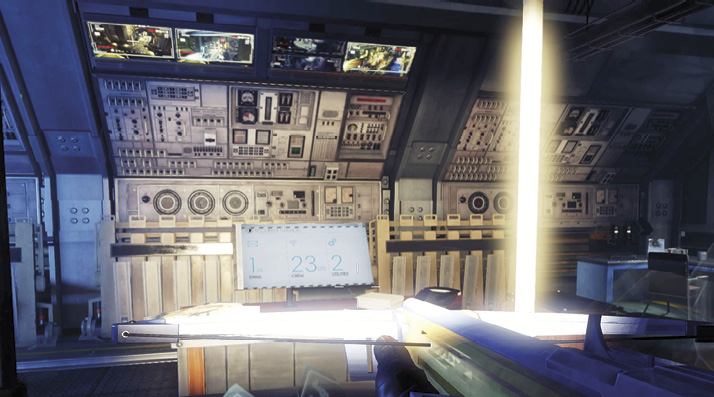
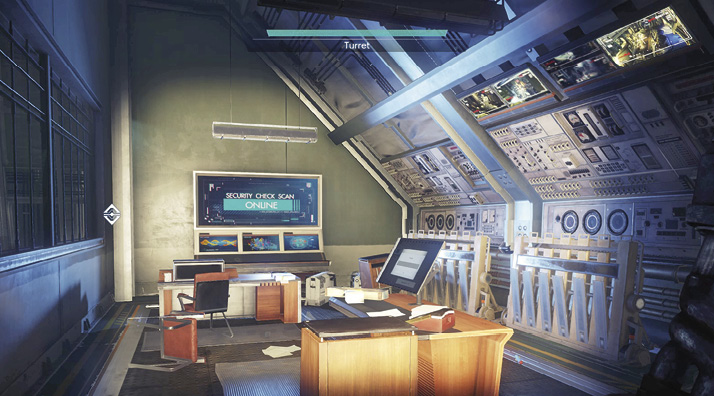
Once inside the security booth, access the security station and download the Psychotronics map to your TranScribe. There’s also an interesting email from Hans Kelstrup ordering security to apprehend Dr. Gallegos—this might be worth looking into. Next, search the booth for supplies, including some ammo and a Weapon Upgrade Kit. Two turrets are also inside the security booth. Deploy one outside the security booth and take the other one with you.
Clean Room Preparation
| Notable Items: | GLOO Cannon | Psychoscope |
| Neuromod (2) | The Starbender Cycle: Book 3 |
The corridor beyond the security checkpoint branches to the left and right. Both paths lead to locker rooms where station personnel prepared for entry into Psychotronics. The path to the right, leading into the men’s locker room, is blocked. But the path through the women’s locker room on the left is clear. Deploy one of the turrets from the security booth outside the women’s locker room before entering. There’s a Phantom inside the women’s locker room. Lure it outside so the turret can eliminate it. Be sure to read the third volume of The Starbender Cycle in the women’s locker room before moving on.
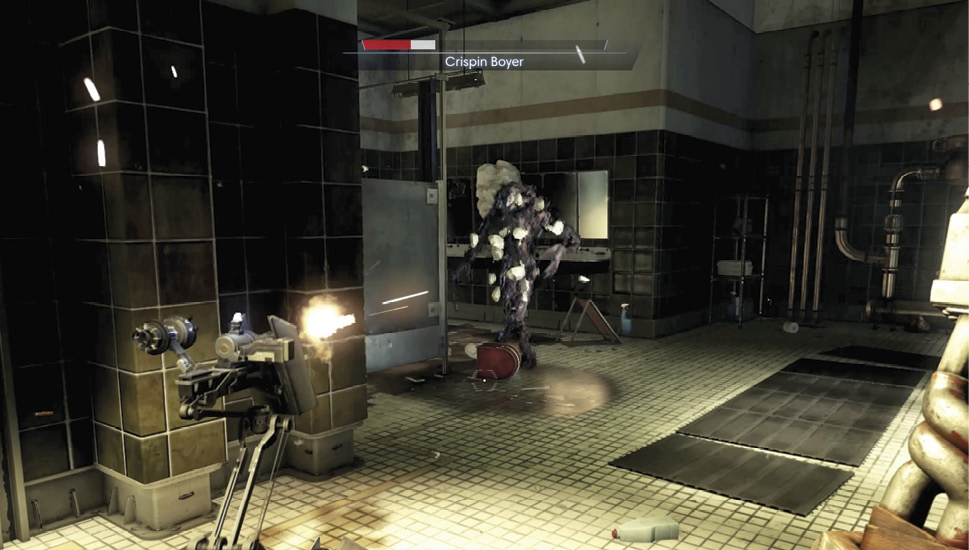
Beyond the women’s locker room is the decontamination chamber. However, entrance is denied until you obtain a Psychoscope. Grab your turret and enter the men’s locker room, through the unobstructed exit nearby. Deploy the turret inside the men’s locker room and locate a hole in the floor. Allison Brady’s body lies next to the breach. Search Allison Brady’s body for supplies then drop through the hole in the floor.
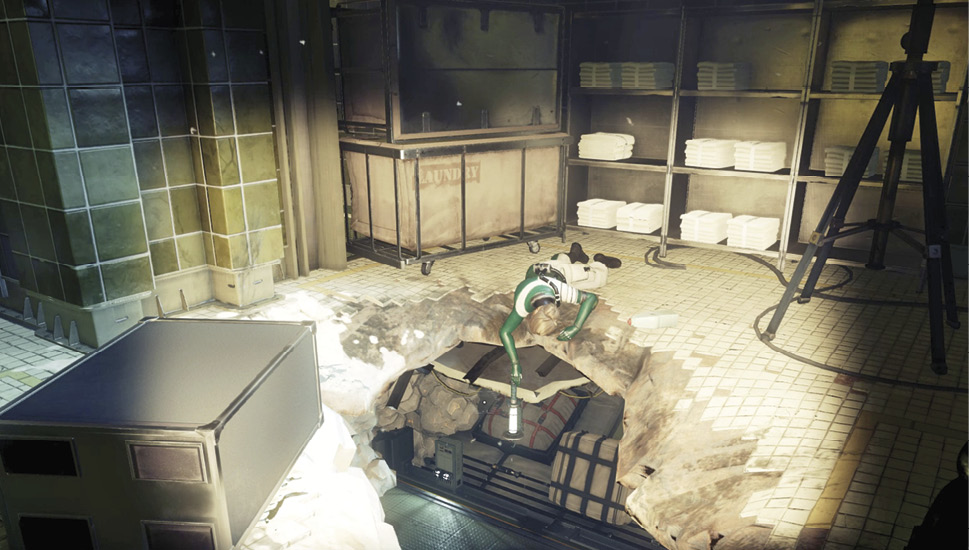
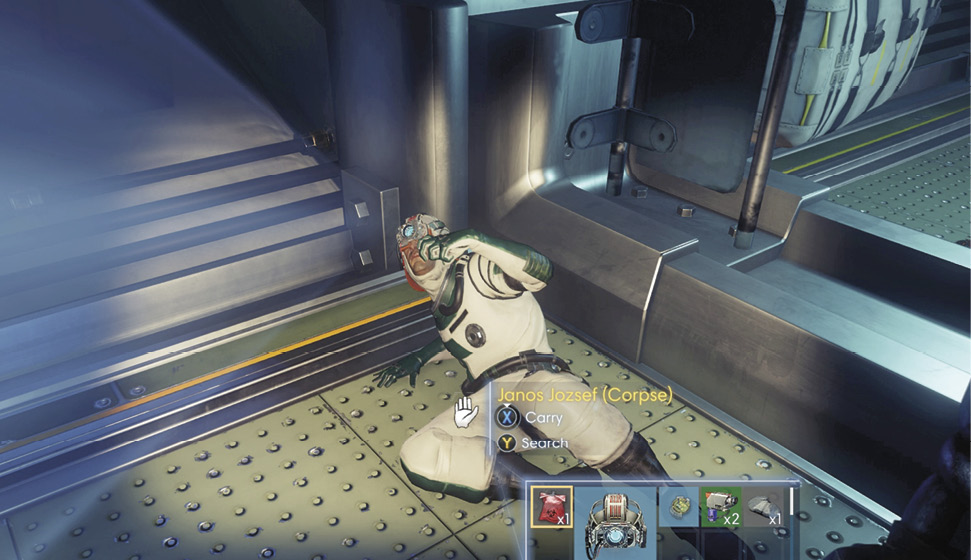
Turn on your flashlight and search the cramped maintenance tunnel beneath the men’s locker room. A few Mimics are down here, so be ready to whack them with your wrench. Locate Janos Joszef’s body—he’s wearing a Psychoscope on his head. Search Joszef’s body to retrieve the Psychoscope and other supplies, including two Neuromods.
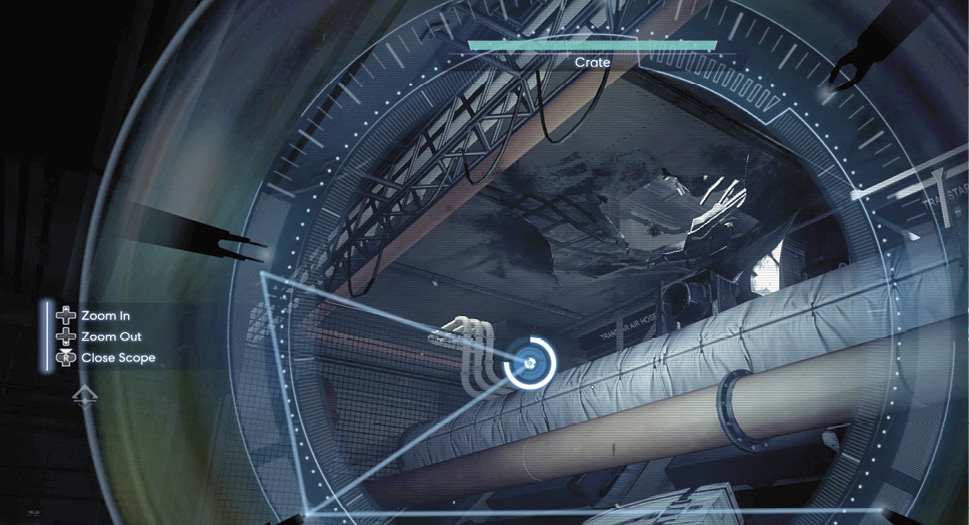
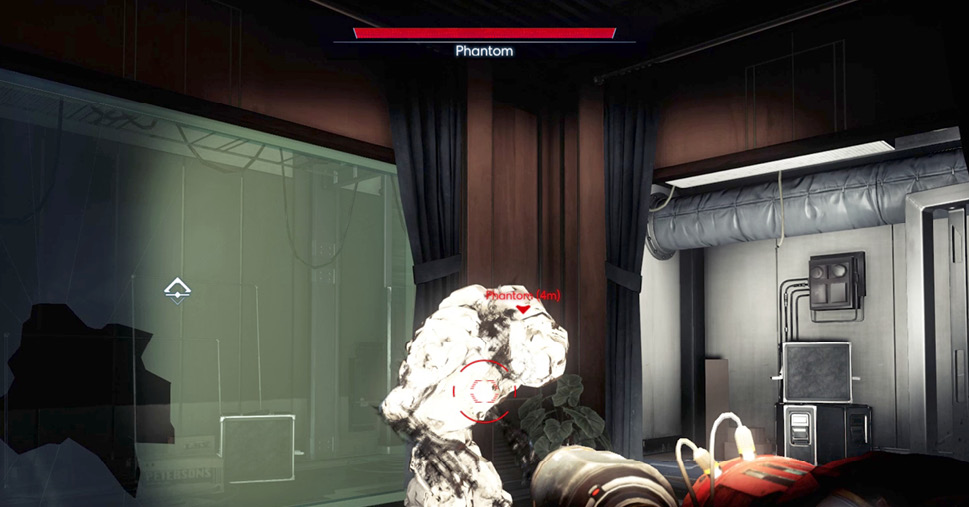
The Psychoscope is an optical device used to scan Typhon organisms. Scanning Typhon reveals new abilities you can acquire by installing Neuromods. While keeping the Psychoscope active, retrace your steps to the hole in the men’s locker room floor. Just above, you can spot more Mimics and a Phantom (assuming your turret hasn’t already taken them out). Center an enemy in the Psychoscope as it automatically conducts a scan. Once the scan is complete, the Typhon’s weaknesses, immunities, and powers are revealed. Scanning a Mimic reveals the Mimic Matter I ability, allowing you to temporarily transform yourself into a small object.
Decontamination
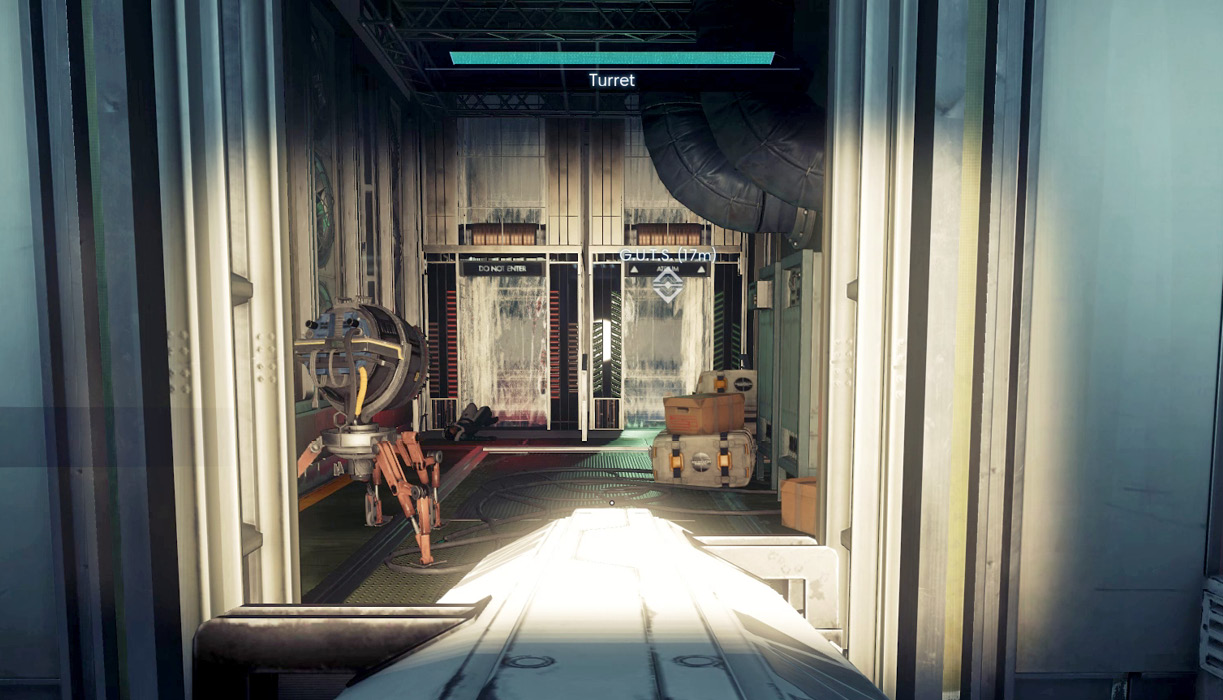
Climb out of the hole in the men’s locker room and eliminate any Mimics or Phantoms that haven’t been killed by your turret. Proceed to the decontamination chamber. Now that you’ve obtained a Psychoscope, you can enter. After passing through the decontamination chamber, search the body of Steven Mueller near the Grav Shaft. There may also be a Science Operator in this area—be sure to scan it with the Psychoscope to reveal more information. Similar to Medical and Engineer Operators, you can talk to Science Operators to replenish your Psi meter. When you’re ready to move along, enter the Grav Shaft and ride it up to the Atrium.
Atrium
| Notable Items | Keycode: Dr. Kelstrup’s Safe |
Alex contacts you upon entrance to the Atrium. While Alex isn’t thrilled with your decision to follow January’s directives, he is your big brother and doesn’t want to see you get hurt. He needs you to calibrate your Psychoscope by scanning the Phantoms in the nearby containment chambers.
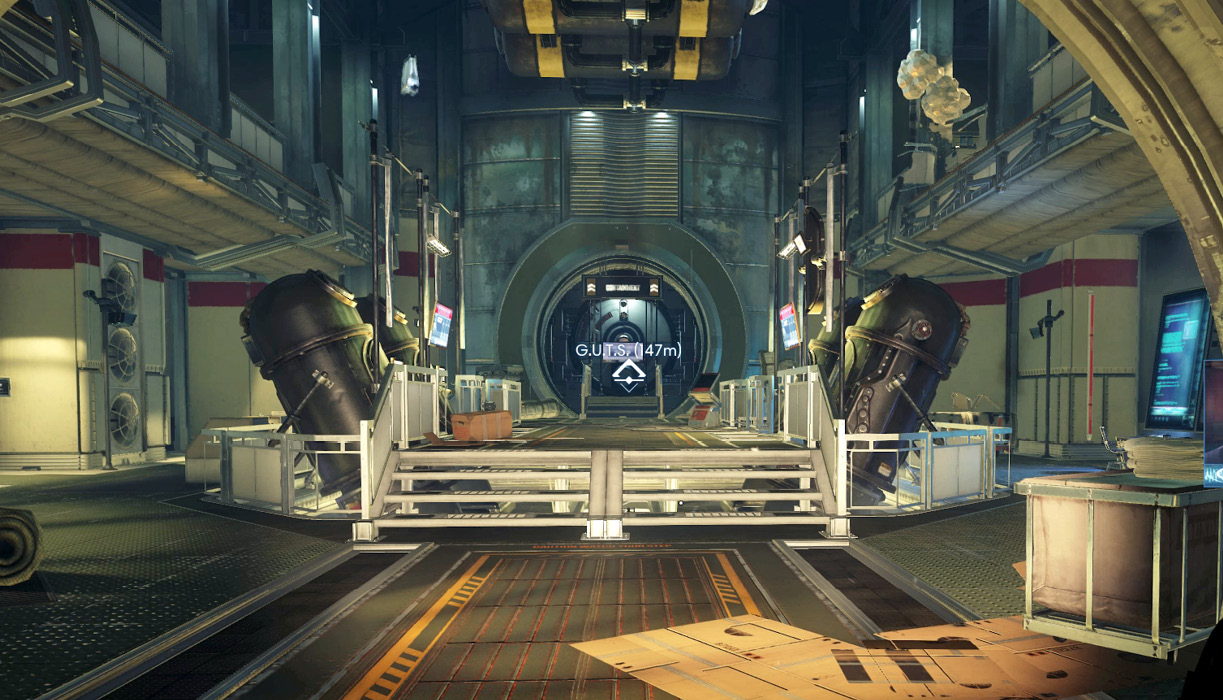
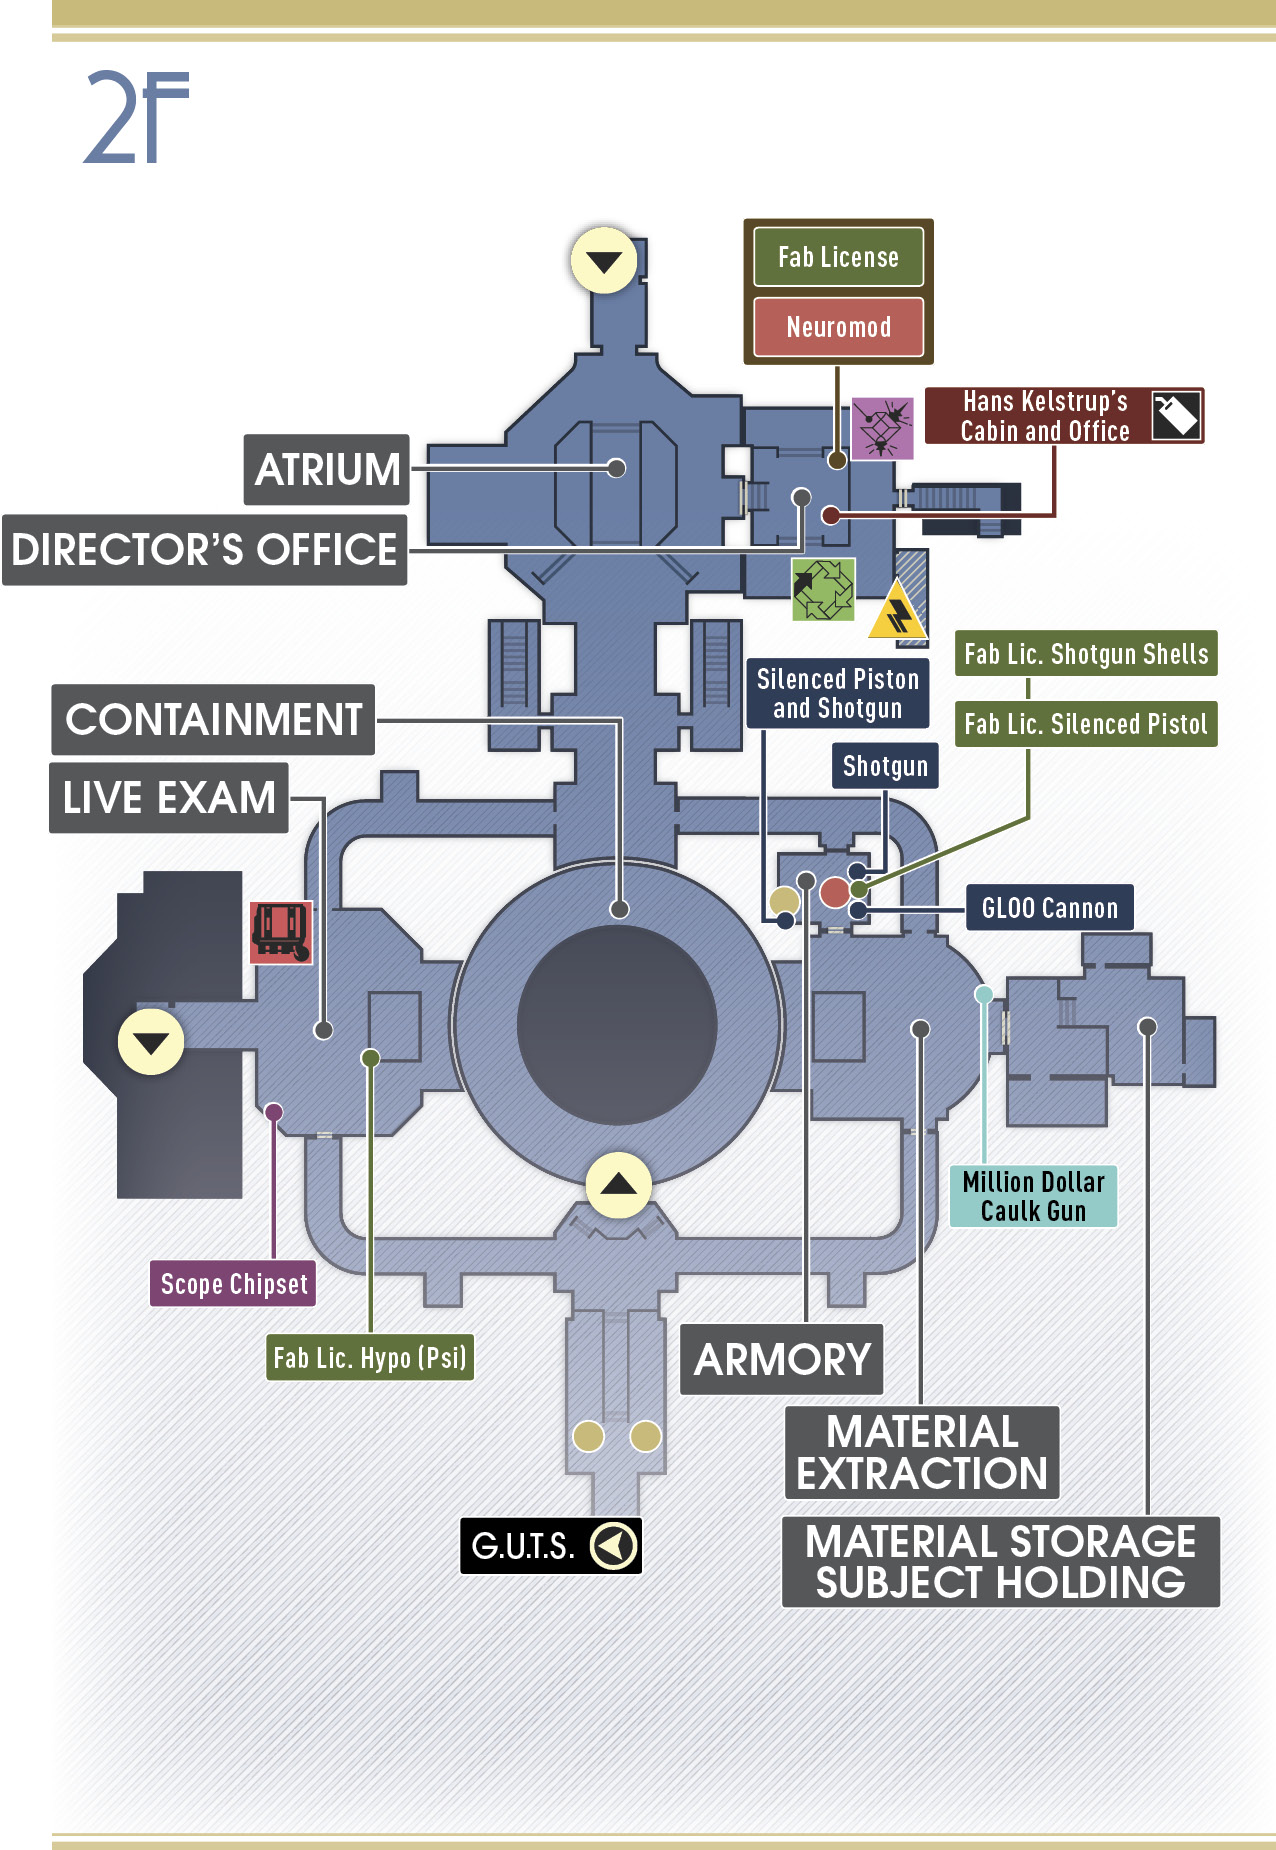
Investigate the four containment chambers in the center of the Atrium. Three of the chambers contain a Phantom. Some of the chambers have a lowered containment shield that must be lifted before you can scan the Phantom within. Interact with the screen on the containment shield to raise it. Scan the Phantoms in the chambers to update your research. You must scan a total of four separate Phantoms to complete the research on this organism. Once Phantom research is complete, you can use Neuromods to obtain Kinetic Blast I and Kinetic Blast II. The Kinetic Blast abilities allow you to use Psi energy to launch a directed psychic attack on enemies, just like the Phantom’s ranged attack. Scanning captive Typhon organisms is much safer than scanning ones that have escaped. So as you proceed through Psychotronics, take advantage of the Typhon still under containment, scanning them with the Psychoscope to advance your research. After scanning the Phantoms, Alex passes along the keycode to Dr. Kelstrup’s safe, certain Kelstrup has Neuromods stashed in there. He wants you to use the Neuromods to install a Typhon ability. Alex feels this is crucial for survival. This triggers the start of another optional objective.
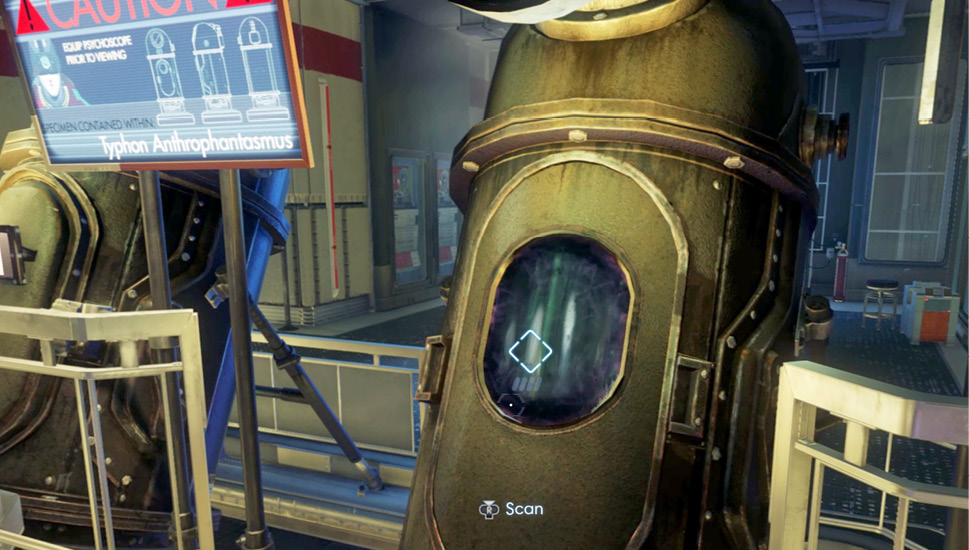
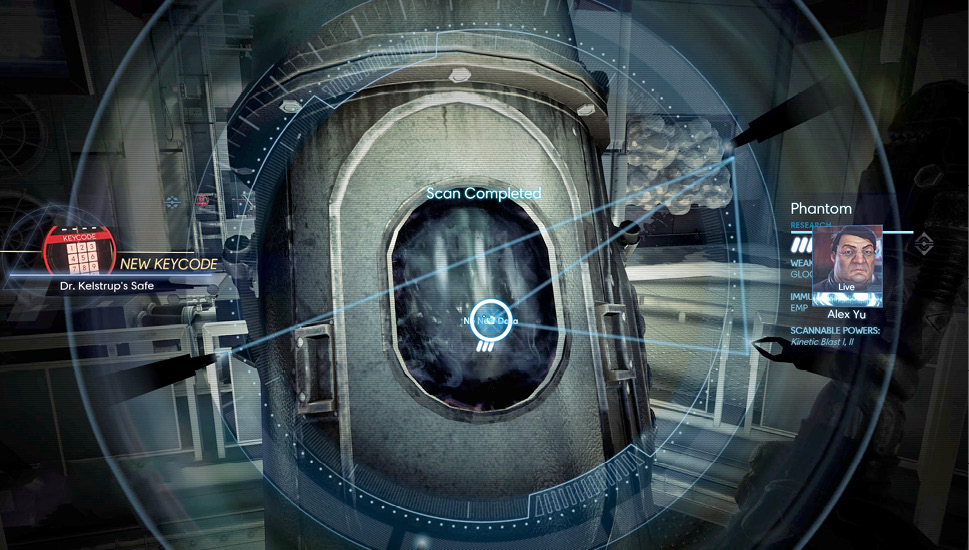
Dr. Kelstrup’s NeuromodsObjective Summary: Alex sent me a code for Dr. Kelstrup’s safe. I should collect the Neuromods he says are inside. Dr. Kelstrup’s safe is located in his office, just off the Atrium. But before heading for Kelstrup’s office, take a moment to explore the Atrium. |
Director’s Office
| Notable Items: |
| Neuromod Fabrication License |
| Neuromod (2) |
| Keycard: Hans Kelstrup’s Cabin |
| Keycard: Director Kelstrup’s Office |
After exploring the Atrium, turn to Dr. Kelstrup’s office. While the door to the office is locked, you can get in through one of the two windows, flanking the entrance. Use your wrench to shatter the GLOO deposits sealing the windows. Once the GLOO is out of your way, hop through the window.
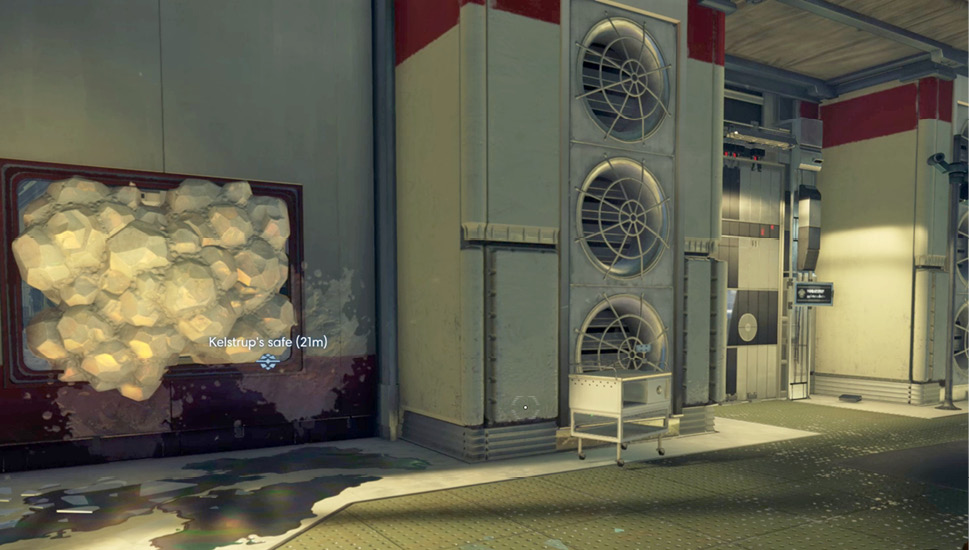
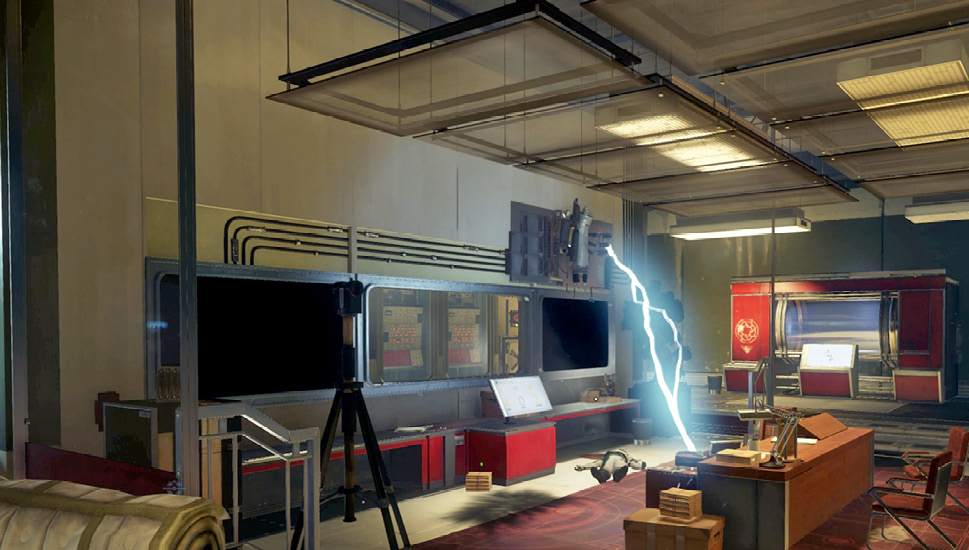
Dr. Kelstrup’s office is large, reflecting his status as the director of Psychotronics. It contains its own Recycler and Fabricator, the only such devices in this lab. Before you explore the office, repair the damaged electrical junction above Dr. Kelstrup’s body. Otherwise, you’ll take damage from the arcs of electricity. Smother the electrical junction with GLOO, then perform repairs. Alternatively, you can access the Power Kiosk in the back of the office (accessible through a maintenance access panel) to shut down the power before making repairs. However, power will need to be restored through the Power Kiosk if you wish to access Kelstrup’s workstation, Recycler, and Fabricator.
Dr. Kelstrup’s Neuromods (continued)Complete this optional objective by opening Dr. Kelstrup’s safe with the input code (7993) Alex sent you. The safe contains a fabrication license for Neuromods as well as two Neuromods. Using the fabrication license you can now manufacture your own Neuromods. 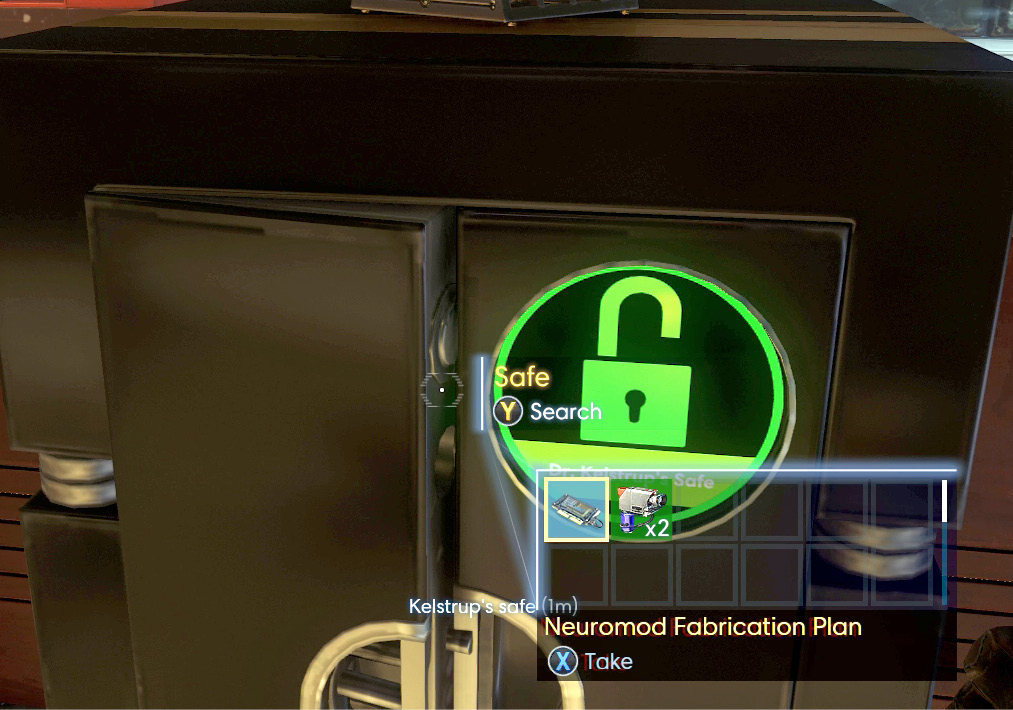
|
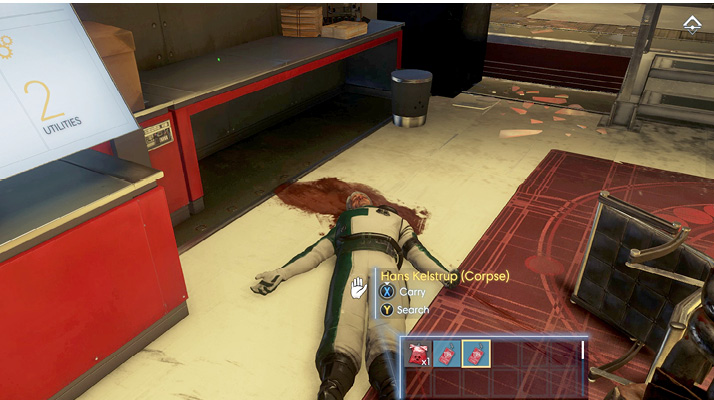
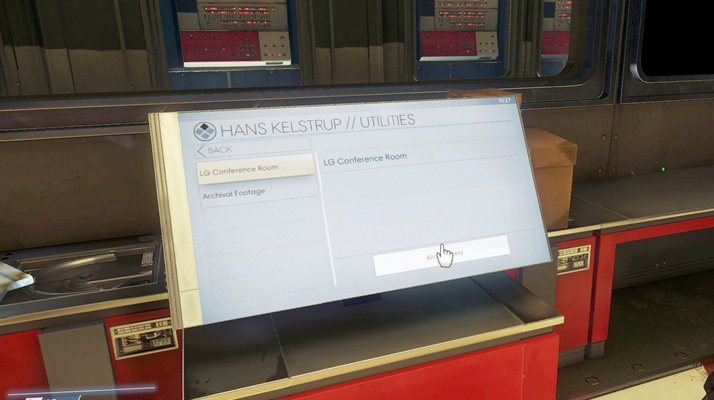
Access Dr. Kelstrup’s workstation. In the Utilities tab, select LG Conference Room and press the “Allow Access” button. This opens a secret doorway leading to Kelstrup’s Looking Glass station. Still in Utilities, view the archival footage to watch two separate videos showing humanity’s first, disastrous contact with the Typhon. There are also some revealing emails on Kelstrup’s workstation, including one from Alex about Dr. Gallegos. Dr. Kelstrup’s body lies on the floor, not far from his workstation. Search his body to retrieve two keycards: one for his office and one for his cabin, located in Crew Quarters.
Now that you can create your own Neuromods, go to work by fabricating a few. Start by recycling any junk in your inventory (using the Recycler), then access the Fabricator. It takes one organic block, one mineral block, one synthetic block, and three exotic blocks to fabricate a single Neuromod—this is why it’s so important to collect junk and harvest Typhon organs. You can create up to seven Neuromods using the fabrication license. But after that, an error occurs, triggering an optional objective.
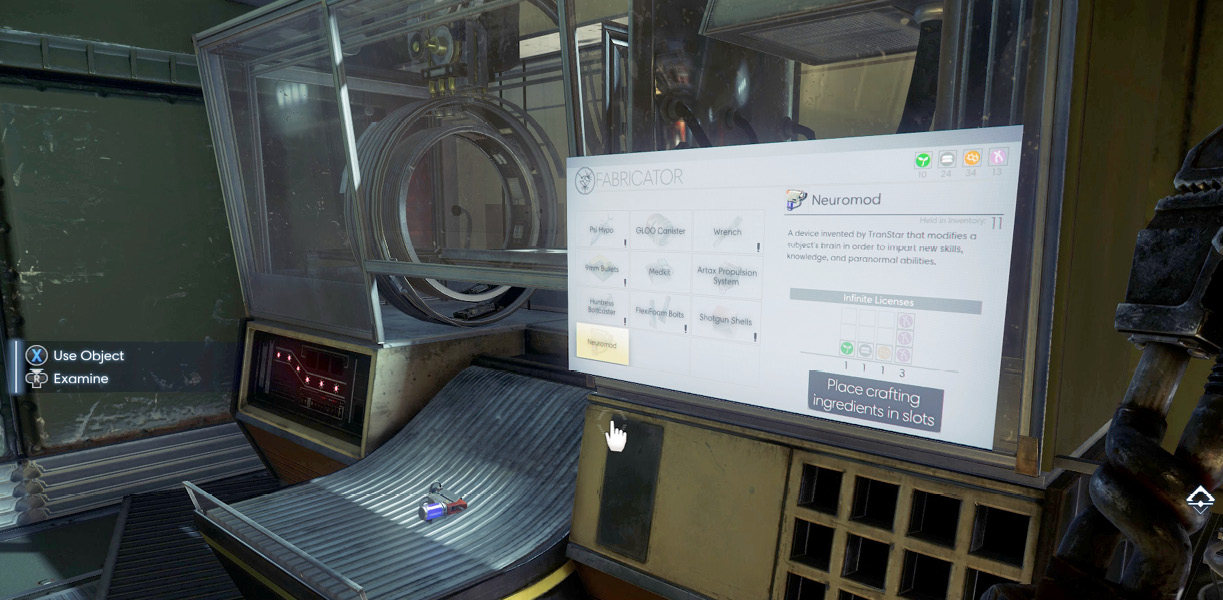
Copy ProtectionObjective Summary: Lead Neuromod Engineer Halden Graves revoked all Neuromod fabrication licenses. I need to find his office and figure out how to reset the licenses if I ever want to make anoth er Neuromod. When an error occurs while trying to manufacture more Neuromods, Alex informs you that Halden Graves has limited the number of Neuromods that can be fabricated. You’ll need to locate Graves’ office in the Neuromod Division and reset the license so you can fabricate more Neuromods. For now, stay in Psychotronics. You can revisit the Neuromod Division later. 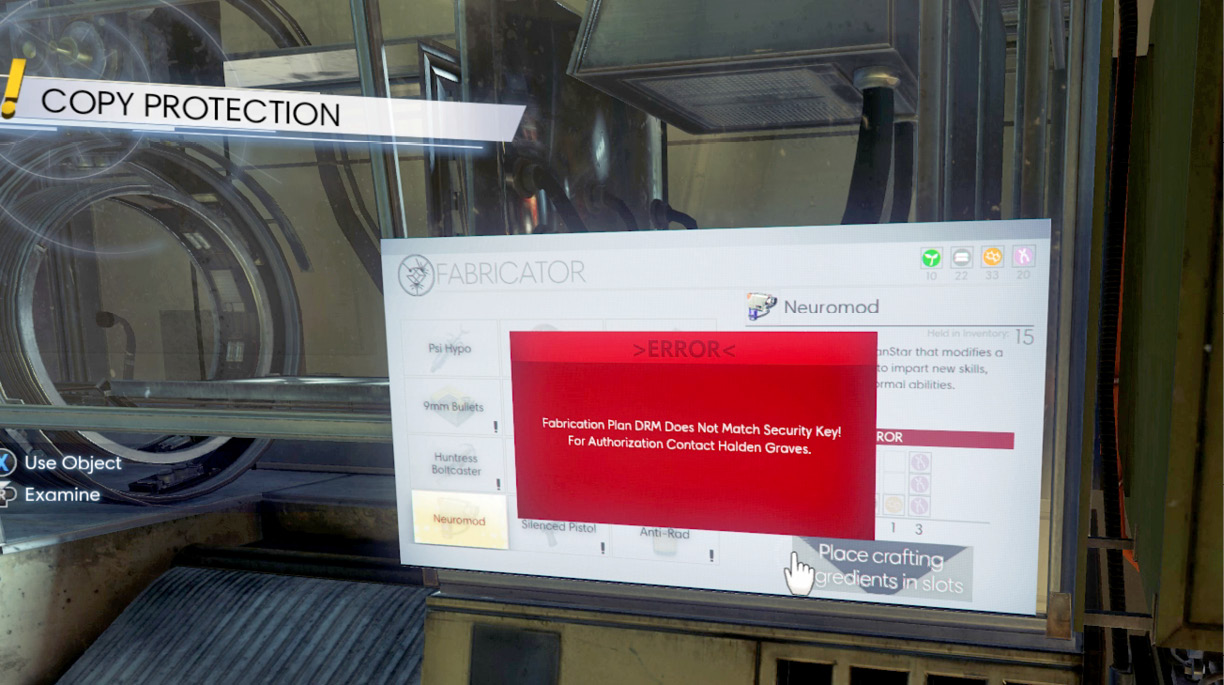
|
Looking Glass Station
| Notable Items: |
| Audio Recording: LG Touch Screen Calibration |
| Audio Recording: We Need to Talk About Annalise |
| Suit Chipset |
| Recycler Charge |
Locate the locked door at the back of Dr. Kelstrup’s office, to the right of the Fabricator. This is the secret door you revealed from his workstation. Kelstrup’s office keycard unlocks this door, allowing you to access his Looking Glass station.
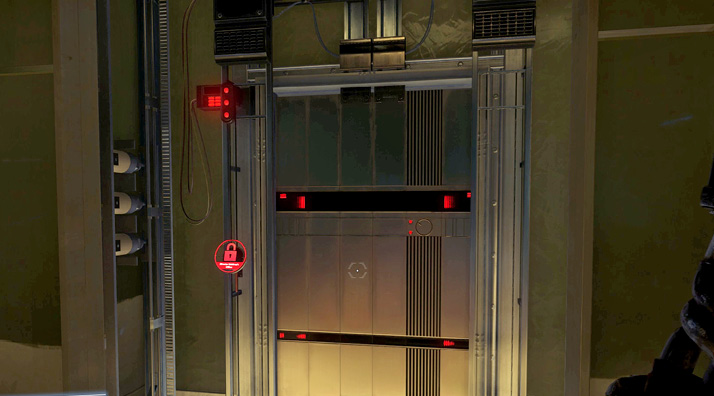
Descend the stairs leading to Dr. Kelstrup’s Looking Glass station. This station allowed Kelstrup to remotely conduct meetings with Alex and other Talos I personnel. Grab the TranScribe on the floor to retrieve a recording, revealing a conversation between Dr. Calvino and Dr. Kelstrup. Dr. Calvino instructs Kelstrup to calibrate the station’s touch screen by touching the green dot. Locate the green dot on the screen and touch it when it appears. After a frightful moment, the Looking Glass screen malfunctions, displaying static. But as the screen flickers, lights behind the screen illuminate, revealing a maintenance area.
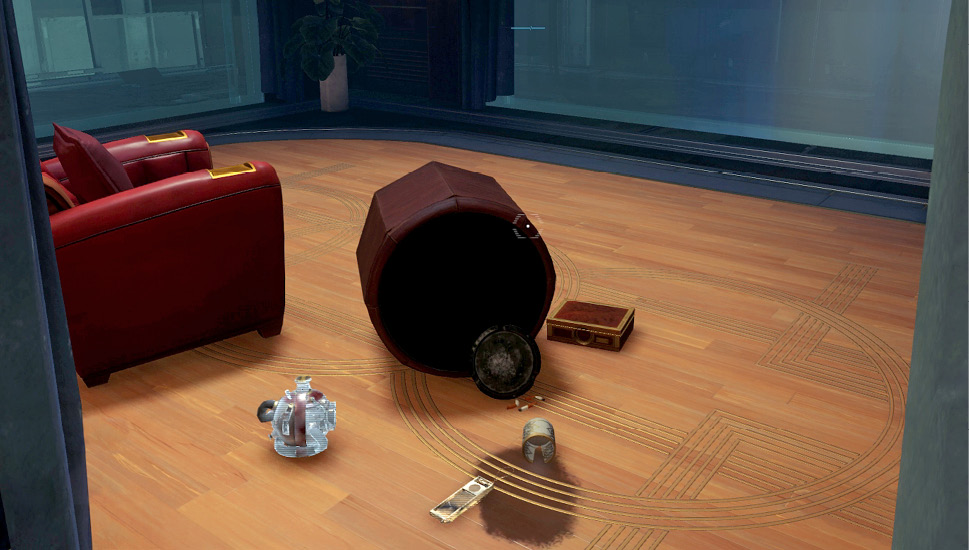
Follow the short hall on the station’s left side until you spot a maintenance access panel. Open the panel and crawl through to search the area behind Dr. Kelstrup’s Looking Glass station. Here you can find a few junk items for recycling as well as some ammo for your GLOO Cannon. While exiting this area, be on the watch for the Phantom you spotted while calibrating the Looking Glass touch screen. Use your GLOO Cannon to slow the Phantom’s movement, allowing you to scan it, then attack with your wrench or Silenced Pistol. Once the Phantom is eliminated, retrace your steps through Dr. Kelstrup’s office and return to the Atrium.
Containment
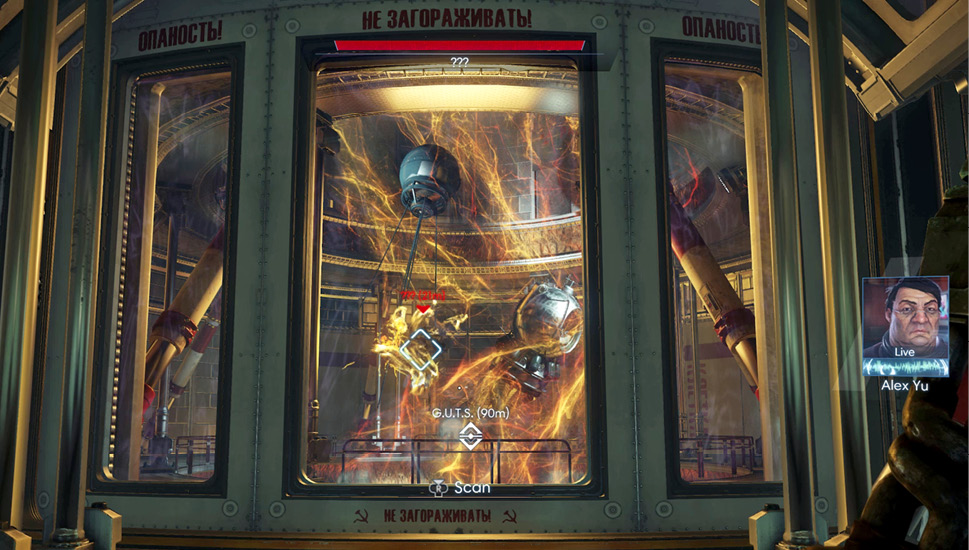
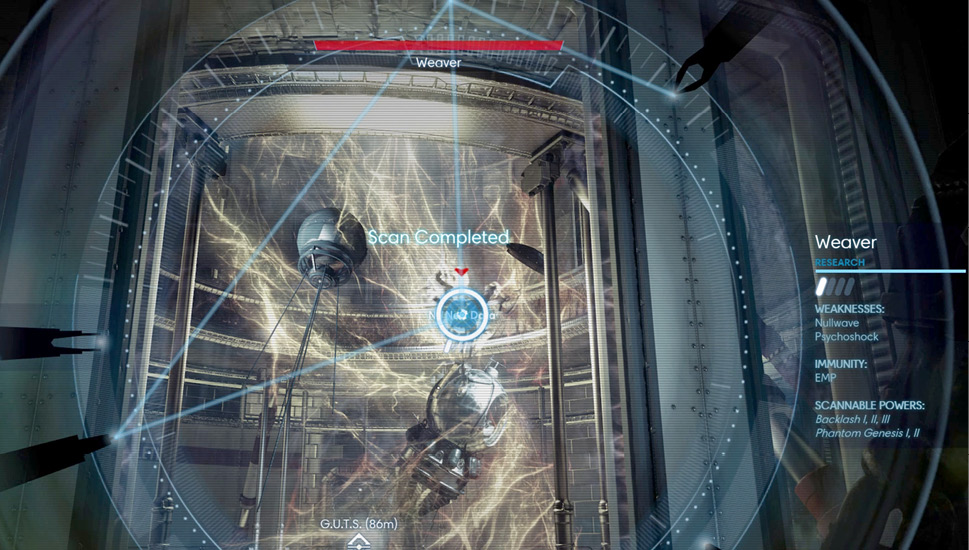
Back in the Atrium, approach the large circular door labeled Containment. This is the Psychoscope calibration checkpoint. Step up to the door and wait for it to open automatically. Just beyond the door is a massive containment cell filled with some type of orange energy—scan the Weaver insise. Ignore the large containment chamber for now and locate the doorway labeled Labs B. Step through the doorway and ascend the adjoining stairs to reach a catwalk above the Atrium. Before proceeding to the G.U.T.S., it’s a good idea to search these labs.
Labs B
| Notable Items: | Audio Recording: How You Holding Up? |
| Turret |
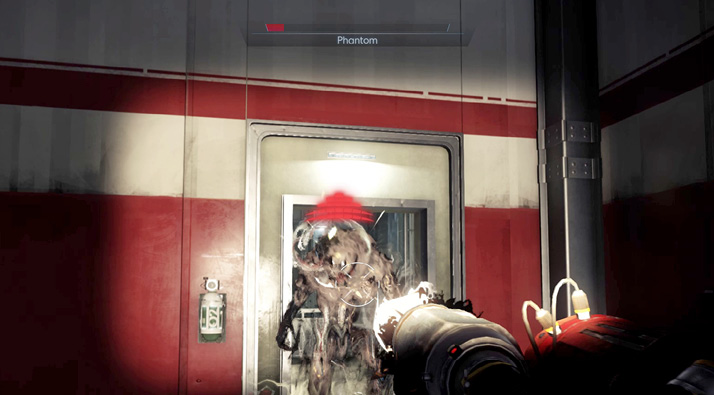
After ascending the stairs, enter the first door on the left to access Labs B. This lab is crawling with Mimics, so take some time to clear it. Try to scan the Mimics before killing them. For best results, scan them before they detect you by staying low and turning off your flashlight. Otherwise, use your GLOO Cannon to immobilize the Mimics so you can scan them. Your activity in Labs B may attract some Phantoms as well, approaching from the Atrium. Do your best to remain undetected, but be ready to immobilize the Phantoms with your GLOO Cannon before finishing them off with your Silenced Pistol or Shotgun. Try to avoid using the Q-Beam at this point to conserve ammo.
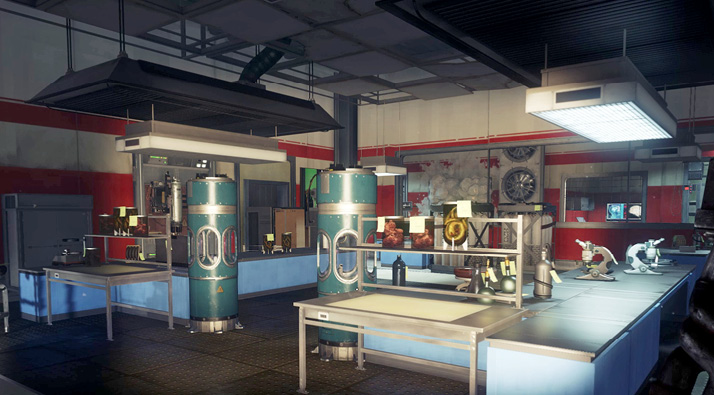
Once you’ve eliminated all Typhon threats, search the lab for supplies, including several spare parts. Almost every item in the lab is labeled with a note reading, “Not a Mimic!” Apparently the containment breach caused some justified paranoia among the lab’s staff.
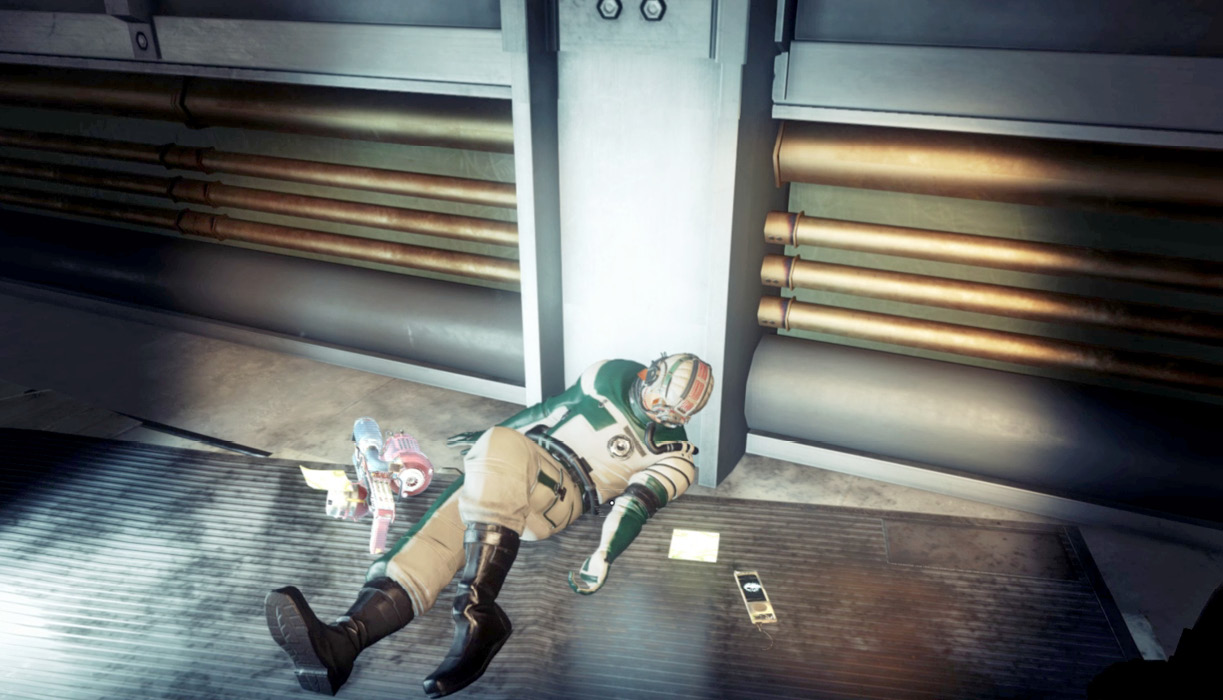
Exit Labs B and locate the body of Rory Manion, lying in the corridor outside Behavioral Biometrics. Search his body to retrieve an audio recording. Manion was in contact with Demian Linn. They had plans to escape via the Arboretum. Next, locate the entrance to Behavioral Biometrics near Rory Manion’s body. Use your wrench to shatter the GLOO deposits blocking the doorway to the lab.
Behavioral Biometrics
| Notable Items: | Neuromod (2) | Typhon Lure | Nullwave Transmitter (2) |
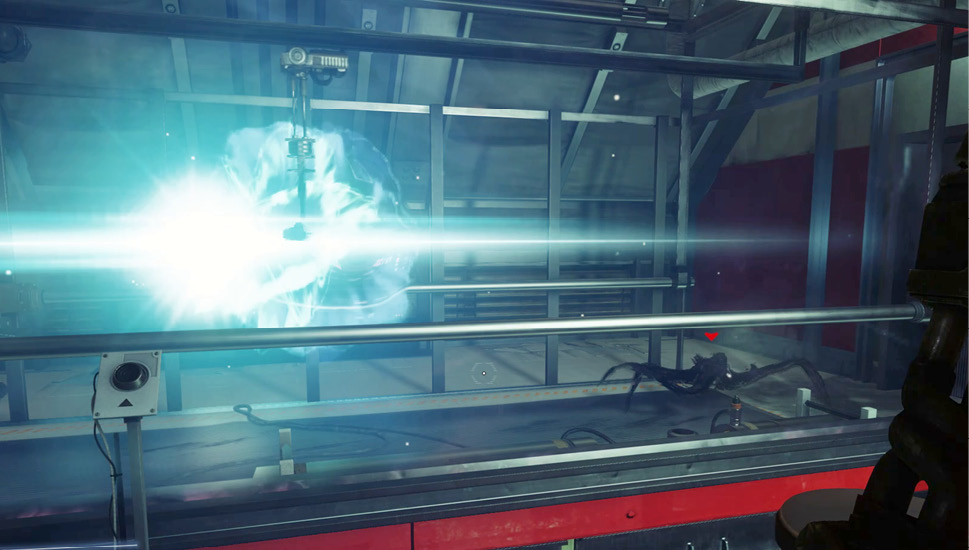
You can acquire two Neuromods as well as a Typhon Lure inside this lab. The Typhon Lure, also known as a Nightlight, emits a psycholuminescent signal that entices Typhon to move toward the lure for a short period of time. These devices can be used to escape, ambush, or observe Typhon from a safe distance. Press the button next to the “Nightlight” chamber and watch the Mimic inside as it follows the blue-glowing lure.
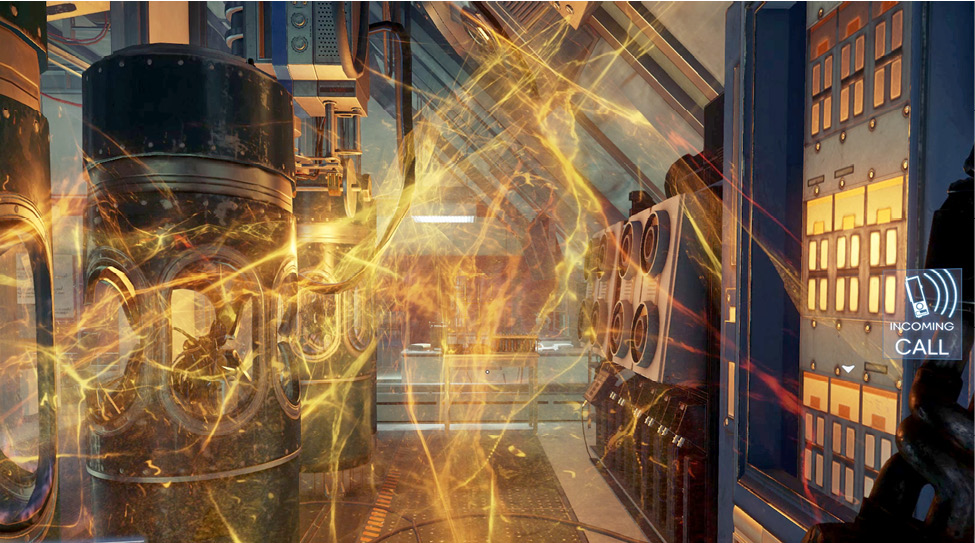
This lab features three separate containment chambers used to study Typhon organisms. Scan the Mimic in the “Nightlight” chamber and the Greater Mimic in the Nullwave chamber. A third chamber contains a strange looking gold substance. Enter the doorway to trigger a monologue from Alex. Apparently the Typhon weave these filament-like structures out of thin air. But Alex and the Talos I researchers don’t understand why.
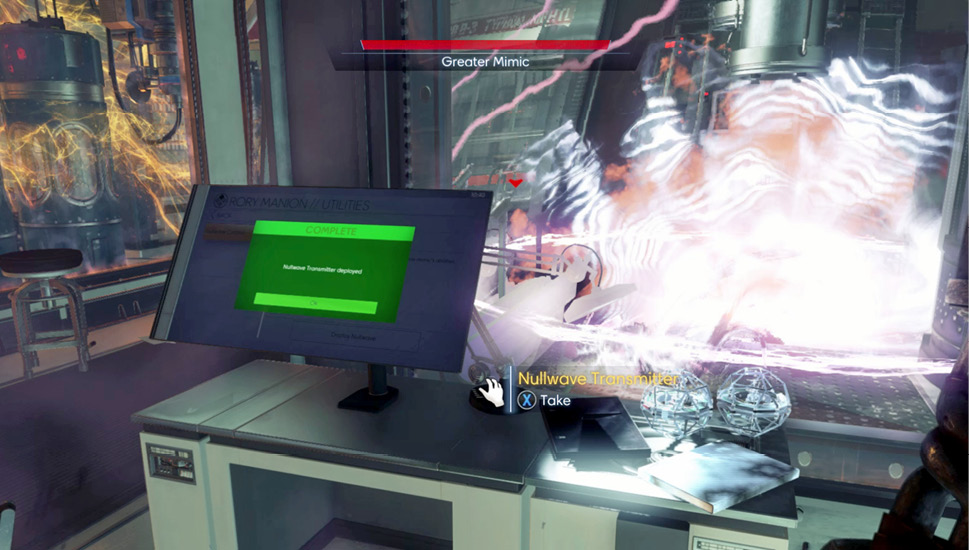
Access Rory Manion’s workstation to experiment with Nullwave Transmitters. Select the Utilities tab and deploy a Nullwave Transmitter in the containment chamber occupied by a Greater Mimic. When the device detonates, your Psi meter is temporarily nullified. Developed in Psychotronics, the Nullwave Transmitter emits a burst of signals which suppress psionic abilities of anyone caught in the blast. This makes it particularly useful against Typhon organisms with psionic-based abilities. These devices can be thrown or affixed to stationary objects. Grab the two Nullwave Transmitters on the desk next to Rory Manion’s workstation.
Mitsuo Tokaji’s Office
| Notable Items: | Audio Recording: Project Cobalt |
| Weapon Upgrade Kit | |
| Nullwave Transmitter (2) |
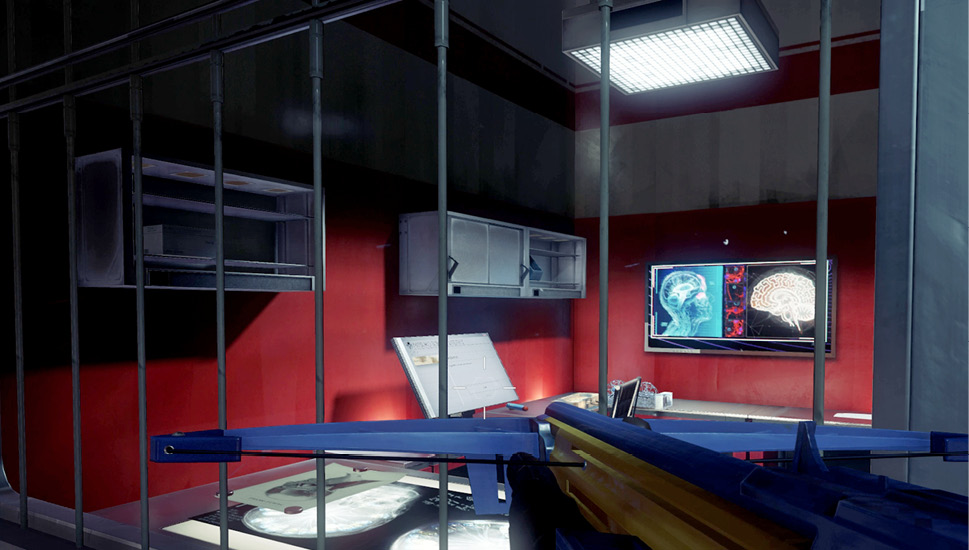
The door to Mitsuo Tokaji’s office is locked. But you can still gain access by using your Huntress Boltcaster. First, break the window with your wrench. Then take aim at the workstation with the Huntress Boltcaster. Target the Utilities tab then aim for the button at the bottom of the screen to unlock the door. The button is quite small, so it might take several attempts before you score a hit. Once you gain entry, search Tokaji’s office for supplies and her TranScribe. Here you can find ammo for your Q-Beam, a Weapon Upgrade Kit, and a pair of Nullwave Transmitters.
Airlock
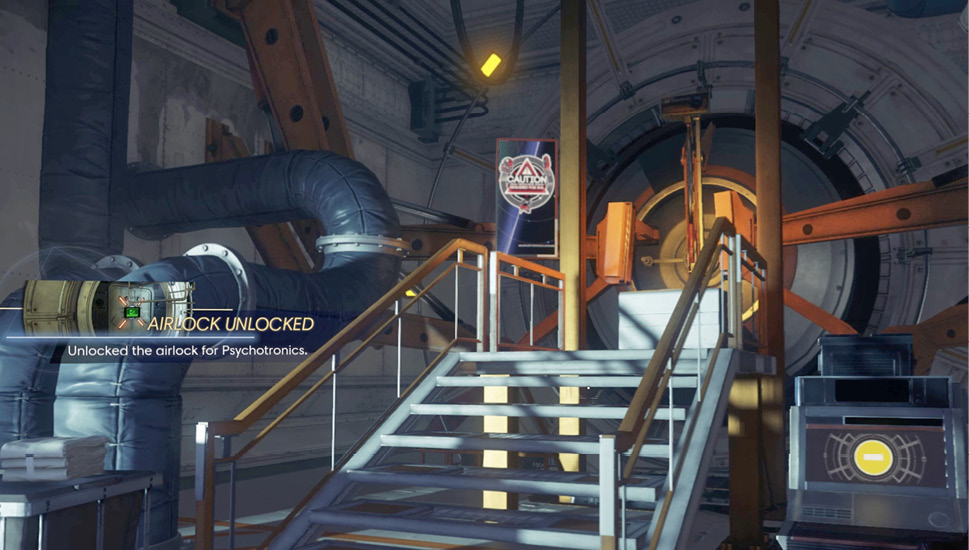
Exit the Labs B area and follow the adjoining catwalk crossing over to Labs A. Along the way, stop at the Airlock and unlock it. Psychotronics is now accessible from Talos I’s exterior. You can now move between Psychotronics and the Hardware Labs via the station’s exterior. After unlocking the Airlock, search Andrea Hudson’s body for supplies before continuing to Labs A.
Labs A
| Notable Items | Turret |
Enter the open doorway leading into Labs A. The station shudders as you enter, knocking several jars onto the floor. This may also draw the attention of some Mimics—be ready to deal with them. Repair the broken turret inside the first room to help you thin out the resistance. You’ll need this turret soon, so even if you don’t need it now, repair it and take it into the next room. Remember, you may need to hack the turret as well, in the event you’ve installed multiple Typhon Neuromods.
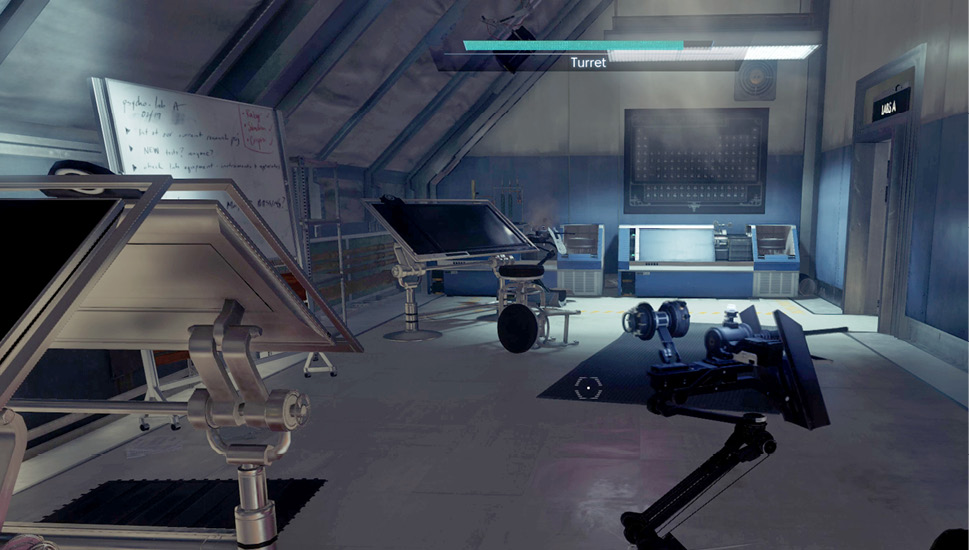
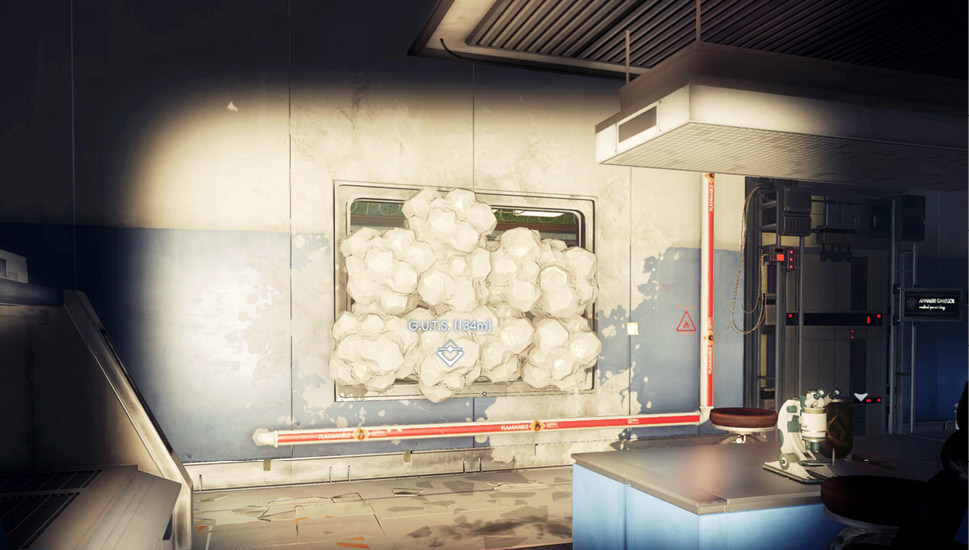
Inside the lab’s second room, search the body of Sebastian Avery for supplies. Next turn your attention to Annalise Gallegos’ office. The door of the office is locked and the window is blocked by GLOO deposits. Before shattering the GLOO, take a look at the note next to the window, warning of multiple Mimics trapped inside. Deploy the turret from the previous room so it’s facing this window. Once the turret is in place, smash the GLOO deposits blocking the window. Stand back and let the turret engage the Mimics as they scurry through the window opening. Or simply toss a Recycler Charge through the window to wipe out multiple Mimics. If you still need to conduct research on Mimics, activate your Psychoscope.
Annalise Gallegos’ Office
| Notable Items: | Neuromod | Audio Recording: Mementos |
| Audio Recording: The Volunteers | Silenced Pistol |
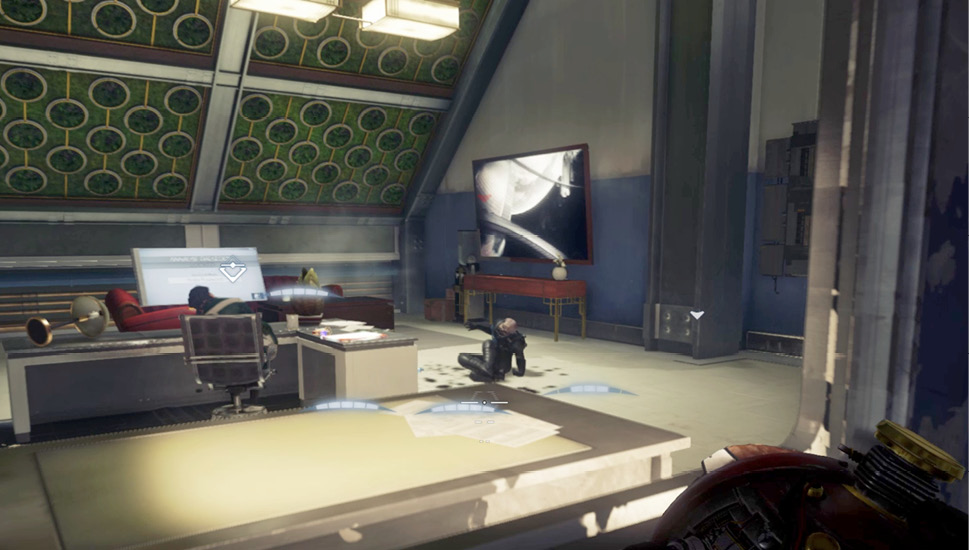
Once the Mimics have been eliminated, crawl through the window in Labs A to access Annalise Gallegos’ office. Gallegos is still sitting at her desk, but she’s not alive. Grab the Neuromod on her desk. Search her body to obtain a TranScribe containing two audio recordings. Listen to the Mementos recording to trigger a new optional objective. Be sure to search Cory Richard’s body too to retrieve some Silenced Pistol ammo.
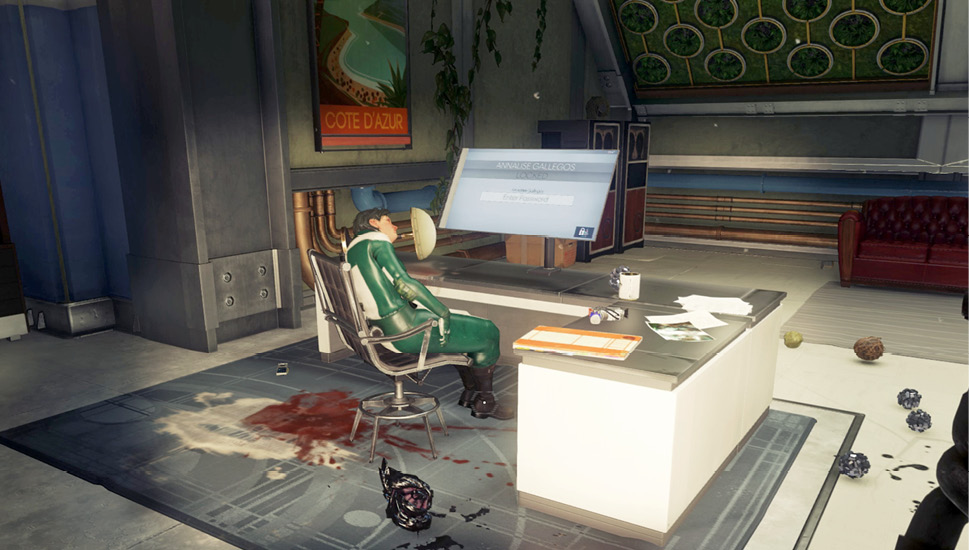
WhistleblowerObjective Summary: I found a TranScribe message from a scientist named Annalise Gallegos. Apparently she was having a crisis of conscience over the experiments performed on the volunteer test subjects. Looks like she and a friend planned to smuggle incriminating evidence off the station. Gallegos hid the evidence on a thumb-drive labeled Mementos. Listening to the Mementos audio recording, retrieved from Gallegos’ TranScribe, unlocks this optional objective. Once you reach the Crew Quarters, you must search Gallegos’ habitation pod for the evidence she gathered. |
Containment
Return to the Atrium and then continue into Containment. Just to the left of the massive containment chamber is a corridor leading to Material Extraction. Ruptured gas lines have filled this corridor with flames. Use your GLOO Cannon to seal the first breach in the line. But watch for Mimics rushing toward you through the remaining flames. The fire ignites the Mimics, inflicting heavy damage. Simply back away and let the fire take out these enemies. When the Mimics have been eliminated, continue down the corridor, using your GLOO Cannon to seal the gas line ruptures. At the end of the corridor, use your wrench to shatter the GLOO deposits blocking access to Material Extraction.
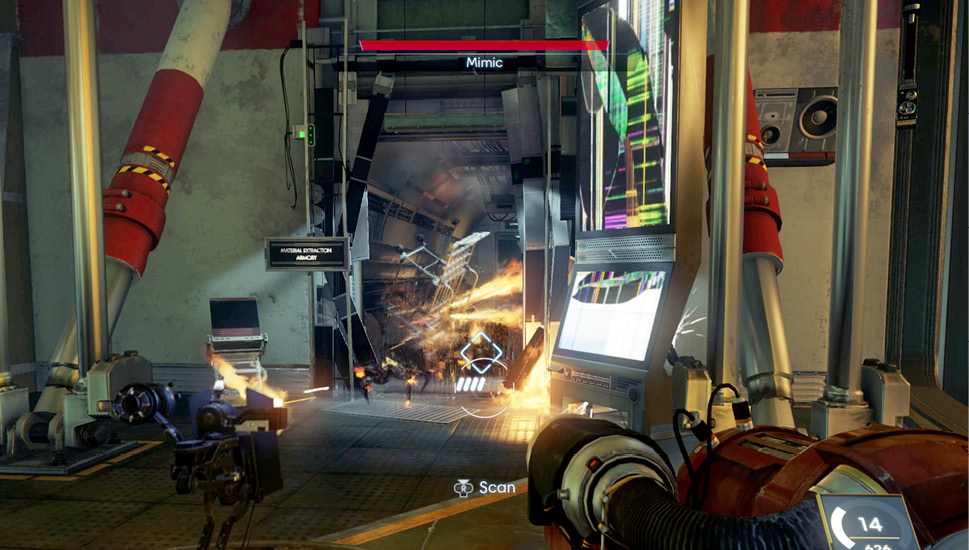
Material Extraction
| Notable Items: | Keycode: Armory |
| Audio Recording: Million Dollar Caulk Gun |
A live “volunteer” is trapped inside a containment cell within Material Extraction. Approach the cell to trigger an optional objective. Here you can decide whether the subject lives or dies. These are exactly the kind of tests Annalise Gallegos objected to. Scan the subject in the containment cell to unlock the research entry for Homo sapiens.
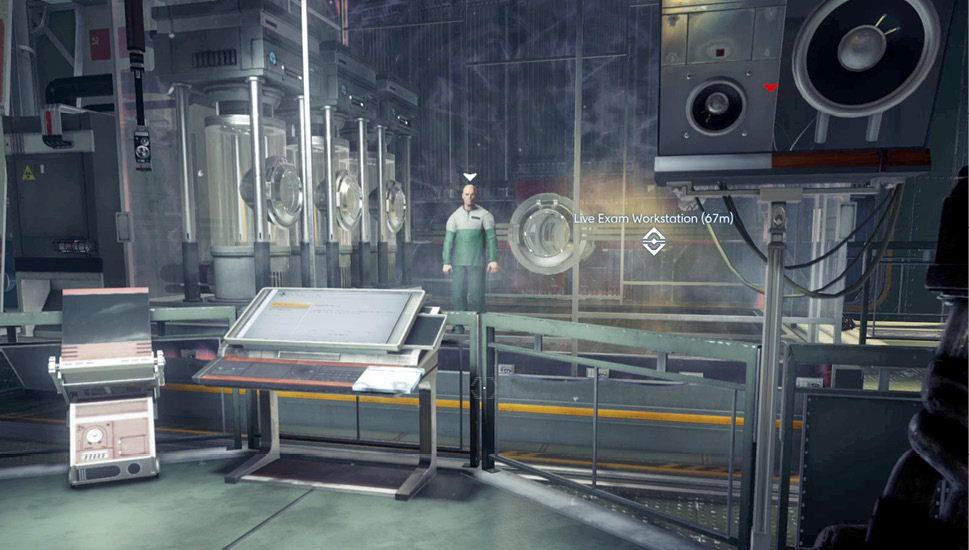
The Psychotronics PrisonerObjective Summary: I’ve come across an experiment with a volunteer trapped in a chamber designed to render Mimics into exotic material. This man will most certainly die in the process but the material produced would be extremely useful. If I let him go, however, he says he’ll let me into the armory. Interact with the console in front of the holding cell. Reviewing the Volunteer Record reveals the subject (Aaron Ingram) is a prisoner from Earth, with a long rap sheet. Do you want to let him go or run some experiments on him? If you want to let him go, access the Door Control tab and open the holding cell’s door—this is the recommended approach. If you free Aaron Ingram, he gives you the keycode to the nearby Armory. If you choose to run an experiment on the prisoner, access the Mimic Multiplication tab and press a series of buttons—a Mimic is released into the cell and kills the prisoner before multiplying. Following the detonation of a Recycler Charge within the cell, you’re allowed to extract exotic material from the dead Mimics. 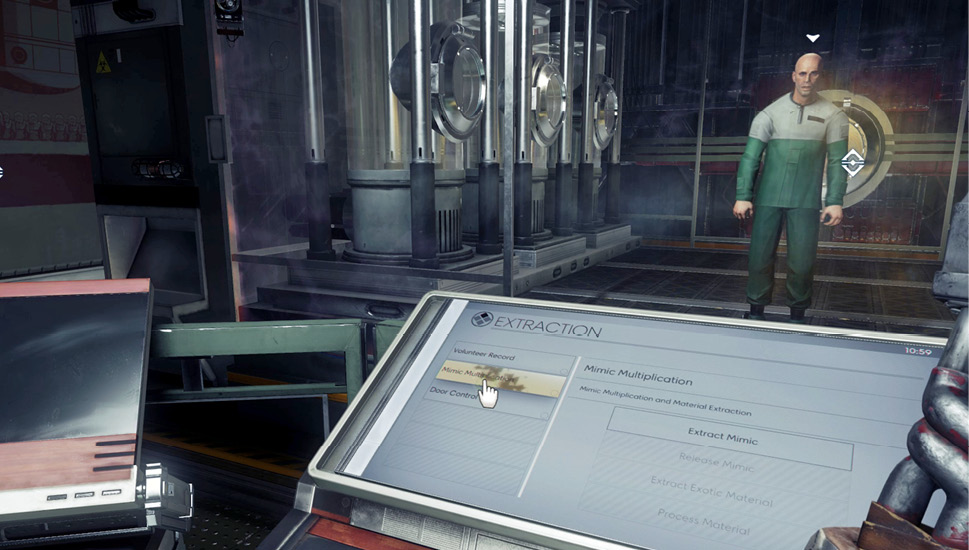
|
Armory
| Notable Items: | GLOO Cannon | Neuromod | EMP Charge |
| Shotgun (2) | Silenced Pistol | Weapon Upgrade Kit | |
| Silenced Pistol Fabrication License | Shotgun Shells Fabrication License | Turret |
Whether you unlocked the door on your own or retrieved the keycode from Aaron Ingram, enter the Armory to retrieve multiple supplies including a Neuromod, a Weapon Upgrade Kit, some fabrication plans, and a variety of ammo. The Armory also contains a turret and the body of Demian Linn.
Material Storage
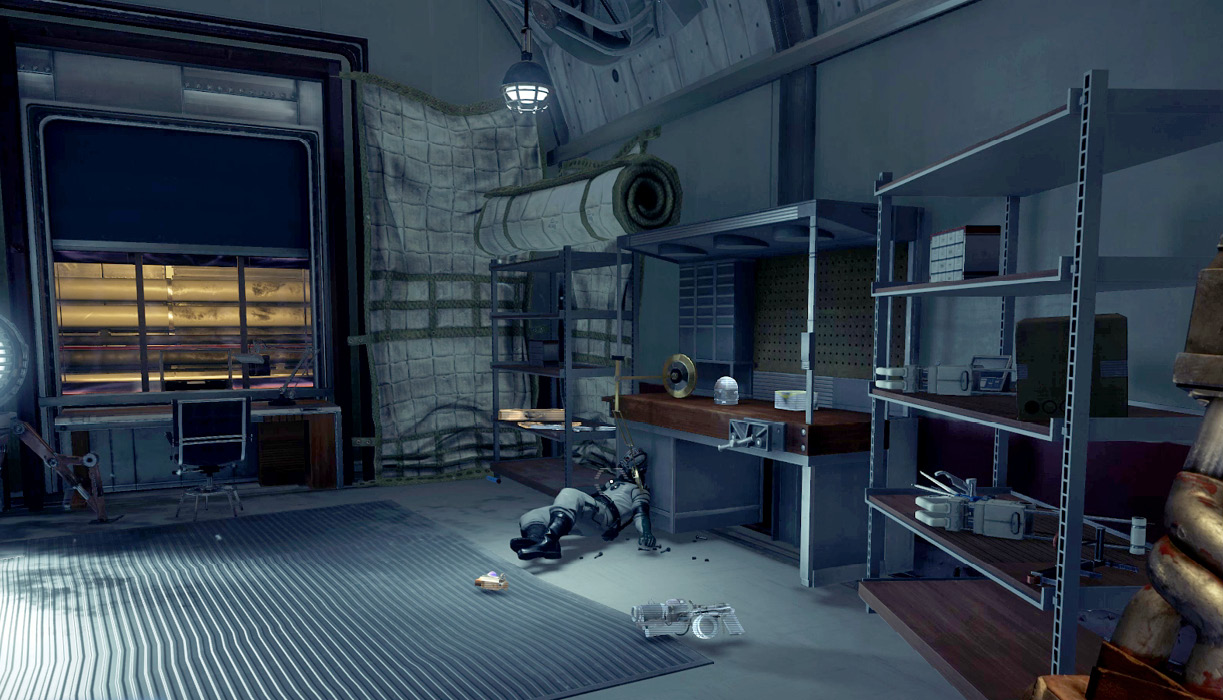
Opposite of the holding cell is a door leading to Material Storage. If you sealed the exterior hull breach earlier, you can enter this room. However, if you failed to seal the hull breach, this room is inaccessible. Search the body of Kristine Lloyd lying next to the door to retrieve a TranScribe and listen to the audio recording to trigger an optional objective.
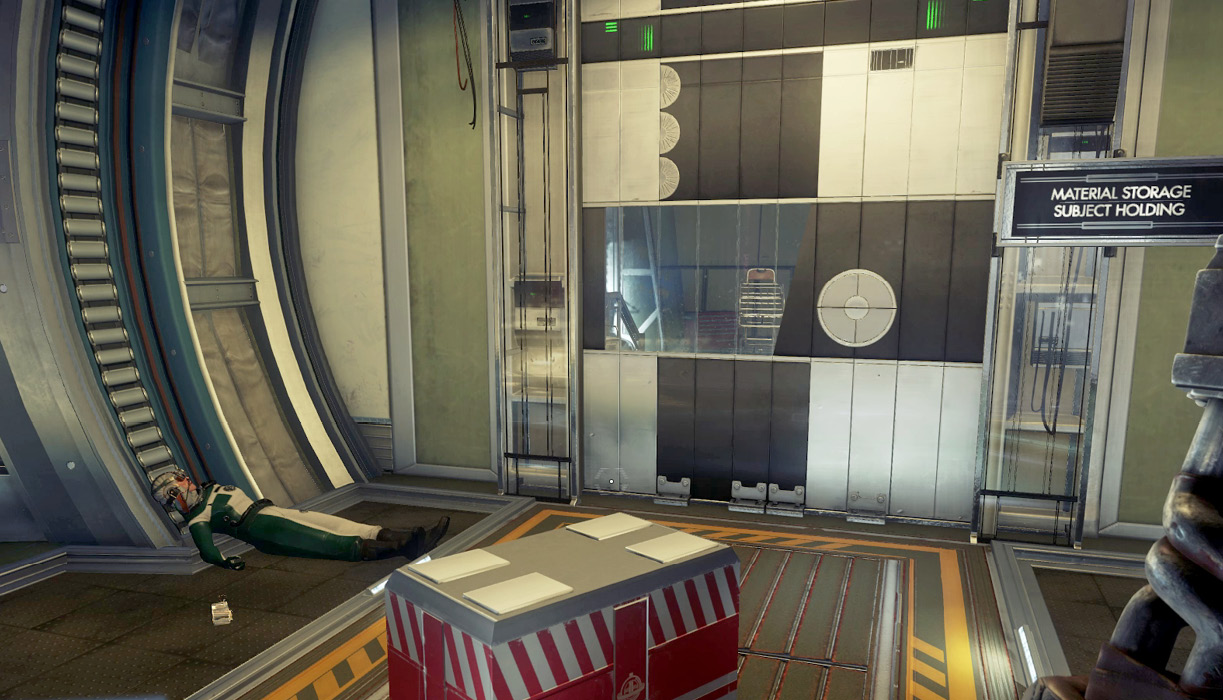
Million Dollar Caulk GunObjective Summary: Jose Costa was tasked with sealing a minor breach in order to restore atmosphere to the exotic materials storage areas within Psychotronics. If you want to enter Material Storage, you must complete Jose Costa’s work. Retrace your steps back to the Airlock within Psychotronics and access Talos I’s exterior. While conducting your spacewalk, locate the body of Jose Costa. Next to his body is a linear gash in the station’s hull. Use your GLOO Cannon to seal this breach then return to Psychotronics. With the breach sealed, Material Storage can now be entered. 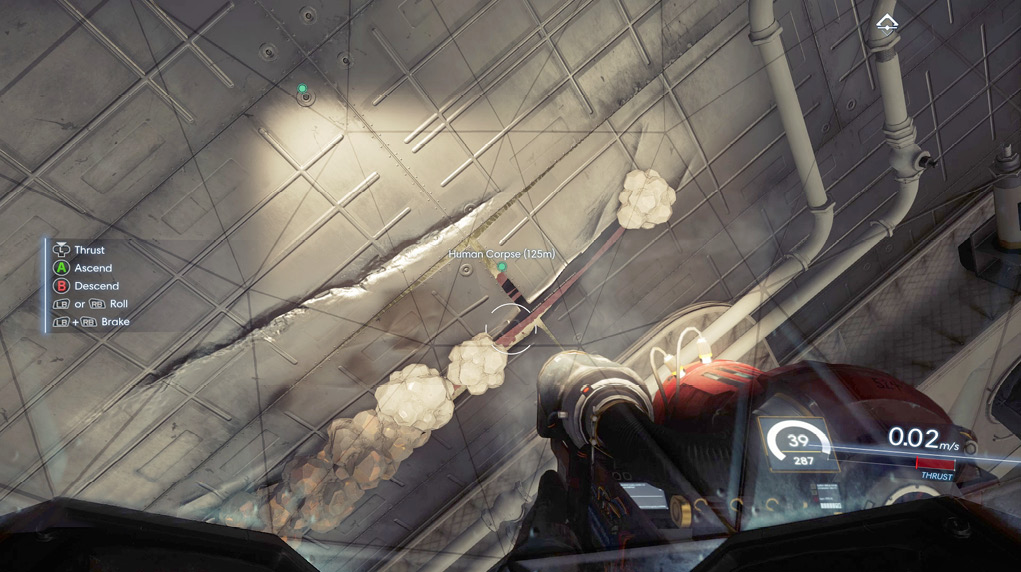
|
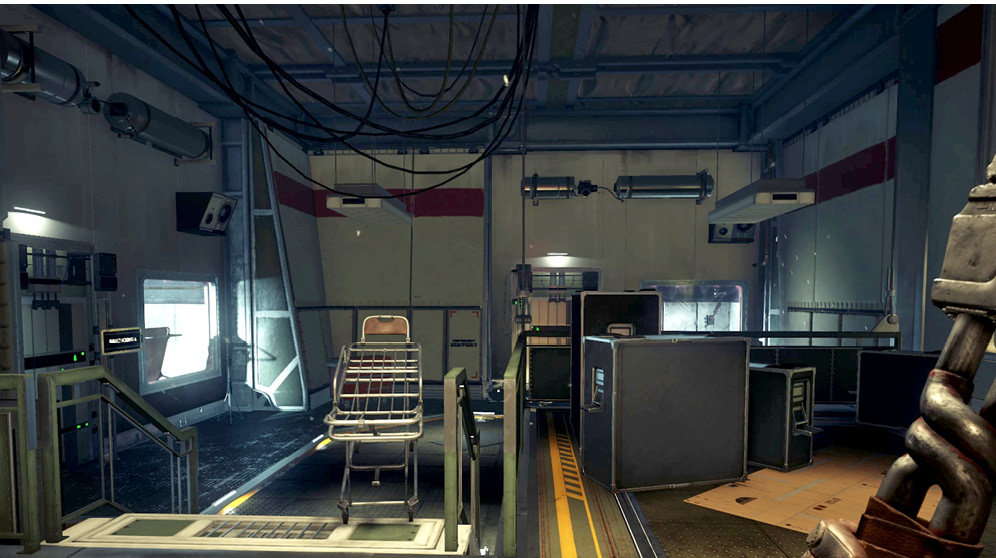
Use the turret, retrieved from the Armory, to deal with the Phantom lurking about in Material Storage. Once the Phantom is eliminated, search the area for supplies. This area is filled with exotic material blocks scattered across the floor. You can also find some food in the two holding cells. When you’re finished searching Material Storage, return to Containment and enter the corridor leading to Live Exam.
Live Exam
| Notable Items: | Hypo Psi Fabrication License | Scope Chipset |
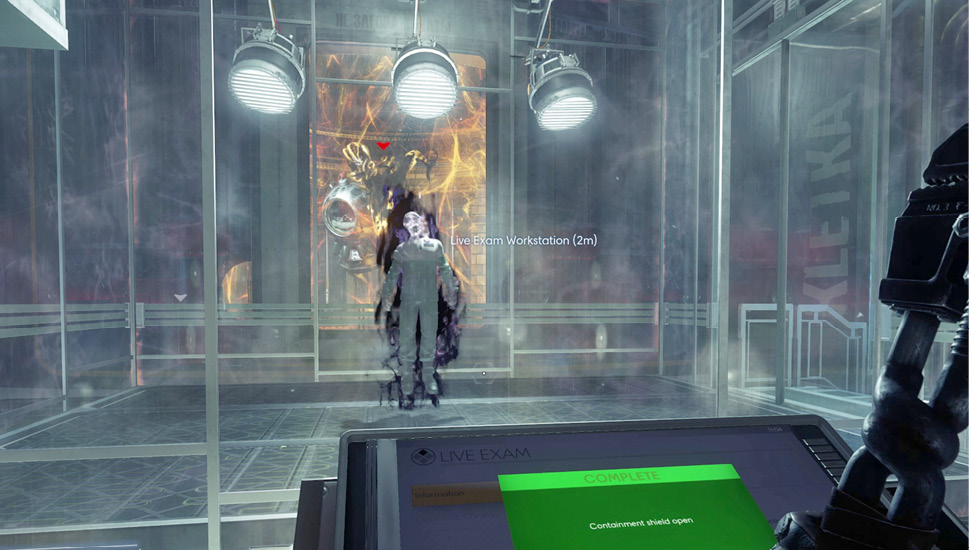
The passage leading to the G.U.T.S. is sealed until you complete an experiment here. The body of a volunteer lies inside a large containment chamber in the center of this room. Approach the Live Exam terminal near the containment chamber. Access the Live Exam Controls tab on the terminal and select “Open Containment Shield.” As the shield opens, activate your Psychoscope and scan the Weaver inside the central containment chamber, if you haven’t already.
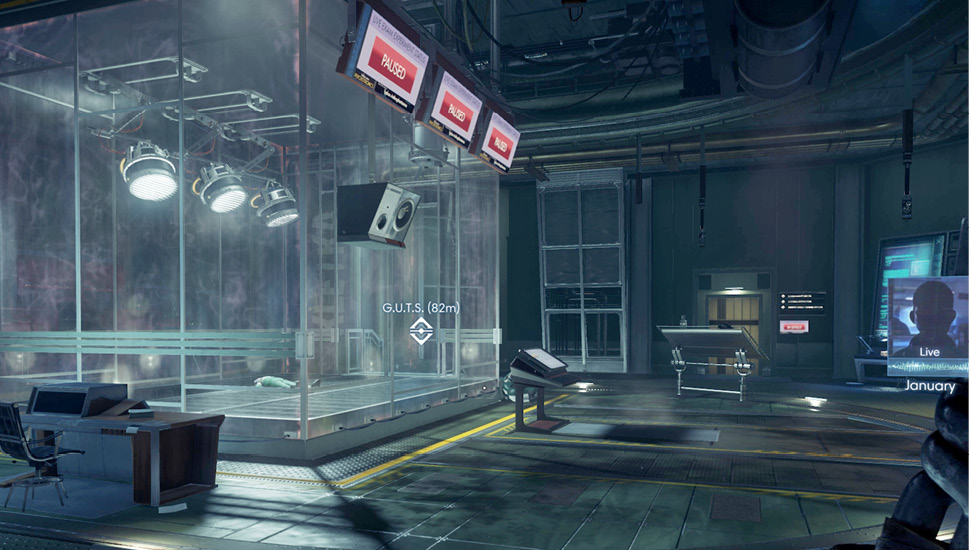
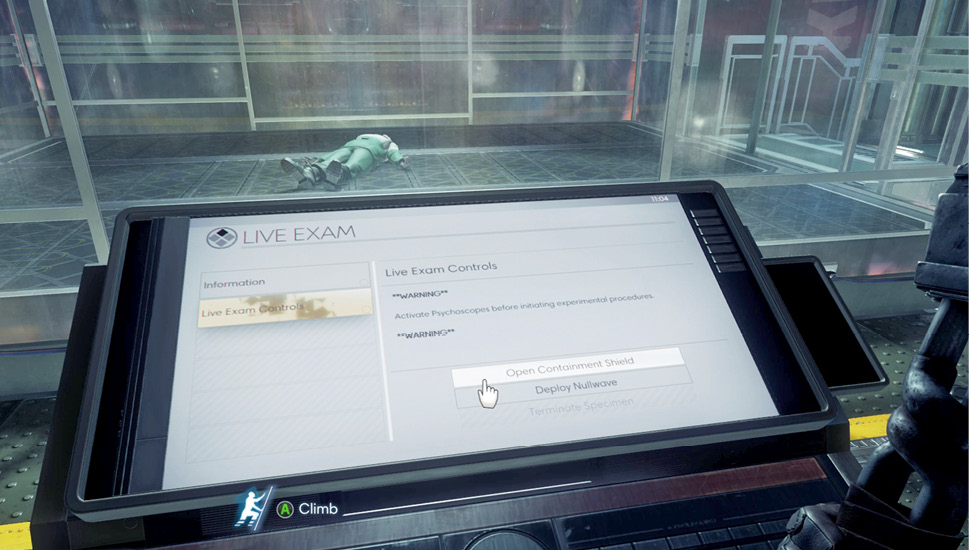
Somehow the Weaver interacts with the body inside the Live Exam’s containment chamber, creating a Voltaic Phantom. Scan this new enemy to reveal its weaknesses, immunities, and powers. Equip an EMP Charge and throw it at the Voltaic Phantom to temporarily disable its abilities. Attack with your Q-Beam as the Voltaic Phantom exits the containment chamber. Keep the weapon’s beam concentrated on the target until it explodes. But keep your distance. The Voltaic Phantom emits powerful electrical discharges, capable of causing malfunctions in the Q-Beam and GLOO Cannon. However, your Silenced Pistol and Shotgun aren’t affected. Backpedal while firing shot after shot into the Voltaic Phantom until it drops.
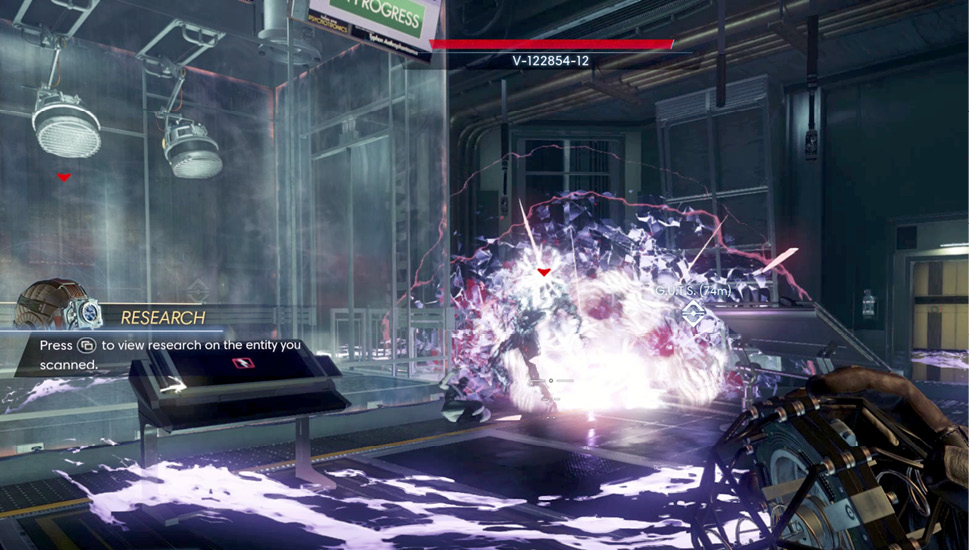
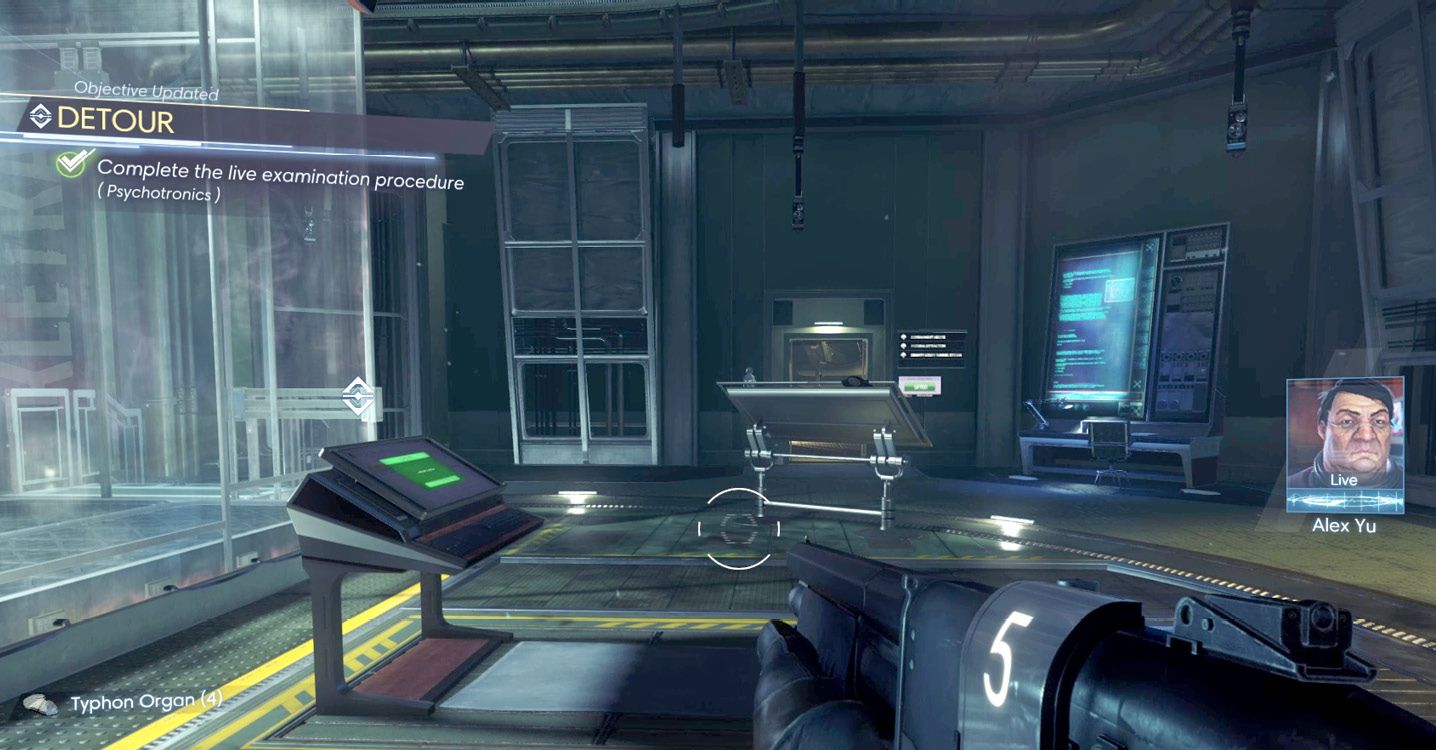
After the Voltaic Phantom is eliminated, the experiment is complete and the path to the G.U.T.S. is opened. Alex contacts you, revealing some more information about Typhons. Apparently they’re incapable of empathizing, hence their violent nature. While Alex talks, search the area for supplies, including the remains of the Voltaic Phantom and the body of Ruby Stone to retrieve a Hypo Psi fabrication license.
Morgue
| Notable Items: |
| Anti-Rad Pharma Fabrication License |
| Neuromod (2) |
| Keycard: Morgue |
| Keycard: Sylvain Bellamy’s Cabin |
| Turret |
Before continuing to the G.U.T.S. take a detour into the Morgue, via the Grav Shaft in Live Exam. Locate the broken turret near Demian Linn’s workstation. Repair the turret and deploy it in front of the door leading to the autopsy room, which is crawling with Mimics. While you’re here, grab the Medkit and Anti-Rad Pharma fabrication license on Linn’s desk.
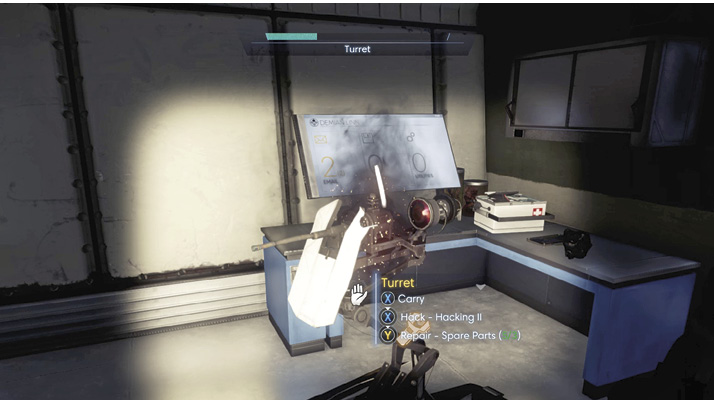
Next, search the nearby autopsy room, allowing the turret to eliminate any Mimics inside. Step up to the automatic door and then aside to avoid getting hit by the turret’s rapid fire. Once the autopsy room is clear, gather any supplies and search Mitsuo Tokaji’s body.
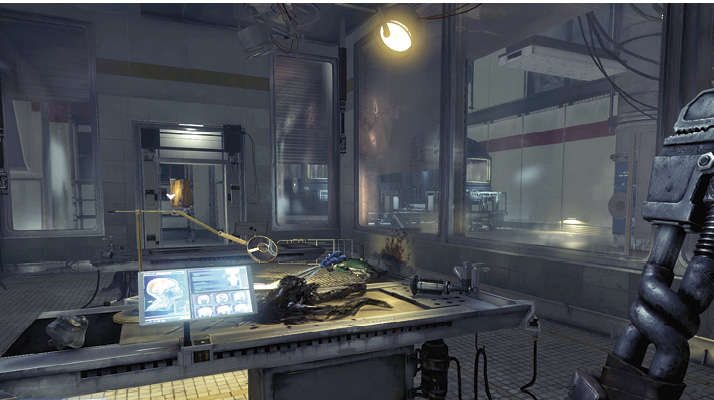
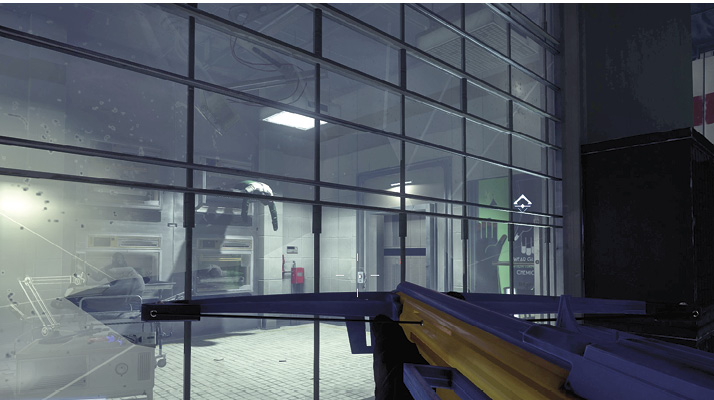
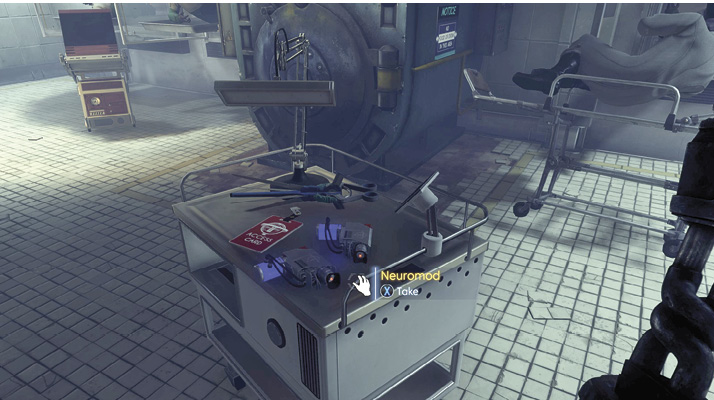
The door to the morgue is locked, so you’ll need to find another way to get inside. Use your wrench to break the window near Demian Linn’s desk and equip your Huntress Boltcaster to target the switch next to the morgue’s door. Step inside and retrieve the Neuromods on the crash cart along with a keycard to the Morgue.
The Corpse Vanishes (continued)A lot has happened since you last saw Dr. Bellamy. His body is stored in the Morgue. Search him for supplies to retrieve the keycard to his cabin, located in Crew Quarters. You can now access his cabin to search for his research data. 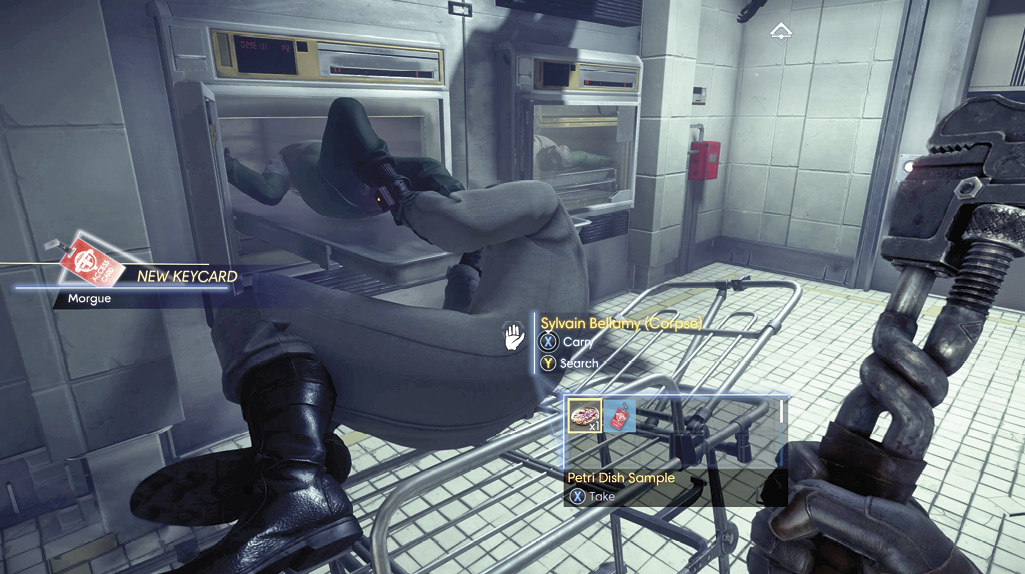
|
G.U.T.S. Access
Return to Live Exam via the Grav Shaft then turn right to enter the corridor leading to the G.U.T.S. Watch out for a Phantom in this area. Stay low and let the operational turret near the G.U.T.S. door take it out. Step past the turrets guarding the door and enter the Gravity Utility Tunnel System.
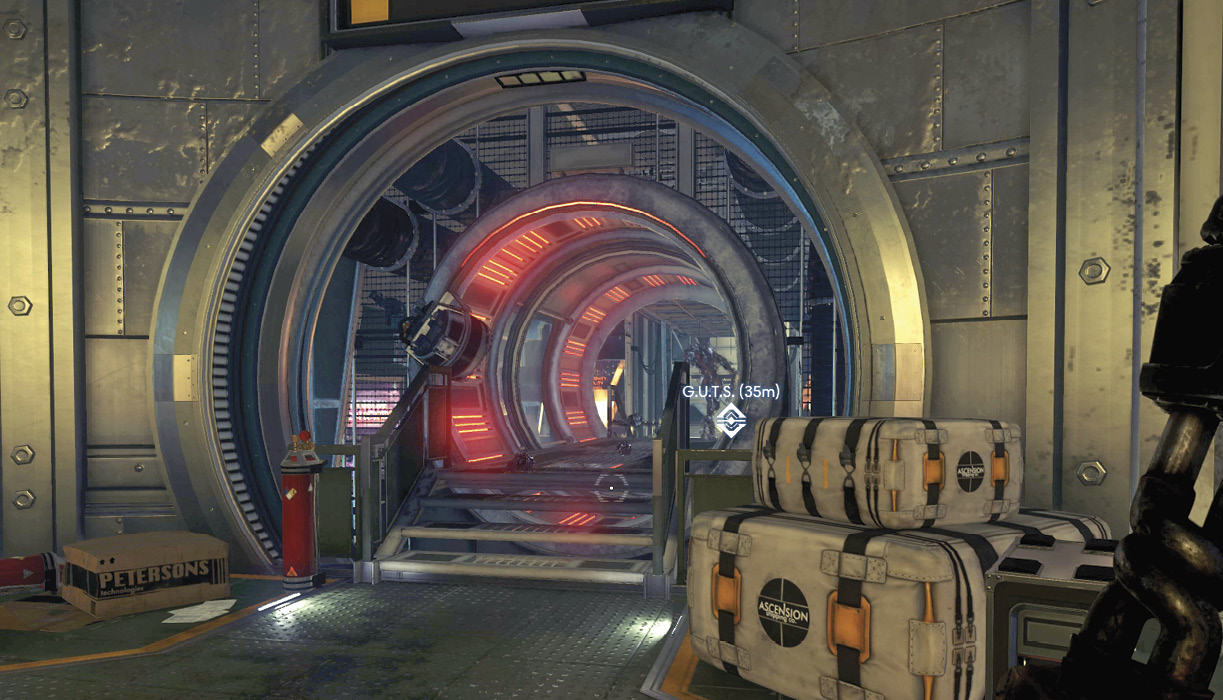
Gravity Utility Tunnel System


Engineering Level
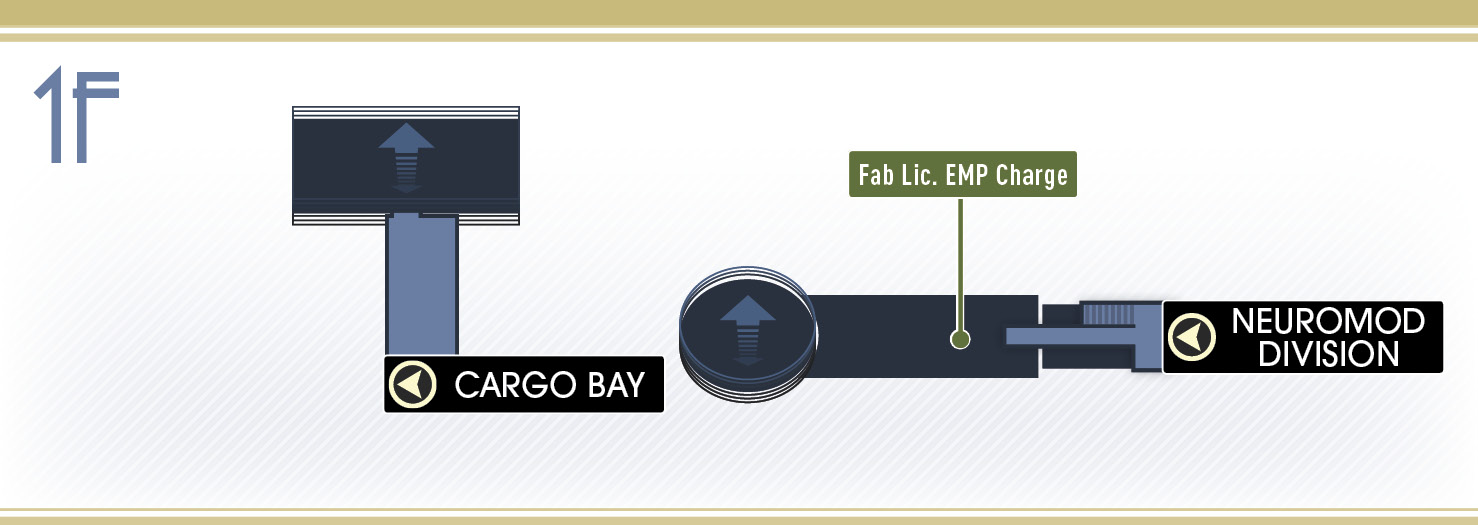
| Notable Items | Recycler Charge (2) |
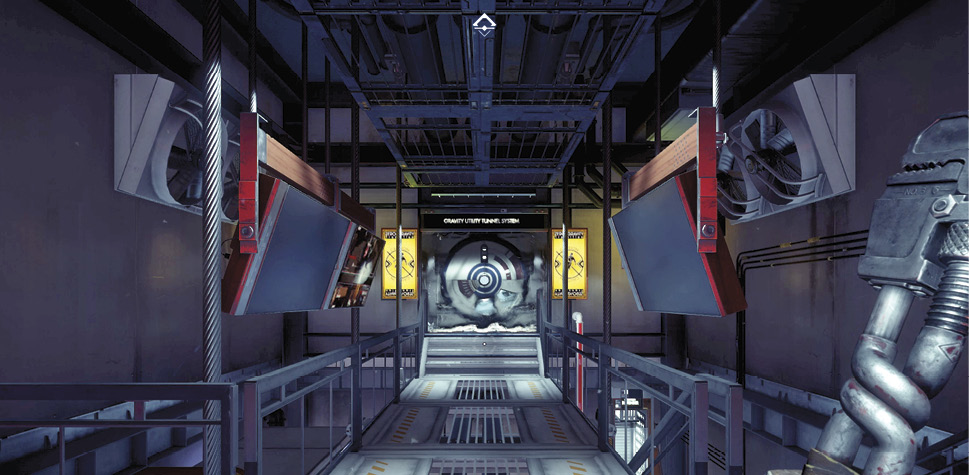
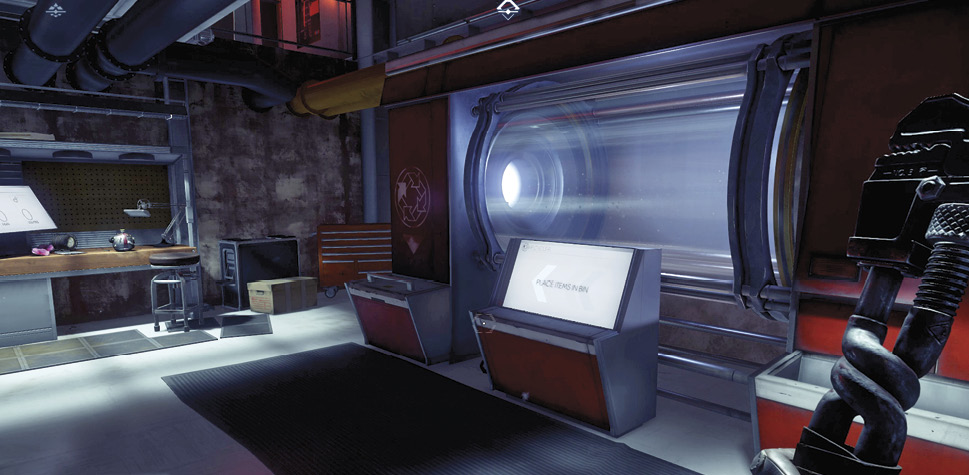
Before stepping into the tunnel system, visit the Recycler in this staging area. The Recycler is located downstairs along with an Operator Dispenser. Hack the dispenser to deploy an Engineering Operator to repair your suit. Gather supplies in this downstairs area, including a Recycler Charge, sitting next to Eric Berger’s workstation. Another Recycler Charge is contained within the nearby cabinet. Consolidate your inventory by using the Recycler. When you’re ready to move out, head back upstairs and pass through the circular doorway to enter the tunnel system.
Maintenance Tunnel
| Notable Items: | EMP Charge Fabrication License | EMP Charge (3) |
| Neuromod | Keycode: Maintenance Tunnel |
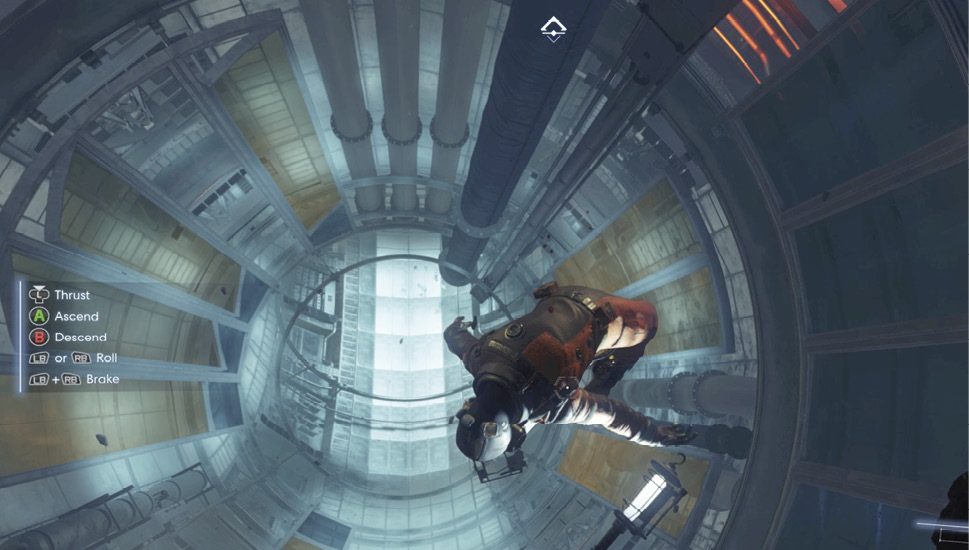
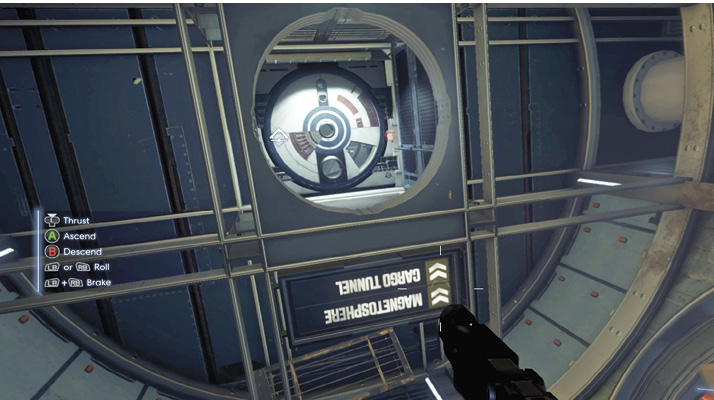
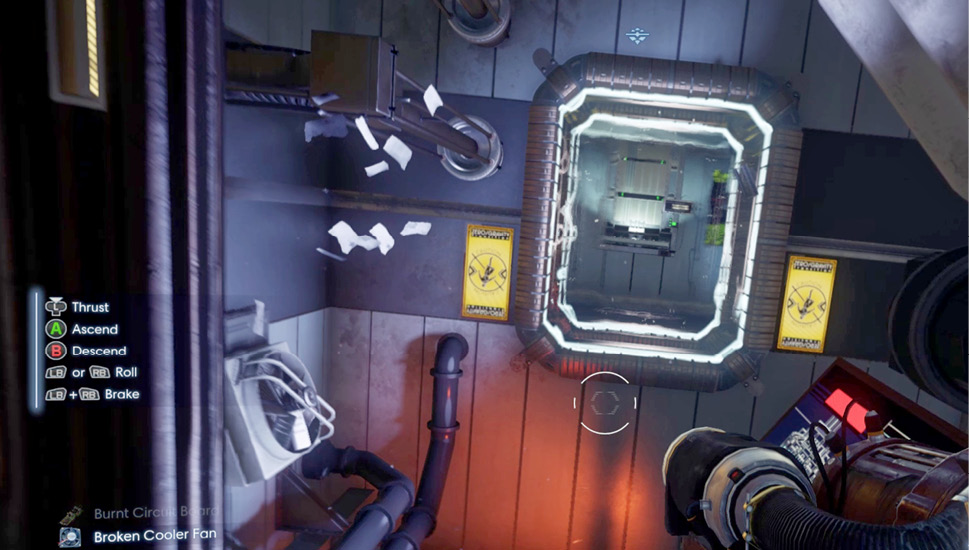
The G.U.T.S. is a microgravity environment. Maneuvering here is identical to moving about Talos I’s exterior. January reports that these tunnels run the entire length of the station. In addition to delivering essentials like power, water, and air through conduits, the tunnels are also used by Operators to move supplies from the Cargo Bay to the Arboretum. Search Eric Berger’s body soon after entering the tunnel to retrieve an EMP Charge fabrication license. This section of the tunnel is linear. Thrust forward and activate your flashlight to illuminate the unlit portions. Pass through the circular door at the end of the tunnel, following the signs to the Cargo Tunnel and Magnetosphere.
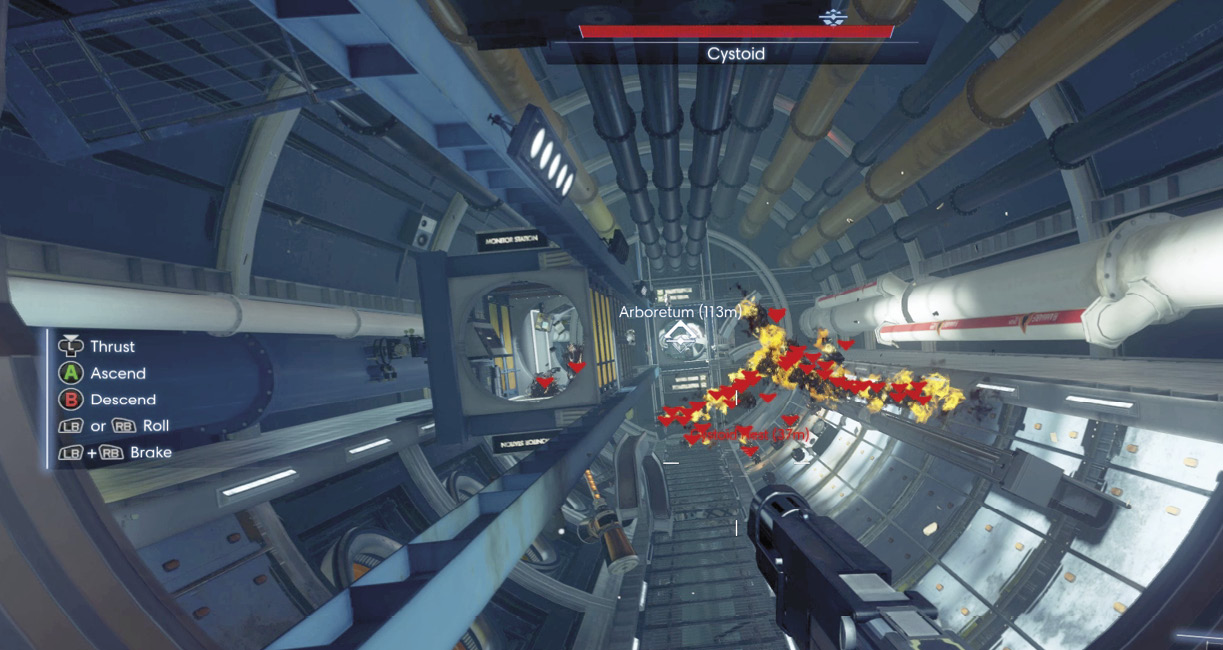
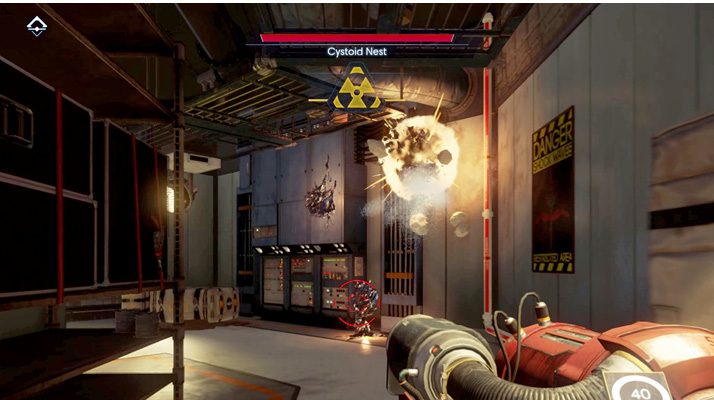
Just beyond the door, you encounter some unknown Typhon organisms. Activate your Psychoscope to conduct scans. Cystoid Nests cling to the sides of the tunnel system and produce unstable Cystoids. When Cystoid Nests are ruptured, multiple Cystoids emerge and travel in erratic, fast-moving swarms. Cystoids are attracted to movement. If they get too close to you, they’ll detonate, setting off a chain reaction of explosions as one exploding Cystoid sets off the next. Fortunately, Cystoid Nests and Cystoids can be destroyed rather easily with your GLOO Cannon. Keep your distance and target a Cystoid Nest with one shot, then follow up to destroy the Cystoids that emerge. Shooting a swarm of Cystoids with one shot is usually enough to trigger a chain reaction. Individual Cystoids are easier to hit with your Silenced Pistol.
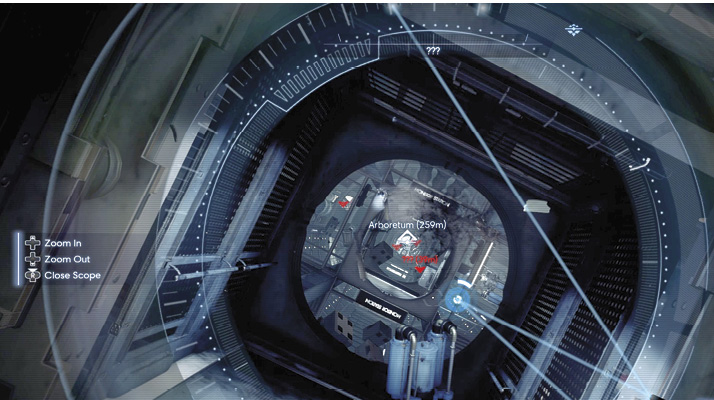
Pass through the nearby Monitor Station and gather a few supplies while keeping your eyes peeled for more Cystoid Nests. A few Cysoid Nests block the path to the next doorway. Keep your distance and saturate the doorway with shots from your GLOO Cannon. As Cystoids break free, they may detonate near the gas lines on the perimeter of the tunnel. So stay clear of these lines in the event they rupture and spew flames. When the area is clear of Cystoids, pass through the next doorway.
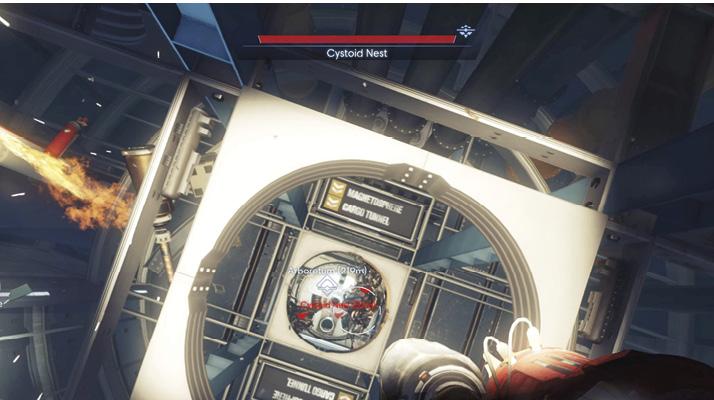
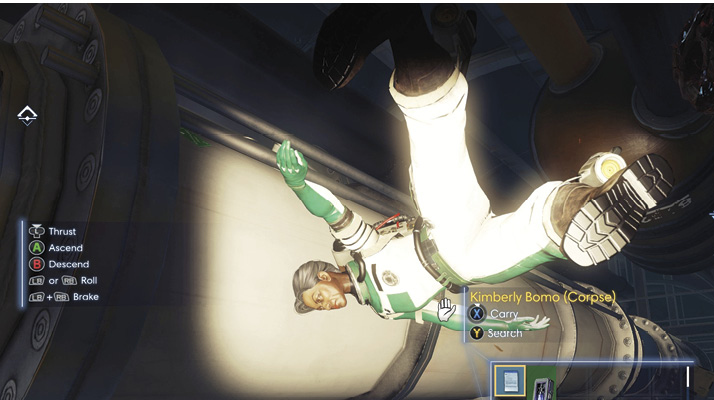
Cautiously advance through the next tunnel section, taking out more Cystoid Nests along the way. Activate your flashlight and search for the body of Kimberly Bomo. She has a note revealing the keycode to the next doorway. After recovering the keycode, eliminate the Cystoid Nests and Cystoids in the remaining portion of the tunnel before approaching the locked door. Input the keycode on the door’s keypad to access the next tunnel section.
The Cystoid infestation in this area is critical. Activate your Psychoscope to identify the various Cystoid Nests and Cystoid swarms. This marks each threat on the HUD, making each enemy easier to spot. Keep your distance and attack the Cystoid Nests and swarms with your GLOO Cannon. The nearby Monitor Station holds a Neuromod stashed in the supply crate.
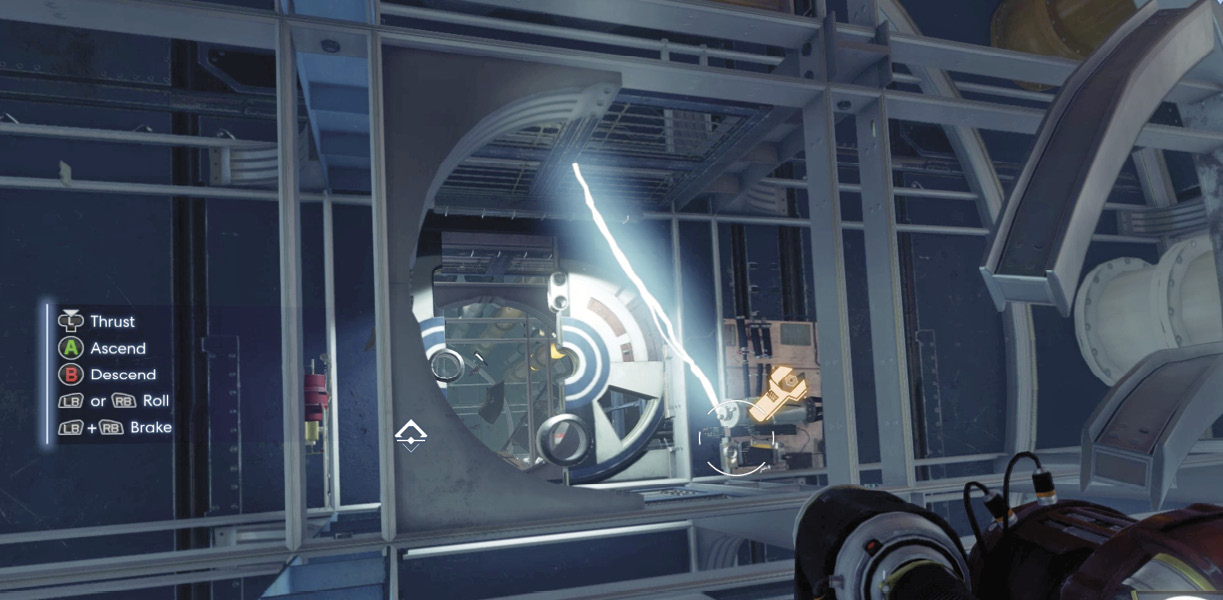
The door at the end of the tunnel section is malfunctioning, slowly opening and closing on its own. Furthermore, the path is blocked by electrical arcs spewing from a damaged electrical junction. Smother the electrical junction with GLOO, then conduct repairs. Fixing the electrical junction doesn’t stop the adjacent door from malfunctioning, but you can still pass through the opening into the next tunnel section.
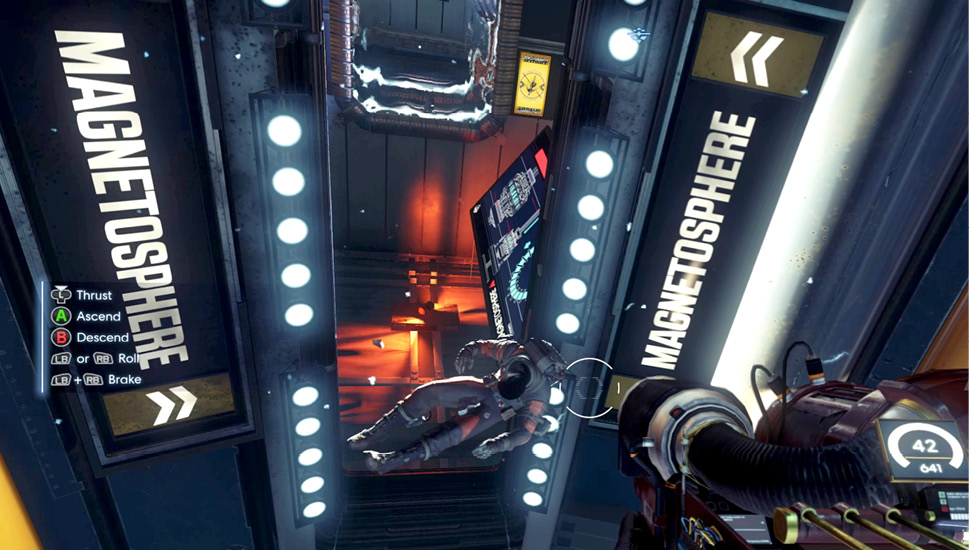
While thrusting through the next tunnel span, your propulsion system temporarily malfunctions. January reports that a pulse from the nearby Magnetosphere was the cause. The door leading to the cargo tunnel is locked. You must take a detour through the Magnetosphere to obtain the keycard. Look for Ramon Ridley’s body floating above the center of the tunnel and search it for supplies. The entrance to the Magnetosphere is next to Ramon Ridley’s body. Rotate to orient yourself with this subsection’s doorway then thrust forward.
Magnetosphere
Medical Bay
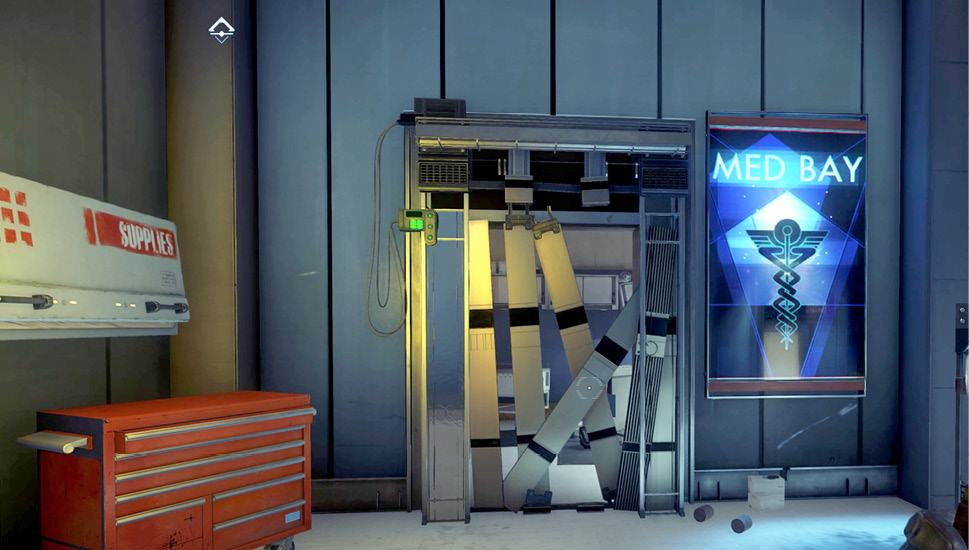
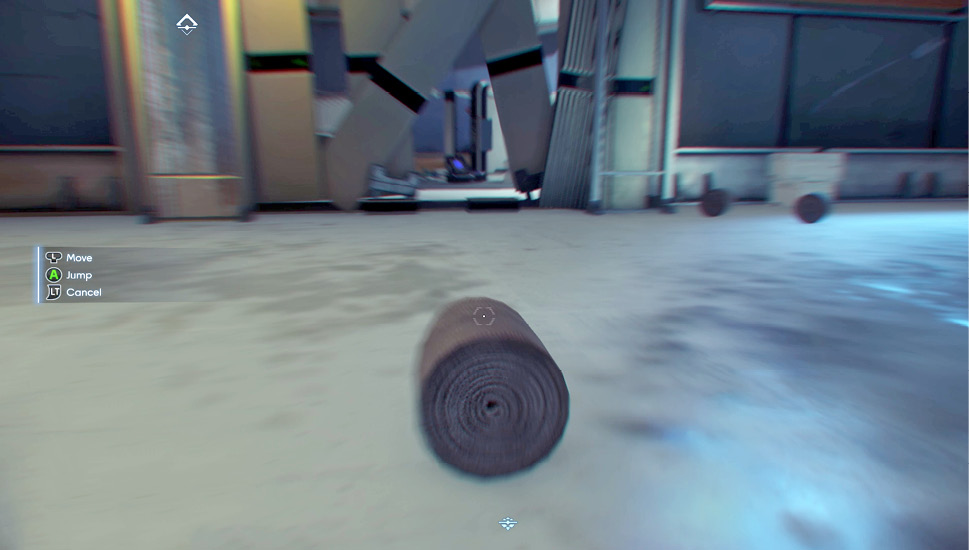
Gravity is present within the Magnetosphere control room, allowing you to move around more naturally. Before entering the control room, turn to the left. Here a damaged door leads into a Medical Bay. The door cannot be repaired, but you can still enter if you have the Mimic Matter I Typhon ability (it only costs one Neuromod to activate). Use Mimic Matter I to transform yourself into the nearby bandage roll and pass through the opening at the base of the damaged door.
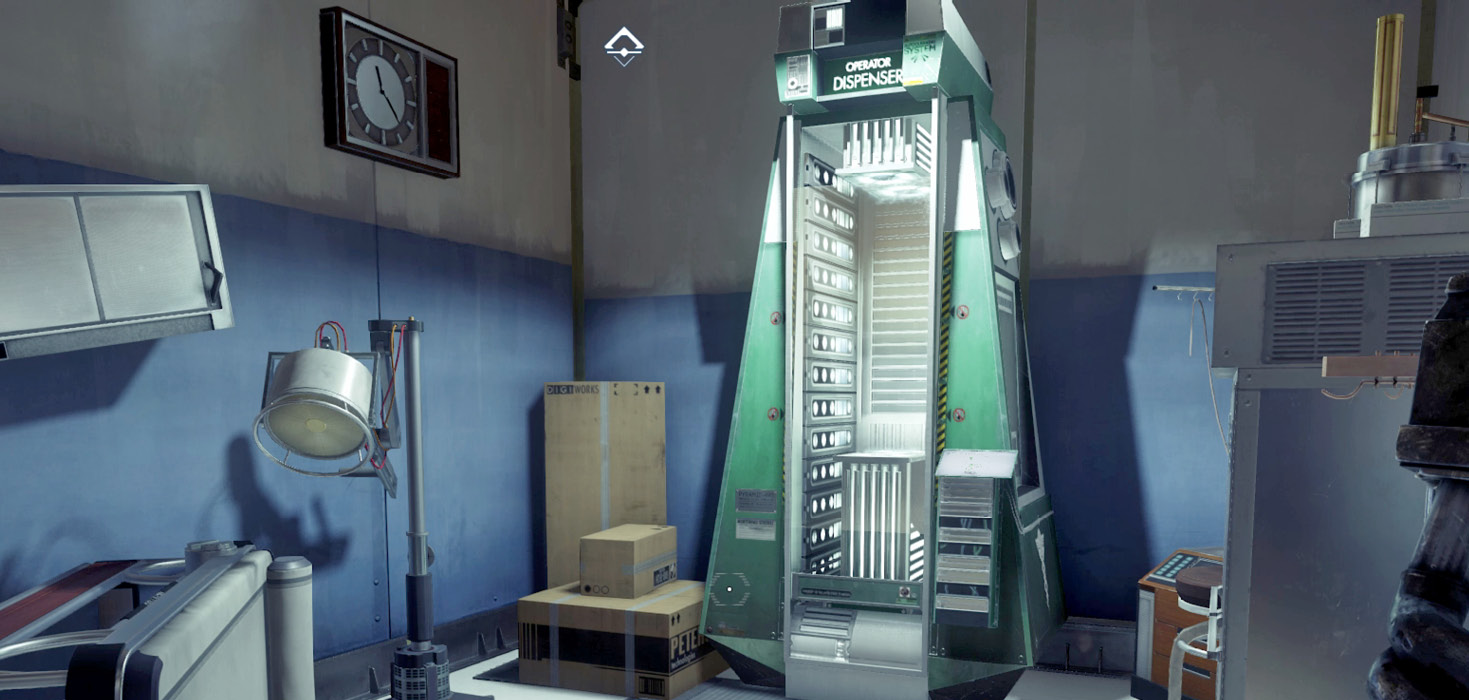
Once inside the Trauma Center, transform back into yourself. Search the Trauma Center for supplies. You can also deploy a Medical Operator to heal yourself. Once you’ve stocked up on supplies and health, use Mimic Matter I to exit the Trauma Center, transforming yourself into a small object to slip through the opening in the doorway. Remember, using Typhon abilities like Mimic Matter I consumes Psi energy. While you’re in a transformed state, Psi energy is consumed at a steady rate, so don’t linger too long. Psi energy can be restored with Psi Hypos or by interacting with a Science Operator.
Magnetosphere Controls
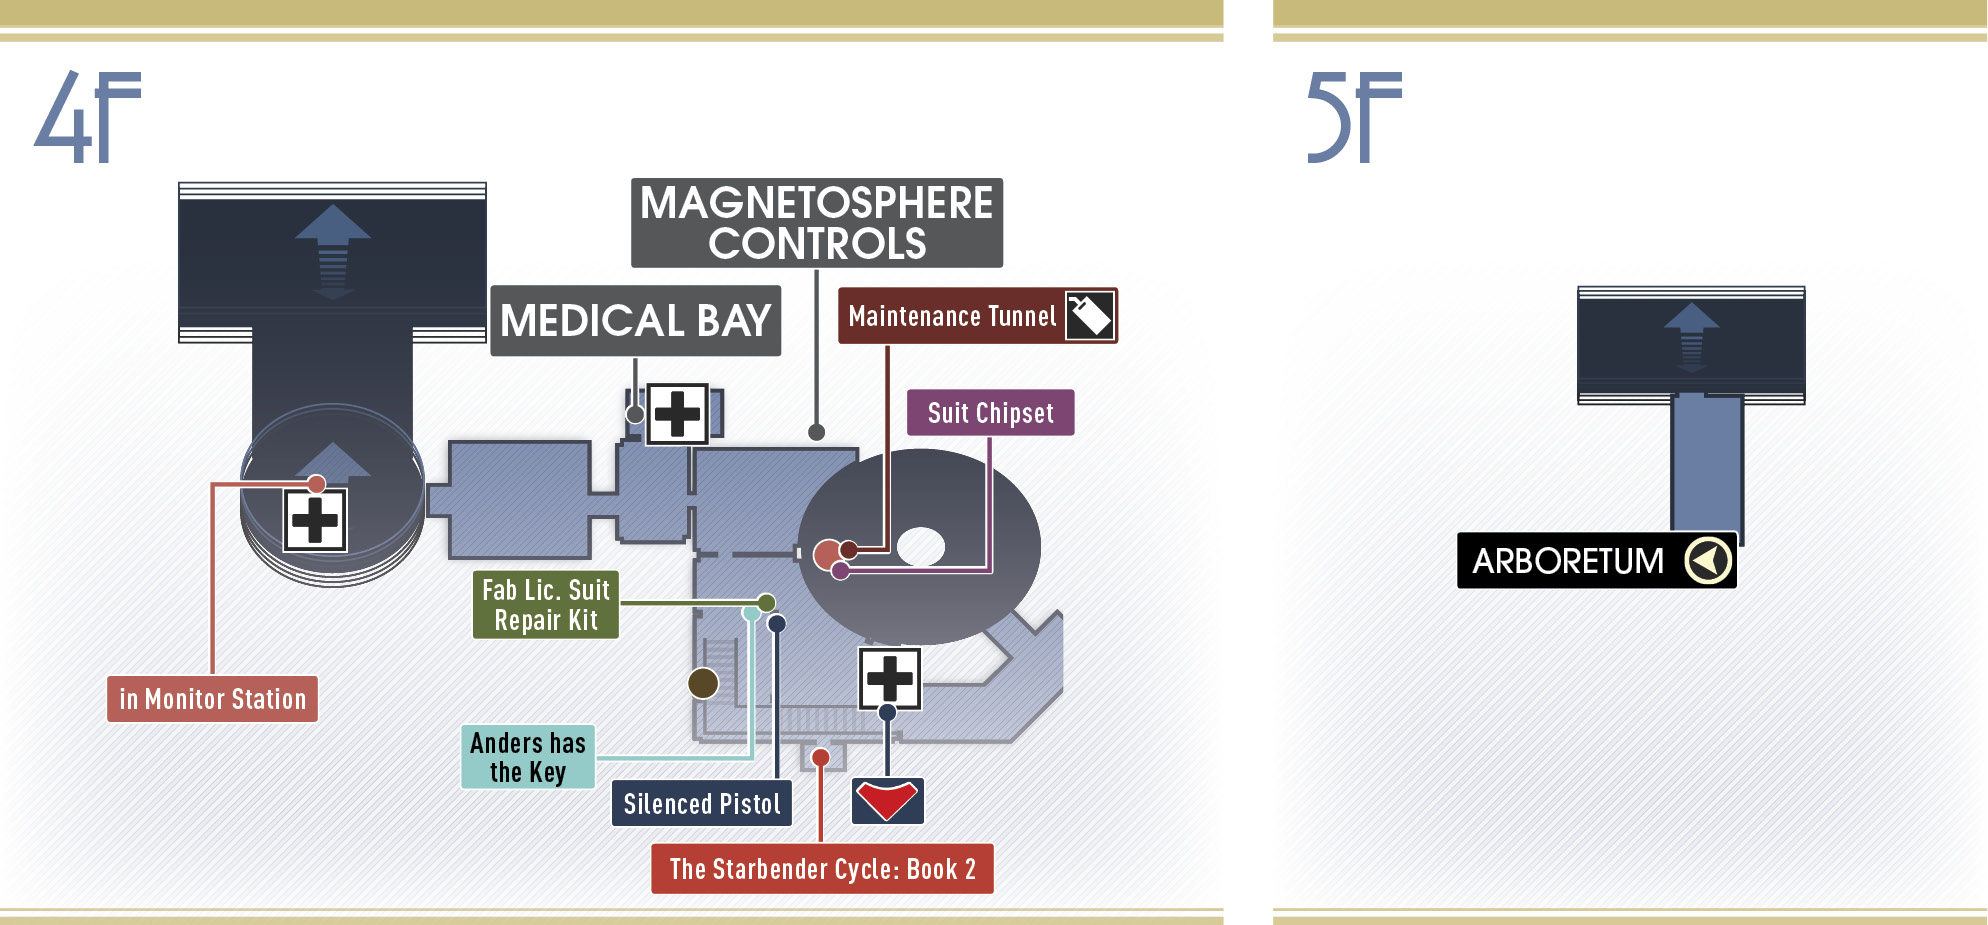
| Notable Items: | Audio Recording: Anders has the Key | Silenced Pistol | Weapon Upgrade Kit (2) |
| Recycler Charge (2) | Neuromod (2) | Keycard: Maintenance Tunnel | |
| EMP Charge (3) | Nullwave Transmitter | The Starbender Cycle: Book 2 |
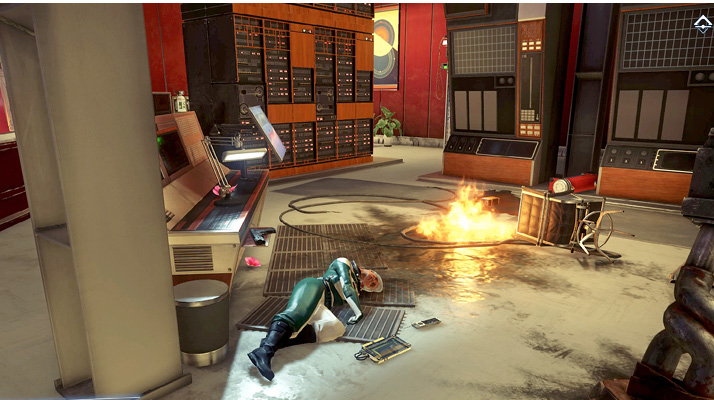
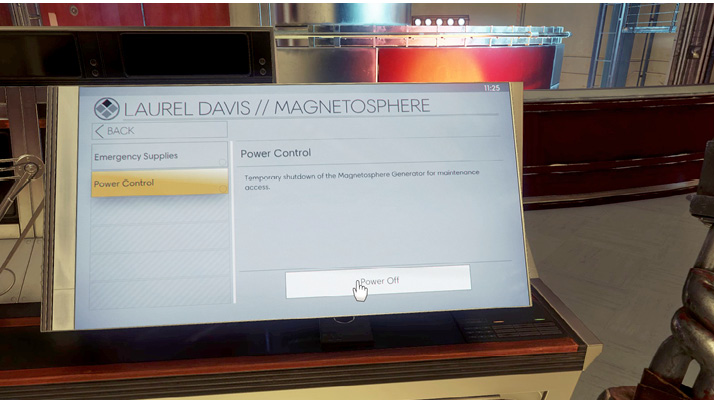
Proceed to this control room—all is not well. Search Laurel Davis’ body to retrieve her TranScribe. A panicked audio recording reveals Anders Kline is dead, located within the Magnetosphere chamber. Kline also has the keycard leading to the cargo tunnel. Periodic plasma shockwaves rock the control room. This is what shorted out your propulsion system earlier. If you possess the Hacking III ability, you can hack into Laurel Davis’ workstation. Before shutting down the Magnetosphere, unlock the emergency supply compartment located within the chamber. Next, shut down the Magnetosphere to make it easier to retrieve the keycard on Anders Kline’s body while navigating within the Magnetosphere chamber.
Equip your GLOO Cannon and ascend the nearby staircase (this is the path to the Magnetosphere chamber). The corridor at the top of the steps is infested with Cystoids. Due to gravity, these Cystoids don’t float. Instead, they roll along the floor. Place a barrier of GLOO deposits on the floor in front of you, creating a protective wall. Next, engage the Cystoids. Even if they roll toward you, the GLOO deposits will prevent them from getting too close. Exploding Cystoids may rupture the adjacent gas line, so be ready to put out some flames using your GLOO Cannon. A Science Operator in this corridor can replenish your Psi energy. There’s also a crawlspace above this passage holding a few supplies, including an EMP Charge (create and climb atop GLOO deposits to reach this area).
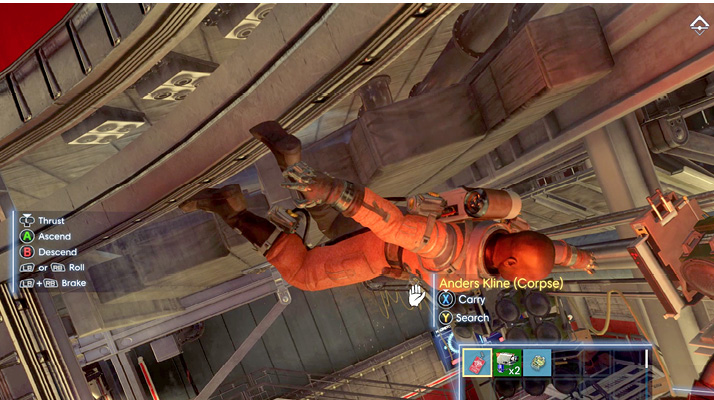
Enter the Magnetosphere chamber and locate the body of Anders Kline. This is a zero gravity environment, requiring you to use your propulsion system to maneuver. If you temporarily shut down the Magnetosphere using Laurel Davis’ workstation, you won’t have to worry about plasma pulses shorting out your propulsion system. When you find Anders Kline, search his body to recover a couple of Neuromods and the keycard to the Maintenance Tunnel.
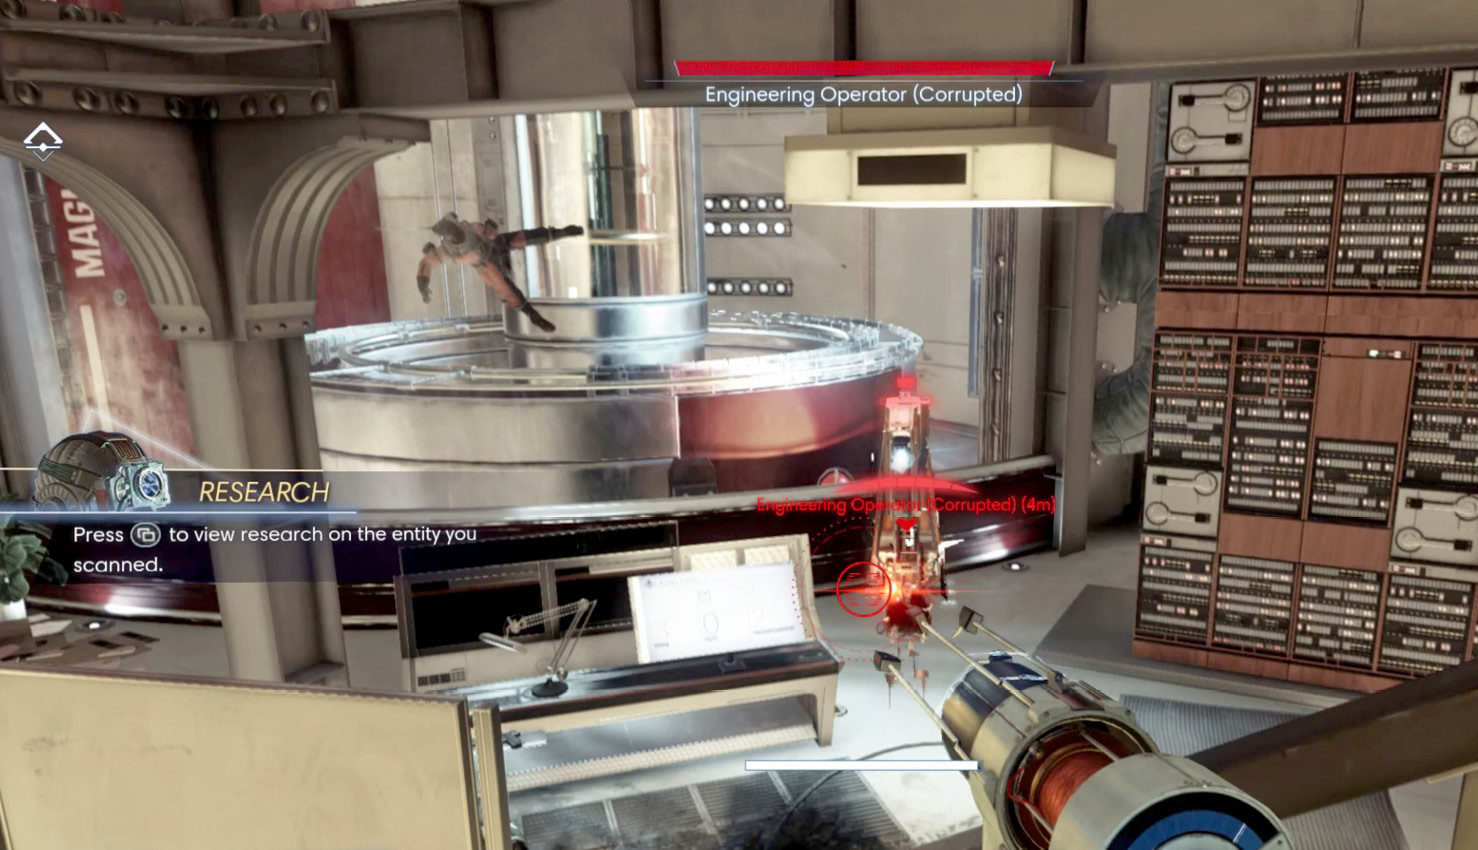
Exit the Magnetosphere chamber and return to the control room. As you near the stairs, watch out for a couple of corrupted Engineering Operators. Use your GLOO Cannon to immobilize them. Then scan them with the Psychoscope to reveal their weaknesses, immunities, and powers. While the corrupted Operators are still immobilized, hit them repeatedly with your Disruptor Stun Gun or Silenced Pistol to finish them off. Be sure to search the remains of each Operator to retrieve Q-Beam cells and/or Disruptor batteries.
Maintenance Tunnel
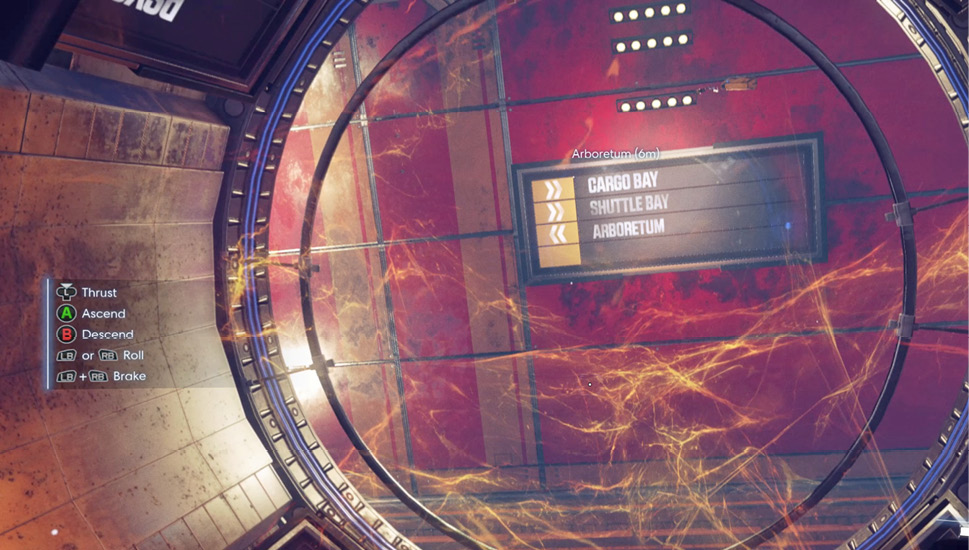
Return to the Maintenance tunnel and approach the locked door leading to the cargo tunnel. Use the keycard you retrieved from Anders Kline to unlock the door. The tunnel beyond the door is filled with the golden filament-like material you first encountered in the Behavioral Biometrics lab. January reports that the entire Typhon ecology is centered around the creation this unusual substance (the original researchers called it Coral). But they’re still unclear what its purpose is. Feel free to move through the Coral—it won’t harm you.
Cargo Tunnel
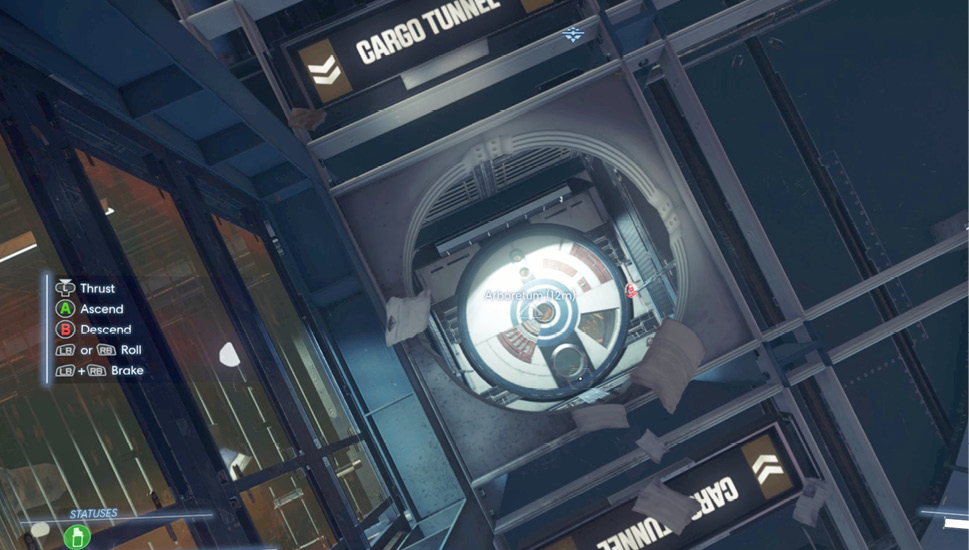
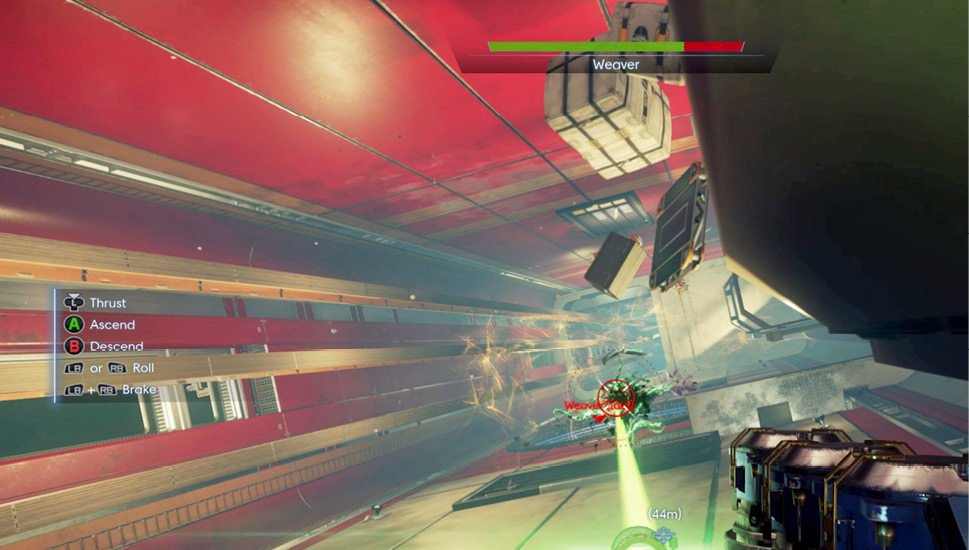
The maintenance tunnel ends at a T-intersection with the cargo tunnel. Study the signs here and advance toward the Arboretum. Activate your Psychoscope to scan a Weaver hovering in the middle of this tunnel. While you can sneak past the Weaver, it’s best to take it out, using the Q-Beam. The Weaver is responsible for creating Cystoid Nests nearby. Once the Weaver has been eliminated, use your GLOO Cannon to take out the Cystoid Nests.
The Blackbox Project (continued)Before entering the Arboretum, consider hunting down Josh Dalton. Travel down the cargo tunnel in the direction of the Cargo Bay. As you exit a curved tube and enter Subsection 16, descend to the lower portion of the tunnel and follow the conveyance track toward a large stainless steel pipe. 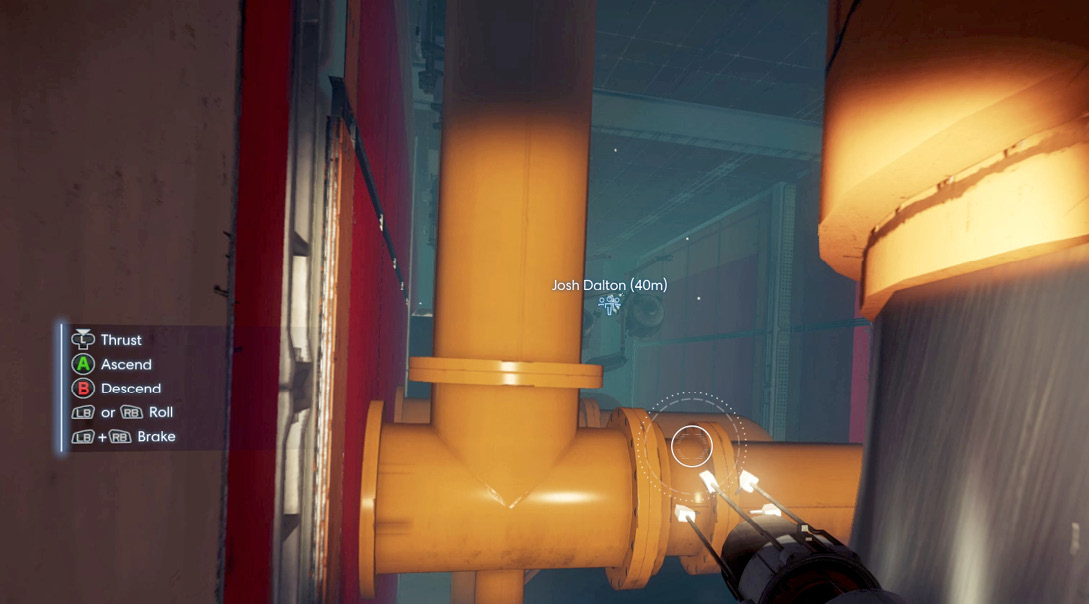
Squeeze past the pipe to locate Josh Dalton in a dead-end portion of the tunnel. His body is swarmed by several Cystoids. Eliminate the Cystoids and then search Dalton’s body to retrieve some Q-Beam ammo, a keycard to the Blackbox Lab, and a TranScribe. You can also retrieve ammo from the Q-Beam floating nearby. The audio recording on the TranScribe (Sting Operation) reveals a heated exchange between Josh and Lane Carpenter, his coworker. It sounds like this conversation ended tragically for Carpenter. To resume this objective, go to the Beams and Waves Lab in Hardware Labs and use the new keycard to enter the Blackbox Lab. 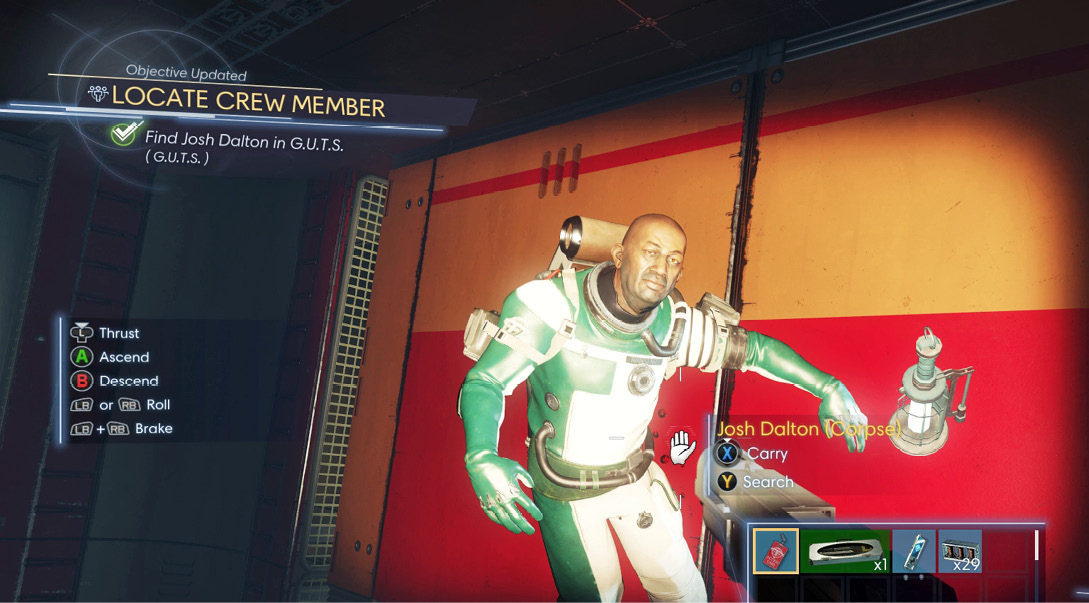
|
Executive Level
| Notable Items: | Typhon Lure |
| Recycler Charge |
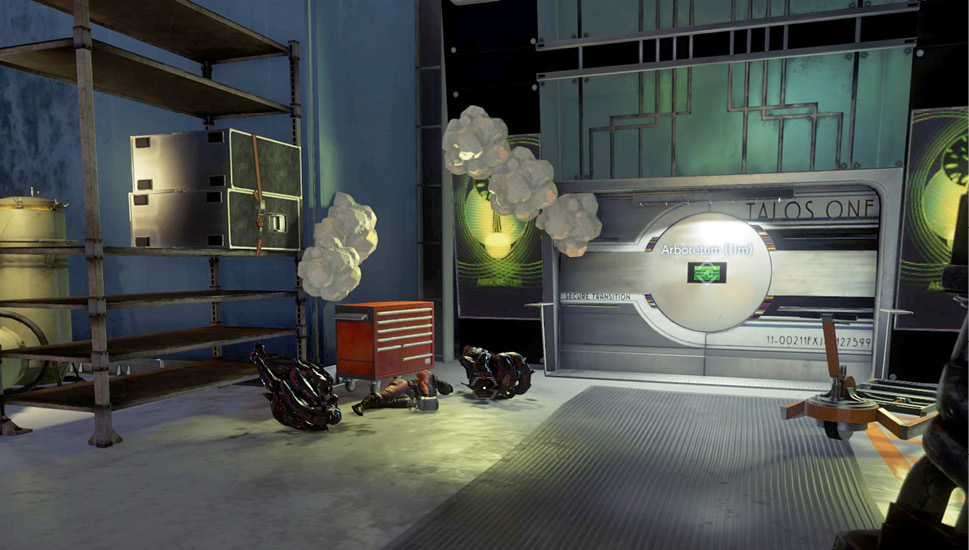
Continue along the cargo tunnel until you reach the door leading to the Arboretum, being careful to avoid or eliminate Cystoids along the way. Exit the tunnel system to access this storage area. Here you can find a number of supplies including a Typhon Lure and a Recycler Charge. When you’re finished searching, enter the door to the Arboretum.
Arboretum
G.U.T.S. Loading Bay
| Notable Items: |
| Disruptor Stun Gun |
| Silenced Pistol |
| Neuromod |
| Audio Recording: Find Grant Lockwood |
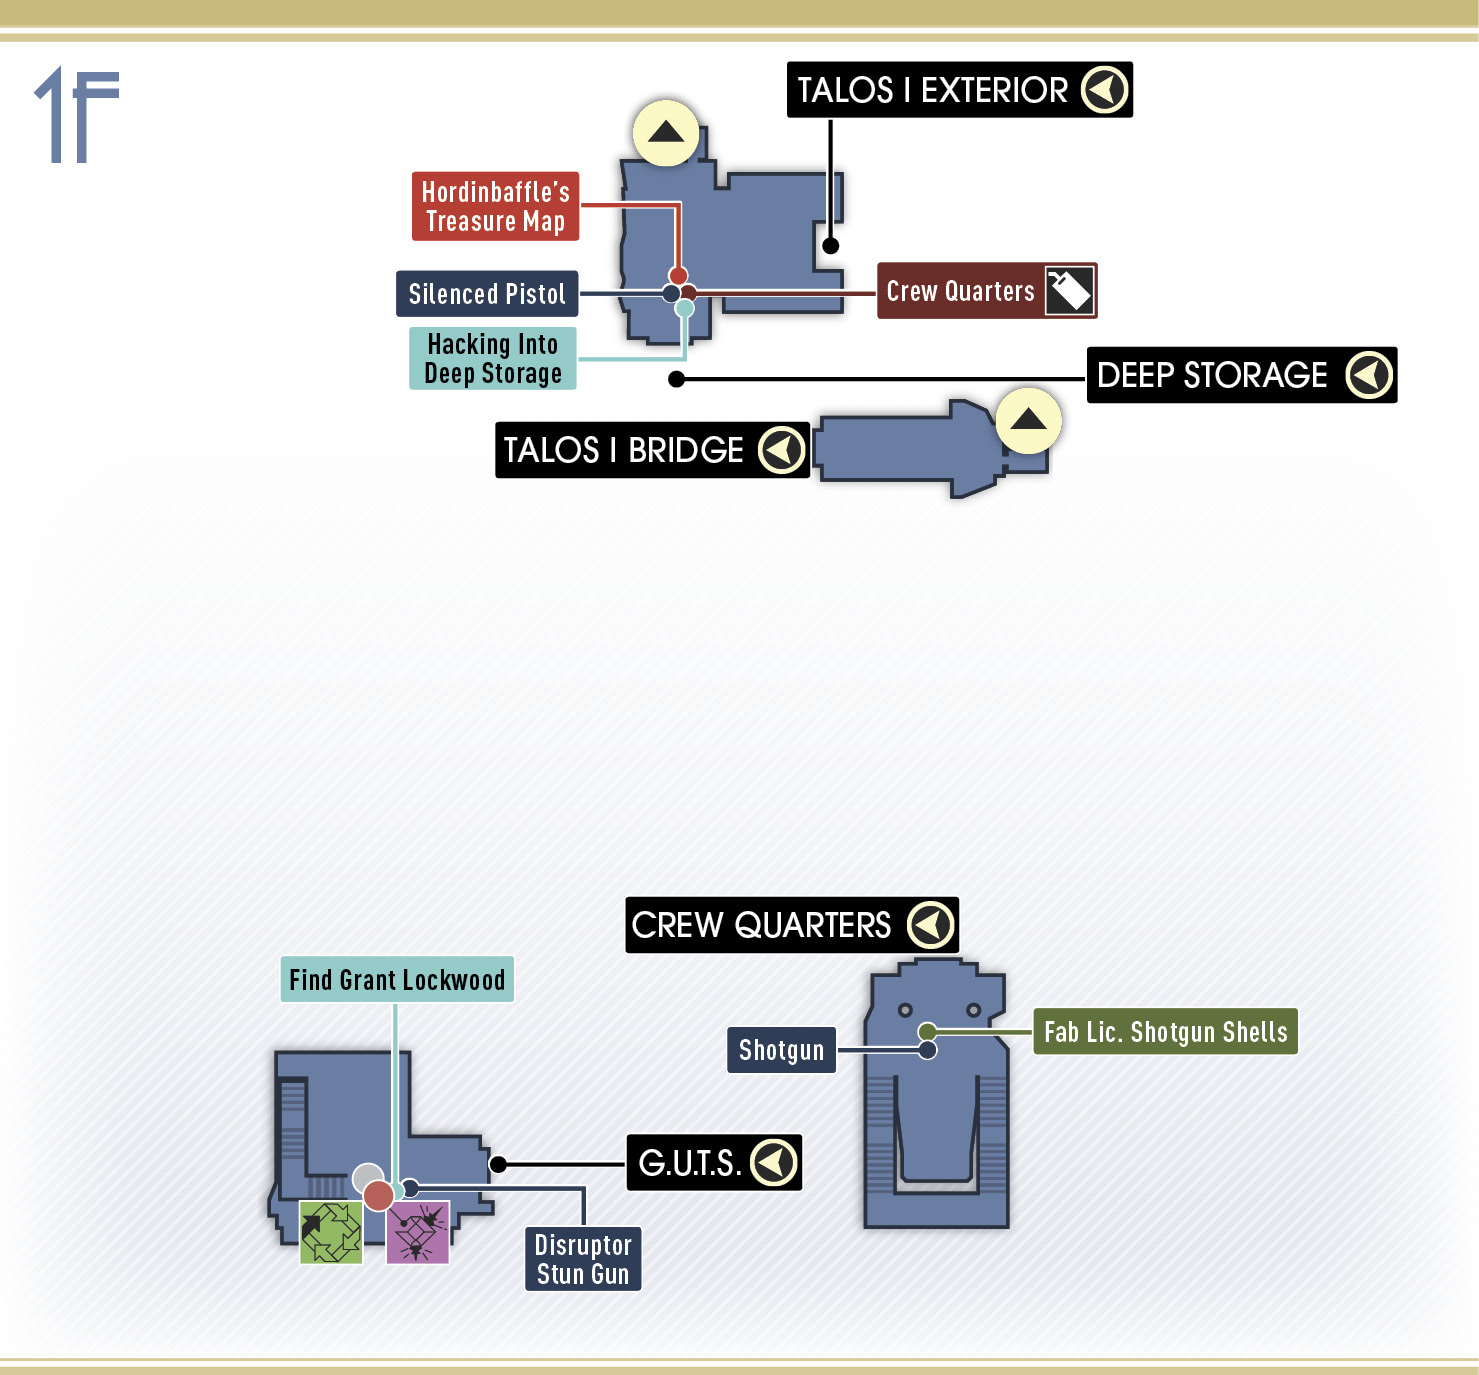
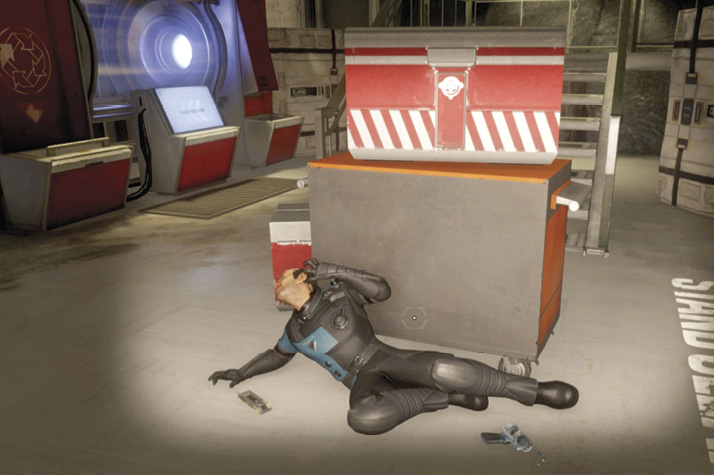
This loading bay receives shipments via the G.U.T.S. from the Cargo Bay. Be sure to watch out for Mimics here. The loading bay also houses the Arboretum’s only Recycler and Fabricator. Search the body of Jia Kyung-Ho, one of Talos I’s security officers, when visiting these devices. He’s carrying a Silenced Pistol, a Neuromod, and a TranScribe. A Disruptor Stun Gun is also next to his body.
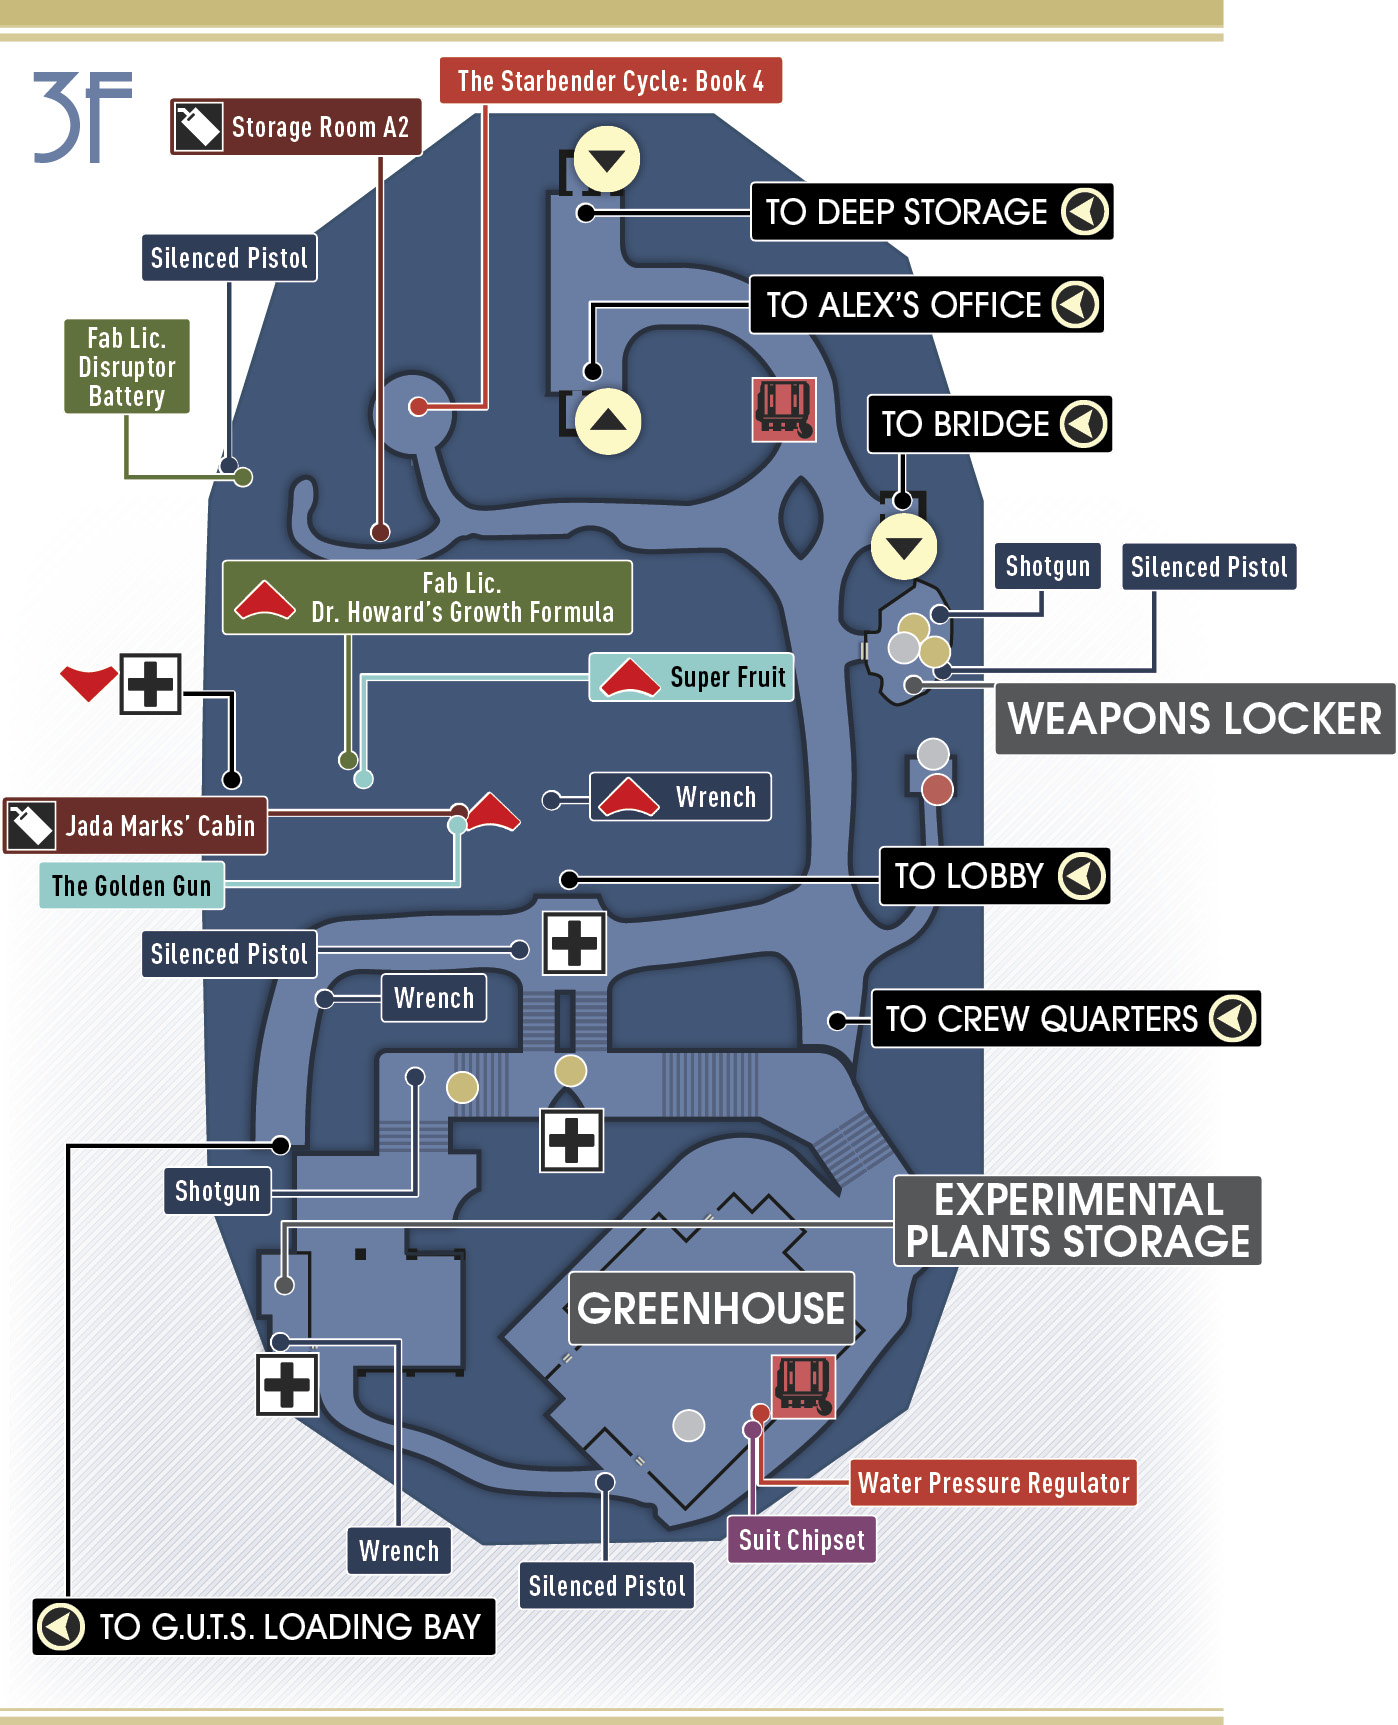
Disgruntled EmployeeObjective Summary: Grant Lockwood (Employee 1129) was fired and scheduled to leave the station on the last shuttle to Earth, but he skipped getting on the shuttle. HR made the situation worse by deactivating his tracking bracelet before he was officially off the station. If I can get to Deep Storage and reactivate his tracking bracelet, I can find out what happened to him. Listen to the recording (Find Grant Lockwood) found on Jia Kyung-Ho’s TranScribe to trigger this optional objective. You’ll need to access Deep Storage before resuming this objective. |
After visiting the Recycler and Fabricator, ascend the nearby staircase. The door at the top of the steps is unpowered. A massive, unknown Typhon organism roams the path beyond the door. January warns you to stay away from this Typhon. You can try scanning the Typhon with the Psychoscope, but it moves out of sight quickly. This unpowered door can be forced open if you possess the Leverage III ability. Otherwise, you’ll need to find another exit.
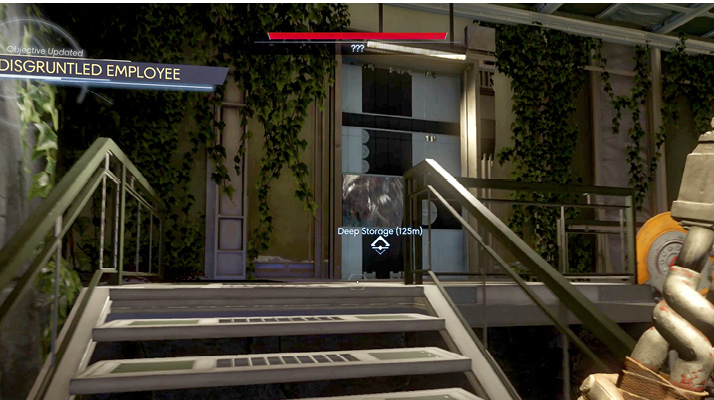
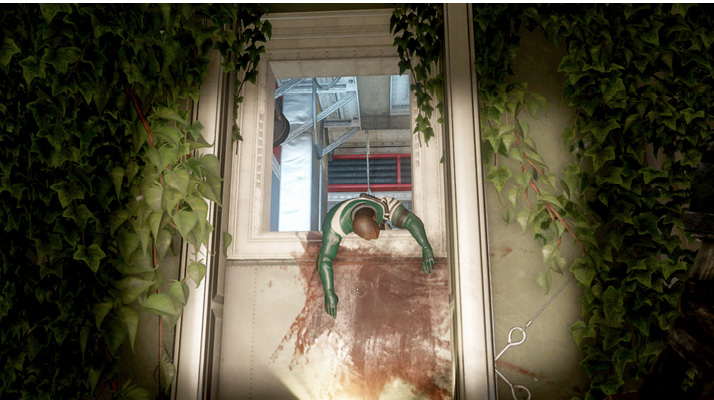
From the door, turn right to spot the body of Marc Sellers hanging out of a duct. Search his body and jump to access the duct. Once inside, crouch and follow the duct to an opening above. Jump up through the opening to pull yourself out of the duct.
Lift InterferenceObjective Summary: The main lift is currently not working. I should find out what the source of the interference is so I can free up the lift and gain access to more of the station. While crawling through the duct, January suggests investigating the lift system. You’ll need to access the Arboretum Foyer in the Talos I Lobby to resume this objective. 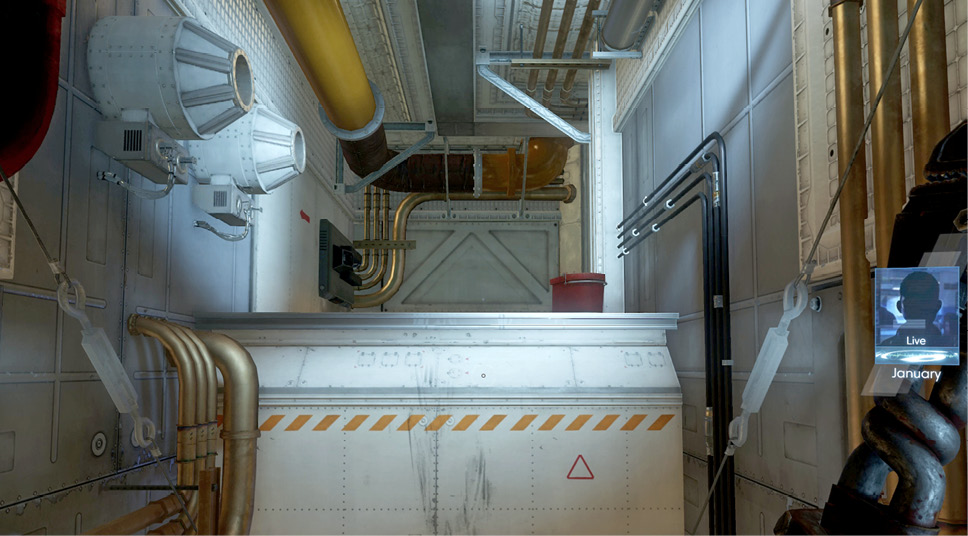
|
Experimental Plants
| Notable Items: |
| Shotgun |
| Turret (2) |
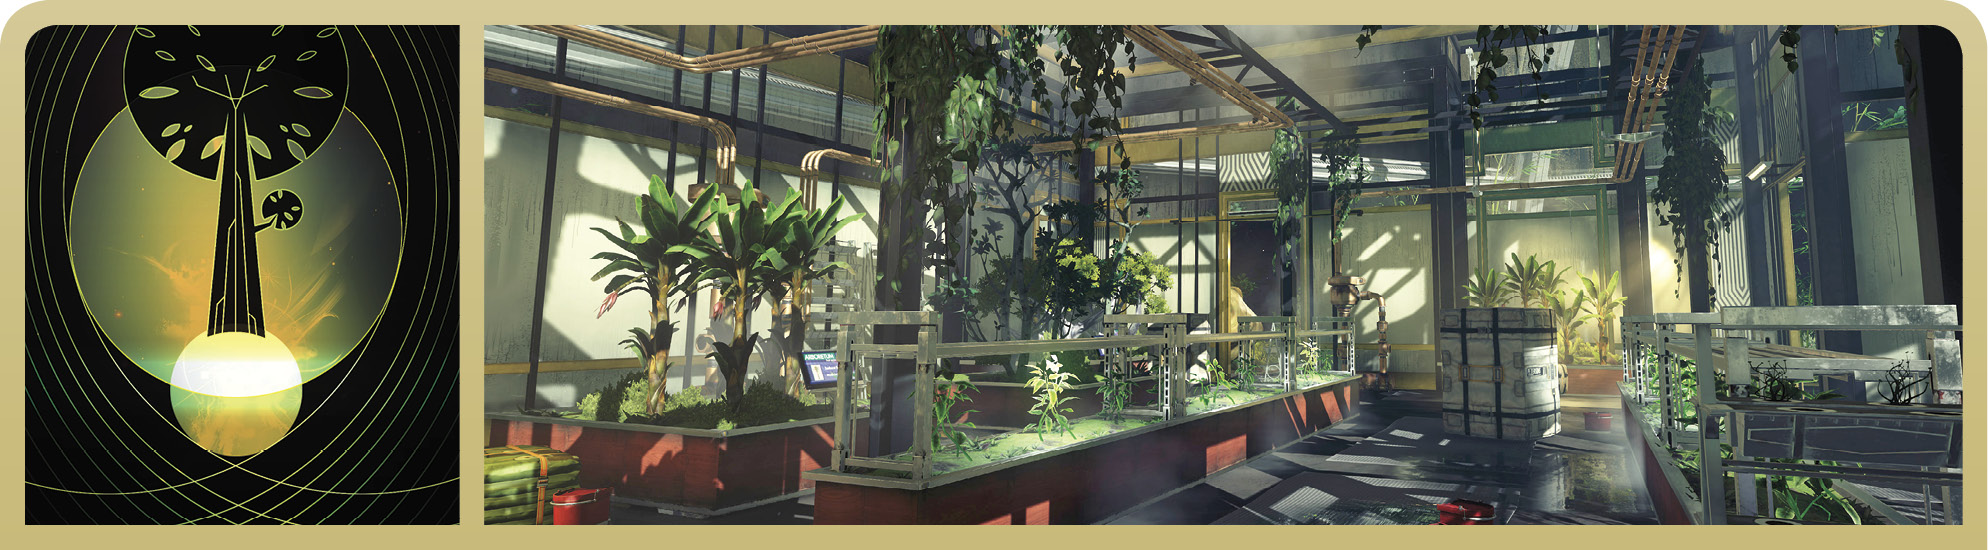
Take a look around as you emerge from the duct. The Arboretum is like no other facility on Talos I because it is filled with lush vegetation. In addition to supplying the station with oxygen, plants grown in the Arboretum help feed the crew. The researchers here experiment with different soils, fertilizers, and watering regimens to create custom fruits and vegetables.
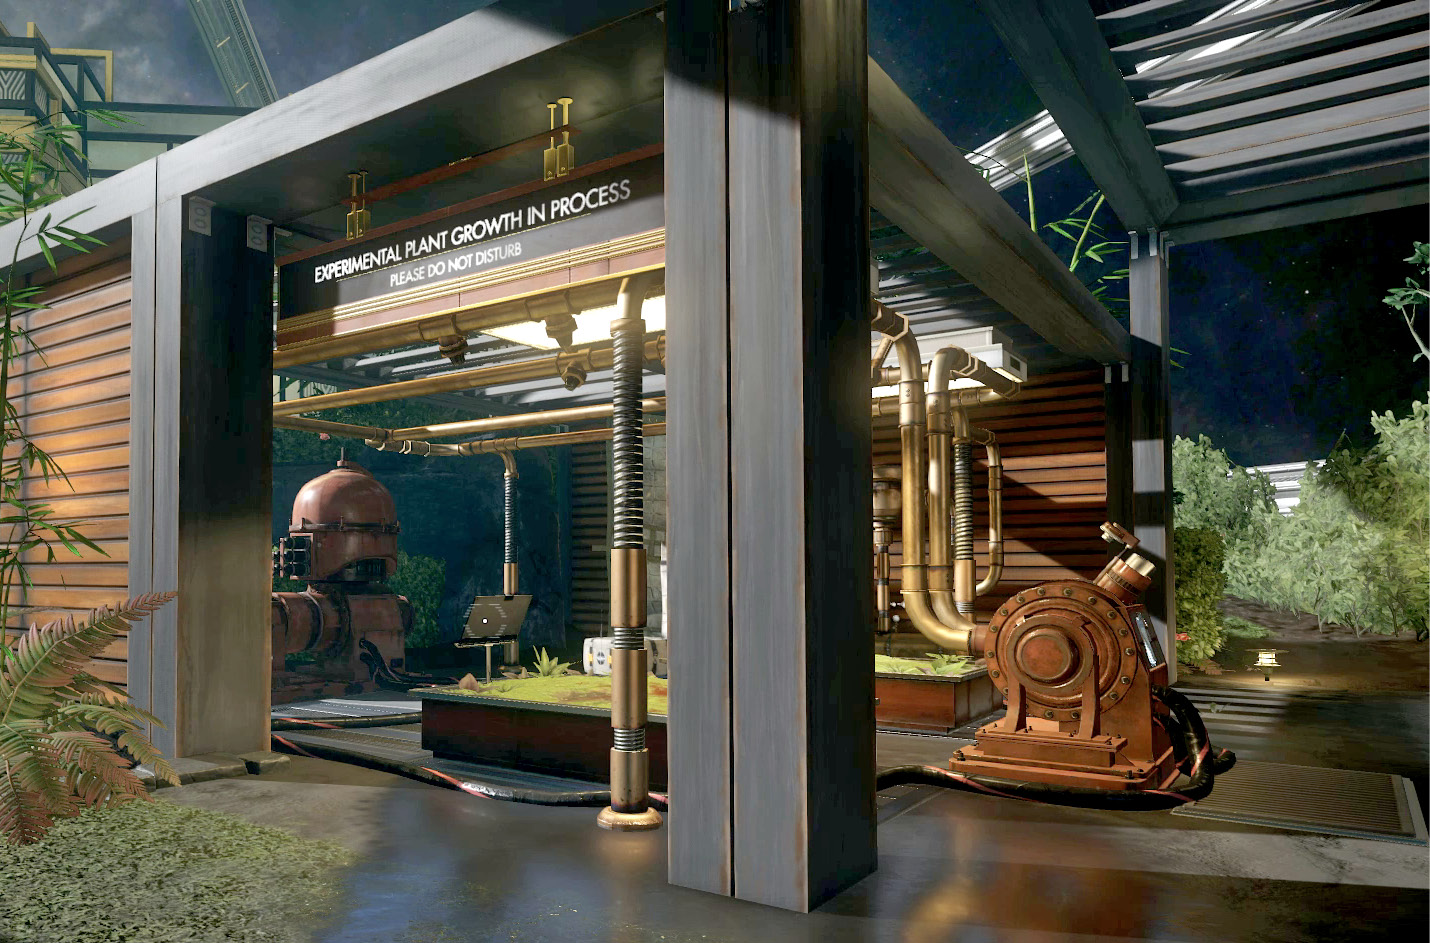
Gardening TipsObjective Summary: I should use a security station to search for Dr. Julien Howard to learn more about the growth formula he wanted to begin testing in the Arboretum sprinkler system. He seemed excited. Grab the note attached to the fertilizer dispenser to begin this optional objective. Apparently Dr. Howard has discovered a way to grow fruit in only ten minutes. Fearful that others may take credit for his discovery, Dr. Howard keeps a fertilizer fabrication plan on him at all times. You’ll need to find Dr. Howard to continue this objective. 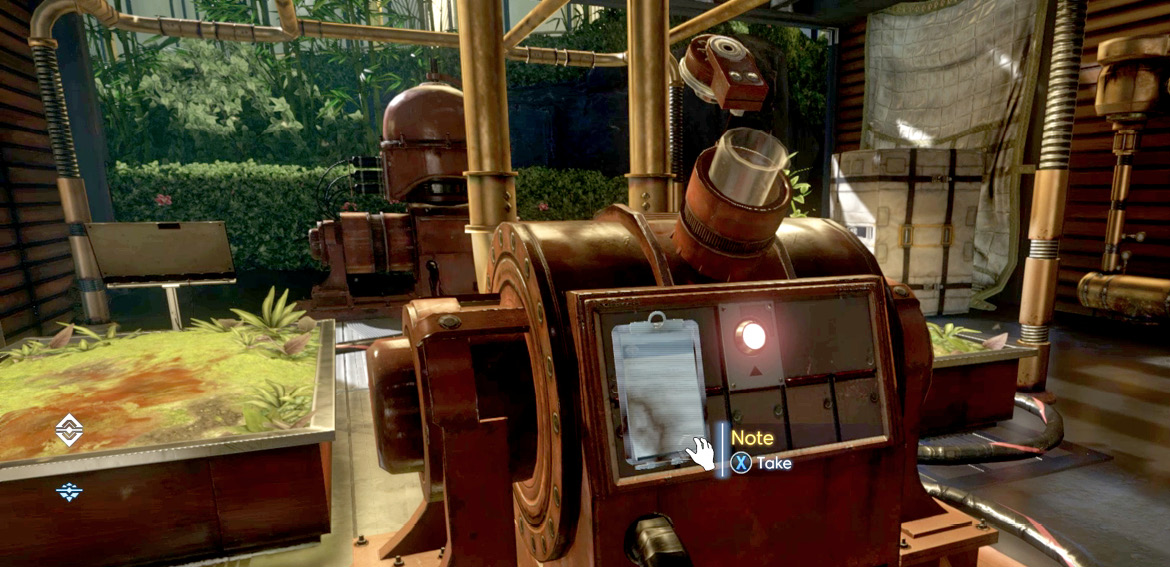
|
Descend the nearby steps to locate the body of Evelyn McCarthy. A Shotgun is near her body. A couple of broken turrets are also nearby. If you possess more than one Typhon ability, hack the turrets before repairing them. If you don’t hack these turrets, they’ll attack you. Grab one of the turrets and carry it up the steps leading to the green house.
Green House
| Notable Items: | Keycode: Storage AR01 | Nullwave Transmitter | Water Pressure Regulator |
| Weapon Upgrade Kit | Suit Chipset | Recycler Charge |
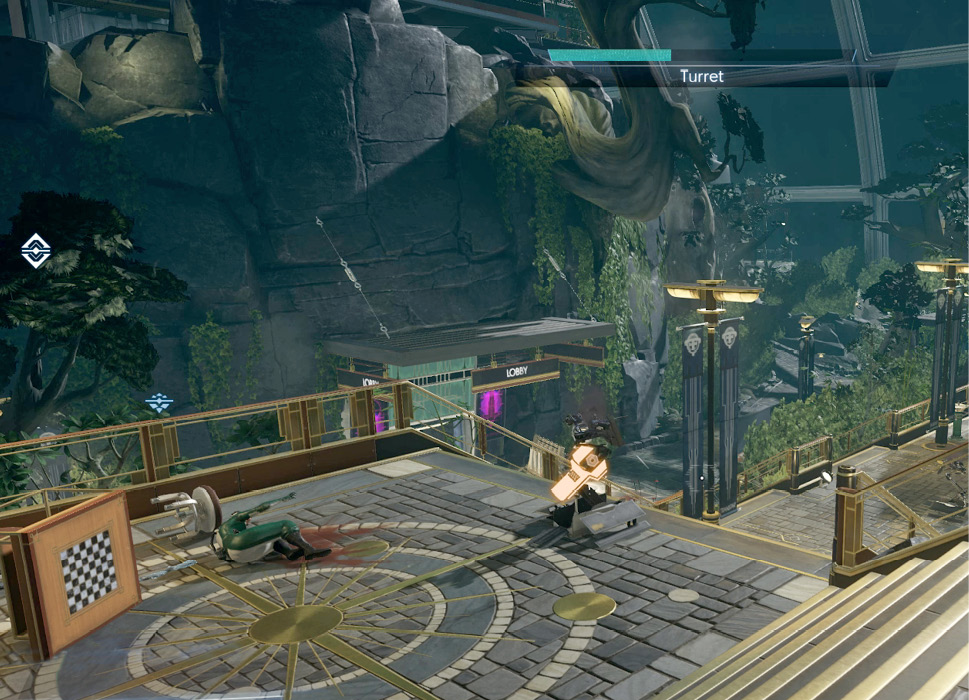
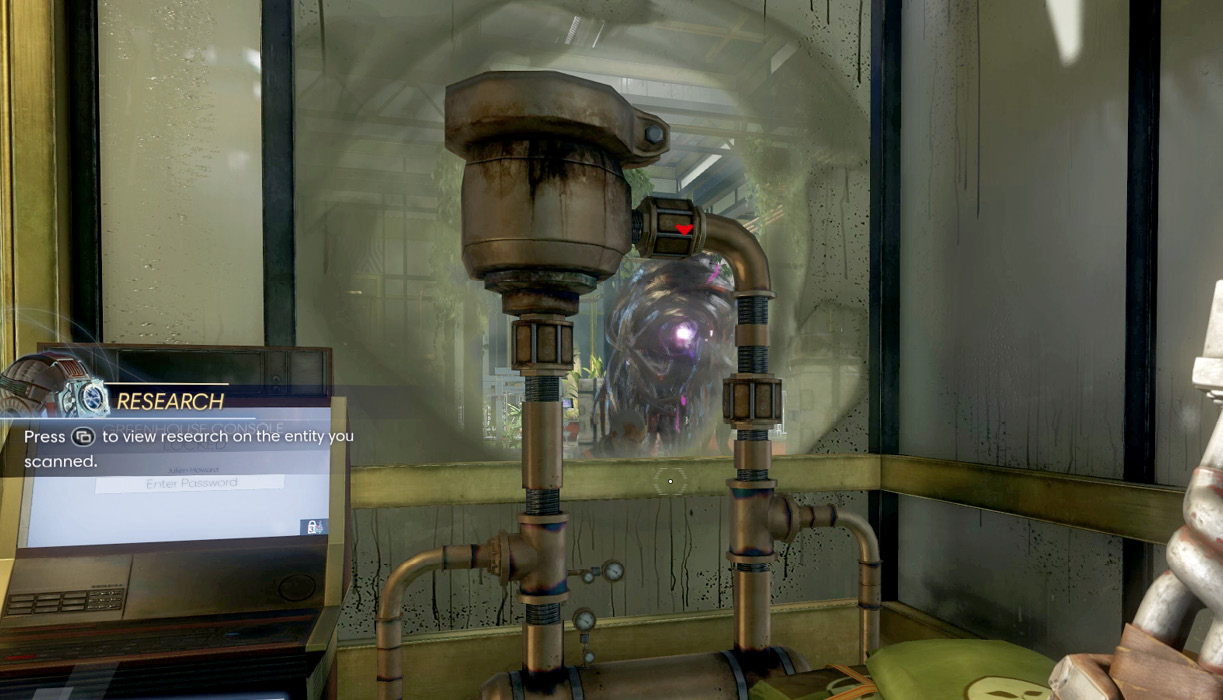
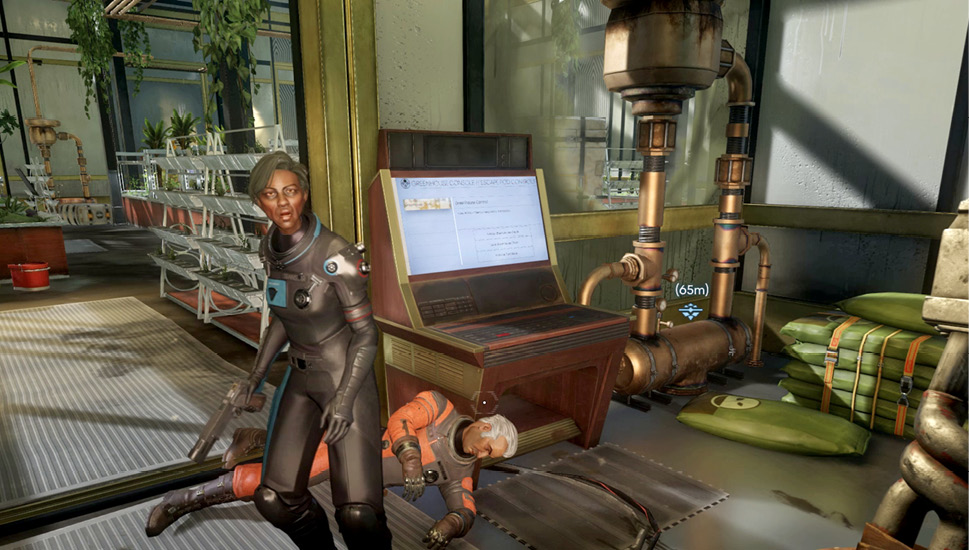
As you near the green house’s main door, Rodney S. Poole tries to get your attention from inside. He pleads with you to open the door while banging on the adjacent window. Use your Psychoscope to scan the unknown Typhon entity floating inside the green house. This is a Telepath. It is capable of taking over the minds of humans and turning them into sleepwalking drones. Watch as the Telepath controls Rodney S. Poole. There’s nothing you can do to stop it, but you can still save Rodney and the rest of the personnel trapped inside the green house. Stay near the window and scan some of the mind-controlled crew to update your research entries. Don’t get too close to the mind-controlled crew, their heads will explode!
Save RaniObjective Summary: Rani and others might be mind-controlled by a Typhon. Killing the Typhon might free them. Grab the note on the ground directly in front of the green house’s main door to initiate this optional objective. Rani suggests killing the Telepath to save those who are mind-controlled. 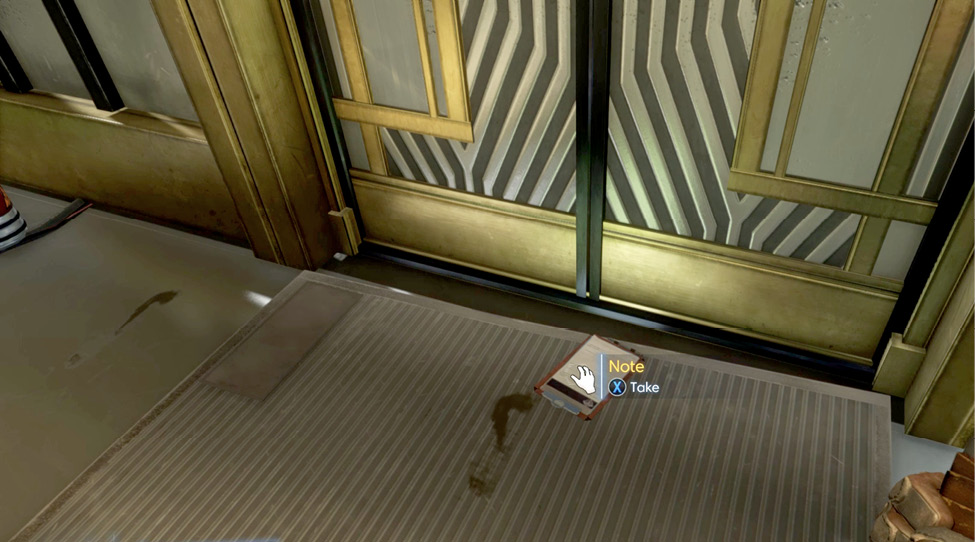
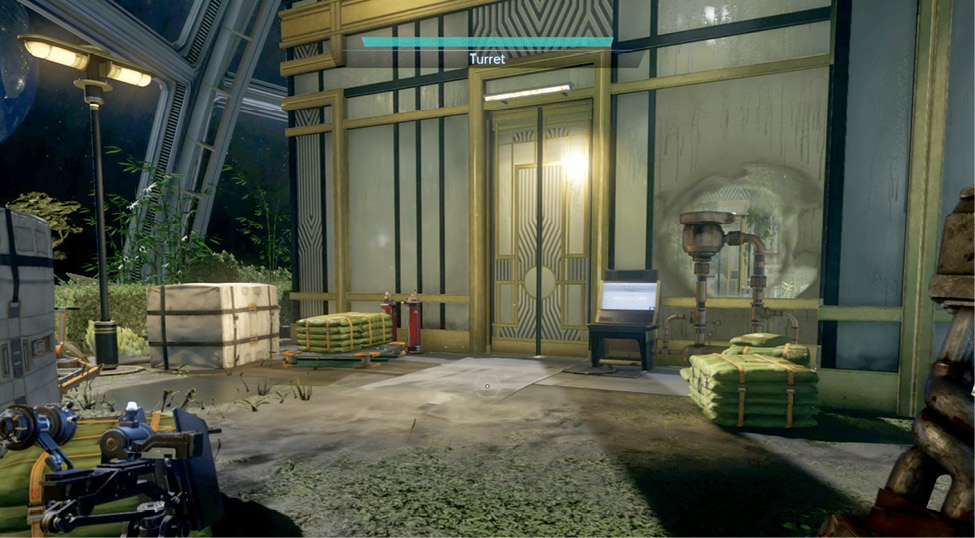
Deploy the turret outside the green house. Although the turret can’t shoot through the green house windows, it will engage the Telepath inside and get its attention. The Telepath can fly, allowing it to escape through the green house’s roof. Lure the Telepath outside and attack it with the Q-Beam. Killing the Telepath renders all mind-controlled subjects unconscious, but at least they’re alive. If you can’t lure the Telepath outside the green house, access the green house console and open the doors. The console requires Julien Howard’s password. It can also be hacked if you possess the Hacking III ability. Opening the doors allows the Telepath to exit, so you can engage it directly. Watch out for the mind-controlled victims! Zap them with the Disruptor Stun Gun if they attack. Once the Telepath has been eliminated, enter the green house and locate Rani Chaudhary. She’s the only conscious crew member inside. She’s grateful for your assistance and gives you the code to the weapons locker (Storage AR01). Rani says the locker contains a few turrets that may be helpful for fighting the Typhons. Meanwhile, Rani is heading for the Cargo Bay. Apparently, security was supposed to fall back there. You can complete this optional objective later by accessing the weapons locker. 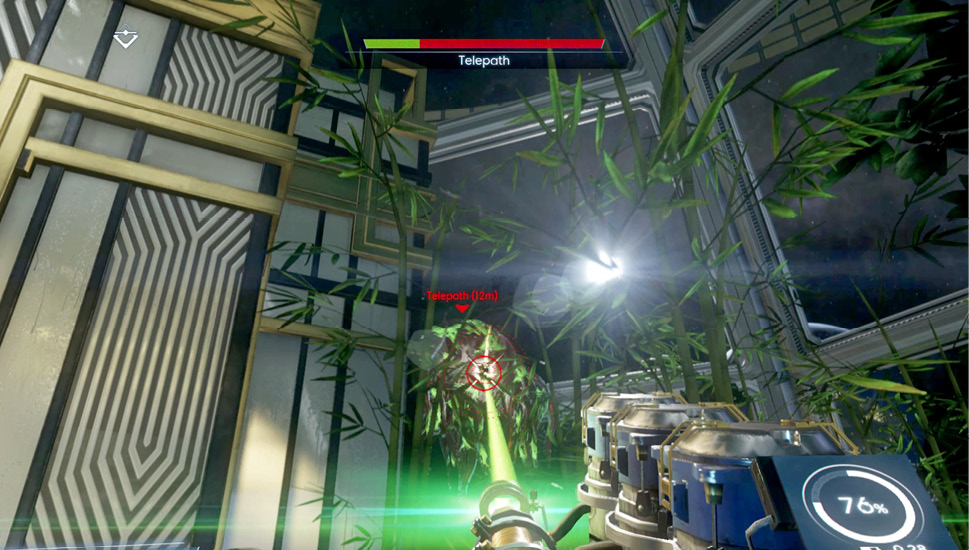
|
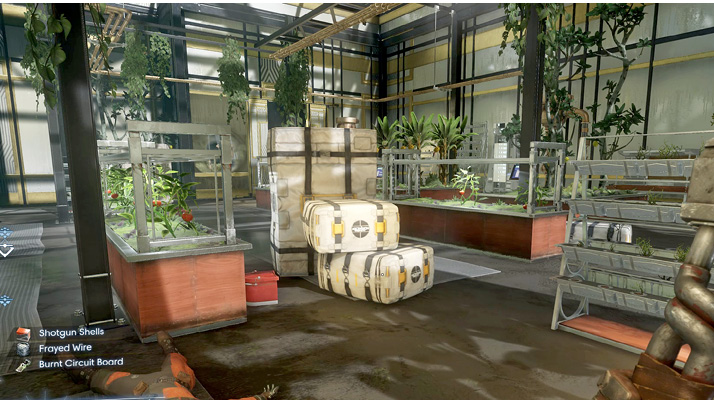
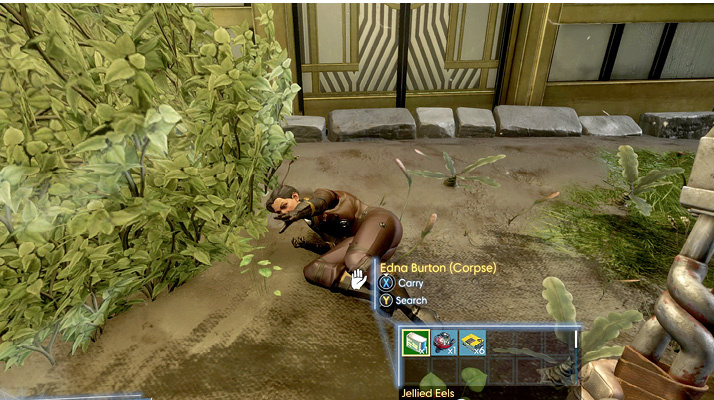
While you’re in the green house, take a look around. Here you can stock up on Jamon Tomatoes and Skyking Pomegranates. There’s also a Nullwave Transmitter in the supply crate near the main door. The Operator Dispenser here produces Science Operators, helpful for replenishing your Psi energy. Also, be sure to search the unconscious crew members (Rodney S. Poole and Mickey Pitt Sr.) for supplies. Edna Burton can be found outside the green house, near the backdoor. She’s carrying a Recycler Charge.
Lobby Access
| Notable Items: |
| Neuromod |
| Typhon Lure |
| Recycler Charge |
| Audio Recording: Three Taps of a Wrench |
| Turret |
After exploring the green house, exit and proceed down the large staircase where you repaired the two turrets earlier. Enter the corridor leading to the Talos I Lobby. Two active turrets guard the doorway ahead. Along the way, search the body of Jenny King to retrieve a Typhon Lure and Medkit. Proceed down the corridor and look for Lily Morris’ corpse on the right. Her TranScribe reveals another optional objective.
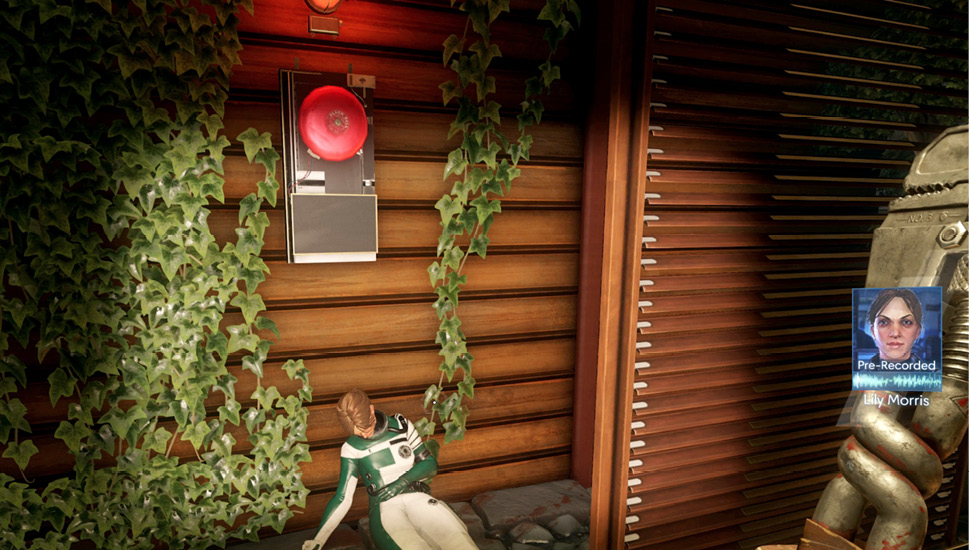
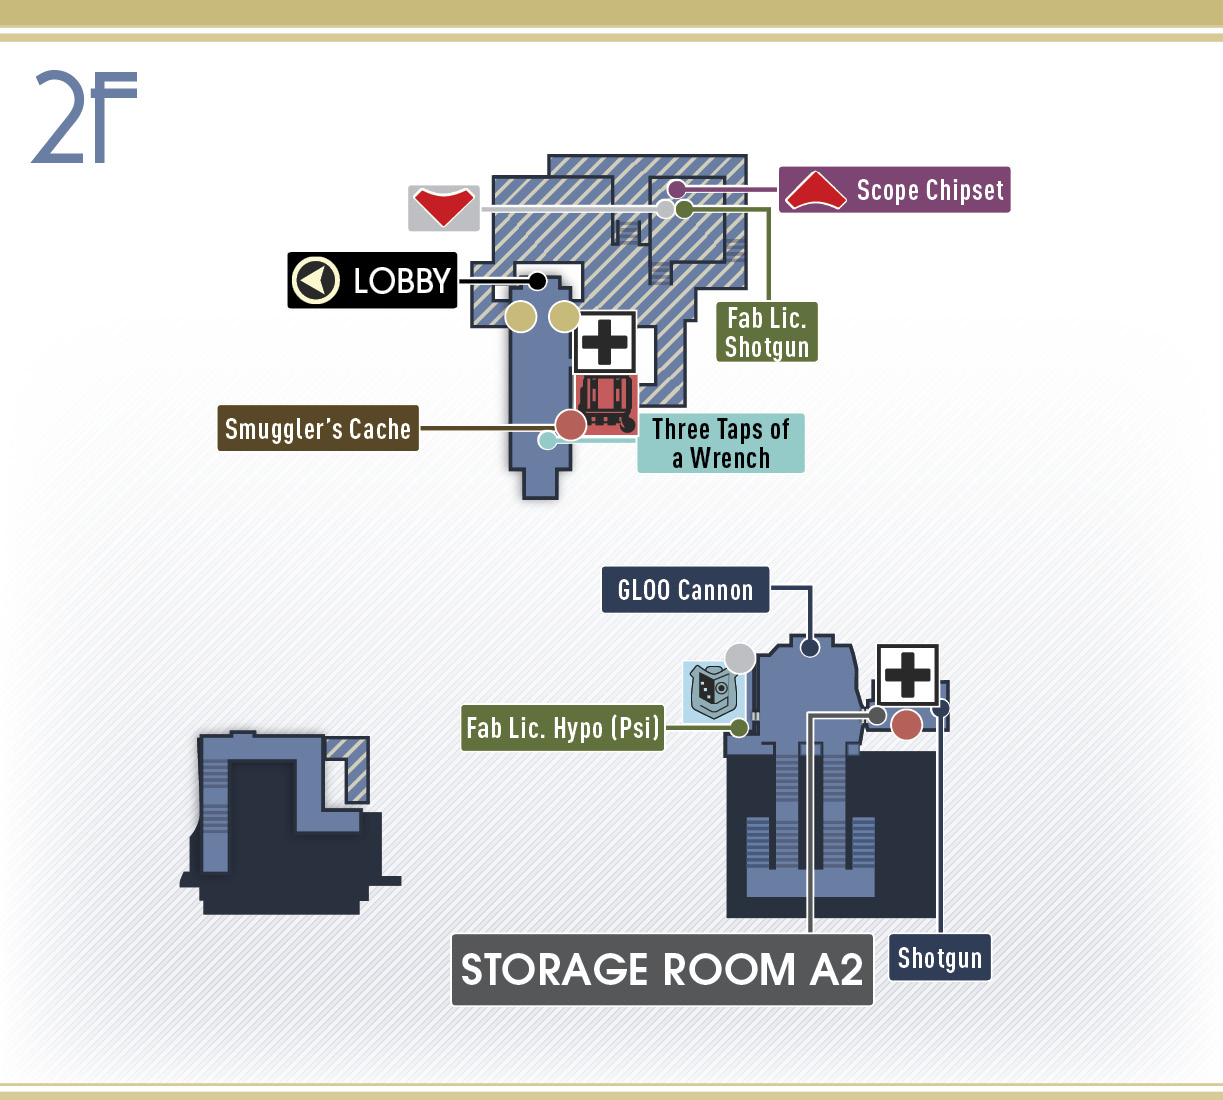
Talos Smuggling RingObjective Summary: Lily Morris has been working with Eddie Voss and others on the station to steal company secrets and technology. Eddie set up drop points around Talos for passing these stolen goods off to someone working in Cargo Bay where they were shipped off Talos. Play the recording (Three Taps of a Wrench) on Lily Morris’ TranScribe to trigger this optional objective. Apparently, Morris is working with Eddie Voss to smuggle items off Talos I. The first drop point is located just above Morris’ body—look for the red alarm bell. Hit the bell three times with your wrench to reveal a hidden safe containing some ammo and a Neuromod. This is the first of six drop points. Look for more alarm bells like this one to discover the other caches. 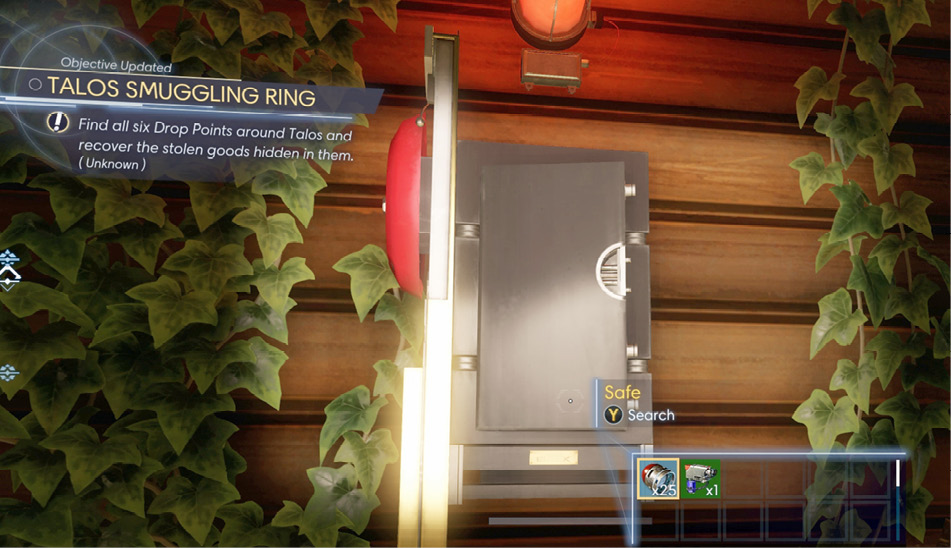
|
Medical Bay
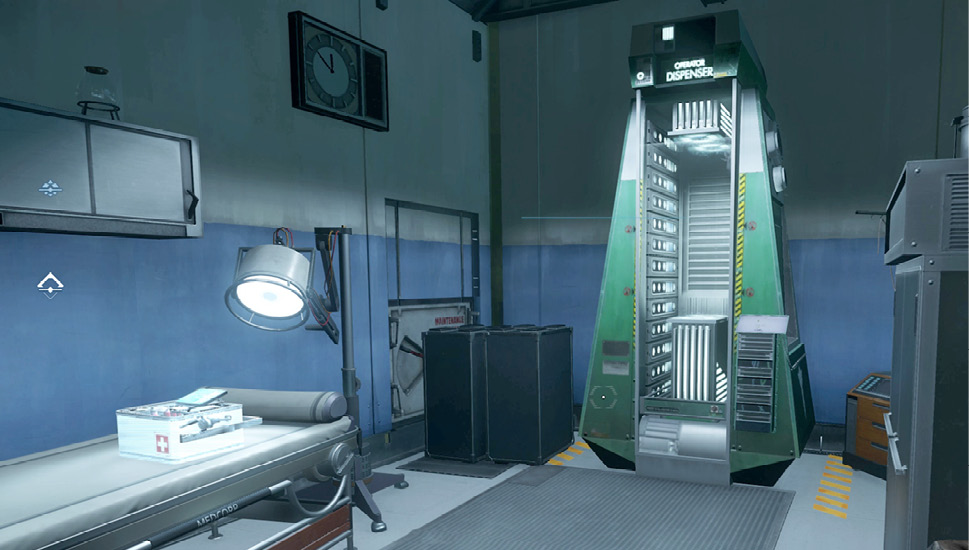
If you’re low on health, consider stopping by the Medical Bay on the corridor’s right side. Here you can acquire a Medkit and summon a Medical Operator. There’s also a maintenance access panel in the corner of the room that leads to an undisclosed storage area. The access panel is blocked by two crates. If you possess Leverage I ability, you can move the crates and crawl through the adjacent duct. Don’t obsess over this access point. There’s an easier way to get inside.
Secret Storage
| Notable Items: |
| Weapon Upgrade Kit (2) |
| Shotgun Fabrication License |
| Recycler Charge |
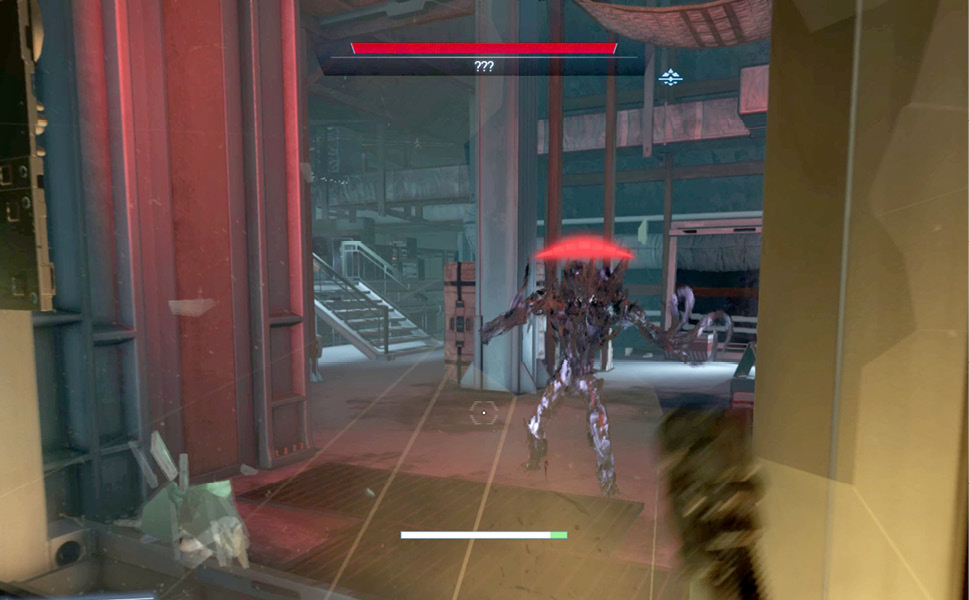
The secret storage area can be accessed in two ways. You can enter through the maintenance access panel in the Medical Bay, or you can smash one of the two aquarium screens flanking the Talos I Lobby doorway. In any case, be prepared to confront an Etheric Phantom. Scan this new Typhon to discover its weaknesses, immunities, and powers. It’s best to lure this new enemy into the lobby access corridor. Two turrets can engage it at this location. Alternatively, engage the Etheric Phantom with your Q-Beam to kill it quickly.
Scour the interior of this large space for supplies. The center of the room is dominated by a large security cage containing more items. The cage is completely secure with no apparent openings. Use Mimic Matter I to transform yourself into a small object, like a tape dispenser, then roll beneath the cage. Inside you find the body of Carin Buckley along with a Weapon Upgrade Kit and a Shotgun fabrication license. When you’re finished searching this area, return to the corridor outside and enter the door leading to the Talos I Lobby. It’s time to fix that lift.
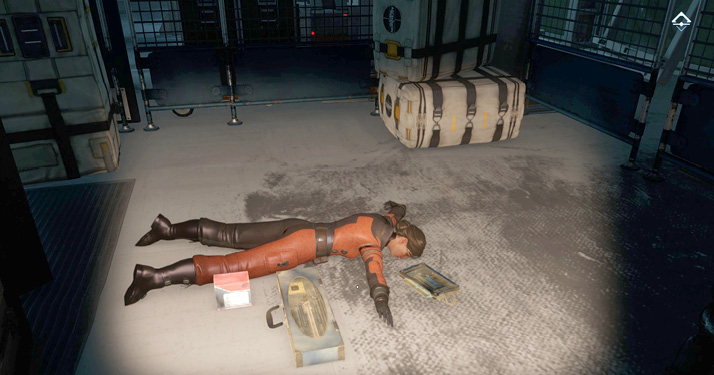
Talos I Lobby
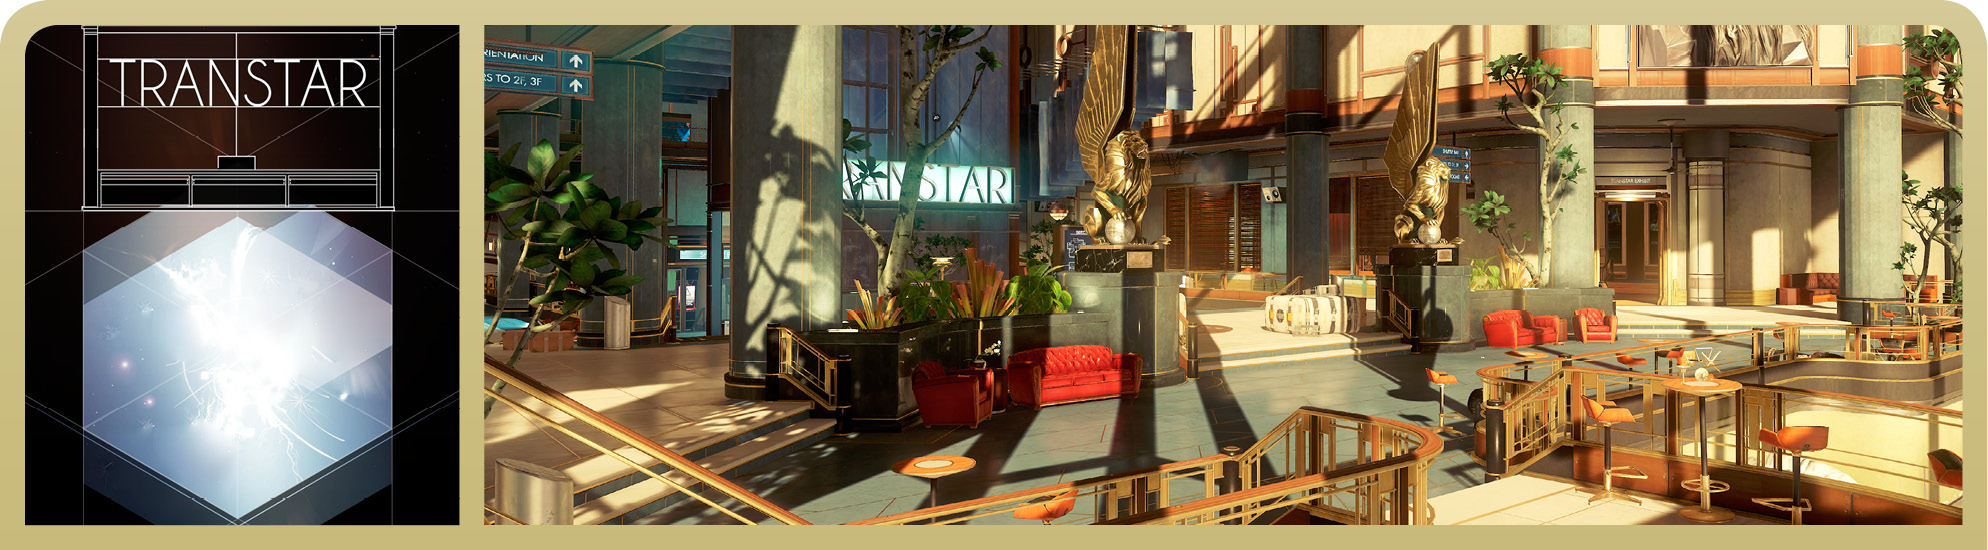
Arboretum Foyer
| Notable Items: | Audio Recording: Morgan’s Breakdown | Keycard: Hendrik DeVries’ Office |
Crouch and sneak toward the lift when you reach the Arboretum Foyer. The elevator bank is guarded by a large, unknown Typhon organism. Scan it with the Psychoscope to reveal its name and attributes. This is a Technopath. These Typhon interfere with mechanical and electrical systems, hence the malfunctioning lift. The Technopath is joined by a pair of corrupted Operators.
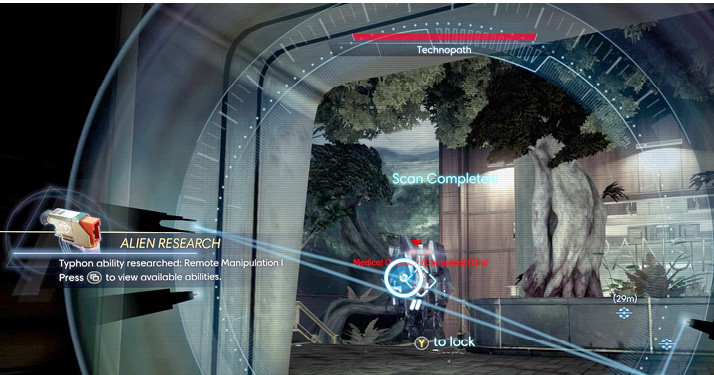
Lift Interference (continued)Keep your distance and toss an EMP Charge and Nullwave Transmitter at the Technopath and corrupted Operators. The EMP Charge temporarily disables the Corrupted Operators, allowing you to focus your attention on the Technopath. Target the Technopath with your Q-Beam. Make sure the weapon is fully loaded before opening fire. Concentrate a steady beam of unstable particles into the Technopath until it explodes. Finally, eliminate the Corrupted Operators with your Disruptor Stun Gun. January reports that the lift is functional again, allowing you to access the Talos I Lobby and Life Support. Before heading back to the Arboretum, search the body of Hendrik DeVries nearby to unlock another optional objective. 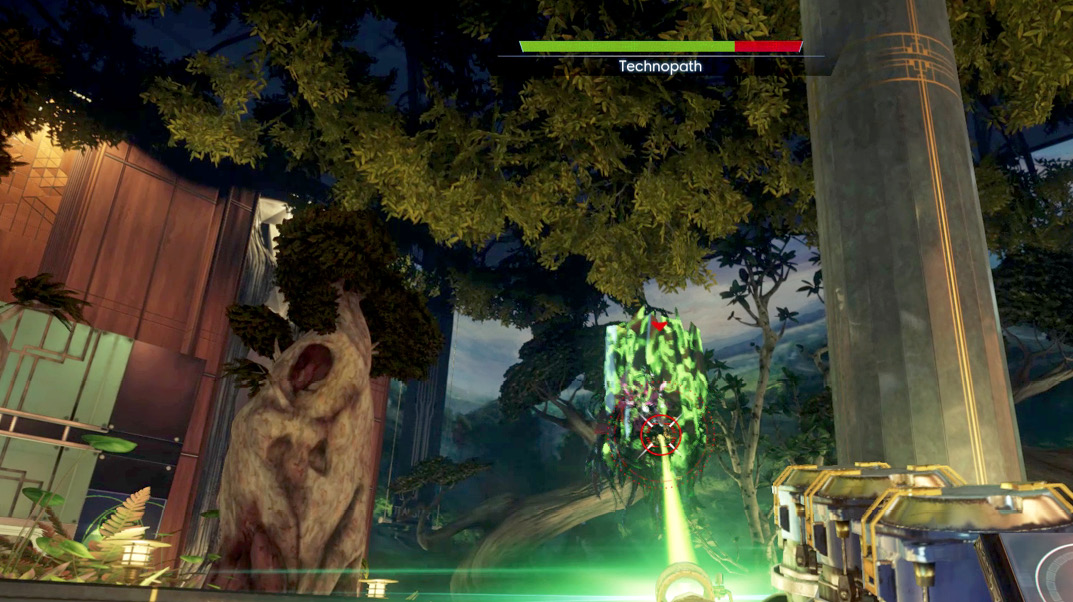
|
Do No HarmObjective Summary: I found a TranScribe in the lobby on the body of Hendrik DeVries, the head of the Trauma Center. The TranScribe is encrypted, but if I could find a decryption key I could figure out what’s on it. Play the recording (Morgan’s Breakdown) found on Hendrik DeVries’ TranScribe to trigger this optional objective. DeVries’ body also has a keycard to his office in the Trauma Center. You can resume this objective once you return to Talos I Lobby’s Trauma Center. For now, return to the Arboretum. 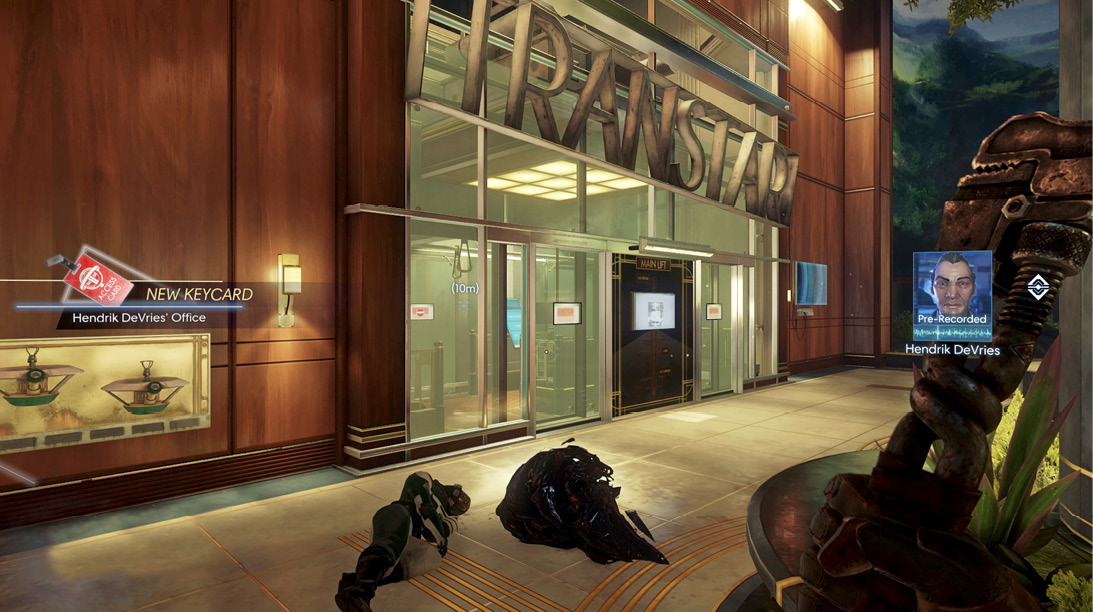
|
Arboretum
Security Booth
| Notable Items: |
| GLOO Cannon |
| Hypo (Psi) Fabrication License |
| Weapon Upgrade Kit |
Upon your return to the Arboretum, grab one of the turrets you repaired earlier. Carry it toward the entry to the Crew Quarters. Deploy the turret outside the entryway. There are a couple of Phantoms lurking just beyond the makeshift barricade. Break through the GLOO deposits in the entryway and try to lure the Phantoms within range of your turret. Stand back and let the turret do the heavy lifting in this fight. The second Phantom may be located along the stairwell leading to the Crew Quarters. Try to lure it within range of your turret.
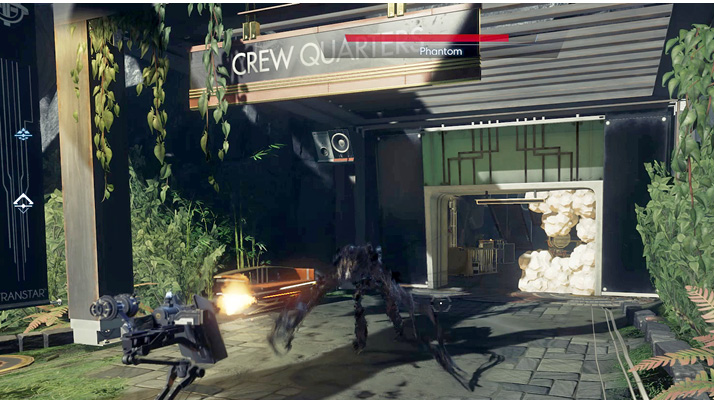
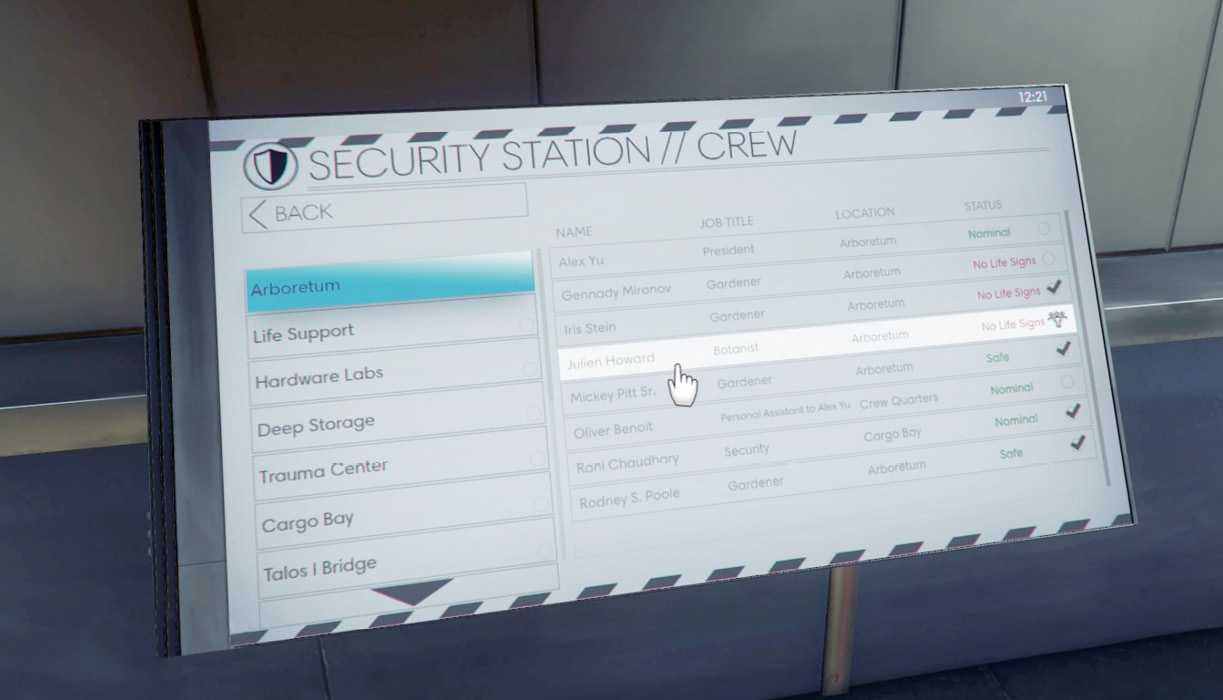
With the Phantom eliminated, turn your attention to the security booth. Two Corrupted Operators are inside. Reposition your turret so it’s facing the security booth. While the door to the security booth is locked, it can be hacked if you possess the Hacking II ability. Once the door is open, step back and let your turret engage the Corrupted Operators. Inside the security booth, access the security station to download the Arboretum map. This is also a good opportunity to locate Dr. Julien Howard. This allows you to complete the Gardening Tips optional objective. Tag his location to create a waypoint on the HUD, identifying the location of his body. Before leaving the security booth, search it for supplies. There are a few items, including a Hypo (Psi) fabrication license within one of the lockers.
Weapons Locker
| Notable Items: | Weapon Upgrade Kit | Silenced Pistol (2) |
| Shotgun | Turret (2) |
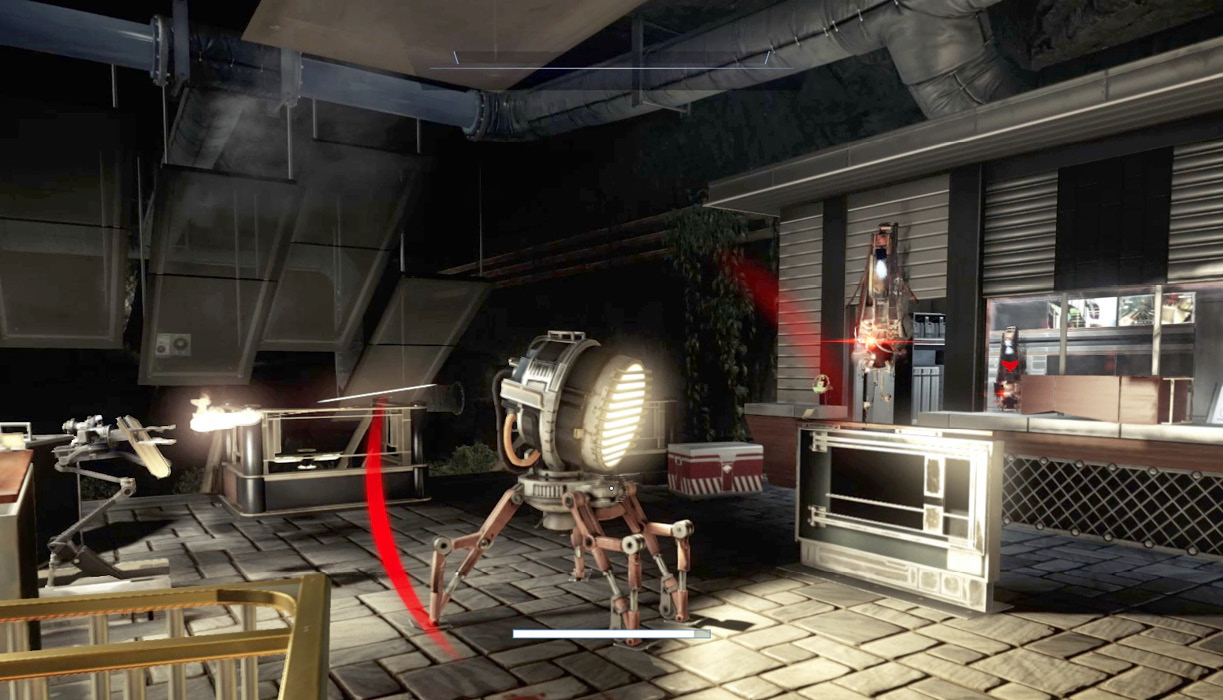
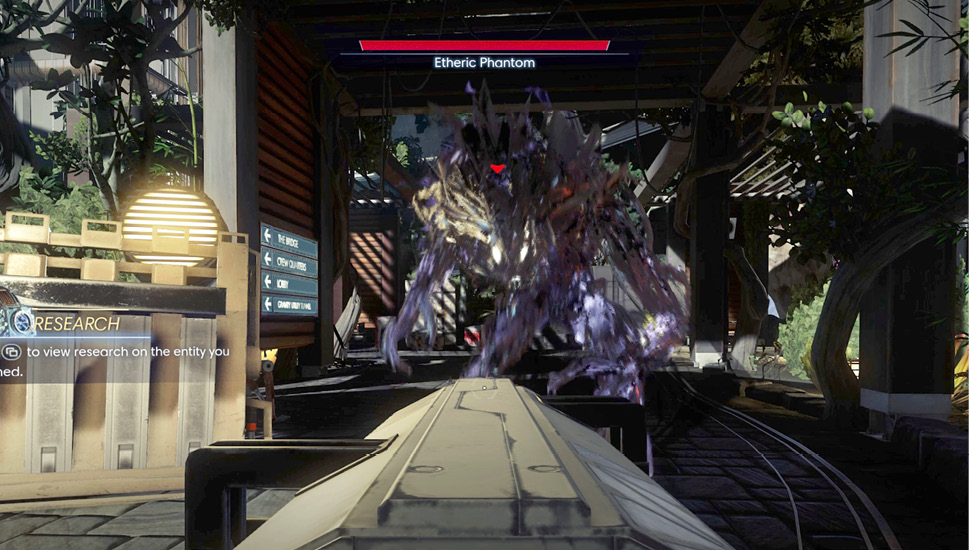
From the security booth, follow the adjoining path to the weapons locker. Take the turret with you. There may be an Etheric Phantom patrolling near the weapons locker. Scan the enemy with your Psychoscope and deploy the turret. While the turret opens fire on the Etheric Phantom, hold back and support it. Target the enemy with the GLOO Cannon in an effort to slow its movement. The Q-Beam is also very effective against Etheric Phantoms.
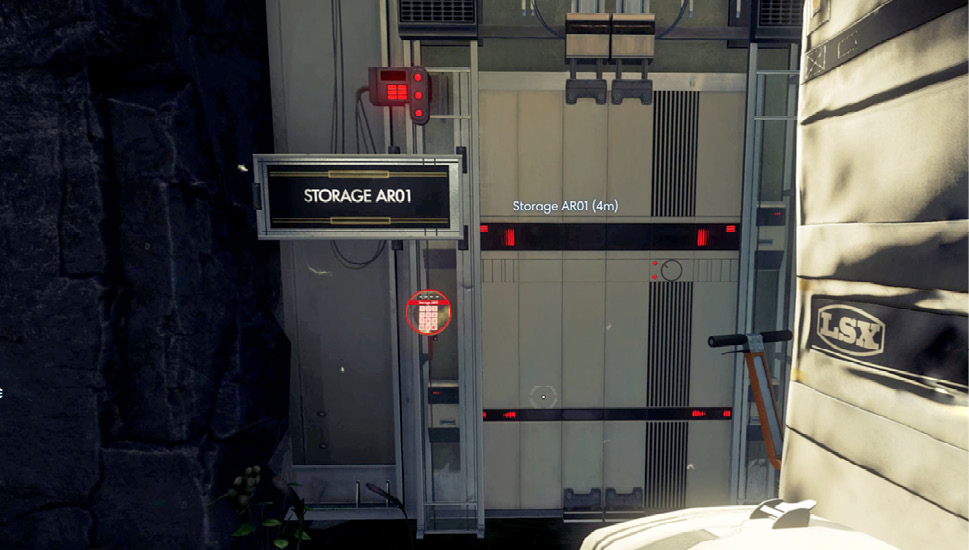
Save Rani (continued)Use the keycode supplied by Rani to enter the door marked Storage AR01. Beyond this secure door is the weapons locker. As promised, the locker contains two turrets, a Weapon Upgrade Kit, and some Q-Beam cells. Remove the turrets from the shelves and deploy them outside the weapons locker. Accessing the locker and retrieving the turrets completes this optional objective. 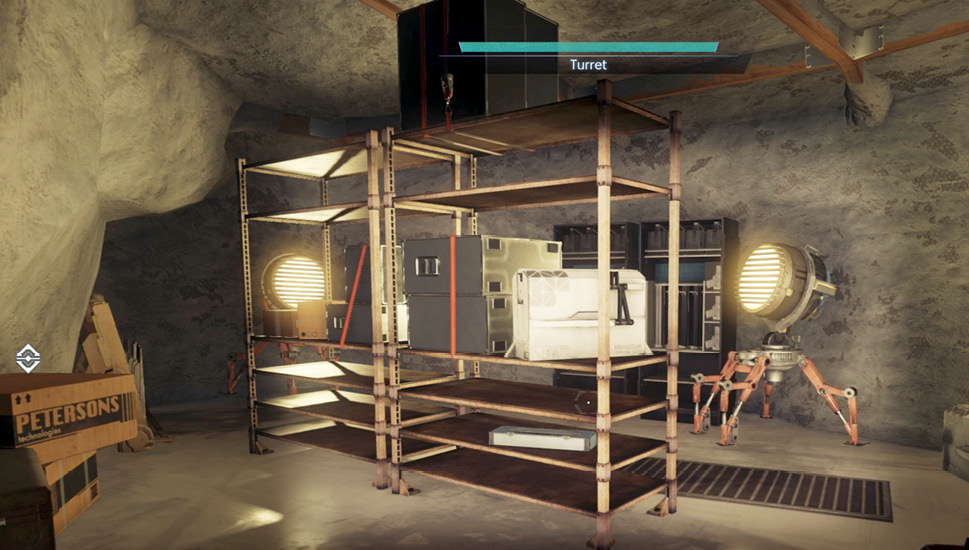
|
Deep Storage Access
| Notable Items: | Audio Recording: Hacking Into Deep Storage | Silenced Pistol |
| Keycard: Crew Quarters | Hordinbaffle’s Treasure Map |
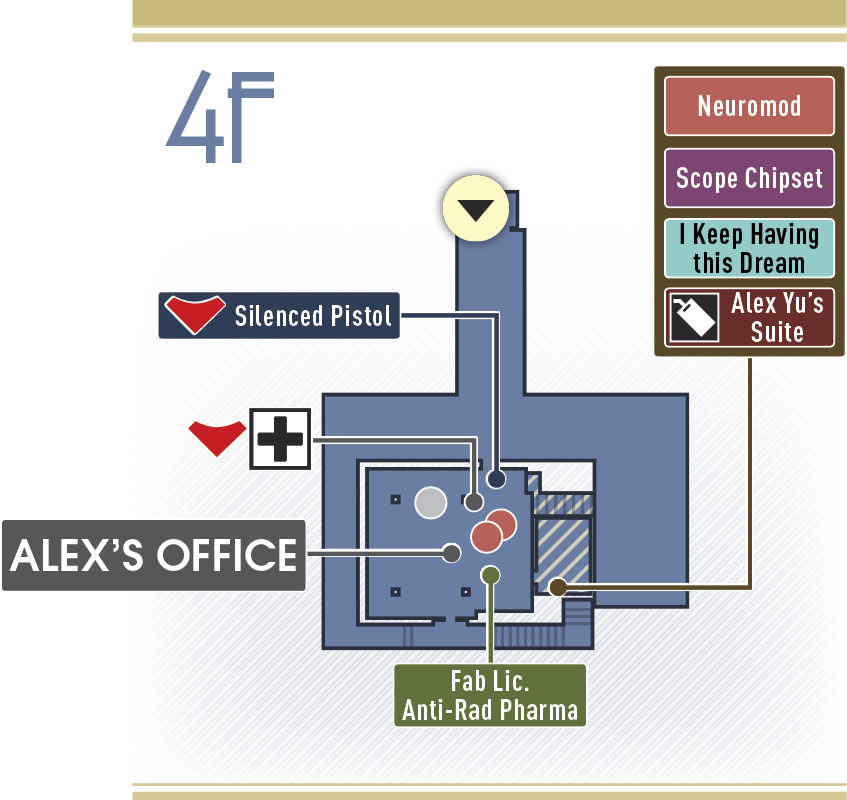
Take one of the turrets with you as you advance toward the Deep Storage Grav Shaft. If you didn’t encounter an Etheric Phantom by the weapons locker, it may be lurking near the shafts leading to Deep Storage and Alex’s office. In any case, be ready to deploy the turret in the plaza between both Grav Shafts in an attempt to secure this area. Enter the Grav Shaft leading down to the Deep Storage entryway.
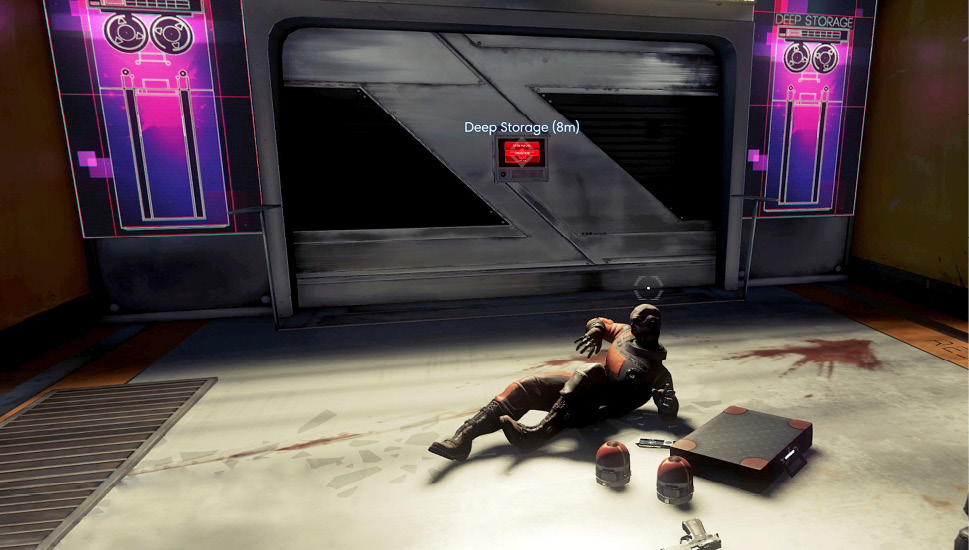
Zachary West’s body is on the floor in front of the Deep Storage doorway along with a briefcase, a Silenced Pistol, and a TranScribe. Listen to the recording (Hacking Into Deep Storage) on the TranScribe. It reveals that access to Deep Storage is keyed to Danielle Sho’s voice. She needs to speak a key phrase to disengage the lock. West suggests gathering samples of Sho’s voice. The samples can then be pieced together using software on your TranScribe to synthesize her voice. January agrees with this method and suggests searching Sho’s cabin located in the Crew Quarters. Before leaving, be sure to search Zachary West’s body. He’s carrying a keycard to the Crew Quarters, along with a note. The hand-drawn treasure map on the note relates to a future optional objective, Treasure Hunt.