
Prey Guide Walkthrough: Story Objectives
Gathering Echoes
Gathering EchoesThe fabrication plan to my Arming Key is in Deep Storage. Danielle Sho ran the place and sealed the door with a biometric lock keyed to her voice. I’ll have to look around for a way in. |
Airlock
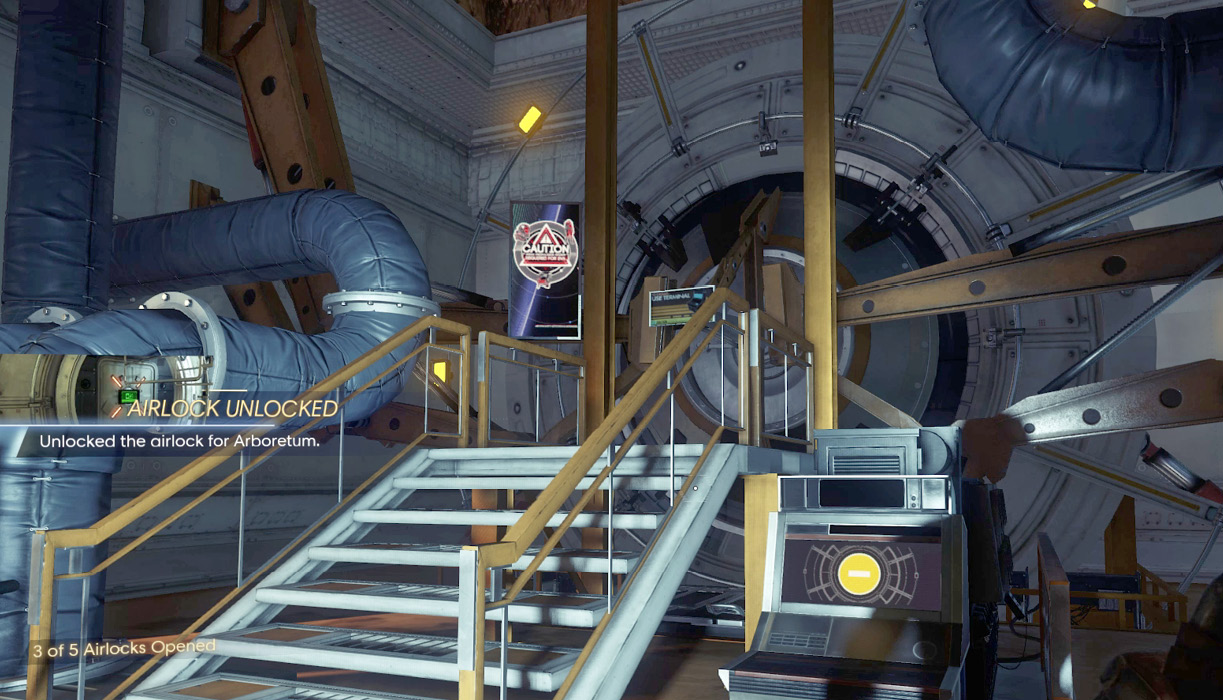
While you’re down here, unlock the Arboretum’s airlock. This is the third airlock you’ve unlocked, allowing you to access the Arboretum, Hardware Labs, and Psychotronics from Talos I’s exterior. The Shuttle Bay and Power Plant’s airlocks remain locked. While you’re free to continue to Crew Quarters, there are a few loose ends you should tie-up before leaving the Arboretum.
Looking Glass
| Notable Items: | EMP Charge | Audio Recording: Super Fruit | Dr. Howard’s Growth Formula Fabrication License |
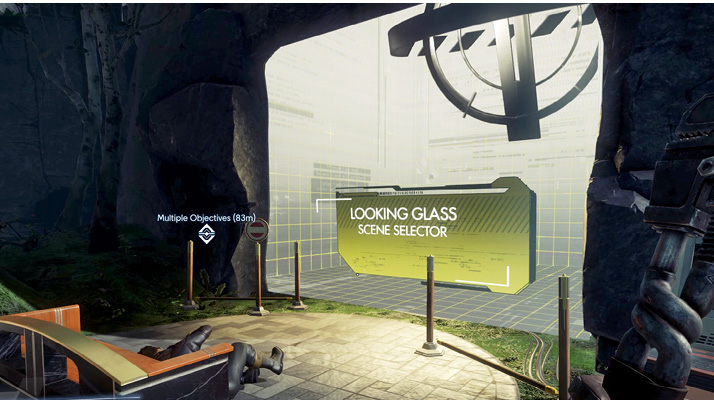
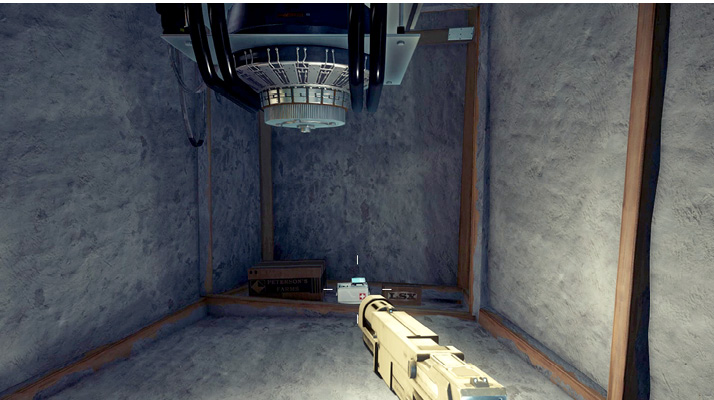
Exit the Deep Storage access area via the Grav Shaft and locate this Looking Glass station nearby. Dr. Julien Howard is located on the roof of this station. Smash the Looking Glass screen to reveal a hidden room containing a Medkit. Approach this area cautiously. Just above the Medkit is a shaft. Watch for Mimics dropping through this shaft, taking the form of cardboard boxes. Eliminate the Mimics and ascend through the shaft. Use your GLOO Cannon to create climbable deposits.
Gardening Tips (continued)Pull yourself up onto the roof to locate Dr. Howard’s body. Search him to retrieve an EMP charge, a TranScribe, and the Fabrication License for Dr. Howard’s Growth Formula. You can use this license to create the special fertilizer used in Dr. Howard’s breakthrough experiment. You can resume this objective later, during a visit to a Fabricator. 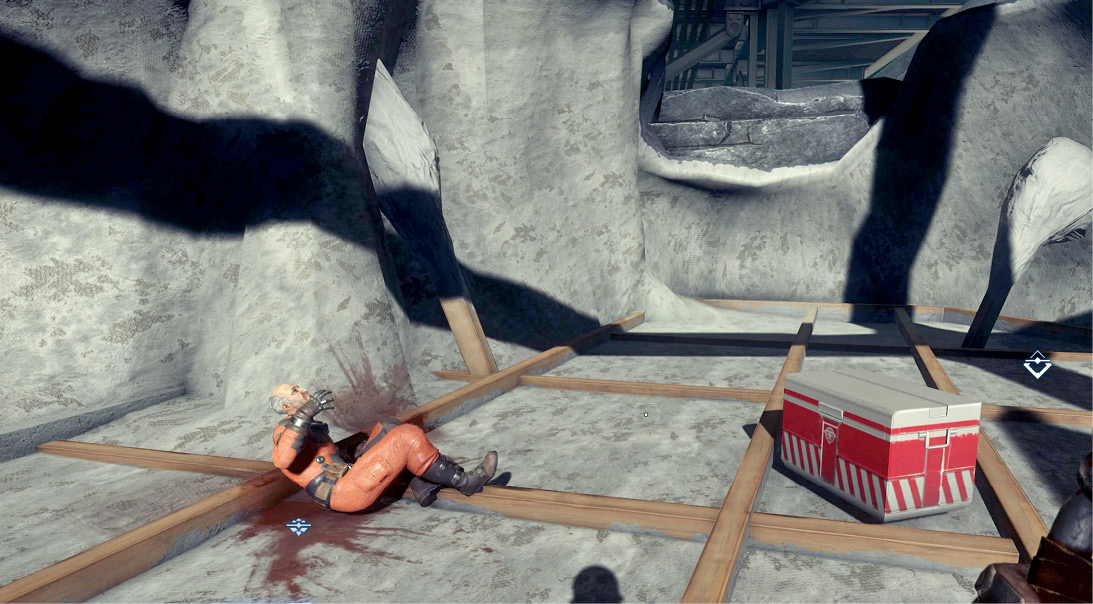
|
Path to Alex’s Office
| Notable Items: |
| Audio Recording: The Golden Gun |
| Keycard: Jada Marks’ Cabin |
| Keycode: Jada Marks’ Safe |
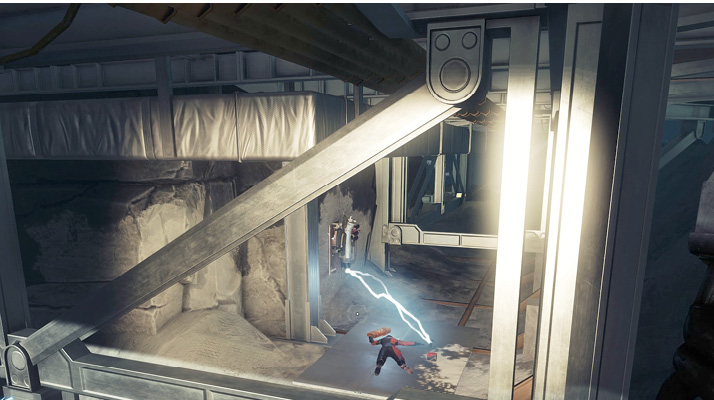
Normally, Alex Yu’s office can be accessed via the Grav Shaft, near Deep Storage. But this Grav Shaft is locked, requiring a Hacking IV ability to unlock. Fortunately, there’s another way up. While still atop the roof of the Looking Glass station, pull yourself onto the ledge and look for a damaged electrical junction spewing arcs of electricity. Use your GLOO Cannon to temporarily smother the arcs, allowing you to conduct repairs.
This gives you the opportunity to search the body of Marietta Kyrkos without being electrocuted. Search Marietta Kyrkos’ body to retrieve a keycard to Jada Marks’ cabin (in Crew Quarters) and a TranScribe. Listen to the recording on the TranScribe to reveal a new optional objective. Continue along this path, just beneath Alex’s office, negotiating your way past a feel steel beams. Follow the rocky ledge to a railing, just outside Alex’s office.
The Golden GunObjective Summary: Captain Jada Marks sent someone to her quarters to fetch a special gun. She never received it. I should go see if it’s still there. Listening to the recording on Marietta Kyrkos’ TranScribe triggers this optional objective. The recording reveals the keycode to Jada Mark’s safe, located within her cabin in Crew Quarters. Apparently there’s a special gun inside the safe. Resume this objective when you access Crew Quarters. |
Alex’s Office
| Notable Items: |
| Neuromod (3) |
| Weapon Upgrade Kit |
| Scope Chipset |
| Keycard: Alex Yu’s Suite |
| Audio Recording: I Keep Having This Dream |
| Nullwave Transmitter |
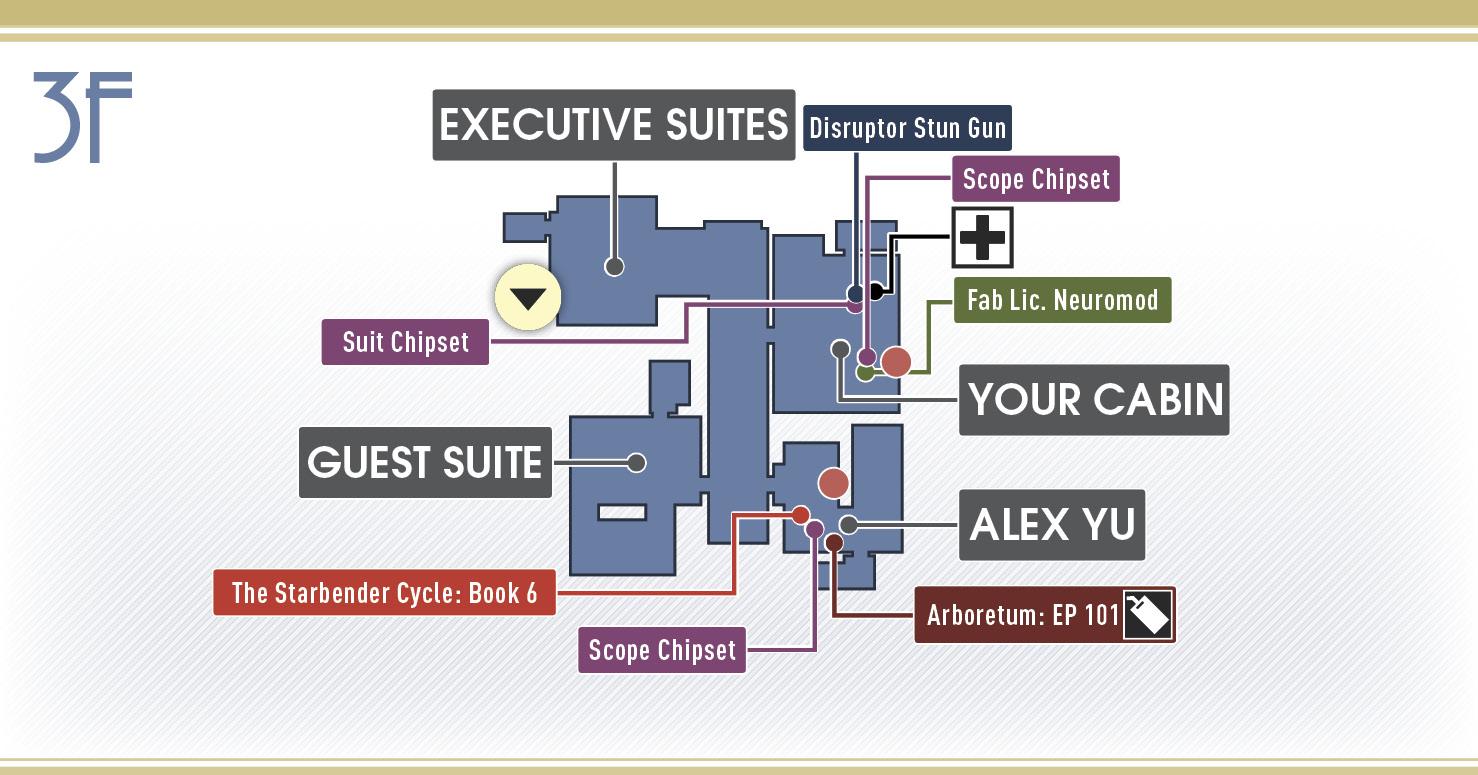
Step into Alex’s office and have a look around. Alex contacts you, voicing his displeasure with your snooping. Search his desk to retrieve a Neuromod. A Weapon Upgrade Kit sits on a table next to the wood burning stove. Alex’s workstation is password-protected and requires the Hacking IV ability to crack. There’s nothing pertinent on the workstation for now. However, you’ll want to gain access eventually.
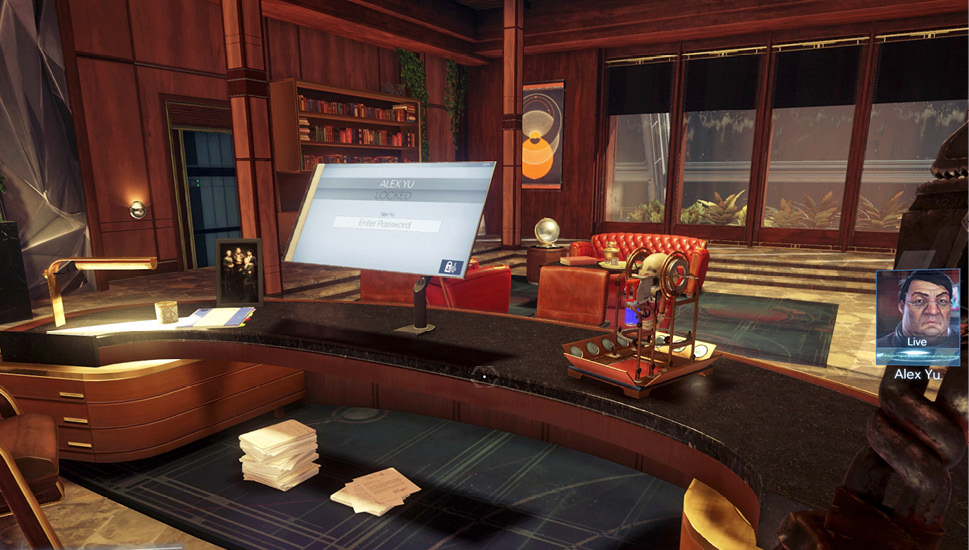
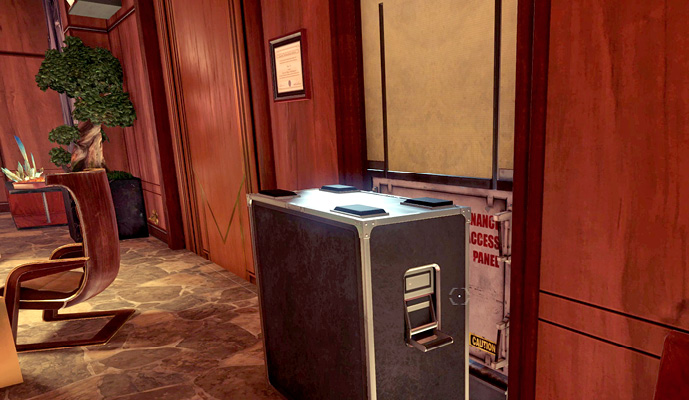
There’s a large crate positioned in front of a maintenance access panel. This leads to a secret compartment containing Alex’s safe. While you can open the panel, you can’t enter while the crate is there. The crate can be moved if you possess the Leverage II ability. You can also use Mimic Matter I to transform yourself into a small object, such as the coffee mug on Alex’s desk. Transforming into a small object allows you to fit in the gap between the crate and the access panel.
Who is December? (continued)Using the keycode you retrieved from December, back in the Neuromod Division, open Alex’s safe. Unfortunately, the safe doesn’t contain the keycard to Alex’s escape pod. However, it does contain the keycard to his suite, located in Crew Quarters. Perhaps the escape pod key is there? The safe also holds a Scope Chipset, a Nullwave Transmitter, and two Neuromods. You can resume this objective once you access Alex’s suite in Crew Quarters. 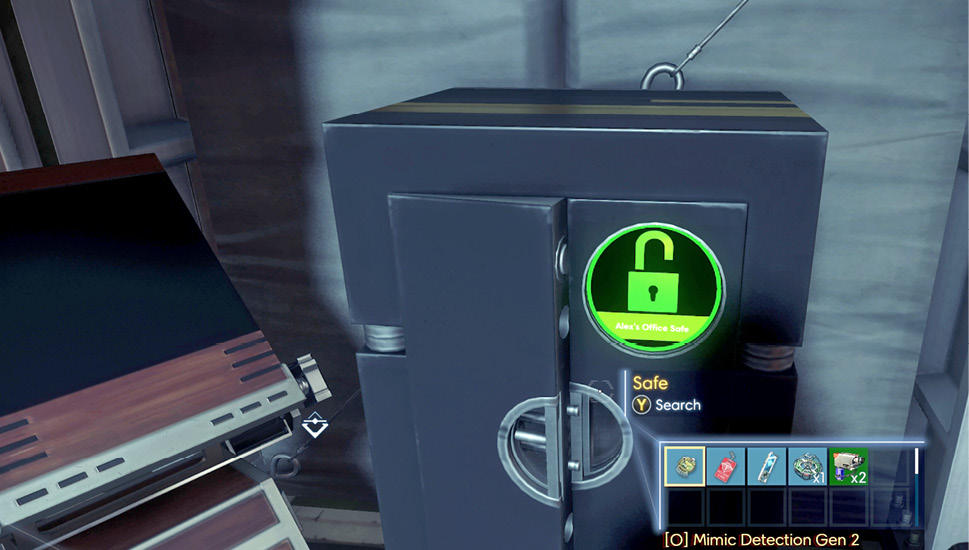
|
After searching Alex’s office, step outside and ascend the nearby staircase leading to the roof. Here you can see Alex’s escape pod. It’s currently inaccessible because it is suspended from a large platform above. You’ll need to access Alex’s workstation to lower a ramp leading up to the escape pod. You can do that later, if you choose to follow December’s directive and escape the station. For now, return to the G.U.T.S. Loading Bay. It’s time to fabricate Dr. Howard’s fertilizer.
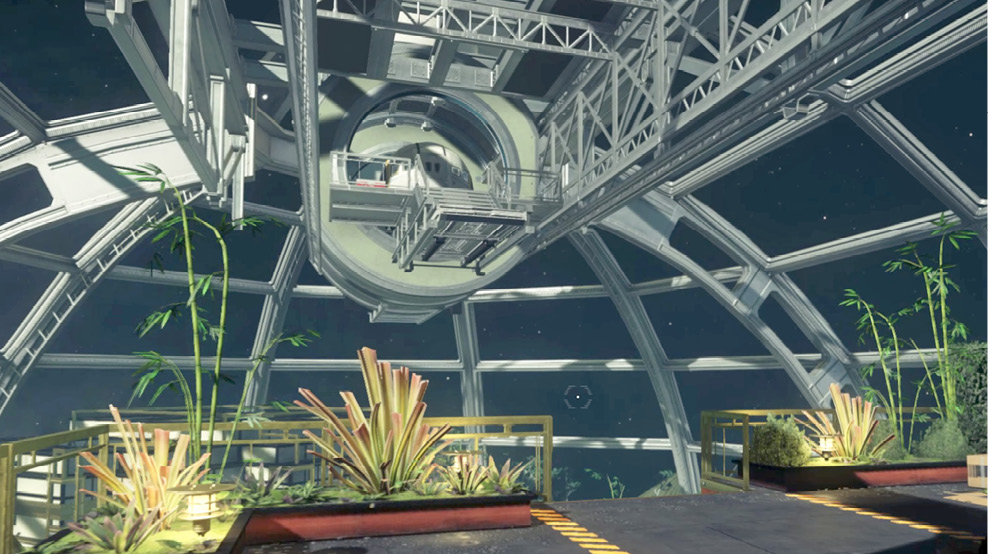
Gardening Tips (continued)Instead of heading directly to the Crew Quarters, take a detour to the G.U.T.S. Loading Bay. Here you can fabricate Dr. Howard’s Growth Formula. You can use this bag of fertilizer to create an experimental tomato. 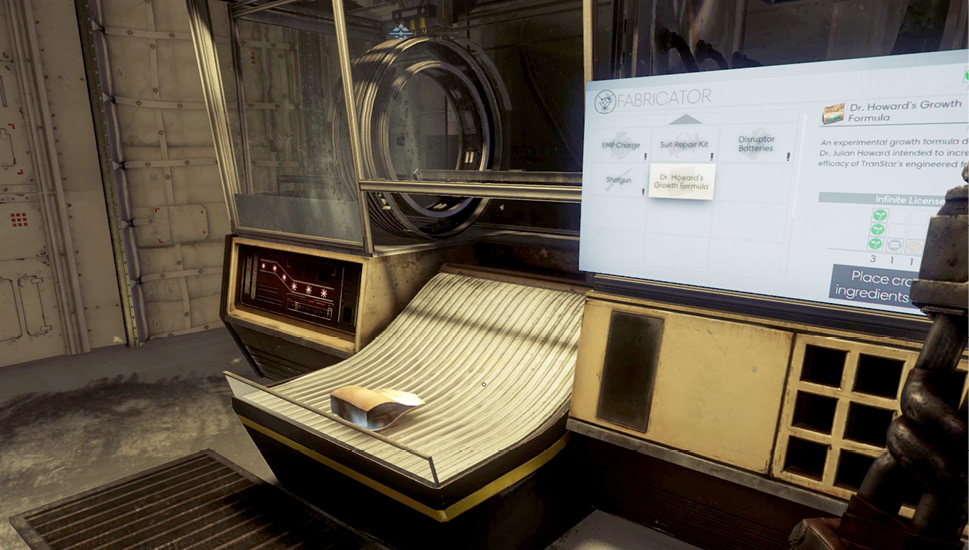
Return to the Experimental Plants garden where you first retrieved the note from Dr. Howard. Interact with the fertilizer dispenser. Move Dr. Howard’s Growth Formula from your inventory to the fertilizer dispenser. Next, activate the dispenser by pressing the glowing button. This turns on the sprinkler control system and applies a mix of water and fertilizer to the plant. 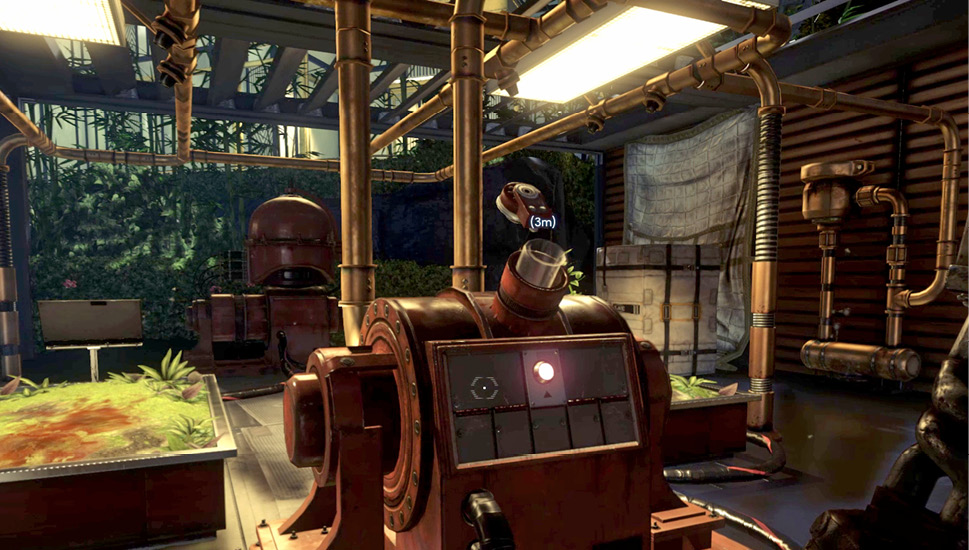
It takes exactly ten minutes for the plant to produce fruit. Consider exploring more of the Arboretum while waiting. Or you could continue to the Crew Quarters. You’ll be coming back to the Arboretum later. Once ten minutes has elapsed, you can retrieve Dr. Howard’s Superfruit from the plant to complete this objective. Eating this Superfruit is necessary if you wish to unlock the TranStar Gourmand achievement/trophy. This requires you to eat every food item aboard Talos I. 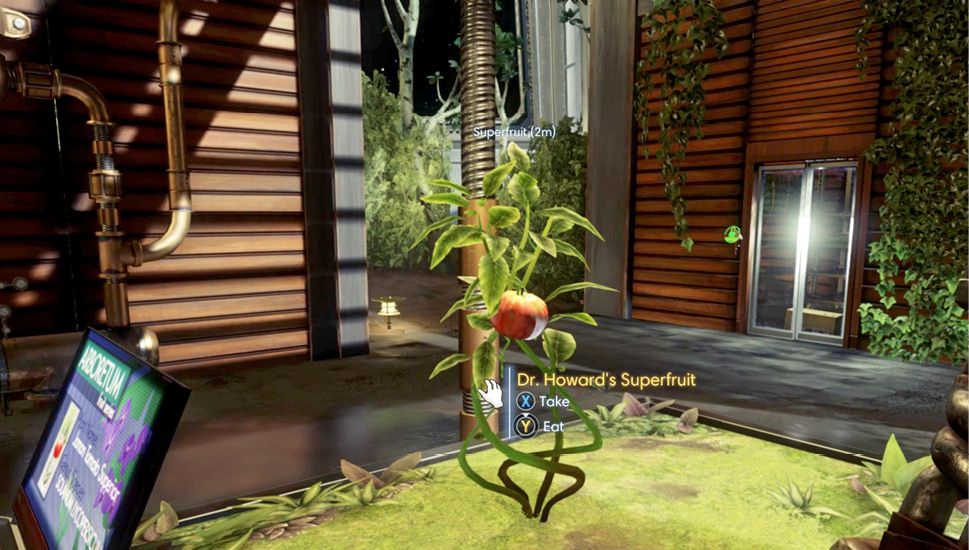
|
Crew Quarters Foyer
| Notable Items: | Shotgun | Shotgun Shells Fabrication License |
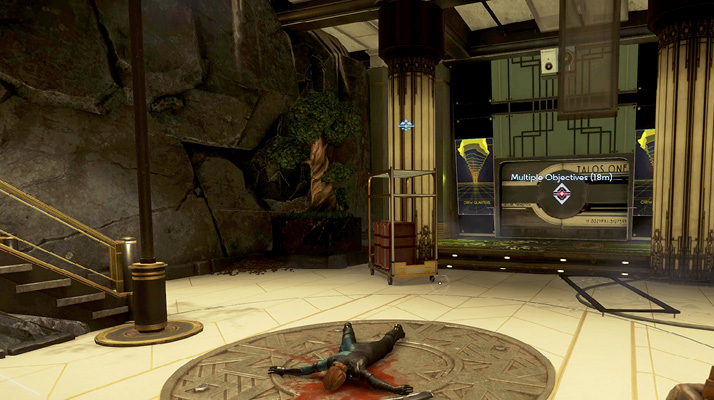
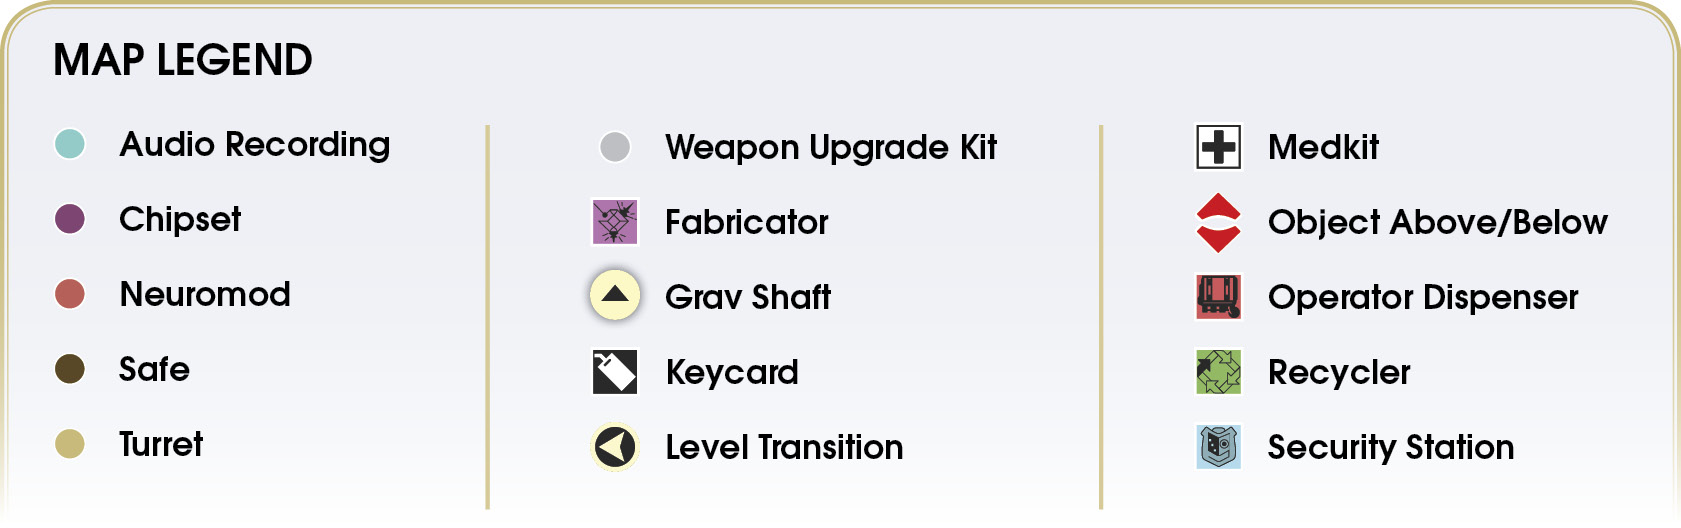
It’s time to visit the Crew Quarters in an attempt to find voice samples of Danielle Sho. Once you’ve acquired some voice samples, you can come back to the Arboretum and access Deep Storage. Descend the staircase beyond the security booth. There may be a Phantom lurking somewhere below if you didn’t eliminate it earlier. Search Lizzy Colton’s body on the floor in front of the Crew Quarters door to retrieve a Shotgun Shells fabrication license. There are also some Russian Blinis on the floor behind the fountain. When you’re finished searching this area, enter the door leading to the Crew Quarters.
Crew Quarters
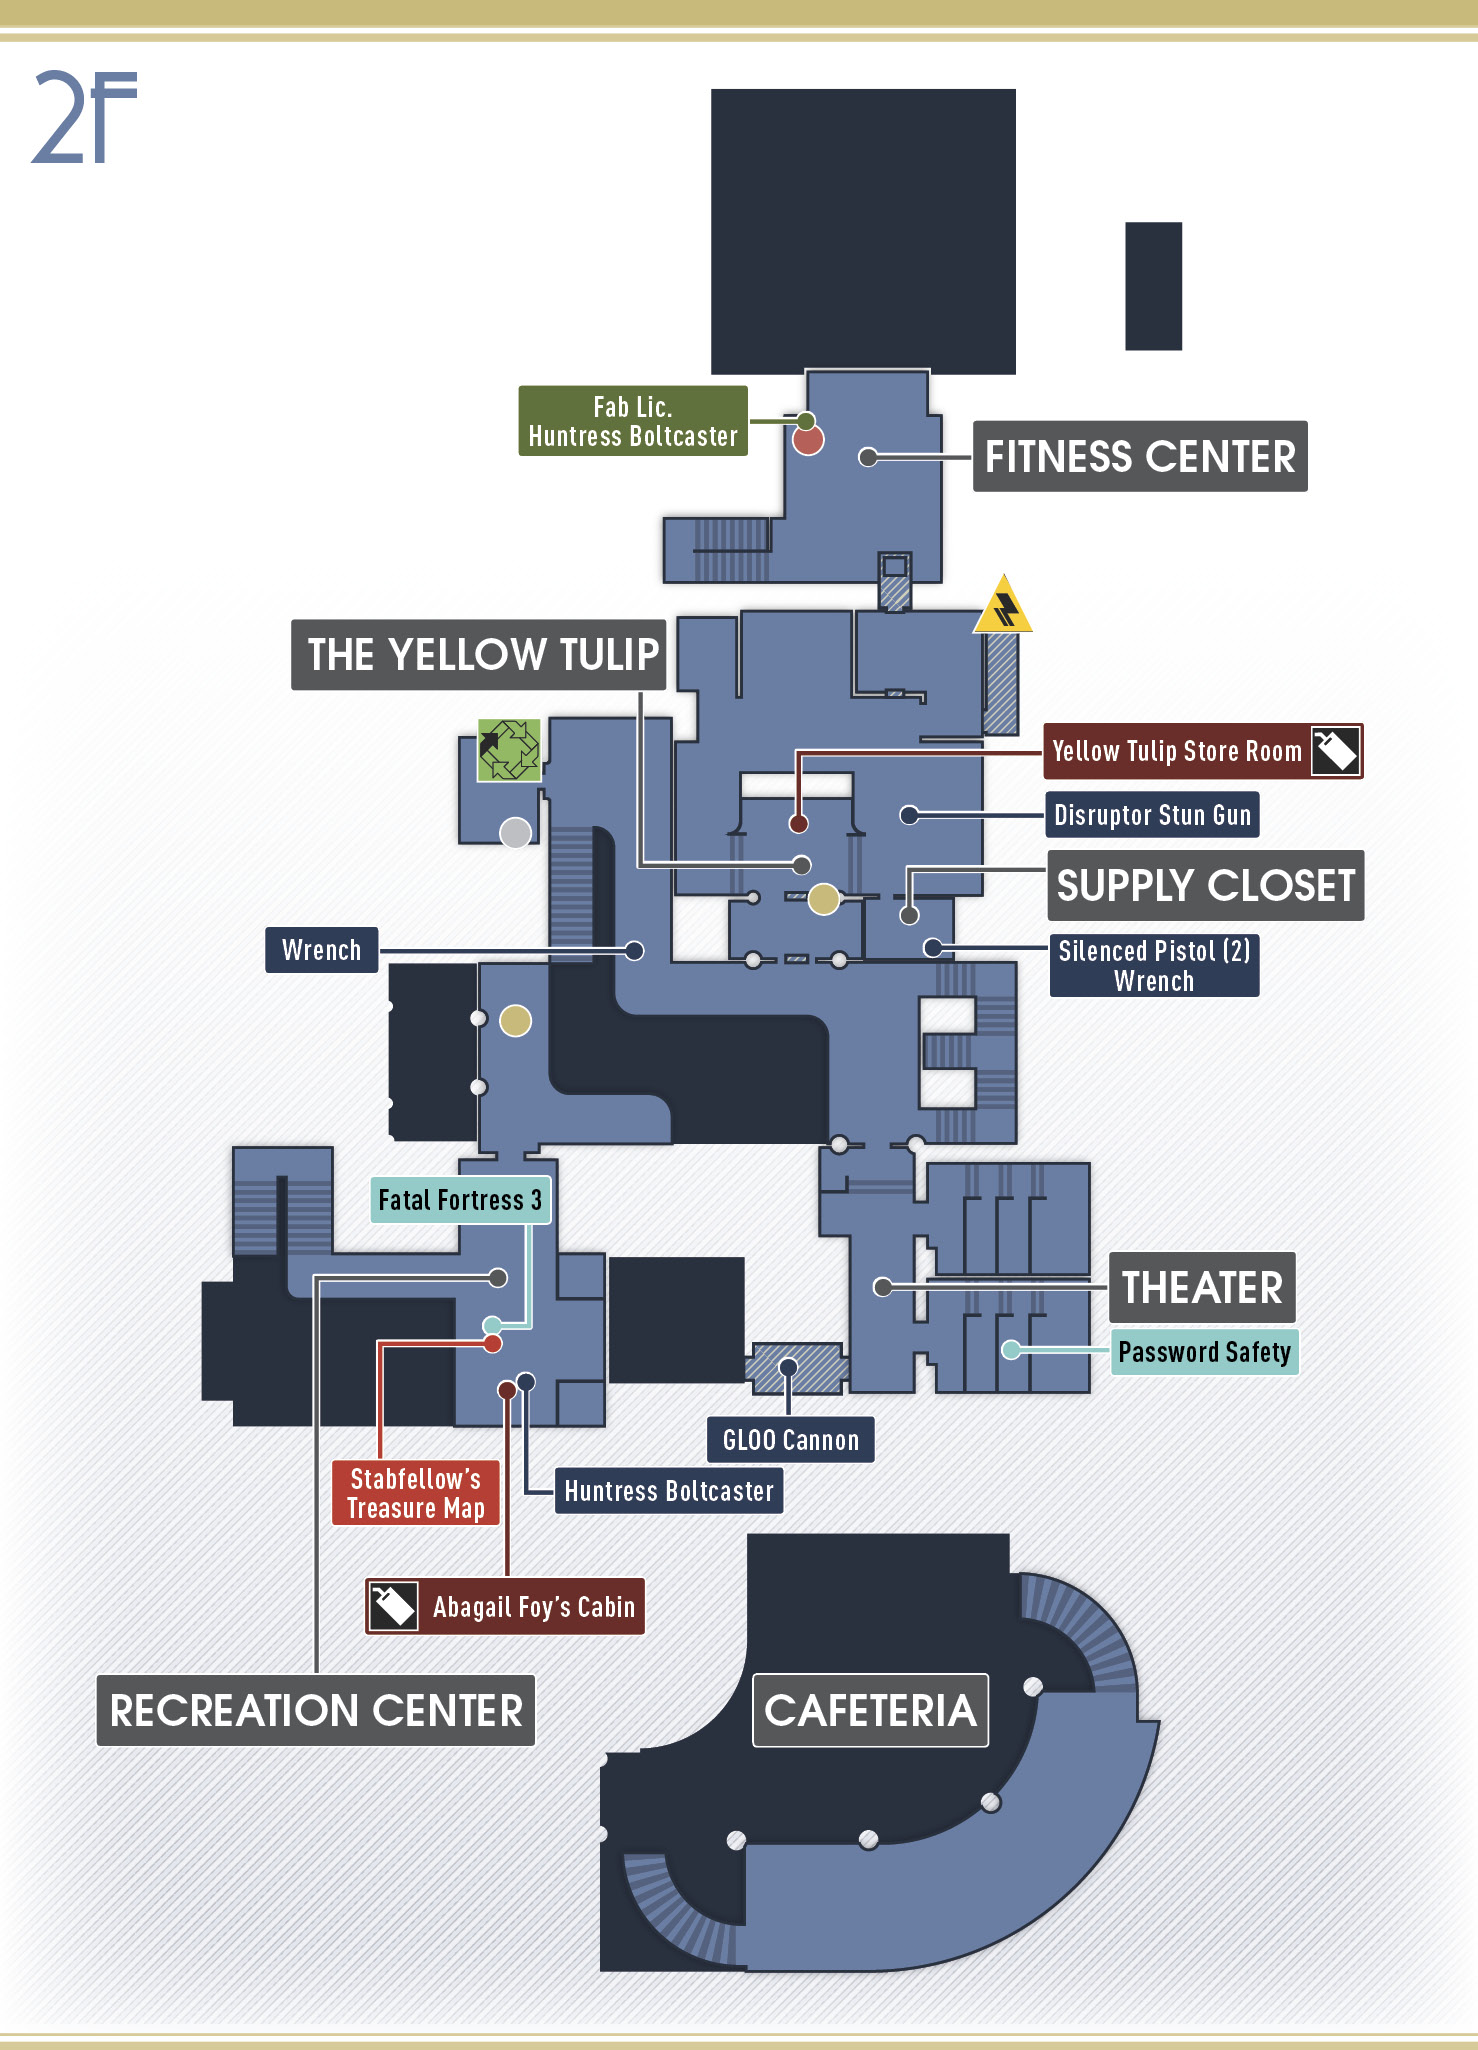
Foyer
Immediately after entering the Crew Quarters, assume a crouched stance. Several mind-controlled crew members are wandering around. If you’re spotted, these mind-controlled victims will run toward you, causing their heads to explode. Equip your Disruptor Stun Gun and attempt to incapacitate these crew members as you sneak your way toward the nearby Medical Bay. Charge the weapon and sneak up behind these mind-controlled crew members to deliver an incapacitating shock. The stock Disruptor Stun Gun has very limited range, so you’ll need to get fairly close. Once struck, the victims are rendered unconscious, posing no risk to you or themselves. As you move through the foyer, a voice can be heard over the loudspeakers, triggering a new optional objective.
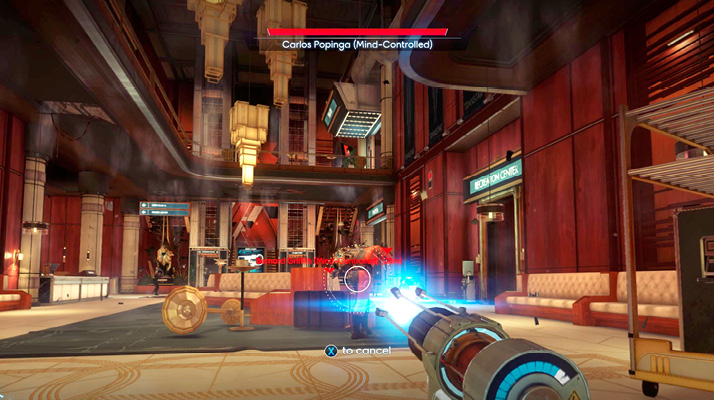
The Cook’s RequestObjective Summary: Will Mitchell is alive in the kitchen of the Crew Quarters and broadcasting over the loudspeakers. I should head to the cafeteria and investigate. The cafeteria is located at the opposite end of the foyer. But this objective can wait. It’s best to explore other areas of the Crew Quarters before entering the cafeteria. |
Medical Bay
| Notable Items | Anti-Rad Pharma Fabrication License |
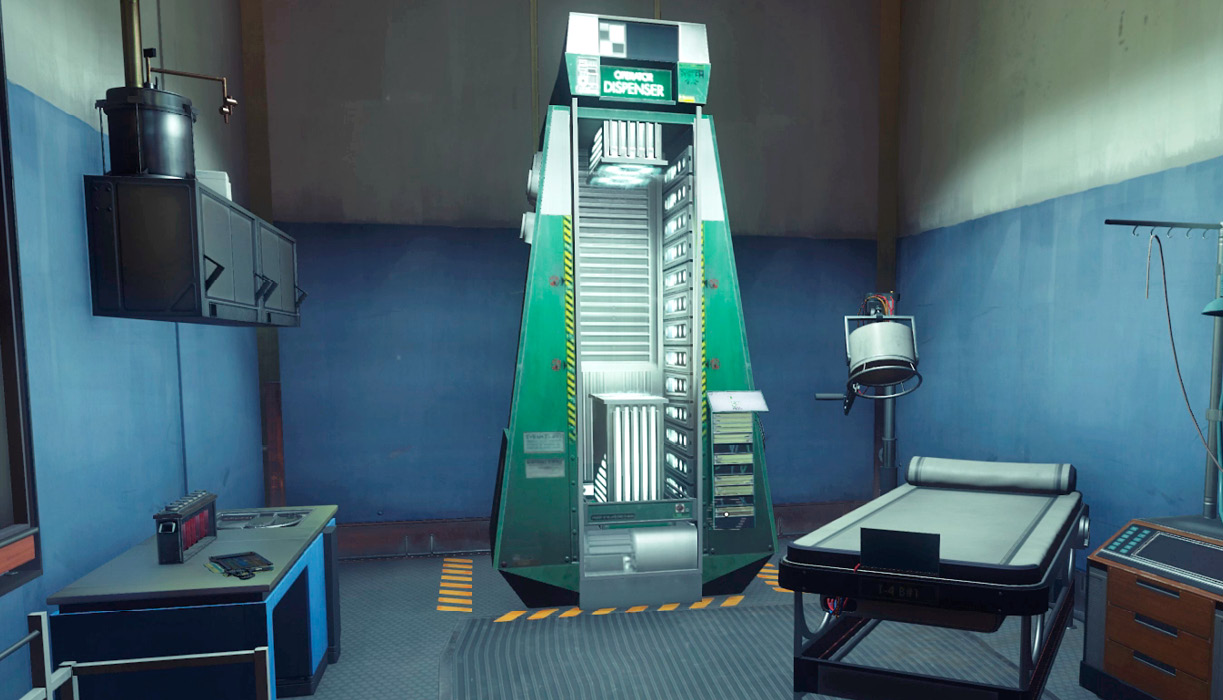
The door to the Medical Bay is barricaded by crates—you can move them if you possess the Leverage I ability. Otherwise, consider using Mimic Matter I to transform yourself into a small object then slip through cracks in the makeshift barricade. Inside you can find a Medkit and a fabrication license for Anti-Rad Pharma. You can also deploy a Medical Operator from the dispenser. If you sustained injury, speak to the Medical Operator to heal before exiting the Medical Bay.
Concierge
| Notable Items: | Keycode: Fitness Center | Audio Recording: Bring Me Food |
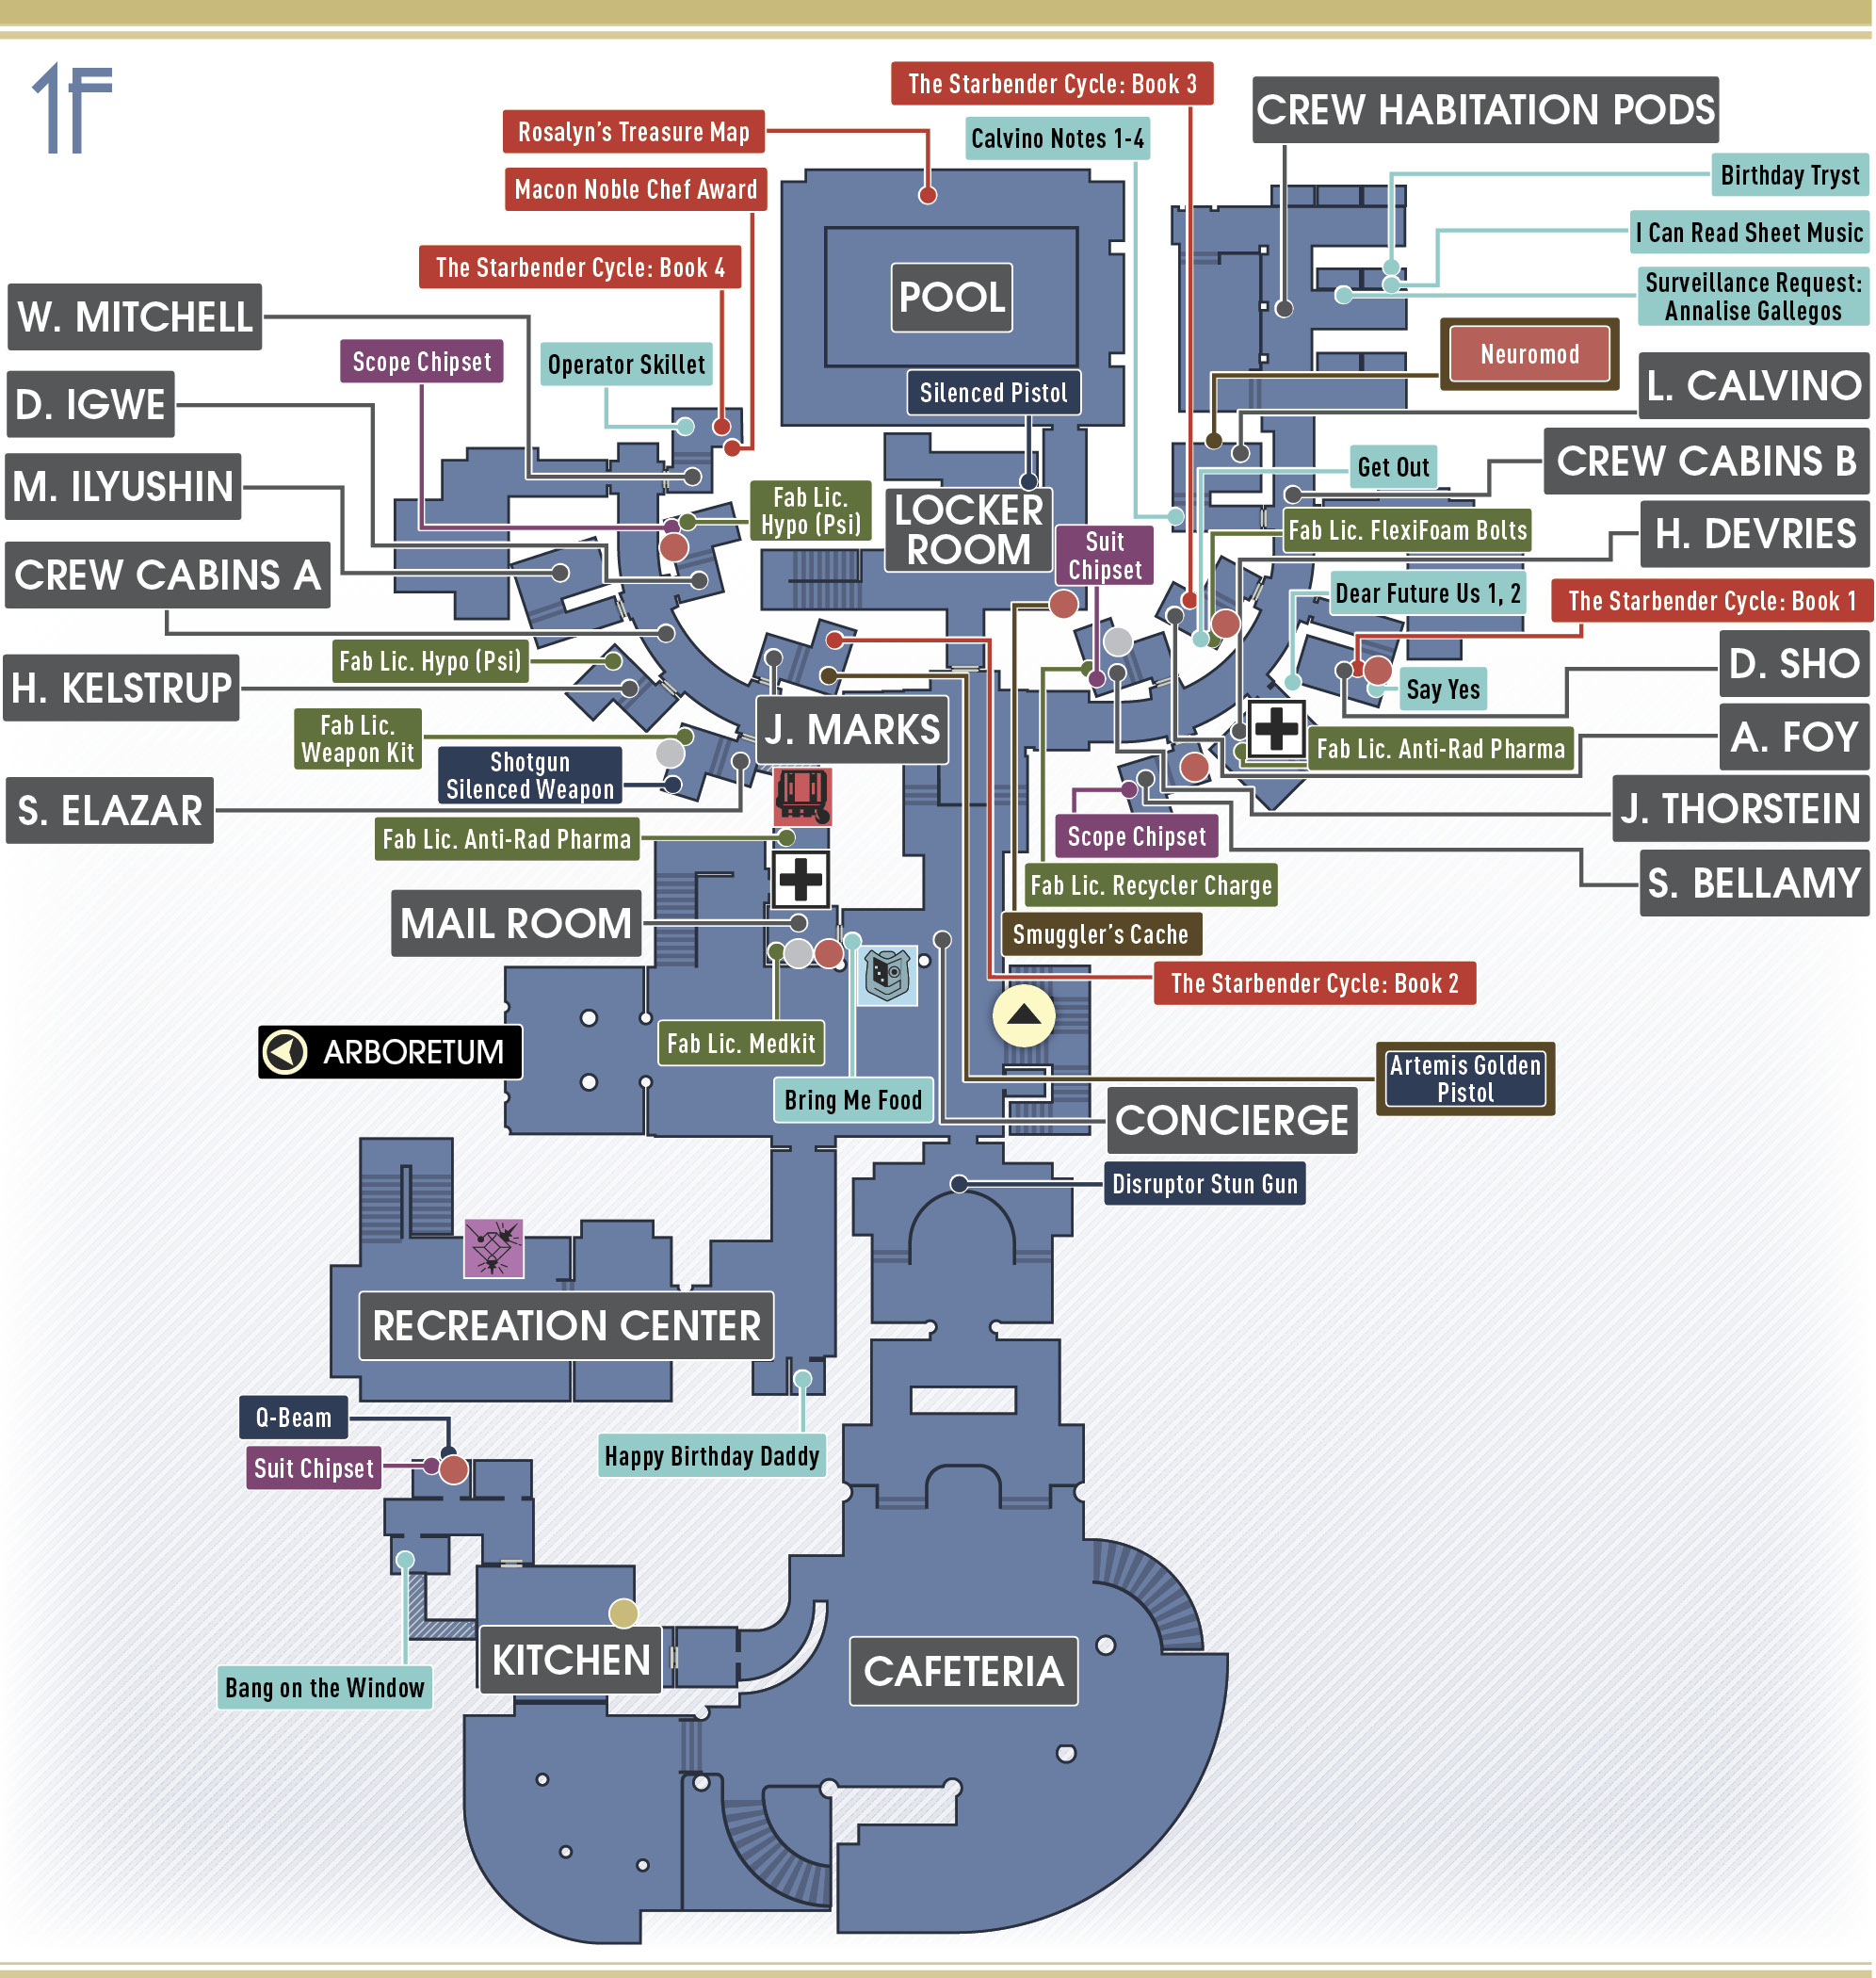
Stay low as you return to the foyer, careful to avoid any mind-controlled crew members. There’s also an Etheric Phantom lurking about. If spotted, be ready to engage with your Q-Beam. Creep behind the concierge desk to access a security station. Here you can download a map of Crew Quarters as well as collect some evidence for the Whistleblower optional objective. Be sure to read the “New Gym Code” email to retrieve the keycode to the Fitness Center.
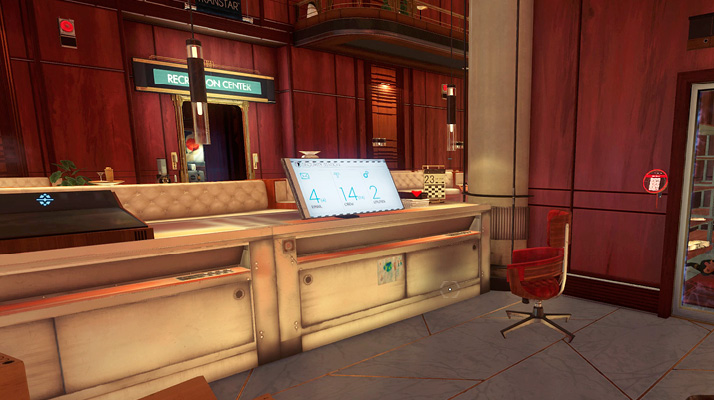
Whistleblower (continued)While accessing the security station, access the Surveillance tab under Utilities. Here you can download a surveillance recording and a surveillance report. The recording adds the Bring Me Food entry to your audio log. Suspiciously, Quentin Purvis has requested that Will Mitchell deliver food to a container in the Cargo Bay. Investigate container 3232 once you reach the Cargo Bay. Next, you need to locate Annalise Gallegos’ habitation pod to search for more evidence. 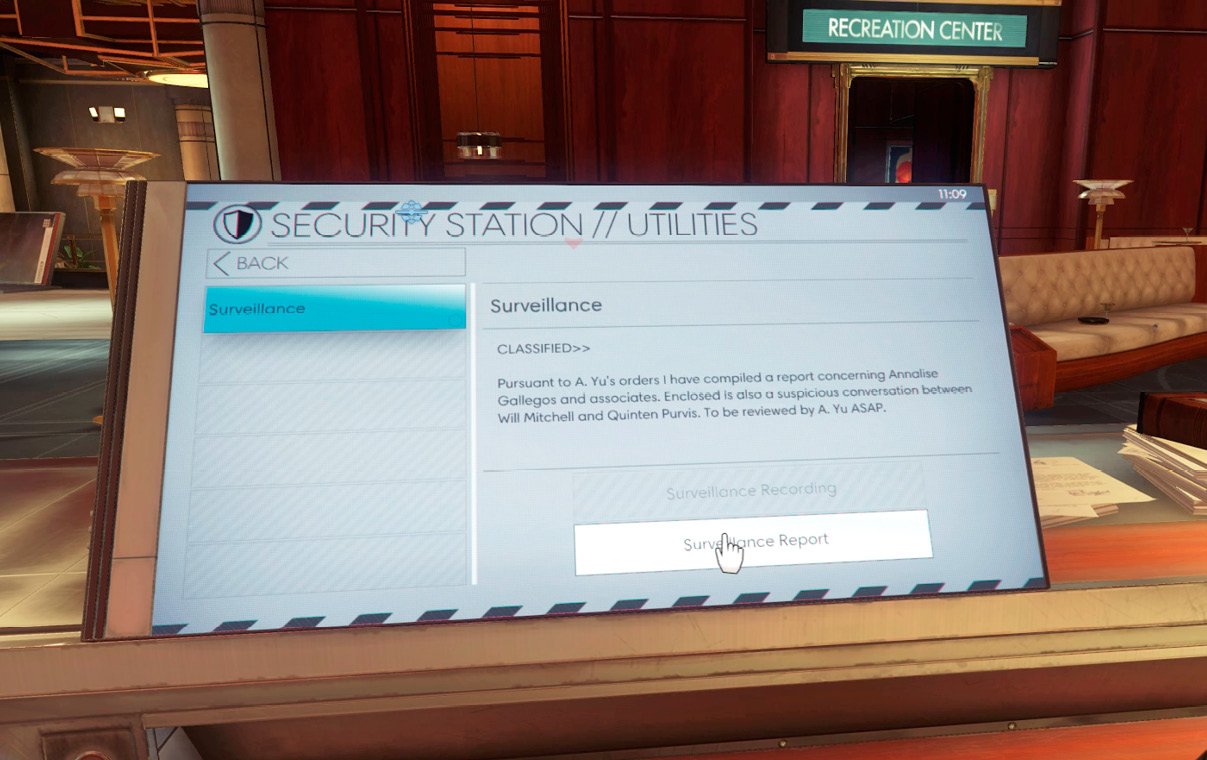
|
Mail Room
| Notable Items: | Neuromod (3) | Weapon Upgrade Kit |
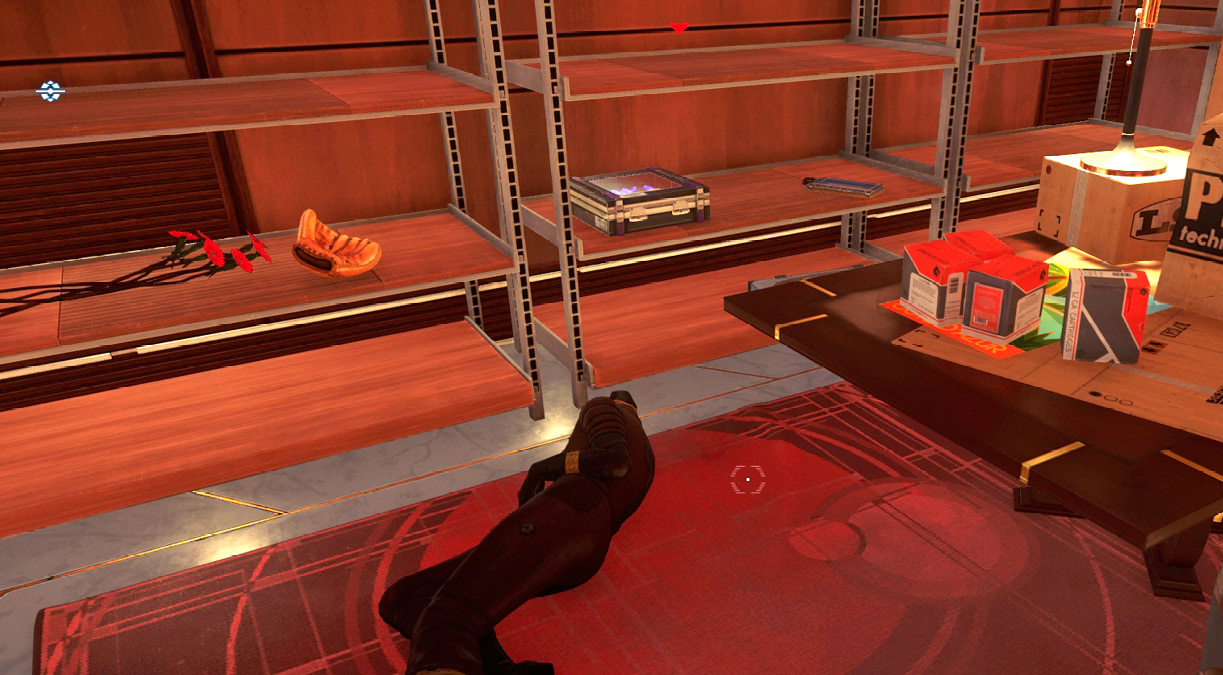
The mail room is accessible from behind the concierge desk. While the door is locked, you can hack it if you possess the Hacking II ability. Otherwise, you can retrieve the keycode from Anders Kline’s habitation pod, located at the end of Crew Cabins B. Once inside the mail room, search the body of Lia Macy and the surrounding shelves for supplies. Here you find three Neuromods, a Weapon Upgrade Kit, and a few boxes of shotgun ammo.
Recreation Center
| Notable Items: | Audio Recording: Happy Birthday Daddy | Audio Recording: Fatal Fortress 3 |
| Stabfellow’s Treasure Map | Keycard: Abigail Foy’s Cabin | |
| Huntress Boltcaster | Turret |
Next, cautiously cross the foyer to enter the recreation center. This two-floor facility was used as a gathering area for Talos I crew members. Now it’s seemingly abandoned. Access the operational terminal in the first teleconferencing booth to retrieve an audio recording from Earth, wishing one of the crew members a happy birthday.
Stay low as you continue advancing through the recreation center and equip your Disruptor Stun Gun. There may be some mind-controlled crew members wandering about, so be ready to incapacitate them. As you near the large television, the screen begins to flicker and items fly through the air—the telltale signs of a Poltergeist.
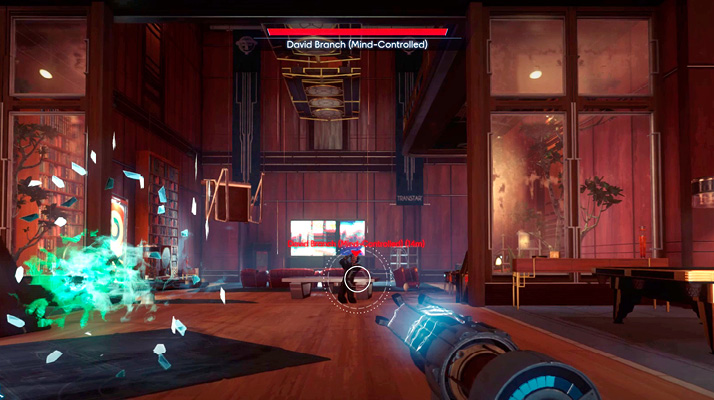
Poltergeists are invisible entities, appearing momentarily when using their Typhon abilities. Scan it with your Psychoscope when it appears. Scanning the Poltergeist makes it easier to track once it becomes invisible. Poltergeists can inflict heavy damage by tossing large objects and lifting you in the air with their Lift Field ability. Dodge incoming items when thrown at you by strafing left or right. If you find yourself floating in the air, engage your propulsion system to avoid taking fall damage when returning to the floor. Your Silenced Pistol is most effective against Poltergeists. Wait until the Poltergeist appears, then rapidly fire multiple shots in the entity. When the Poltergeist disappears, you can still inflict damage—simply fire at the Poltergeist’s last known position to score a few extra hits. Keep hitting the Poltergeist until it’s down for good.
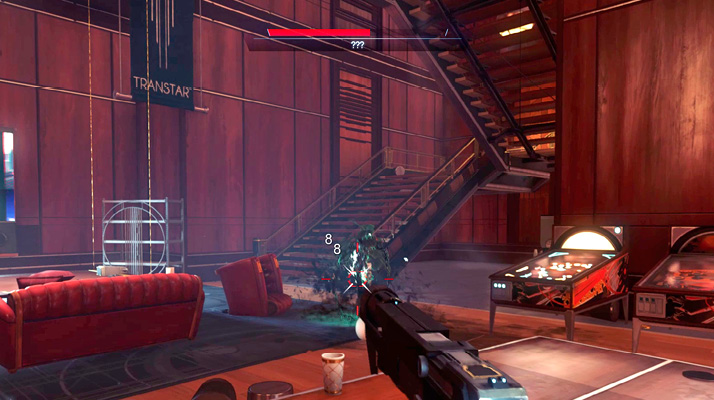
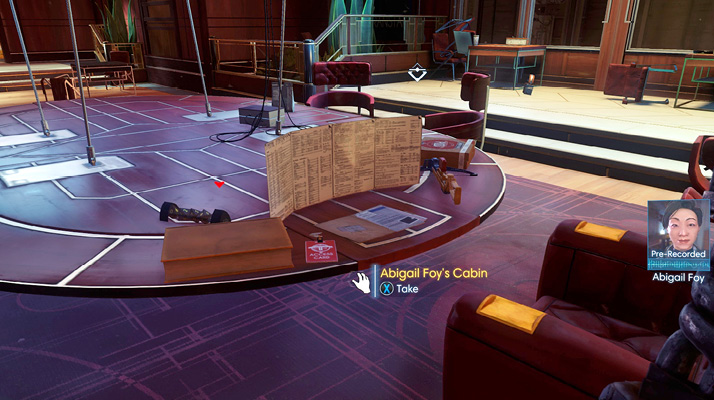
After eliminating the Poltergeist, ascend the recreation center’s staircase to reach the second floor. Watch out for Mimics hiding here. A large table is on the second floor. It looks like a game of Fatal Fortress was interrupted by the Typhon outbreak. Retrieve Elias Black’s TranScribe to listen to a recording of a game session. The recording contains a sample of Danielle Sho’s voice, increasing processing to 20%. You’ll need to find more samples of Sho’s voice to access Deep Storage. The table also holds the key card to Abigail Foy’s cabin as well as character sheets belonging to Elias Black, Emma Beatty, Zachary West, and Danielle Sho. Grab the note next to Elias Black’s TranScibe to reveal Stabfellow’s treasure map. This will come in handy when taking on the Treasure Hunt optional objective.
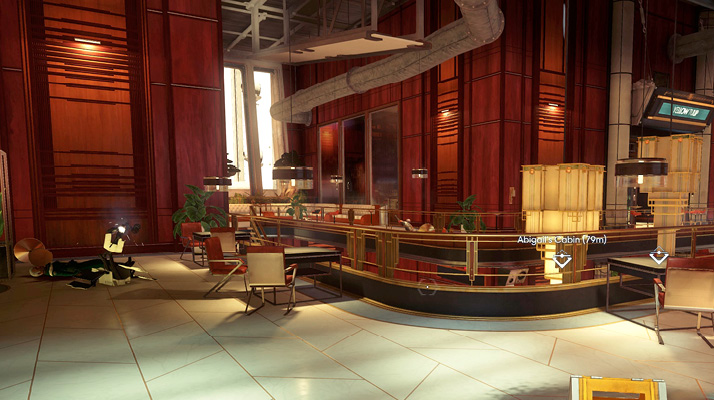
Step out onto the recreation center’s second floor mezzanine, overlooking the foyer. Brett Seydel’s body lies next to a broken turret. Repair the turret and carry it as you return to the foyer. Simply jump over the mezzanine railing then use your propulsion system to slow your descent. The first floor entry to the recreation center has been blocked by luggage carts, an attempt by the Poltergeist to trap you.
Crew Cabins B
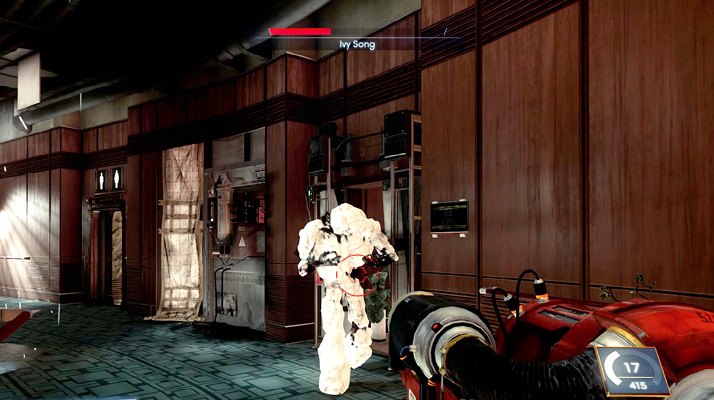
With turret in hand, cross through the foyer and enter the Crew Cabins B corridor. This is where Danielle Sho’s cabin is located. You’re likely to find more voice samples here. Deploy the turret at the entry to the corridor and creep forward in an attempt to locate a patrolling Phantom—this Phantom was once Ivy Song. Stand back and let the turret eliminate this Phantom. If necessary, provide support with the GLOO Cannon, slowing the Phantom’s movement. Afterward, search the Phantom’s remains to retrieve Ivy Song’s belongings.
Jorgen Thorstein’s Cabin
| Notable Items: | Recycler Charge Fabrication License |
| Scope Chipset |
If you retrieved Jorgen Thorstein’s keycard back in Hardware Labs, you can enter his cabin (the first door on the left). Here you can retrieve a Recycler Charge fabrication license, a Scope Chipset, and some exotic material.
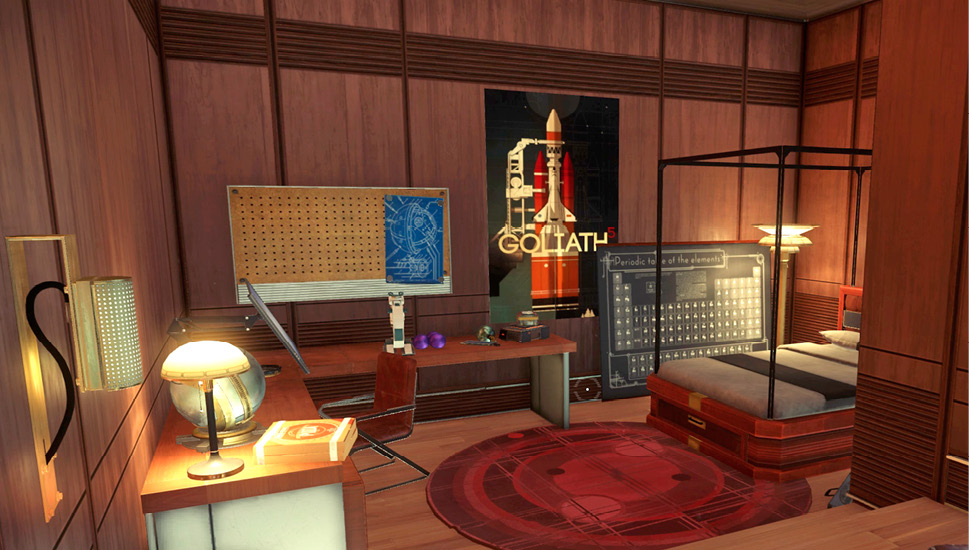
Sylvain Bellamy’s Cabin
| Notable Items: |
| Neuromod (3) |
| Alien Research: Lift Field I |
| Scope Chipset |
The Corpse Vanishes (continued)Sylvain Bellamy’s cabin is directly across the hall from Thorstein’s cabin. Use the keycard you retrieved from Dr. Bellamy in the Psychotronics morgue to open his cabin. Simply entering the cabin completes this optional objective. But don’t forget to look around. There’s a case containing three Neuromods on the shelf next to the door and a Scope Chipset on his desk. Search the Files tab on his workstation to download research data, revealing the Lift Field I ability. This is the same ability Poltergeists use to lift objects. 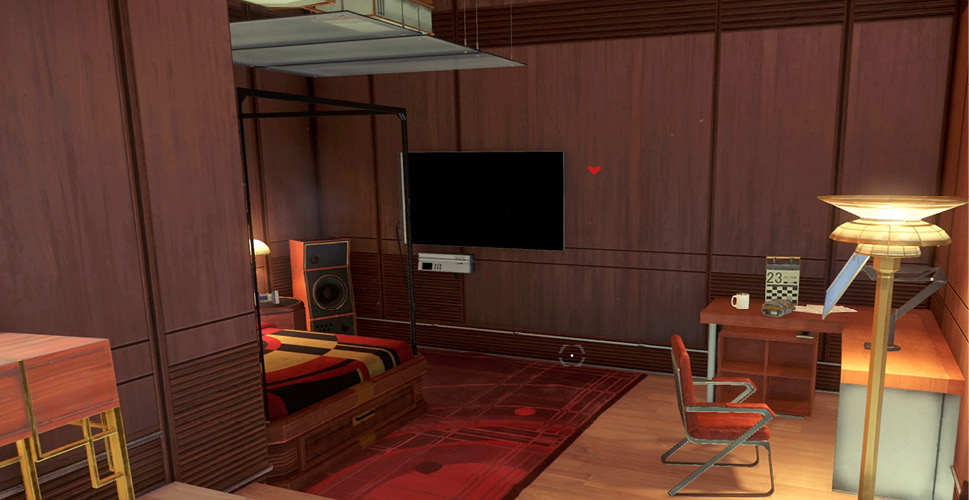
|
Hendrik DeVries’ Cabin
| Notable Items | Anti-Rad Pharma Fabrication License |
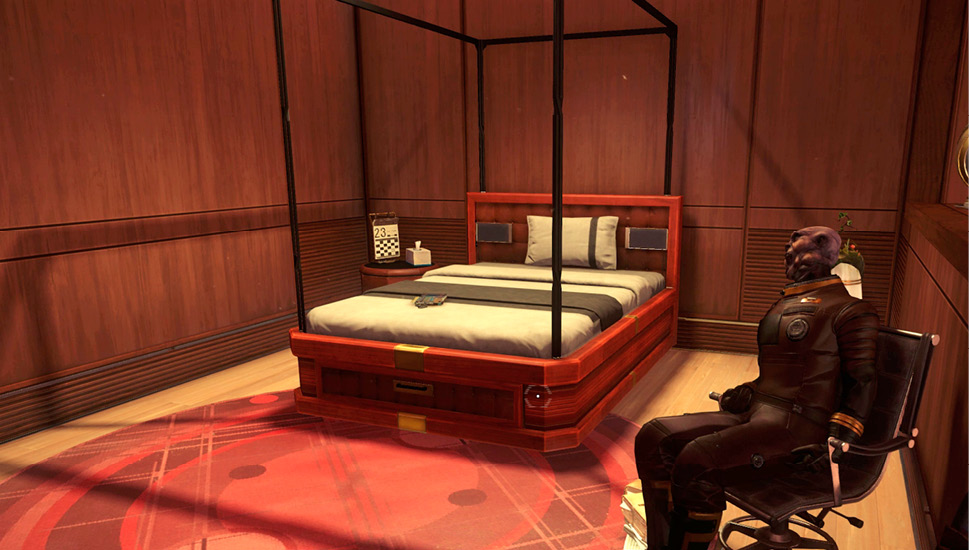
The door to Hendrik DeVries’ cabin is unlocked. Step inside to rummage for supplies. Here you find the body of Mathias Kohl sitting in a chair. His body holds some Suit Repair Kits, a Psi Hypo, and a Medkit. There’s also a Anti-Rad Pharma fabrication license on the bed.
Danielle Sho’s Cabin
| Notable Items: |
| Neuromod |
| Audio Recording: Say Yes |
| Password: Lorenzo Calvino |
| Audio Recording: Dear Future Us 1 |
| Audio Recording: Dear Future Us 2 |
| The Starbender Cycle: Book 1 |
Danielle Sho’s cabin door has been pried open. Read the note attached to the keycard reader. It’s a message from Abigail Foy regarding some of Danielle’s items. Judging from this note and numerous others found inside, Danielle was in a relationship with Abigail Foy. Grab the Neuromod on Danielle’s desk then access her workstation. In the Files tab, download the conversation archive to access an audio recording of Danielle talking to Abigail. This puts you a step closer to synthesizing Danielle’s voice. Read the emails on the workstation to uncover Dr. Calvino’s password as well as a new optional objective. There’s also an email from Skye Braxton referencing a TranScribe located in Skye’s habitation pod—it might be worth checking out.
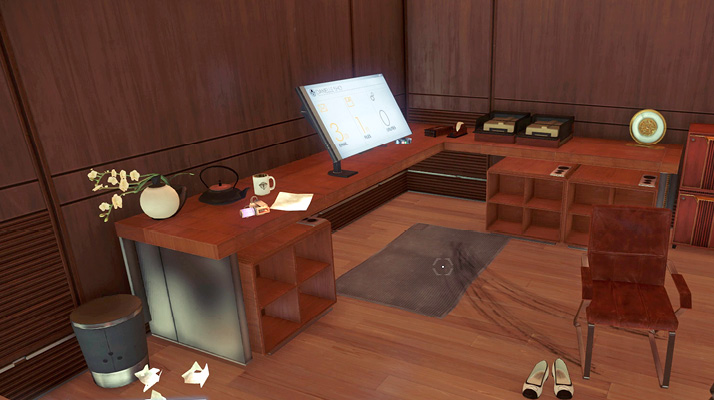
Treasure HuntObjective Summary: Abigail Foy left some kind of treasure hunt for the crew members involved in her tabletop gaming group. If I can find the maps she gave them, it sounds like there could be something worthwhile on the workstation in her quarters. Reading the “Treasure Hunt” email on Danielle’s workstation triggers this optional objective. This requires you to find treasure maps belonging to Danielle, Elias Black, Zachary West, and Emma Beatty. You’ve already found Elias and Zachary’s maps. Continue your search for Danielle and Emma’s maps. 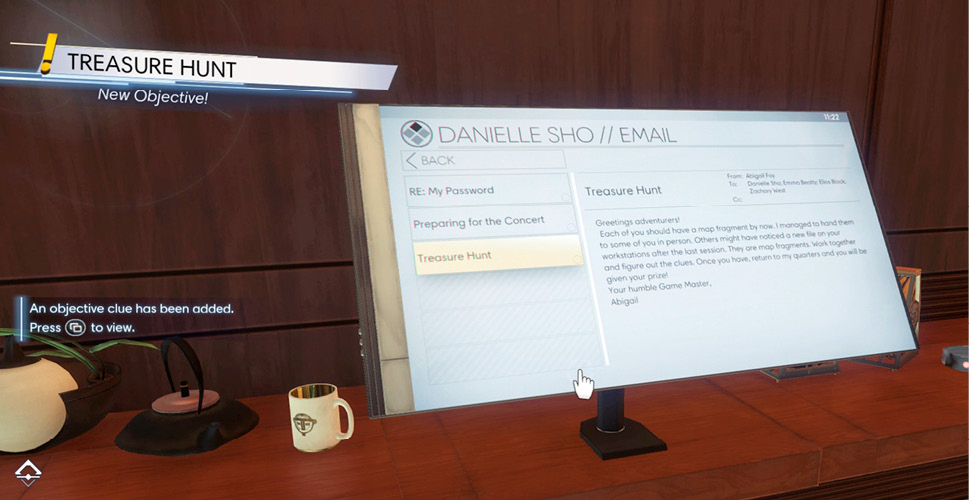
|
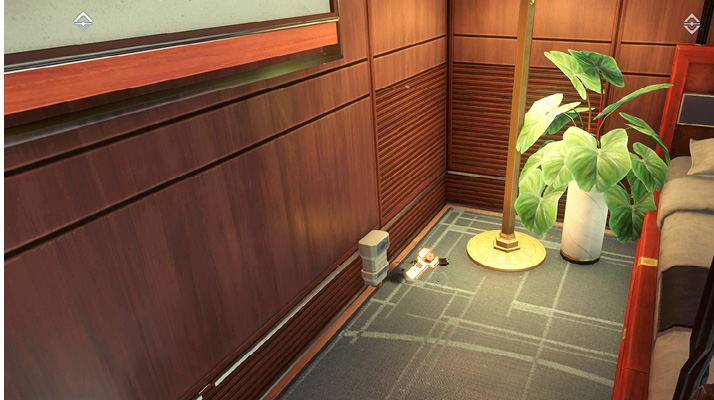
Danielle’s broken TranScribe is on the floor next to her bed. Fix the TranScribe to retrieve two audio recordings, each featuring Danielle’s voice. Listen to both recordings (Dear Future Us 1 and Dear Future Us 2) to gather more samples of Danielle’s voice.
Abigail Foy’s Cabin
| Notable Items: |
| Neuromod |
| Password: Abigail Foy |
| FlexiFoam Bolts Fabrication License |
| Audio Recording: Get Out |
| The Starbender Cycle: Book 3 |
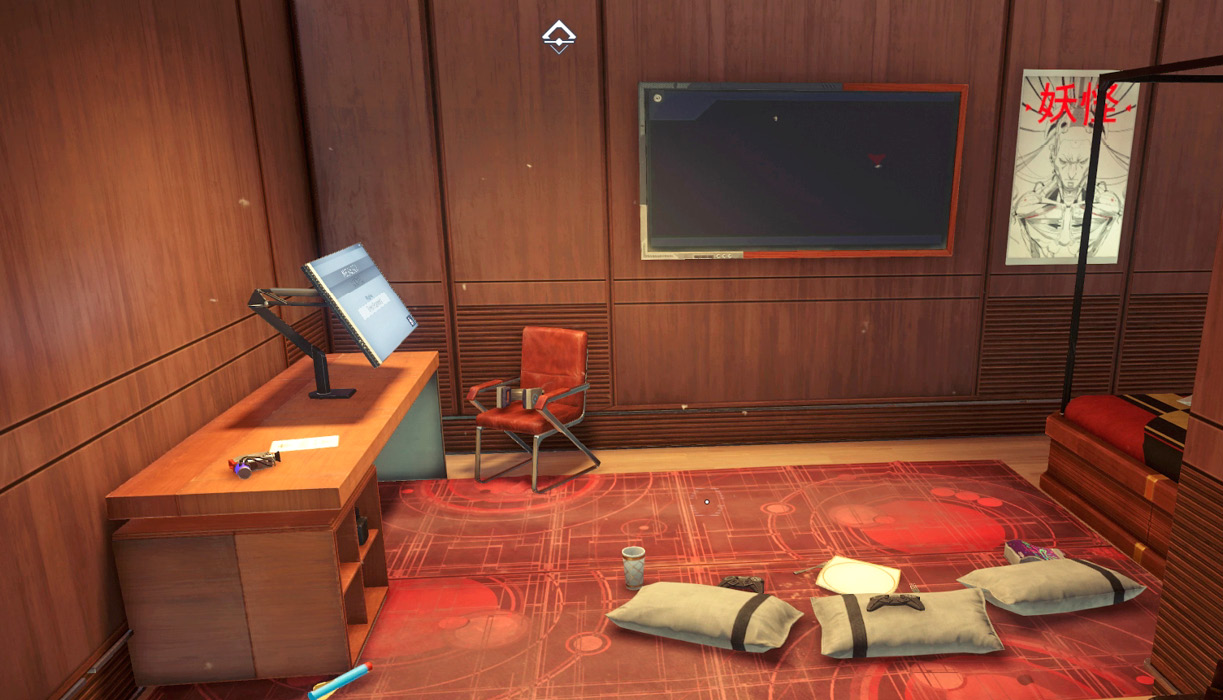
Abigail Foy’s cabin is directly across the hall from Danielle’s cabin. Use the keycard you retrieved in the recreation center to enter. Inside you can collect a Neuromod and some FlexiFoam Bolts. While searching the cabin, crawl under Foy’s desk to retrieve a note containing her password. Use the password to log in to the workstation. Under the Files tab you can download a plan for Boltcaster ammo as well as an audio recording.
Listen to “Get Out” to retrieve another sample of Danielle’s voice. A note on Abigail’s desk is an invitation to an event at the Yellow Tulip, located on the second floor. Apparently Danielle and Skye Braxton performed there.
Lorenzo Calvino’s Cabin
| Notable Items: | Audio Recording: Calvino Notes 1 | Audio Recording: Calvino Notes 2 |
| Audio Recording: Calvino Notes 3 | Audio Recording: Calvino Notes 4 | |
| Keycode: Calvino’s Safe | Neuromod (3) | |
| EMP Charge |
Use the keycard you recovered from Dr. Calvino’s workshop to enter his cabin. Access Calvino’s workstation to download four separate audio recordings. The recordings contain personal notes, chronicling Calvino’s frustrations with hallucinations and his deteriorating memory. Listen to the third entry to retrieve the keycode to Calvino’s safe. The safe is located behind the Looking Glass screen (turn off the Looking Glass to find it). Smash the Looking Glass screen with your wrench to access the safe, which has three Neuromods inside. You can also find an EMP Charge sitting on the desk next to Calvino’s bed.
Crew Habitation Pods
| Notable Items: |
| Keycode: Mail Room |
| Audio Recording: Surveillance Request: Annalise Gallegos |
| Audio Recording: I Can Read Sheet Music |
| Audio Recording: Birthday Tryst |
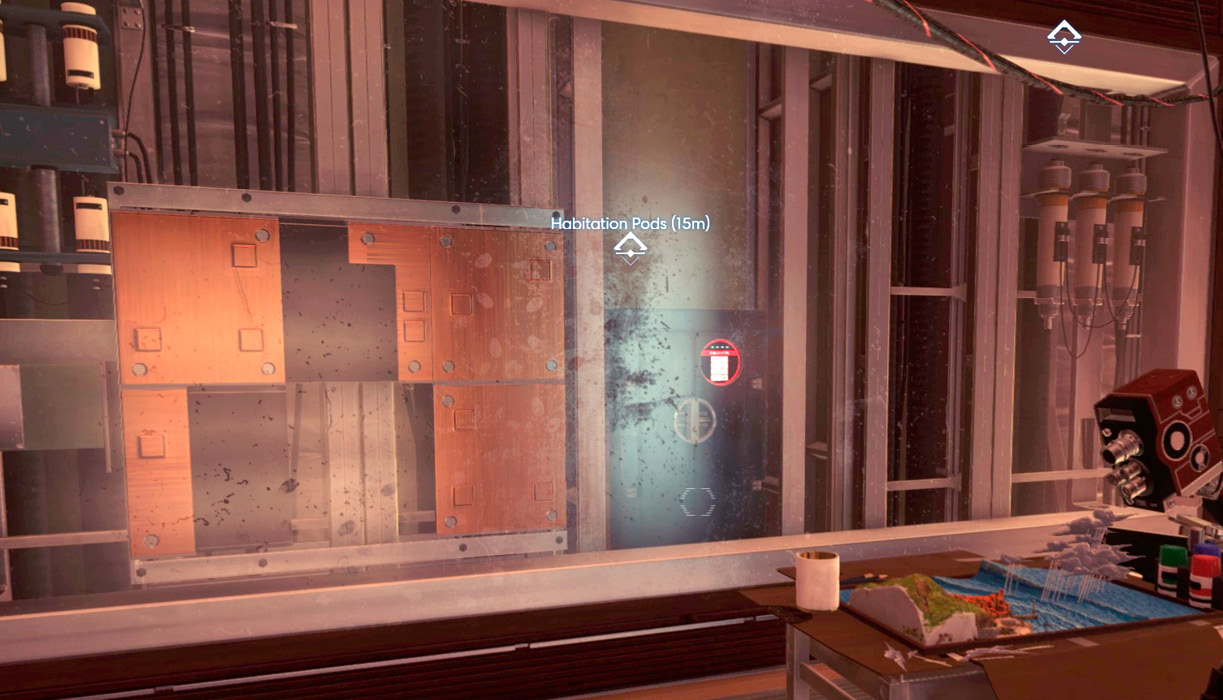
Gather your turret and carry it into the habitation pods facility at the end of the corridor. Immediately deploy the turret near the doorway and watch for paranormal activity. Wait for the Poltergeist to show itself and then open fire with your Shotgun. The turret will likely come under attack by the Poltergeist, so be ready to redeploy the turret if necessary. Facing the combined firepower of your turret and Silenced Pistol, the Poltergeist won’t last long.
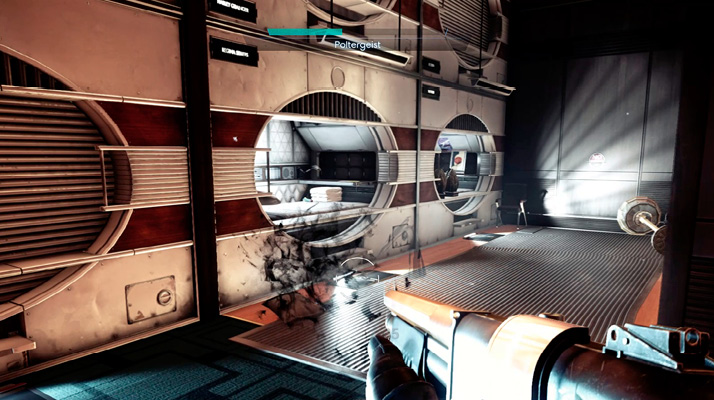
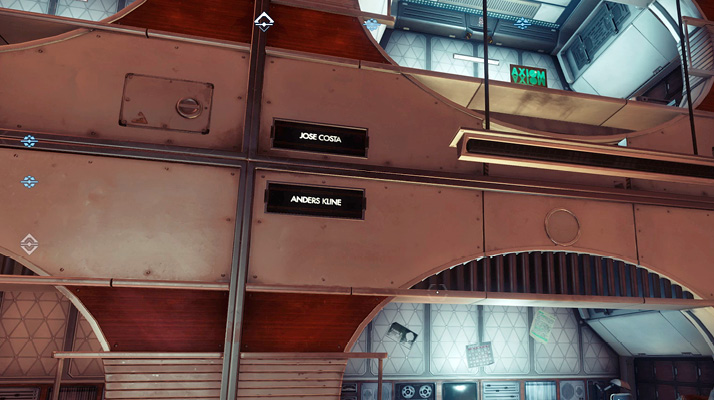
Once the Poltergeist has been dispatched, start searching the habitation pods for supplies. These pods are little more than small beds tucked into cramped alcoves, providing some personal space for Talos I’s less senior staff. Start by searching Anders Kline’s pod (nameplates are affixed next to each corresponding pod). Here you find a note revealing the keycode to the mail room, located next to concierge. If you haven’t searched the mail room yet, make it a priority—three Neuromods are stored inside.
Whistleblower (continued)Next, search Annalise Gallegos’ pod to resume this optional objective. Here you find the body of Maliah Fowles, a security officer. Search her body to retrieve a TranScribe containing a conversation with Alex. Apparently Alex was suspicious of Gallegos’ activity and ordered Fowles to keep an eye on her. You can resume this objective once you reach the Cargo Bay. 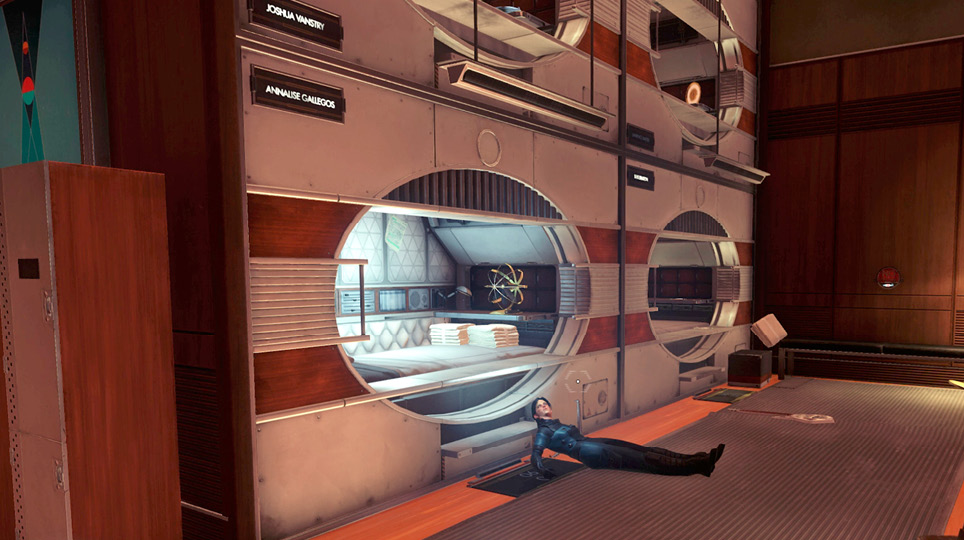
|
Skye Braxton’s pod is located next to Annalise Gallegos’ pod. Grab the TranScribe to retrieve another audio recording (I Can Read Sheet Music) containing Danielle’s voice. This was recorded prior to their musical performance at the Yellow Tulip. Skye used a Neuromod to learn how to play a musical instrument in preparation for Alex’s party. Listening to the recording puts you one step closer to synthesizing Danielle’s voice.
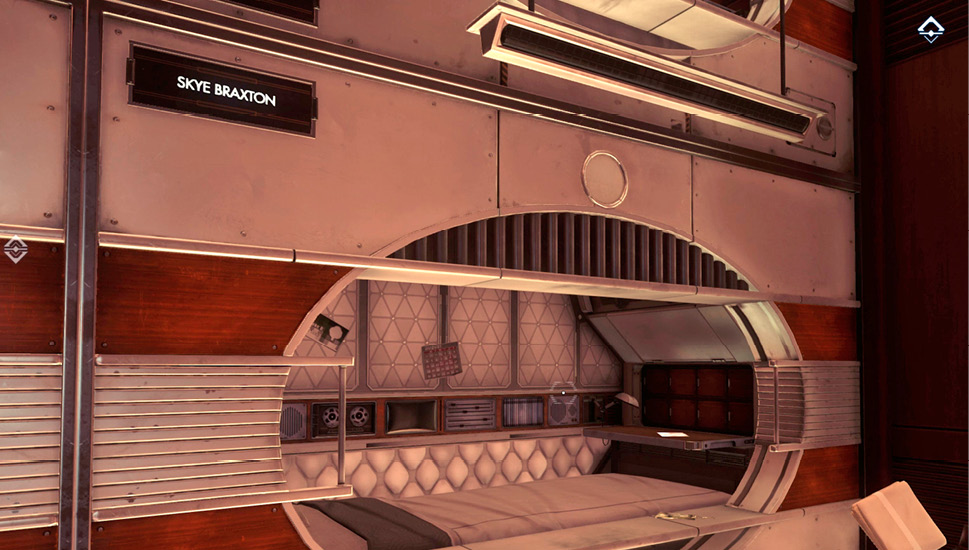
The Lover’s GiftObjective Summary: A crew member named Lawrence Baxter left a gift for his lover Elle Gold under rocks near a tree that he carved their initials into in the Arboretum. I could find whatever it is, in case it’s useful. Tracking Elle on a security station might lead me to the site. Lawrence Baxter’s pod is just above Skye’s. To reach it, use your GLOO Cannon to make a GLOO deposit on the wall, just opposite of Baxter’s pod. Climb onto the GLOO deposit, then jump and glide, using your propulsion system, toward Baxter’s pod. Here you find a TranScribe containing a conversation between Elle Gold and Lawrence Baxter. Listen to the recording (Birthday Trust) to launch this optional objective. You can resume the objective once you return to the Arboretum. 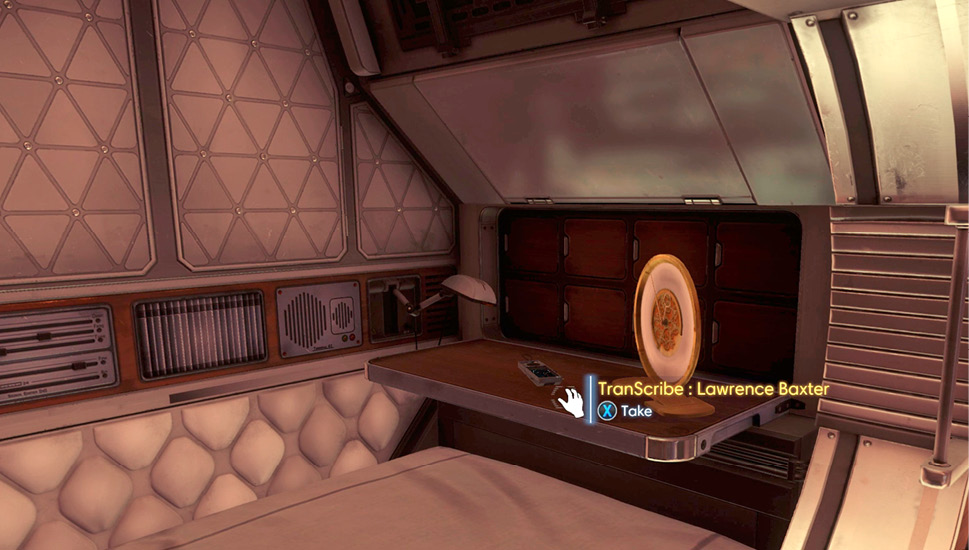
|
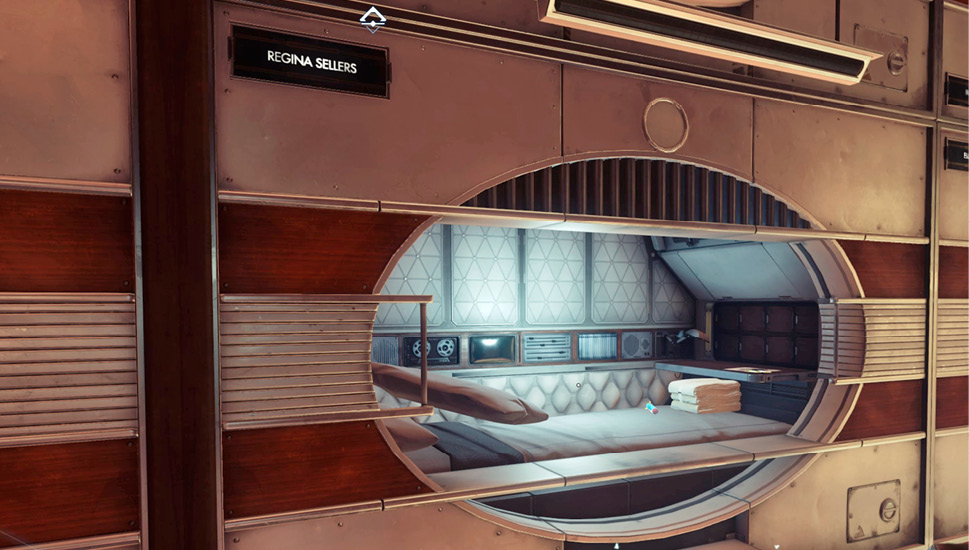
Search the last row of habitation pods for supplies and items. You can find Emma Beatty’s character sheet from Fatal Fortress in her pod—but no trace of her treasure map. Harley Grainger’s pod contains an interesting journal entry, revealing his past as a professional baseball player. There’s also a rather disturbing note in Regina Sellers pod—her child is having dreams about Typhon entities. Before leaving this area, be sure to search the various lockers for supplies, including ammo and food.
Cafeteria
| Notable Items: |
| Disruptor Stun Gun |
| EMP Charge |
| Keycard: Will Mitchell’s Cabin |
Retrace your steps through the Crew Cabins B corridor then cross the foyer to enter the cafeteria. Don’t take a turret into the cafeteria as there are multiple mind-controlled crew members inside. You don’t want these victims to get caught in the crossfire. Before entering, search the bodies of Patricia Wang and Joseph McSorley near the entrance. A Disruptor Stun Gun is next to Patricia Wang’s body. There may be an Etheric Phantom patrolling near the cafeteria, so be ready to take it out with your Q-Beam.
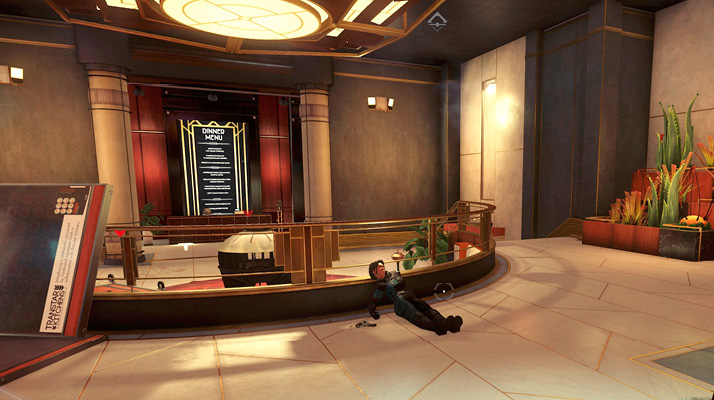
Crouch and sneak into the cafeteria, careful to avoid being spotted by the mind-controlled crew members. Use your Disruptor Stun Gun to incapacitate any crew members that get too close for comfort. All of these crew members are controlled by a Telepath. Creep forward and activate your Psychoscope to locate and scan the Telepath. As you enter the cafeteria, the cook (Will Mitchell), chimes in over the loudspeaker. He wants you to eliminate all the threats.
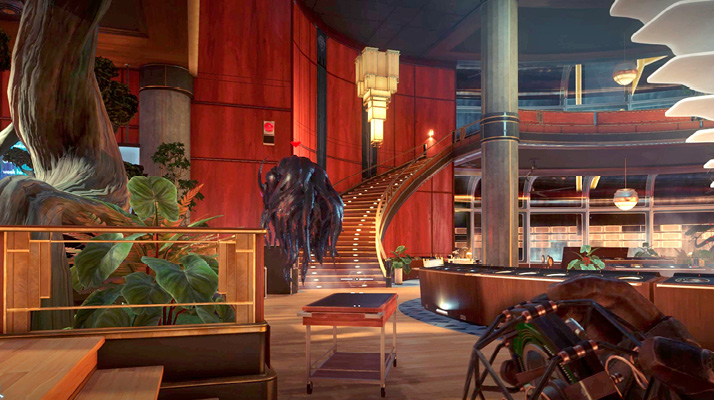
The Cook’s Request (continued)If you want to continue this optional objective, you must eliminate all enemies in the cafeteria. Instead of hunting down each mind-controlled crew member, focus your attention on the Telepath. Equip the Q-Beam and load it to maximum capacity (applying any available weapon upgrades is helpful too). Stay low and creep forward until you have a good line of sight on the Telepath. Open fire with the Q-Beam and concentrate a steady stream of unstable particles into the Telepath, causing it to explode. Killing the Telepath renders the mind-controlled crew members unconscious. Take a moment to search the cafeteria (and unconscious crew members) for supplies. 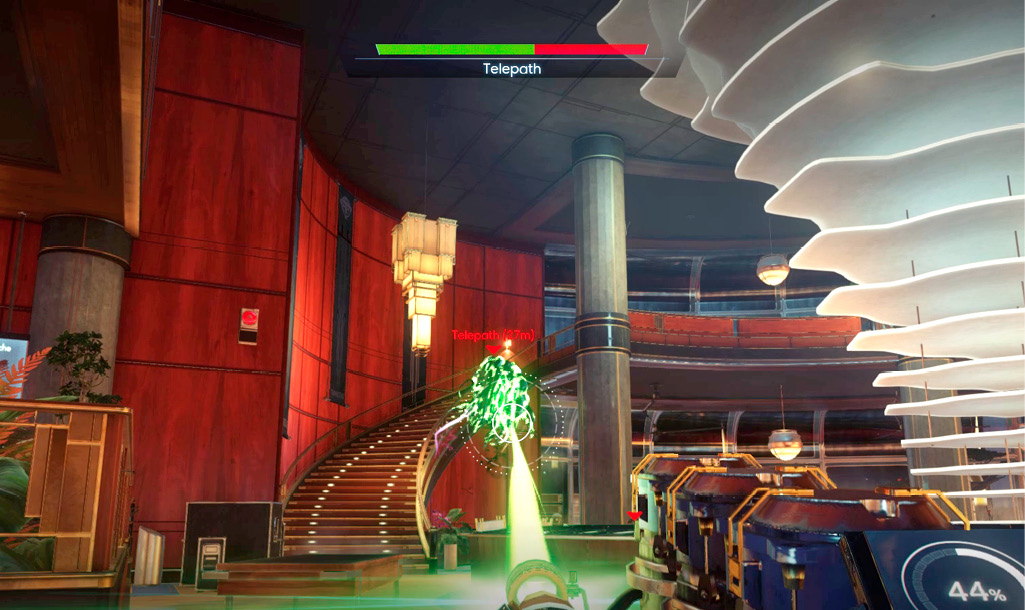
Now that the cafeteria is clear of Typhon threats, approach this kitchen window to have a word with Will Mitchell. Despite your performance, the cook is still skeptical. But he’ll let you into the kitchen if you retrieve an award from his cabin. Take the keycard to Will Mitchell’s cabin and return to the foyer. Mitchell’s cabin is located in Crew Cabins A, your next destination. 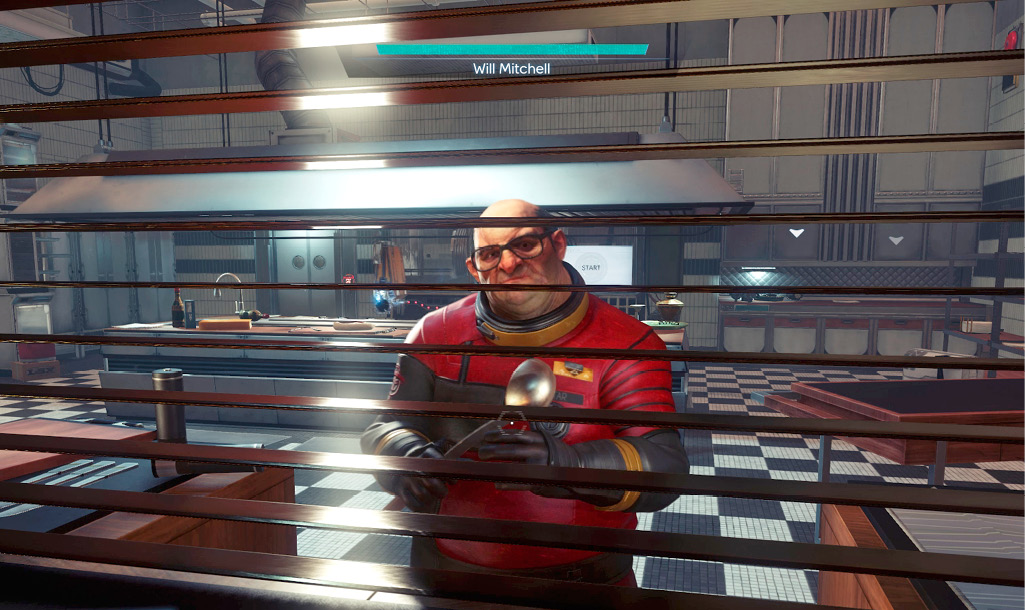
|
Crew Cabins A
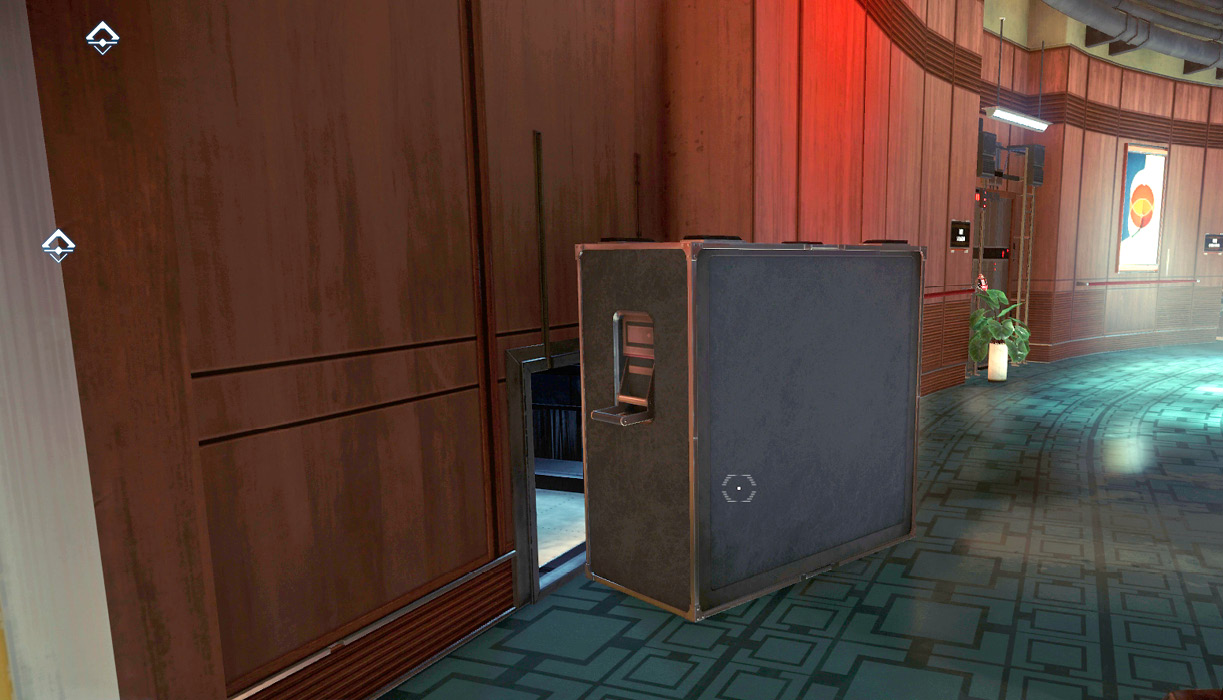
Retrieve your turret and enter the Crew Cabins A corridor. Will Mitchell’s cabin is located at the end of this corridor. But there are several accessible cabins you should search along the way. Deploy your turret at the hallway entrance and begin exploring. Make note of the large crate on the left side of the hall. It’s partially blocking a duct leading to Sarah Elazar’s cabin. If you possess the Leverage II ability, you can move the crate. Alternatively, use Mimic Matter I to transform yourself into a small object, like a towel on the nearby cart. This allows you to fit through the small gap between the crate and the duct.
Sarah Elazar’s Cabin
| Notable Items: |
| Silenced Pistol |
| Shotgun |
| Weapon Upgrade Kit |
| Weapon Upgrade Kit Fabrication License |
Follow the duct to Sarah Elazar’s cabin and smash through the glass beyond the decorative tree to gain entry. The cabin contains a Silenced Pistol and a Shotgun, both hanging in a cabinet next to the bed. There’s also a Weapon Upgrade Kit and ammo stashed in a briefcase by the desk. If you possess the Hacking II ability, you can access Sarah’s workstation. Here you can download a Weapon Upgrade Kit fabrication license. There are also some interesting emails on Sarah’s workstation, including one from Alex regarding Mikhaila Ilyushin. Alex fears she’s a security risk and doesn’t want her anywhere near the labs. When you’re finished searching the cabin, unlock the door and return to the hallway.
Jada Marks’ Cabin
| Notable Items: |
| Scope Chipset |
| Artemis Golden Pistol |
| The Starbender Cycle: Book 2 |
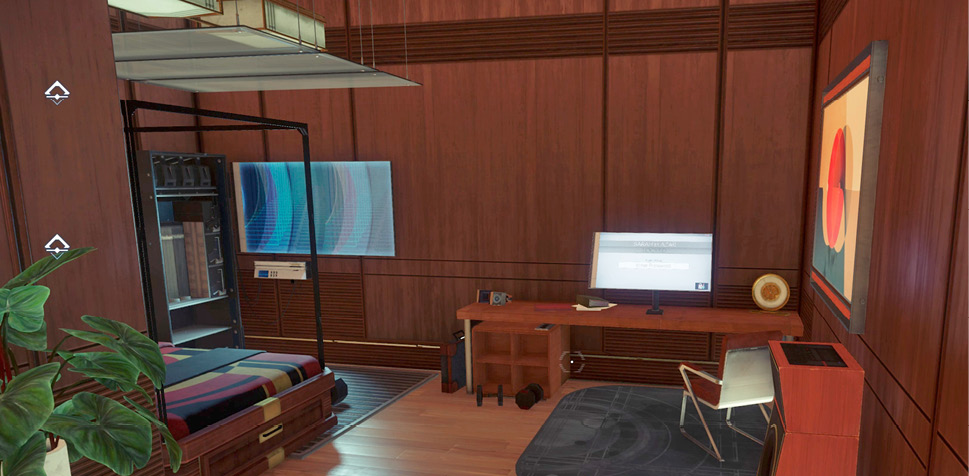
Jada Mark’s cabin is directly across from Sarah Elazar’s. Use the keycard retrieved from Marietta Kyrkos in the Arboretum to unlock the door. Inside you can retrieve some 9mm bullets as well as a Scope Chipset. There’s also a safe inside the cabin. The safe can be hacked if you possess the Hacking IV ability. Or simply use the code provided by the recording on Marietta Kyrkos TranScribe.
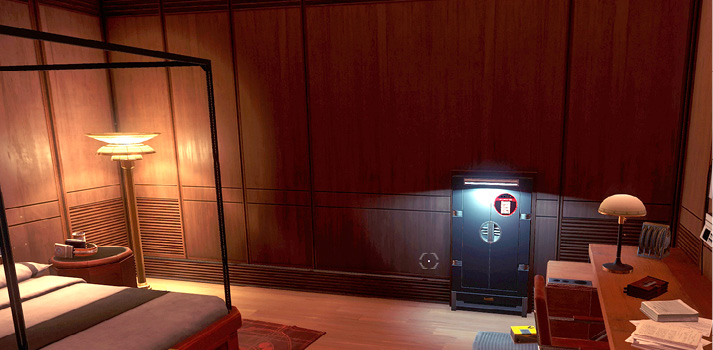
The Golden Gun (continued)Open the safe in Jada Marks’ cabin and retrieve the Artemis Golden Pistol to complete this optional objective. This gold-plated trophy pistol once belonged to a world champion sport shooter who visited Talos I to have Neuromods installed. He gifted the pistol to Jada Marks during his visit. The Artemis Golden Pistol is a variant of the Silenced Pistol, with slightly higher baseline stats. Consider making this your go-to sidearm from now on. 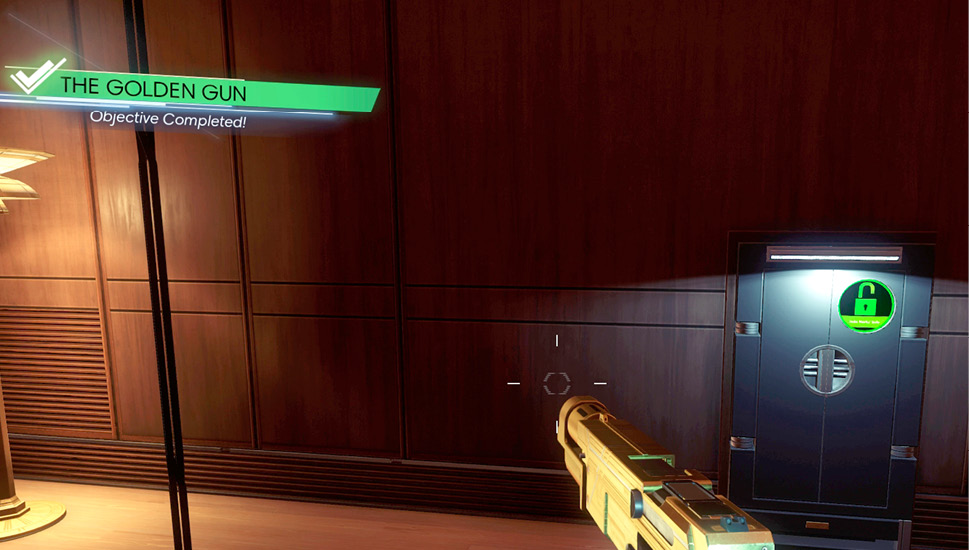
|
Hans Kelstrup’s Cabin
| Notable Items | Typhon Lure |
Next, enter Hans Kelstrup’s cabin, using the keycard you retrieved from his body in Psychotronics. With the exception of a Typhon Lure, a few petri dishes and some snacks, there isn’t much to scavenge here. Oddly, Kelstrup’s cabin is filled with a number of jars containing organs. Some emails on his workstation reveal Kelstrup had some sort of arrangement with Will Mitchell to receive canned pears. What’s going on here?
Dayo Igwe’s Cabin
| Notable Items: |
| Neuromod |
| Suit Chipset |
| Hypo (Psi) Fabrication License |
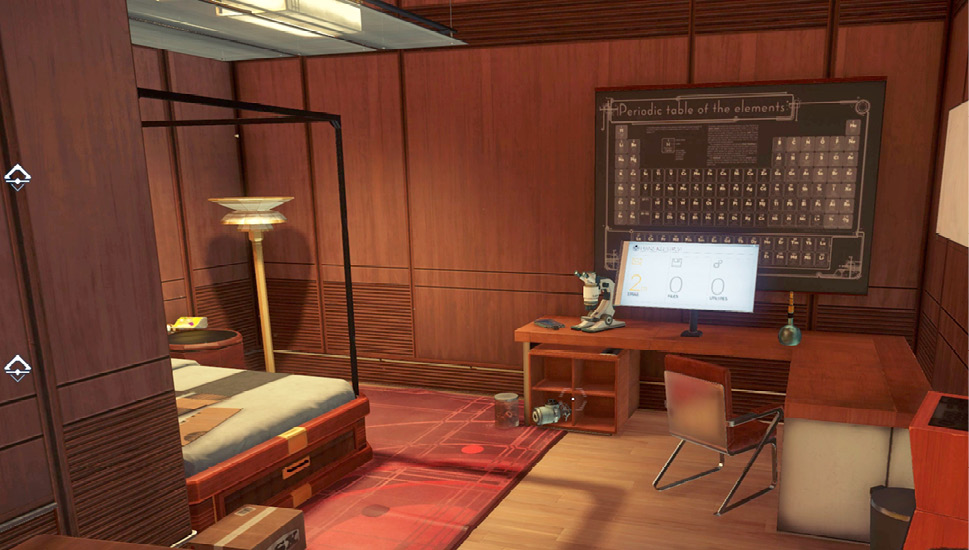
The door to Dayo Igwe’s cabin is unlocked. Step inside to retrieve a Neuromod and a Suit Chipset. If you possess the Hacking II ability you can access Igwe’s workstation. Within the Files tab, download a fabrication license for a Hypo (Psi).
Mikhaila Ilyushin’s Cabin
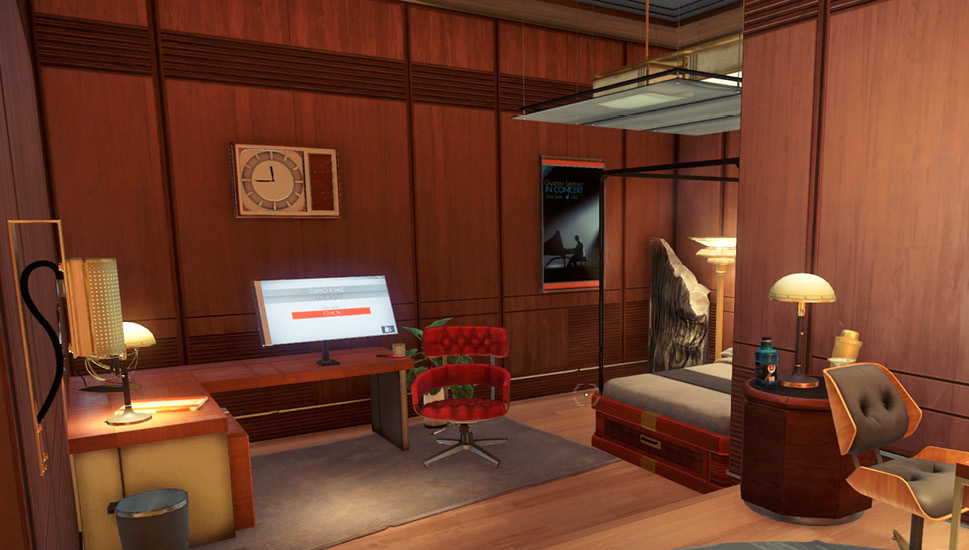
It appears Mikhaila Ilyushin’s cabin has been broken into. The door is broken, but the opening is still too small to walk through. Use Mimic Matter I to transform yourself into a small object, such as a mug or glass from Dayo Igwe’s cabin. This allows you to slip through an opening in the door. Emails on Ilyushin’s workstation reveal she was in contact with Annalise Gallegos. This is probably why Alex was suspicious of her. Other emails reveal Ilyushin had trouble accessing various parts of Talos I due to a lack of security clearance. Ilyushin was interested in the volunteers in Psychotronics, making her a likely accomplice of Annalise Gallegos.
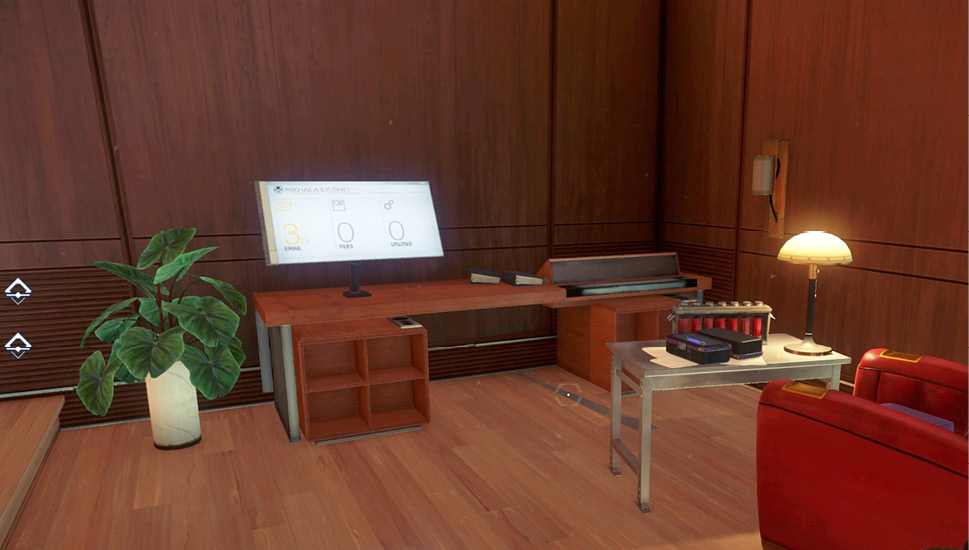
Will Mitchell’s Cabin
| Notable Items: |
| Audio Recording: Operator Skillet |
| Keycode: Executive Suites |
| Macon Noble Chef Award |
| The Starbender Cycle: Book 4 |
Will Mitchell’s cabin is directly across from the restroom. Use the keycard provided by Mitchell to open the door. Mitchell has taken it upon himself to grow fresh ingredients in his cabin, including several Jamon tomatoes and Sunburst bananas. Grab the TranScribe on Mitchell’s desk to retrieve a recording (Operator Skillet) containing Danielle Sho’s voice. You need one more sample to synthesize Sho’s voice. Hack into Mitchell’s workstation and read his emails to retrieve the keycode for the Executive Suites. This unlocks the Grav Shaft leading to Morgan and Alex’s cabins.
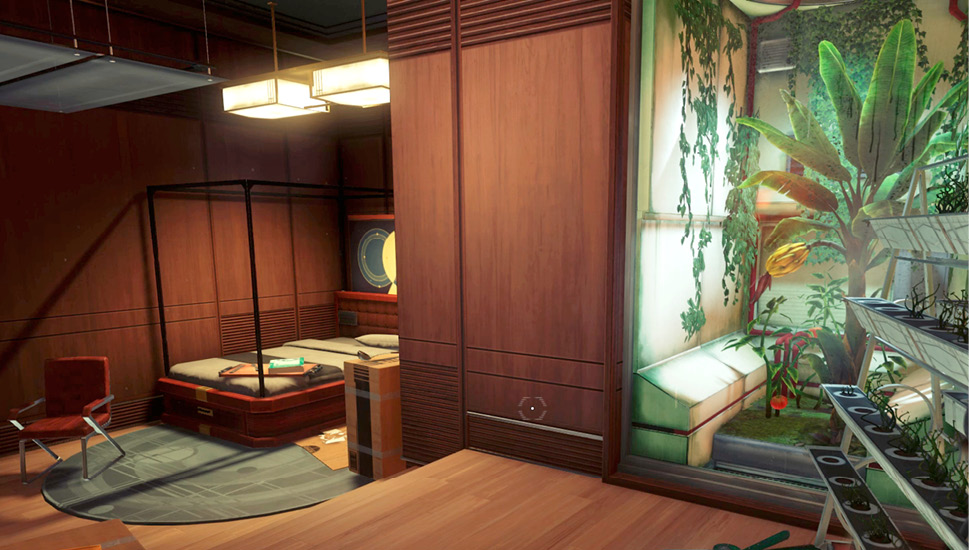
The Cook’s Request (continued)Will Mitchell’s Macon Noble Chef award is on the table next to his bed. Take the award and return to the cafeteria. Perhaps Mitchell will trust you enough to give you access to the kitchen? 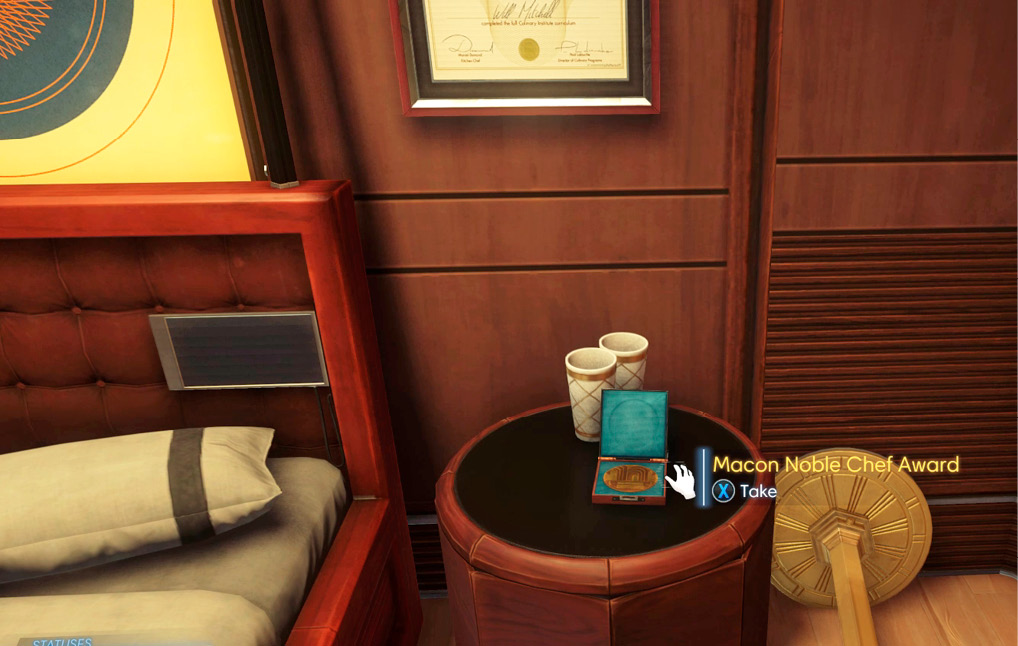
Back in the cafeteria, return to the kitchen window where you first met Will Mitchell. Hand over the Macon Noble Chef award he asked you to retrieve from his cabin. As your reward, he agrees to give you access to the kitchen. He tells you to go around to the kitchen’s side entrance. 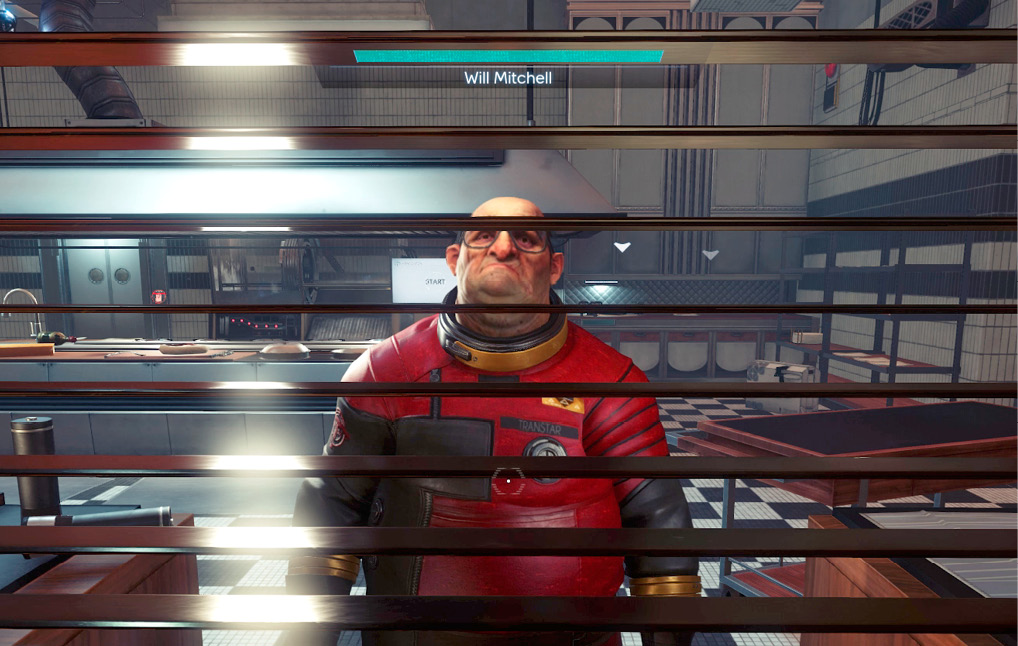
|
Kitchen
| Notable Items: |
| Turret |
| Recycler Charge (2) |
| Keycode: Freezer |
| Neuromod (2) |
| Keycard: Kitchen Access |
Hop over the counter in the cafeteria and enter the adjoining doorway to access this small room. Make note of the massive blood stains coating the floors and walls. Something isn’t right here. The door to the kitchen is still locked, but Mitchell can be heard inside stirring about. Wait a few seconds then approach the door.
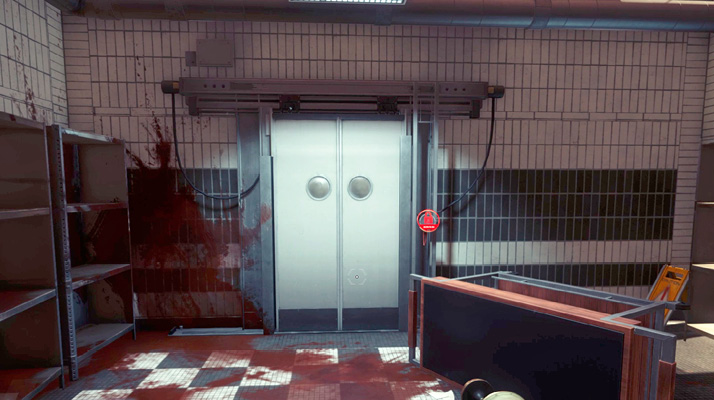
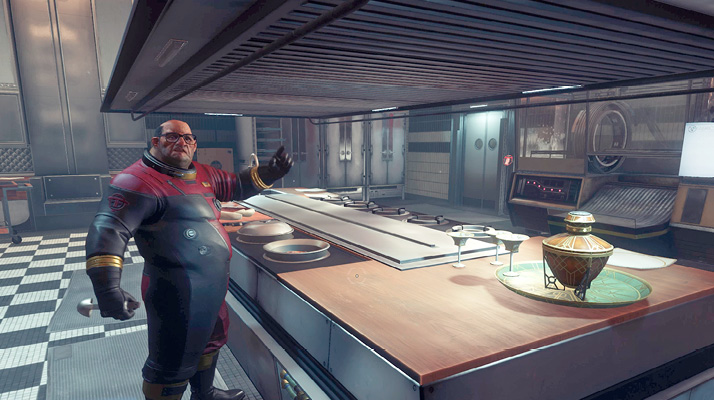
The kitchen is well stocked with food and other supplies, including a turret and a couple of Recycler Charges. The kitchen also houses the Crew Quarters’ only Fabricator. Mitchell is assisted in his culinary duties by a customized Operator named Skillet. As you search the kitchen, Will Mitchell complains about a broken water pressure regulator.
The Cook’s Request (continued)Locate the broken water pressure regulator on the floor, next to Will Mitchell. The regulator can be repaired and installed. Or if you retrieved the new water pressure regulator from the greenhouse in the Arboretum, you can simply place it in the regulator socket to conduct the necessary repairs. 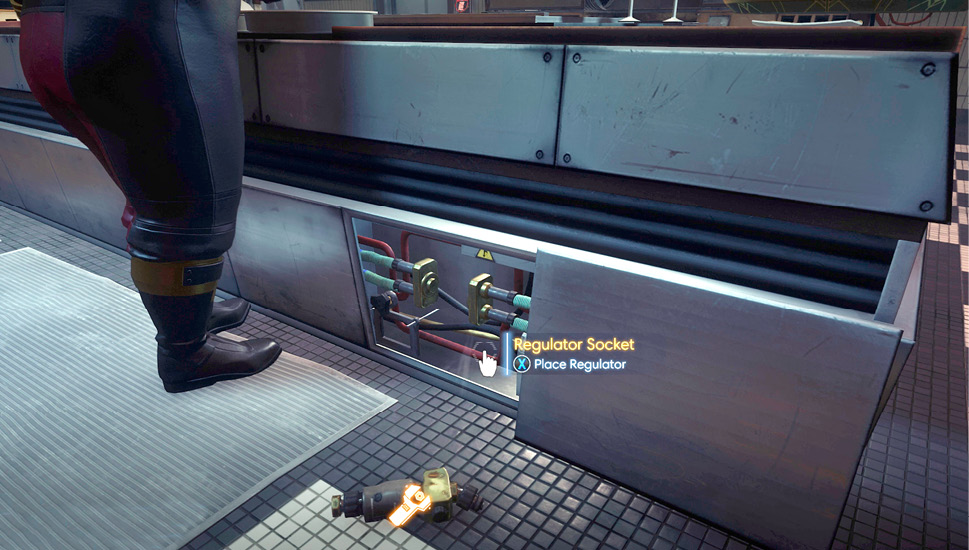
|
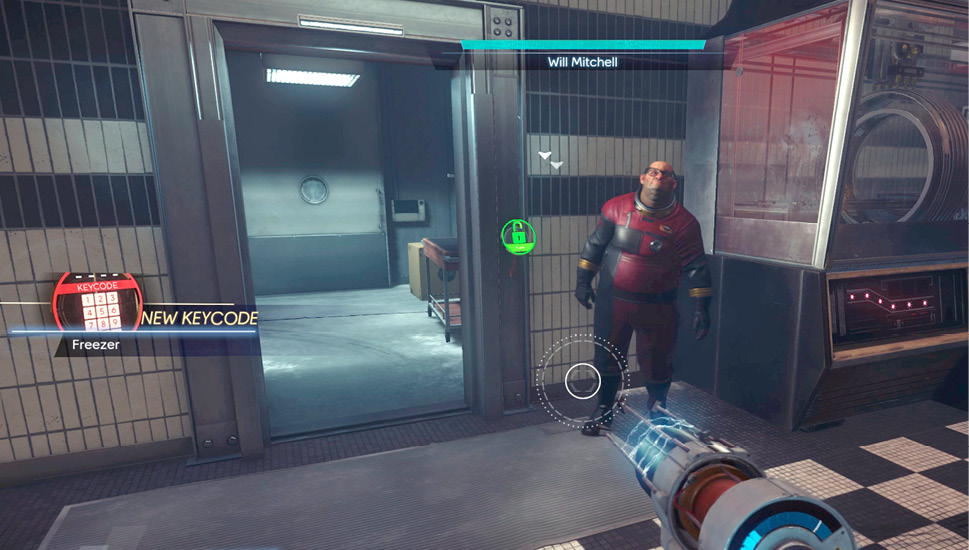
After fixing and installing the water pressure regulator, Will Mitchell agrees to give you access to the freezer. But something is off about this guy. Wait for Mitchell to unlock the door to the freezer, allowing you to obtain the keycode. But don’t enter the freezer just yet. Equip your Disruptor Stun Gun and incapacitate Will Mitchell. You’ll thank yourself later. Search Mitchell’s body to retrieve two Neuromods and the keycard to the kitchen.
Freezer
| Notable Items: |
| Audio Recording: Bang on the Window |
| Neuromod (3) |
| Q-Beam |
| Suit Chipset |
The Cook’s Request (continued)Enter the freezer and open the first sliding door straight ahead to complete this optional objective. There’s some jellied eels and eel scraps inside along with a bloody box filled with suspicious meat (tracing Will Mitchell’s tracking bracelet leads you to this box). But if Mitchell is dead, who is the chef? 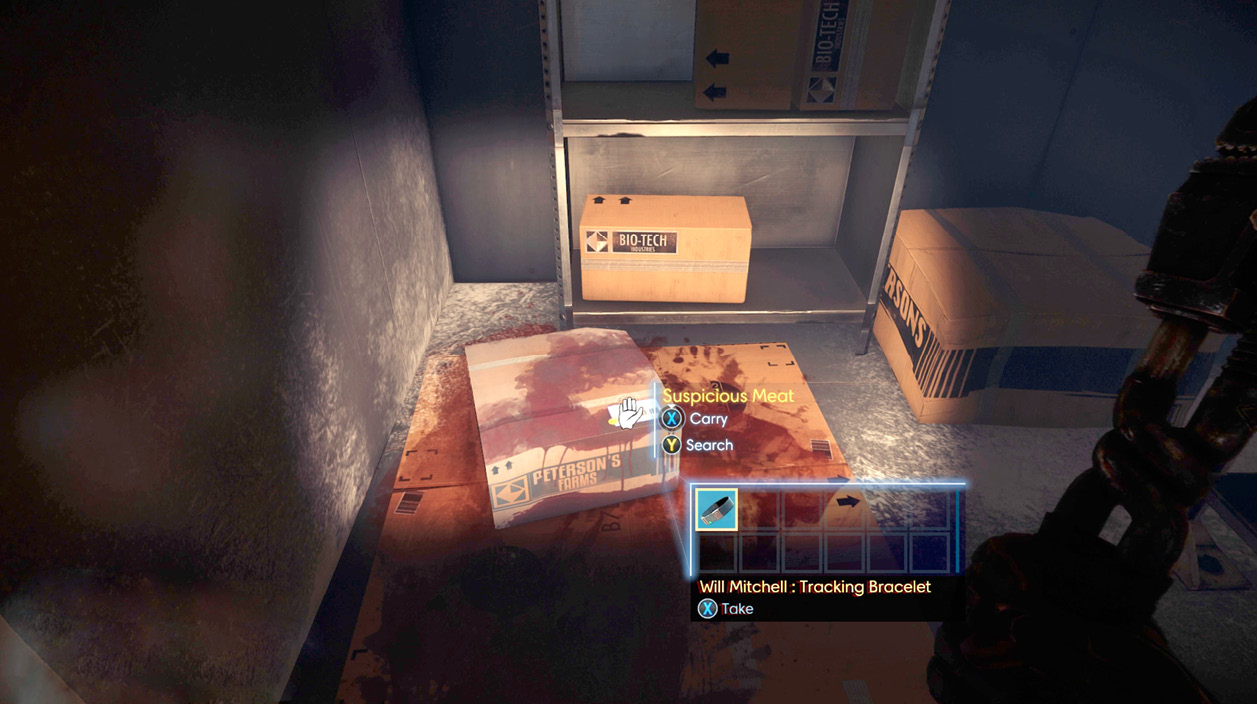
|
Open the sliding door to the next storage area to make another shocking discovery. Here you find the bodies of Chloe Burgess and Kevin Sabian, obvious victims of the chef imposter. Within this storage room, grab some Q-Beam ammo, a Suit Chipset, and three Neuromods before exiting.
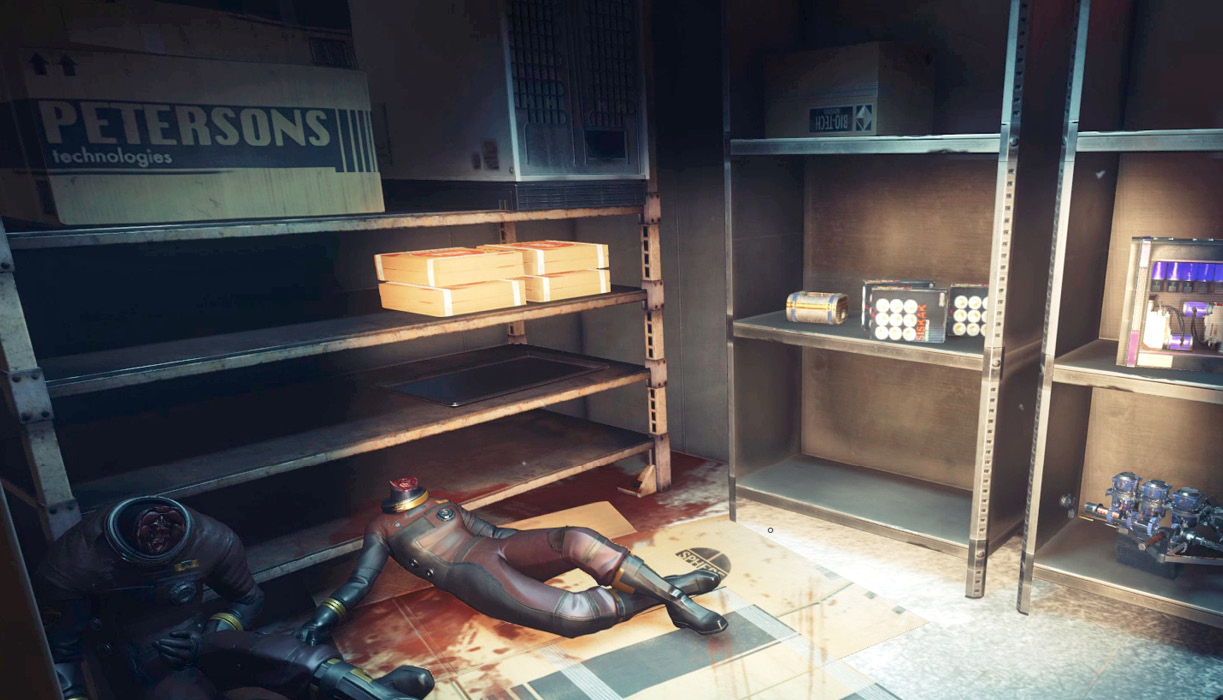
Search the last storage room in the freezer to find the body of Abigail Foy, yet another victim of the chef imposter. Search Foy’s body to retrieve a TranScribe containing a recording (Bang on the Window) from Danielle Sho. Unable to contact Abigail, Danielle urged her to come to the fitness center. If you happened to get trapped in the freezer, the maintenance access panel in this room is your way out. Open the panel, then use Mimic Matter I to transform yourself into one of the nearby pizza boxes. This allows you to slip into the gap between the ice block and the open duct. Alternatively, you can move the block of ice if you possess the Leverage II ability. The duct leads back into the kitchen.
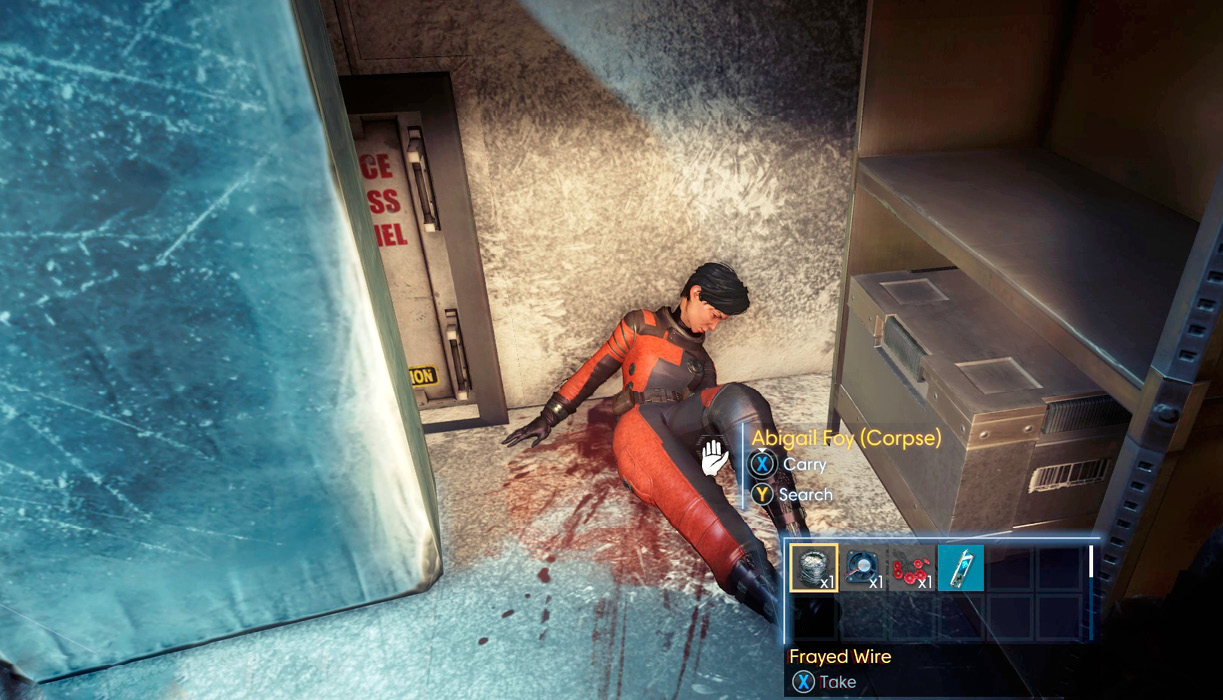
Danielle ShoObjective Summary: Danielle Sho might still be alive. In a message to her girlfriend, she said she fled to the station exterior and would be waiting outside the fitness center window for a signal. This optional objective is triggered by listening to the audio recording (Bang on the Window) found on Abigail Foy’s TranScribe. You can resume this objective when accessing the fitness center. |
Fitness Center
| Notable Items: | Audio Recording: Abby isn’t Answering | EMP Charge | Rosalyn’s Treasure Map |
| Audio Recording: Fatal Fortress 2 | Silenced Pistol | Weapon Upgrade Kit | |
| Huntress Boltcaster Fabrication License | Neuromod | Keycode: Executive Suites |
Exit the kitchen and cross the foyer toward the entrance to the fitness center. Punch in the keycode you retrieved from the security station at concierge. Like the cafeteria, the fitness center is filled with mind-controlled crew members all controlled by a single Telepath. Equip your Disruptor Stun Gun and enter with caution while crouched. Zap each mind-controlled crew member you encounter to render them unconscious. Remember, if a crew member spots you, they’ll charge forward, causing their head to explode.
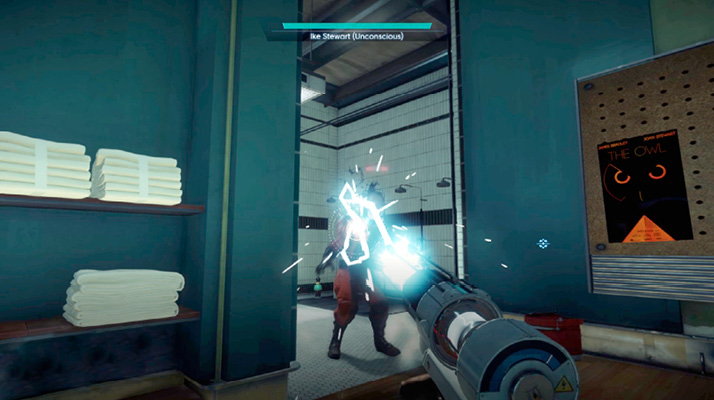
Treasure Hunt (continued)One of the mind-controlled crew members in the fitness center is Emma Beatty. Emma belongs to Abigail Foy’s gaming group and the recipient of one of four treasure maps. Once she’s rendered unconscious, search Emma for a note containing Rosalyn’s treasure map. Rosalyn is the name of Emma’s Fatal Fortress character. Grab Emma’s TranScribe to access another recording (Abby isn’t Answering) from Danielle Sho. The TranScribe also contains a recording (Fatal Fortress 2) from one of the group’s gaming sessions. 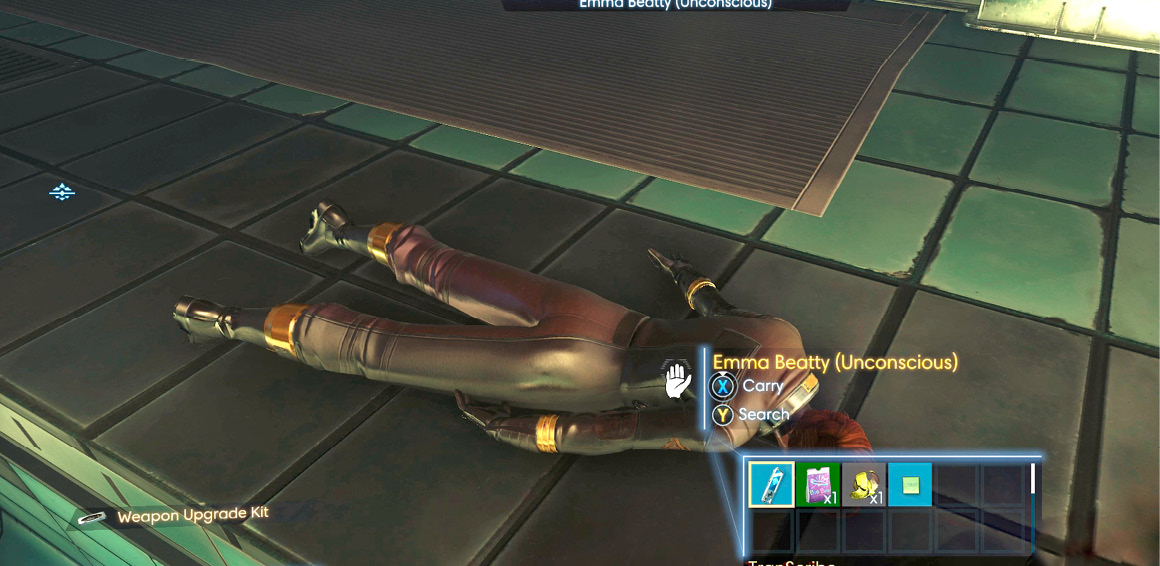
|
The corridor leading to the pool is blocked by flames erupting from a ruptured gas line. Use your GLOO Cannon to seal the breaches in the line. Alternatively, you can slip past these flames by moving along the cramped passage to the right.
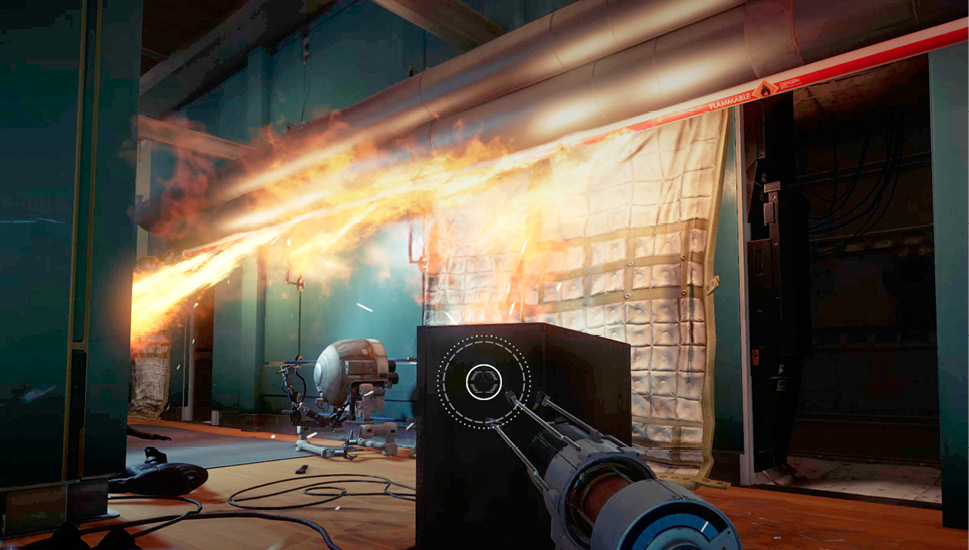
Talos Smuggling Ring (continued)The hall outside the fitness center’s locker room contains one of the smuggling ring’s drop points. Locate the red alarm bell and Use your GLOO Cannon to create a step up to it. Hit the bell with your wrench three times to reveal a hidden safe containing a Neuromod and some exotic material. 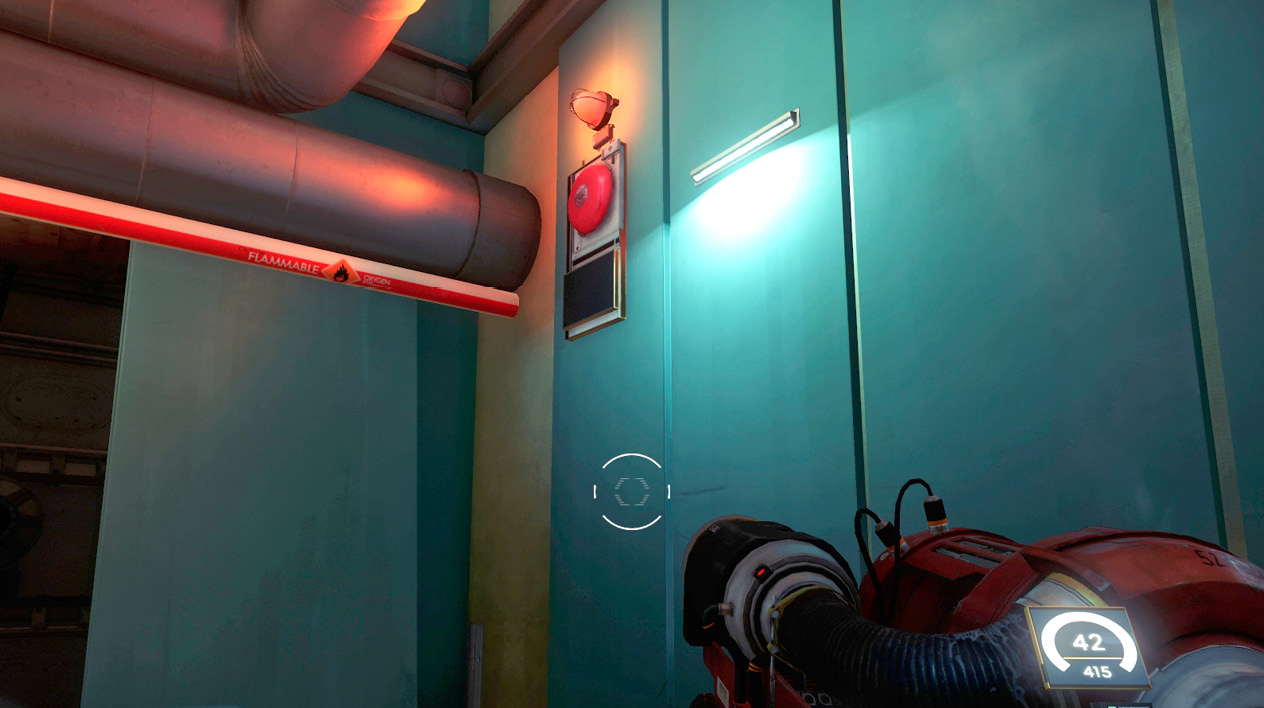
|
The Telepath is likely located near the pool, along with more mind-controlled crew members. Stay low and target any nearby crew members with your Disruptor Stun Gun. When you get a clear view of the Telepath, engage it with your Q-Beam and focus the beam on the target until it explodes. Killing the Telepath releases the mind-controlled crew members, rendering them unconscious.
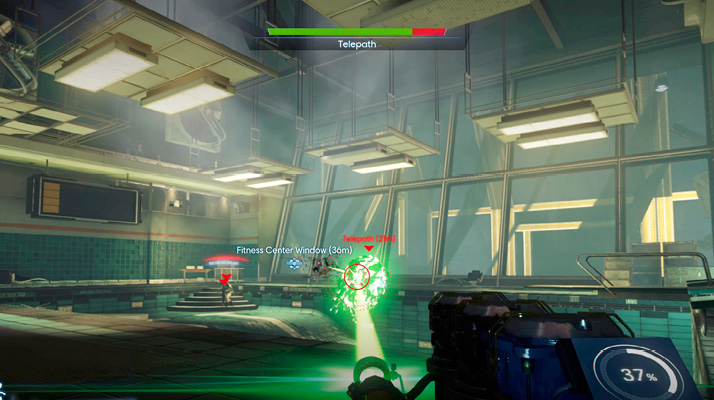
Danielle Sho (continued)Once the Telepath has been eliminated, approach the window by the pool and bang on it with your wrench. Danielle Sho appears outside the window, instantly realizing Abigail didn’t make it to this rendezvous point. Danielle warns that someone is impersonating the chef. She feels this imposter killed Abigail. She’s traced his tracking bracelet to Psychotronics but admits his ID doesn’t make any sense. She asks that you track down the imposter and kill him. Fortunately, the chef is unconscious in the kitchen. Feel free to return and kill him to complete this objective and earn the Best Served Cold achievement/trophy. Listening to Danielle gives you all the samples necessary to synthesize her voice. But instead of making a beeline for Deep Storage, continue exploring Crew Quarters. 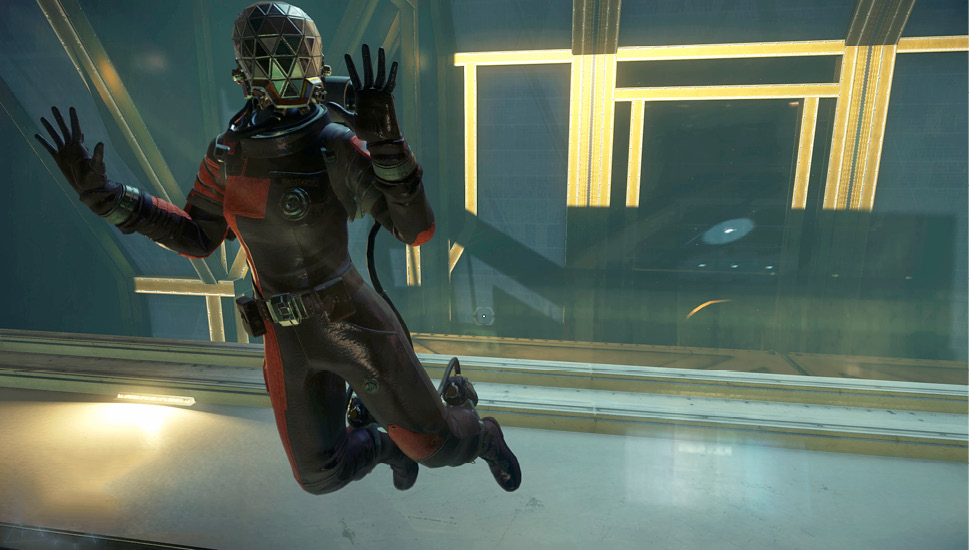
|