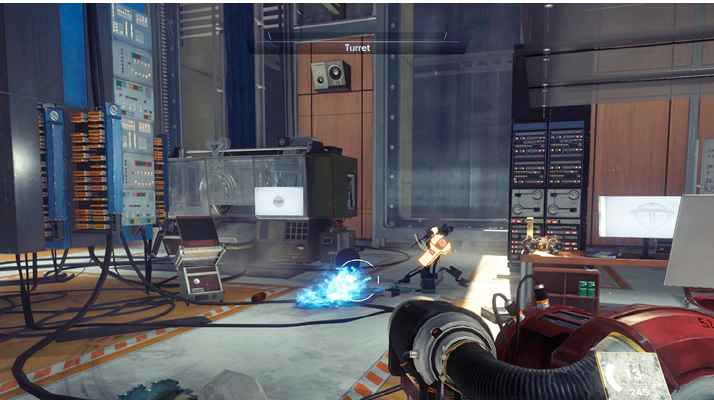
Prey Guide Walkthrough: Story Objectives
Restore From Backup
Restore From BackupWith Danielle’s voice I have a way into Deep Storage. I had the fabrication plan for my Arming Key on a drive somewhere in the Central Repository. I’ll have to plug the drive back into the system and mount it, then download the plan from a workstation in the Command Center. |
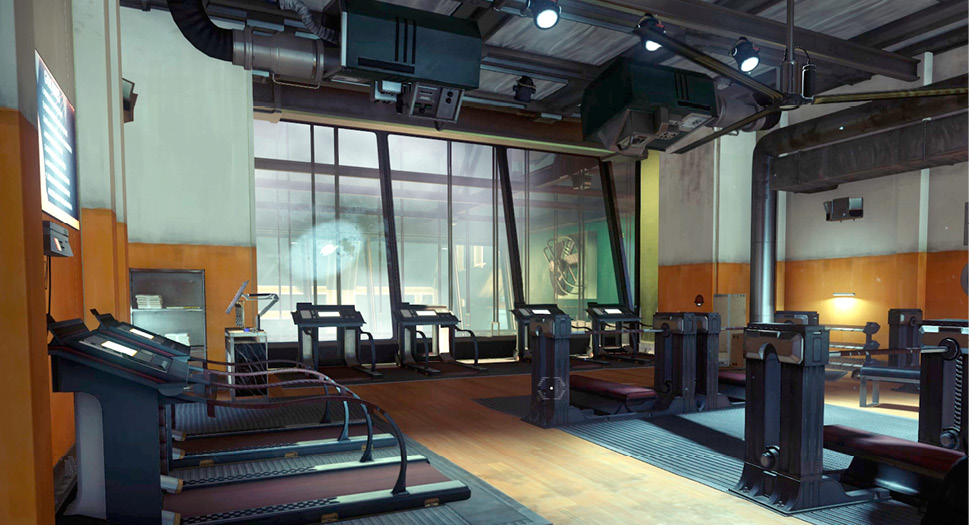
Before exiting the fitness center, search the locker room and upstairs area. You can find a variety of supplies in the lockers including ammo, a Silenced Pistol, and a Weapon Upgrade Kit. Upstairs search the desk near Emma Beatty’s workstation to grab a Neuromod. The workstation contains a Huntress Boltcaster fabrication license. An email on the workstation reveals the keycode to the executive suites.
Theater
| Notable Items: | Audio Recording: Password Safety |
| GLOO Cannon |
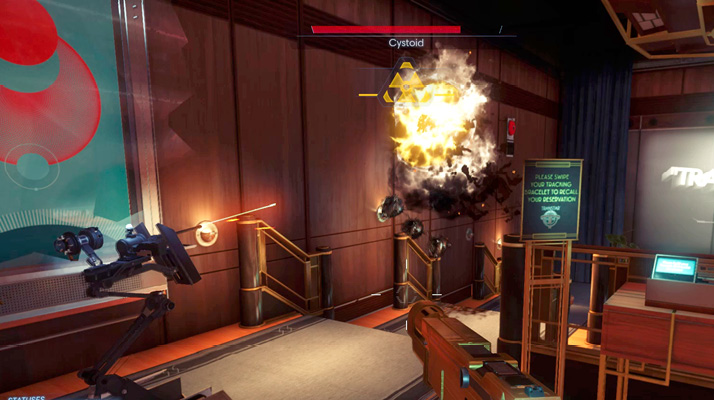
Grab your turret and ascend the staircase near concierge to access the second floor mezzanine. Deploy the turret outside the theater’s entrance. A Cystoid Nest hangs above the theater lobby. Shoot it with your Silenced Pistol to release multiple Cystoids. Let your turret handle the rest. Once the Cystoids are eliminated, search the body of Clarke Rafferty for supplies. You can also search the first screening room, showing The Owl.
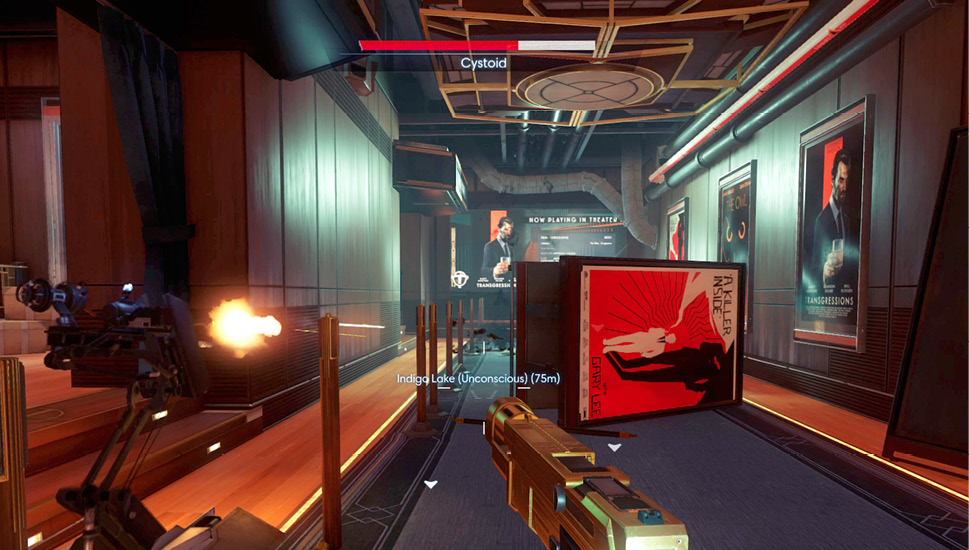
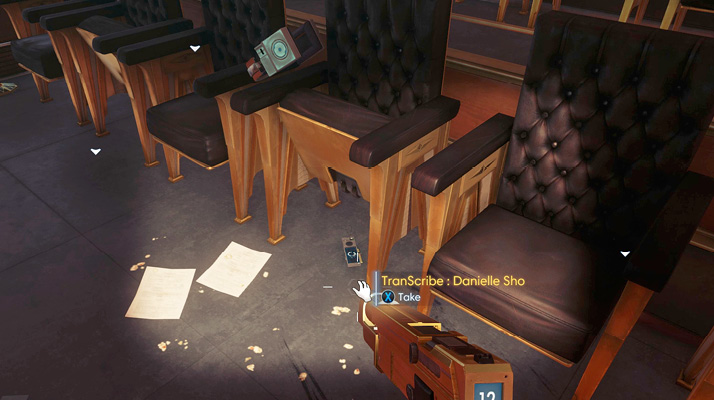
Carry your turret to the second screening room, showing Transgressions. Two Cystoid Nests are attached to the walls here. Enter cautiously and deploy the turret at the top of the screening room’s steps. If the turret doesn’t engage the nests automatically, assist by shooting the Cystoid Nests with your Silenced Pistol. As the Cystoids are released, stand out of the way and let your turret wipe them out. Once the screening room is clear, search the middle aisle for a TranScribe, beneath one of the seats (flip up the seats to aid your search). This TranScribe belongs to Danielle Sho and contains another audio recording.
Yellow Tulip
| Notable Items: | Keycard: Yellow Tulip Supply Closet | Disruptor Stun Gun | Silenced Pistol (2) |
| Audio Recording: Alex’s Toast | Audio Recording: Music Neuromod Demonstration | ||
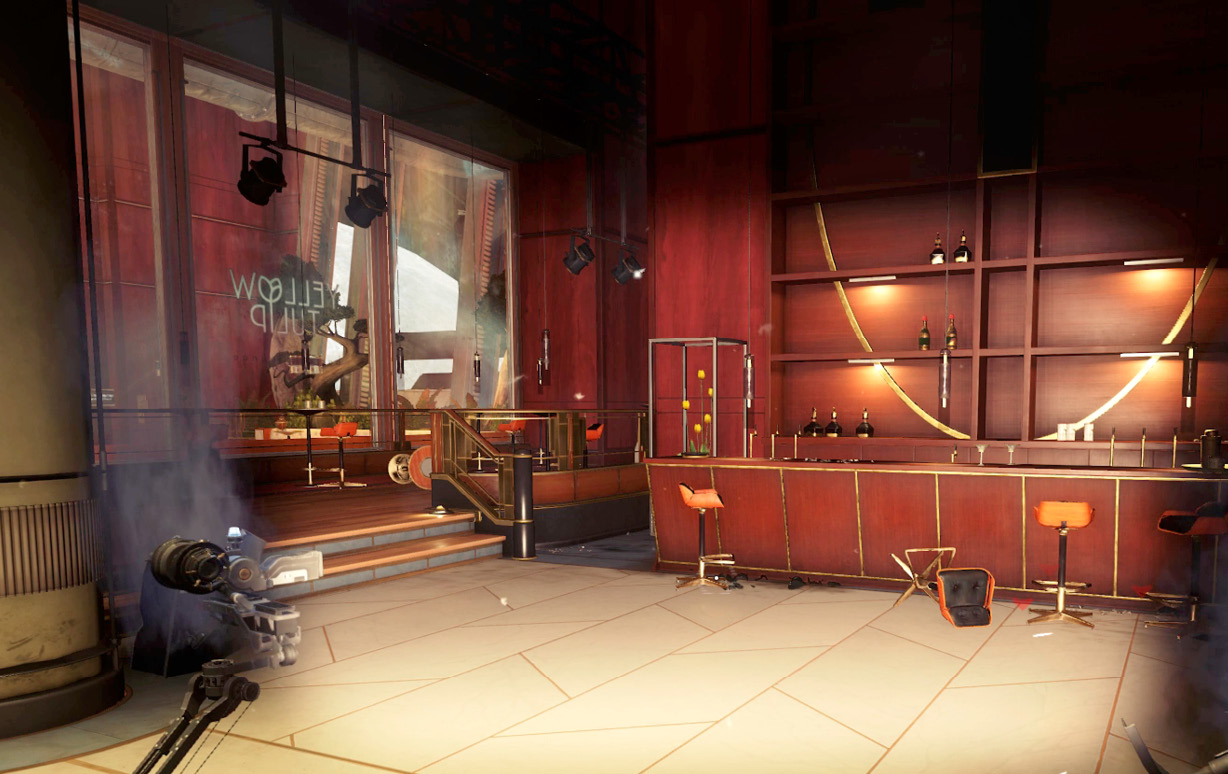
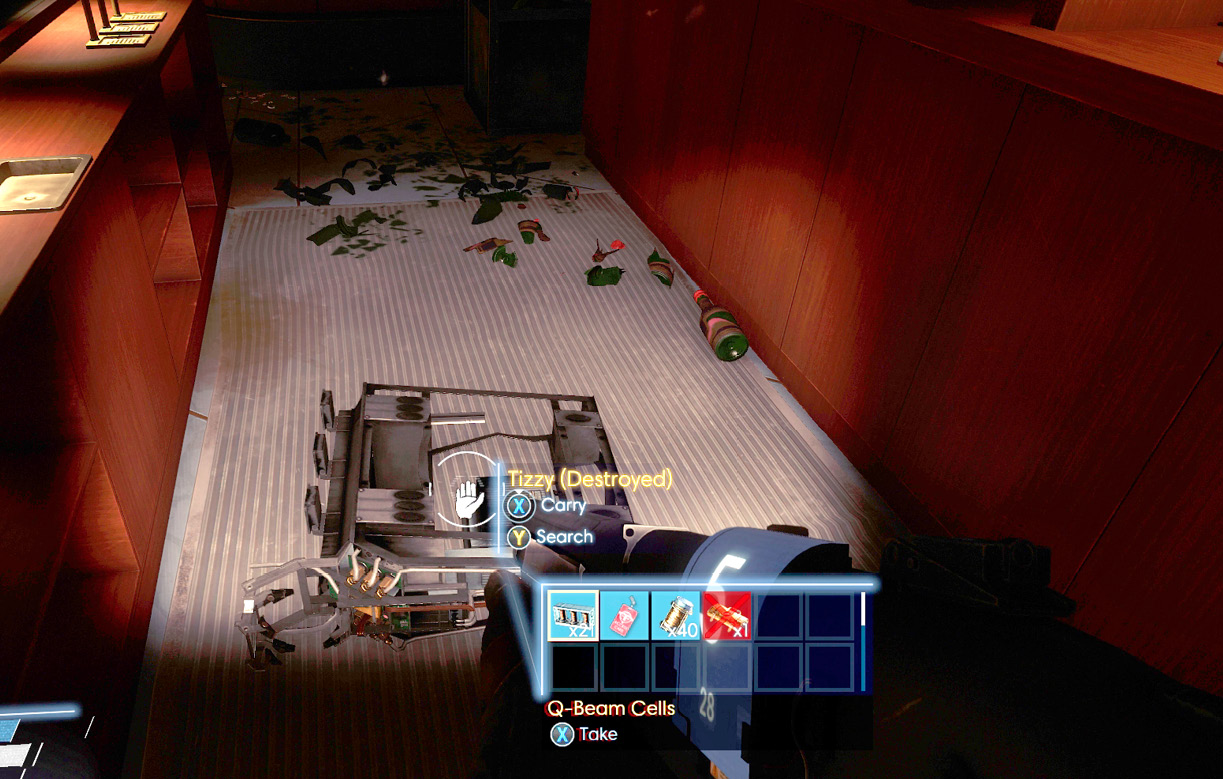
After searching the theater, cross the mezzanine to the Yellow Tulip. This is the lounge where Danielle and Skye Braxton were scheduled to perform. Repair the broken turret just inside the entrance—there are Mimics hiding inside the lounge so it’s good to have a turret watching your back at all times. Activate your flashlight to aid your search. Search behind the bar to find a destroyed Operator by the name of Tizzy. Take a closer look at Tizzy to recover some Q-Beam cells and a keycard to the lounge’s supply closet. Next to the bar, search the body of Keira Whitman to retrieve shotgun and pistol ammo. This security officer also carries a Disruptor Stun Gun.
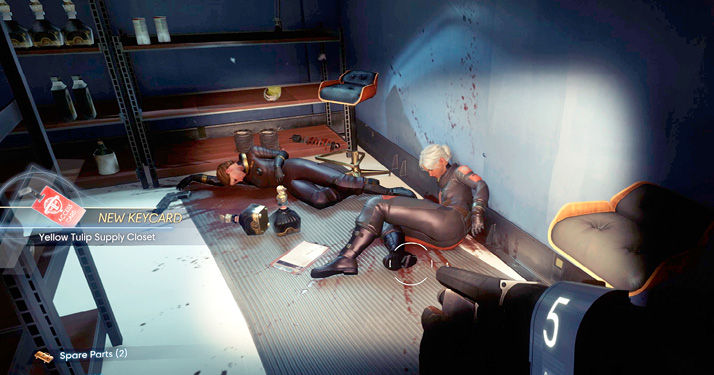
Use the newly acquired keycard to open the supply closet, located near the lounge’s entrance. Inside are the bodies of Brandi Pester and Jenni Garbentzoff. A note next to their bodies suggests they ended their own lives—a Silenced Pistol is found near each corpse. The supply closet contains several spare parts as well as other items you can recycle.
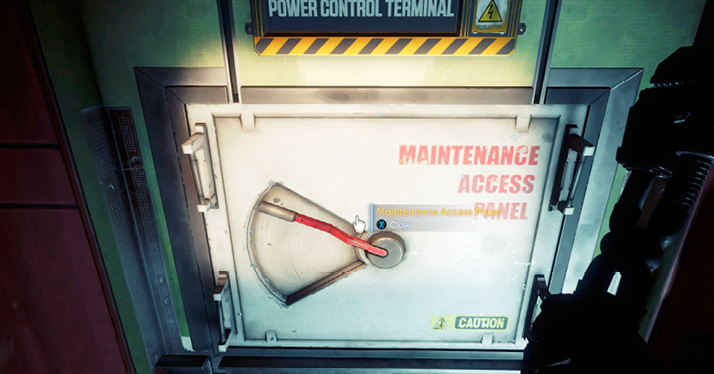
It’s time to restore power to the Yellow Tulip. Exit the supply closet and search for this maintenance panel in the back-right corner. Open the panel and crawl through the opening to access the power kiosk. Turning on the power restores the lighting in the lounge. It also powers the sound system, allowing you to playback Danielle and Skye’s performance.
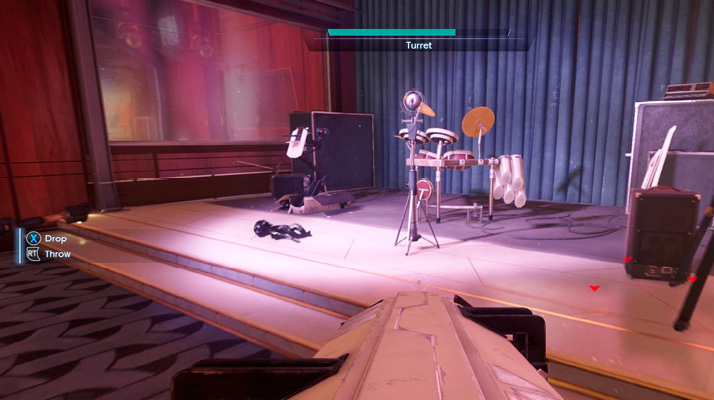
Before accessing the sound system, round up your turrets and deploy them on the Yellow Tulip’s stage, facing outward. When you activate the sound system, it’s going to draw some unwanted attention. Prepositioning these turrets will pay off once the Typhon come to investigate. If you possess the Repair III ability, it might be worth fortifying these turrets too. After placing the turrets, consider using GLOO deposits to further fortify the area around the stage. But don’t obstruct the line of sight of your turrets.
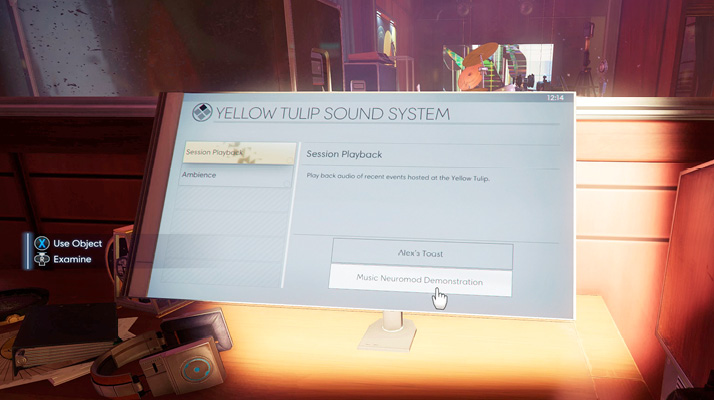
Step into the mixing booth next to the stage and access the sound system workstation. Here you can playback recordings from Alex’s party, including his toast as well as Danielle and Skye’s musical demonstration. Alex’s toast reveals a celebration marking the installation of 8,000 Neuromods. Accessing the “Music Neuromod Demonstration” initiates playback of Danielle and Skye’s performance, filling the lounge with extremely loud music and vocals. If you’ve already synthesized Danielle’s voice, listening to this recording is purely optional—and unnecessarily dangerous.
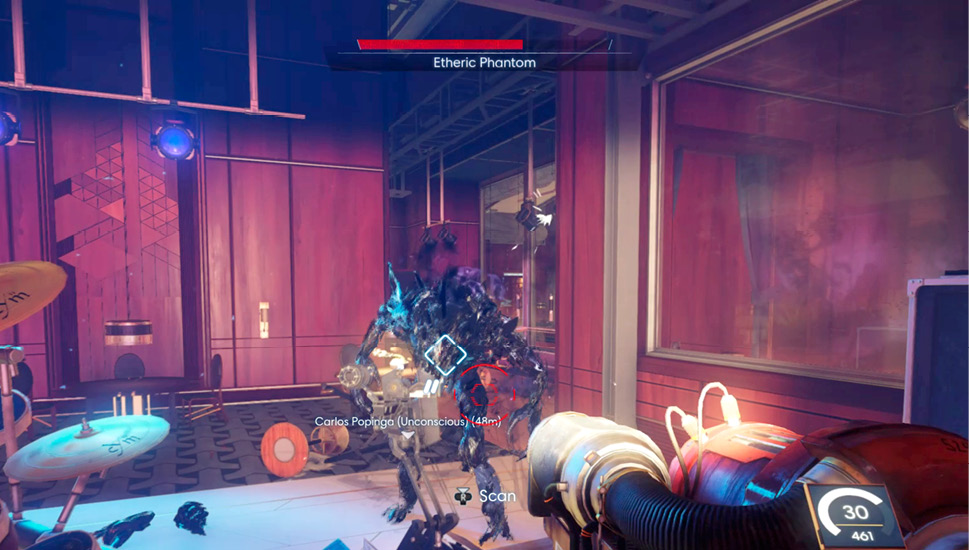
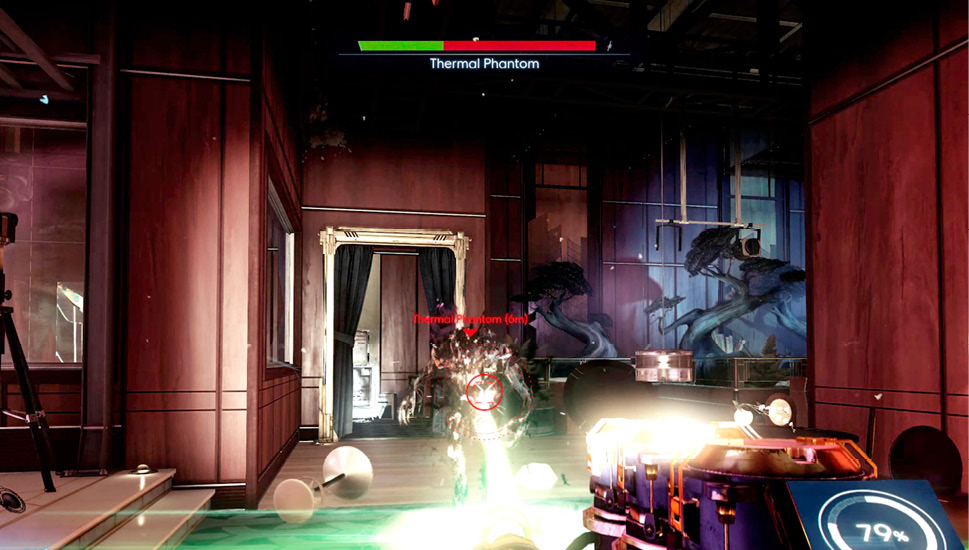
As the music plays, step behind your turrets on the stage and watch for incoming Typhon, including an Etheric Phantom and a Thermal Phantom. Target the Phantoms with your GLOO Cannon in an effort to slow their movement speed. This also buys you time, giving you an opportunity to scan each Phantom. Also, be ready to repair your turrets if they become disabled. The Thermal Phantom is extremely dangerous, launching fiery Superthermal attacks capable of knocking out your turrets. Keep the Thermal Phantom coated in GLOO while your turrets hammer away. If your turrets become disabled, switch to your Q-Beam and engage the Thermal Phantom directly.
Recycler Room
| Notable Items: |
| Keycard: Secured Pharmaceuticals |
| Typhon Lure |
| Weapon Upgrade Kit |
| Keycode: Executive Suites |
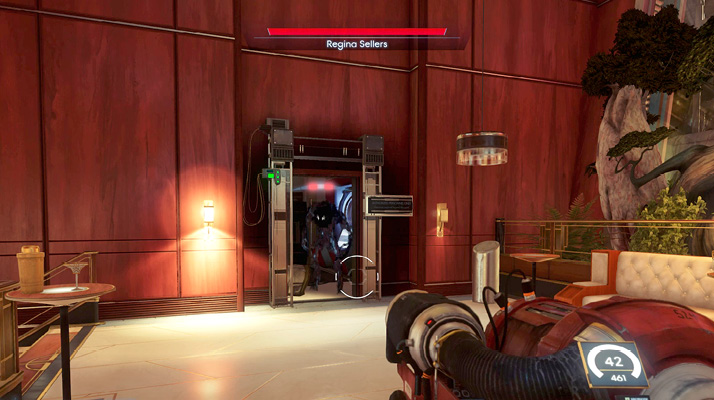
After exploring the Yellow Tulip, approach this door near the lounge. Deploy a turret nearby, facing the doorway. As you near the door, a Phantom comes charging out. This was once Regina Sellers. Disable the Phantom with your GLOO Cannon while your turret opens fire, whittling away at its health. Once the Phantom is eliminated, search its remains to retrieve Regina Sellers’ keycard to Secured Pharmaceuticals, located in the Talos I Lobby. Sellers also carried a Typhon Lure.
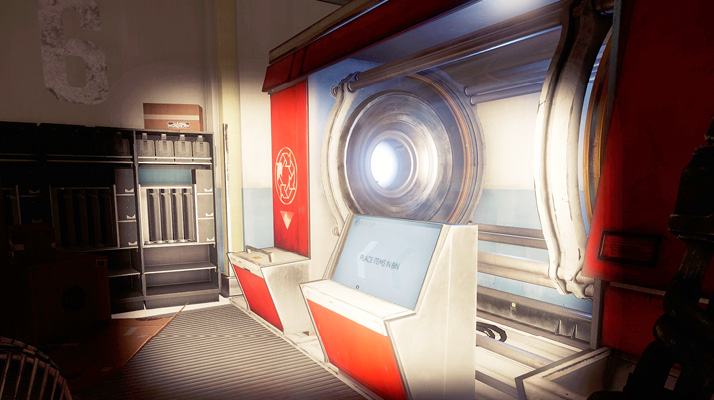
Enter the door the Phantom came charging out of. This room contains Crew Quarters’ only Recycler. Take a moment to consolidate your inventory, converting junk into material fragments and blocks. Search the shelves in this room to retrieve more supplies, including a Weapon Upgrade Kit and ammo for your Disruptor Stun Gun and GLOO Cannon. A note attached to a table reveals the keycode to the executive suites. This is your next stop.
Treasure Hunt (continued)Shine your flashlight on the faded “6” painted on the wall next to the Recycler. Stabfellow’s map points to this location. Wait until the “Investigate Stabfellow’s map” objective is complete before moving on. The number 6 is now recorded as a clue within the objective’s entry. Now you just need to find the three other clues. 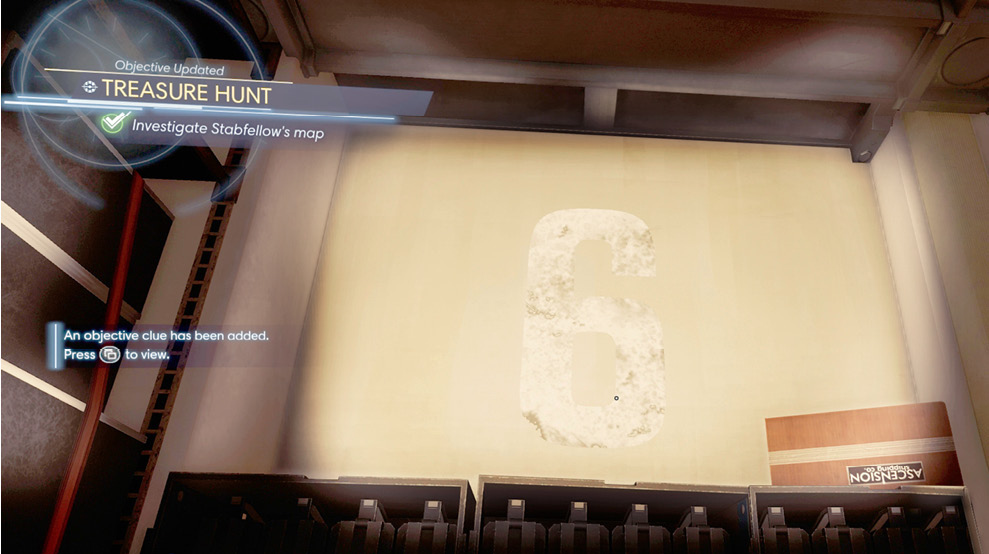
|
Executive Suites
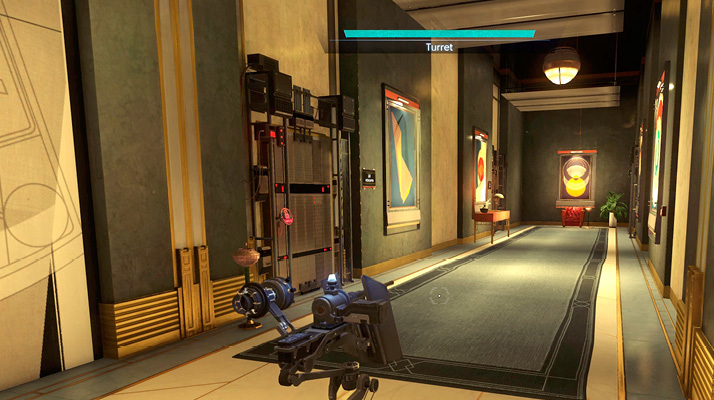
Return to the foyer and approach the Grav Shaft leading to the executive suites. Interact with the keypad and input the keycode you retrieved from the Recycler room. The keycode is also obtainable through emails found on Will Mitchell and Emma Beatty’s workstations. Once activated, grab one of your turrets and enter the Grav Shaft, riding it up to the executive suites. Deploy your turret in the hallway outside Morgan’s suite. Use the keycard retrieved from Morgan’s office to open the door to the suite.
Morgan Yu’s Suite
| Notable Items: | Neuromod (2) | Nullwave Transmitter (2) |
| Neuromod Fabrication License | Scope Chipset | |
| Weapon Upgrade Kit | EMP Charge |
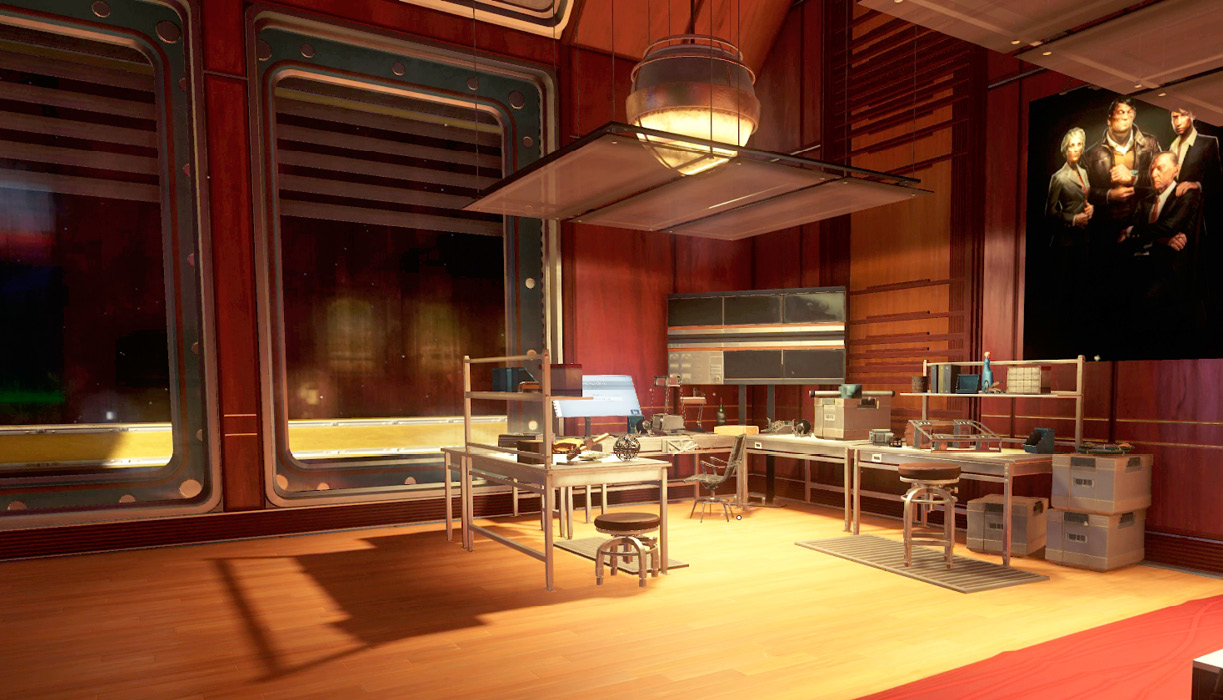
Morgan’s suite closely resembles the apartment in the simulation labs. Search the workbenches near Morgan’s workstation to retrieve a variety of supplies including two Neuromods, two Nullwave Transmitters, a Scope Chipset, and a Neuromod fabrication plan. Accessing Morgan’s workstation reveals several recordings. These memory logs reveal Morgan’s thoughts on various crew members including Dr. Calvino, Danielle Sho, Dayo Igwe, Mikhaila Ilyushin, and Sarah Elazar. There’s also an entry about Paraplexis, a nerve disorder preventing humans from using Neuromods (apparently Ilyushin had this disorder). While listening to the recordings, search the rest of the suite. There’s a Weapon Upgrade Kit and EMP Charge located in the nightstand. You can also find various food and snack items in the kitchen.
Guest Suite
| Notable Items: | Neuromod | Wedding Ring |
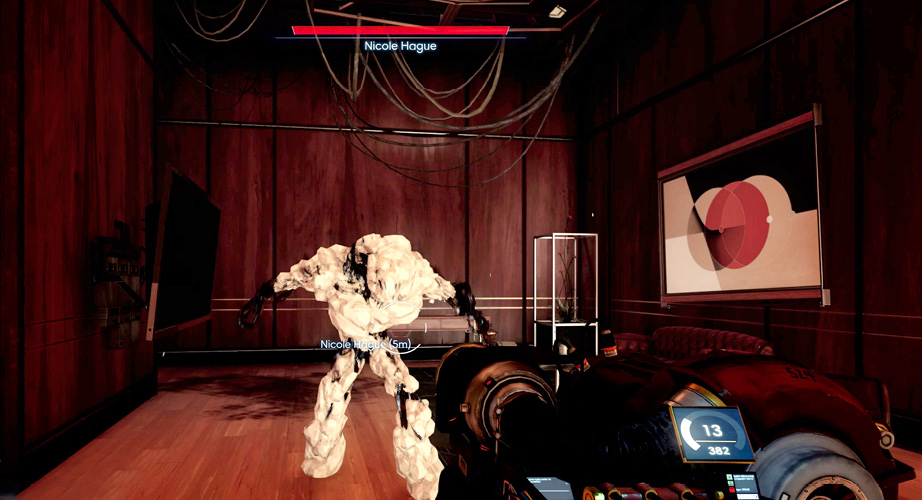
The guest suite is across the hall from Alex’s suite. Deploy your turret just outside the suite’s door. This suite houses two Phantoms, formerly Nicole Hague and Argenteno Pero. Open the door and attempt to lure the Phantoms out into the hall, where the turret can engage them. Once both Phantoms are eliminated, search their remains. Nicole Hague’s remains contain a Neuromod and a wedding ring. Hold onto the wedding ring (it’s a unique item for a future optional objective).
Alex Yu’s Suite
| Notable Items: | Neuromod (2) | Suit Chipset | Scope Chipset | Typhon Lure (2) | Keycard: EP101 | The Starbender Cycle: Book 6 |
The door to Alex’s suite is locked. Use the keycard you obtained in Alex’s office safe to open the door. There’s a Greater Mimic inside Alex’s suite, so be ready to engage. For best results, deploy your turret near the doorway so it can watch your back. Alex’s desk holds a case containing two Neuromods. You can also find a Suit Chipset on his bed and Typhon Lures and a Scope Chipset in one of the nightstands. Alex’s workstation only requires the Hacking II ability to access. The workstation contains some interesting emails. An email from Hans Kelstrup reveals Mikhaila Ilyushin has been spying on Psychotronics. Two emails from Sarah Elazar show Alex was concerned about Ilyushin’s relationship with Morgan. Apparently Alex had Sarah monitor Mikhaila’s interaction with you. Before leaving Alex’s suite, read the sixth volume of The Starbender Cycle series, sitting on the bench next to the door. Alex has the only copy of this volume on Talos I, so don’t miss out on this opportunity to read the latest book.
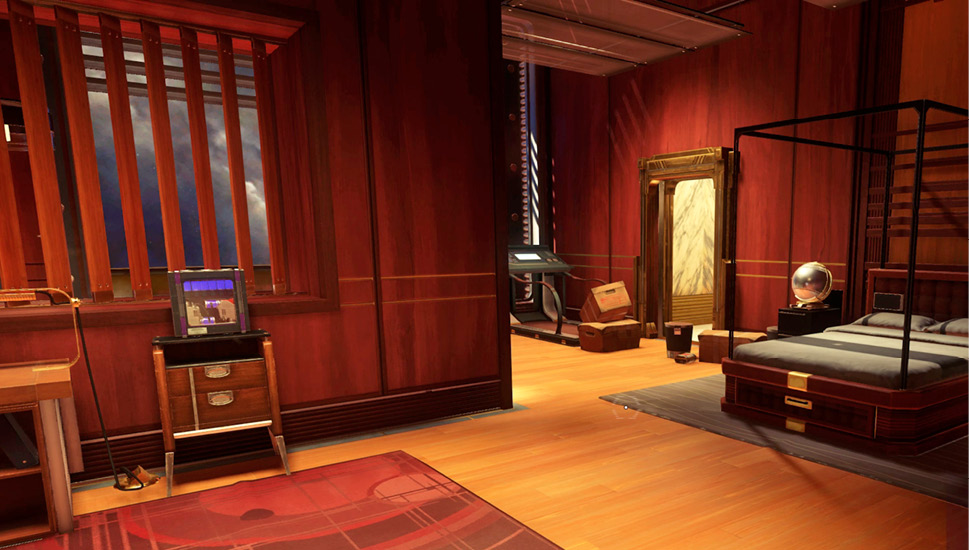
Who is December? (continued)Lift the metal globe on the nightstand, next to Alex’s bed. Beneath the globe is the keycard to Alex’s escape pod. If you choose, you can now escape Talos I. You can resume this objective once you return to Alex’s office in the Arboretum. 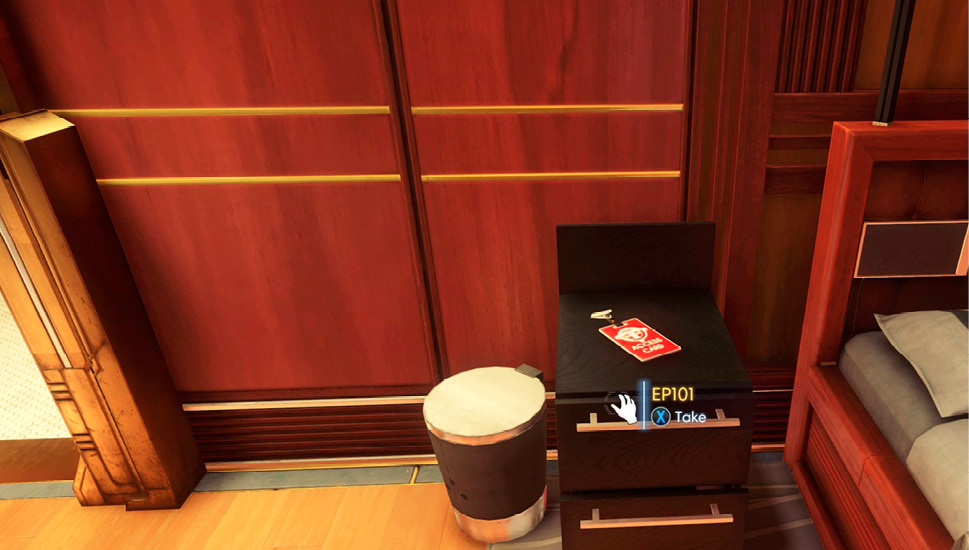
|
Foyer
After searching the executive suites, return to the foyer via the Grav Shaft. Having retrieved multiple samples of Danielle Sho’s voice, you can now proceed to Deep Storage. If you haven’t already, consider returning to the kitchen and killing the chef imposter to complete the Danielle Sho optional objective. When you’re ready to proceed, enter the doorway to the Arboretum.
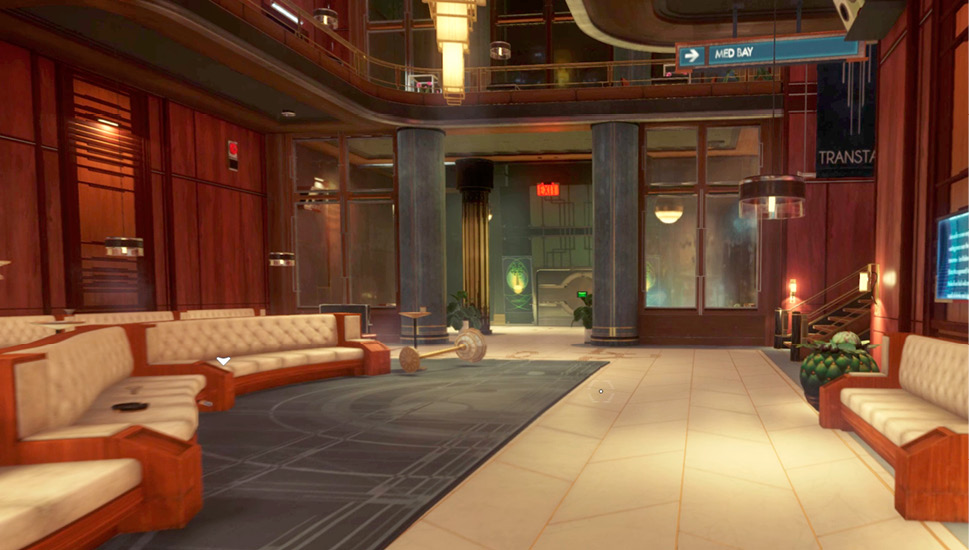
Arboretum
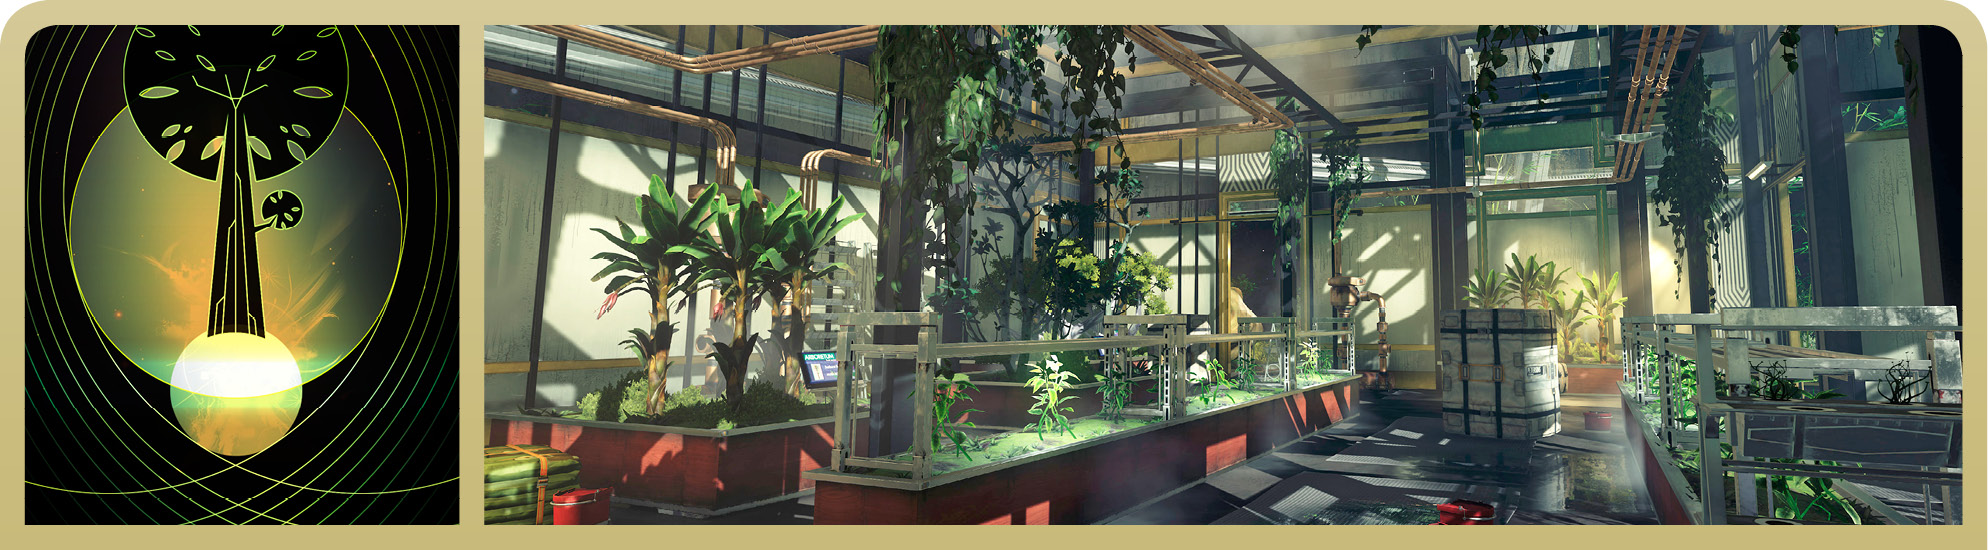
Crew Quarters Foyer
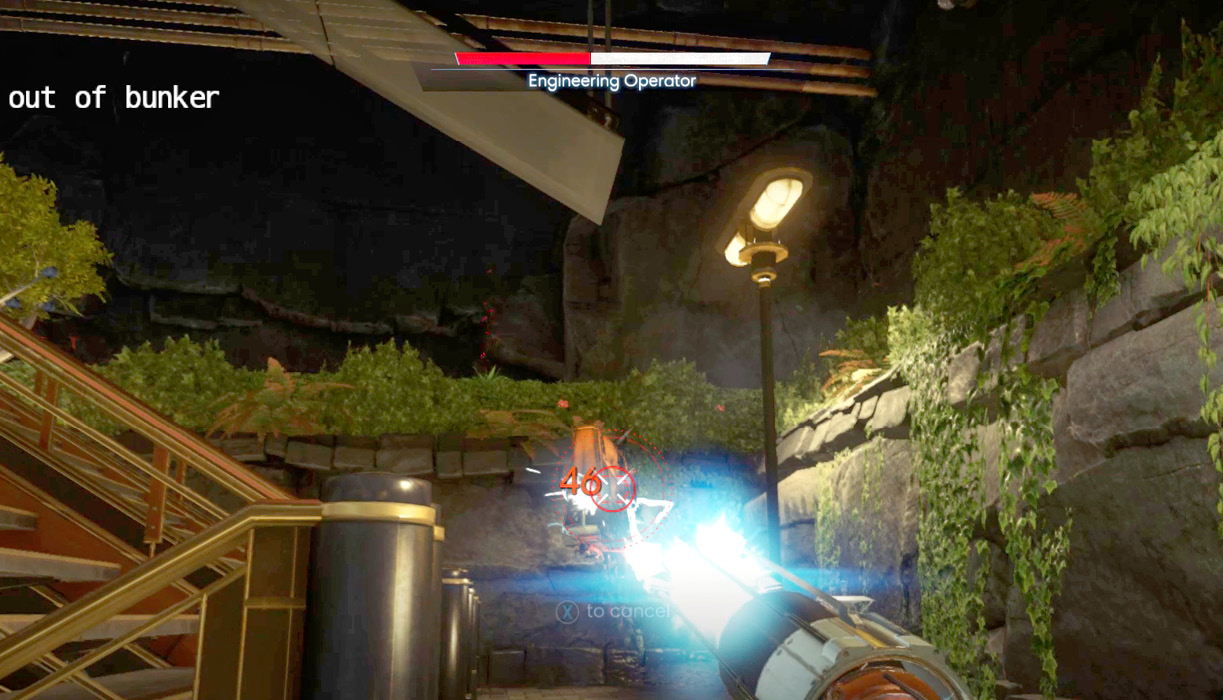
Things have changed a bit since you last visited the Arboretum, so proceed with caution. Three corrupted Operators patrol the staircase in this foyer. Stay low and disable these threats with your GLOO Cannon before killing them with your Disruptor Stun Gun. EMP Charges also work well for temporarily disabling these Operators. Search the downed Operators for Q-Beam cells and Disruptor batteries.
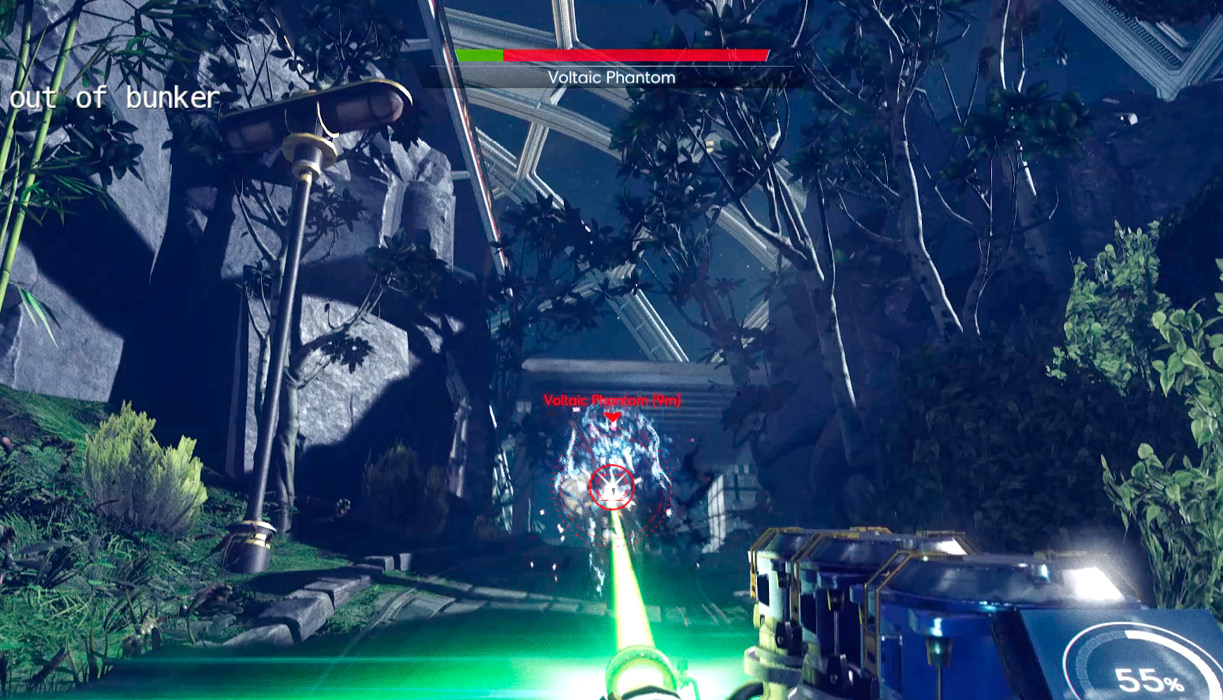
As you pass the security booth, it becomes clear that the Arboretum is now filled with Coral. The same golden filaments found in the G.U.T.S. cargo tunnel. The Coral makes visibility poor, so activate your Psychoscope to scan for threats. Watch out for Mimics and a Voltaic Phantom patrolling near the weapons locker. Toss an EMP Charge at the Voltaic Phantom then finish it off with the Q-Beam. Another Voltaic Phantom patrols the area near the Green House stairway. Eliminate this threat as well, using EMP Charges and the Q-Beam. Before heading to Deep Storage, consider wrapping up a few optional quests in the Arboretum.
Who is December? (continued)Now that you have the keycard to Alex’s escape pod, return to Alex’s office and hack into his workstation. This requires the Hacking IV ability. Under the workstation’s Utilities tab, extend the bridge leading to the escape pod, located above the office’s roof. Alex’s workstation also has a Neuromod fabrication license available for download, under the Files tab. 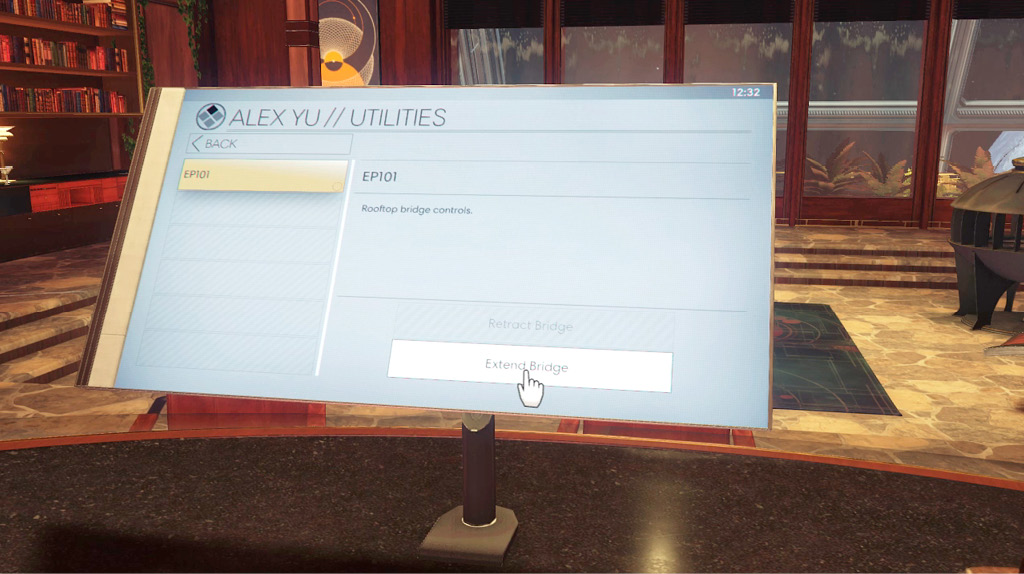
Climb the stairs outside to access the office’s rooftop. Here you can see a large metal ramp leading to the escape pod. Ascend the ramp and grab the Neuromod next to the supply crate on the right. Alex’s tracking bracelet is next to it. Now you have a tough decision to make: Do you really want to leave the station? There’s nothing stopping you now. Leaving Talos I ends the game prematurely, so this is a good spot to save your game, allowing you to return to this spot. 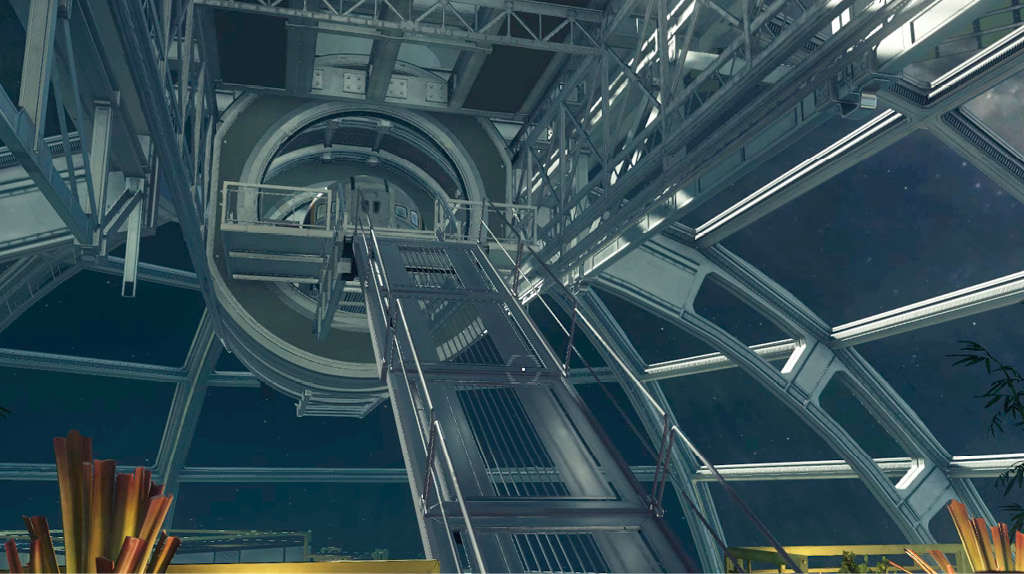
If you choose to leave Talos I, and complete December’s optional objective, use the EP101 keycard retrieved from Alex’s suite to unlock the escape pod’s door. January pleads with you not to leave as the door to the escape pod swings open. Ignore January and enter the escape pod. Once inside, turn around and push the button next to the door to seal the escape pod. Next, turn to the terminal and press the “Initialize Launch” button on the screen. Once initialization is complete, press the “OK” button to commence launch. Alex is disappointed by your decision to give up. Escaping Talos I ends the game and unlocks the Abandon Ship achievement/trophy. But if you want to continue the story, load your saved game. 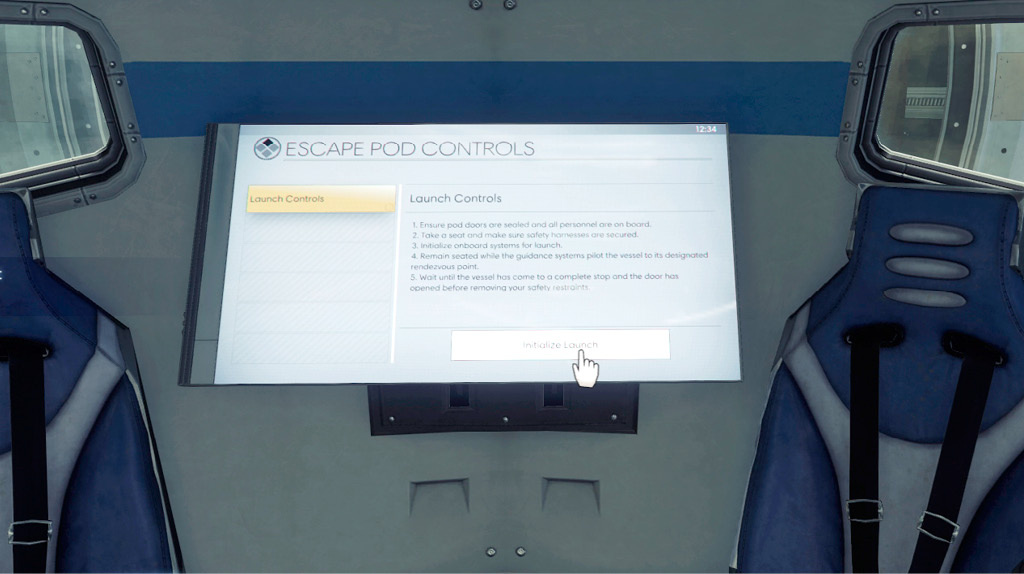
|
The Lover’s Gift (continued)Lawrence Baxter arranged a rendezvous with his lover, Elle Gold, somewhere in the Arboretum. Start be using the security station in the security booth to locate Elle Gold, listed under the Power Plant staff. The security station reveals Elle Gold is located in the Arboretum. Select her name to track her exact location. 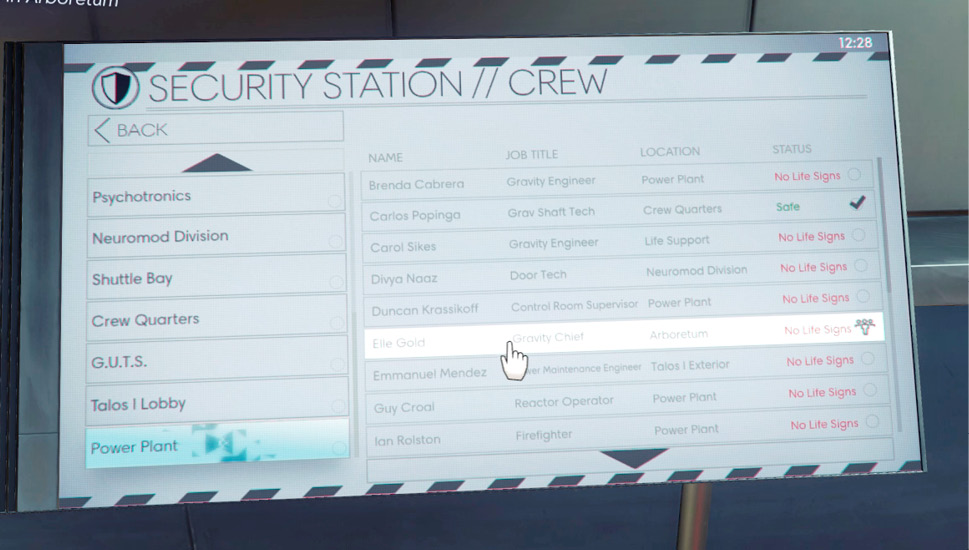
Follow the waypoint marker on the HUD to track Elle Gold’s location. Her body is at the base of a large tree, not far from the waterfall. Search her body to retrieve a Weapon Upgrade Kit. This tree is the one Baxter mentioned in the recording. Locate a rock next to Elle’s body (you need the Leverage II ability to lift it). Beneath the rock is a keycard to Storage Room A2. 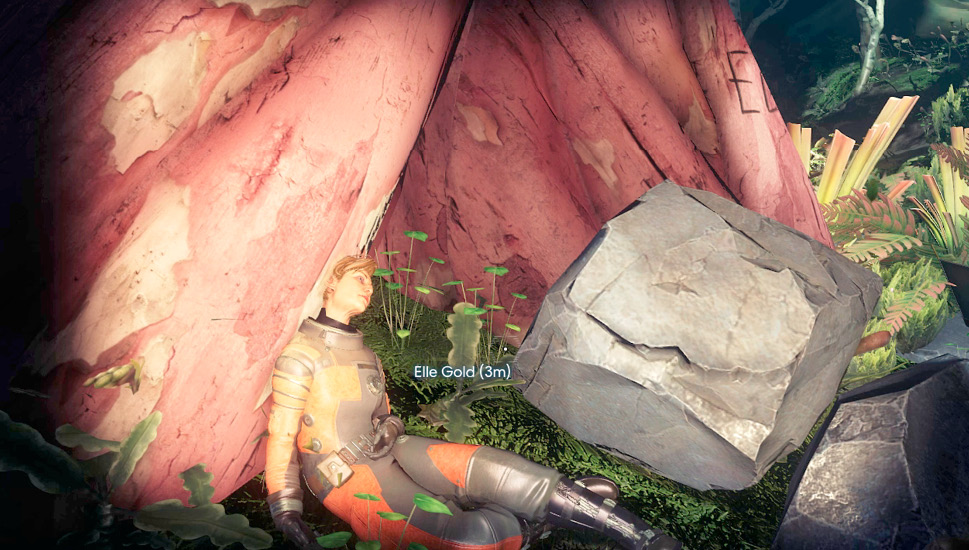
This key opens the storage room directly across from the security booth. Upon opening the door, a Phantom emerges. This used to be Lawrence Baxter. Use your GLOO Cannon to immobilize the Phantom and then finish it off with your weapon of choice. Inside the storage room you can find two Neuromods, a Shotgun, some shotgun shells, and lots of flowers. Lawrence Baxter intended to meet Elle here. Entering the storage room completes this objective. 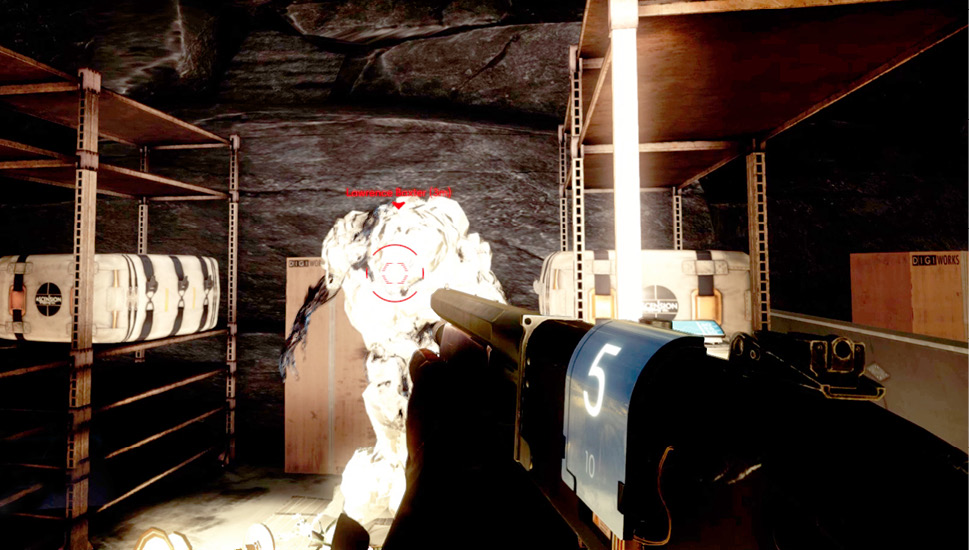
|
Mixed SignalsObjective Summary: A satellite orbiting Talos I has a damaged communications array. If the device is replaced, the satellite could be used to send psychotronic signals that will help me evade the Typhon Nightmare organism. I just have to find a replacement part somewhere. If you’ve installed three or more Typhon abilities and attracted a Nightmare by doing so, this objective becomes available. January provides this objective after you’ve defeated or escaped the Nightmare. Completing this objective requires you to backtrack to Hardware Labs (if available at this point, consider completing this objective before entering Deep Storage). From the Arboretum, take the main lift to the Talos I Lobby, then proceed to the Machine Shop in Hardware Labs. Here you must repair the controls to the moon door, requiring the Repair III ability and eight spare parts. If you don’t have this ability or the necessary parts, consider completing this objective later. 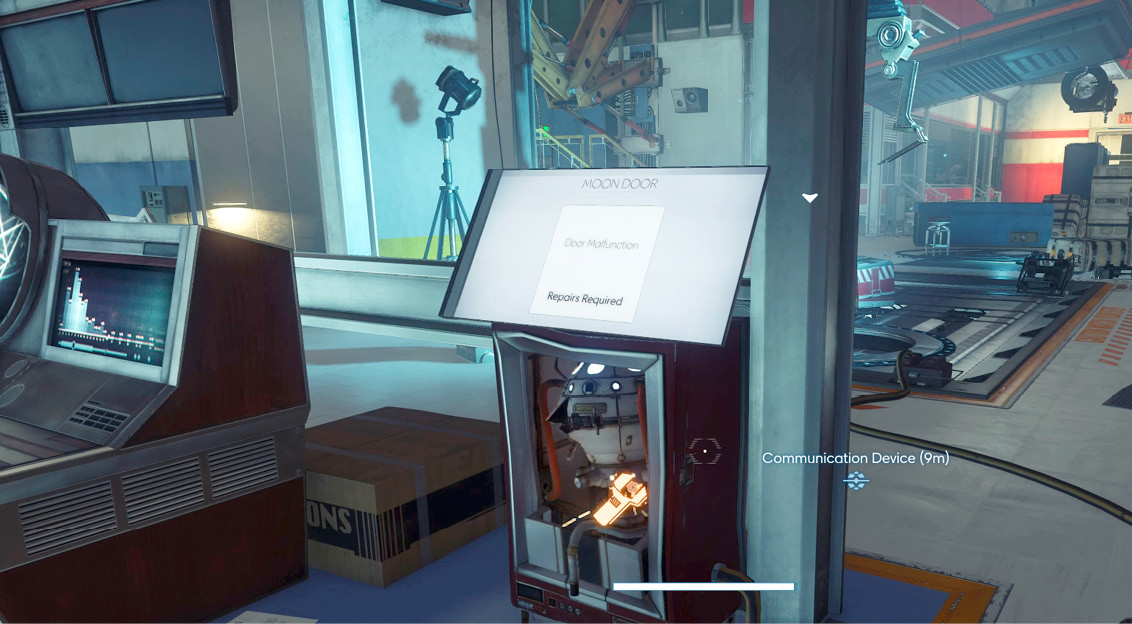
Opening the moon door gives you access to an old Psychotronics satellite. Retrieve the Satellite Psychotronic Transistor sticking out of the hull. While you’re in the Machine Shop, consider accessing the nearby supply cage, beneath the Recycler and Fabricator (you need Leverage III to move the cargo blocking the entrance). The supply cage contains a Neuromod and some other supplies, including a Weapon Kit fabrication license, two Typhon Lures, and Book 2 in The Starbender Cycle series. 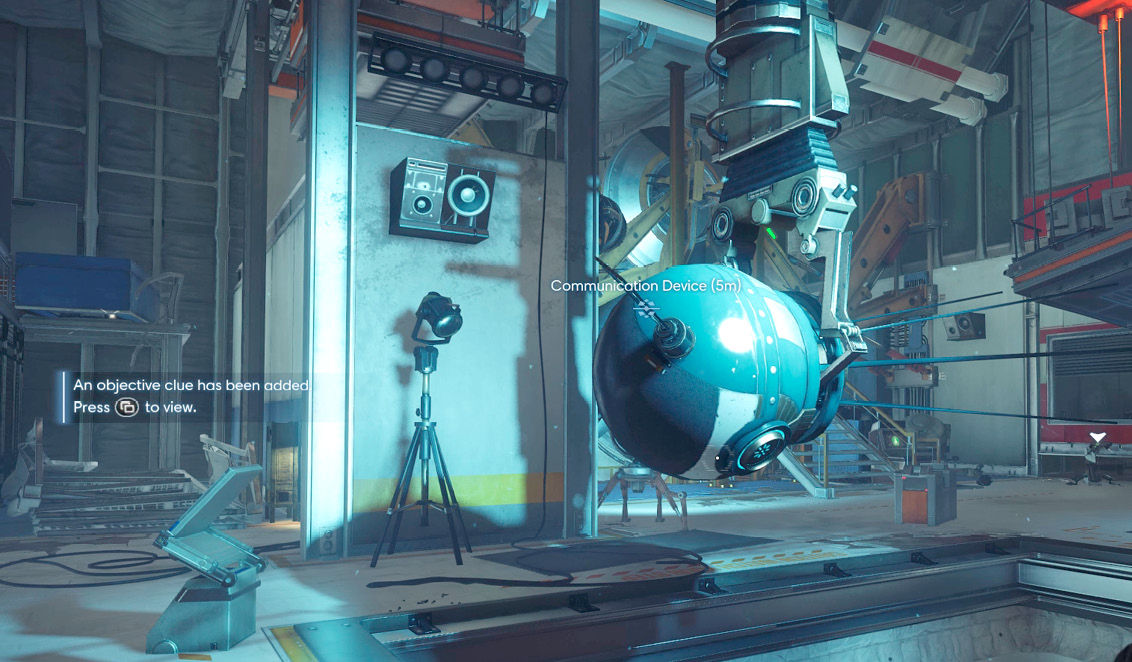
Once you’ve retrieved the Psychotronic Transistor, exit the station through the airlock in the Machine Shop. Outside Talos I, use the waypoint marker to locate the satellite orbiting the station. The satellite is moving, making a rendezvous a bit tricky. Study the satellite’s movement and maneuver ahead of it so you can attach the Psychotronics Transistor. Once the device is attached, January sends you two activation signals, accessible from the TranScribe’s audio log. The Repel Nightmare recording can be played up to two times (but don’t play it until you’re hunted by a Nightmare). This recording causes the Nightmare to disappear. The Attract Nightmare recording can also be played twice. Play it to summon a Nightmare. Summoning a Nightmare may seem counterintuitive, but can be useful when engaging hostile non-Typhon threats. Summoning a Nightmare also earns you the You Rang? achievement/trophy. The objective is complete once you’ve played each recording twice. 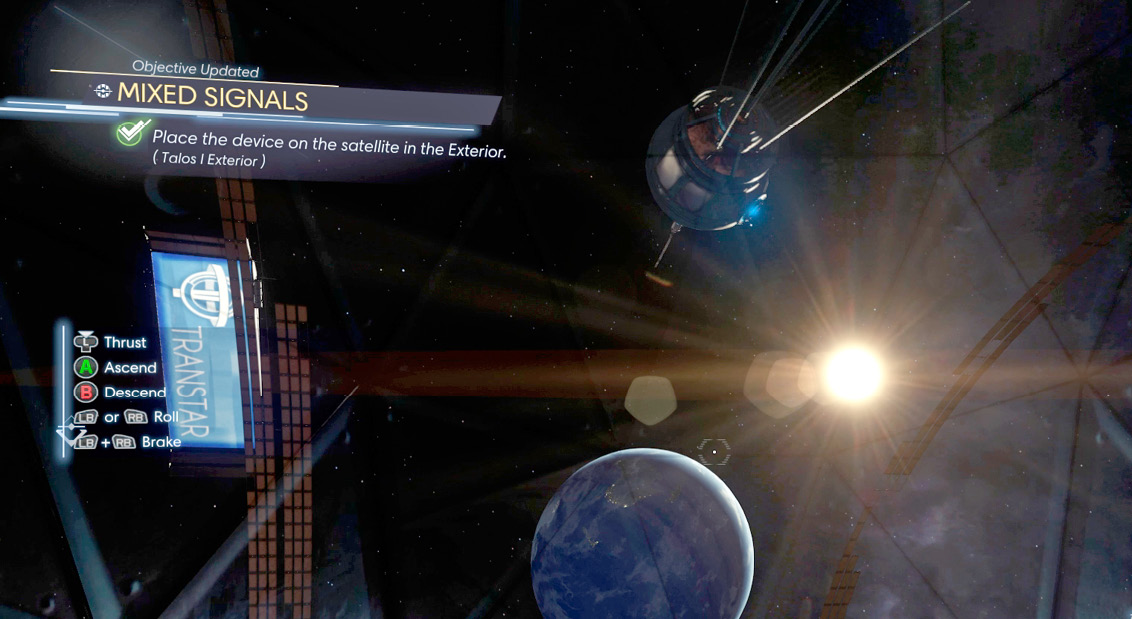
|
Deep Storage Access
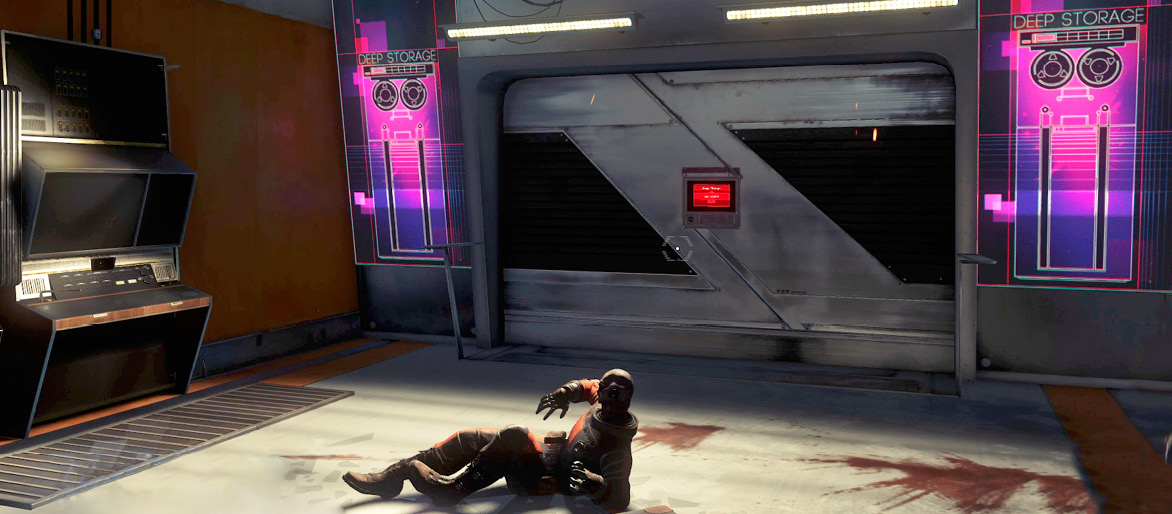
Return to the Deep Storage access area via the Grav Shaft. You finally have enough voice samples to replicate Danielle Sho’s voice. Interact with the Deep Storage door to play a string of words. Your TranScribe automatically repeats the key words in Danielle’s synthesized voice, allowing you to enter Deep Storage. Synthesizing Danielle Sho’s voice and entering Deep Storage earns you the Open Says She achievement/trophy as well.
Deep Storage
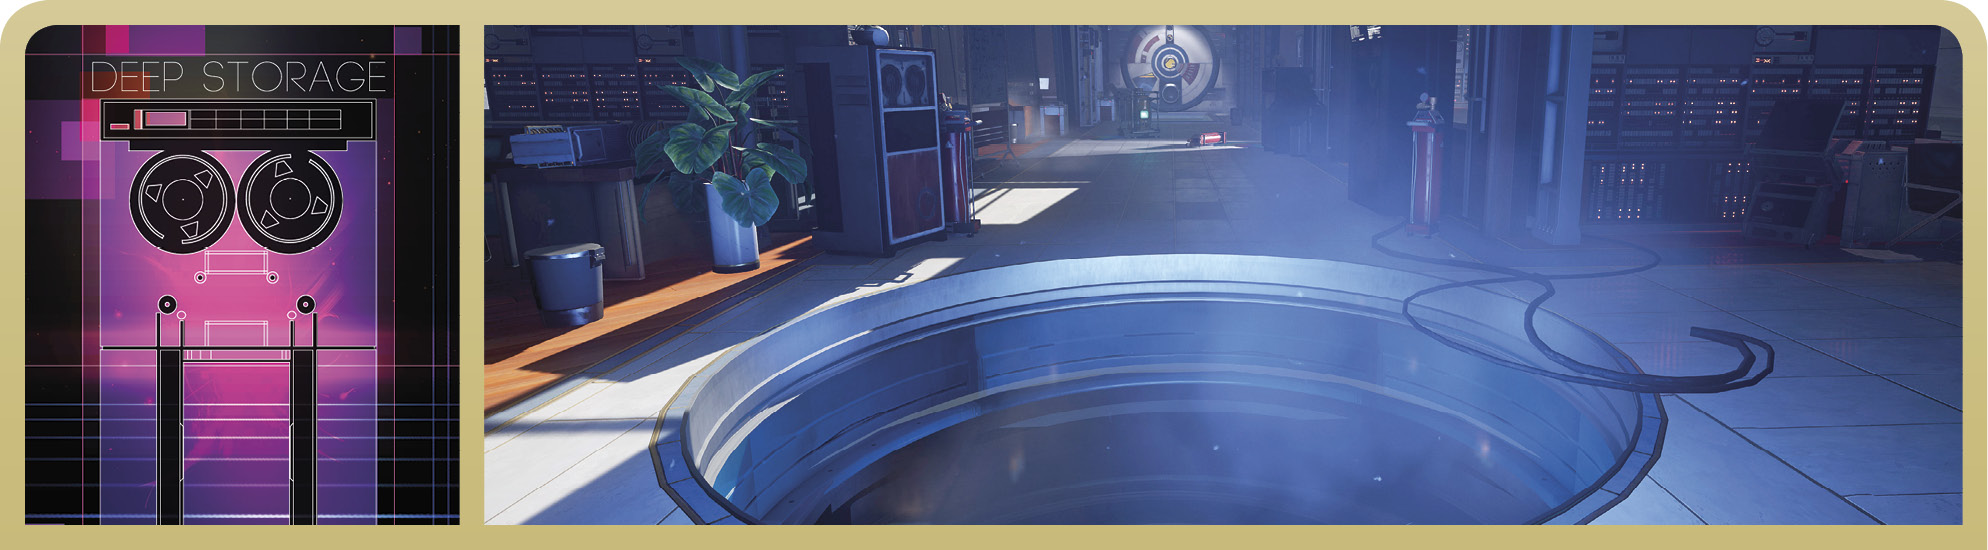
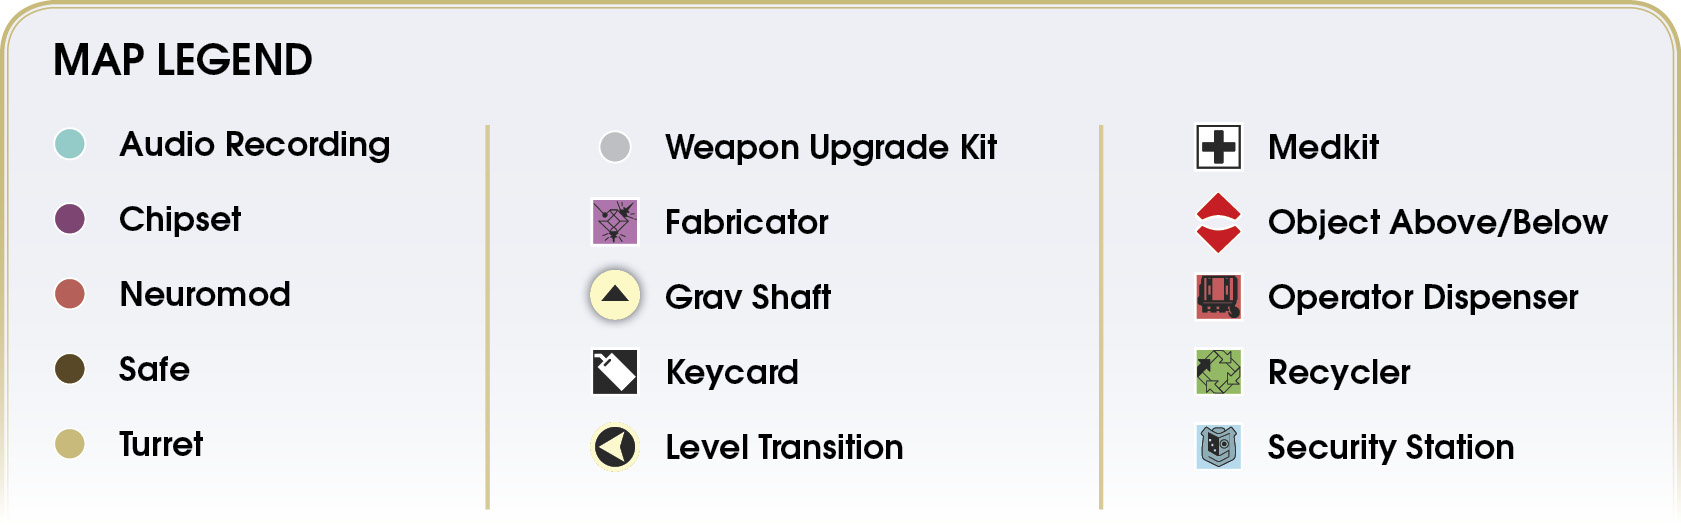
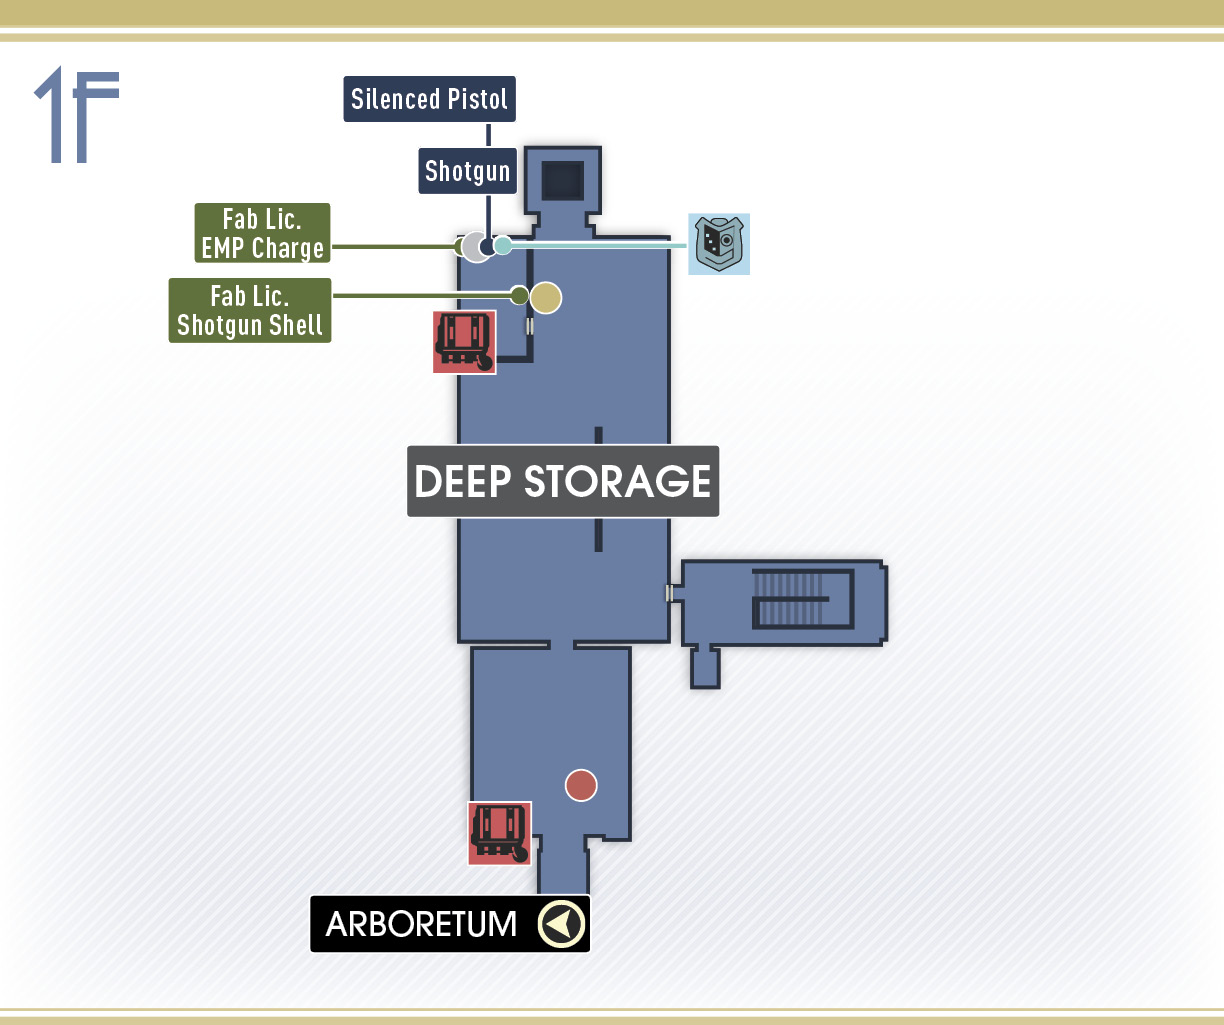
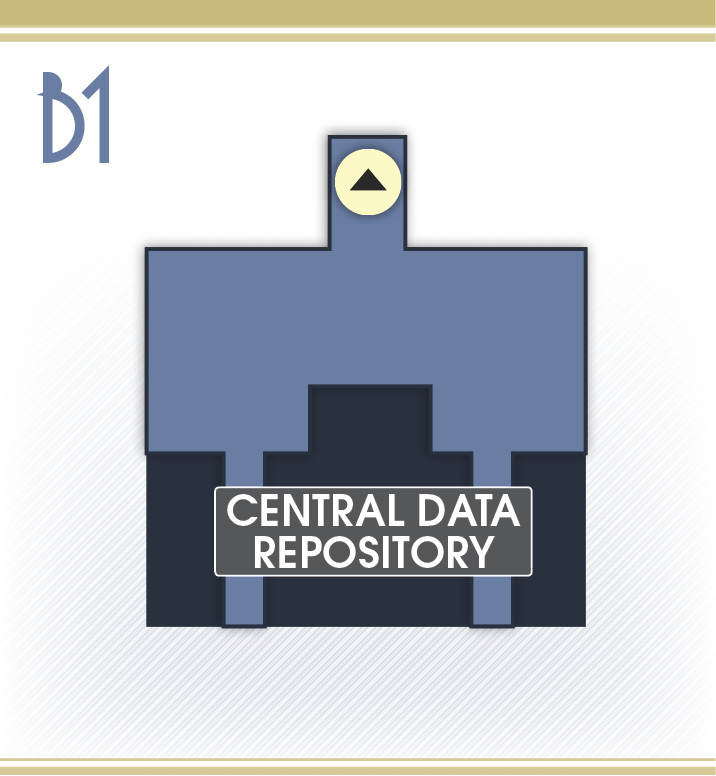
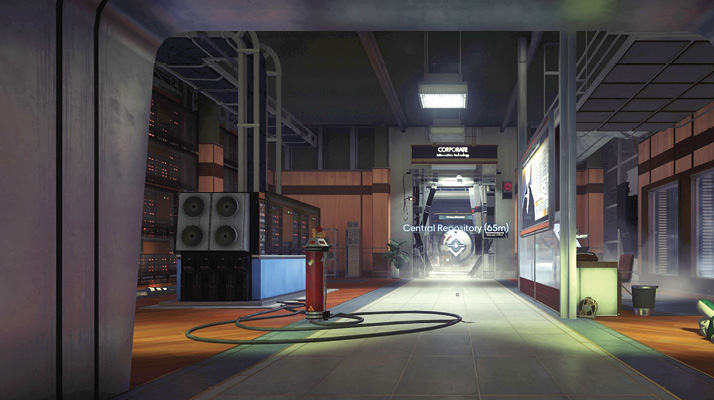
Corporate Information Technology
| Notable Items: | Neuromod | Keycode: Stairwell Access | Password: Ivy Song | FlexiFoam Bolts Fabrication License | Turret |
Upon entering Deep Storage, Alex contacts you and apologizes. For your safety, he’s decided to lock you inside the facility. He promises to let you out later so you can meet him in his office. But don’t wait for Alex to let you out—continue with your objective. You need to retrieve the plans for your arming key, stored in the central repository.
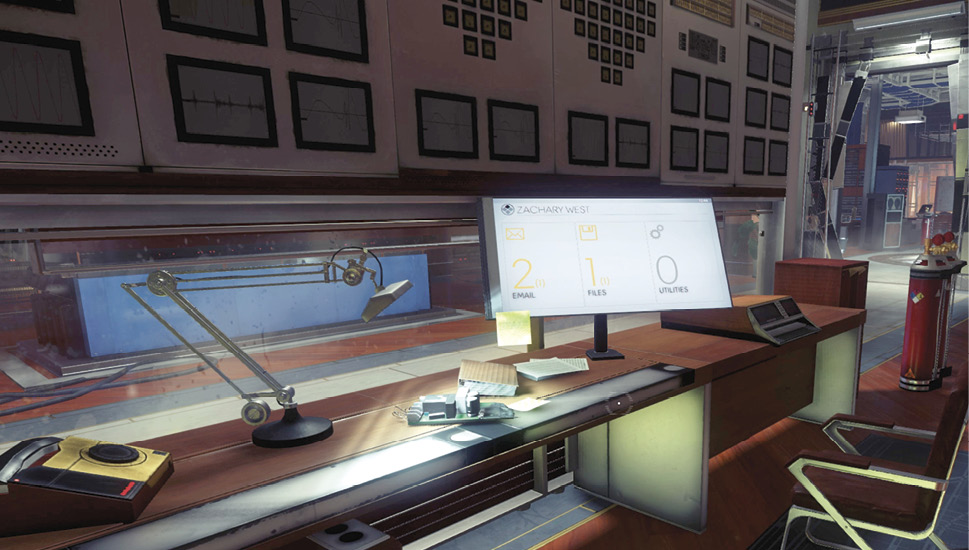
Start by searching Zachary West’s desk nearby. Here you find a Neuromod on the floor. Retrieve the note attached to the workstation to reveal the keycode to the stairwell. Another note on West’s desk reveals Ivy Song’s password (her workstation is located upstairs). West’s workstation has a fabrication license for FlexiFoam Bolts, used in the Huntress Boltcaster.
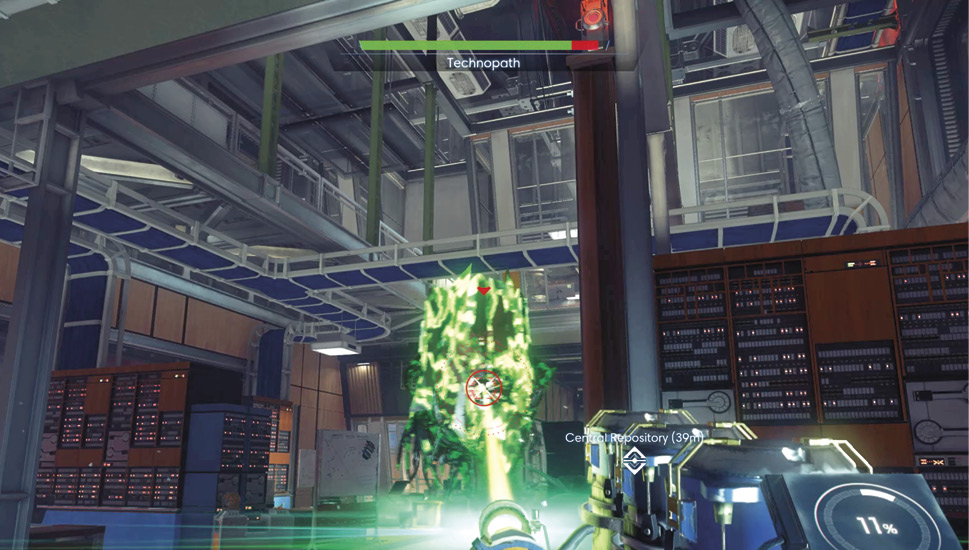
Sneak toward the broken doorway. A turret-wielding Technopath patrols the area near the security booth. Stay low and move forward until the Technopath is within range of an EMP Charge. Toss the EMP Charge to disable the Technopath’s turret. Next, target the Technopath with a Nullwave Transmitter and your Q-Beam. Continue hitting the Technopath until it explodes. The central repository is directly behind the large door beyond the turret. The door’s controls are inside the security booth.
Security Booth
| Notable Items: | Silenced Pistol | Shotgun |
| Typhon Lure | Weapon Upgrade Kit | |
| Shotgun Shells Fabrication License | EMP Charge Fabrication License |
The security booth’s door is locked, but you can use your trusty Huntress Boltcaster to unlock it. Move around to the side of the security booth and smash the window. Equip your Huntress Boltcaster and shoot the white, round button next to the door.
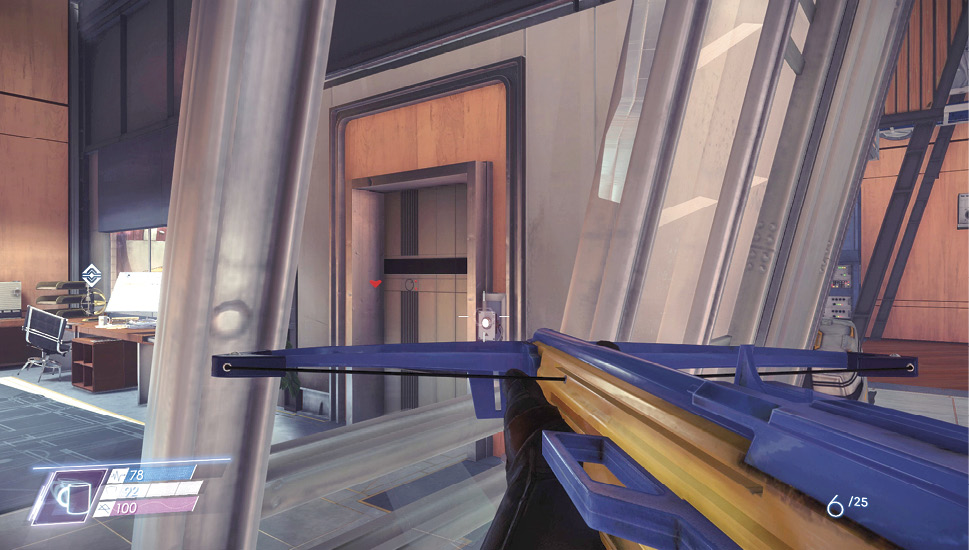
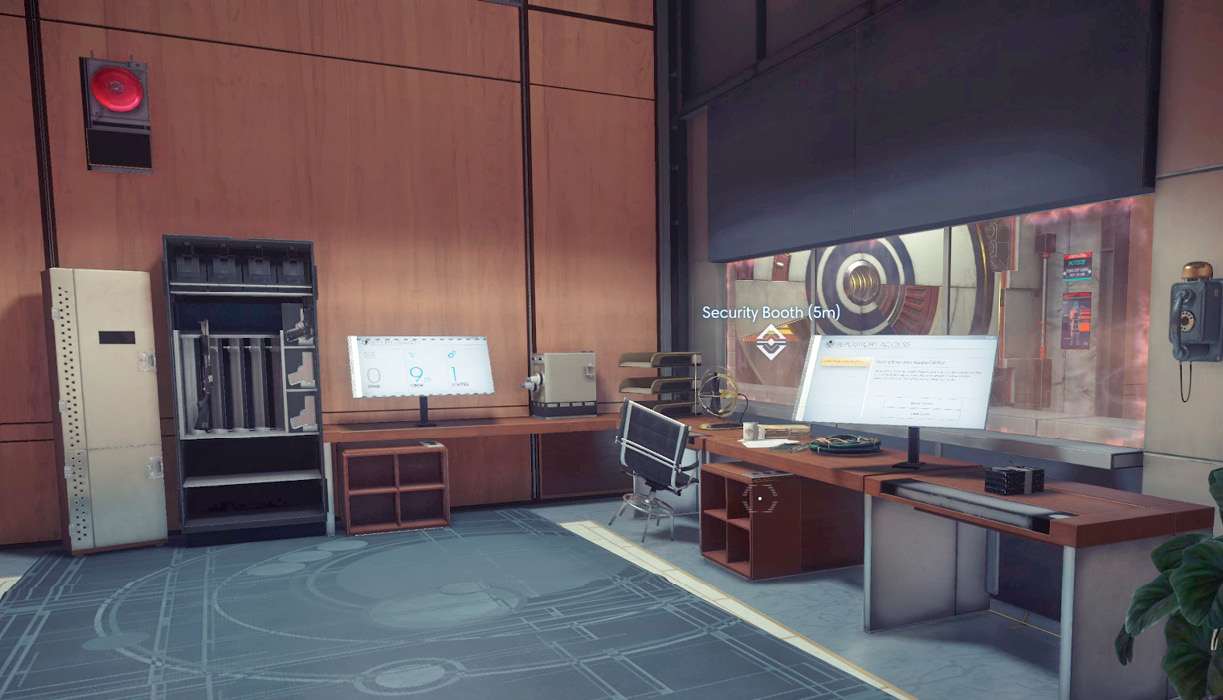
Step inside the security booth and access the security station to download a map of Deep Storage. The security booth is filled with a number of useful items including fabrication licenses for Shotgun Shells and EMP Charges. A terminal near the booth’s entrance controls the door to the central repository. Select “Grant Access” to open the door. When you’re finished searching the security booth, step outside and enter the data repository.
Central Data Repository
The central data repository is a zero gravity environment requiring you to use your propulsion system to maneuver. Don’t advance too far from the entrance, as the area is saturated with Cystoid Nests. Equip your Psychoscope to make spotting threats easier. Use your GLOO Cannon to target the nests and the Cystoids contained within.
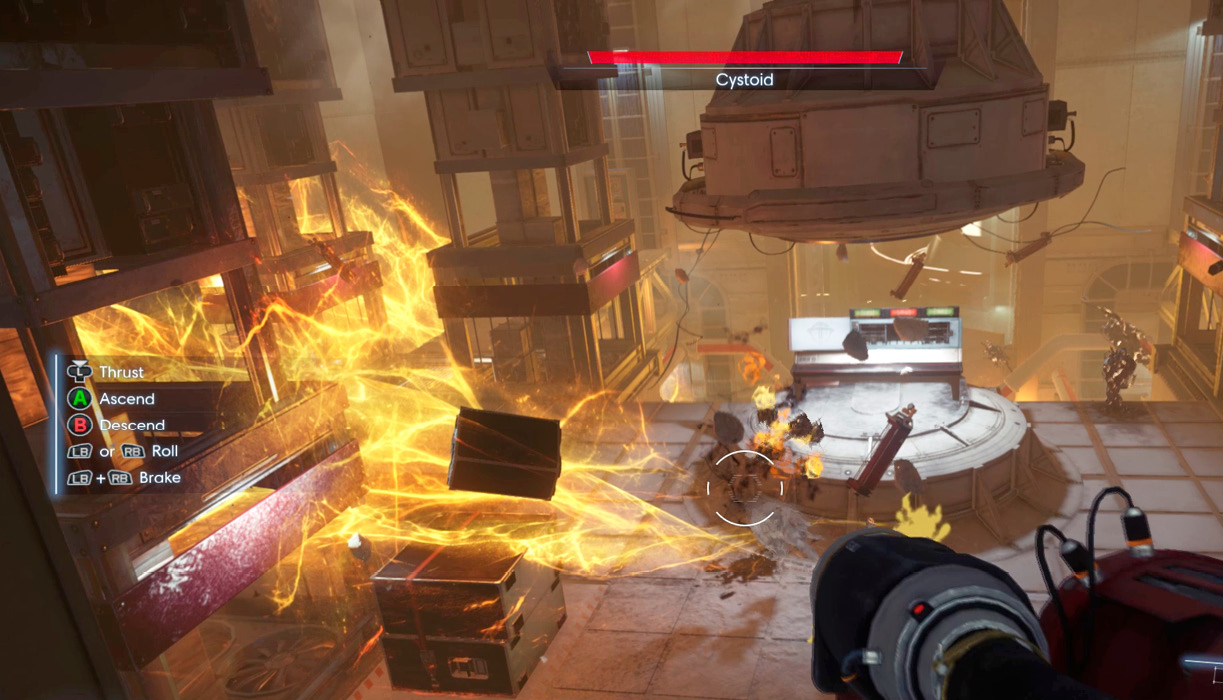
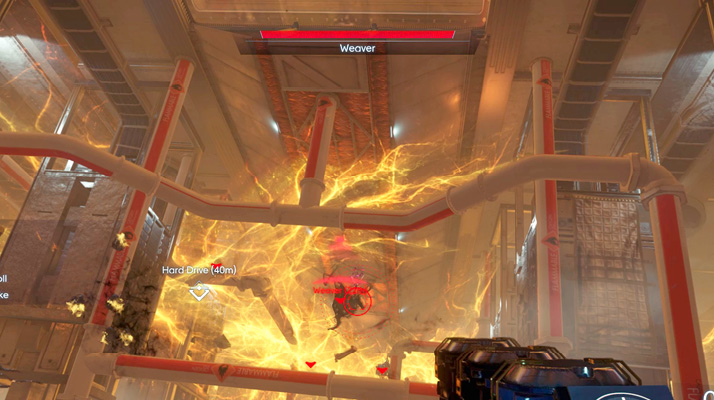
Advance above the central chamber and look down to spot more Cystoid Nests and a Weaver. Scan the Weaver with your Psychoscope then take it out with your Q-Beam. Maintain this elevated position above the central chamber and target the remaining Cystoid Nests and Cystoids.
Exploding Cystoids may rupture various gas lines, causing them to spew flames. Be sure to seal these breaches with your GLOO Cannon before descending into the repository.
The location of the hard drive containing the plans for your arming key is marked on the HUD. Navigate through the repository to retrieve it. Along the way be careful to avoid any surviving Cystoids. The hard drive is massive, requiring you to carry it with both hands. This leaves you vulnerable to attacks by enemies. So make sure the area is clear of threats before grabbing the hard drive.
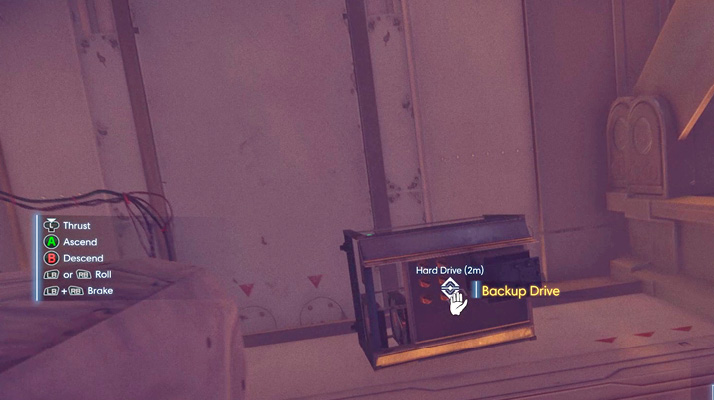
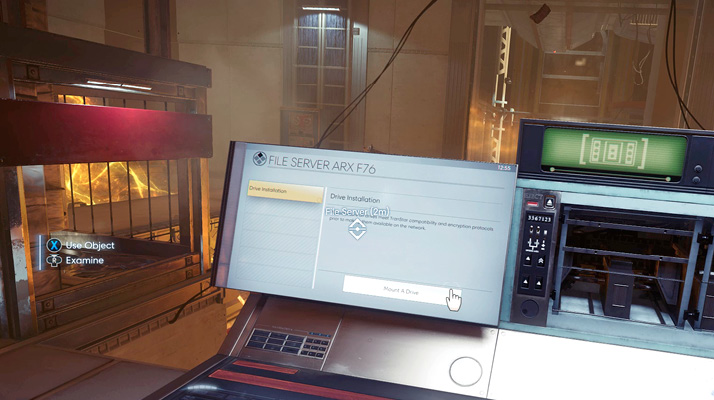
Carry the hard drive to the file server, near the repository’s entrance. Maneuver the drive into the open socket, then access the nearby terminal to mount the drive. January reports the mounting process was successful. You can now download the arming key’s fabrication plan from Danielle Sho’s workstation. Exit the central data repository and return to the area outside the security booth.
Corporate Information Technology
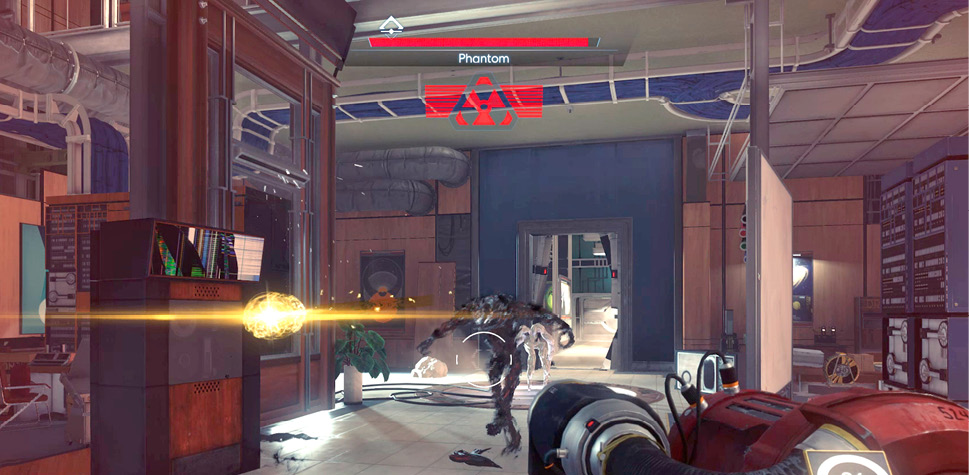
Upon your return from the data repository, inspect the turret near the security booth. If it’s damaged, repair it. There may be some Mimics in this area, along with a Phantom. Lure these enemies toward the turret and assist using your GLOO Cannon and Shotgun. During this fight, a radioactive container near the security booth may become compromised. Avoid getting too close to this container; otherwise, you may suffer from radiation poisoning. Radiation poisoning can be cured by taking Anti-Rad pills.
Stairwell
| Notable Items: | The Starbender Cycle: Book 1 | Huntress Boltcaster Fabrication License |
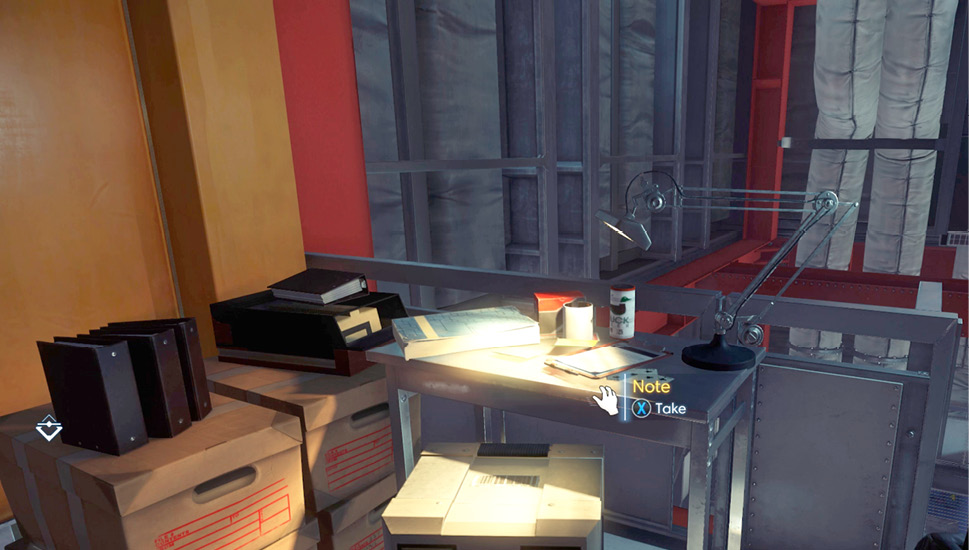
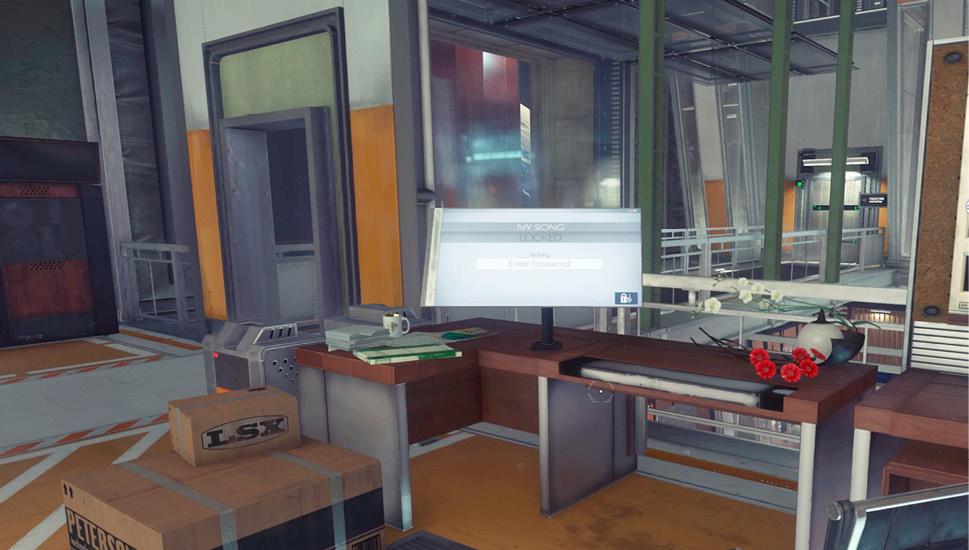
Using the keycode retrieved from Zachary West’s desk, unlock the door to the stairwell. If you didn’t encounter them earlier, there may be a Phantom and Mimics in the stairwell. At the top of the steps, search Akande’s work area to retrieve some notes and shotgun shells. If you haven’t collected it yet, you can also read the first volume from The Starbender Cycle series. Exit the stairwell on the second floor and use the password found on Zachary West’s desk to log in to Ivy Song’s workstation. The workstation contains fabrication plans for a Huntress Boltcaster.
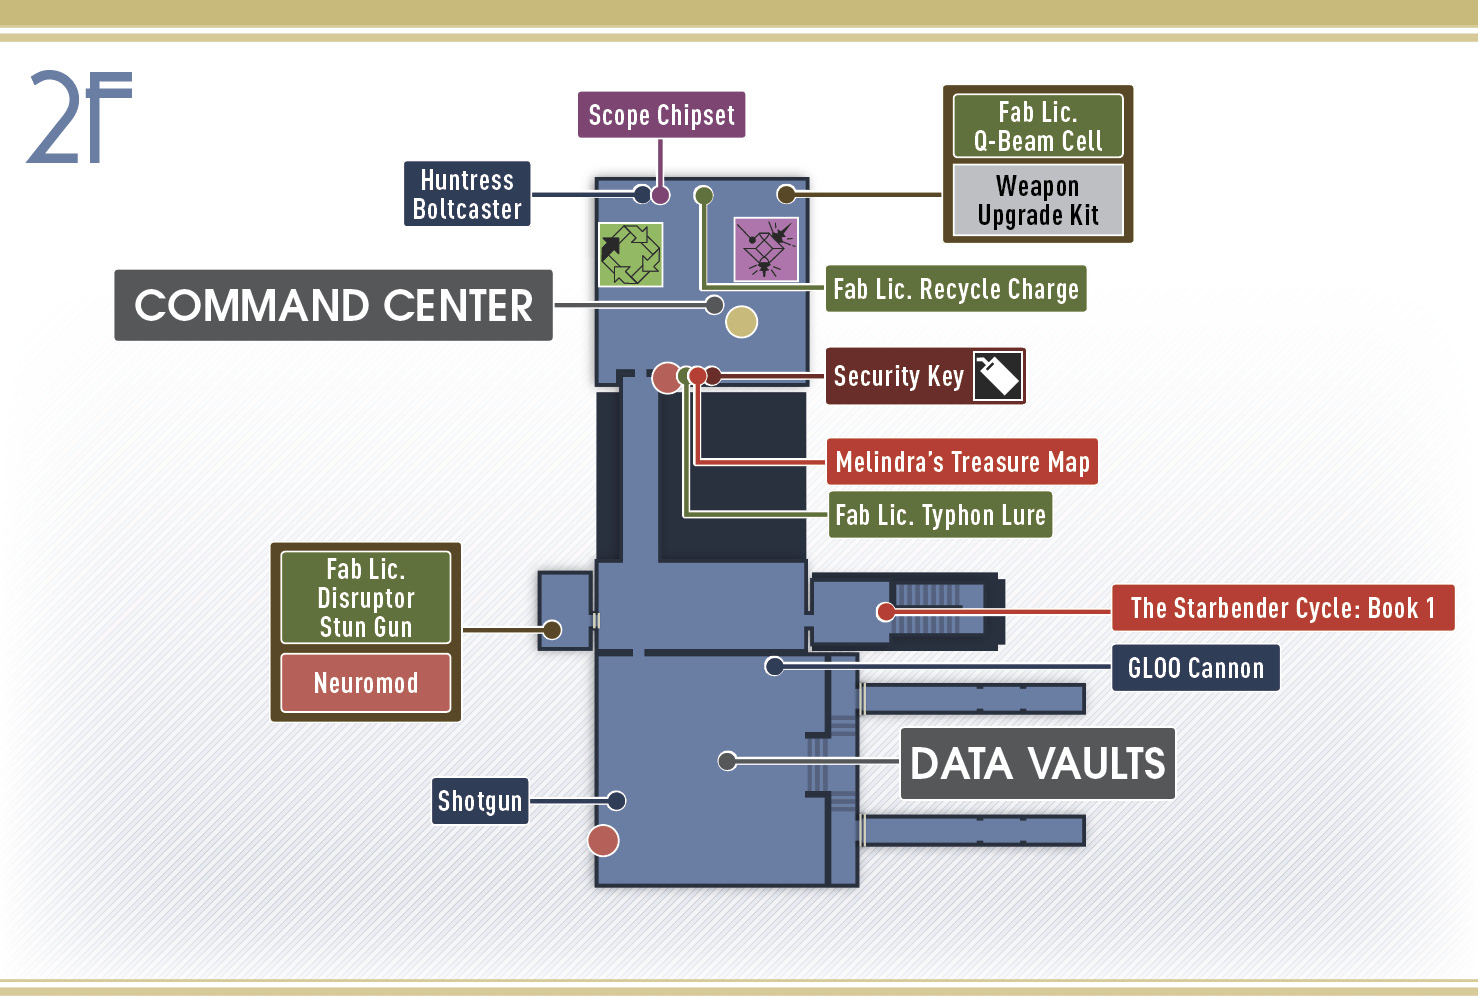
Command Center
| Notable Items: | Neuromod (2) | Keycard: Security Key | Recycler Charge (2) |
| Huntress Boltcaster | Morgan’s Arming Key Fabrication License | Recycler Charge Fabrication License | |
| Nullwave Transmitter Fabrication License | Q-Beam Cell Fabrication License | Weapon Upgrade Kit | |
| Suit Chipset (2) | Melindra’s Treasure Map | Keycode: Deep Storage Safe | |
| Turret |
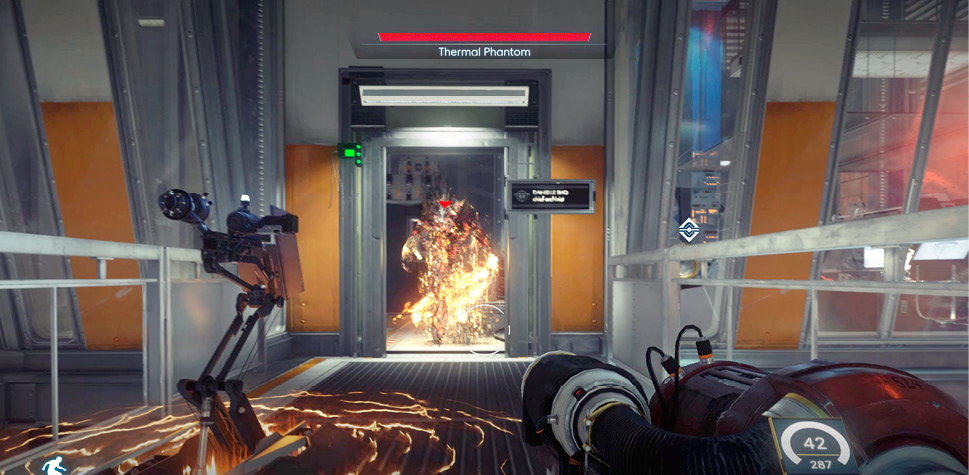
Grab a turret and deploy it on the catwalk leading to the command center. This is where Danielle Sho’s workstation is located. The command center is occupied by multiple Mimics and a Thermal Phantom. Creep forward and open the door to the office in an attempt to draw Mimics within the turret’s line of sight. Stay low and scan the Thermal Phantom. If you’re spotted, retreat behind your turret and engage the Thermal Phantom with your GLOO Cannon. Once the Thermal Phantom is immobilized, finish it off with the Q-Beam.
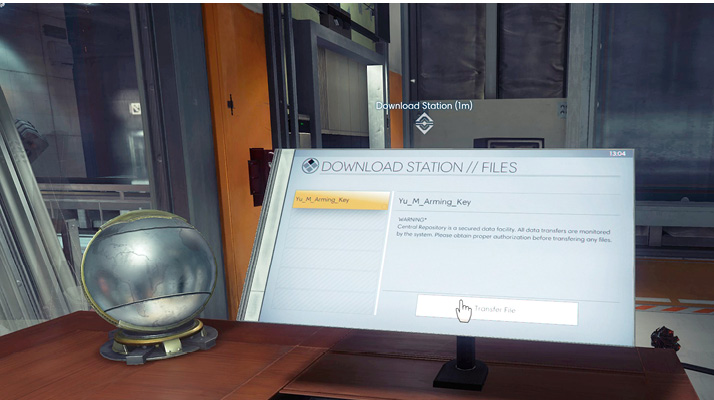
Enter the command center and use your GLOO Cannon to put out any fires on the floor. Repair the turret found in the command center so it can watch your back while you scour the room for supplies. In addition to housing a Recycler and Fabricator, the command center is filled with numerous useful items including two Neuromods, Recycler Charges, a keycard to the security booth, and a Recycler Charge fabrication license. When you’re finished stocking up on supplies, access the download station and download the fabrication plans for your arming key.