
Prey Guide Walkthrough: Story Objectives
Perdition
PerditionI left myself instructions to destroy the Talos I space station if the Typhon broke out. That’s the current situation I find myself in, and I’ve already secured the Arming Keys. Now all I have to do is use both keys to prime the reactor for self-destruct in the Power Plant, then activate from the Bridge. |
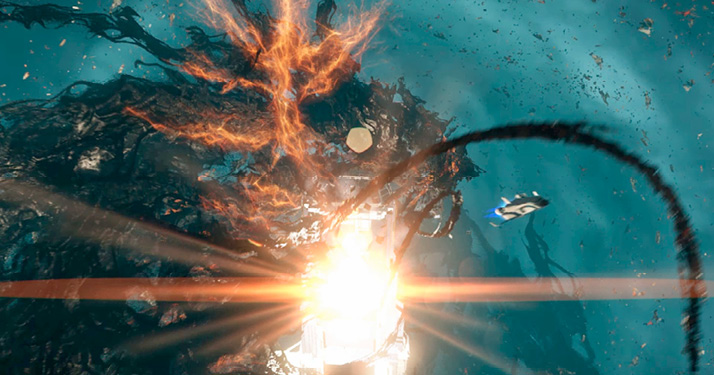
Due to the breach in the dome, the Arboretum is now a microgravity environment. Use your propulsion system to maneuver while avoiding the Apex Tendrils. Scan these tendrils three times to complete the research for this organism. Coming in contact with these tendrils causes damage, so constantly monitor your surroundings and avoid touching these black tentacle-like appendages.
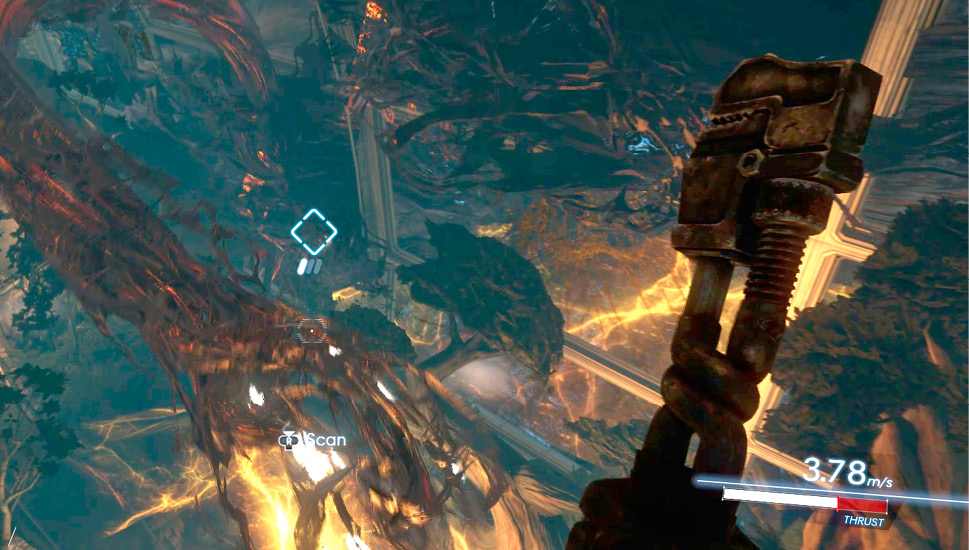
Psychotronics
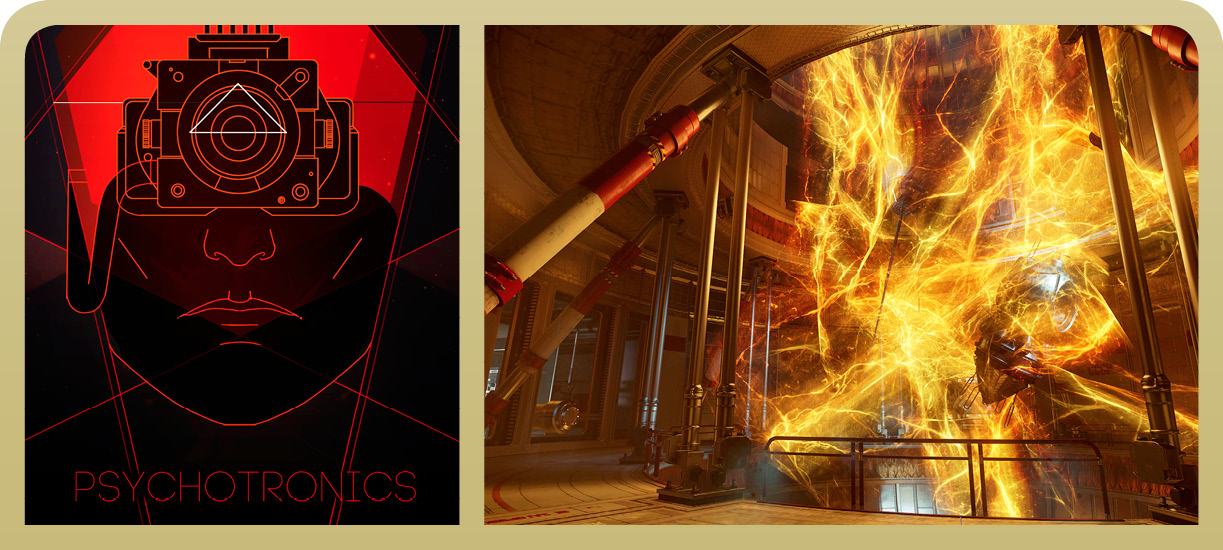
Containment
Access Psychotronics via the Talos I Lobby. Along the way, stop by Hans Kelstrup’s office, in the Atrium, and use the Fabricator to create the Prototype Nullwave Device. A waypoint marker appears on the HUD leading you to the heart of the Coral, located in the massive containment chamber. The chamber can be entered from a hatch near the entrance to the G.U.T.S. Access Containment via the Atrium. Then proceed to the chamber entrance by passing through Live Exam. Be prepared to encounter multiple Typhon enemies along the way, including a Voltaic Phantom, a Weaver, and a few Mimics. Apex tendrils have also penetrated Psychotronics, so avoid making contact.
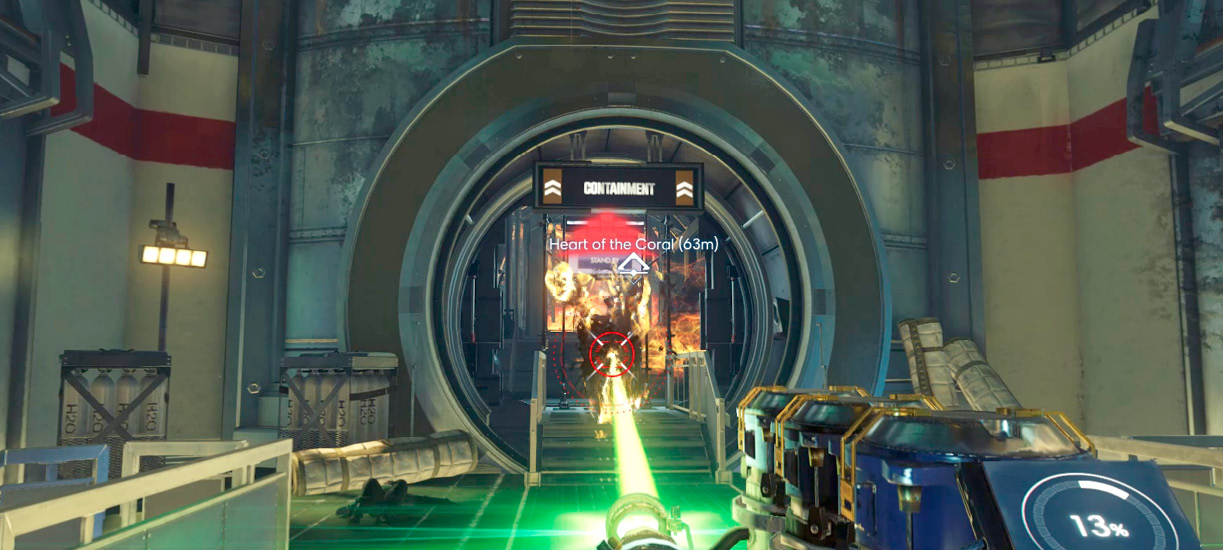
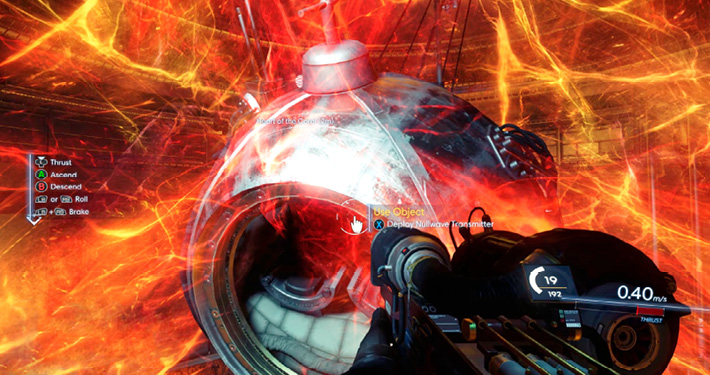
Eliminate the Cystoid Nest near the containment chamber’s entry point, then step into the micro-gravity environment. Maneuver toward the spherical object in the center of the chamber and install the Nullwave Device. Once you’ve installed the device, exit the chamber and enter the G.U.T.S., heading toward the Cargo Bay. From there, you can access Life Support and proceed to the Power Plant.
Power Plant
Reactor
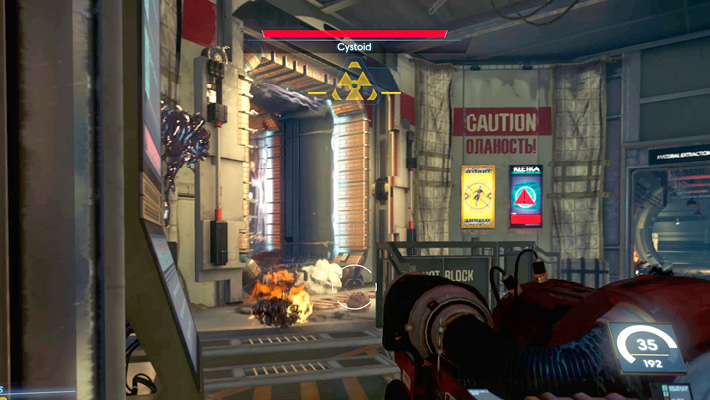
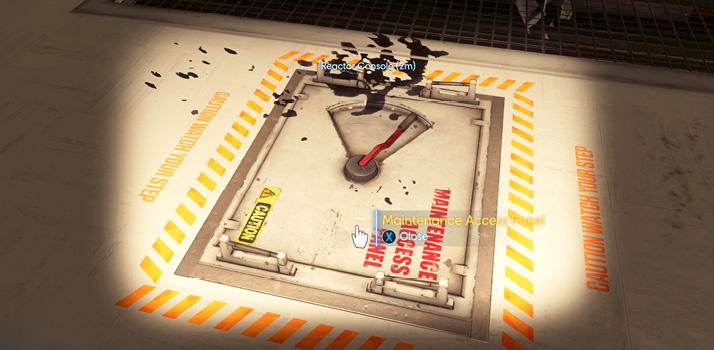
Unless you eliminated them earlier, the reactor room is still occupied by two turret-wielding Technopaths. Apex tendrils pose a threat as well. Stay low and try to avoid detection as you drop to the ground floor. The waypoint marker leads you to a maintenance access panel on the floor in front of the control room. Open this panel and push the button found inside—a hatch opens nearby giving you access to the self-destruct consoles in the reactor chamber.
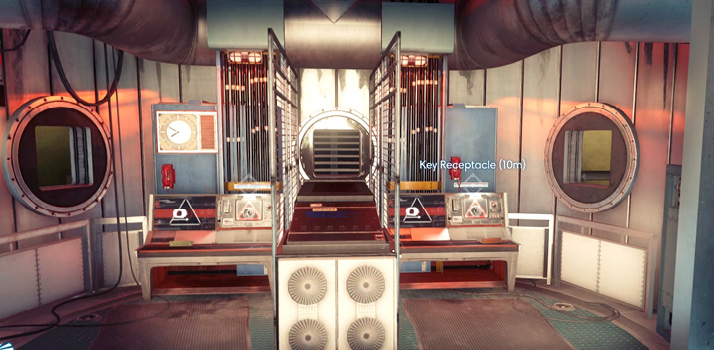
Interact with the self-destruct console, inserting Morgan’s arming key on the left and Alex’s arming key on the right. Once the keys are inserted, they must be turned to arm the self-destruct mechanism. The actual self-destruct sequence must be initiated from the Bridge. Backtrack through the Power Plant and Life Support to reach the main lift, then ride it to the Arboretum. From there, access the Grav Shaft leading to the Bridge.
Talos I Bridge
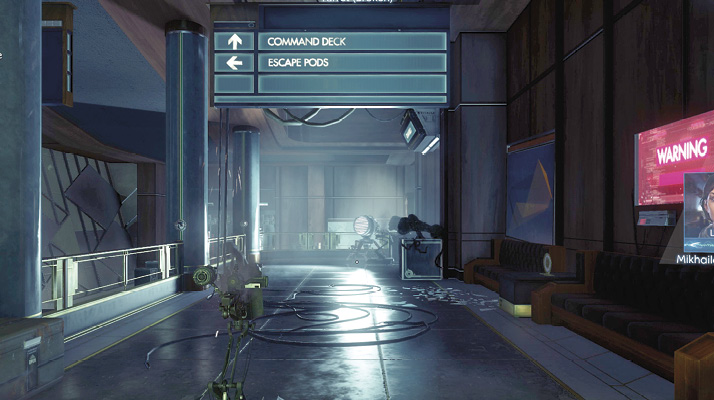
Foyer
| Notable Items: | Silenced Pistol Ammo Fabrication License |
| Turret (3) |
If you incapacitated Dahl and removed his Neuromod, you’re contacted by Mikhaila and Dr. Igwe as you access the Bridge. Igwe reports Dahl is recovering and that they’re making their way to the Shuttle Bay. If you choose to destroy the station, you can join them in command shuttle to escape. The Bridge is surprisingly calm. So take your time to explore before making your big decision. Search Matt Cothron’s body slumped over the nearby railing to retrieve some ammo and a Silenced Pistol Ammo fabrication license. Next, grab one of the nearby turrets and enter the Grav Shaft leading down to the Escape Pod Bay.
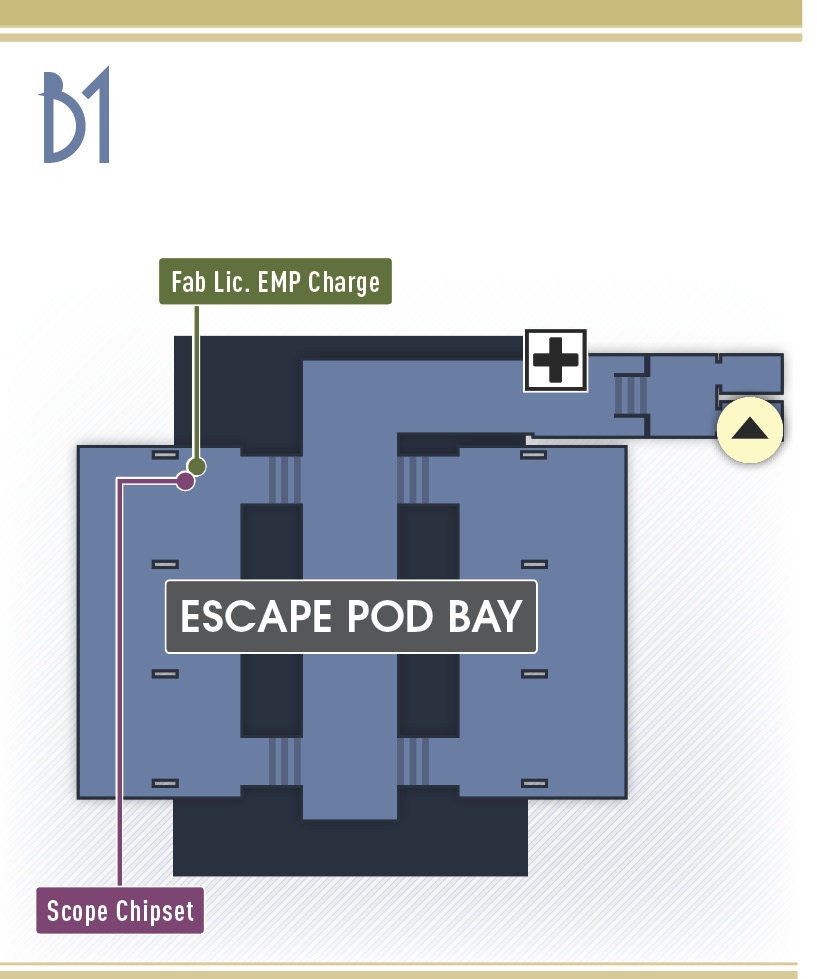
Escape Pod Bay
| Notable Items: | EMP Charge Fabrication License |
| Scope Chipset |
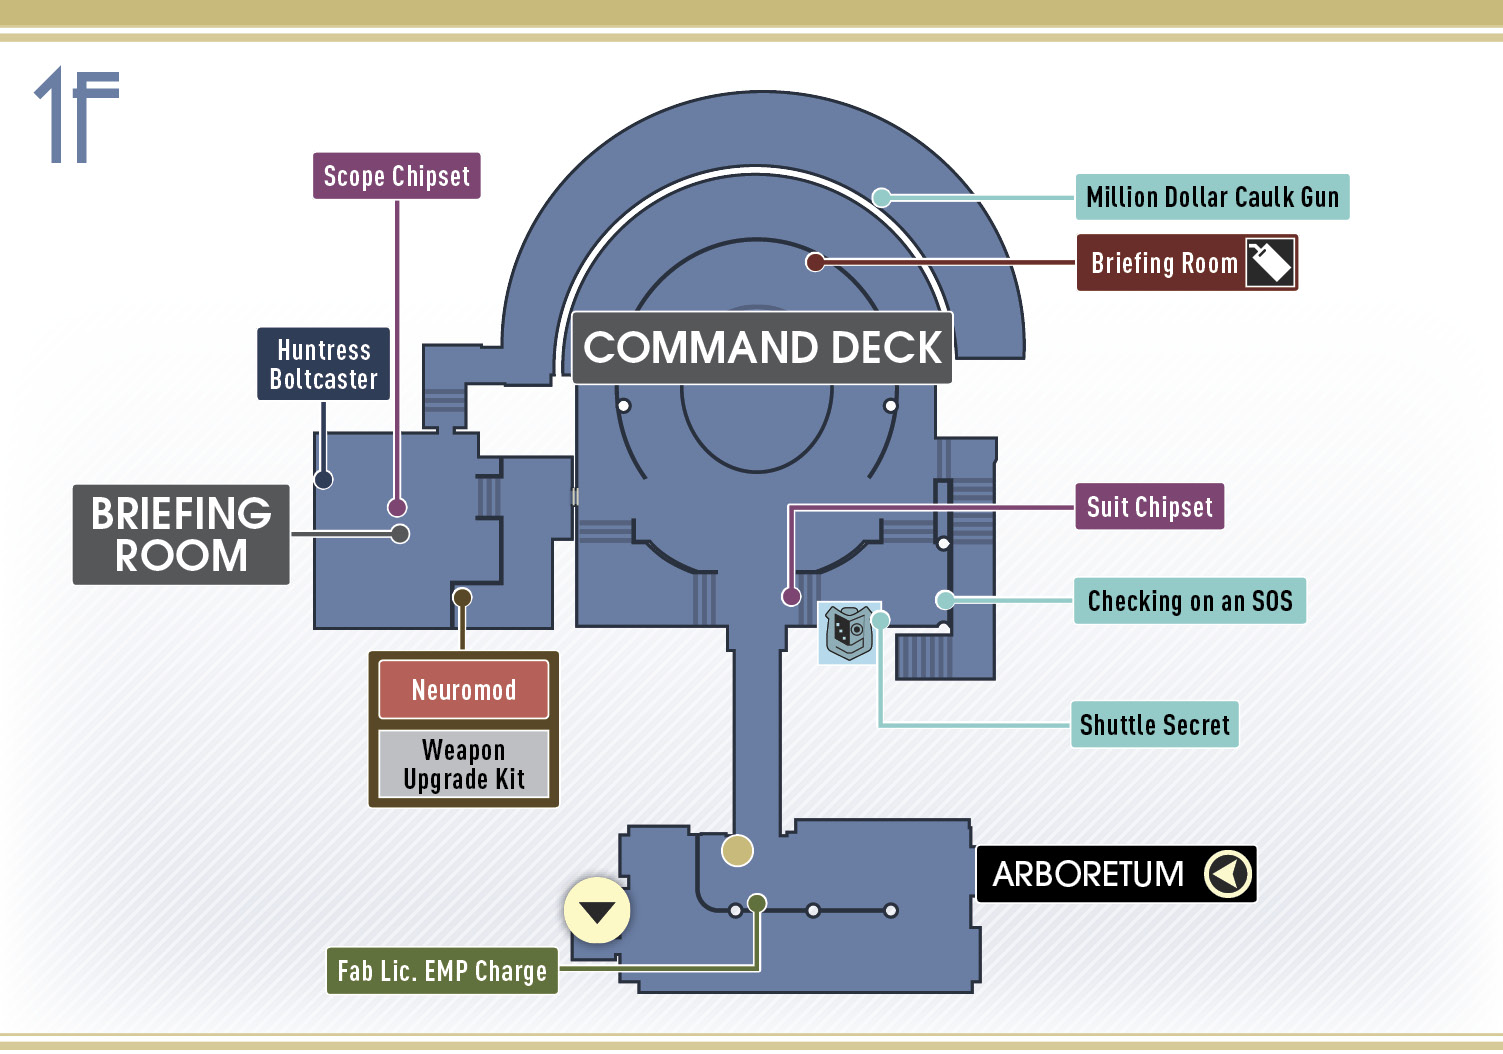
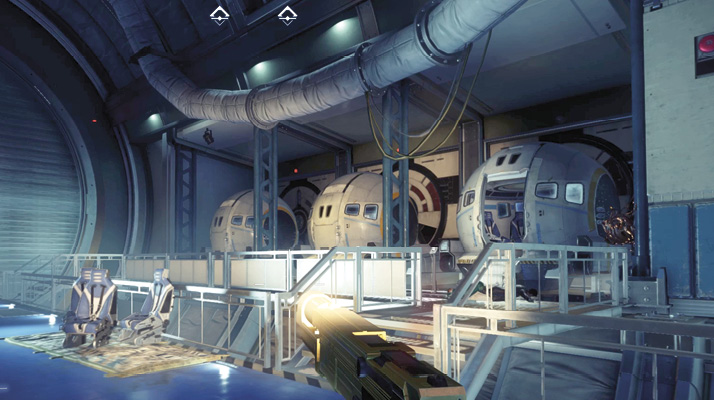
Exit the Grav Shaft and deploy the turret, allowing it to engage a few Cystoid Nests and Cystoids. Like the other escape pod bays you’ve visited, this one is filled with the bodies of crew members who were unable to escape the station. Search the briefcase near Sadie Hall and Gordon Bitz’s body to retrieve a Scope Chipset and an EMP Charge fabrication license. Once you’re finished searching this area, return to the Grav Shaft and enter the Command Deck.
Command Deck
| Notable Items: | Audio Recording: Secret Shuttle | Audio Recording: Checking on an SOS |
| Keycard: Briefing Room | EMP Charge | |
| Suit Chipset |
If you saved Alex back in the Arboretum, you find him standing at the entrance to the Command Deck, urging you to use the Nullwave Device to stop the Typhon. If Alex died, you’ll find January here instead, urging you to destroy Talos I. These decisions can be put off a bit longer.
Continue exploring the Command Deck at your leisure. Search Omar Bolivar’s body to retrieve the keycard to the Briefing Room.
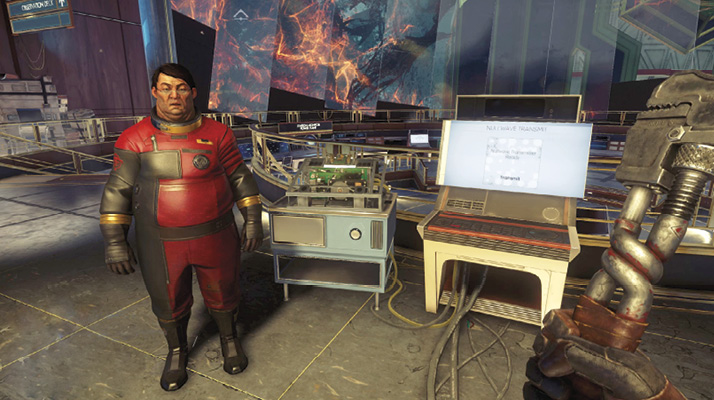
Access the security station near the Command Deck’s entrance to download a map of the Bridge. Grab Matt Cothron’s TranScribe and an EMP Charge nearby. Alika James’ TranScribe can be found on the nearby console. Play the recording (Checking on an SOS) found on Alika James’ TranScribe to automatically complete the Where is Kirk? optional objective (you already found what became of Kirk Remmer).
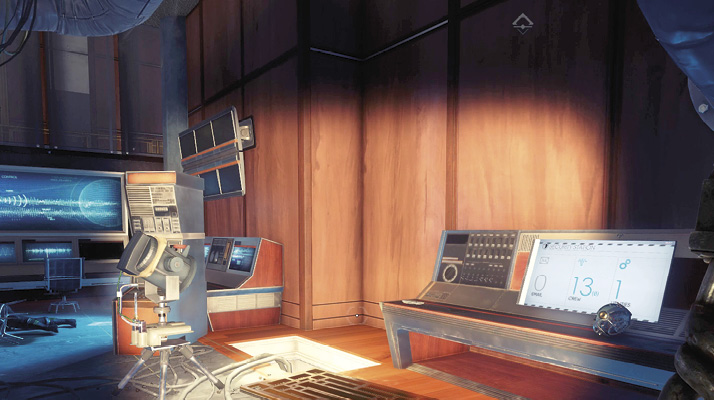
Where is Kirk?Objective Summary: Based on some message I overheard, a crew member named Kirk Remmer is in danger. If you haven’t found Kirk Remmer yet, he’s been transformed into a Phantom, located in Life Support’s Escape Pod Bay. Eliminate the Phantom and search its remains to complete this objective. 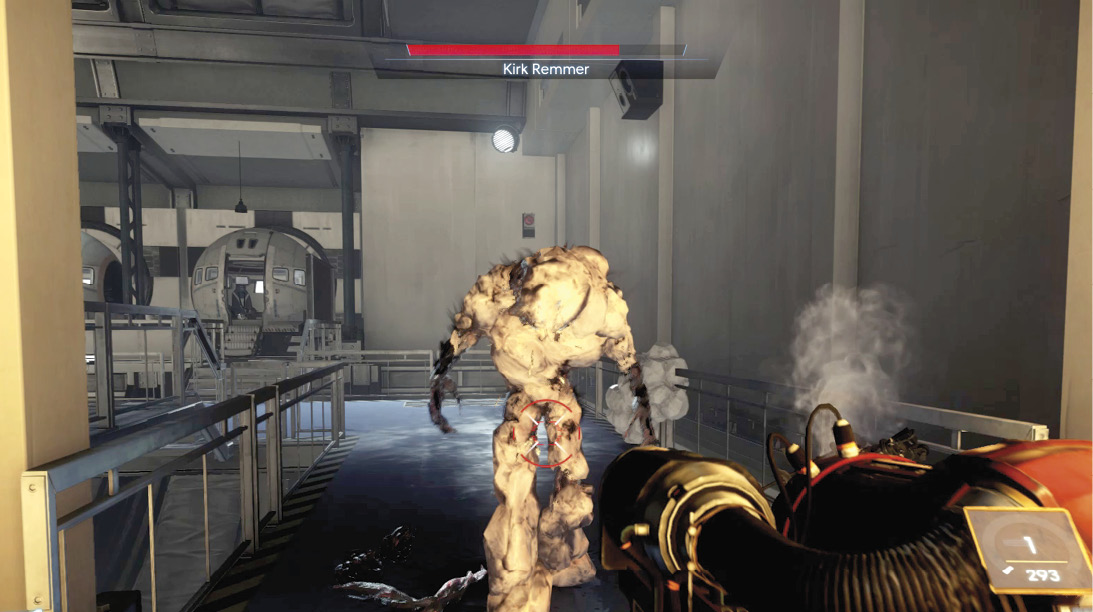
|
Briefing Room
| Notable Items: |
| Neuromod (2) |
| Nullwave Transmitter |
| Weapon Upgrade Kit |
| Huntress Boltcaster |
| Scope Chipset |
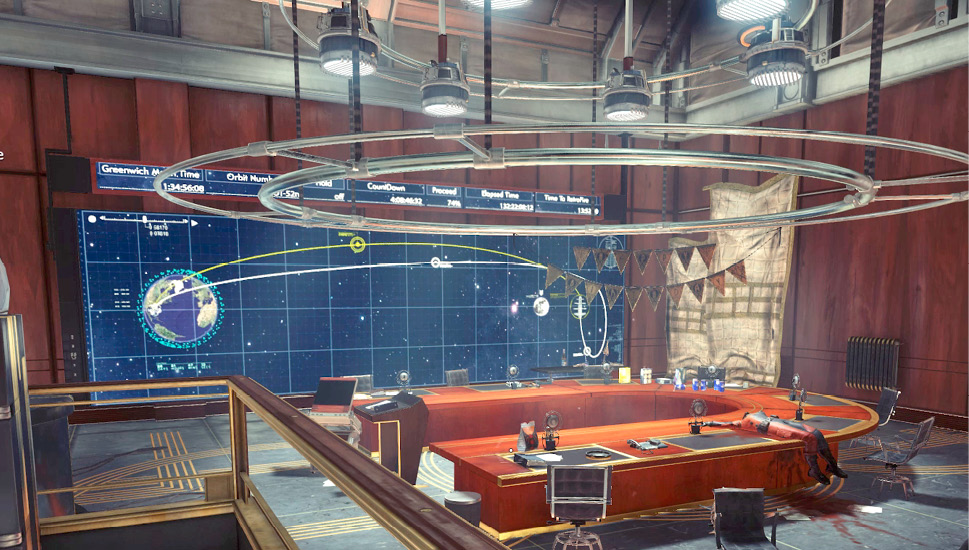
Use the keycard retrieved from Omar Bolivar to open the door to the Briefing Room. Alternatively, you can simply break one of the windows and step inside. This room contains a safe and it only requires Hacking I to crack. Access the safe to grab two Neuromods, a Nullwave Transmitter, and a Weapon Upgrade Kit. If you don’t have the Hacking I ability, you can find the safe’s password on a note in Captain’s Loft. Judging by all the food on the table, it looks like there was some sort of party held in the Briefing Room prior to the Typhon containment breach. Search Skye Braxton’s body to retrieve a Scope Chipset.
Captain’s Loft
| Notable Items: |
| Neuromod |
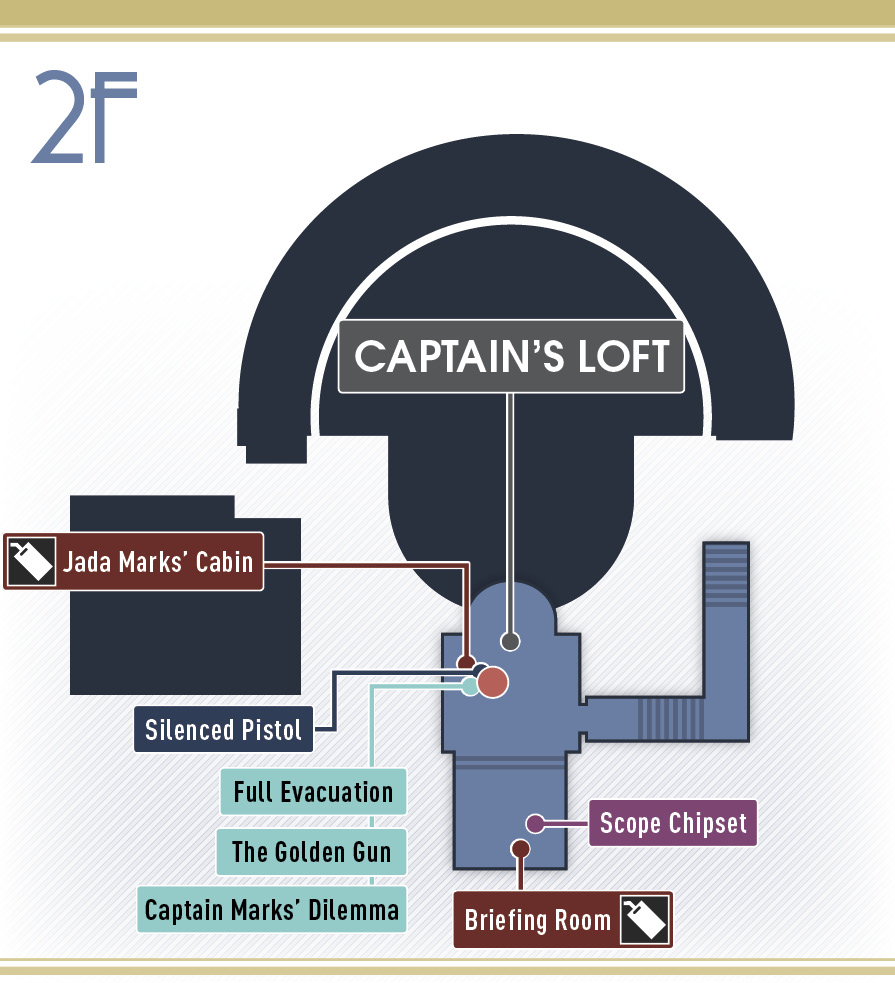
| Keycard: Jada Marks’ CabinKeycard: Briefing Room |
| Silenced Pistol |
| Audio Recording: Captain Marks’ Dilemma |
| Audio Recording: The Golden Gun |
| Audio Recording: Full Evacuation |
| Keycode: Bridge Safe |
| Scope Chipset |
Head upstairs to the Captain’s Loft. Search Bill Nixon-Greene’s body (on the sofa) to retrieve another keycard to the Briefing Room. The briefcase next to his body contains a Scope Chipset. Next, locate Jada Marks. Search her body to retrieve her TranScribe, a Neuromod, and a keycard to her cabin in Crew Quarters. Lift the notebook on the nearby desk to reveal a note containing the keycode to the Bridge safe in the Briefing Room.
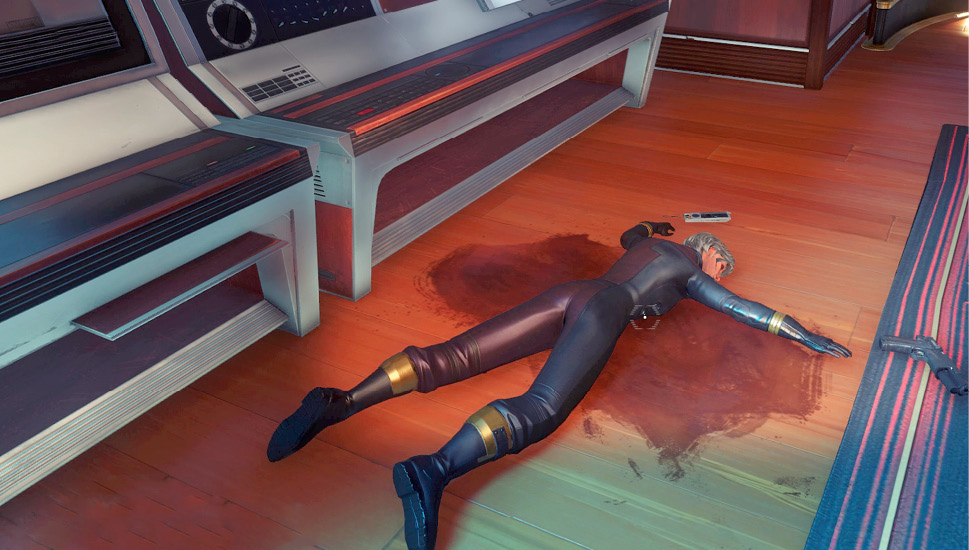
Shuttle “Advent”Objective Summary: The shuttle “Advent” left Talos with five crew aboard and is heading for Earth on a routine trip. They might have departed before the Typhon broke containment, but there’s a good chance they’re carrying Typhon. I have the ability to detonate the shuttle remotely. Listen to Captain Marks’ Dilemma, one of the audio recordings found on Jada Marks’ TranScribe, to trigger this optional objective. Turn to the nearby console showing the shuttle’s status. It’s scheduled to arrive at a landing facility in Seattle within a few minutes. Doing nothing allows the shuttle to land, potentially leading to a Typhon infestation of Earth. Or you can trigger remote charges on the shuttle to destroy it, killing everyone on board, along with any Typhon-tainted cargo. If you were attempting to make it through the game without killing any humans, detonating the shuttle prevents you from earning the Do No Harm achievement/trophy. But if you don’t detonate the shuttle, there’s a chance the Typhon will reach Earth. The choice is yours. 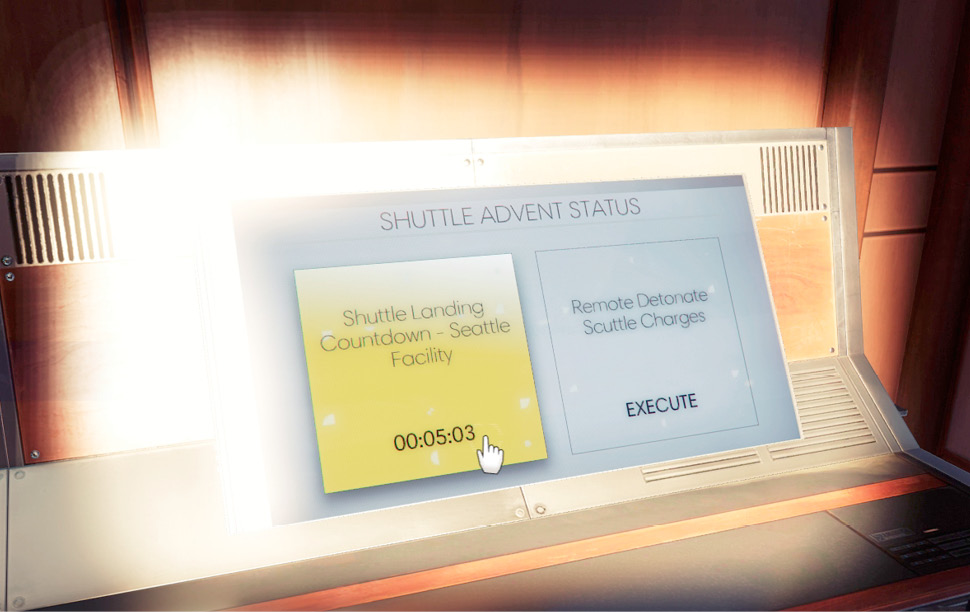
|
Finale: A Mind Without Limits
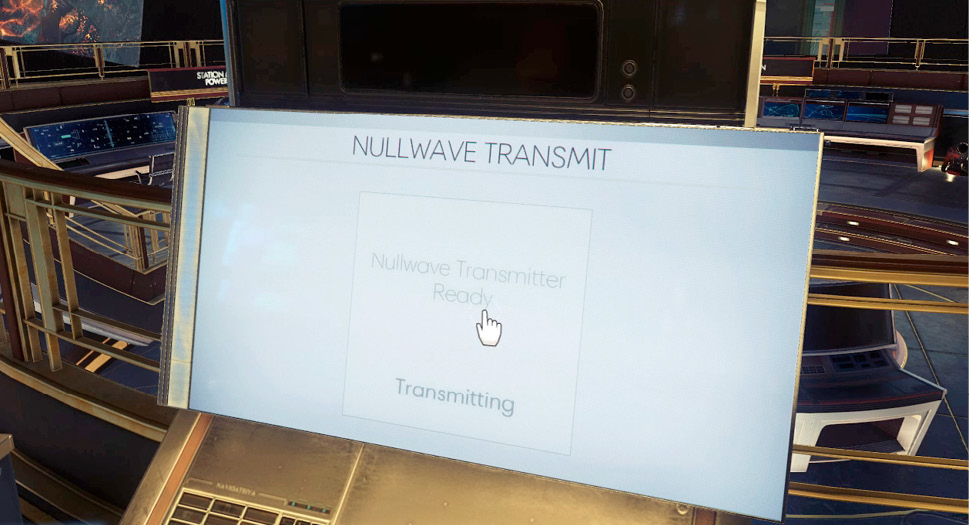
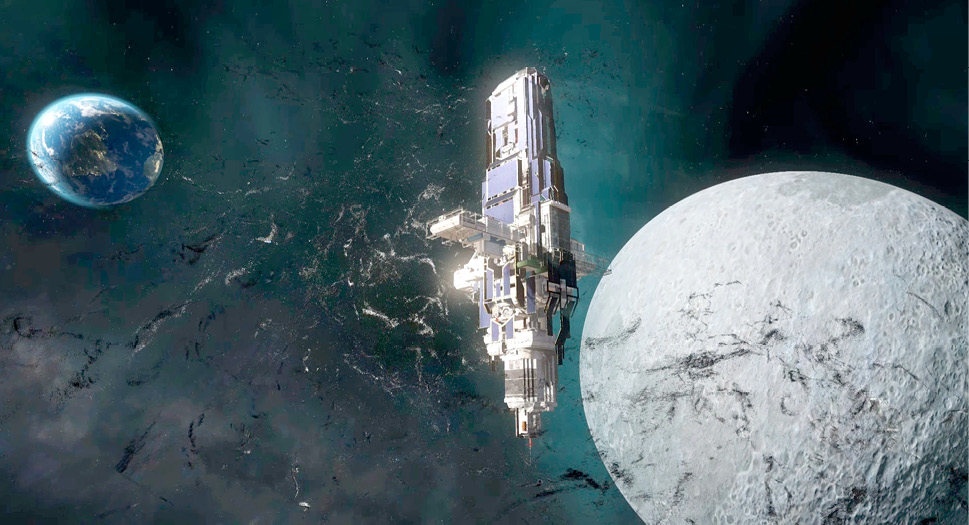
If you choose to eliminate the Typhon with the Nullwave Device, interact with the console on the Command Deck, next to Alex or January. If present, January won’t let you activate the Nullwave device, You must destroy January to proceed. Alex, on the other hand, is more than happy with this decision. Activating the device triggers a powerful Nullwave pulse within the heart of the Coral, located in Psychotronics. The cascading effect eliminates all the Typhon organisms, including the Apex Typhon, leaving Talos I unscathed.
Finale: Perdition
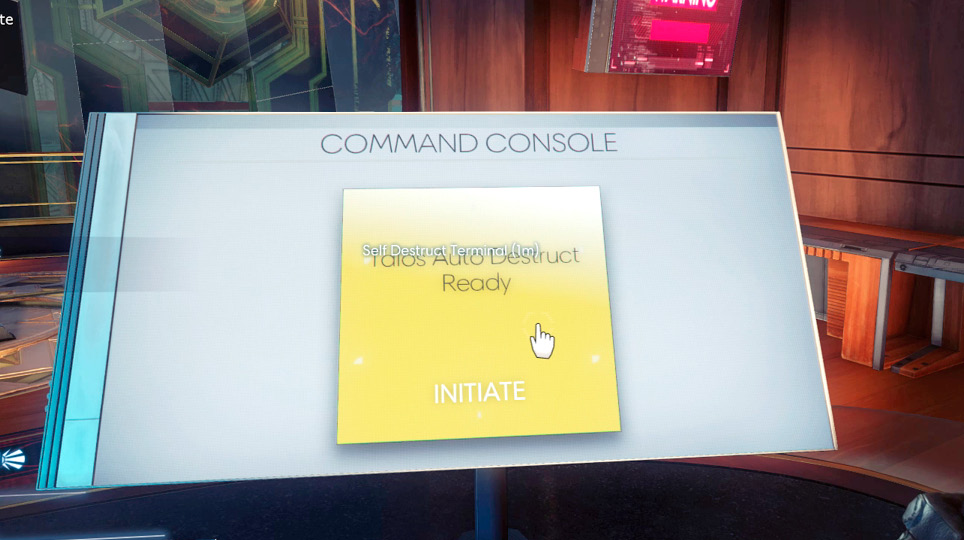
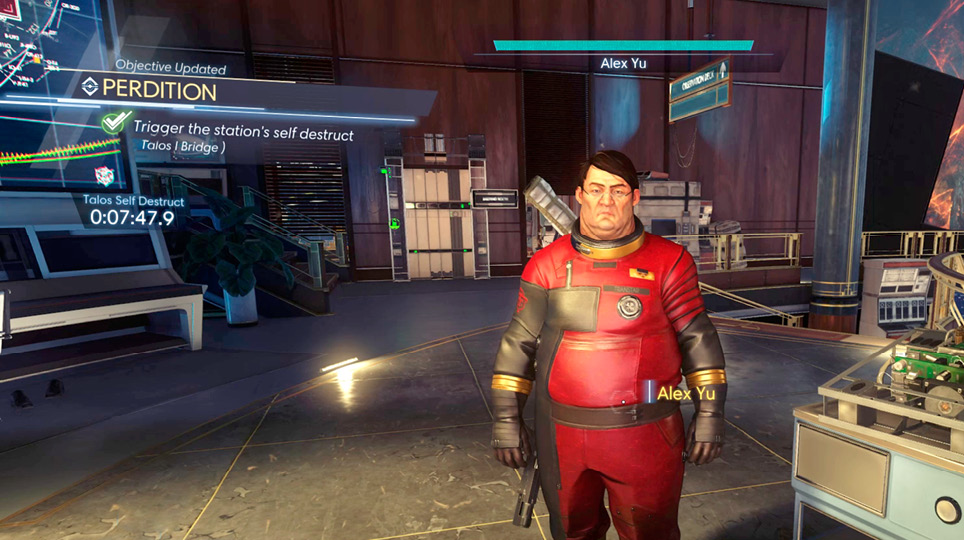
If you’d rather follow January’s directive and destroy Talos I, access the command console in the Captain’s Loft to trigger the self-destruct sequence. This starts an eight-minute timer, giving you plenty of time to escape. Returning downstairs, Alex is disappointed by your decision to destroy Talos I. But he’s staying put. You can’t force him to evacuate by dragging him to the command shuttle or his escape pod. What’s your decision? Will you stay aboard and go down with the station, as directed by January? Or will you escape?
Escape: Alex’s Escape Pod
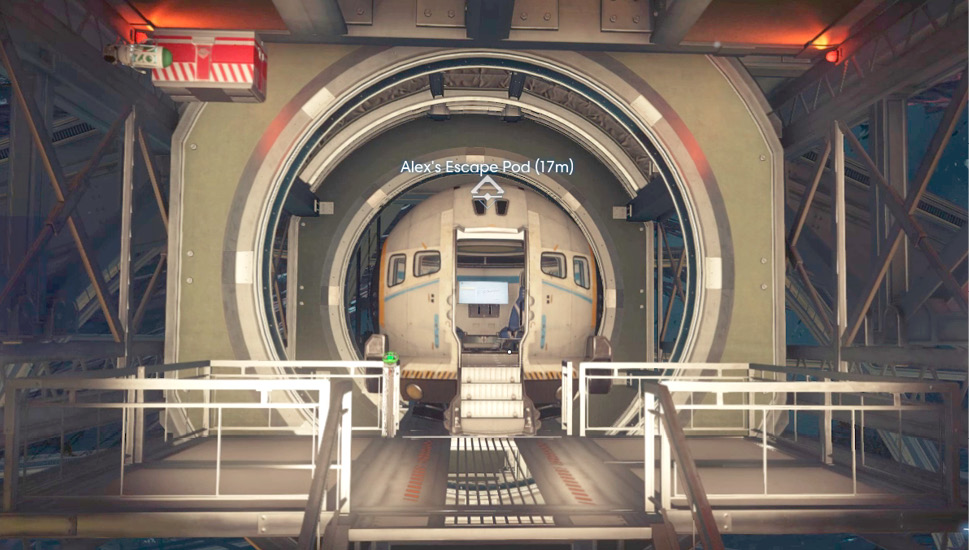
Alex’s escape pod, located atop his office in the Arboretum, offers the quickest way off the station. If you retrieved the EP101 keycard from Alex’s suite in Crew Quarters, you can enter the escape pod. The microgravity in the Arboretum eschews the need to access Alex’s workstation in his office to extend the bridge. Simply thrust toward the escape pod, insert the keycard, and hop inside, careful to close the door behind you. Launch the escape pod to vacate Talos I before the station explodes.

Escape: Dahl’s Command Shuttle
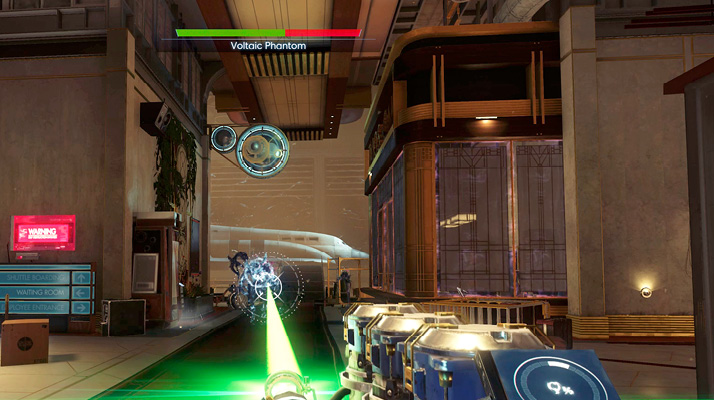
Dahl contacts you after you initiate the self-destruct sequence. This completes the Incapacitate Dahl optional objective. Dahl’s shuttle is ready to evacuate Talos I. His command shuttle will leave approximately 50 seconds before the station explodes. Race through the Arboretum to the main lift and take it down to the Talos I Lobby. From the lobby, make a beeline for the Shuttle Bay. Watch out for two Voltaic Phantoms and some Mimics near the command shuttle jetway. Fight your way past these threats, then enter the command shuttle.
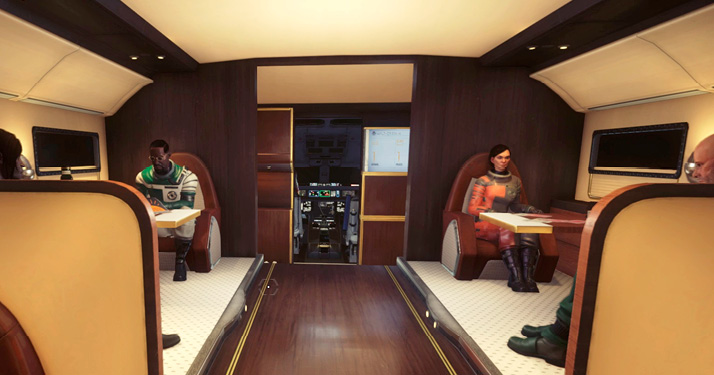
If you saved them, you’ll find Aaron Ingram, Sarah Elazar, Dr. Igwe, and Mikhaila Ilyushin in the shuttle’s cabin. If time allows, speak to each of them. Also, don’t forget to search the shuttle’s cargo hold, using the keycard you swiped from Dahl. Here you find a crate containing two Recycler Charges and two Neuromods.
When you’re ready to leave, enter the cockpit and sit in the seat next to Dahl. Within seconds, the command shuttle leaves Talos I, just before the station explodes.
Epilogue
Regardless of how you choose to end the game, Morgan awakes in a secret location surrounded by Alex and four distinct Operators. The Operators speak with the voices of Mikhaila Ilyushin, Dr. Igwe, Sarah Elazar, and Danielle Sho. Here you undergo a debriefing, with each Operator providing input on your performance. Did you use any Typhon Neuromods? How many people did you save? Did you kill the cook imposter? Did you destroy Talos I or did you simply eliminate the Typhon with the Nullwave Device? Each Operator has a say in whether you should live or die. If they allow you to live, you have one last decision. Will you take Alex’s hand? Or will you kill them all?
Game Completion Achievements/Trophies
| Image | Name | Description | Gamerscore | Trophy |
|---|---|---|---|---|

|
I and Thou | You completed the game in the most empathetic way. | 90 | Gold |

|
Do No Harm | You completed the game without killing any humans. | 30 | Silver |

|
I and It | You killed every human on and around Talos I. | 15 | Bronze |

|
No Needles | You completed the game without ever acquiring any Typhon power or human ability. | 90 | Gold |

|
Split Affinity | You completed the game once acquiring only Typhon powers and again acquiring only human abilities. | 90 | Gold |
Determining Empathy
| Action | Empathy Score |
|---|---|
| Save Dahl (Incapacitate Dahl completed) | +1 |
| Rescue Dr. Igwe in Talos I Exterior | +1 |
| Save Alex Yu in Arboretum | +1 |
| Dahl’s Ultimatum completed | +1 |
| Assist Mikhaila Ilyushin completed | +1 |
| Mikhaila’s Father completed | +1 |
| Escape Attempt completed | +1 |
| Gustav Leitner completed | +1 |
| Help Luther Glass completed | +1 |
| Danielle Sho completed | +1 |
| Save 10 Mind-Controlled Humans | +1 |
| Achieve Psychopath status | -100 |
| Kill Aaron Ingram | -1 |
| Kill Alex Yu | -2 |
| Kill Dr. Igwe | -2 |
| Kill Mikhaila Ilyushin | -2 |
| Kill Sarah Elazar | -2 |
| Allow Dr. Igwe to die in Talos I Exterior | -1 |
| Allow Mikhaila Ilyushin to die in Power Plant | -1 |
| Allow Sarah Elazar to die in Cargo Bay | -1 |
| Allow Aaron Ingram to die in Psychotronics | -1 |
Developer Speed Run Notes
Now that you’ve finished the game, how do you feel about completing a speed run? The developers have provided a streamlined walkthrough focusing on the game’s critical path. How fast can you get through the game?
- Day 1—Get through the tests as fast as possible.
- Day 2—Move through the Neuromod Division into the Lobby. Make sure to grab the GLOO Cannon and the first Neuromod in the foyer before transitioning into Lobby.
- Once in the Lobby, run past all Mimics and go directly to Morgan’s office (password 0451) to watch the video.
- After the video, head straight to the Hardware labs. Use the turret outside Morgan’s office to help kill Mimics in the Teleconferencing Center and grab the pistol and ammo off the corpse.
- Hardware Labs—Get a keycard off Sean Larsen in Demonstration Theater, then enter Machine Shop to fabricate your propulsion system. Don’t waste your pistol ammo on the Operators. Use your charged wrench attack on them instead.
- Travel to the exterior via airlock to get Calvino’s keycard, then return to Hardware Labs.
- Restore Looking Glass in Calvino’s Workshop and head back to Morgan’s office in the Lobby to watch the rest of the video (just run past the Phantoms).
- After watching the video, grab the General Access keycard from January and head to Psychotronics. Again, run past all enemies and don’t waste ammo.
- In Psychotronics, run through the women’s locker room and drop through the hole in the men’s locker room to acquire the Psychoscope. Kill all of the Mimics down there before equipping the Psychoscope.
- Scan Phantoms in the Atrium’s containment chambers to progress, then enter the Containment area. Take a right and complete Live Exam test. Kill the Voltaic Phantom to get to G.U.T.S. Consider accessing the Armory (code 8714) to stock up on weapons and ammo.
- Get through the G.U.T.S. as quickly as possible. Make sure you have lots of GLOO ammo and Medkits to deal with the Cystoids.
- In the Arboretum, go straight to the Deep storage entrance. Loot the Crew Quarters keycard and TranScribe from Zachary West. Open the Arboretum airlock.
- Head straight to Crew Quarters.
- At Crew Quarters, locate Danielle Sho’s voice samples in the fastest order:
- Recreation Center—Grab the TranScribe and Abigail Foy’s keycard.
- Theater—Grab the TranScribe under a movie theater chair. It’s in the second theater, second row.
- Concierge—Retrieve the gym code off the security station next to the Mail Room. Also grab the shotgun ammo and Neuromods in the mail room.
- Danielle Sho’s Cabin—Download the conversation file from the workstation and repair/retrieve the TranScribe next to her bed.
- Habitation Pods—Grab Skye Braxton’s TranScribe in the second row of pods.
- Abigail Foy’s Cabin—Download the conversation file from Abigail’s workstation. Her password can be retrieved from the note under her desk.
- Fitness Center—Locate Emma Beatty and either kill or stun her so you can loot her TranScribe.
- Yellow Tulip—Listen to the Neuromod demonstration. Listen to the rest of the audio recordings while waiting for the countdown to finish in the Yellow Tulip. You can also listen to audio recordings while running to grab other TranScribes and audio recordings.
- Transition through the Arboretum to Deep Storage. Kill the first Mimic and Phantom you encounter, then climb through a maintenance hatch to access the Central Data Repository. Retrieve then mount the hard drive containing Morgan’s arming key plans. Throw items at Cystoids before trying to locate the hard drive.
- Download Morgan’s arming key plan in the Command Center and listen to Danielle. Open Data Vault B and eject to exterior. Use Recycler Charges to kill the Thermal Phantom in the Command Center. Data Vault B can be accessed by climbing GLOO deposits, allowing you to enter from above.
- Outside the station, fly straight to the Cargo Bay entrance and enter code 2312.
- In the Cargo Bay, kill all three Phantoms to get the main door open. Place three turrets in front of the Cargo Bay B door. Two turrets are located in the Cargo Staging Area and another turret is located in the cage within Shipping and Receiving, along with a Q-Beam. Use Typhon Lures and Recycler Chargers to kill the enemies emerging from Cargo Bay B.
- Go to Life Support.
- Run past Etheric Phantoms and climb up pipes. Go through the maintenance hatch to enter the Water Treatment Facility to kill a Technopath. Make sure you have at least two full clips of Q-Beam ammo and at least 40+ pistol rounds.
- In the Power Plant, advance to the reactor room by running past most enemies. Grab Nicholas Stillwater’s keycard and the Divertor next to his body. Reboot the reactor and race back up the right side using the GLOO Cannon before the Technopaths find you.
- Open the Power Plant’s airlock, and access the station’s exterior to travel back to Arboretum.
- Watch Alex’s video and install the Coral Detector Chipset. Exit the station and scan the Coral Nodes.
- Go back to the Arboretum and upload the scan data in Alex’s Office.
- Go straight to the Shuttle Bay and access Dahl’s shuttle to find KASPAR’s location. Make sure you have enough ammo to take out a Technopath in the Lobby by the main lift. In the Shuttle Bay, climb to Flight Control to extend the jetway to Dahl’s ship.
- Track down KASPAR and eliminate with EMP Charges, Recycler Charges, or the Disruptor Stun Gun.
- Head back to the Arboretum to take out Dahl. The Disruptor Stun Gun is the fastest option.
- Speak with Alex and take the plans to the prototype Nullwave Device. Incapacitate Alex with the Disruptor Stun Gun to take his arming key.
- Go to the Lobby immediately after knocking out Alex to avoid Zero G and the Apex Typhon.
- Go to Morgan’s office and use the Fabricator to create Morgan’s arming key and/or the prototype Nullwave Device.
- For the Perdition finale, use the main lift to go to Life Support. Transition through Life Support to the Power Plant’s reactor and insert the arming keys. Next, return to the Arboretum via Lift Support and the Lobby’s main lift. Proceed directly to the Bridge and initiate the station’s self-destruct sequence.
- For the Mind Without Limits finale, head to Psychotronics and install the prototype Nullwave Device in the Containment chamber. Backtrack through to the Lobby and use the main lift to return to the Arboretum. Head to the Bridge and trigger the prototype Nullwave Device to eradicate the Typhon.
Speed Run Tips
- Be as conservative as possible with your ammo.
- Run past enemies you don’t need to kill.
- Make a quick save before every level transition.
- Medical Operators and turrets are your best friends.
- The Disruptor Stun Gun is very useful. Use it to deal extra damage to enemies and knockout important enemies quickly.