Gameplay Fundamentals
Interface
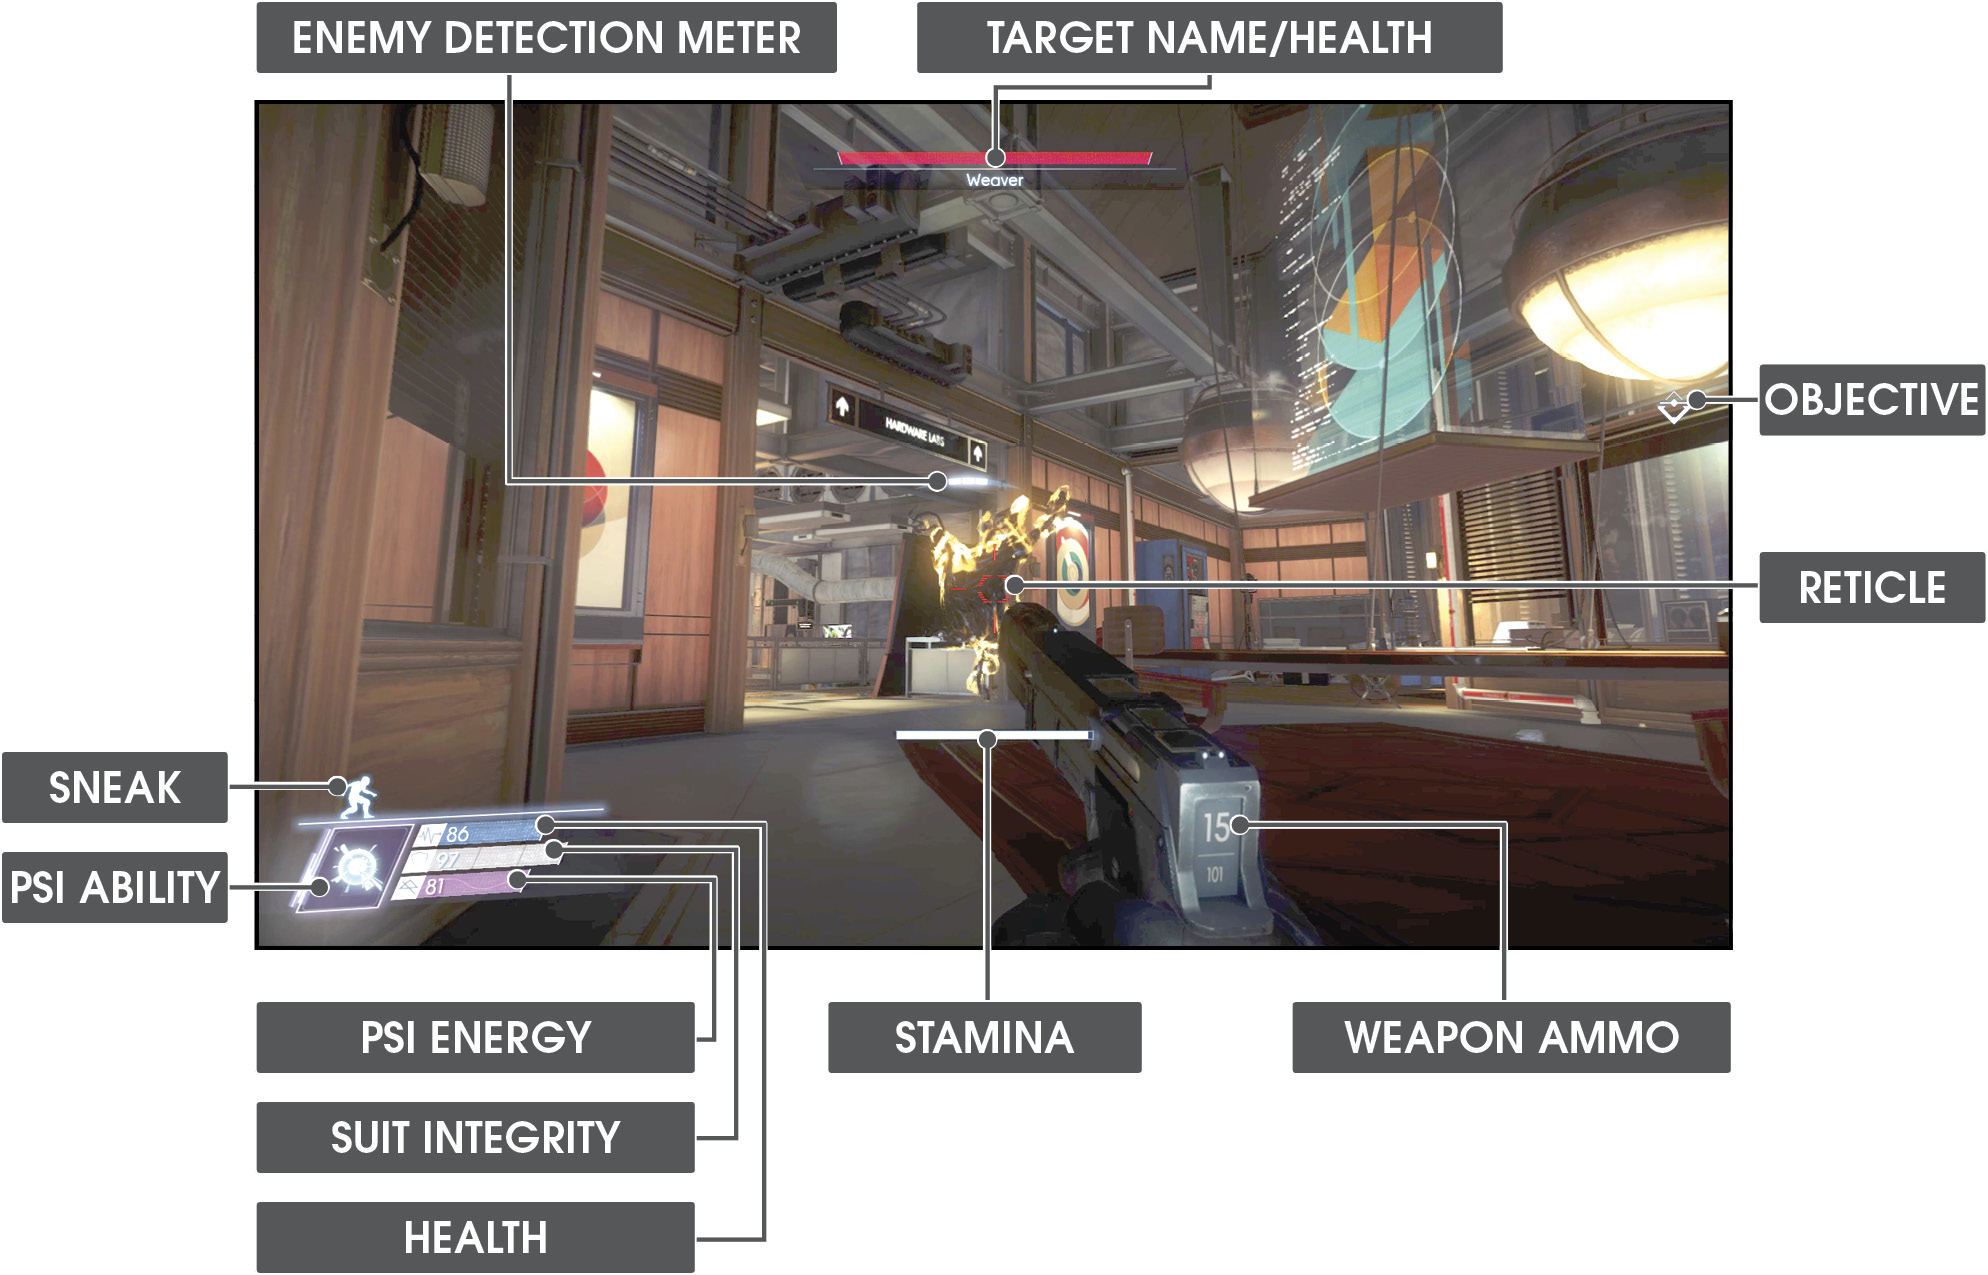
Player Status
| Health: | This meter shows your current health. If your health reaches zero, you die. Health can be replenished by consuming Medkits and food or by interacting with a Medical Operator. |
| Suit Integrity: | This indicates the status of your suit. Your suit functions like a layer of armor—the higher your suit’s integrity, the less damage you sustain. Suit integrity can be improved by using Suit Repair Kits or by interacting with an Engineering Operator. |
| Psi Energy: | Psi-based abilities require Psi energy. This meter depletes each time a Psi ability is activated. Replenish Psi energy by consuming Psi Hypos or by interacting with a Science Operator. |
| Psi Ability: | This icon indicates which Psi ability is currently selected. Access the Favorites Wheel to select different abilities. |
| Stamina: | Each time you sprint or swing the wrench, stamina is consumed, shown on this meter. Stamina automatically replenishes over time. |
| Sneak: | This icon appears when you’re crouched. Sneaking is the slowest yet stealthiest form of movement, making it tougher for enemies to detect you. |
Enemies
| Target Name/Health: | When aiming at a target, its name and health meter appears at the top of the HUD. If the target has no name, it must be scanned with the Psychoscope to conduct research. |
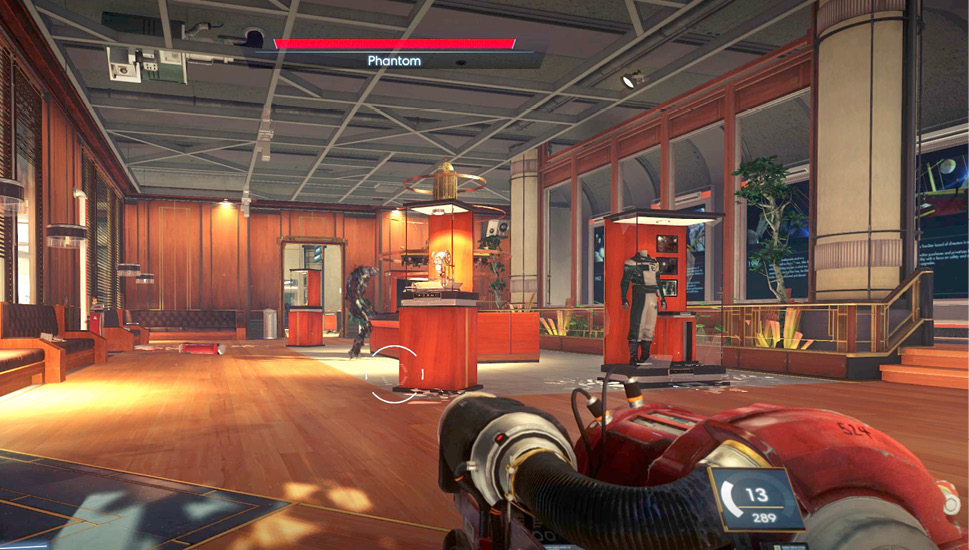
| Enemy Detection Meter: | This meter appears above enemies when they detect your presence. If the meter is white, they will begin investigating the area but won’t attack until they find you. If the meter turns red, you’ve been spotted. At this point enemies usually become aggressive and attack. |
Objectives
| Objective: | White icons on the HUD serve as waypoint markers, pointing to the current story objective. Blue icons point to optional objectives or crew members tagged on security stations. |
Weapons
| Reticle: | The reticle indicates where you’re currently aiming. Reticle shapes and sizes differ from weapon to weapon, but they all function similarly. The reticle is white by default, but turns red when an enemy is targeted and within range of the selected weapon. |
| Weapon Ammo: | All weapons have an integrated ammo indicator. Keep an eye on this indicator and reload as necessary. |
Movement
In Prey, movement is rather intuitive, especially if you’re familiar with the genre. There are five basic forms of movement: walking, running, sprinting, sneaking, and jumping. Walking is an upright form of movement, consuming zero stamina while generating minimal noise. Running is slightly faster, but produces more noise, potentially attracting nearby enemies. When speed matters most, break out into a full sprint to rapidly cover ground. Sprinting drains stamina and generates a significant amount of noise, prompting enemies to investigate. Reserve sprinting for desperate escape attempts, once you’ve already been spotted by enemies. While sprinting, drop to a crouched stance to initiate a slide. This is a stylish way to enter low ducts and other cramped spaces with low clearance. Moving while crouched is called sneaking. Sneaking is the slowest form of movement, but it’s also the stealthiest, making it more difficult for enemies to detect you. Make a habit of sneaking when enemies are near—this is particularly important if you’re unarmed or low on ammo. Jumping is sometimes necessary to reach high ledges or for vaulting over low objects.
Navigation
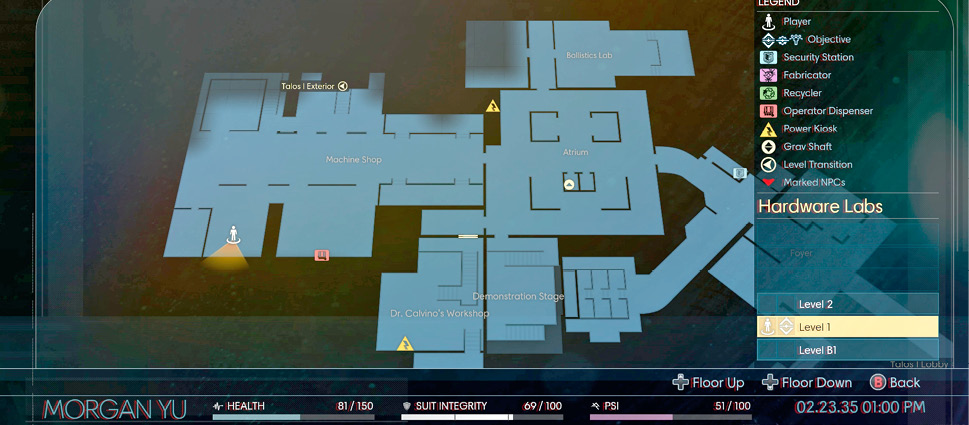
Talos I is a massive installation, consisting of 13 separate sections—don’t feel bad if you get lost. If you’re not sure where you are or where to go, access your TranScribe’s map. The map automatically shows your current location, including which floor you’re on. If you’re still not sure where to go, access the objectives tab on the TranScribe and select a main story or optional objective. This makes the objective active. Active objectives are marked on the HUD appearing as a small icon. Main story objectives are indicated by white icons while optional objectives are represented by blue icons. These icons function as waypoint markers, showing you exactly where to go for the selected objective.
Combat
Since TranStar acquired Talos I, there hasn’t been a Typhon containment breach. But the possibility exists. The Typhon are extremely intelligent and have demonstrated surprising resourcefulness in the past, escaping captivity on more than one occasion with disastrous results. TranStar’s security officers are completely unaware of the Typhon presence and are ill-equipped to deal with such a deadly and unpredictable threat. Therefore, surviving such a catastrophic event is your responsibility and yours alone.
Sneak Attack
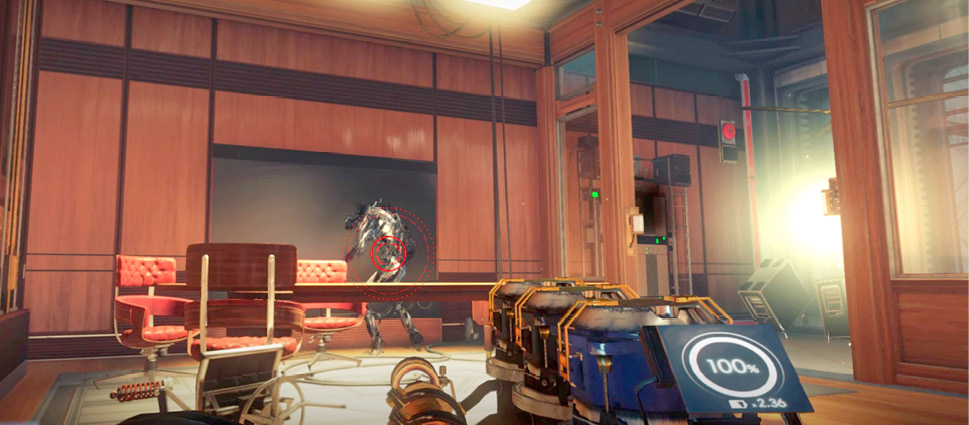
Whether you’re armed or not, Typhon entities should be avoided at all costs. Any confrontation with a Typhon organism will likely result in injury—and that’s a best case scenario. Sneak around the station as frequently as possible to avoid giving away your position. When you spot an enemy, make note of the white, arc-shaped detection meter above them. This meter indicates how aware the enemy is of your presence. If the meter appears, it means the enemy is investigating, but hasn’t detected you. However, if the meter turns red, it means you’ve been spotted—take this as your cue to flee or fight. If you must eliminate an enemy, initiate the attack before you’ve been spotted, preferably by attacking from behind. By striking an unaware enemy, you gain a 150% sneak attack bonus. While such attacks are rarely lethal, they deal significant damage and allow you to finish off the enemy without consuming as much ammo.
Combos
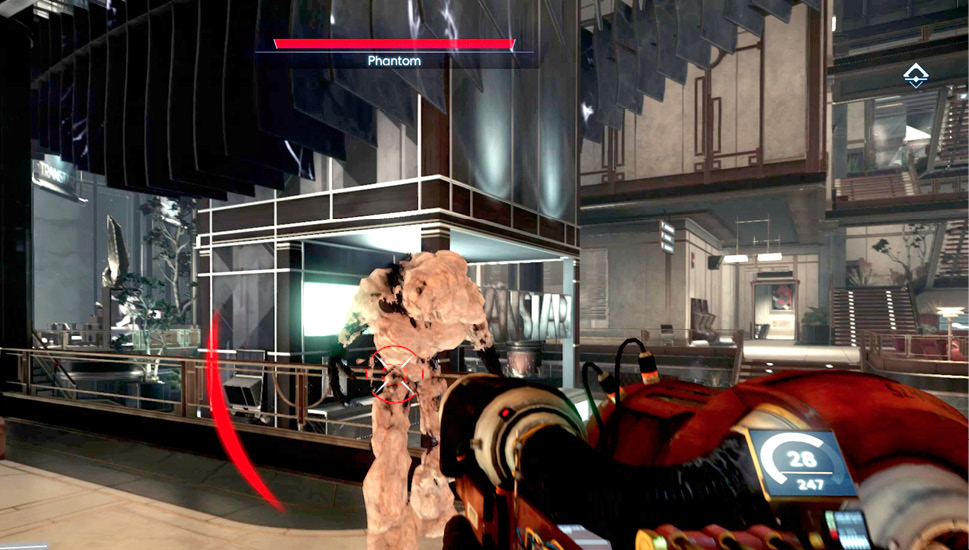
As you acquire more weapons and abilities, you can attack enemies with greater confidence and efficiency. Still, it’s important to maintain the element of surprise. Immobilize enemies with the GLOO Cannon or stun them with the Disruptor Stun Gun before attacking with more lethal weapons and abilities. Many Typhon enemies rely on Psi-based attacks. You can temporarily disable these abilities by hitting them with a Nullwave Transmitter or the Psychoshock ability. When confronting robotic enemies, disable them with EMP Charges or the Electrostatic Burst ability. But don’t let up once an enemy is disabled. Attacking disabled enemies results in bonus damage. Get comfortable with switching weapons during attacks and experiment with different combos.
Psi Targeting
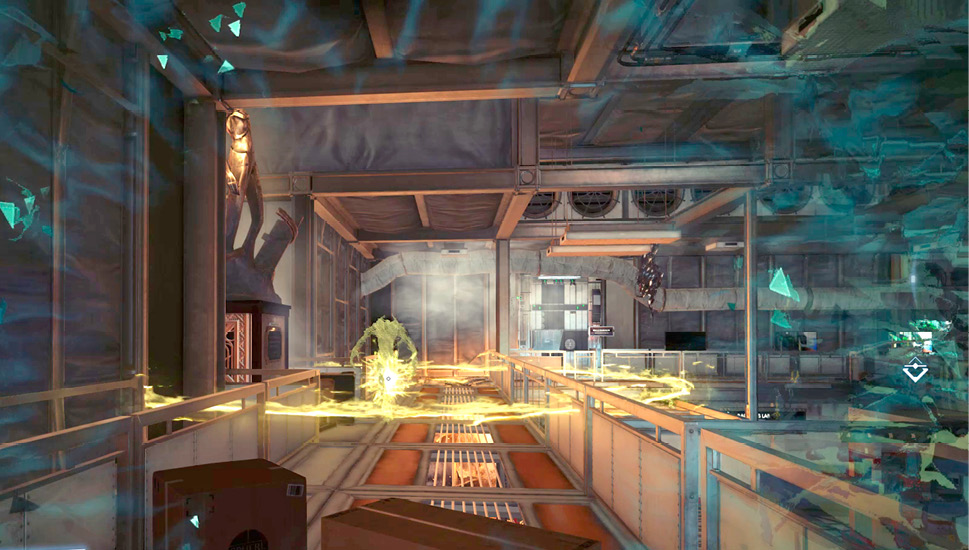
Combat Focus and many Typhon abilities require activation via Psi targeting mode. Before activating an ability, you must first select it from the Favorites Wheel. These abilities consume Psi energy, so make sure your Psi meter is adequately replenished. Consume a Psi Hypo or visit a Science Operator to replenish Psi energy. Next, press and hold the Psi targeting button/key to initiate this mode and select your target. Release the Psi targeting mode button/key to execute the ability. Typhon-based abilities like Kinetic Blast, Superthermal, and Psychoshock are very effective, inflicting heavy damage. Or rely on Combat Focus to slow time and deal bonus damage. The Psi abilities give you a tactical advantage in every encounter, so consider adding them to your arsenal.
Neuromod Enhancement
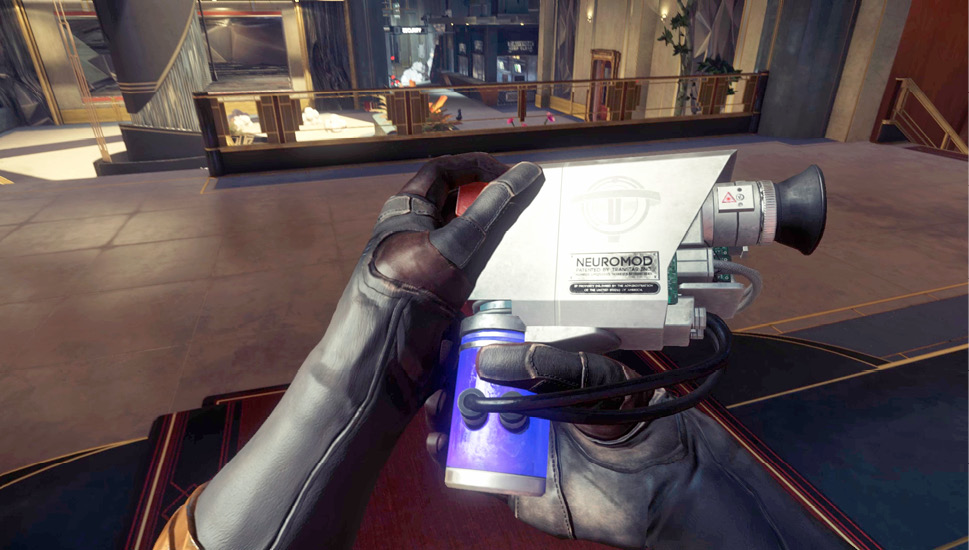
Throughout your adventure aboard Talos I, you encounter a number of Neuromods. These devices can be applied to obtain new abilities. Access the TranScribe’s Neuromod screen to view available abilities arranged in hierarchical skill trees. By default, only human abilities are available. But by researching Typhon organisms with the Psychoscope, you can discover a variety of Typhon abilities. For more information on both human and Typhon abilities, reference the Abilities chapter in this guide.
Psychoscope Research
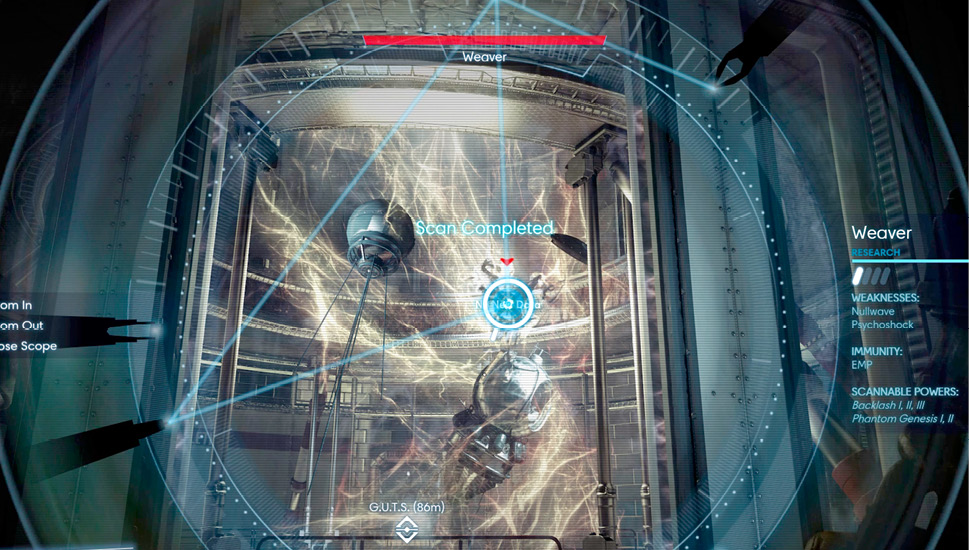
Once you’ve obtained the Psychoscope, you can use it to scan and research a variety of objects and entities, including Typhon organisms. A white diamond icon appears over any new scannable subject—take this as your cue to activate your Psychoscope. Keep the subject centered within the Psychoscope’s view while the scan is conducted. Upon the scan’s completion, a new entry is added to the TranScribe’s Data/Research tab providing more information on the scanned object or entity. Scans of Typhon organisms may also reveal new abilities, visible in the TranScribe’s Neuromod tab. Most Typhon organisms require multiple scans to complete their research. But you can’t scan the same subject multiple times to complete its research. Instead, you must scan different organisms of the same species to progress research. But don’t limit yourself to scanning Typhon. You can also scan Operators, turrets, and humans.