Prey Guide Walkthrough: Story Objectives
Reboot
RebootI can’t destroy Talos I without Alex’s Arming Key, but I’m stuck down here. Rebooting the station reactor will remove the lockdown Alex placed on the main lift and airlocks. Then I could move freely around the station. |
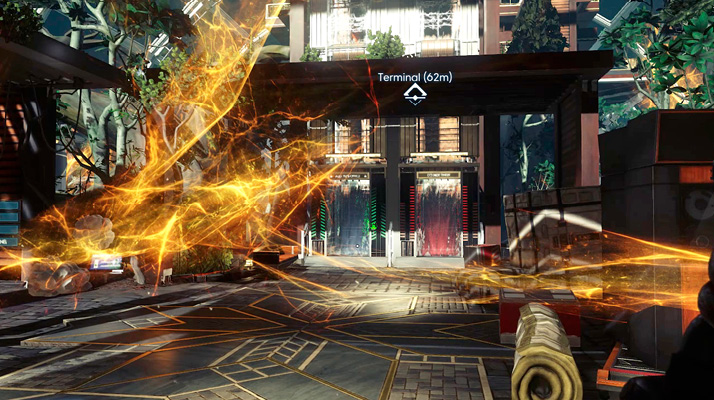
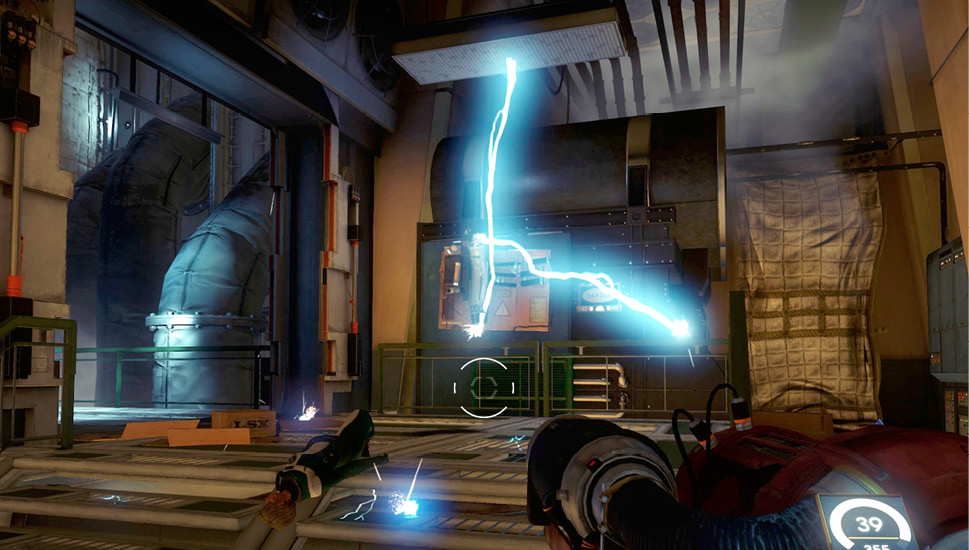
After eliminating the Etheric Phantoms, turn your attention to the malfunctioning electrical junction. The arcs of electricity have electrified the metal floor plates leading to the Grav Shaft. Smother the electrical junction with GLOO to temporarily halt the spewing arcs of electricity. This allows you to approach the electrical junction and conduct repairs. Before accessing the Grav Shaft and proceeding to the Power Plant, take some time to explore this area.
Service Requests
| Notable Items: | Weapon Upgrade Kit |
| Suit Repair Kit fabrication License | |
| EMP Charge (2) |
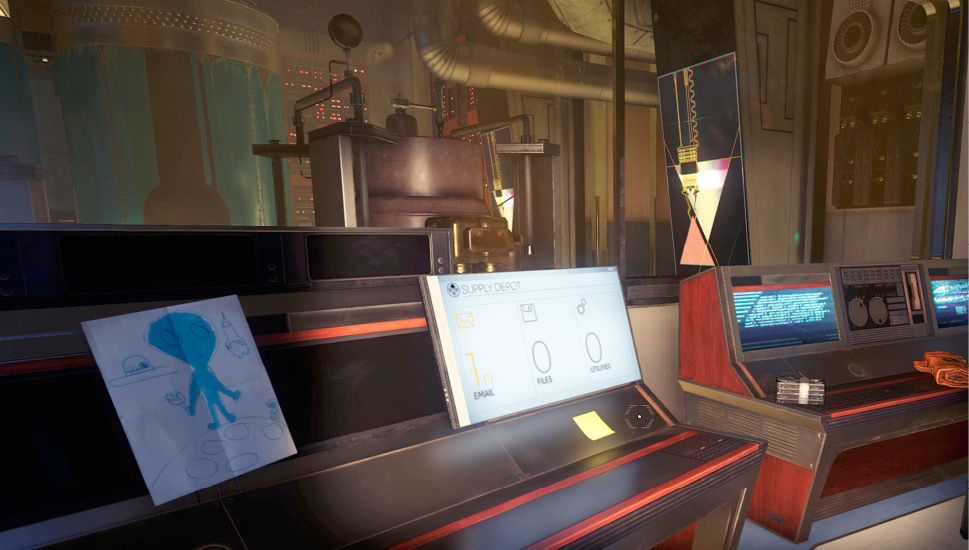
The door to the nearby Service Requests booth is damaged. Fortunately, there’s another way inside. Smash through the glass window with your wrench and climb into this small booth. Here you find a Suit Repair Kit fabrication license as well as a supply crate containing a Weapon Upgrade Kit and a couple of EMP Charges. You can also read an email on the Supply Depot workstation.
Medical Bay
| Notable Items: | Neuromod |
| Anti-Rad Pharma Fabrication License |
Ascend the nearby staircase and turn right to approach the Medical Bay. As you near the doorway, a radiation alert appears on the HUD. There’s a Cystoid Nest hanging from the Medical Bay’s ceiling. Keep your distance and shoot the Nest from the entrance. Back away as the Cystoids drop to the floor and engage them individually with your pistol of choice. Alternatively, toss in a Recycler Charge to wipe out all the Cystoids. With the Cystoids out of the way, maneuver past the shelves blocking the entrance. You can move the shelves if you possess the Leverage III ability. But you can also climb atop the shelves to squeeze your way in. Once inside, retrieve a Neuromod and an Anti-Rad Pharma fabrication license, contained in separate shelves. If your health is low, deploy a Medical Operator and interact with it to fully replenish your health.
Main Lift Access
| Notable Items: |
| Audio Recording: Remmer isn’t Remmer |
| Keycode: Security Station Safe |
| Silenced Pistol |
| Turret |
Exit the Medical Bay and round the corner to the right to access this hallway leading to the main lift. Here you find a broken turret and several bodies—something bad happened here. Search the bodies for supplies and ammo. Recover the note and TranScribe found on Erica Teague’s body. The note reveals the code to the safe in the nearby security booth and the TranScribe contains a recording featuring a conversation with Sarah Elazar.
Restroom
| Notable Items: |
| GLOO Cannon |
| Shotgun Shells Fabrication License |
| Keycard: Security Office |
| Audio Recording: Particle Injector |
| Psychoactive Particle Injector |
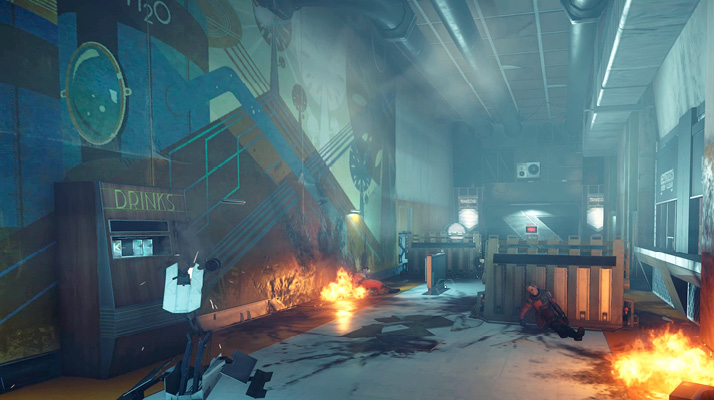
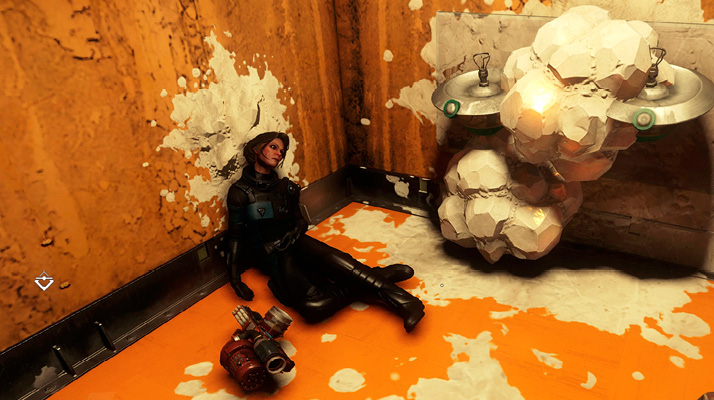
Smash through the GLOO with your wrench to enter the nearby restroom. Just inside the entrance you find the body of Alton Weber, along with a GLOO Cannon. Search Weber’s body to retrieve a Shotgun Shells fabrication license and a note. The note references a makeshift supply drop near the escape pods—was Weber involved in the smuggling ring? In any case, this supply drop is worth investigating.
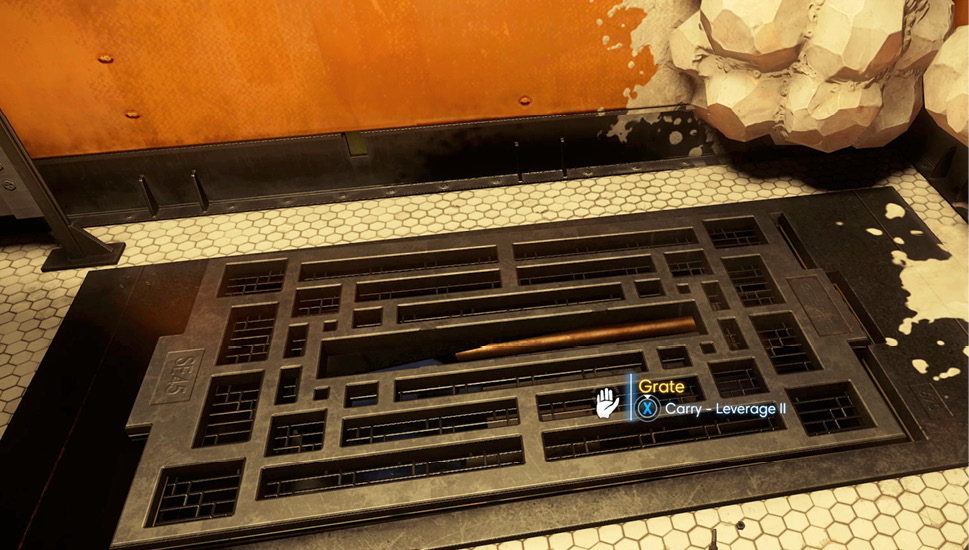
Search the floor of the restroom for this metal grate. If you possess the Leverage II ability, you can lift the grate. Alternatively, you can use the Lift Field Typhon ability to raise the grate. Beneath the grate is the keycard to the security booth in the adjoining hall.
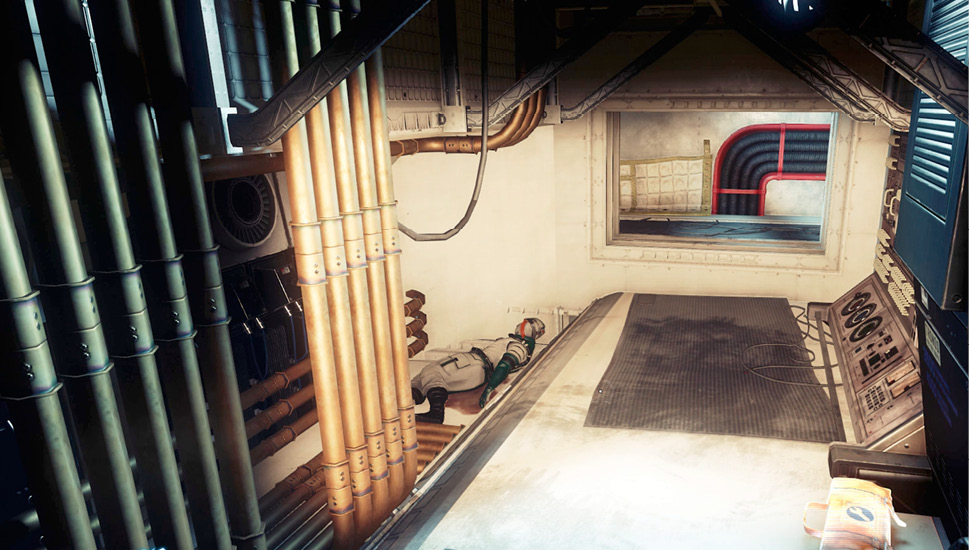
Open the maintenance access panel in the restroom and crawl through the adjoining duct. Here you find some spare parts and the body of Tobias Frost. Search his body to recover a TranScribe and a Psychoactive Particle Injector. Listen to the recording on the TranScribe to trigger a new optional objective.
Psychic WaterObjective Summary: A message from Tobias Frost mentioned a Psychoactive Particle Injector he wanted to connect to the station’s water supply. Now that I have the device, I just need to figure out where in the Water Treatment Facility to plug it in. The Water Treatment Facility area is in Life Support. Listen to the Particle Injector recording found on Tobias Frost’s TranScribe to trigger this objective. Be sure to grab the Psychoactive Particle Injector from Frost’s body as well. This device can be installed later once you reach the Water Treatment Facility. |
Security Booth
| Notable Items: |
| Neuromod (2) |
| Silenced Pistol Fabrication License |
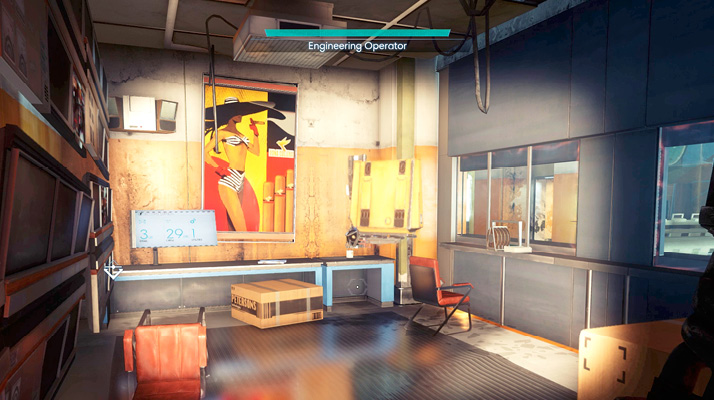
Using the keycard you found in the restroom, unlock the door to the security booth and step inside. Access the security station to download a map of Life Support. Also, read the emails, including the one titled, “Missing Engineer.” Afterward, open the safe, using the keycode retrieved from Erica Teague. The safe contains two Neuromods, a Silenced Pistol fabrication license, and some Shotgun Ammo.
Missing EngineerObjective Summary: Engineer Jean Faure was reported missing. Her last known duty was to repair life support related machinery in Power Plant. I should check to see if she’s still alive. Read the Missing Engineer email on the security station to trigger this objective. While still accessing the security station, select the Crew tab and search for Jean Faure, assigned to Life Support. Tracking Jean Faure reveals she is deceased and located somewhere in the Power Plant. You can resume this objective later, once you access the Power Plant. 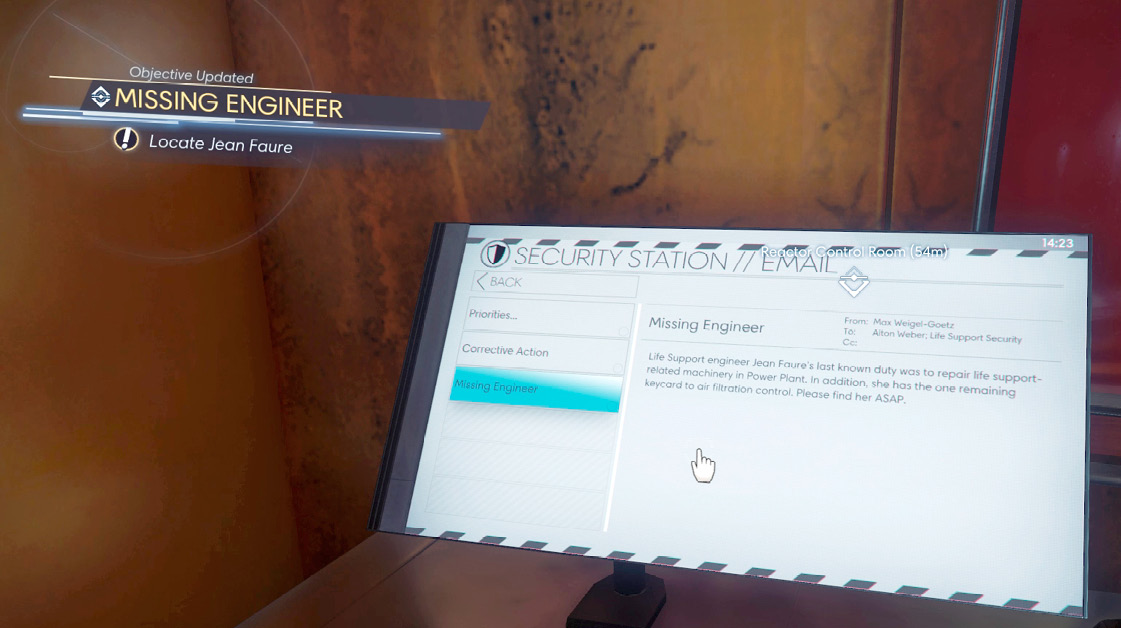
|
Locker Room
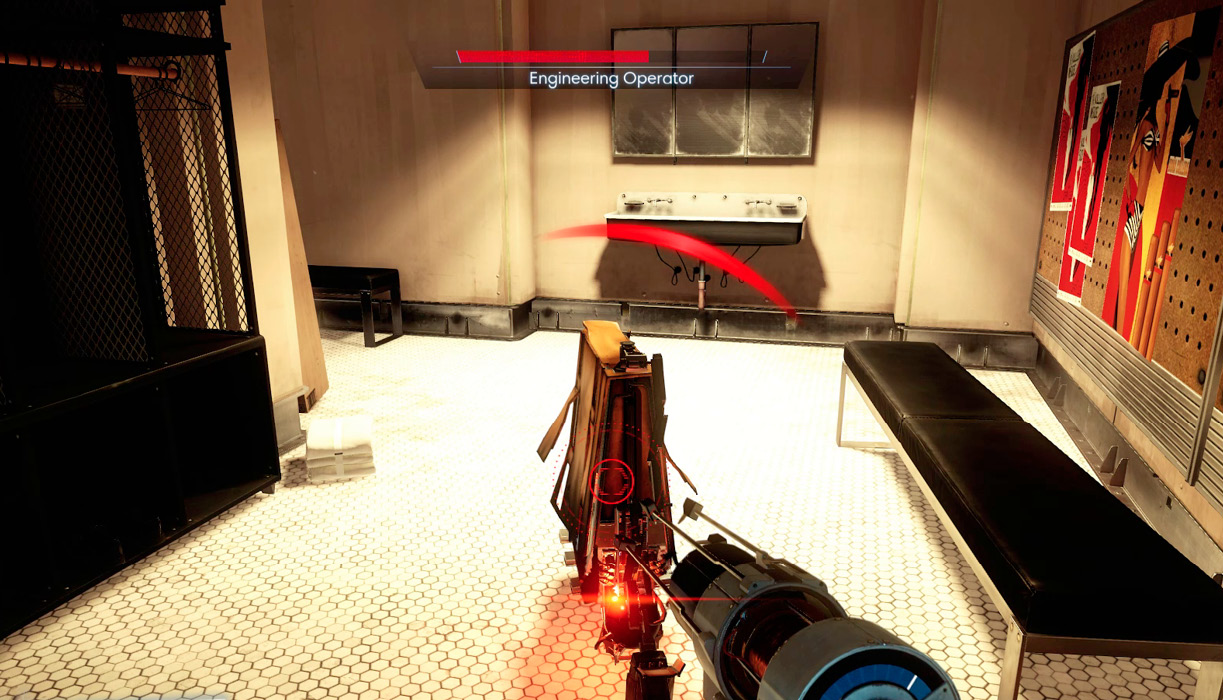
Head back downstairs to the foyer and turn right to pass through a decontamination chamber leading toward Atmosphere Control. After exiting the decontamination chamber, turn right to enter a locker room. Here you find a dormant corrupted Operator—take it out with your Disruptor Stun Gun before it notices you. Locate a maintenance access panel in the locker room partially hidden by a crate. If you have the Leverage I ability, you can move the crate and enter the duct behind the panel. This duct provides an alternative and more covert entrance to Atmosphere Control. Entering Atmosphere Control at this stage is purely optional. But this is a good time to explore and clear the area of threats.
Atmosphere Control
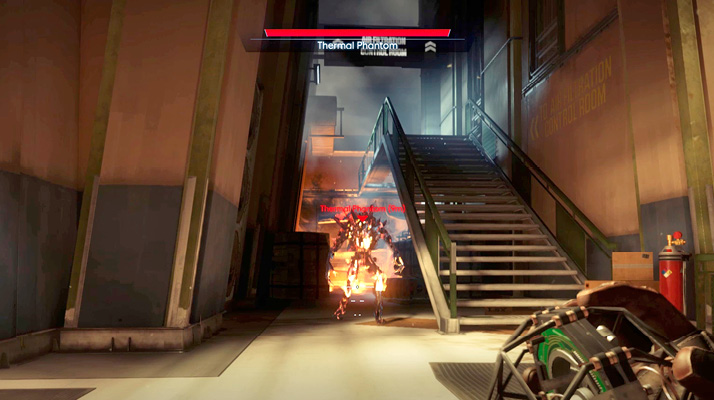
Atmosphere Control is patrolled by two corrupted Operators and two Thermal Phantoms. Stay low to avoid detection and hunt each of these enemies down, taking them out one by one—avoid confrontation where you’re outnumbered. Take down the corrupted Operators with the Disruptor Stun Gun. Hit each Thermal Phantom with a Nullwave Transmitter to nullify its abilities before taking it down with the Q-Beam or Shotgun.
Fan Console
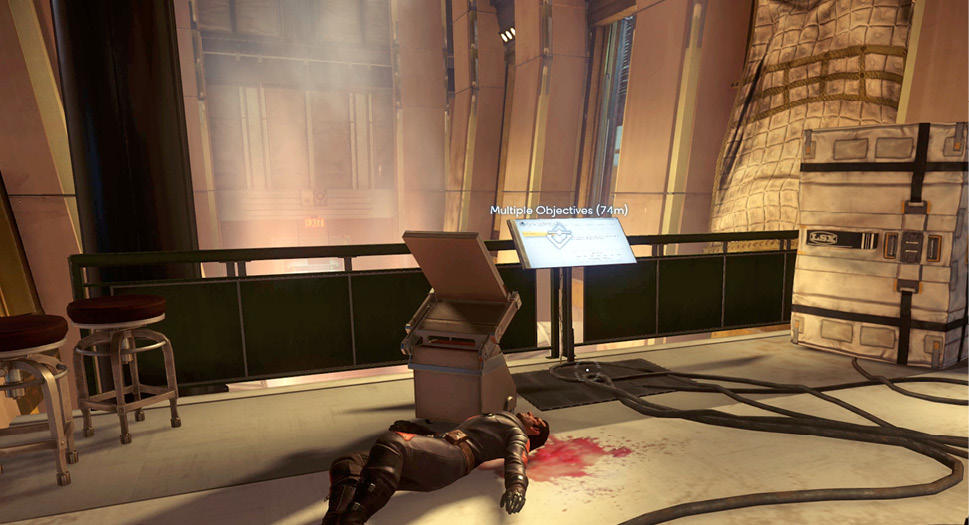
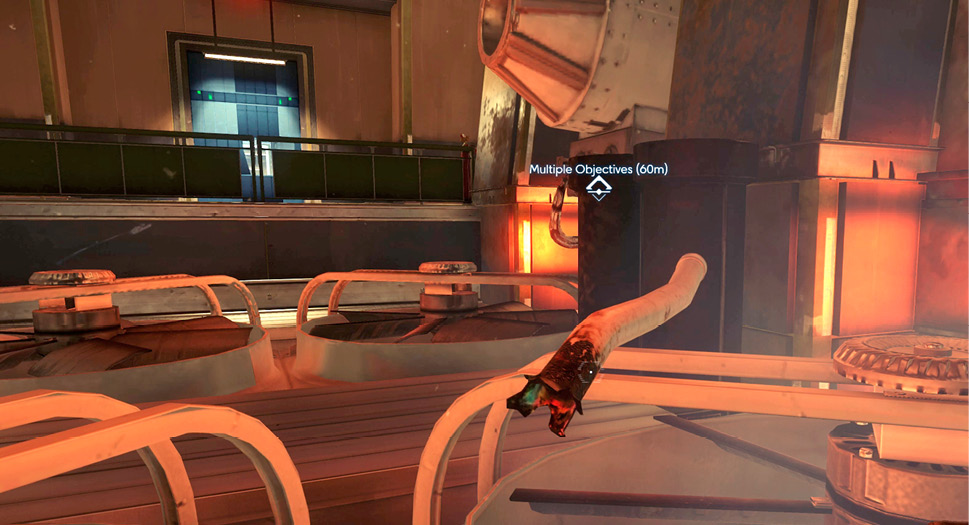
After clearing out the Thermal Phantoms and corrupted Operators, access the console at the backside of the room, next to Alan Biachi’s body. This console controls the fans responsible for circulating oxygen throughout the station. Select the “Check Fans” button to run a quick diagnosis of the system—apparently fan 3 is malfunctioning. Select “Fan Controller Interrupt” to temporarily halt the fans. Drop down toward the fans and locate fan 3 (it’s obstructed by a metal beam). Remove the beam, then return to the console before the fans automatically reactivate. You may need to use your GLOO Cannon to create footholds to escape.
Oxygen Flow Control Room
| Notable Items | Keycode: Supply Closet |
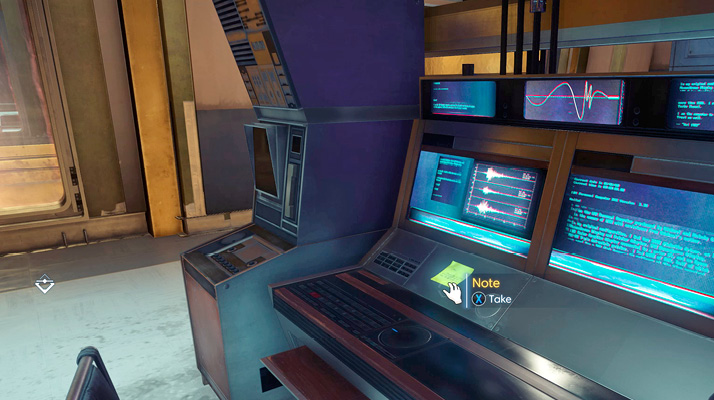
The door to Oxygen Flow Control is locked, but there are a couple of alternative entrances. The easiest is by breaking the window next to the staircase. You can also access a maintenance access panel on the opposite side of the room—create GLOO deposits to reach the panel. Or you can simply hack the keypad. Regardless of how you enter, be ready to take out a corrupted Operator inside. Search the center console for a note containing the keycode to a supply closet located near the Grav Shaft.
Air Filtration Control Room
| Notable Items: | Audio Recording: I Saw Something |
| The Starbender Cycle: Book 4 |
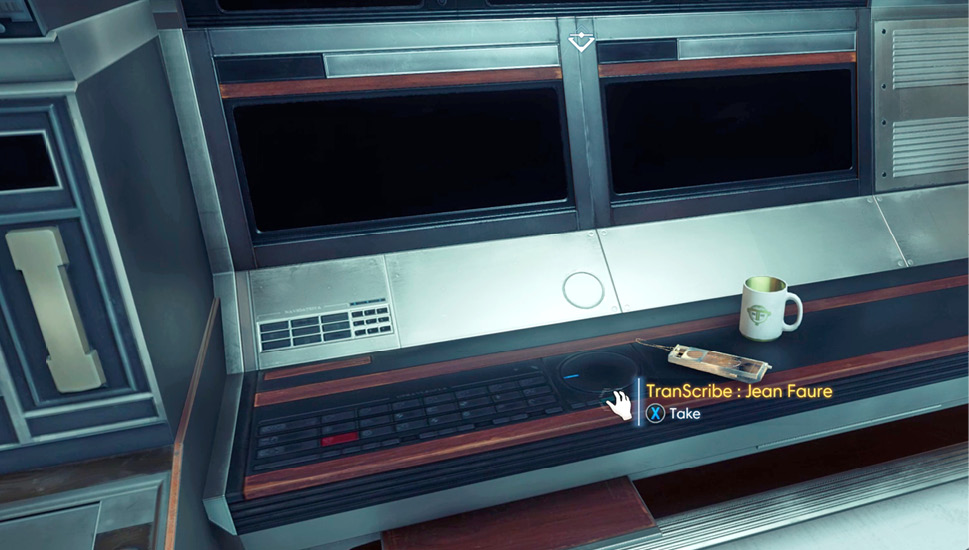
This room is occupied by a Poltergeist. Grab Jean Faure’s TranScribe and listen to the recording while waiting for the Poltergeist to show itself. The fourth volume of The Starbender Cycle is also located in this room. When the Poltergeist appears, attack aggressively with your Shotgun. In a room this small, there isn’t much space for the Poltergeist to hide, so don’t be afraid of shooting at the specter’s last known position—there’s a good chance you’ll score a hit. Once the Poltergeist has been eliminated, investigate Jean Faure’s workstation to read an email. Under Utilities, you can also initiate a decontamination sequence, sucking all of the oxygen out of Atmosphere Control—if you haven’t dealt with the Thermal Phantoms yet, this is a good option. The door leading to the Atmosphere Control Room is locked. You’ll need to retrieve the keycard from Jean Faure’s body in the Power Plant.
Grav Shaft
Exit Atmosphere Control and proceed to the Grav Shaft, leading to Life Support’s lower level. As you exit the Grav Shaft, a Technopath can be seen in the distance moving toward the Water Treatment Facility.
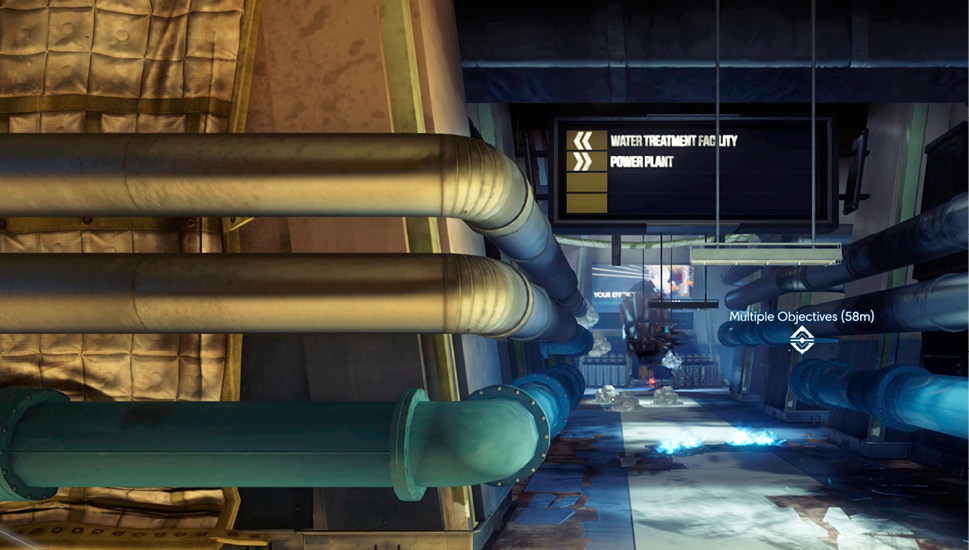
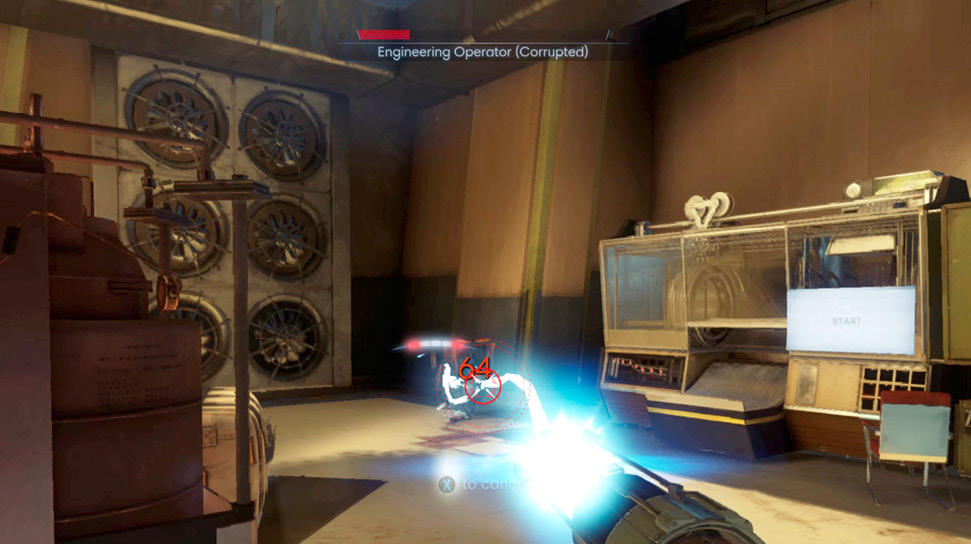
Ignore the Technopath for now and turn your attention toward a corrupted Operator next to the nearby Fabricator—hit the corrupted Operator with your Disruptor Stun Gun before it detects you. If you’re running low on ammo or other supplies, use the Fabricator to restock.
Supply Closet
| Notable Items: |
| Neuromod (3) |
| Nullwave Transmitter Fabrication License |
| Weapon Upgrade Kit |
| Typhon Lure (3) |
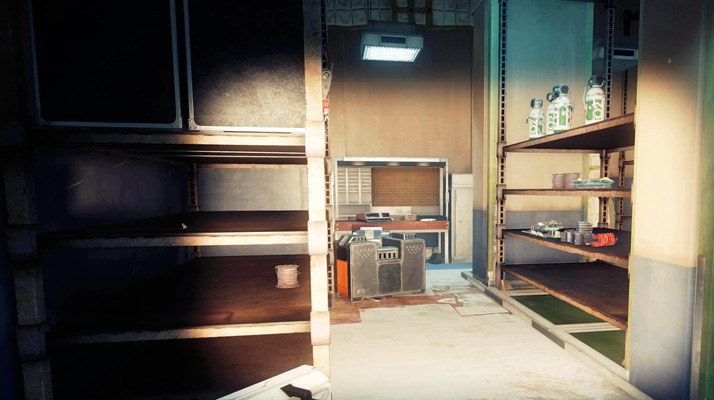
Use the keycode retrieved from the Oxygen Flow Control room to open the door to the supply closet near the Grav Shaft. The closet contains several useful supplies including three Neuromods, a Nullwave Transmitter fabrication license, a Medkit, a Weapon Upgrade Kit, and a few Typhon Lures.
Escape Pods Corridor
| Notable Items: | Shotgun |
| Scope Chipset | |
| Turret |
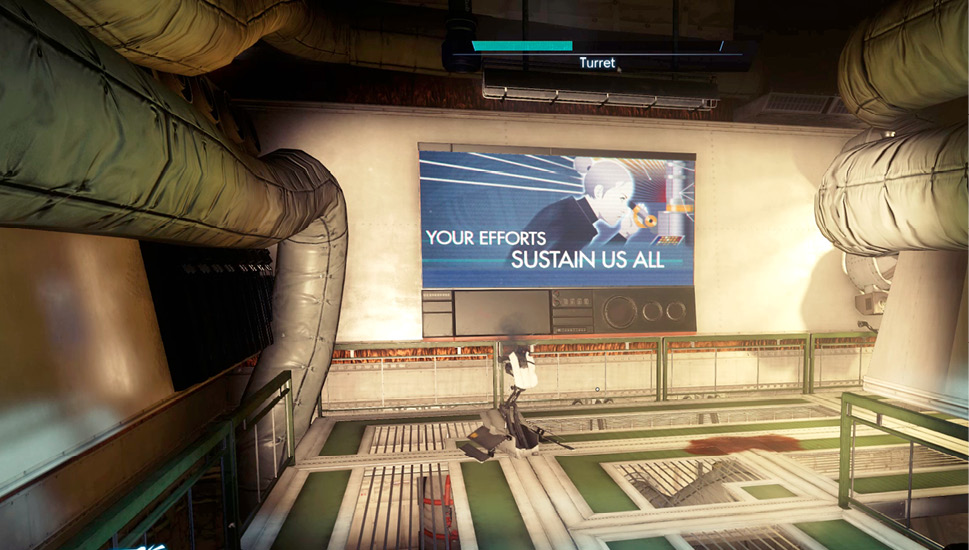
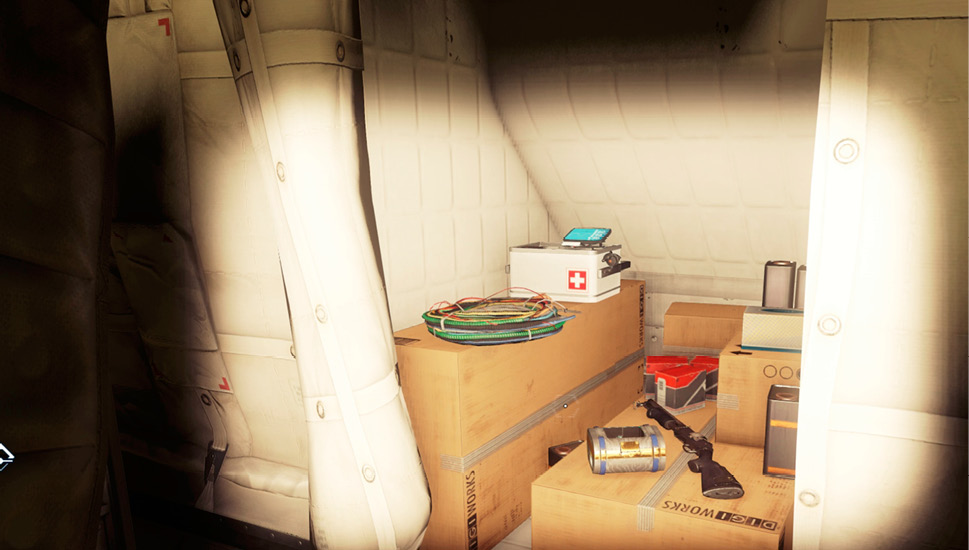
After leaving the supply closet, enter the corridor leading to the Escape Pods. There’s a secret cache located beneath this metal walkway, left by Alton Weber. Drop off the side of the walkway near the broken turret to access a crawlspace beneath. A small alcove here contains a Shotgun, some Shotgun ammo, a Scope Chipset, and a Medkit. Once you’ve gathered these items, return to the walkway—follow the white conduit leading up and jump onto the walkway. Repair the broken turret and carry into the Escape Pods chamber.
Escape Pods
| Notable Items: | Audio Recording: Escape Pod Failure | Audio Recording: The Drunk Tank |
| Scope Chipset | Recycler Charge |
There’s a Phantom and Etheric Phantom patrolling this area. Sneak inside and deploy your turret without being detected. As the turret opens fire on the Phantoms, join in the fight, striking the Phantoms with your Shotgun or Q-Beam. The Phantom was once Kirk Remmer. Search his remains to retrieve a TranScribe and some other supplies. Remmer’s recording (Escape Pod Failure) chronicles technical issues encountered when crew members attempted to evacuate Talos I.
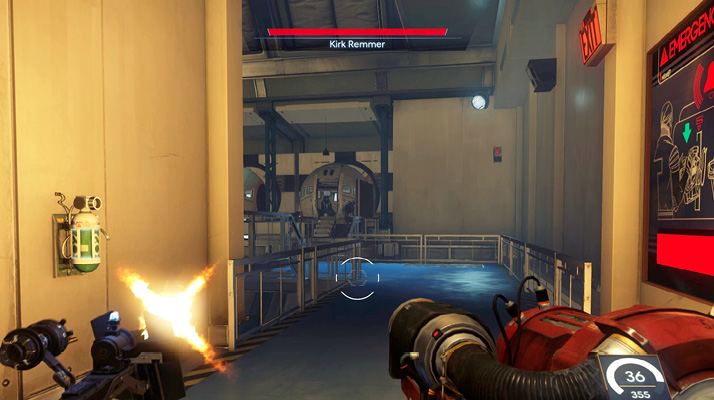
This chamber is filled with deceased crew members who were unable to escape Talos I due to some sort of malfunction with the escape pods. Search the bodies on the walkways and in the escape pods to retrieve supplies. Enter one of the escape pods to search Emily Carter and retrieve another TranScribe. Listen to Carter’s recording to trigger an optional objective. You can open the closed escape pods by pressing the button next to it. But one of the buttons is broken, requiring repairs. If you choose to repair and push this button, be ready to engage a Greater Mimic emerging from the escape pod. Back away and let your turret deal with it before searching Angela Diaz’s body.
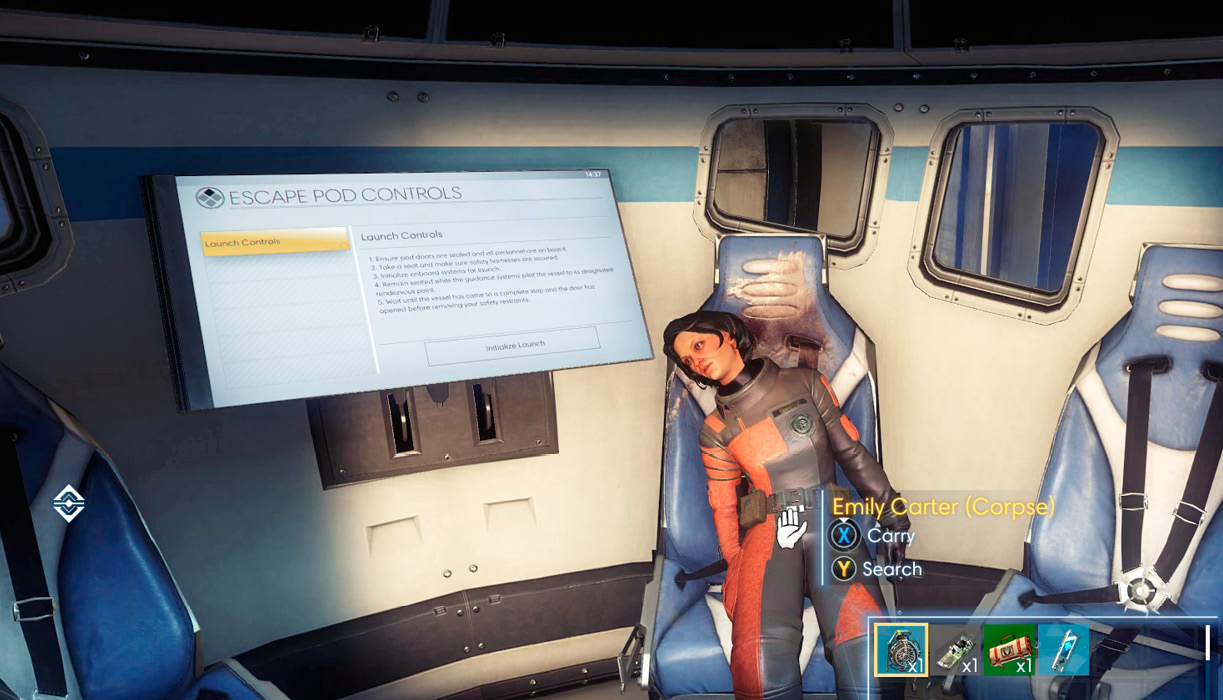
Drunk TankObjective Summary: Price Broadway appears to be missing from before the Typhon outbreak. Listen to the recording (The Drunk Tank) found on Emily Carter’s TranScribe to unlock this objective. You can resume this objective once you access the Water Treatment Facility. |
Power Plant Access
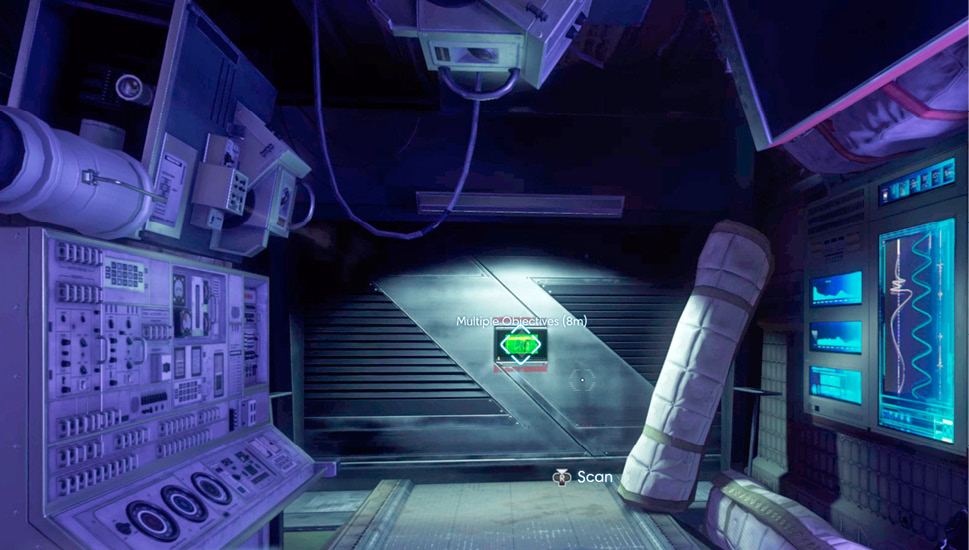
Exit the Escape Pods chamber and return to the Grav Shafts, following the waypoint marker toward the Power Plant. Be ready to engage a corrupted Operator along the way—hit it with your Disruptor Stun Gun before it detects you. Continue to advance to the Power Plant door…but something’s wrong. Scan the door with your Psychoscope to reveal a Corrupted Device. The Technopath you spotted earlier has locked down this door, preventing you from accessing the Power Plant. You need to find the Technopath and eliminate it before you can continue.
Water Treatment Facility
| Notable Items | Turret |
Return to the intersection where you destroyed the corrupted Operator and approach the door to the Water Treatment Facility. This door is unpowered. If you have the Leverage III ability, you can force the door open. Otherwise, you’ll need to find another way in. Look up and to the right to spot a catwalk. Climb along the pipes lining the corridor until you can jump onto this catwalk—be ready to engage another corrupted Operator here. On the catwalk, open a maintenance access panel and crawl through the adjoining duct to access the Water Treatment Facility.
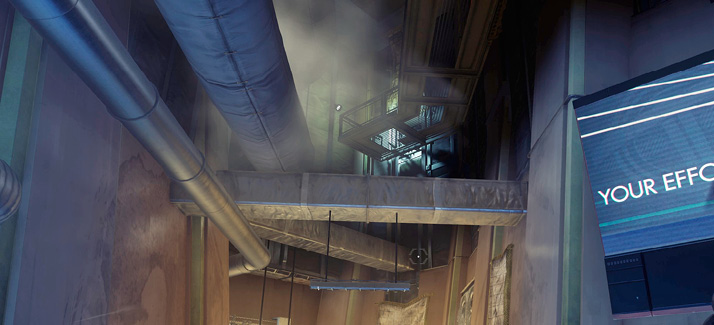
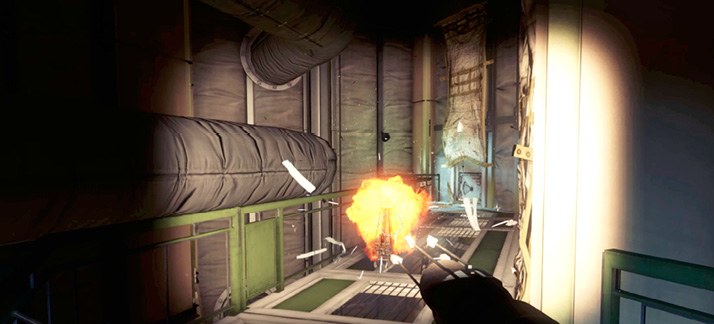
Entering through the duct gives you a tactical advantage, allowing you to spot the Technopath without being detected. Top-off the ammo in your Q-Beam, then toss an EMP Charge down at the turret-toting Technopath. The EMP Charge disables the turret and stuns the Technopath. Immediately open fire with the Q-Beam until the Technopath explodes. Killing the Technopath removes the corruption from the Power Plant door. But before heading to the Power Plant, take a moment to explore the Water Treatment Facility.
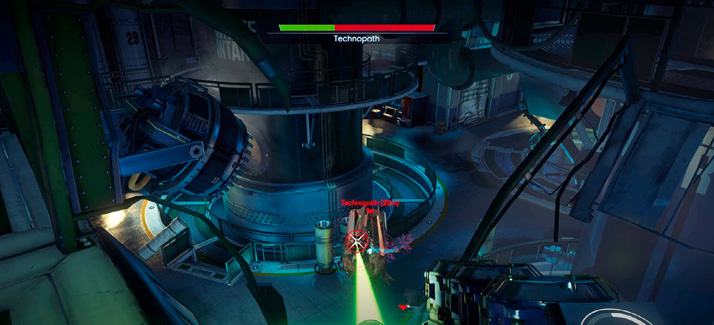
Drop to the floor, using your propulsion system to slow your descent. Locate the console next to the entrance and restore power to the facility. This powers the door, allowing for easier entries and exits. Next, locate the turret dropped by the Technopath and deploy it. There are few more enemies here, so it’s a good idea to have a turret watching your back.
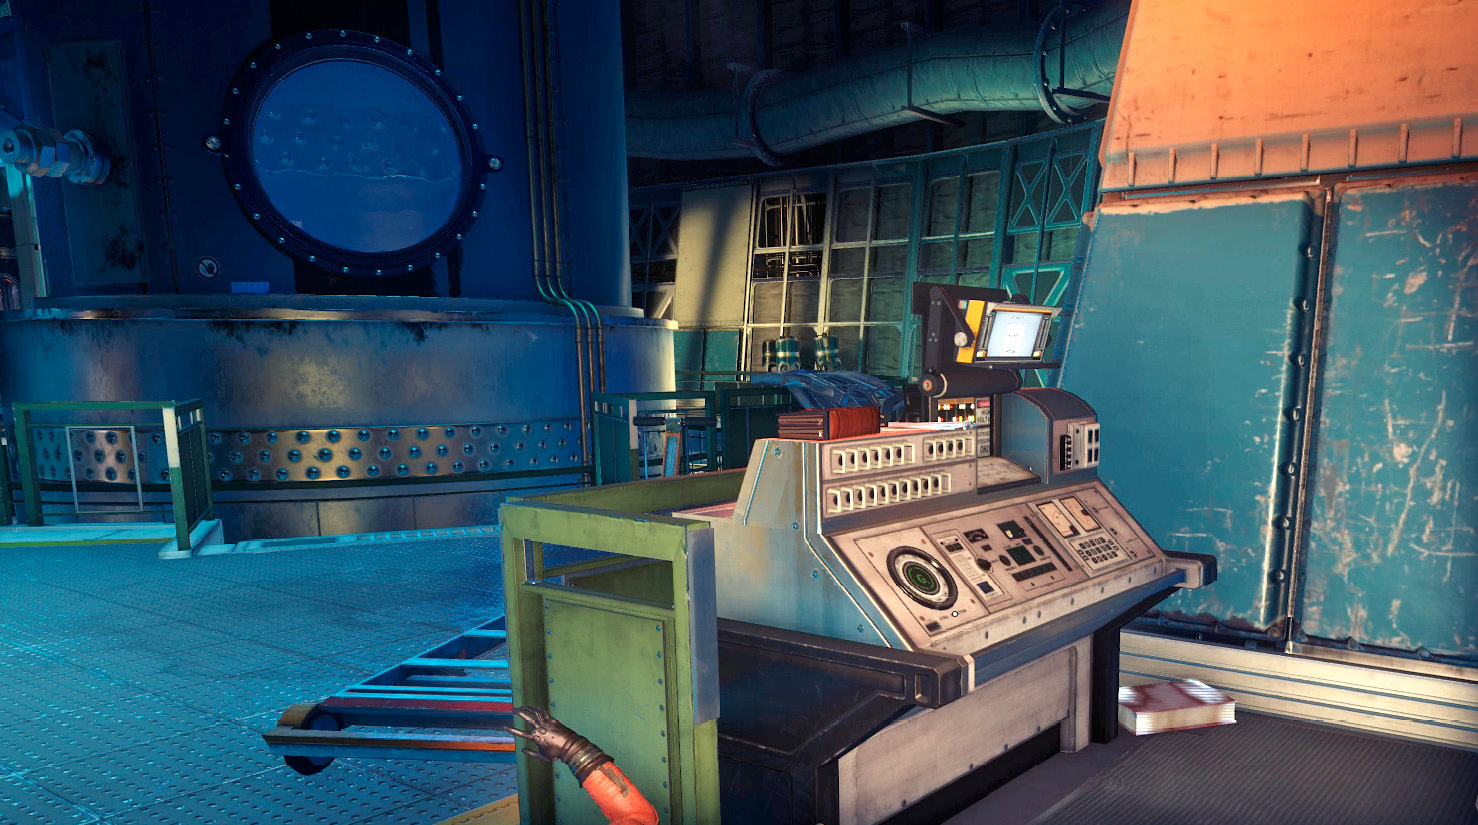
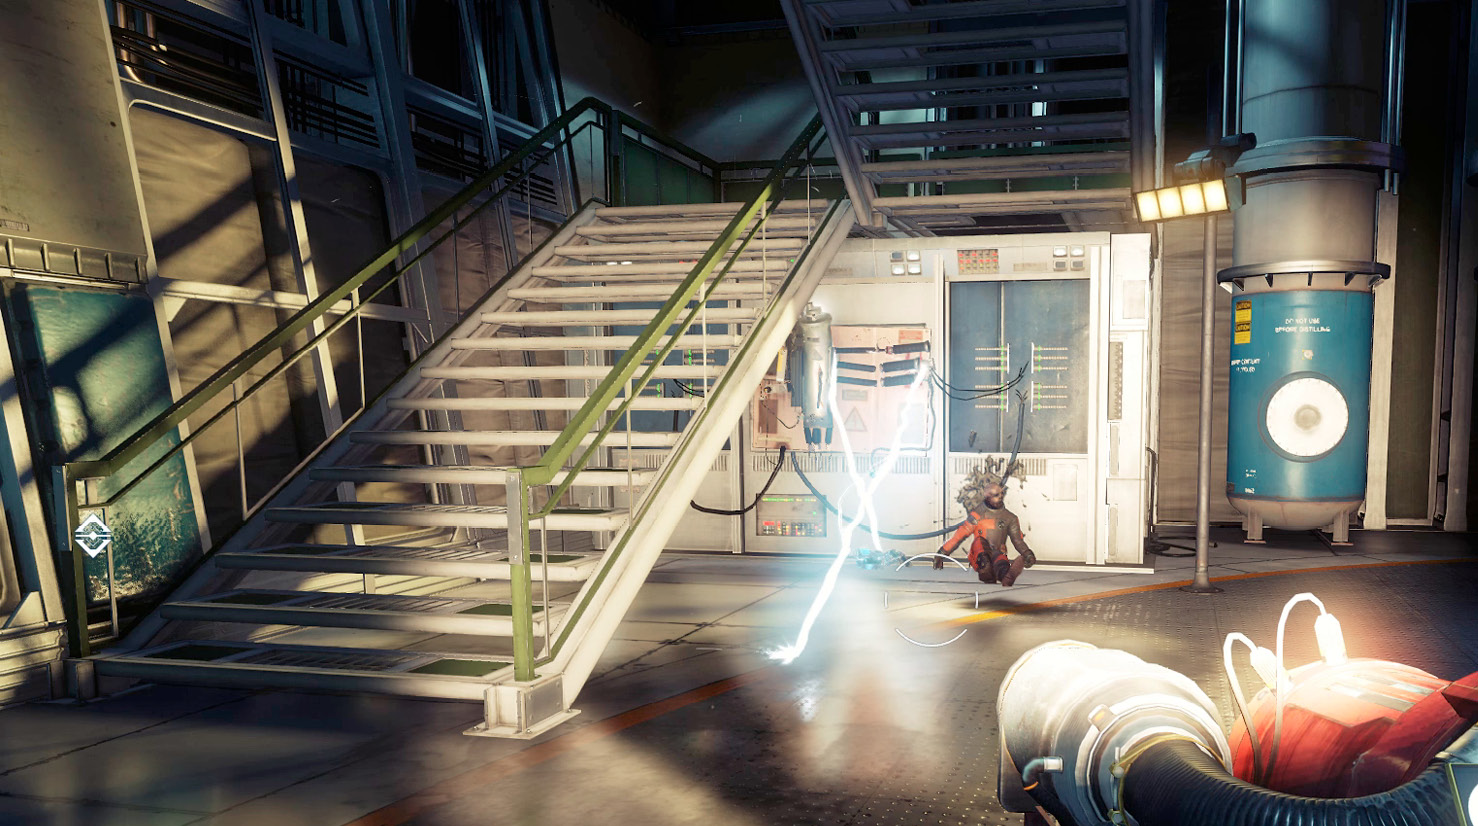
Turn to the staircase by the entrance and repair the damaged electrical junction. Use your GLOO Cannon to smother the junction before attempting any repairs. This allows you to search Roger Meir’s body without getting electrocuted. You can also ascend the staircase to the catwalk system. Follow the catwalk to the Monitoring Station.
Monitoring Station
| Notable Items: | Password: Price Broadway | Suit Chipset |
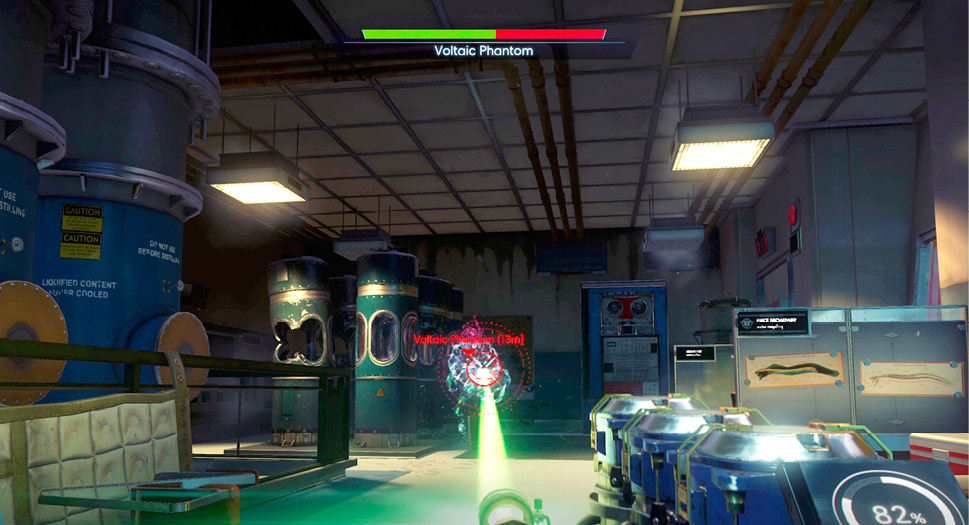
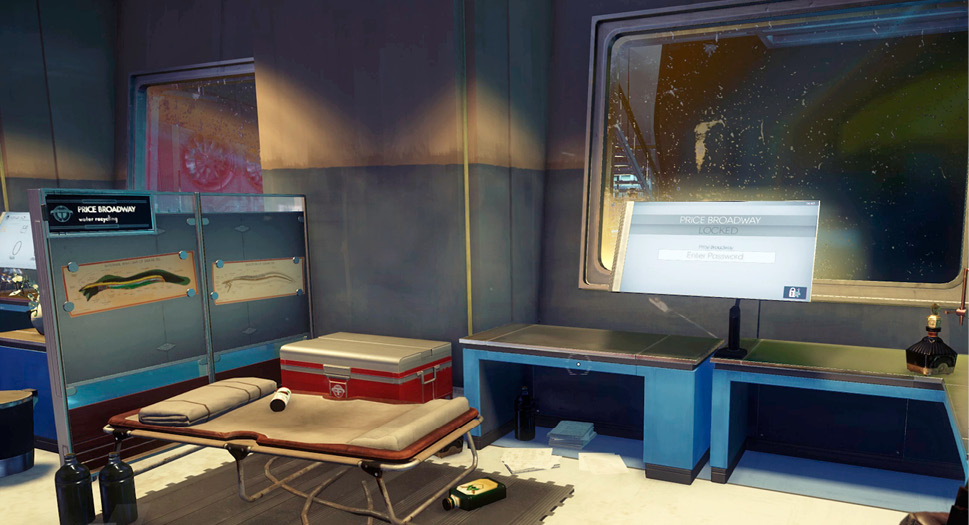
Prep an EMP Charge before entering the Monitoring Station (there’s a Voltaic Phantom inside). As the door opens, locate the Voltaic Phantom and toss the EMP Charge toward it, temporarily nullifying its abilities. Finish off the Voltaic Phantom with your Q-Beam or Shotgun. Once the Voltaic Phantom has been eliminated, search the supply crate next to Price Broadway’s workstation to discover a note containing his password. This allows you to access his workstation. Under the workstation’s Utilities tab, press the Unlock Processing Terminal button—this allows you to access the Eel Tank Controls. Some emails on the workstation reference Price’s alcohol problem. While you’re here, you can also access Abigail Foy’s workstation to read another email.
Water Quality Lab
| Notable Items | Neuromod (2) |
Exit the Monitoring Station and head for the Water Quality Lab. This lab can be accessed via a damaged catwalk (you’ll need to use your GLOO Cannon to reach it). Alternatively, you can use Mimic Matter to slip through the damaged door near the Monitoring Station. Use your Disruptor Stun Gun to take out a corrupted Operator inside, then search the lab for supplies, including two Neuromods, a Medkit, and some material blocks.
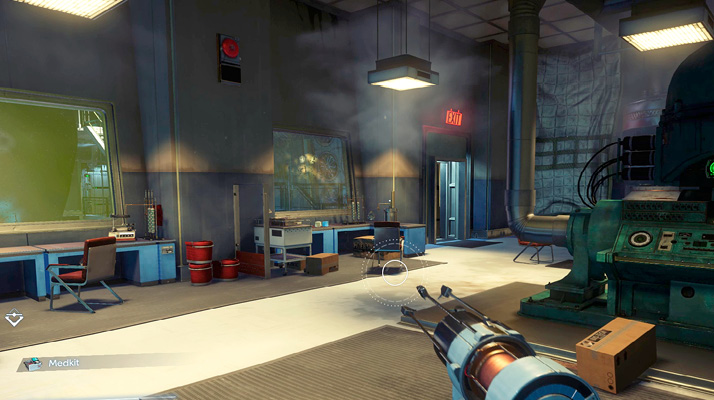
Psychic Water (continued)Interact with this piece of equipment to insert the Psychoactive Particle Injector you retrieved from Tobias Frost. Once installed, the objective is complete. 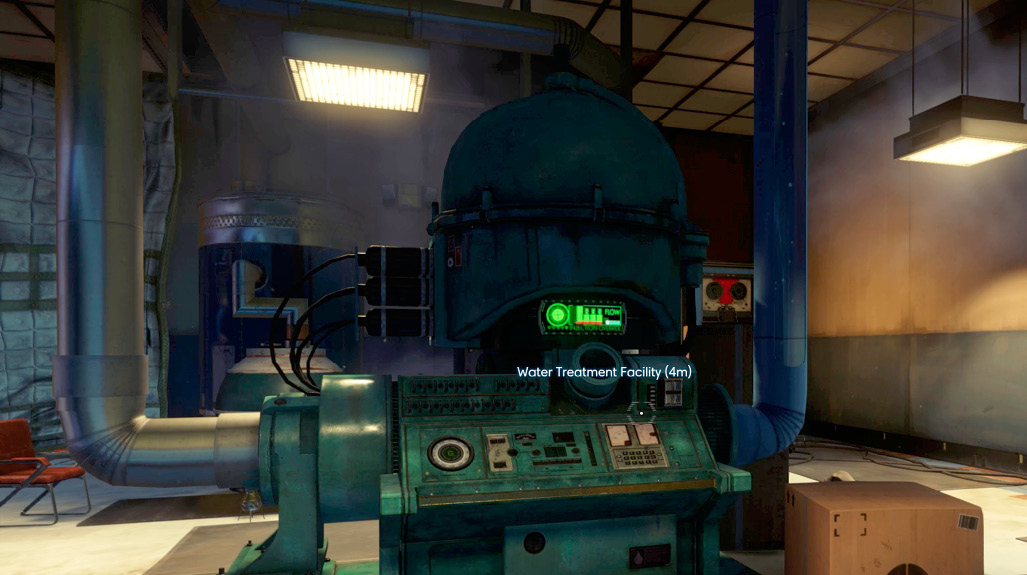
|
Waste Processing
| Notable Items | Neuromod |
Return to the facility’s ground floor and approach the Waste Processing chamber near the Grav Shaft. A Voltaic Phantom is down here. Toss an EMP Charge down at the Voltaic Phantom, then attack with your Q-Beam from above. Once the Voltaic Phantom has been eliminated, use the Grav Shaft to enter the chamber.
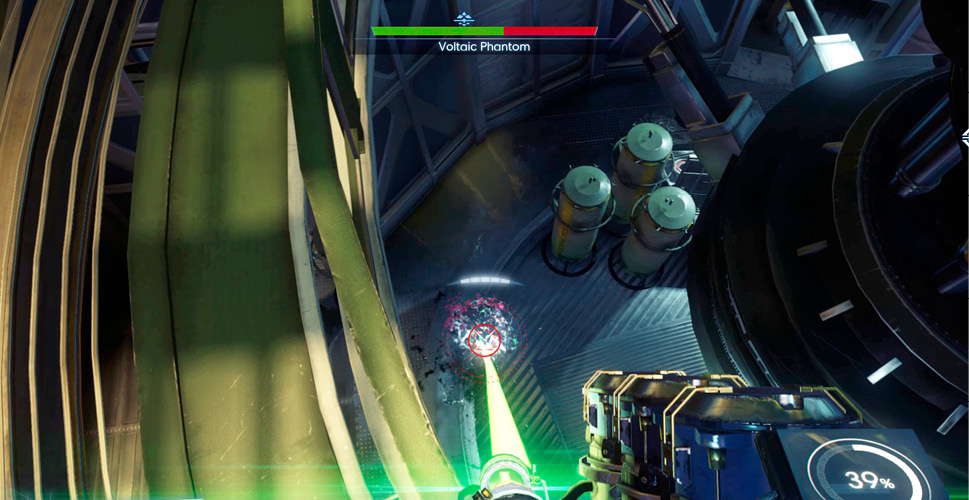
Drunk Tank (continued)In the Waste Processing chamber, interact with the Eel Harvesting console and select the Harvest Eels option. This causes the large tank to open, spilling out dead eels and Price Broadway’s body. Be ready to engage a Greater Mimic dropping out of the tank as well, and hit it with your Shotgun. Search Price Broadway’s body to retrieve a Neuromod and a note explaining how eels are used to consume waste aboard Talos I. Discovering Price Broadway’s body completes this objective. 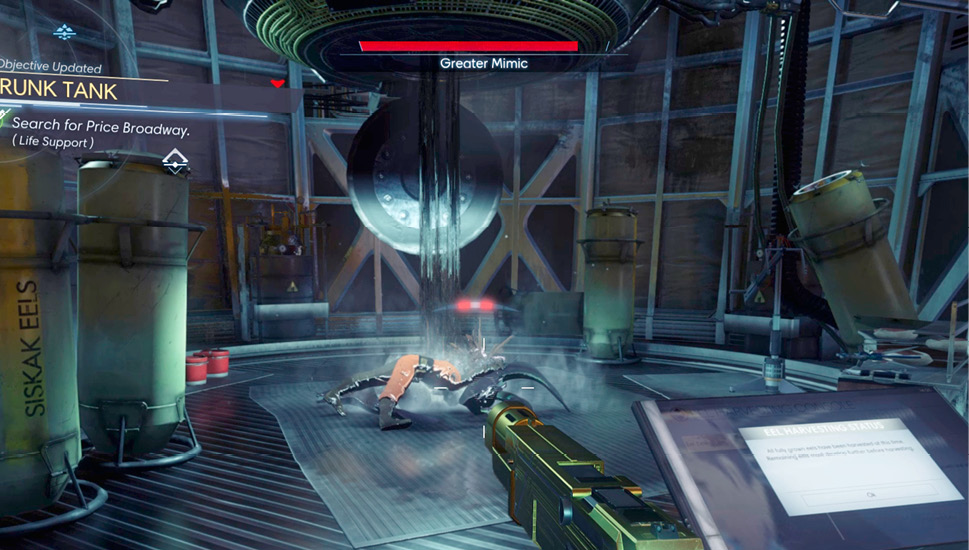
|
Treasure Hunt (continued)Use the Grav Shaft to return to the main floor and turn right to locate this white “3” painted on the wall. Hordinbaffle’s treasure map points to this location, providing another clue. Focus on the 3 until the clue is registered in your TranScribe’s objectives. Now you just need to investigate the location in Melindra’s treasure map before you can wrap up this objective. 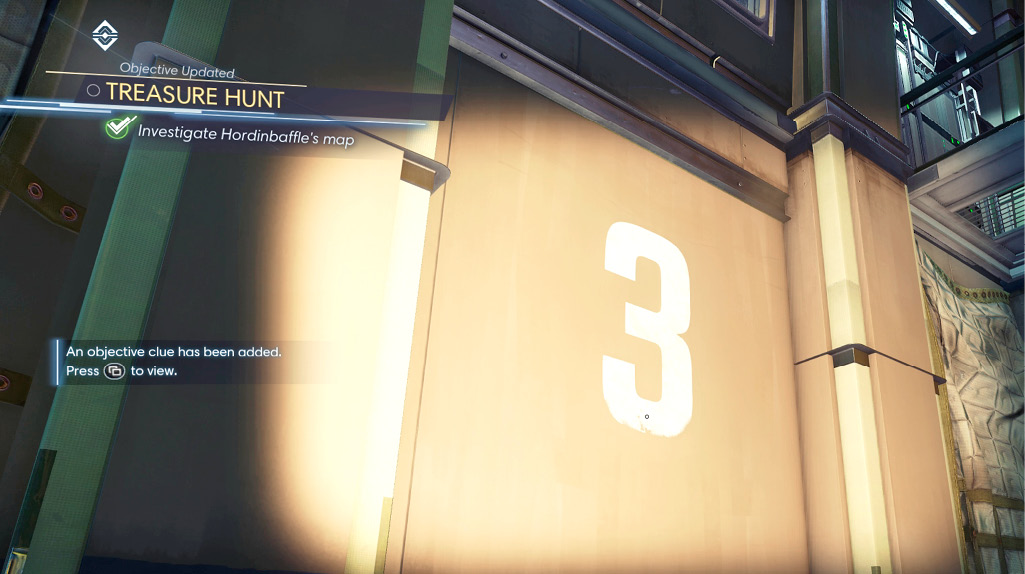
|
Power Plant Access
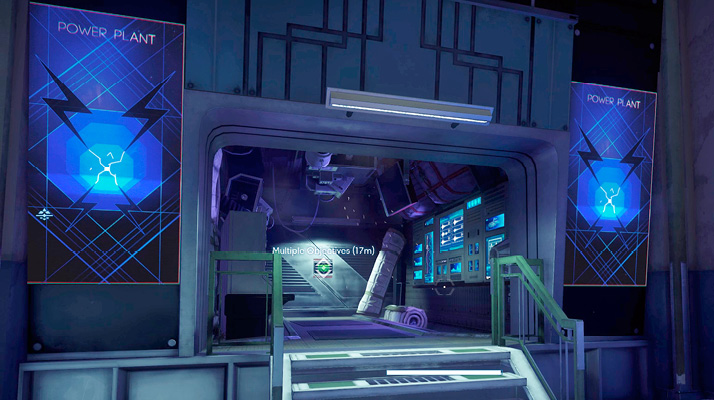
Leave the Water Treatment Facility and proceed to the Power Plant door. Having defeated the Technopath, the door is now functional, allowing you to enter the Power Plant.
Power Plant
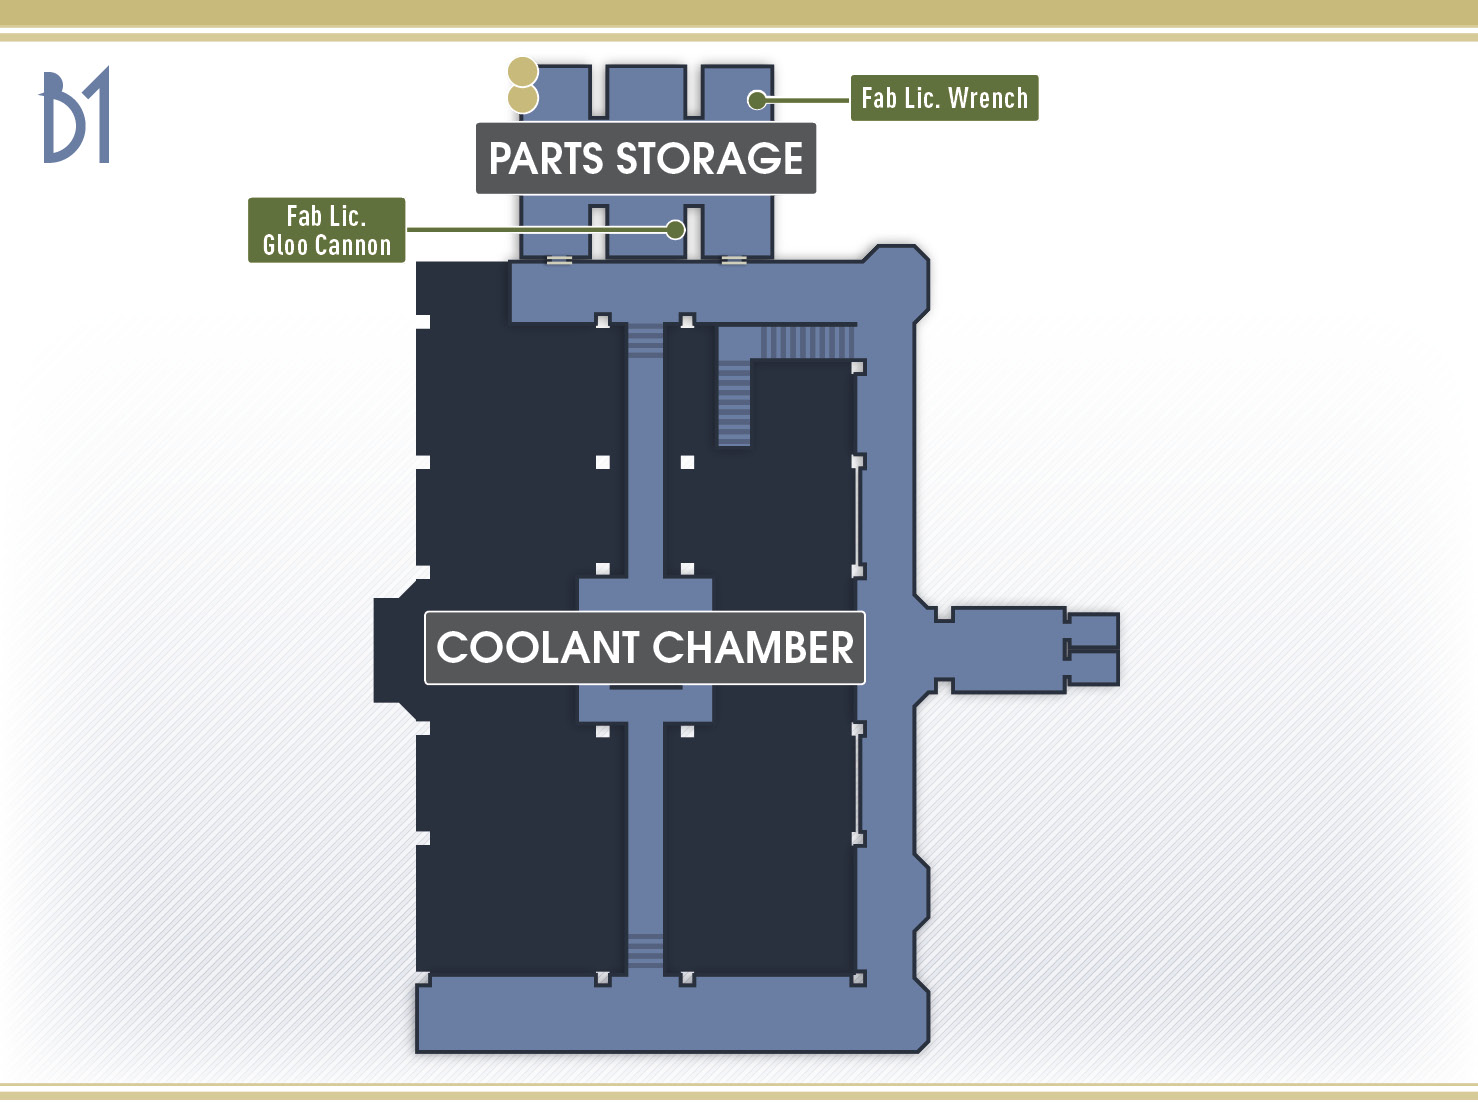
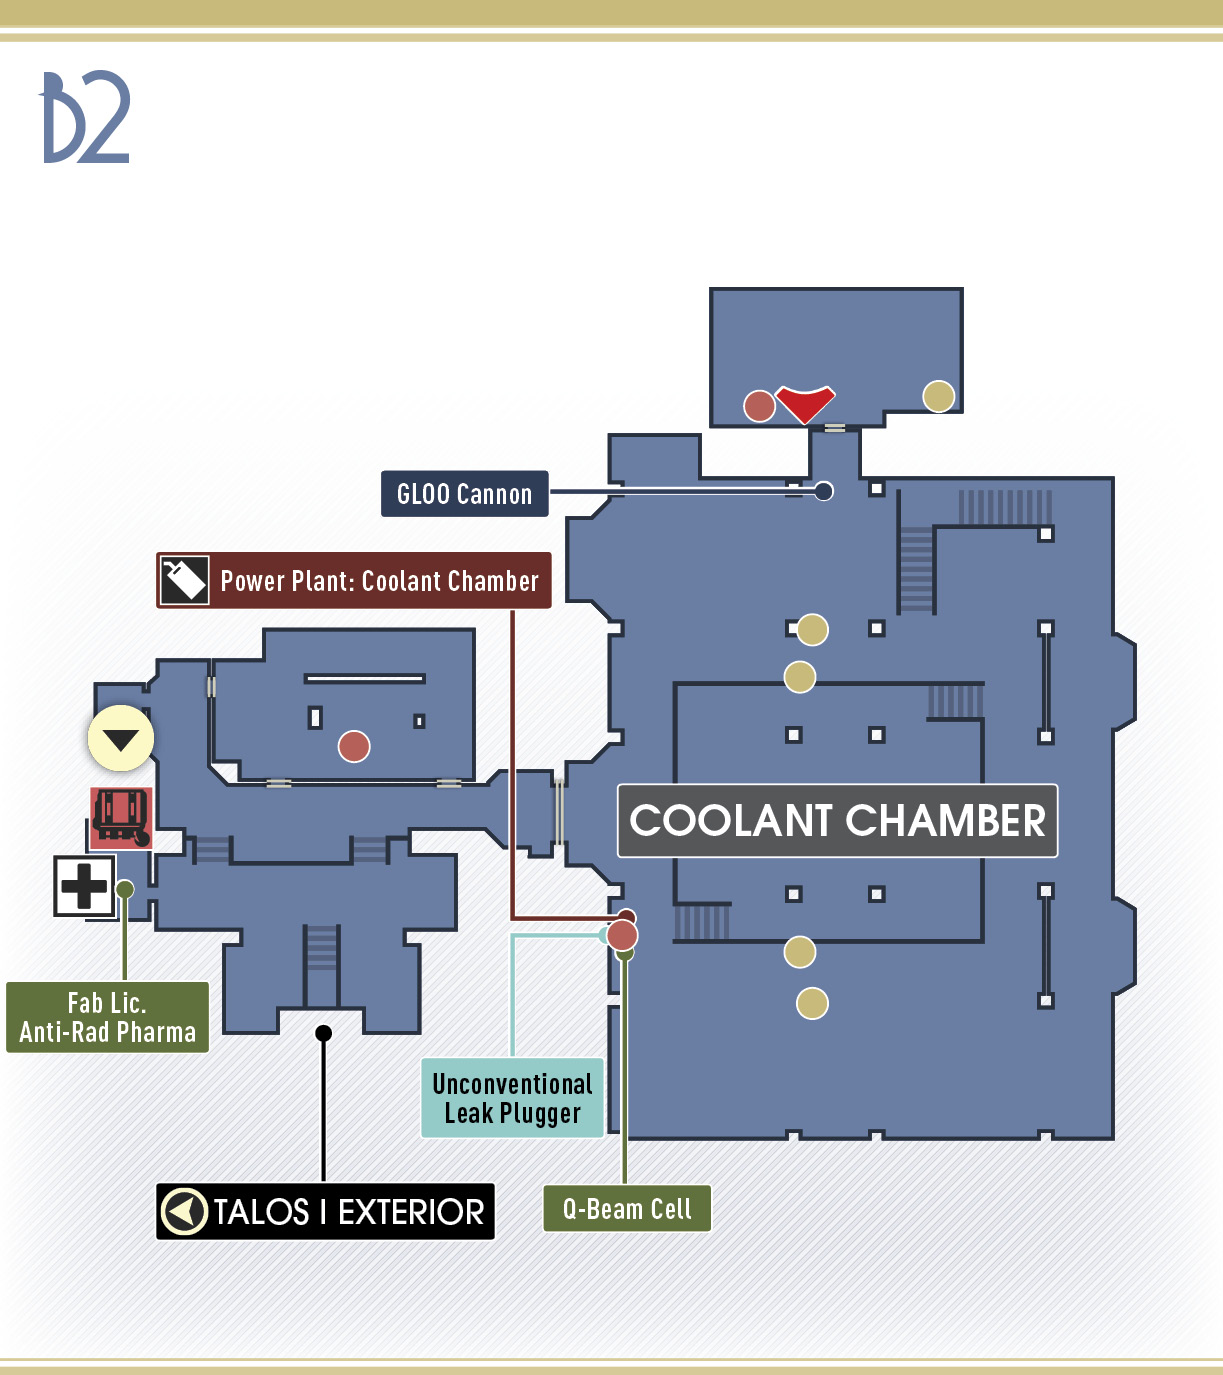
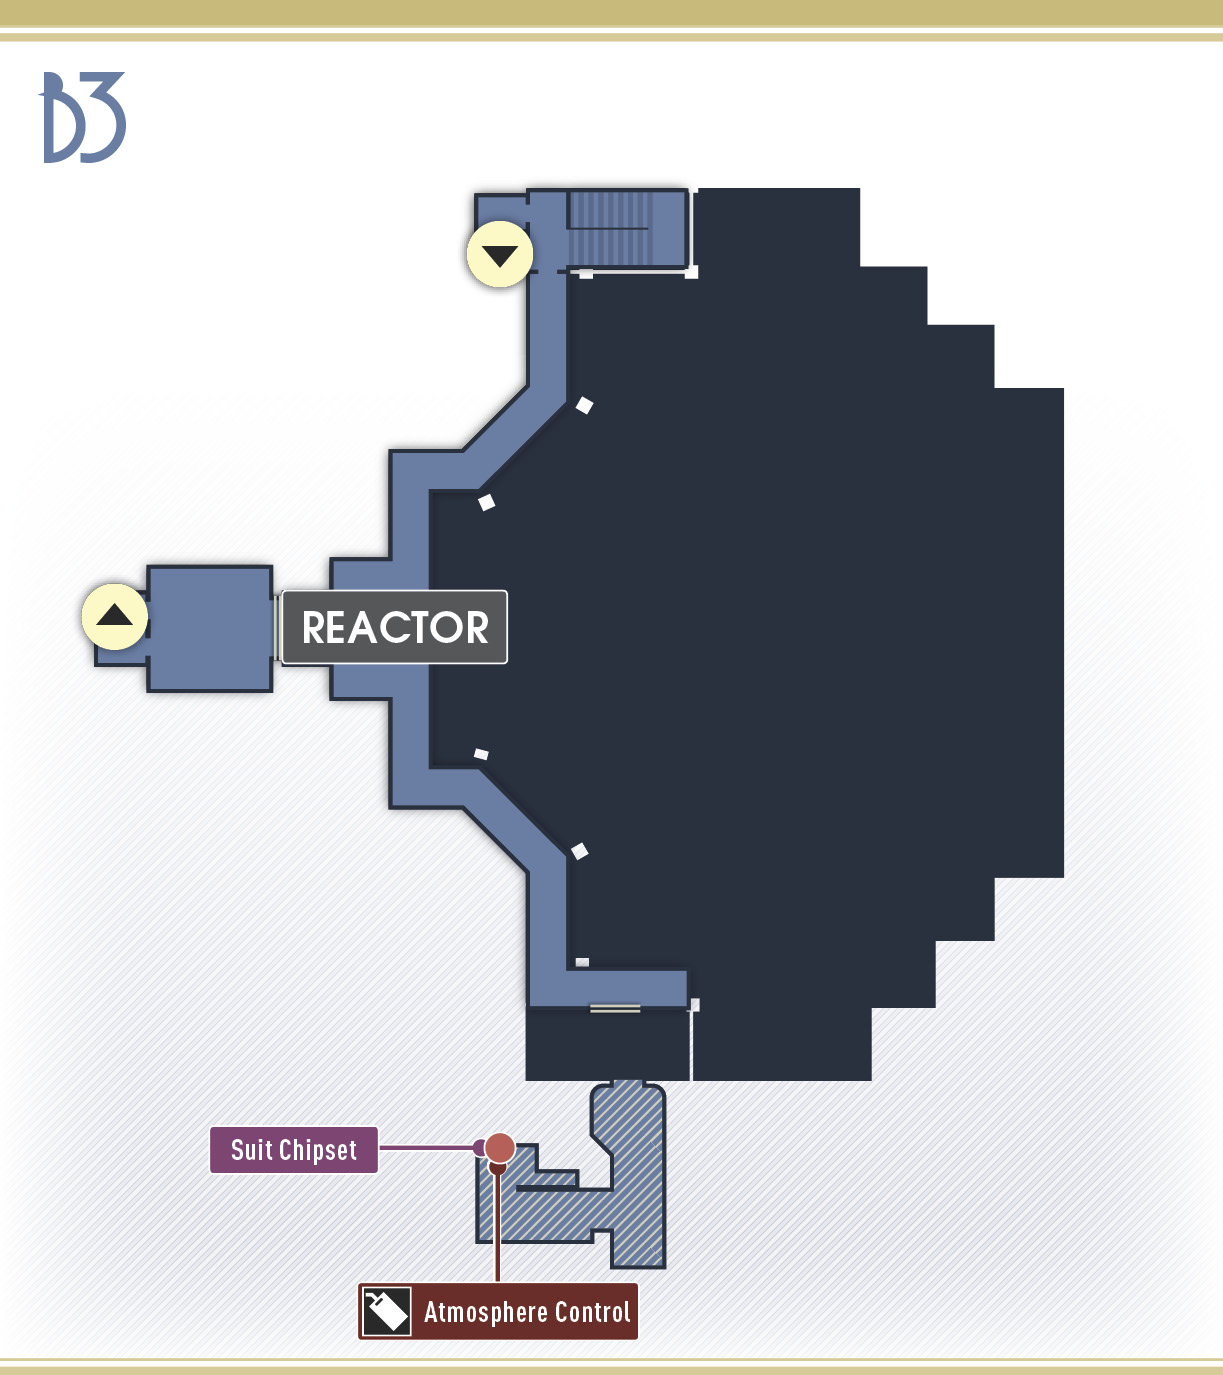
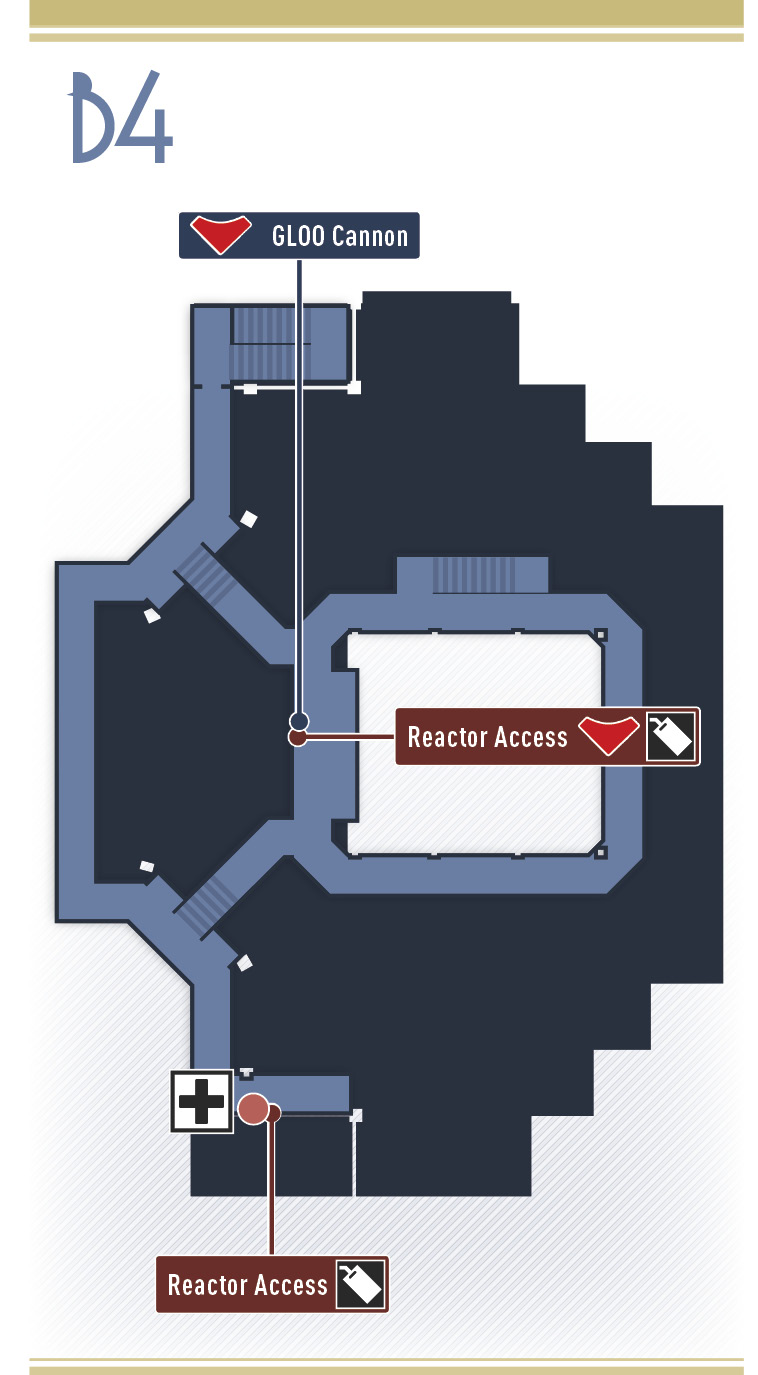
Foyer
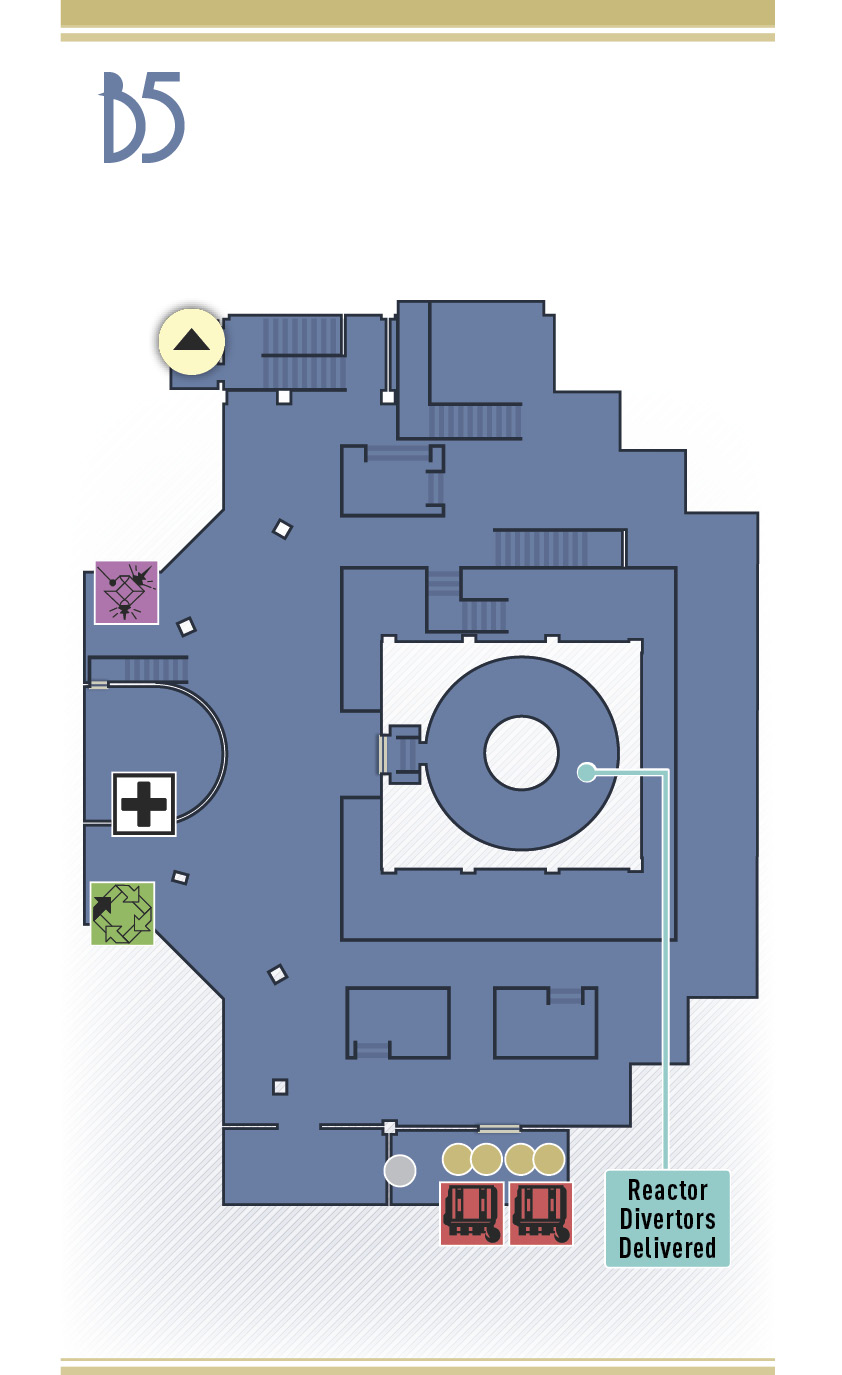
Now that you’ve made it to the Power Plant, you need to locate the Reactor Control Room. Mikhaila has provided you with a waypoint. Mikhaila is currently hiding, but can assist you over comms. In return, she could use your help.
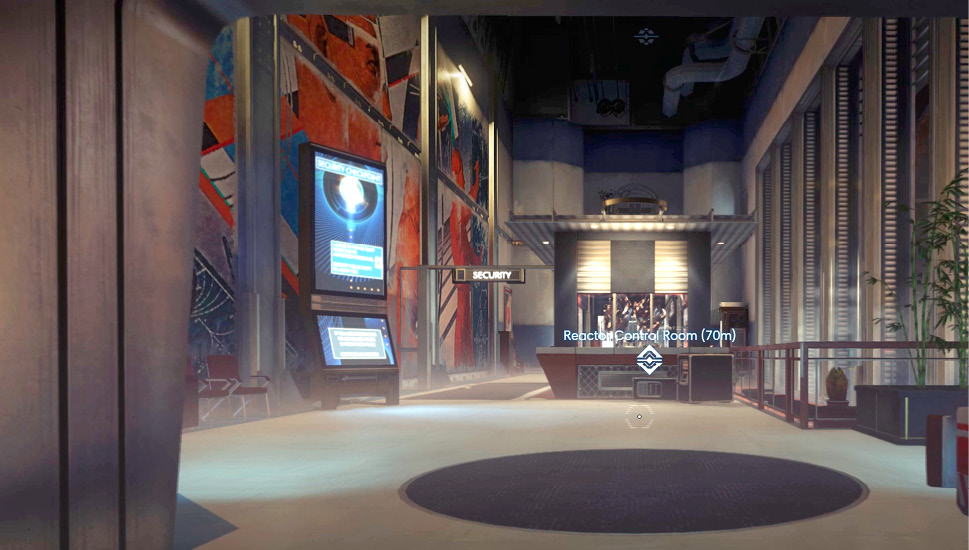
Assist Mikhaila IlyushinObjective Summary: Chief systems engineer Mikhaila Ilyushin is hiding in the coolant monitoring room of the Power Plant. This objective is triggered shortly after entering the Power Plant. You can resume the objective once you reach the coolant monitoring station, where Mikhaila is hiding out. |
Security Booth
| Notable Items | The Starbender Cycle: Book 5 |
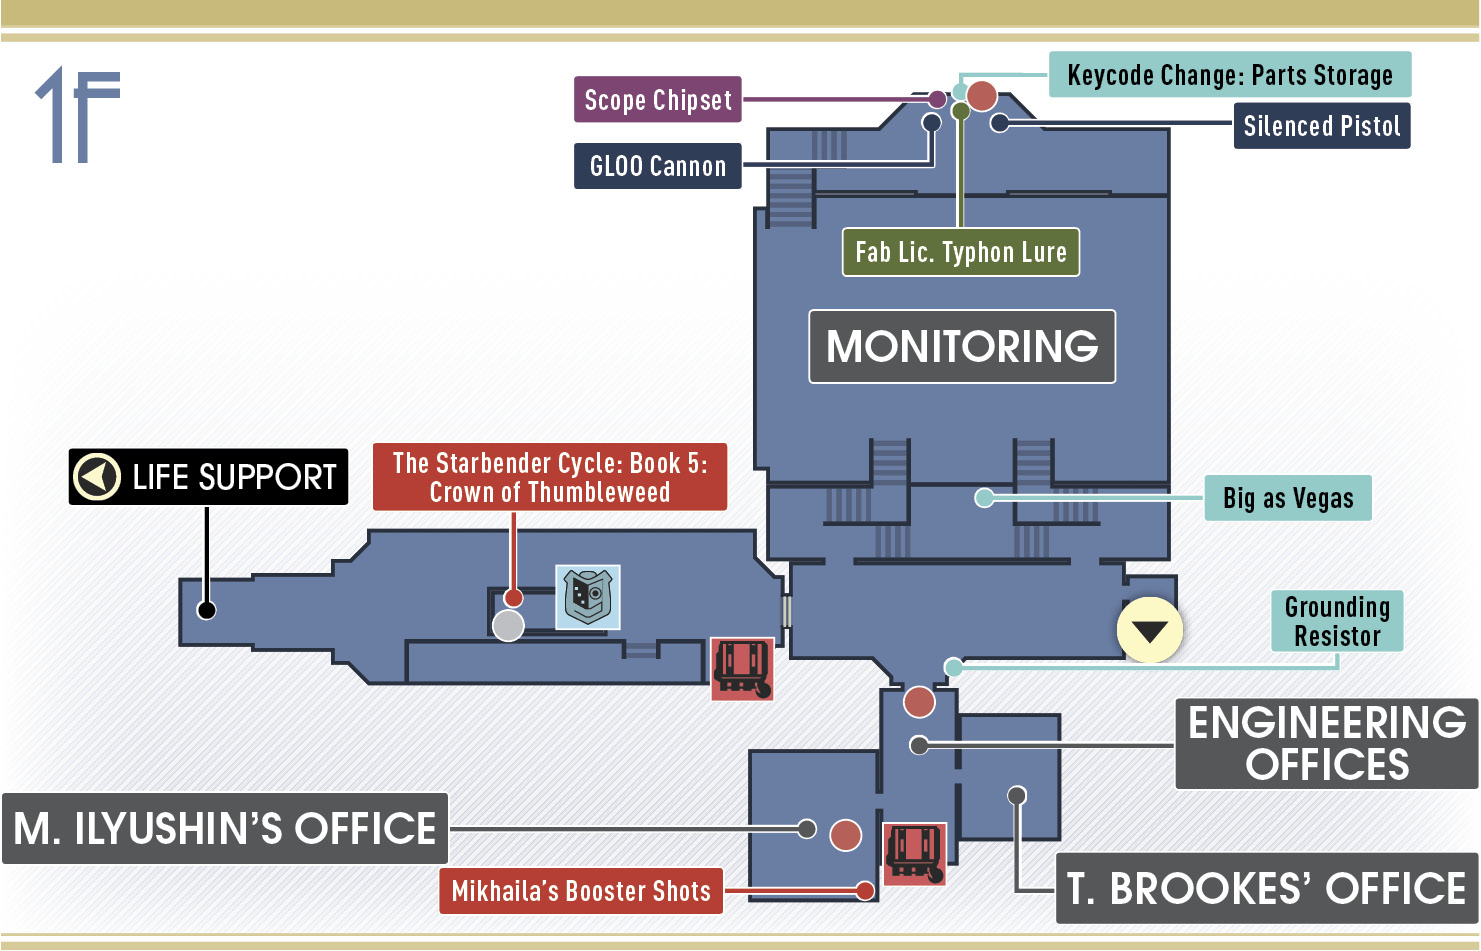
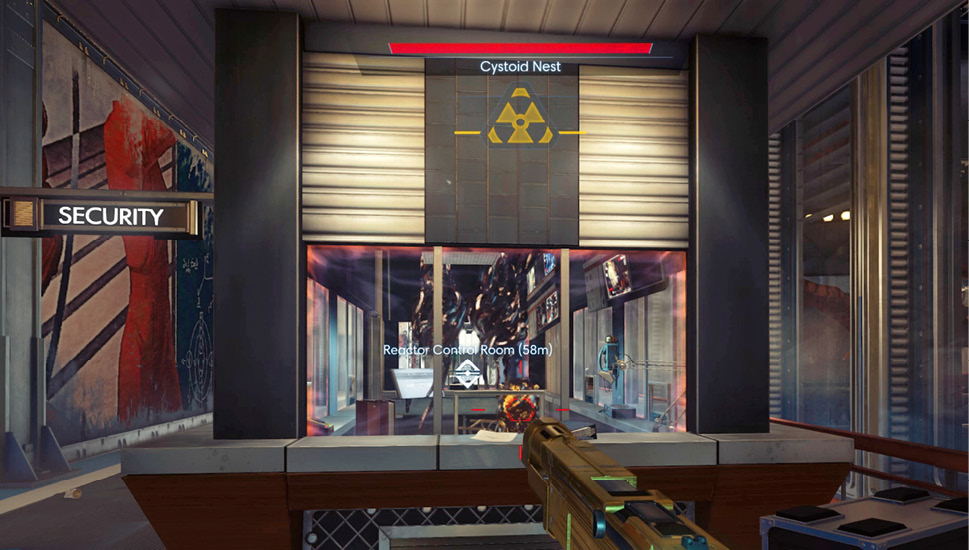
The security booth here is filled with Cystoid Nests. Clear the booth quickly by tossing a Recycler Charge through the door. The security station in the booth is locked, but you can access it if you have the Hacking II ability. Accessing the security station allows you to download the Power Plant map. You can also unlock the door leading to the adjoining corridor by accessing the Engineering Control tab under Utilities. Be sure to read the 5th volume of The Starbender Cycle series while you’re in the booth
Grav Shaft Corridor
| Notable Items: |
| Audio Recording: Grounding Resistor |
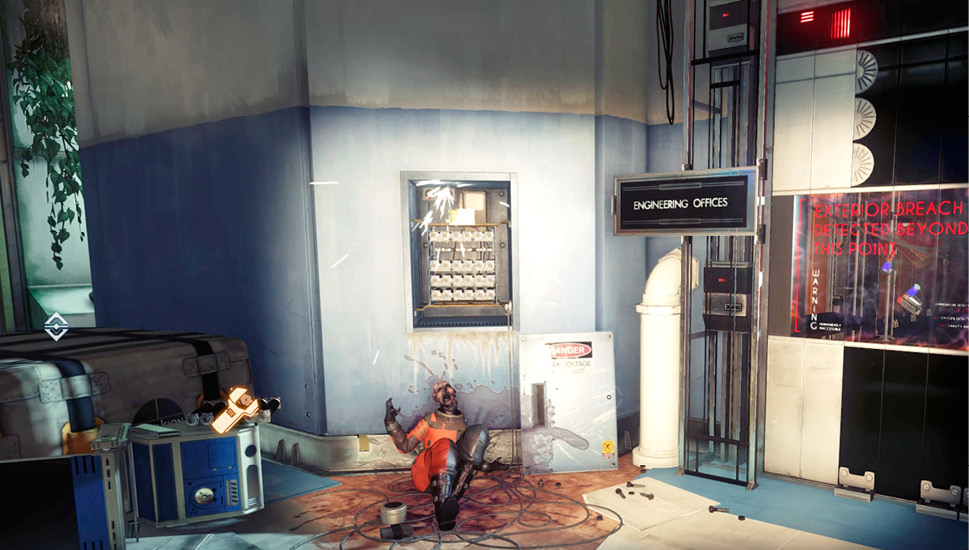
Step into the corridor and search the bodies of Brenda Cabrera and Lan Nguyen for supplies. Lan Nguyen has a TranScribe containing an audio recording. There’s a Greater Mimic hiding nearby, so be ready to immobilize it with your GLOO Cannon. Repair the Grounding Resistor next to Lan Nguyen and install it into the exposed panel next to the Engineering Offices door. While this doesn’t open the door, it restores power to the offices, allowing you to access this area from the station’s exterior.
Monitoring
| Notable Items: |
| Neuromod |
| Silenced Pistol |
| Scope Chipset |
| EMP Charge |
| Audio Recording: Big as Vegas |
| Audio Recording: Keycode Change: Parts Storage |
| Keycode: Parts Storage |
| Typhon Lure Fabrication License |
Before descending the Grav Shaft, approach the Monitoring room. There’s a malfunctioning electrical junction just inside the doorway. Before entering, coat the floor with GLOO to provide an insulated layer for you to stand. Rush inside, standing on your GLOO deposits, and immediately smother the electrical junction with GLOO—make sure you have full health before entering in case you get shocked. Once the electrical junction has been covered in GLOO, conduct the necessary repairs. Once the sparks have stopped, grab Emmanuel Mendez’s TranScribe and access his workstation to read a couple of emails.
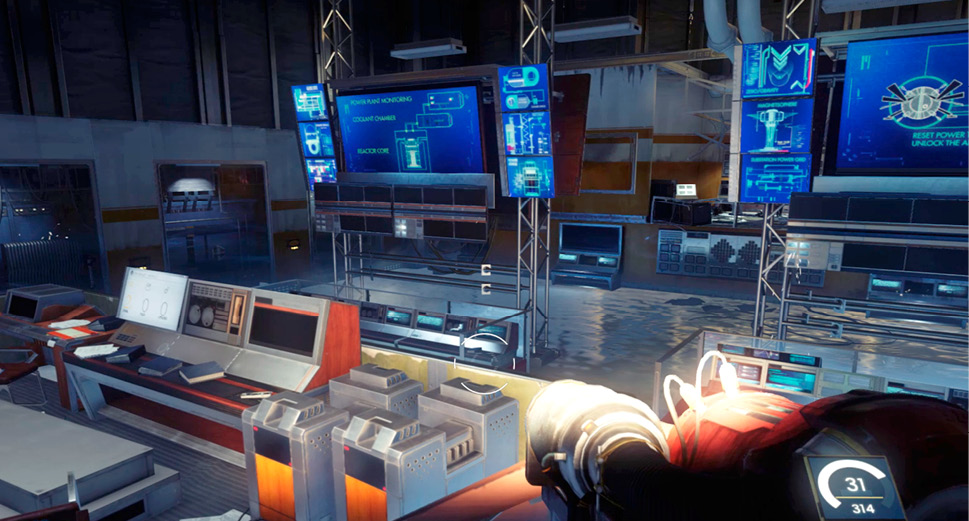
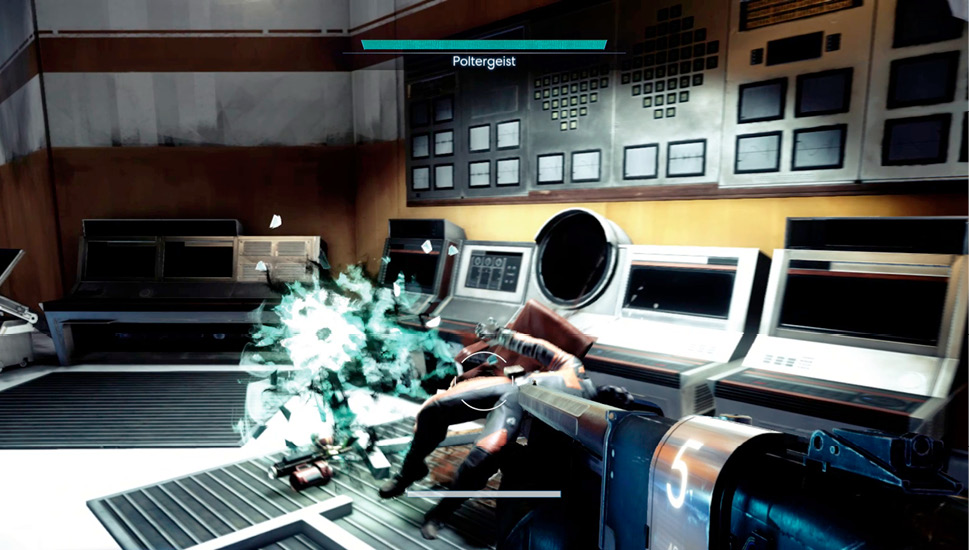
The Monitoring room is occupied by a Poltergeist, located on the far side of the room. The center of the room is partially flooded and the water is electrified, preventing you from crossing directly. So wait for the Poltergeist to hit you with a Lift Field attack. As you rise into the air, maneuver to one of the beams or conduits running above the flooded portion. Pause atop one of the large consoles in the center of the room and shoot the Cystoid Nests near Duncan Krassikoff’s body. Once the area is clear of Cystoids, glide toward Krassikoff, using your propulsion system.
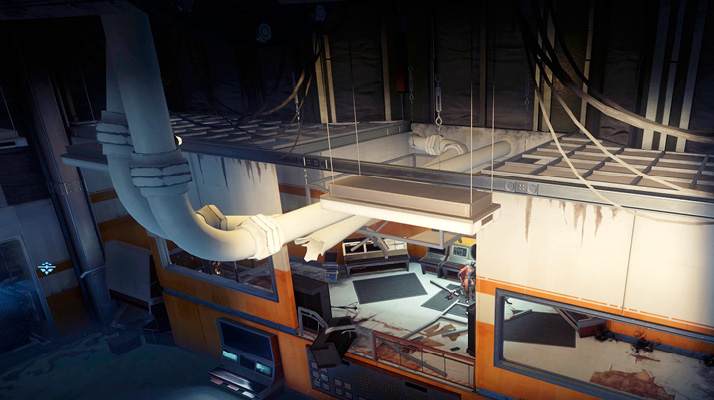
Before searching Krassikoff, deal with the Poltergeist and any remaining Cystoids—the Shotgun works well at this range. Search Krassikoff to retrieve a Neuromod, a Typhon Lure fabrication license, and a TranScribe. Listen to the audio recording on the TranScribe to recover the keycode to the Parts Storage room. You can also read a few emails on Matthew Connolly’s workstation. Carefully cross the room by maneuvering back across the pipes and beams. Exit Monitoring and enter the Grav Shaft to access the Coolant Chamber.
Coolant Chamber
| Notable Items: | GLOO Cannon | Turret (4) |
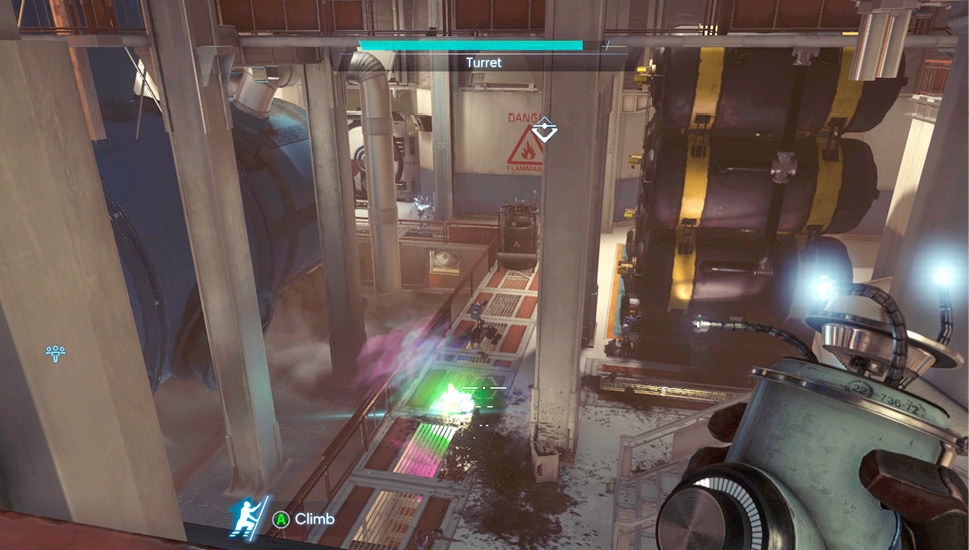
The sound of rapid gunfire can be heard as you enter the Coolant Chamber—two sets of turrets are engaging a mix of Mimics and Phantoms on the floor below. Stay on the upper level catwalk and toss a Typhon Lure onto the floor below, just in front of the turret sets. The Typhon Lure attracts the Mimics, giving the turrets a better chance of wiping out the swarm. Among the enemies are a Phantom and Voltaic Phantom. Toss an EMP Charge at the Voltaic Phantom, then engage both Phantoms with the Q-Beam. If necessary, drop to the lower level to hunt down and eliminate these threats.
Parts Storage
| Notable Items: |
| Neuromod (2) |
| Recycler Charge |
| Wrench Fabrication License |
| GLOO Cannon Fabrication License |
| Grounding Resistor (4) |
| Turret |
Once the Coolant Chamber is clear, use the keycode retrieved from Duncan Krassikoff’s TranScribe to open the door to Parts Storage—the entrance is located on the upper level. Open the door and toss a Typhon Lure inside to attract several Mimics. As the Mimics gather around the lure, toss a Recycler Charge at the large group to instantly wipe them all out. Finish off any survivors with your weapon of choice. Search the shelves on the first floor to retrieve a Neuromod, a Recycler Charge, and fabrication licenses for a wrench and GLOO Cannon. The shelves also hold a few Grounding Resistors. If you were unable to fix the broken Grounding Resistor in the Grav Shaft corridor, use one of these to restore power to the Engineering Offices.
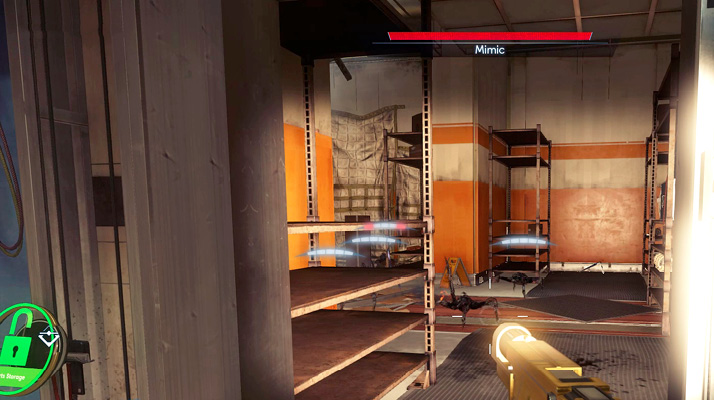
Drop through the hole in the floor to access the lower level. Here you find a turret and a destroyed Operator named Softshell. Loot Softshell to retrieve ammo for your Q-Beam and Disruptor Stun Gun.
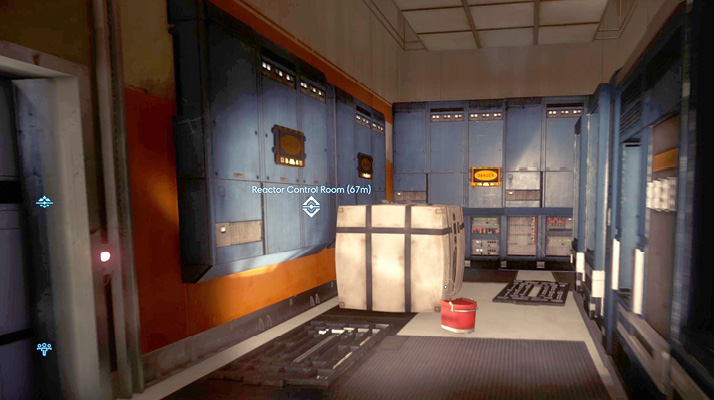
Locate the cargo next to the room’s door—there’s a Neuromod in the crawlspace beneath the room. You can lift the cargo if you possess the Leverage III ability. But this crawlspace can also be accessed from the Coolant Chamber.
Coolant Chamber Door
| Notable Items: | Neuromod | Keycard: Coolant Chamber |
| Q-Beam Cell Fabrication License | Audio Recording: Unconventional Leak Plugger |
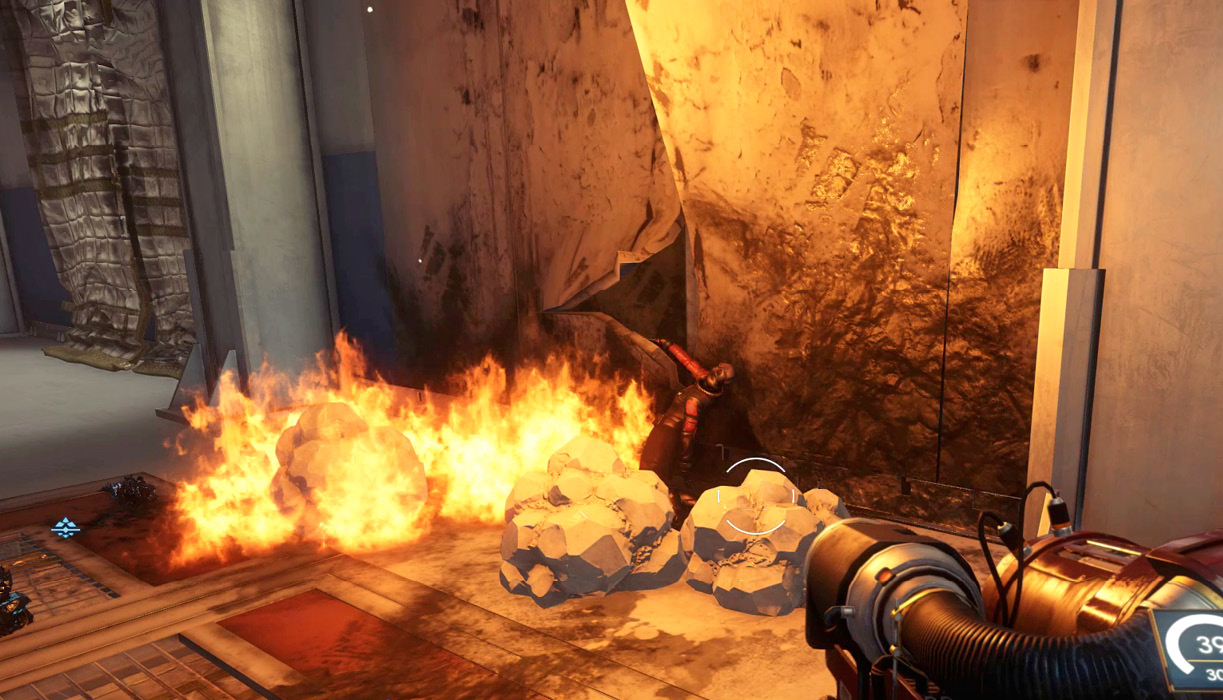
The door leading to the Reactor is locked. Mikhaila suggests searching for a keycard nearby. Use your GLOO Cannon to extinguish the large fire on the left side of the door to discover Talia Brooks’ body. Search her to find the key for the locked door as well as a Neuromod, a Q-Beam Cell fabrication license, and a TranScribe.
Coolant Monitoring Station
| Notable Items: | Neuromod (3) | Typhon Lure (2) |
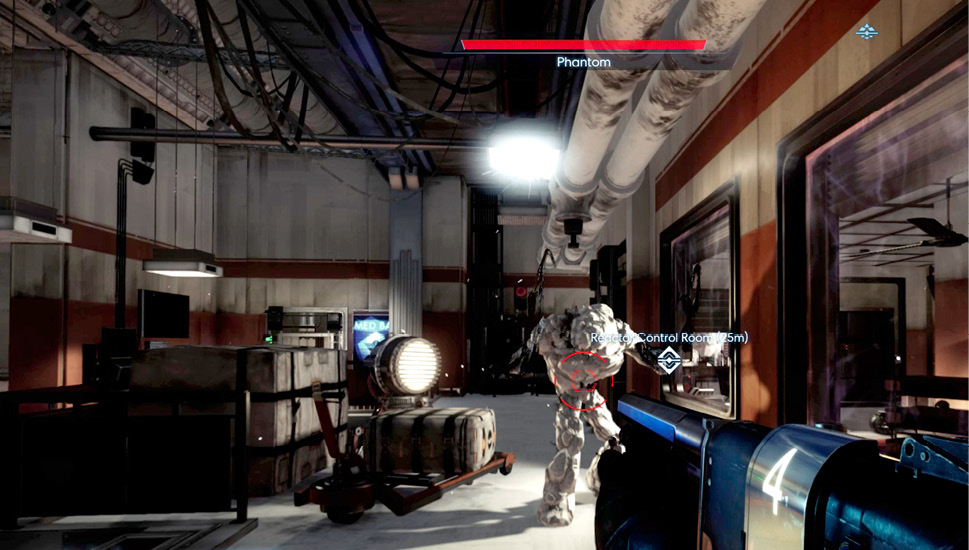
As you unlock the Coolant Chamber door, a Phantom can be seen just ahead. Immobilize it with your GLOO Cannon, then take it out with your Shotgun. Mikhaila is hiding in the office on the right, along with three Neuromods and a couple of Typhon Lures. You can also hack into Lan Nguyen’s workstation to read a couple of emails.
Assist Mikhaila Ilyushin (continued)Mikhaila isn’t in good shape. She needs her medication from her office. But her office can only be accessed from the station’s exterior due to a hull breach. You can’t access the exterior until the reactor has been rebooted. From the moment you speak to Mikhaila, a timer starts, giving you two hours to retrieve her medication. Mikhaila will die if she doesn’t receive her medication within this two-hour period. This is ample time to reboot the reactor and locate her medication. You can resume this objective once you reboot the reactor. 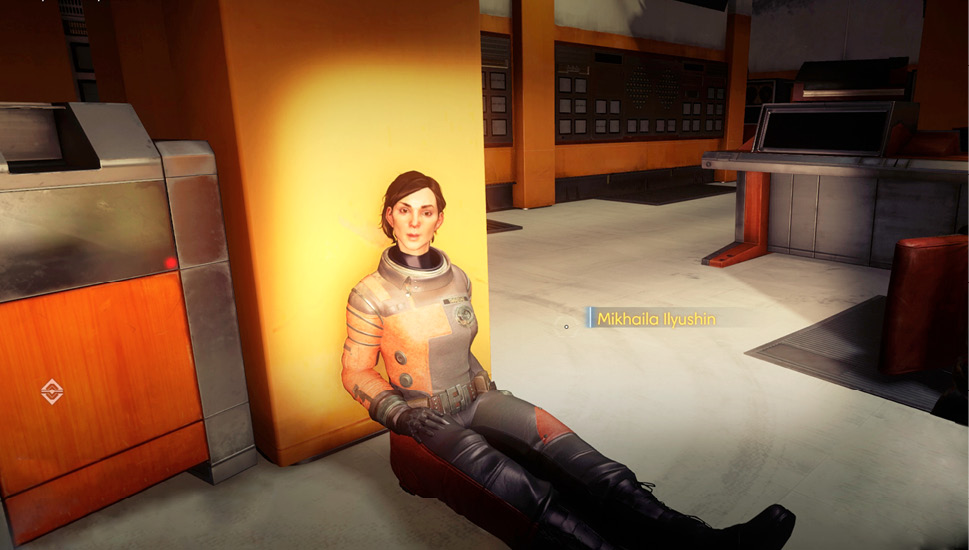
|
Medical Bay
| Notable Items | Anti-Rad Pharma Fabrication License |
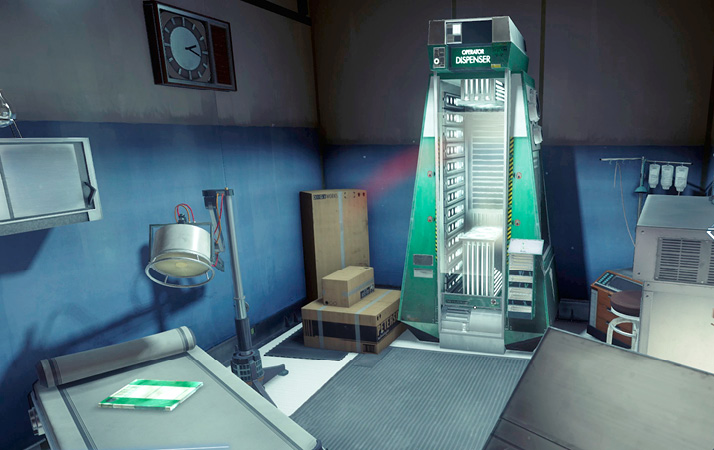
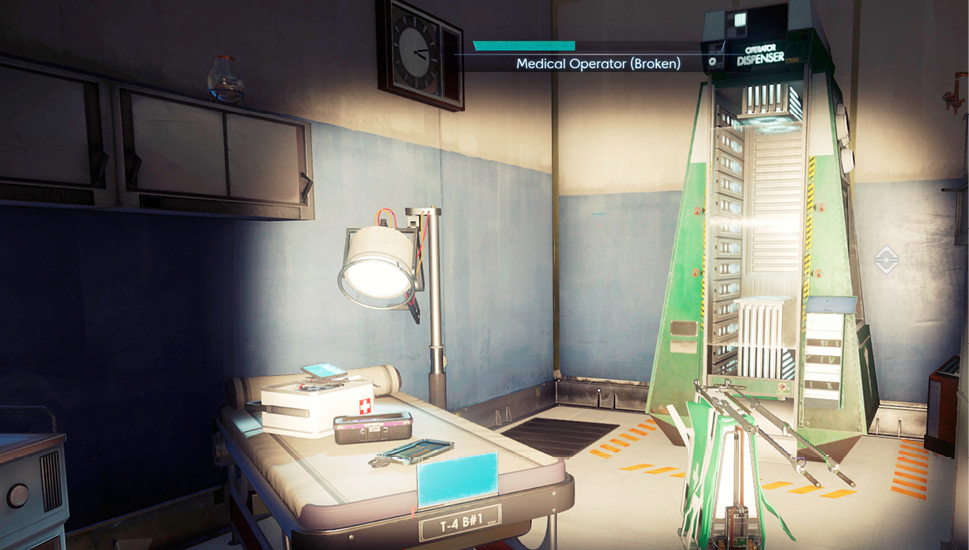
If you’re low on health, visit the Medical Bay. Here you can either repair a broken Medical Operator or deploy a new one from the Operator dispenser. It’s a good idea to fully heal before entering the Reactor. Search the examination table here to retrieve an Anti-Rad Pharma fabrication license, a Medkit, and a Psi Hypo.
Reactor
| Notable Items: |
| Neuromod (2) |
| Suit Chipset |
| Keycard: Atmosphere Control Room |
| Keycard: Reactor Access |
| Audio Recording: Reactor Divertors Delivered |
| Divertor |
Descend the Grav Shaft in the Coolant Monitoring Station to access the reactor. You enter on the top floor of this massive chamber. Before approaching the control room, follow the catwalk to the right, heading toward the maintenance lift. This is a good time to locate Jean Faure, the missing engineer from Life Support.
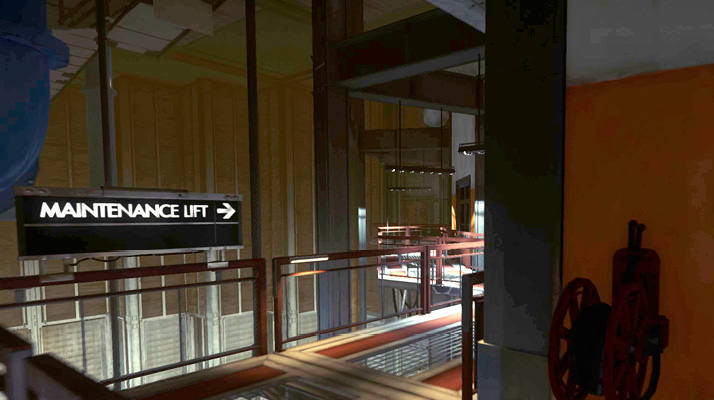
Missing Engineer (continued)Jean Faure is located in a duct within the maintenance lift’s shaft. The door to the shaft is locked on the top floor, so drop to the catwalk below, to Level B3, using your propulsion system to slow your descent. On Level B3 you can open the door to access the maintenance lift’s shaft. Using your GLOO Cannon, fire a horizontal line of GLOO along the shaft’s opposite wall and jump and glide over to it. Once on the GLOO in the shaft, turn around, and fire another horizontal line of GLOO on the opposite wall. By making progressively higher ledges of GLOO in the shaft, you can ascend and reach the duct. 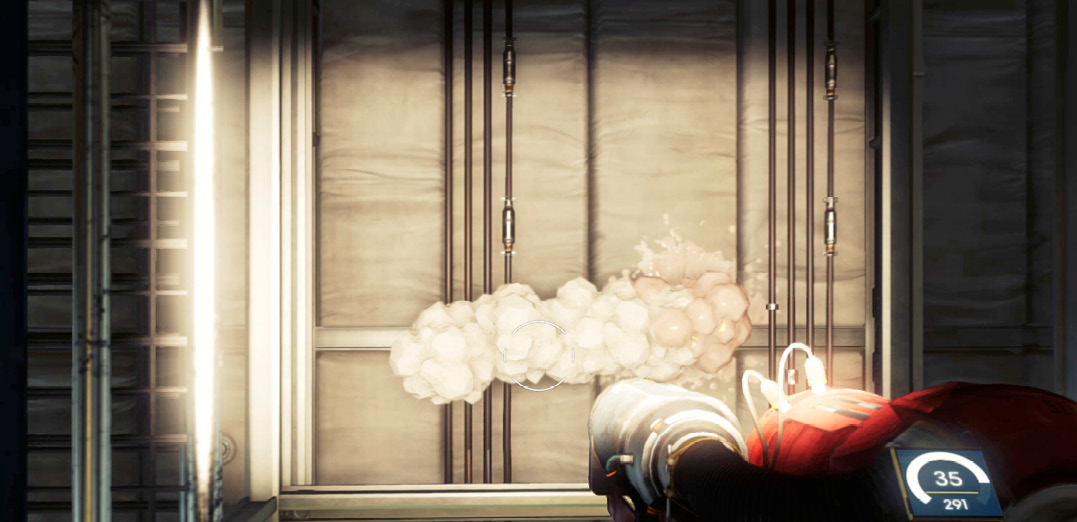
Enter the open duct at the top of the shaft to locate Jean Faure. Beware of a Phantom and Mimic hiding somewhere in the duct. Grab the Neuromod and Suit Chipset next to Faure, then search her body to recover a keycard to the Atmosphere Control Room in Life Support. The nearby supply crates contain a Neuromod and a Recycler Charge. You can resume this objective when you return to Life Support. 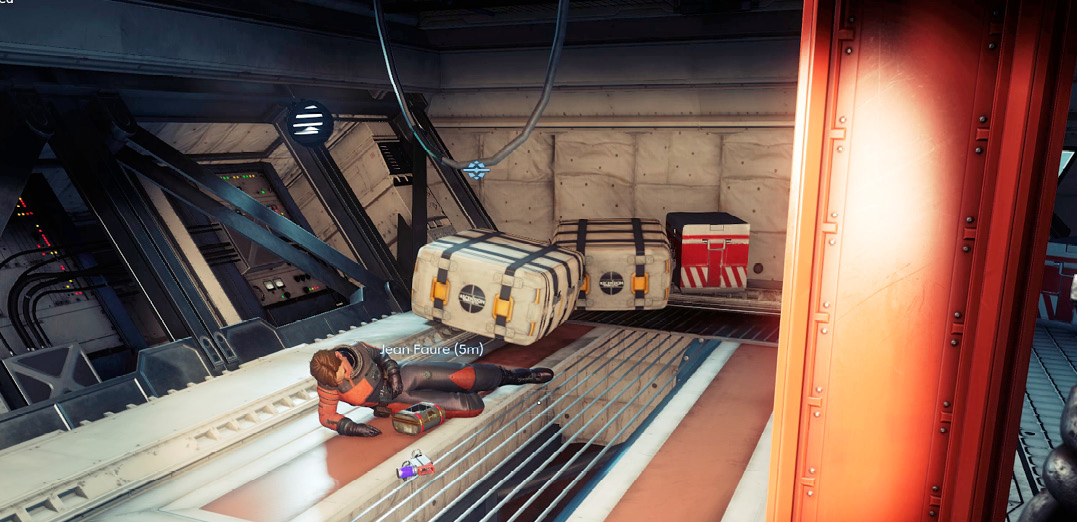
|
Exit the duct and use your propulsion system to descend to the disabled lift in the maintenance shaft. Here you find the body of Nicholas Stillwater. Search him to retrieve a Neuromod and the Reactor Access keycard. This gives you access to the Reactor Control Room. There’s also a Divertor next to his body. This can be used to repair the reactor.
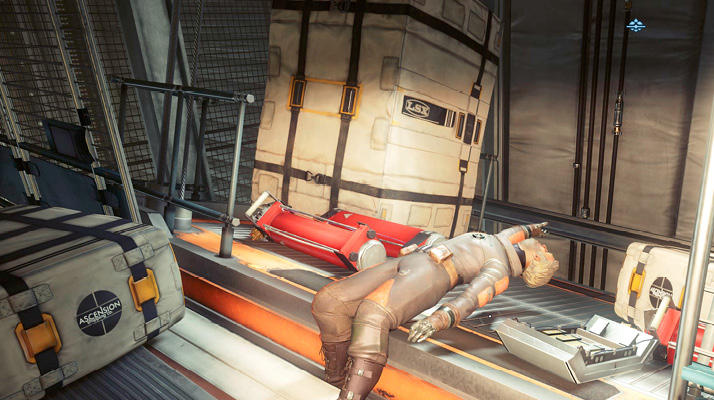
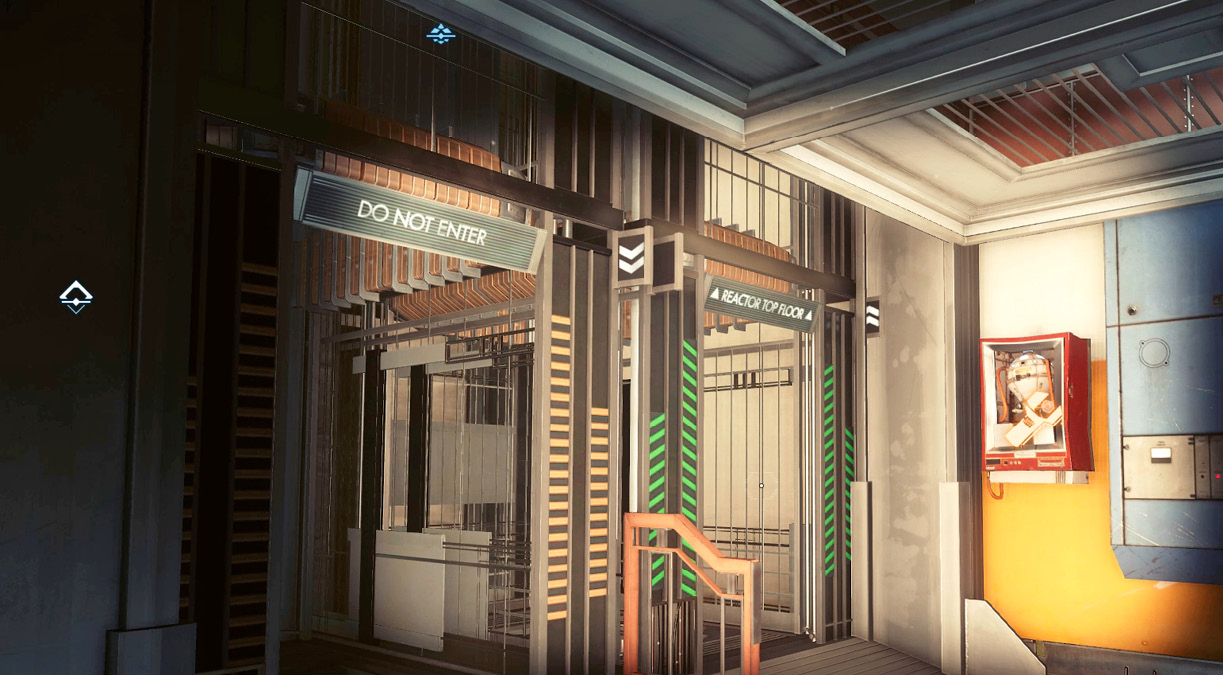
Before accessing the Reactor Control Room, take a moment to explore the ground floor. The control room is flanked by a Recycler and Fabricator. Both machines are broken but can be repaired. Locate the Grav Shaft in the corner and conduct repairs. This will allow you to make a quick escape once the reactor is back online.
Secure Storage Room
| Notable Items: | Divertor | Weapon Upgrade Kit | Turret (4) |
A locked cage-like storage room is on the perimeter of the ground floor. While the keypad can be hacked, you can also use Mimic Matter to transform yourself into a small object and slip through a small opening in the cage, just to the right of the door. If you don’t have either ability, you can retrieve the keycode later from Mikhaila. There are four turrets inside this room along with a Weapon Upgrade Kit and a Divertor. The Divertor can be used later to repair the reactor—leave it here for now.
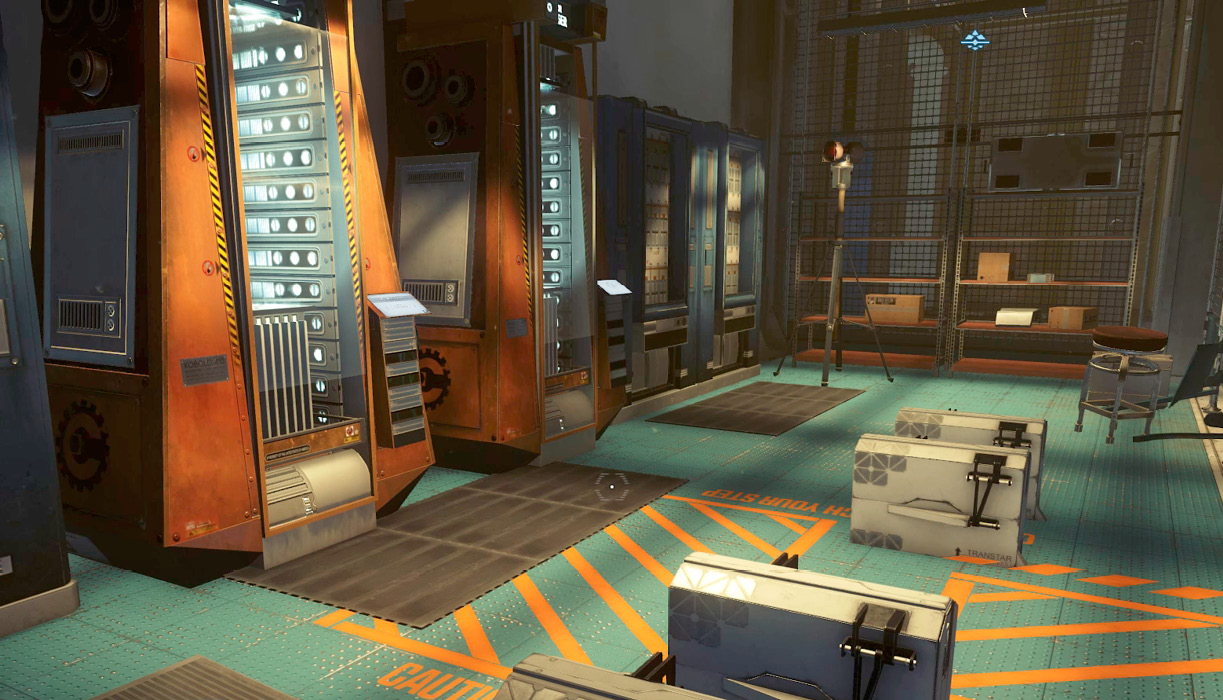
Take one of the turrets from the storage room and deploy it in front of the Reactor. The entrance to the reactor is blocked by multiple Cystoid Nests. Open the door to the reactor by pushing the nearby button, then back away as the turret engages the Cystoid Nests and emerging Cystoids. Assist the turret by firing at the nests and Cystoids with your pistol of choice. Clearing a path to the reactor now will save you time later.
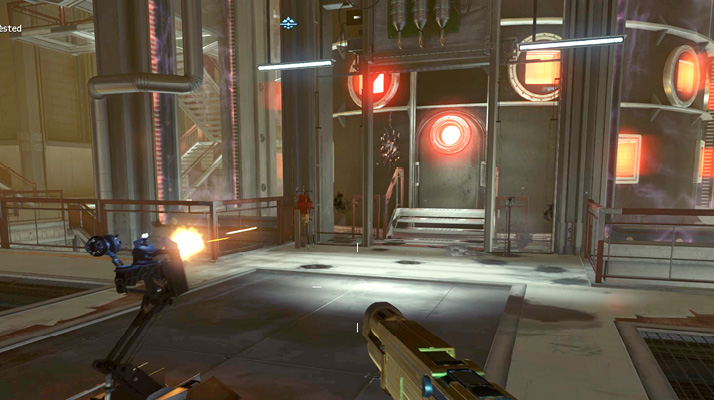
Reactor Control Room
| Notable Items: |
| Nullwave Transmitter |
| EMP Charge |
| Keycode: Reactor Room |
Use the keycard retrieved from Nicholas Stillwater to open the door to the control room. Alternatively, you can enter through the control room’s roof (but you’ll need Leverage III to remove a hatch). Collect a few items in the control room, including a Medkit, some Anti-Rad Pharma pills, assorted ammo, a Nullwave Transmitter, and an EMP Charge. Access the reactor console and select the Access Safety Switches button. This causes six safety switches flanking the console to open. Rebooting the reactor requires you to activate the safety switches in a particular order, referenced in the Reactor Emergency Procedures manual:
- Magnetosphere
- Substation Power Grid
- Photovoltaic Rings
- Gravity
- Life Support
- Main Reactor
Once the safety switches have been activated in this order, select Initiate Reboot from the console. But something goes wrong during the reboot sequence, causing the station to violently shudder. Mikhaila reports that there’s likely a problem with one of the Divertors. She sends you the keycode to the Secure Storage Room.
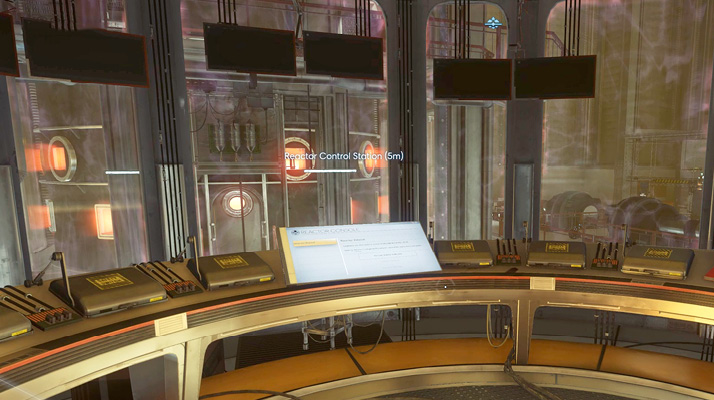
Grab the Divertor from the Secure Storage Room and enter the reactor. The Divertor near Nicholas Stillwater’s body can also be used to repair the reactor. Locate the damaged Divertor and remove it, replacing it with the new one. You can also repair the damaged Divertor, but why waste the spare parts? Before leaving, grab Nicholas Stillwater’s TranScribe next to the damaged Divertor.
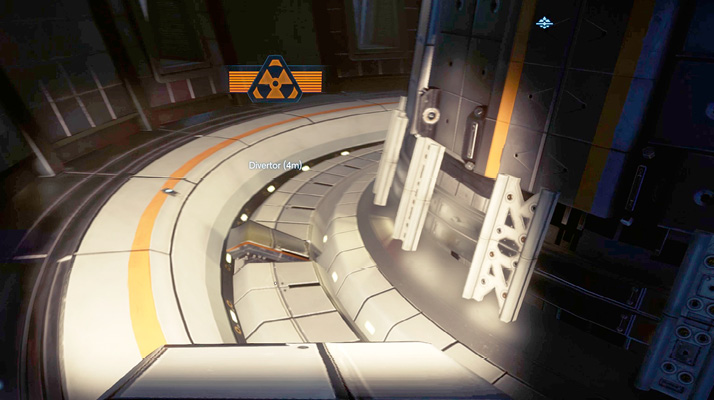
Return to the control room and select Resume Reboot from the console. Your repairs seem to have worked as the reactor comes back to life. This ends the station lockdown initiated by Alex. The main lift is now accessible along with all the airlocks you previously opened. Mikhaila reports that the station is back online, but she’s noticing leaks in the Coolant Chamber. She advises caution on your way back.
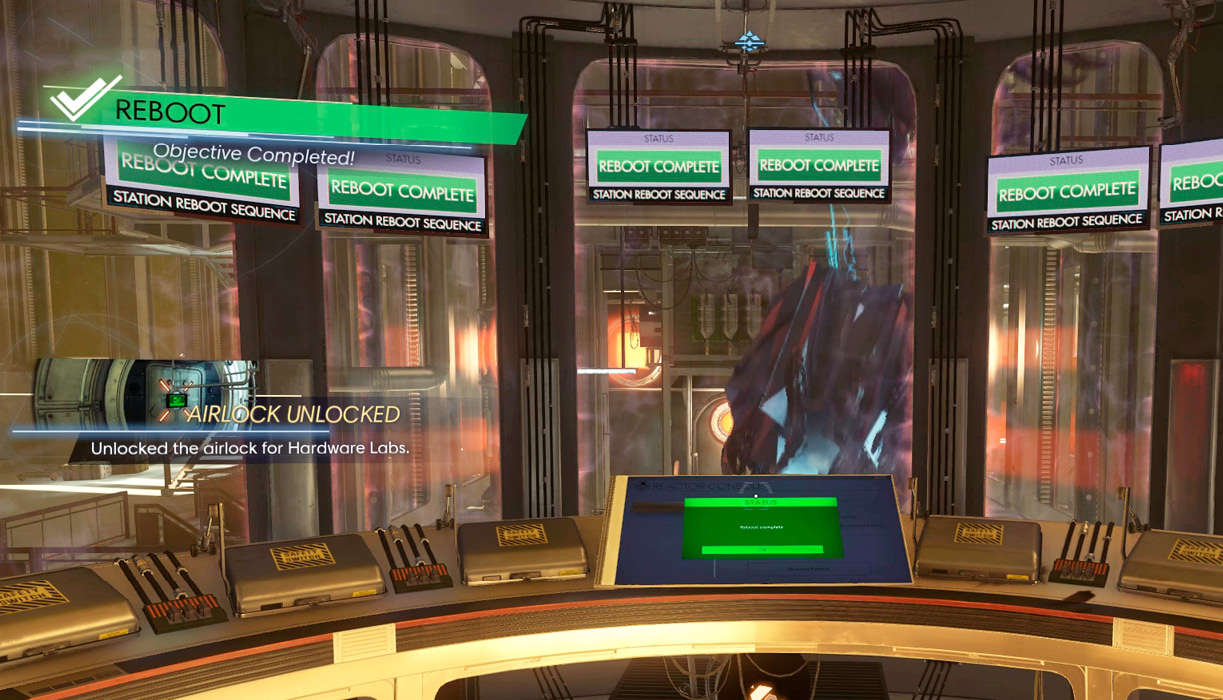
Two Technopaths appear outside the control room, wielding the turrets from the Secure Storage Room. Don’t bother engaging these enemies. Instead, sneak toward the Grav Shaft and make a beeline for the reactor’s exit. Along the way, Alex chimes in to congratulate you on your resourcefulness. He promises not to get in your way anymore and asks you to come to his office in the Arboretum.
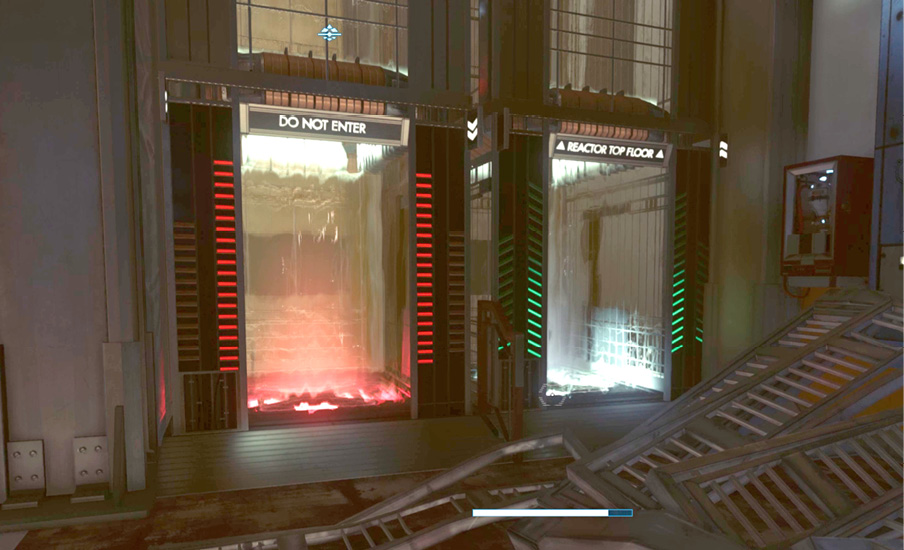
Airlock
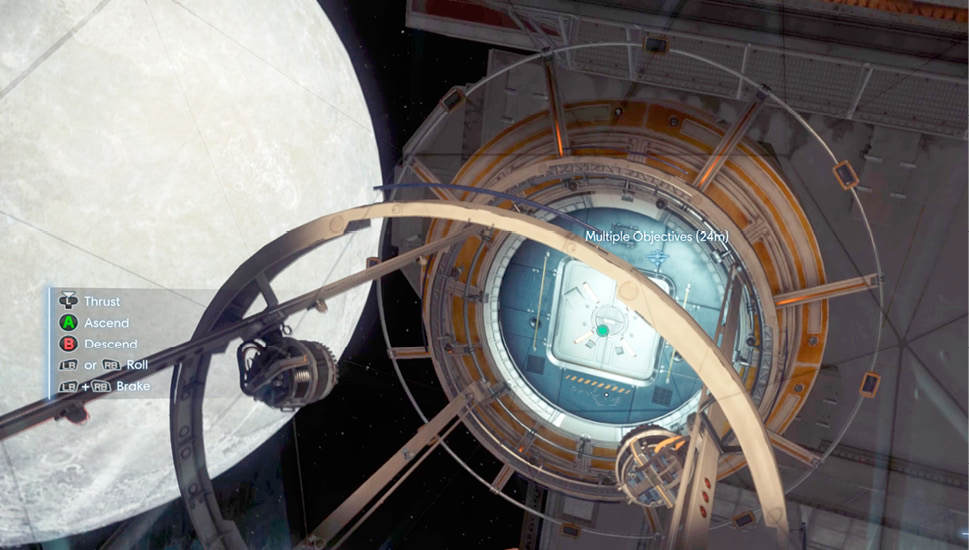
Return to the Coolant Monitoring Station and approach the Power Plant’s airlock. It’s time to retrieve Mikhaila’s medication in her office. Disengage the airlock’s internal lock and proceed to the station’s exterior.
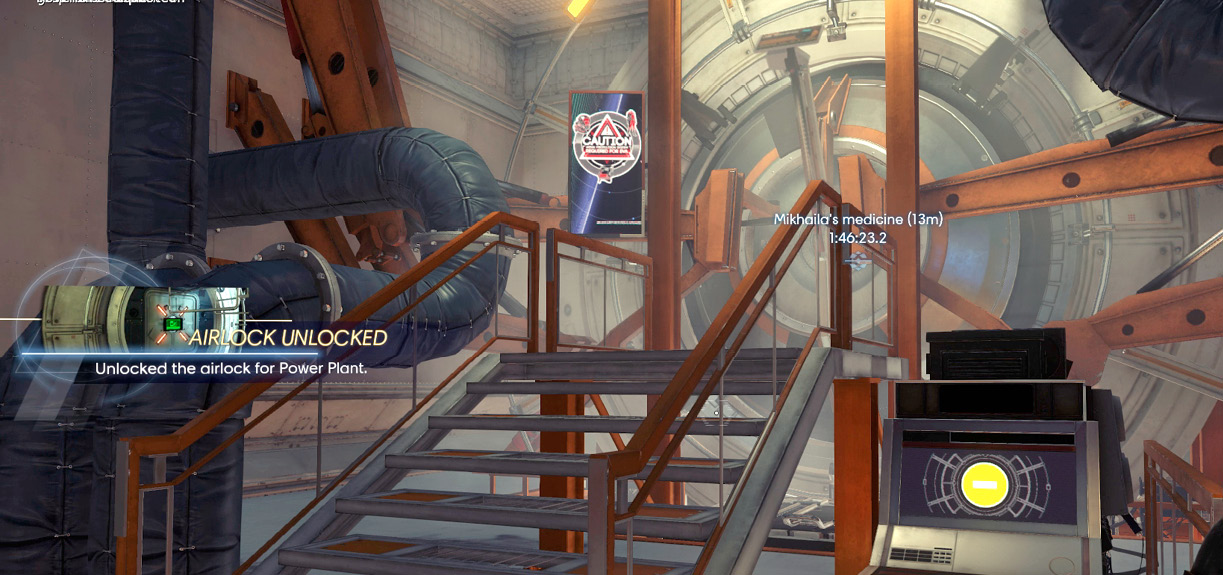
Talos I Exterior
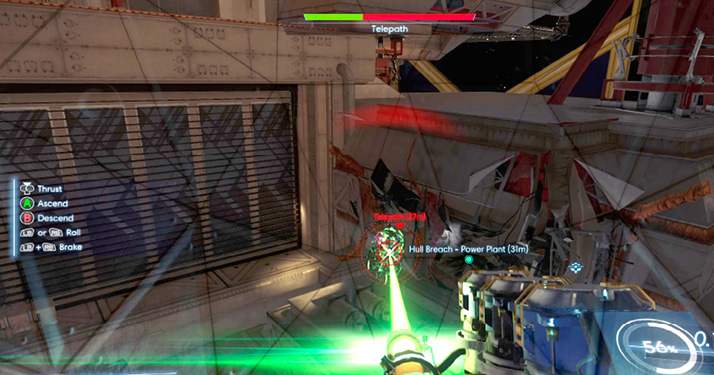
As you exit the Power Plant, watch out for Cystoid Nests attached to the station’s bulkhead. Use your GLOO Cannon to take out the nest and the emerging Cystoids. Follow the waypoint marker toward the Engineering Offices, but beware of a Telepath patrolling nearby. Toss a Nullwave Transmitter at the Telepath, then take it out with your Q-Beam.
Mikhaila’s Office
| Notable Items: |
| Neuromod |
| Weapon Upgrade Kit |
| Mikhaila’s Booster Shots |
Locate the hull breach leading into the Engineering Offices and pause outside to engage multiple Cystoid Nests. Don’t enter until all the nests and Cystoids have been eliminated. If you’re having trouble spotting all the Cystoids, toss in a Typhon Lure to attract them.
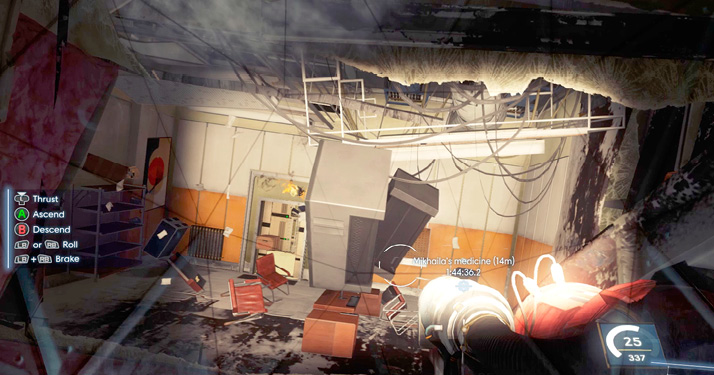
Assist Mikhaila Ilyushin (continued)Mikhaila’s medication is stored in the wooden filing cabinet within her office. Retrieve the booster shots and take a moment to search her office for more supplies, including a Neuromod. You can also access her workstation to read a couple of emails, including one from Morgan. 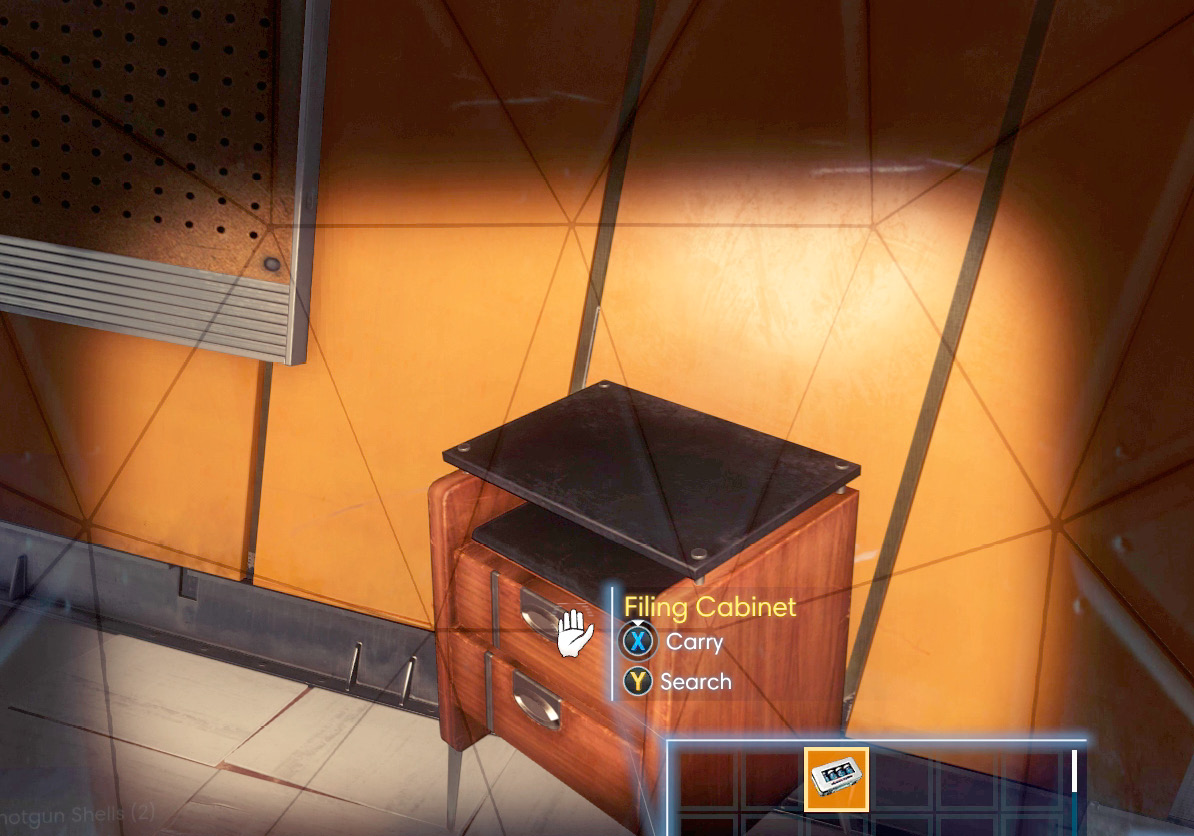
|
After searching the Engineering Offices, return to the Power Plant. Along the way, you may be contacted by Dr. Igwe, assuming you saved him. Igwe is in your office and has met January. You can meet with Dr. Igwe later. For now, focus on helping Mikhaila.
Power Plant
Coolant Monitoring Station
Assist Mikhaila Ilyushin (continued)Return to Mikhaila’s location in the Coolant Monitoring Station and help her inject her booster shot. This saves her life and completes this objective. You also earn the A Friend in Need achievement/trophy. Now that Mikhaila has recovered she can help you by offering you more objectives and rewards. But for now, leave her behind. She’ll contact you later. 
|
Coolant Chamber
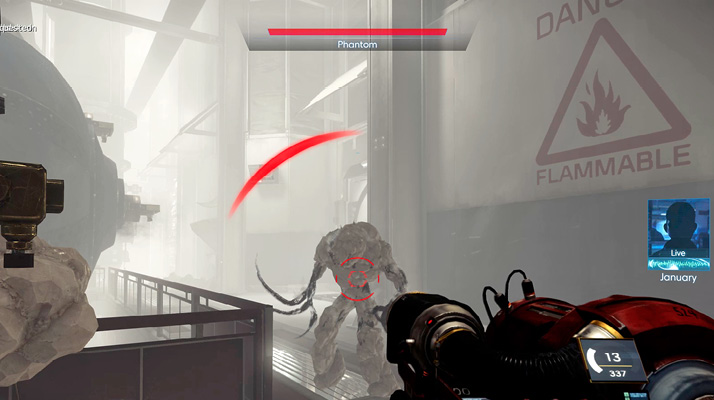
Now that the station is back online, you need to go find Alex in the Arboretum. The quickest path is via the station’s exterior, exiting the Power Station’s airlock and entering the Arboretum through its airlock. But consider traveling through Life Support and the Talos I Lobby to address the Missing Engineer and Talos Smuggling Ring optional objectives. This leads you back through the Coolant Chamber. As Mikhaila warned, this chamber is experiencing leaks, resulting in the release of a cloudy, explosive gas. To make matters worse, the area is patrolled by Phantoms. Avoid the Phantoms by sneaking through Parts Storage, climbing through the hole in the ceiling to reach the upper level. If you’re spotted by a Phantom, immobilize it with your GLOO Cannon and rush toward the exit. Avoid using firearms, the Disruptor Stun Gun, or the Q-Beam in this room—doing so will result in a lethal explosion. Make your way to the Grav Shaft and proceed to Life Support.
Life Support
Atmosphere Control
Missing Engineer (continued)On your way through Life Support, stop in Atmosphere Control. There may be more Thermal Phantoms here, so be careful. Proceed to Air Filtration Control and use the keycard you retrieved from Jean Faure to open the door to the Atmosphere Control Room. Search the locker in this room to retrieve a Neuromod and other supplies. Entering this room completes this objective. Exit Atmosphere Control and continue your journey back to the Arboretum via the main lift. 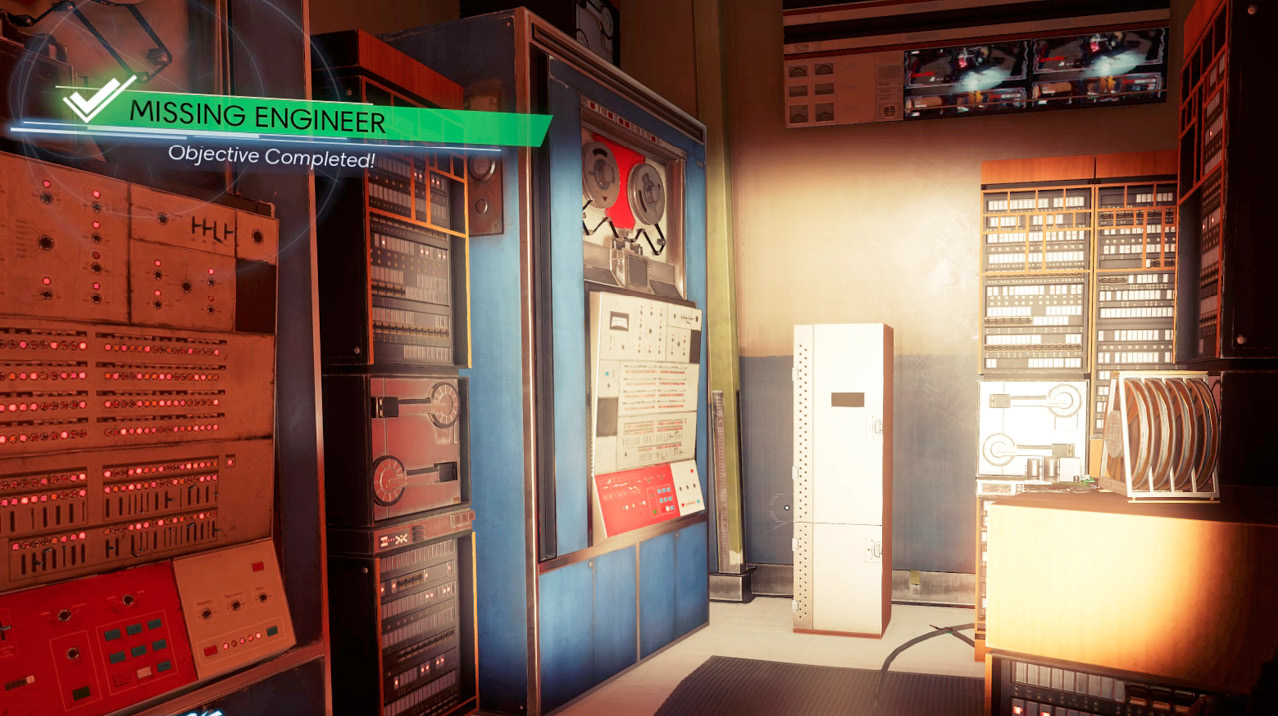
|
Talos Lobby

Talos Smuggling Ring (continued)On your way to the Arboretum, make a quick stop in the Talos I Lobby to locate a couple of smuggling caches. One cache is located in the TranStar Exhibit. Look for the red alarm bell near the Neuromod display you looted earlier. Use your GLOO Cannon to create a step, then climb toward the alarm and hit the bell three times with your wrench to open a secret safe containing a Neuromod and two Recycler Charges. 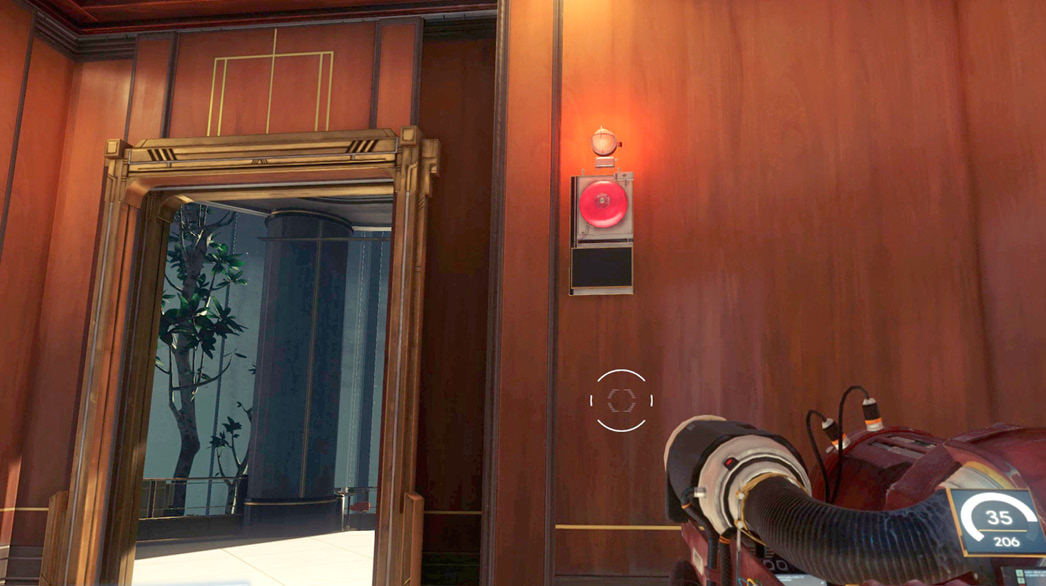
Cross the Lobby toward the restrooms. Here you find another alarm bell in the corridor outside Employee Orientation. Create and climb atop a GLOO deposit just beneath the alarm. Hit the bell three times with your wrench to open a hidden safe containing a Neuromod and two Psi Hypos. You can now resume your journey to the Arboretum via the main lift. 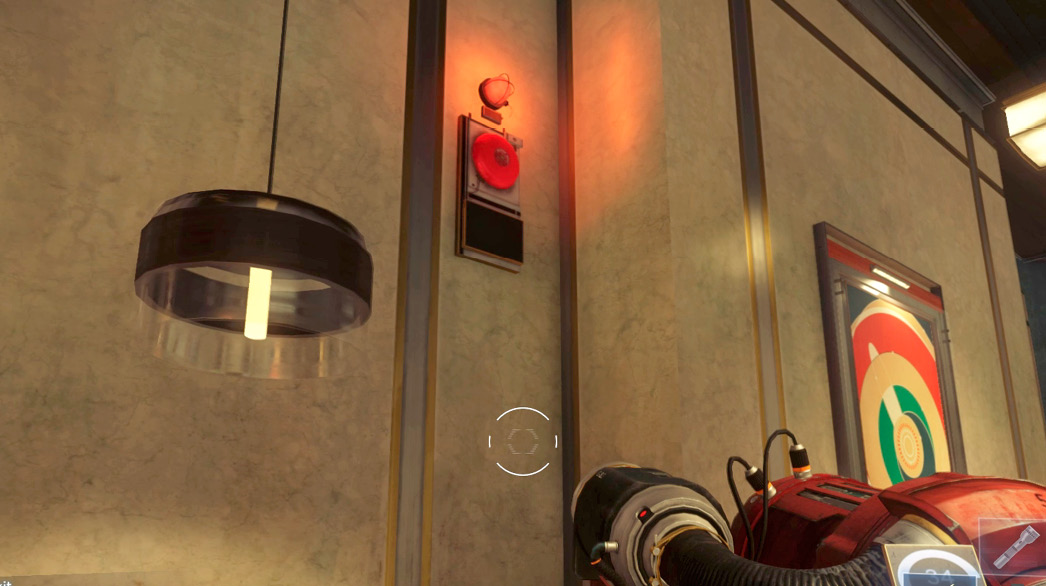
|
Arboretum

Alex’s Office
| Notable Items: |
| Neuromod (2) |
| Password: Alex Yu |
| Scope Chipset: Coral Detector 64Si |
Upon your return to the Arboretum, Alex sends you the keycode to his Grav Shaft, making it easier to access his office. But watch out for enemies along the way. A Weaver is patrolling the area around the Grav Shaft. Toss a Nullwave Transmitter at the Weaver, then take it out with your Q-Beam before it can recover. Once the area is clear, input the keycode provided by Alex to unlock the Grav Shaft and ride it up to his office.