Prey Guide Walkthrough: Story Objectives
Shipping and Receiving
Shipping and ReceivingI’m back in Talos I. I still need to get Alex’s arming key away from him, but first I need to get through the Cargo Bay. |
Enter shipping container 33 to obtain a turret. Stay low and sneak up the nearby steps, moving toward the large circular door. Austin Cool and several other security personnel have barricaded themselves behind this door. Here you find another turret, but it’s damaged. Deploy the turret you’re carrying and repair the damaged turret. Stay behind the two turrets and lure the Phantoms toward them. Immobilize the approaching Phantoms with your GLOO Cannon while the turrets pepper them with automatic fire.
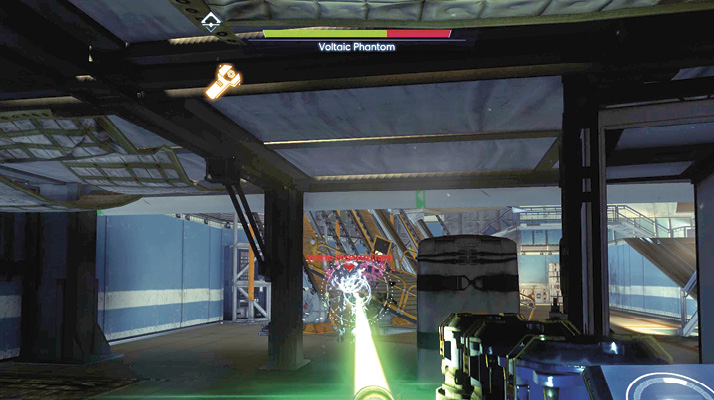
A Voltaic Phantom is among the enemies in the Cargo Staging Area. Toss an EMP Charge at this threat, then follow up by hitting it with your Q-Beam until it explodes.
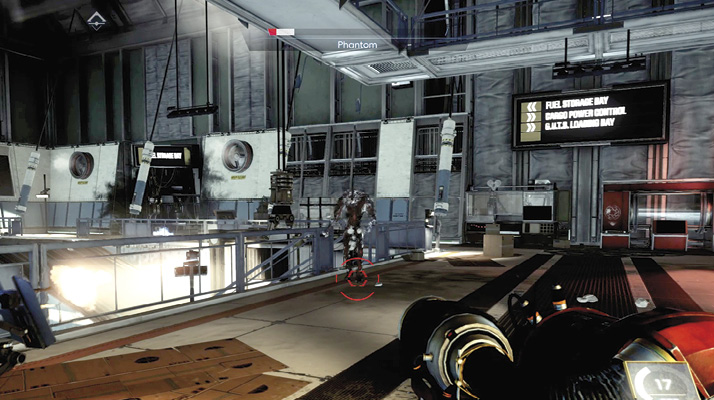
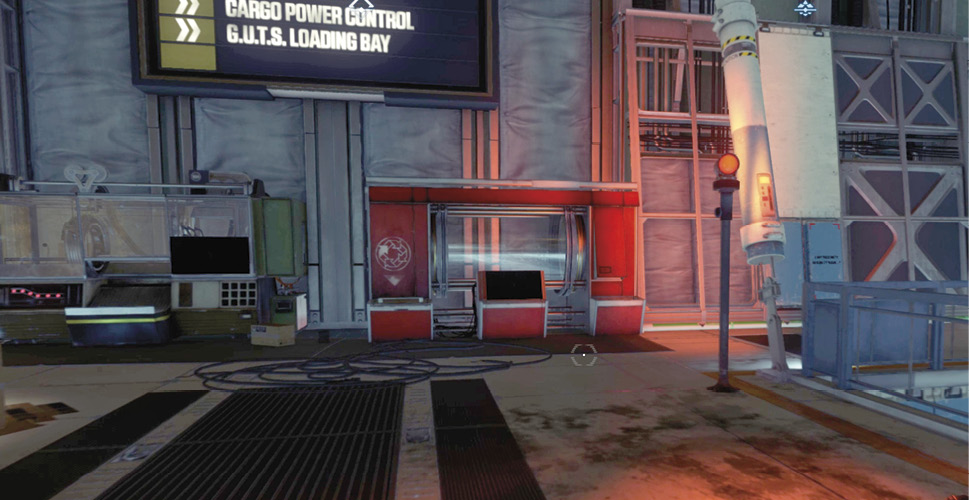
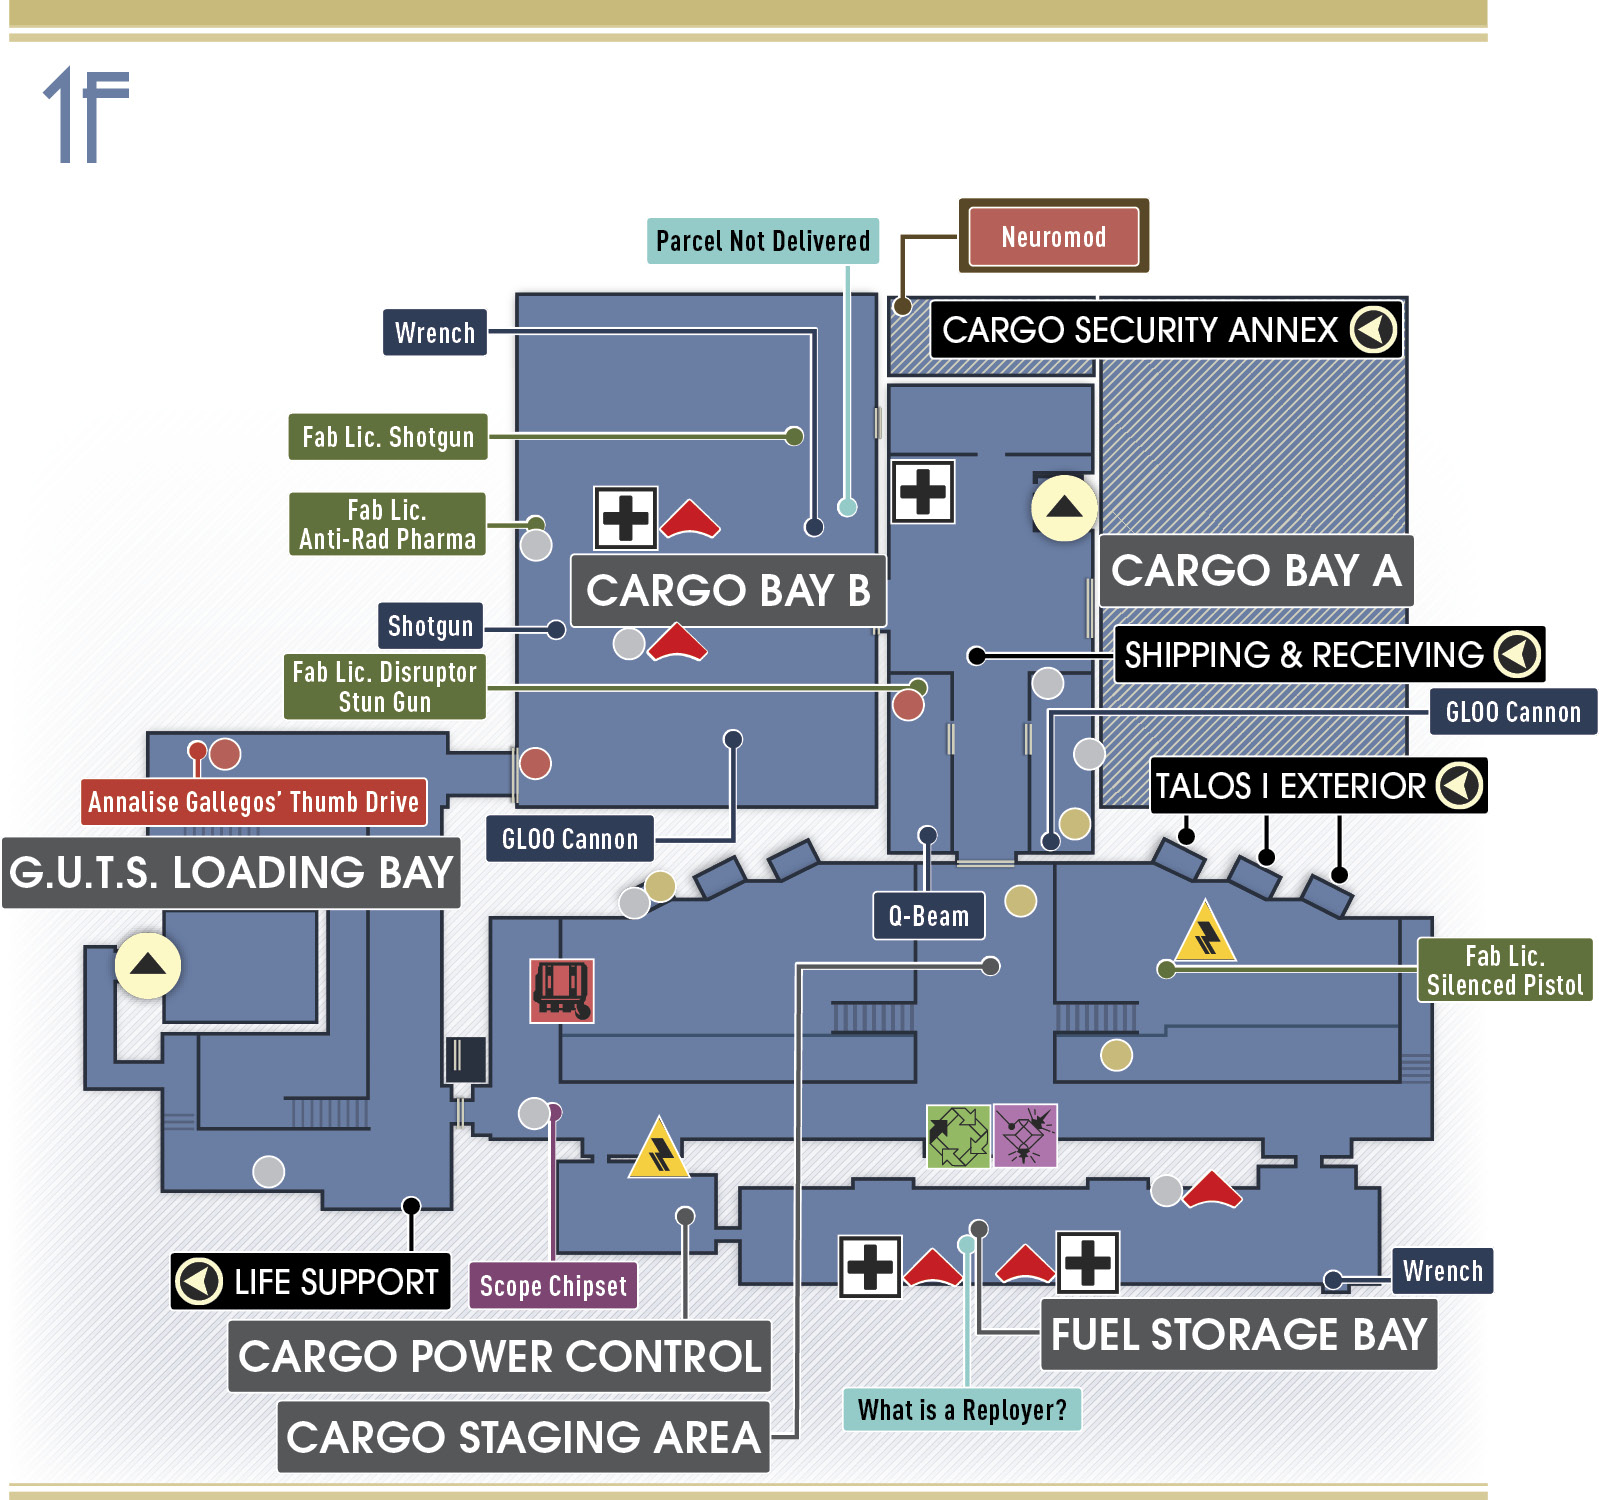
Once you’ve secured the Cargo Staging Area, take a look around. There’s a Recycler and Fabricator here, but they’re both unpowered. Power can be restored through the adjoining Cargo Power Control room. But the door to this room lacks power as well. However, it can be forced open if you possess the Leverage III ability. But there’s another path inside, leading through the Fuel Storage Bay.
Fuel Storage Bay
| Notable Items: |
| Audio Recording: What is a Reployer? |
| Password: Gus Magill |
| EMP Charge Fabrication License |
| Suit Chipset |
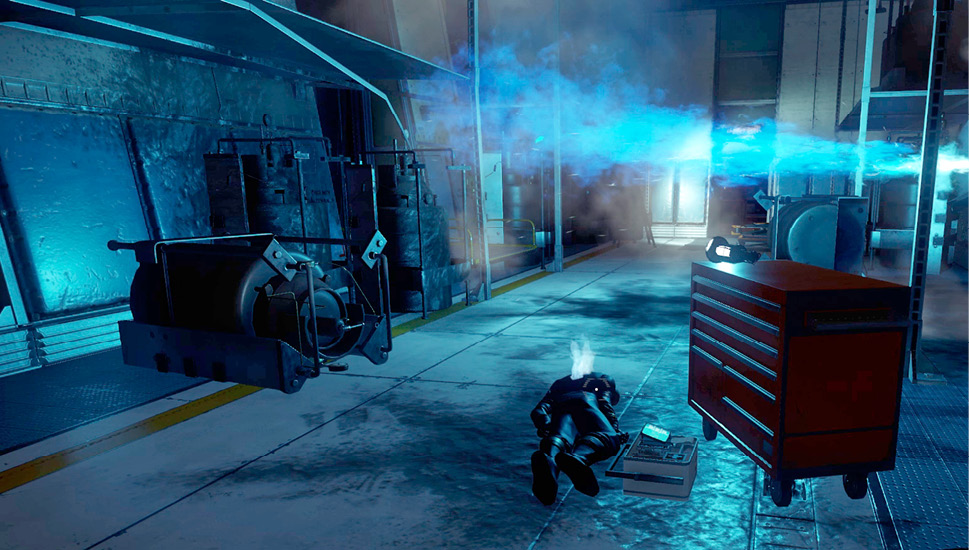
Judging by all the flames and dead bodies, it appears some sort of accident occurred here. This corridor is blocked by blue flames spewing through cylindrical canisters—even your GLOO Cannon can’t put out these flames. You can bypass these flames by climbing along the shelves flanking the corridor. Or you can use Mimic Matter I and transform yourself into a small object—this allows you to safely pass beneath the flames. Whatever you do, don’t try to crawl under the flames. You can’t get low enough to avoid taking damage.
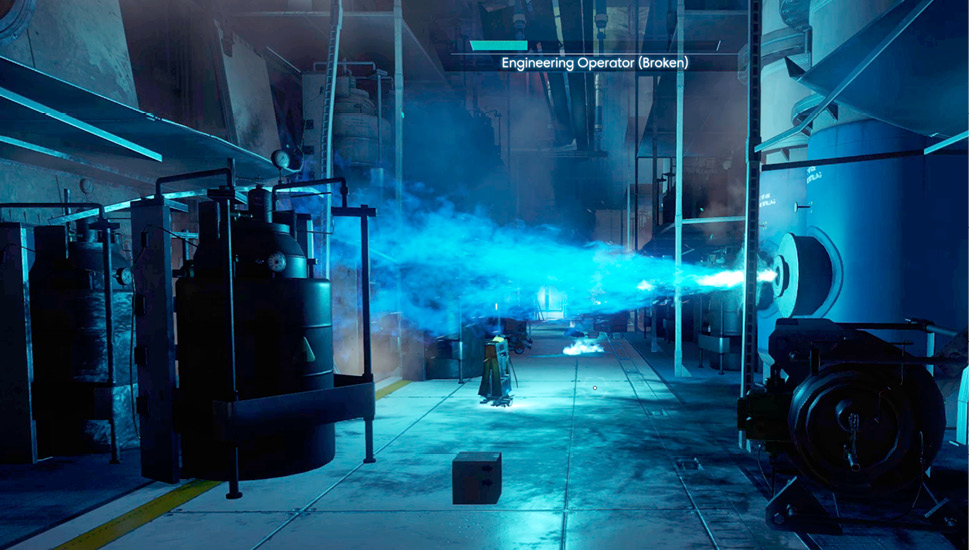
After passing the first flame hazard, you find the body of Gus Magill on the floor. Grab his TranScribe to retrieve a recording (What is a Reployer?), then search his body to discover a note containing his password. Like the first flame hazard, the next one, near Magill’s body, can be avoided by climbing along the perimeter shelves or by using Mimic Matter I to transform yourself into a small object before passing beneath the blue flames.
Cargo Power Control
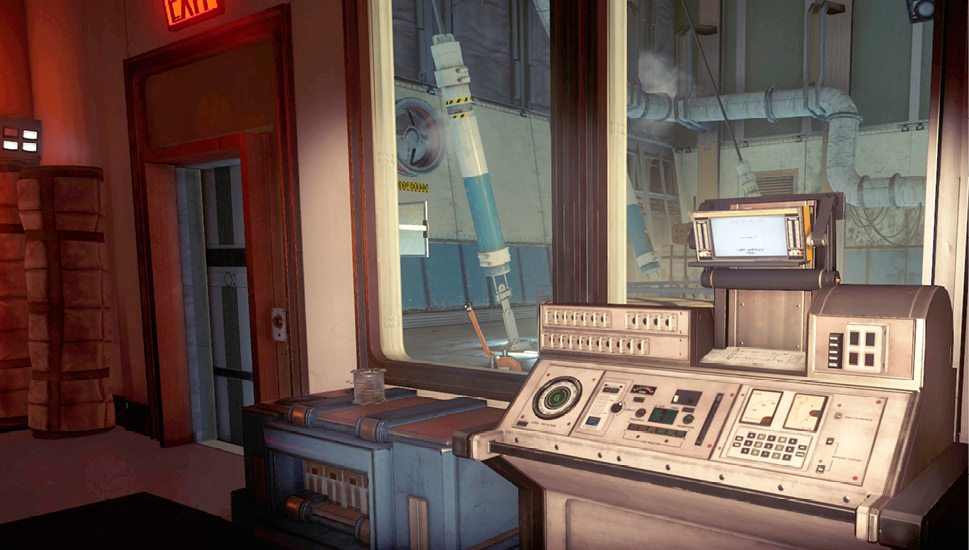
There’s a Greater Mimic hiding inside this dark room, so enter with caution and be ready to fight. Once you’ve dealt with the Greater Mimic, interact with the power kiosk to restore power to Cargo Bay A. The Recycler and Fabricator are now back online. Return to the Cargo Staging Area and use the Recycler to transform any junk you’re carrying into material fragments and cubes. Next, visit the Fabricator to stock-up on ammo and any other items you need.
Shipping and Receiving
| Notable Items: |
| Neuromod |
| Keycard: Cargo Loading Access 01 |
| Password: Gus Magill |
| GLOO Cannon |
| Weapon Upgrade Kit |
| Q-Beam |
| Typhon Lure (2) |
| Disruptor Stun Gun Fabrication License |
| Audio Recording: Austin Cool’s Orders |
| Turret |
| The Starbender Cycle: Book 5 |
Approach the large door leading into Shipping and Receiving. Now that you’ve cleared the Cargo Staging Area of Typhon, Austin Cool is willing to open the door. Sarah Elazar’s security forces have holed up in the Cargo Bay since the containment breach. Many of them complain that their standard-issue pistols are no match for the Typhon threats they’ve faced. Austin suggests you check in with Sarah on the second floor.
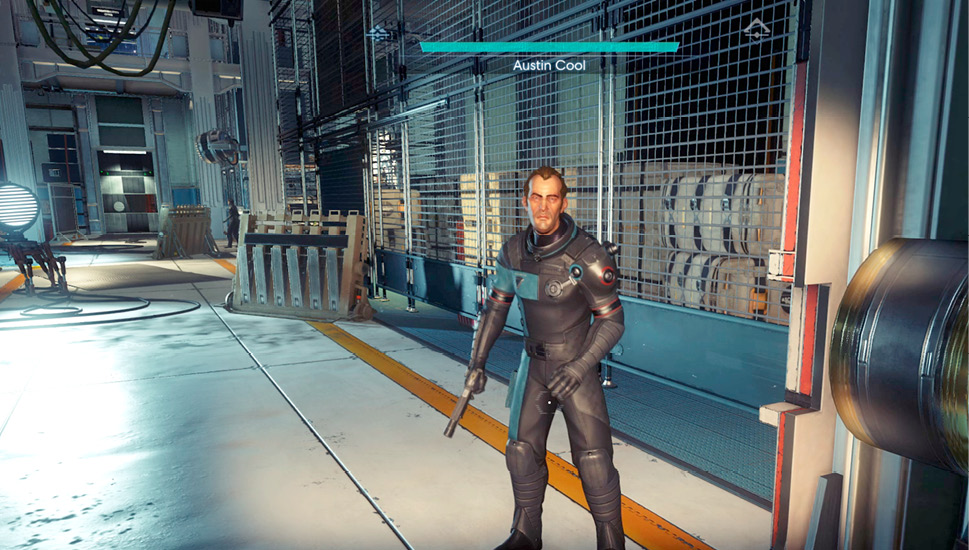
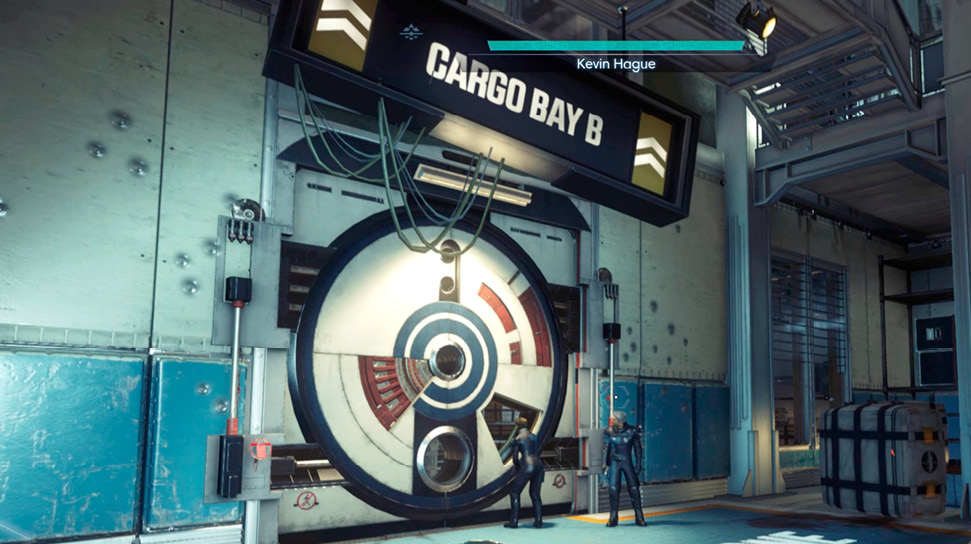
Austin Cool is joined by Tamiko Hayashi, Darcy Maddox, and Kevin Hague—all security officers standing guard by the entrance to Cargo Bay B. A quick glimpse through the windows in the door reveals multiple Typhon organisms occupying Cargo Bay B, including a Thermal Phantom and a Weaver. This is a good time to conduct some scans.
With This Ring…Objective Summary: Security Officer Kevin Hague asked me to watch out for his missing wife Nicole. She went to retrieve a wedding ring when the chaos started. She’s supposed to be somewhere around Crew Quarters, but I could use a security station to track her down if I have trouble. Maybe I can find her or some evidence that I located her. If you speak to Kevin Hague, he asks that you search for his wife, Nicole Hague. He says she was in Crew Quarters. You already encountered Nicole in the Executive Suites—she was one of the Phantoms in the guest suite. If you retrieved the wedding ring from Nicole’s remains, hand it over to Kevin to complete this optional objective. It’s important you speak to Kevin before opening the door to Cargo Bay B. He may die during the ensuing chaos, making it impossible to complete this objective. 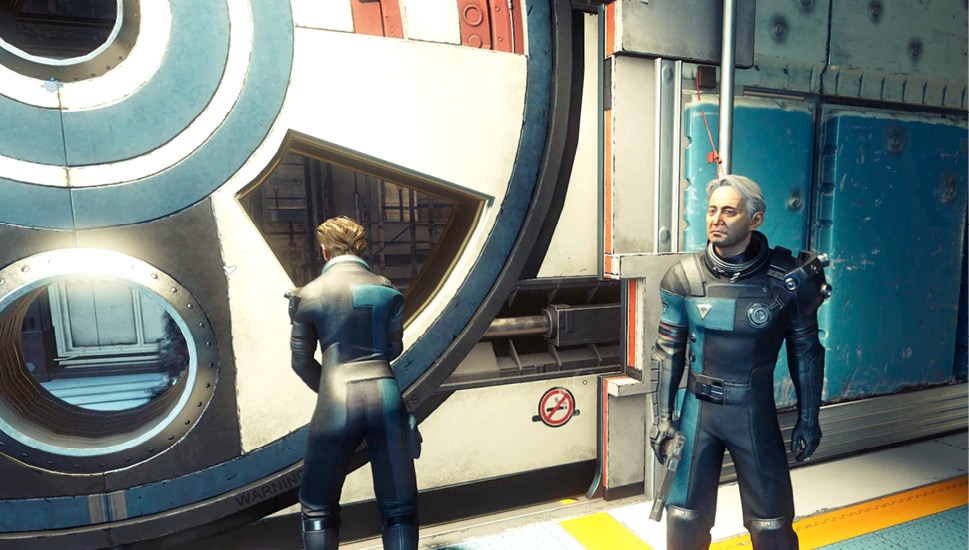
|
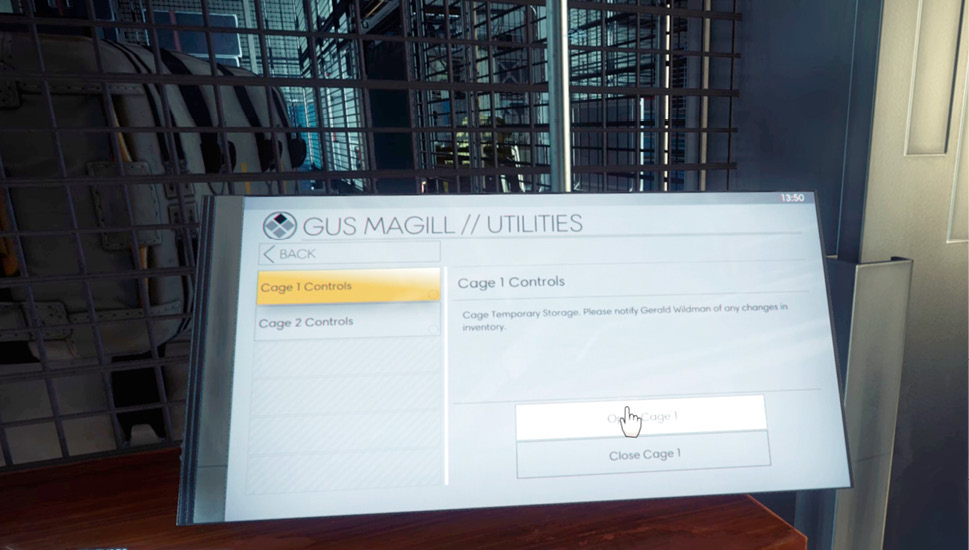
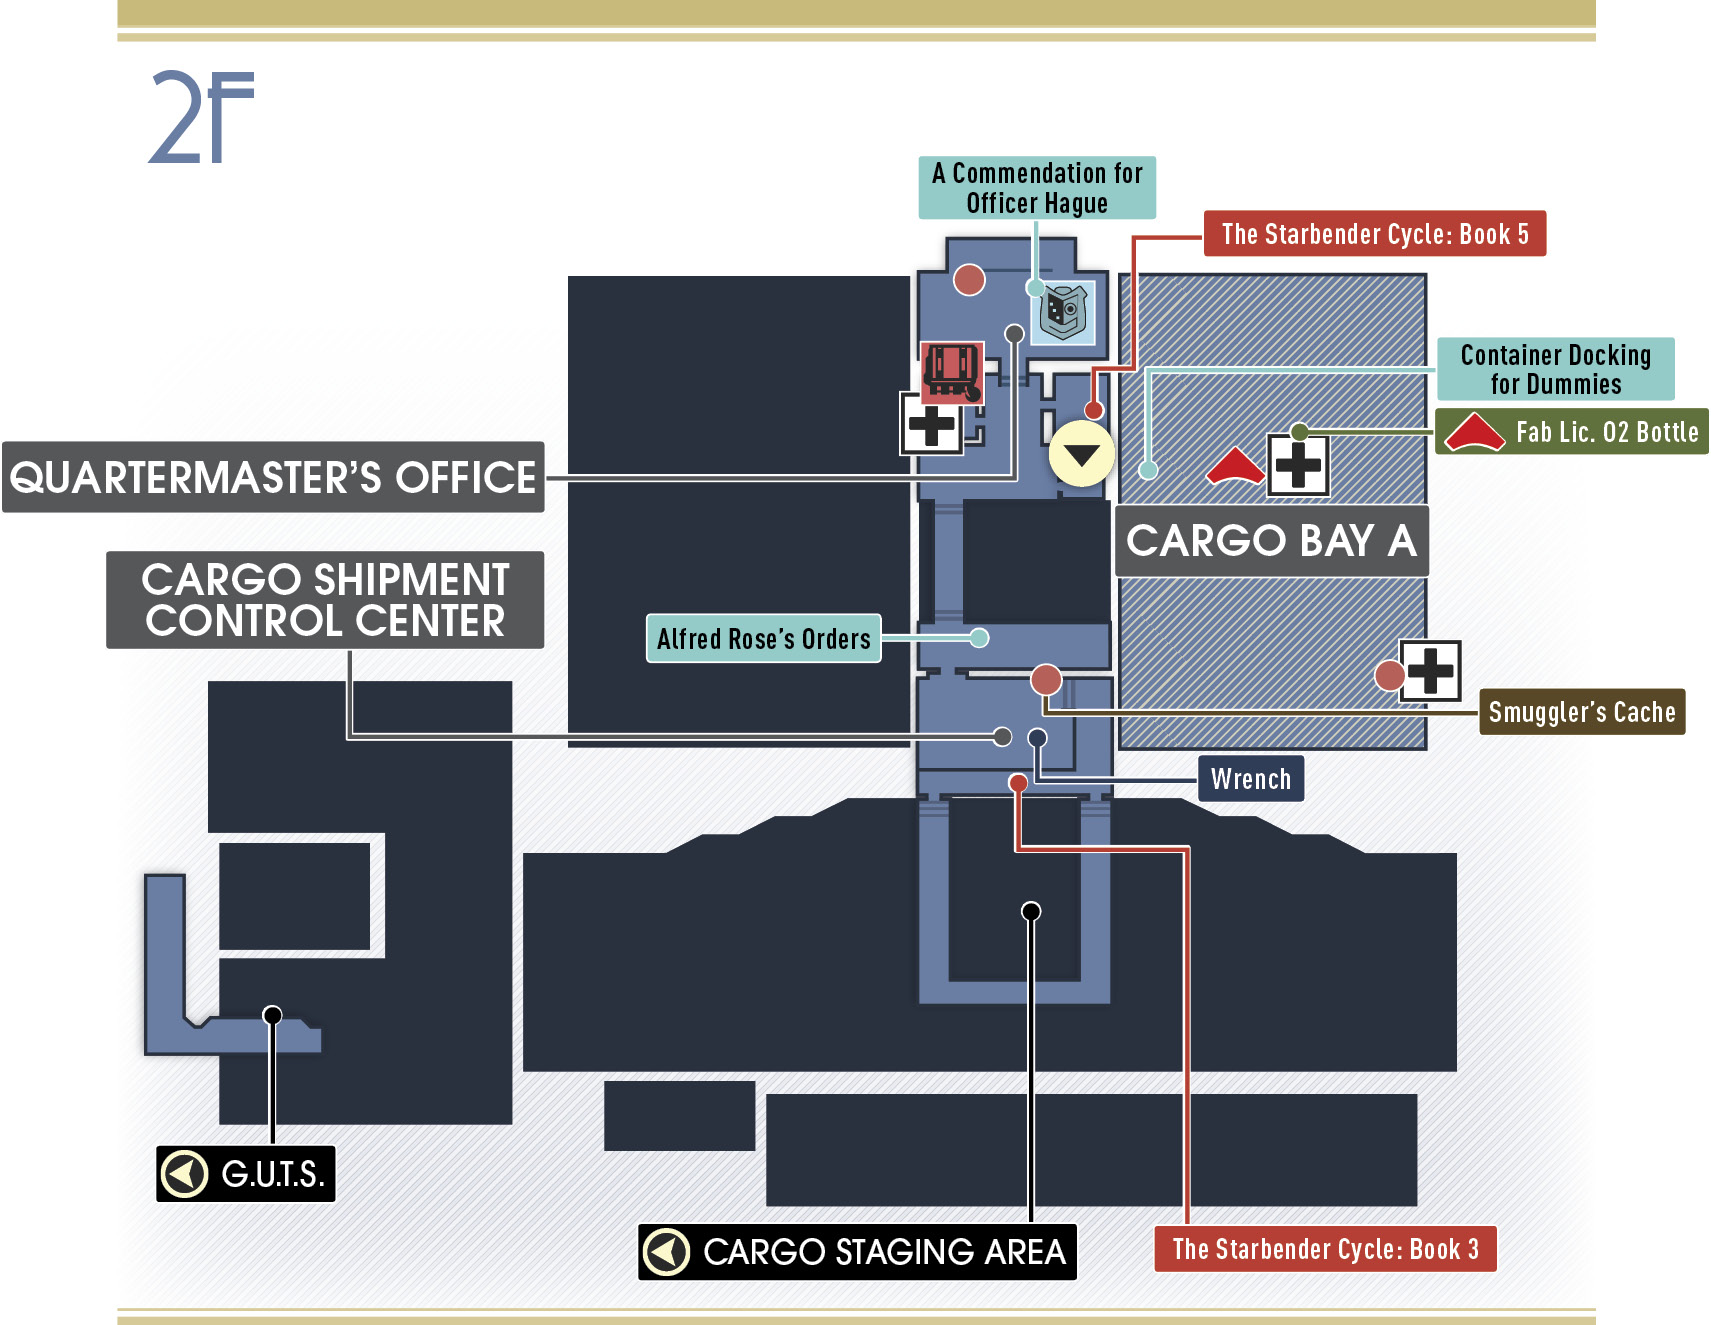
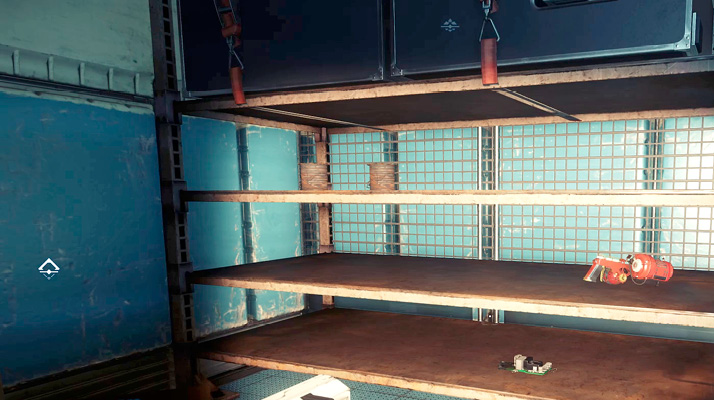
Before finding Sarah on the second floor, access Gus Magill’s workstation near the Grav Shafts. Log in using his password retrieved from Magill’s body, in the Fuel Storage Bay. You can also find his password on a note, tucked beneath the phone on his desk. In the workstation’s Utilities tab, unlock the doors to the two cargo cages. Cage 1 contains some ammo, a turret, and a GLOO Cannon, among other supplies. Once unlocked, Cage 2 is still inaccessible, blocked by two large pieces of cargo. If you possess the Leverage III ability, you can move these items out of the way—don’t use Mimic Matter I or any other Typhon abilities.
Cage 2 contains a Neuromod, Q-Beam, two Typhon Lures, and a Disruptor Stun Gun fabrication license. When you’re finished searching the cages, enter the Grav Shaft to access the second floor.
Quartermaster’s Office
| Notable Items: |
| Neuromod (4) |
| Audio Recording: A Commendation for Officer Hague |
| Recycler Charge Fabrication License |
| Recycler Charge |
| Password: Cargo Bay Security Safe |
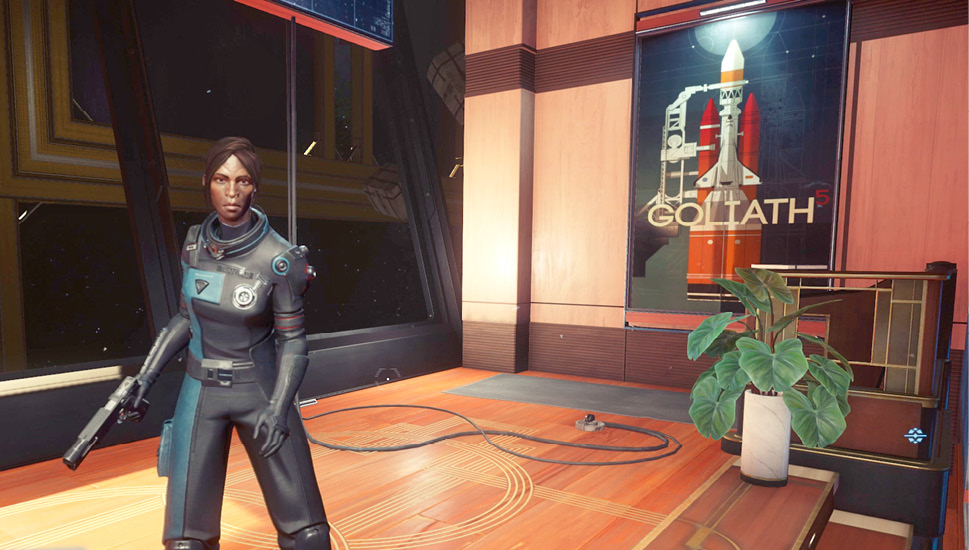
After exiting the Grav Shaft, turn right to approach the Quartermaster’s Office. Along the way, consider making a detour into the Medical Bay to retrieve some medical supplies. You can also deploy a Medical Operator if you need to heal. The supply room across from the Medical Bay contains some random junk and Book 5 in The Starbender Cycle series. Enter the Quartermaster’s Office and speak to Sarah Elazar. She’s grateful for your assistance, but is uncertain of your motives. Still, she could use your help in securing Cargo Bay B. If you didn’t hack the safe in Cargo Bay A, she supplies you with the password so you can retrieve the Portable Turret fabrication license.
Cargo Bay DefensesObjective Summary: Sarah Elazar and her officers are pinned down in the Cargo Bay. If I set them up turrets in the loading zone next to the Cargo Bay B door, she’ll open it for me, trusting the turrets to keep them safe. There’s a fabrication plan for turrets nearby and a fabricator here that needs power restored before I can manufacture any. Or maybe I can find some turrets already made if I search through all the cargo here. Having already restored power to the Fabricator, you’ve partially completed this objective. Next, you need to gather three turrets and deploy them in front of the door leading to Cargo Bay B. But take some time to explore the second floor before resuming this objective. |
Doctor Igwe (continued)After speaking to Sarah, talk to Dr. Igwe, also in the Quartermaster’s office. He’s happy he’s alive to speak to you. As a reward for saving his life, he hands over a Neuromod. While talking to Igwe completes this objective, it’s not the last you’ve heard from him. He’ll contact you later with some other favors to ask. 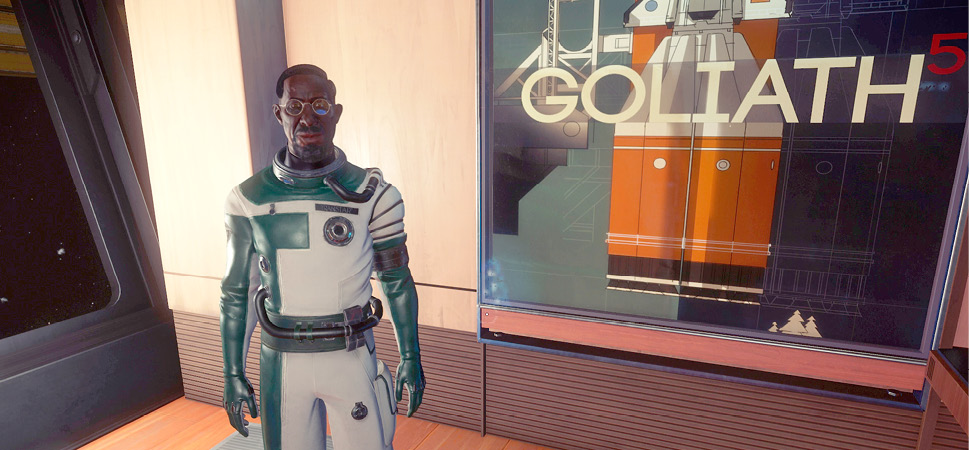
|
Following your conversation with Sarah and Dr. Igwe, search the Quartermaster’s Office for supplies. On the nearby console you find some pistol ammo as well as a case containing four Neuromods. Search the neighboring console to grab Kevin Hague’s TranScribe. A briefcase near the room’s entrance contains a Recycler Charge and a Recycler Charge Fabrication License.
Cargo Shipment Control Center
| Notable Items: | Audio Recording: Alfred Rose’s Orders | Neuromod |
| Weapon Kit Fabrication License | EMP Charge | |
| The Starbender Cycle: Book 3 |
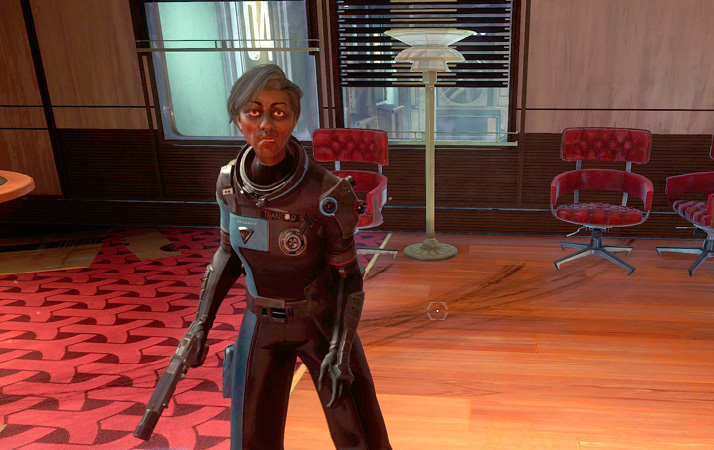
Return to the adjoining corridor and pass security officers Sam Hertz and Alfred Rose as you proceed to the Cargo Shipment Control Center. Alfred Rose’s TranScribe is on the catwalk outside the room’s entrance, next to some cardboard boxes and a pillow. If you saved Rani Chaudhary back in the Green House, you find her near the room’s entrance. Rani reveals she was in the Arboretum with other security personnel prior to the containment breach with orders to arrest Alex. But those plans were set aside when Typhon spread throughout Talos I. Was Sarah planning some sort of a coup? Did Alex trigger the containment breach to avoid being arrested?
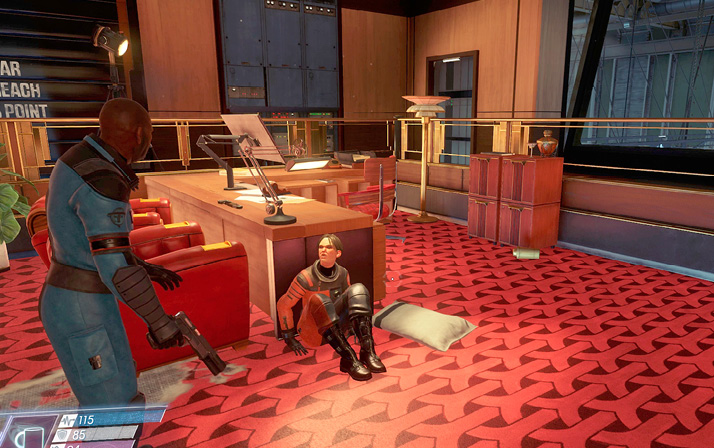
Ekaterina Mulsaev sits on the floor nearby, seemingly in a daze. She was in the Fuel Storage Bay when a fire broke out. Officer Rose pulled her from the flames but couldn’t save her coworkers—they’re all dead. According to Ekaterina, all the station’s escape pods malfunctioned at the time of the Typhon containment breach. After talking to Ekaterina, read some emails on Gerald Wildman’s workstation, which has Book 3 in The Starbender Cycle series next to it. Apparently a hazardous shipment of Chlorine Trifluoride recently arrived in the Cargo Bay. Perhaps this was a factor in the Cargo Bay A explosion? Stock up on food supplies while you’re here, then return to first floor via the Grav Shaft.
Talos Smuggling Ring (continued)Locate the red alarm bell in the Cargo Shipment Control Center and whack it with your wrench three times to open a hidden safe containing a Weapon Kit fabrication license, a Neuromod, and an EMP Charge. This is the second smuggling ring drop point you’ve discovered. There are four more out there. 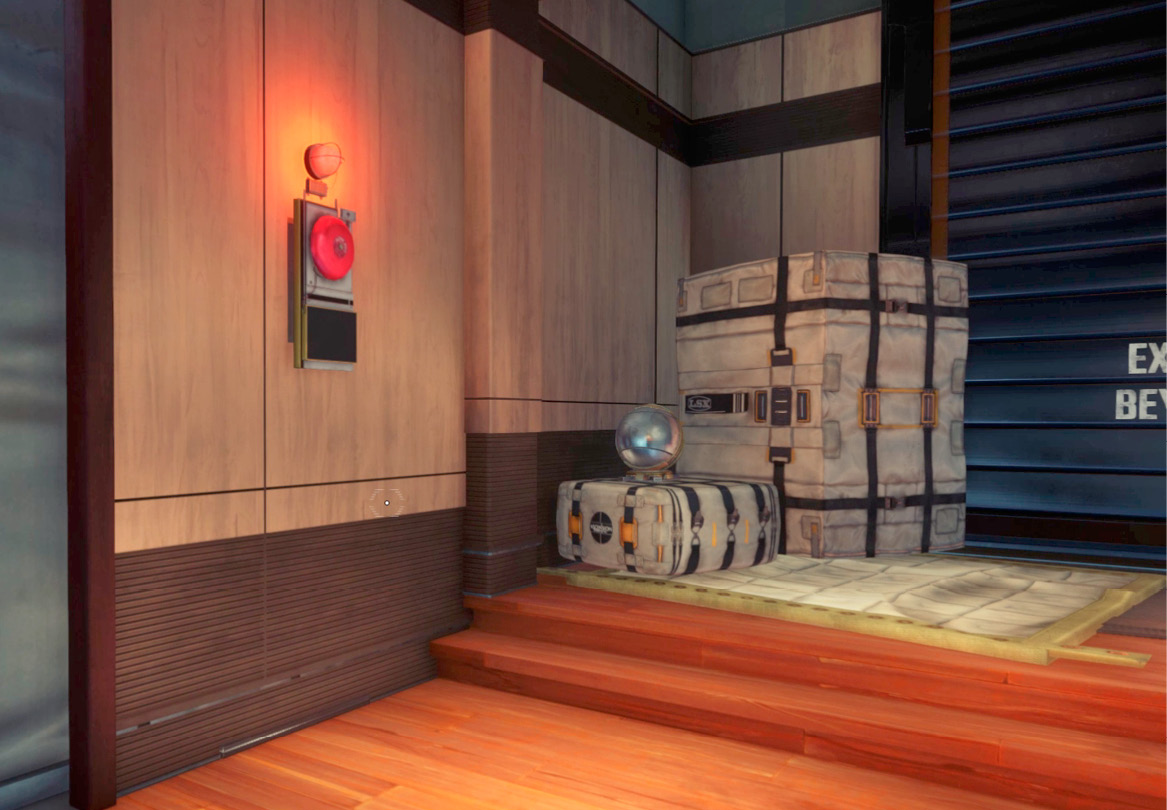
|
Shipping and Receiving
Cargo Bay Defenses (continued)Back in Shipping and Receiving, start placing turrets in front of the door leading to Cargo Bay B. Retrieve the two turrets from the Cargo Staging Area you deployed outside the Cargo Loading Access door. Place these two turrets within the blue Loading Zone area near the Cargo Bay B door. Next, grab the turret from Cage 1 and add it to your line of turrets facing the Cargo Bay B door. Once three turrets are deployed in the Loading Zone, Sarah joins her officers and gives you the keycode to the Cargo Bay B door. This completes the objective. 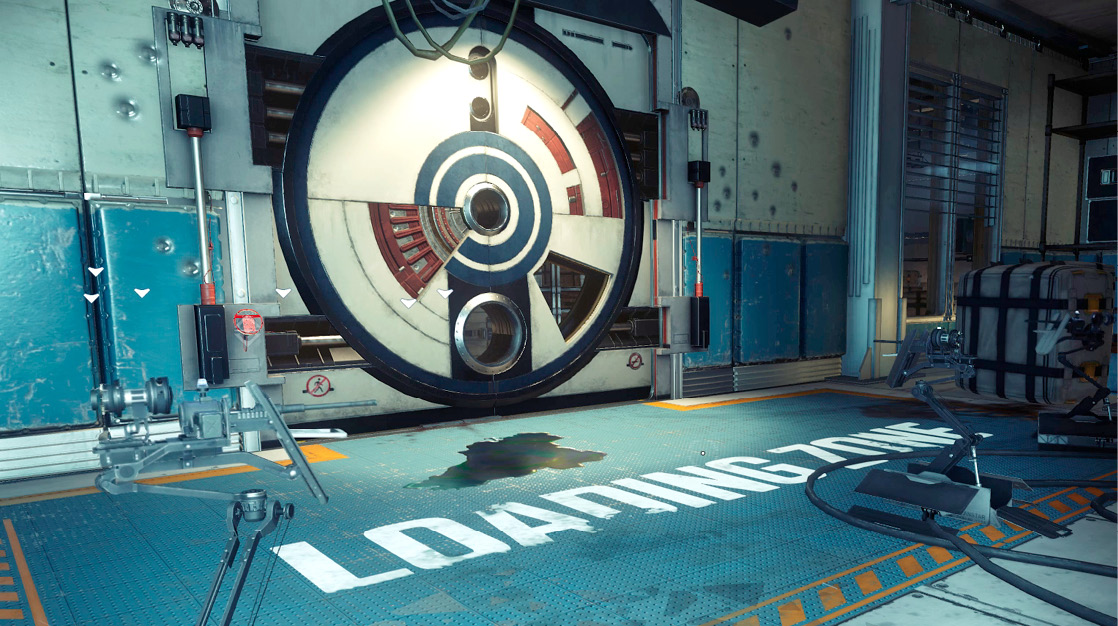
|
Before opening the door to Cargo Bay B, consider fortifying the turrets—you’ll need the Repair III ability and some spare parts. Fortified turrets can absorb much more damage than their stock counterparts. These turrets (and the security personnel) are about to face an onslaught of Typhon attacks surging out of Cargo Bay B. Fortifying the turrets ensures they last longer. If you want more firepower, fabricate more turrets using the Fabricator. Once the turrets are in place, check your own health and weapons. Make sure your weapons are fully loaded and equip a Typhon Lure.
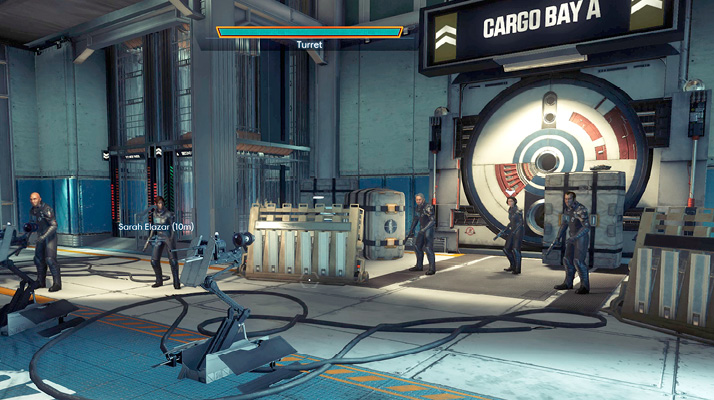
When you’re ready, input the keycode into the Cargo Bay B door’s keypad. Immediately step behind the turrets as the door slides open and toss a Typhon Lure toward the incoming Phantoms and Weaver. After tossing the Typhon Lure, throw a Nullwave Transmitter at the group of enemies in an effort to nullify their abilities. Next, equip your Q-Beam and open fire, focusing your attacks on the Thermal Phantom and Weaver while the turrets and Sarah’s officers unleash a volley of outgoing fire. Despite your best efforts, some of the security officers will die during the fight. But Sarah remains grateful for your assistance. She instructs you to send other survivors to the Cargo Bay and promises to keep them safe. Search the remains of the fallen officers and Typhon to stock up on supplies.
Cargo Bay B
| Notable Items: | |
| Neuromod | Audio Recording: Parcel Not Delivered |
| Shotgun Fabrication License | Anti-Rad Pharma Fabrication License |
| EMP Charge (2) | Recycler Charge (2) |
| Nullwave Transmitter (3) | Weapon Upgrade Kit |
| Suit Chipset (2) | Scope Chipset |
Enter Cargo Bay B and turn right to locate Kirk Remmer’s workstation. Grab Ash Lasair’s TranScribe sitting on the desk to retrieve a new audio recording. The utility loaded on the workstation’s screen allows you to remotely unlock any of the shipping containers. Simply input the container’s four-digit code. Start by opening container 8120 nearby. It contains a Shotgun fabrication license, a Suit Repair Kit, and a Suit Chipset.
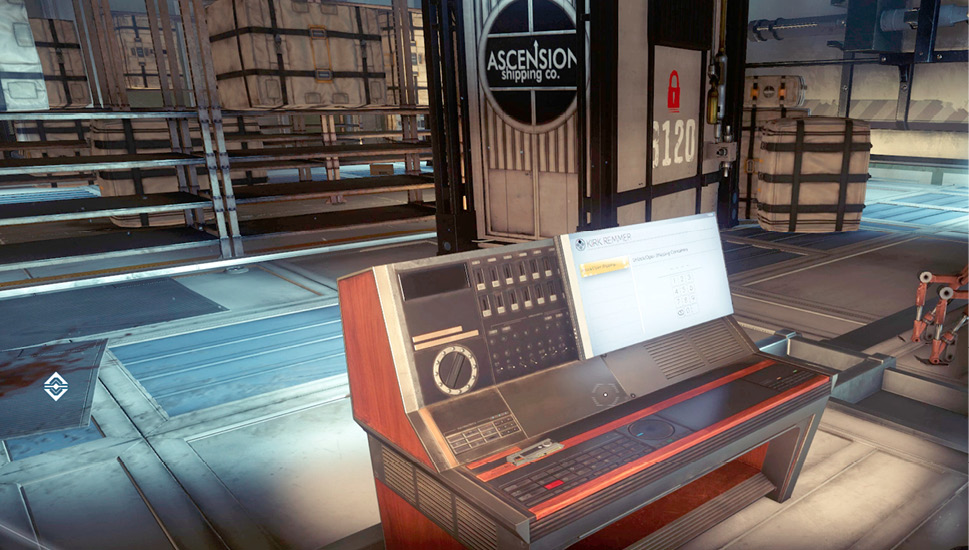
Cargo Bay B is filled with tons of useful gear and supplies, so start cracking open those shipping containers. Some of the shipping containers in Cargo Bay B can be opened manually by pushing a white button next to its door. But others are equipped with keypads and require a keycode (or a hacking attempt). The utility on Kirk Remmer’s workstation allows you to bypass any locks, making it easy to open every container.
Container 9171 holds some spare parts, an EMP Charge, a Scope Chipset, and an Anti-Rad Pharma fabrication license. Also, don’t overlook the red supply crates on the shelves. These contain weapons including Recycler Charges and Nullwave Transmitters.
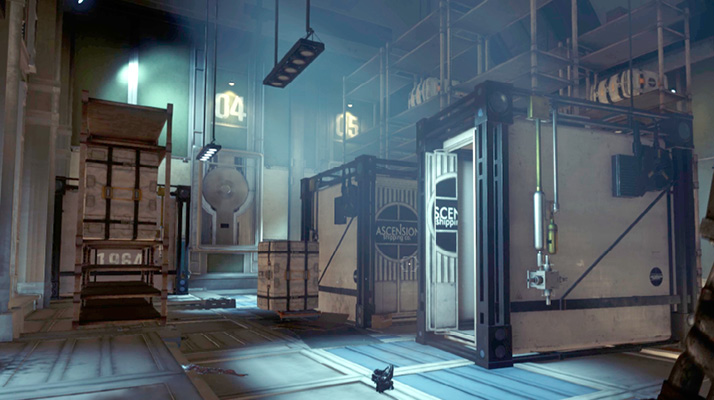
When you’ve searched all the shipping containers and supply crates, approach the door leading to the G.U.T.S. Loading Bay. Search Christopher Smith’s body to retrieve some ammo and a Neuromod. Next, press the button near Smith’s body to open the door to the loading bay.
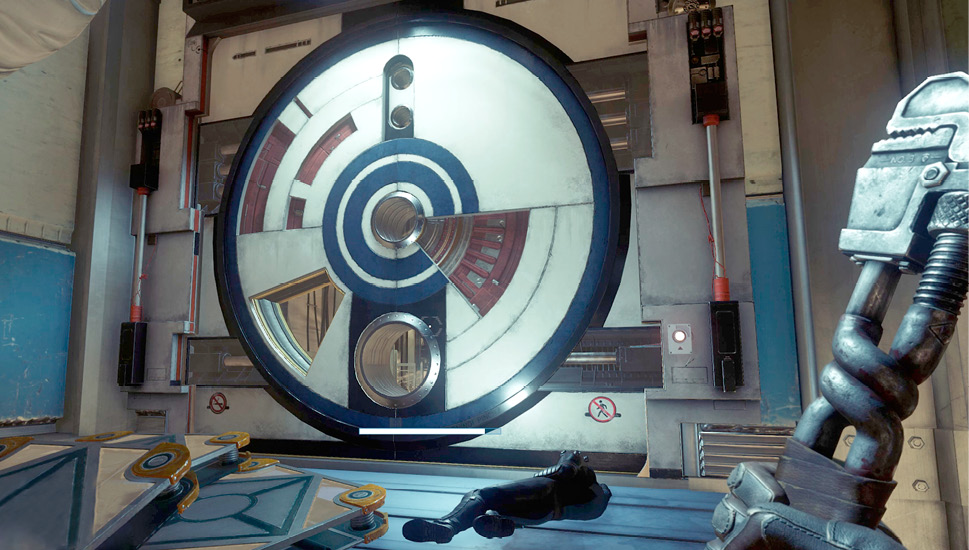
G.U.T.S. Loading Bay
| Notable Items: |
| Neuromod (2) |
| Weapon Upgrade Kit |
| EMP Charge |
| Recycler Charge (2) |
| Suit Chipset |
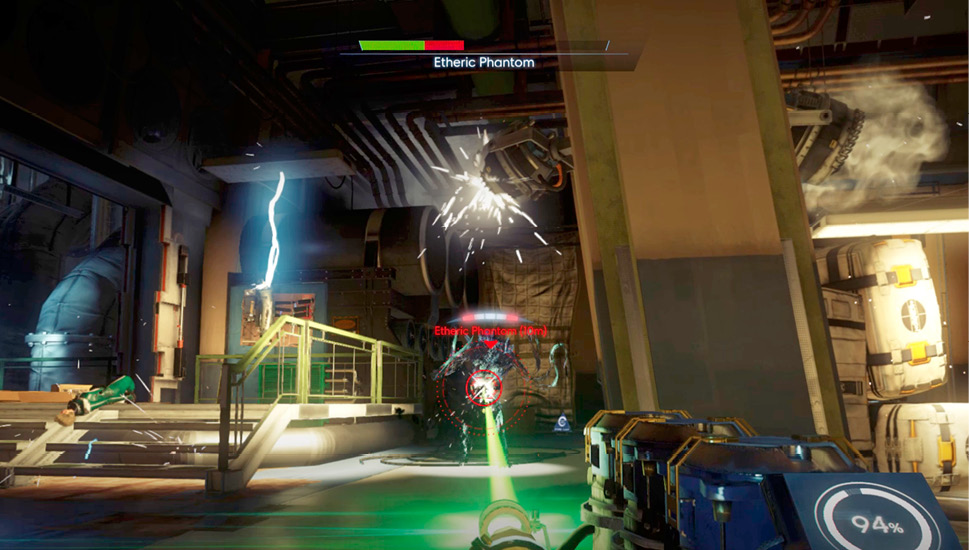
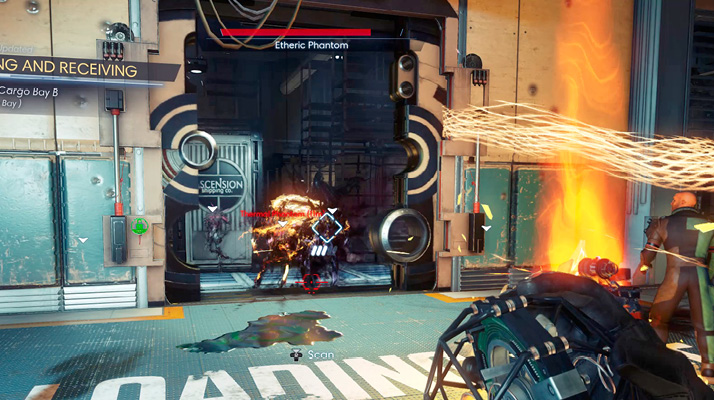
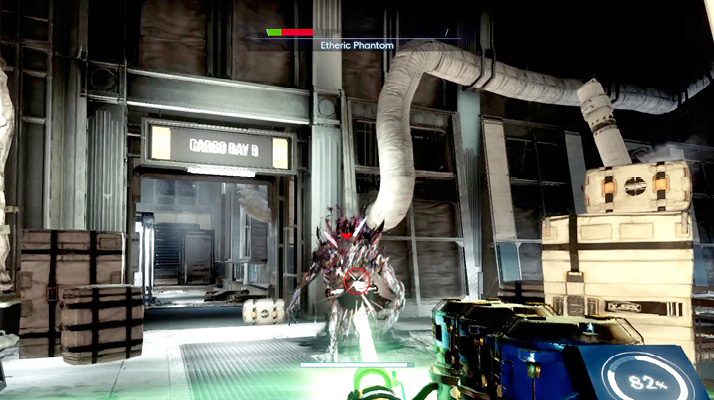
The G.U.T.S. Loading Bay is patrolled by a lone Etheric Phantom. Stay low as you enter and locate this enemy. Try to scan it with your Psychoscope before it detects you. Toss a Nullwave Transmitter at the Etheric Phantom to nullify its Psi abilities, then hit it with your Q-Beam until it explodes.
Whistleblower (continued)Shipping container 3232 is located near the entrance to the G.U.T.S. Loading Bay. This is the container Annalise Gallegos and Quinten Purvis were using to smuggle evidence off Talos I. Hack the door of the shipping container or use Kirk Remmer’s workstation (in Cargo Bay B) to unlock it. Inside you find a large collection of food and the body of Quinten Purvis. Search him to retrieve Annalise Gallegos’ thumb drive and two Neuromods. The thumb drive contains incriminating evidence pertaining to TranStar’s use of involuntary human test subjects as well as revealing the extraterrestrial nature of the Typhon aboard Talos I. If this information got out, it would mean the end of TranStar. Retrieving the thumb drive completes this optional objective. 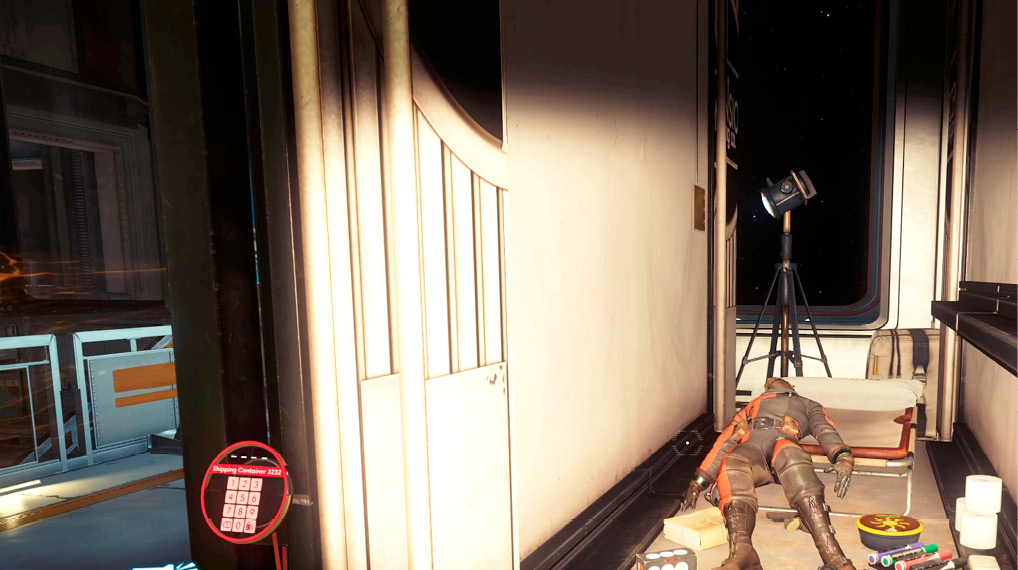
|
Treasure Hunt (continued)Rosalyn’s treasure map leads to this location in the Cargo Bay, near container 3376. Shine your flashlight on the white “5” painted on the nearby wall to register this clue. Focus on the 5 until the Investigate Rosalyn’s map objective is complete. 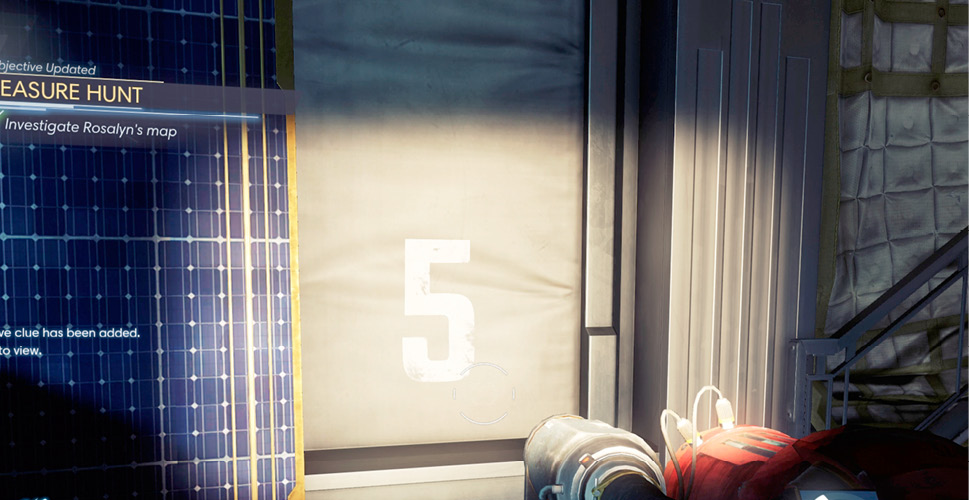
|
Continue searching the loading bay. Open container 3376 to obtain a Weapon Upgrade Kit, an EMP Charge, two Recycler Charges, and a Suit Chipset. The Gravity Utility Tunnel System is locked down, like the rest of the station. However, the door to Life Support is accessible. Interact with this door when you’re ready to leave the Cargo Bay.
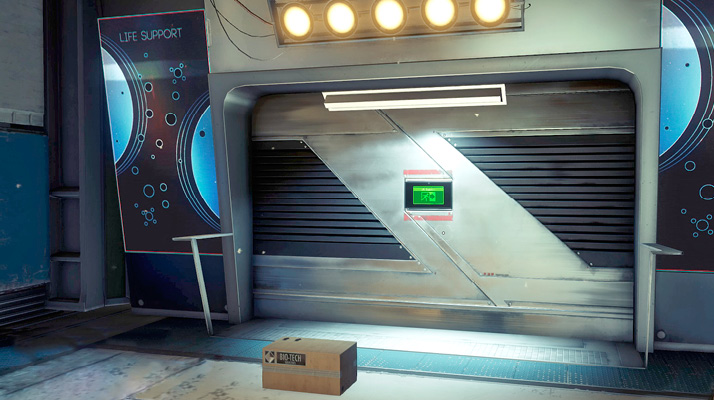
Life Support
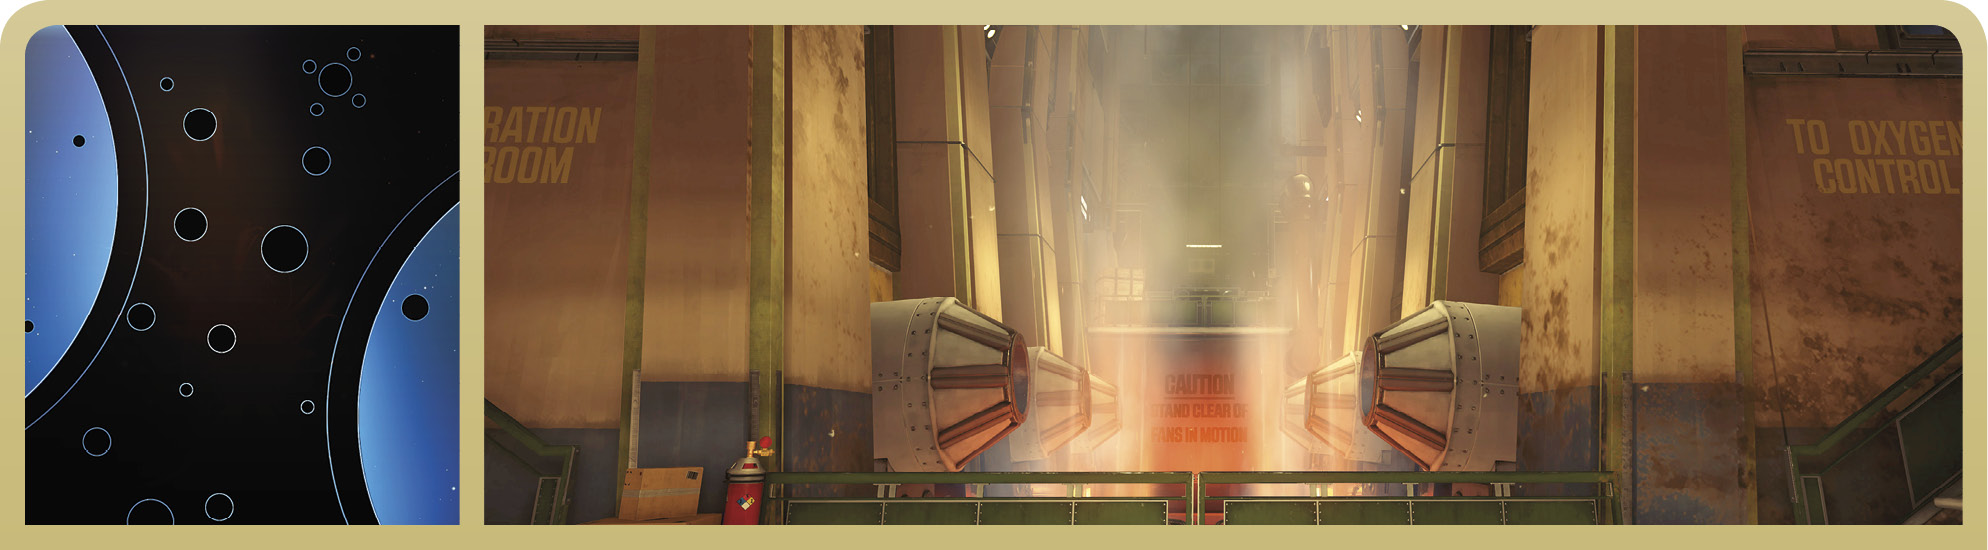
Foyer
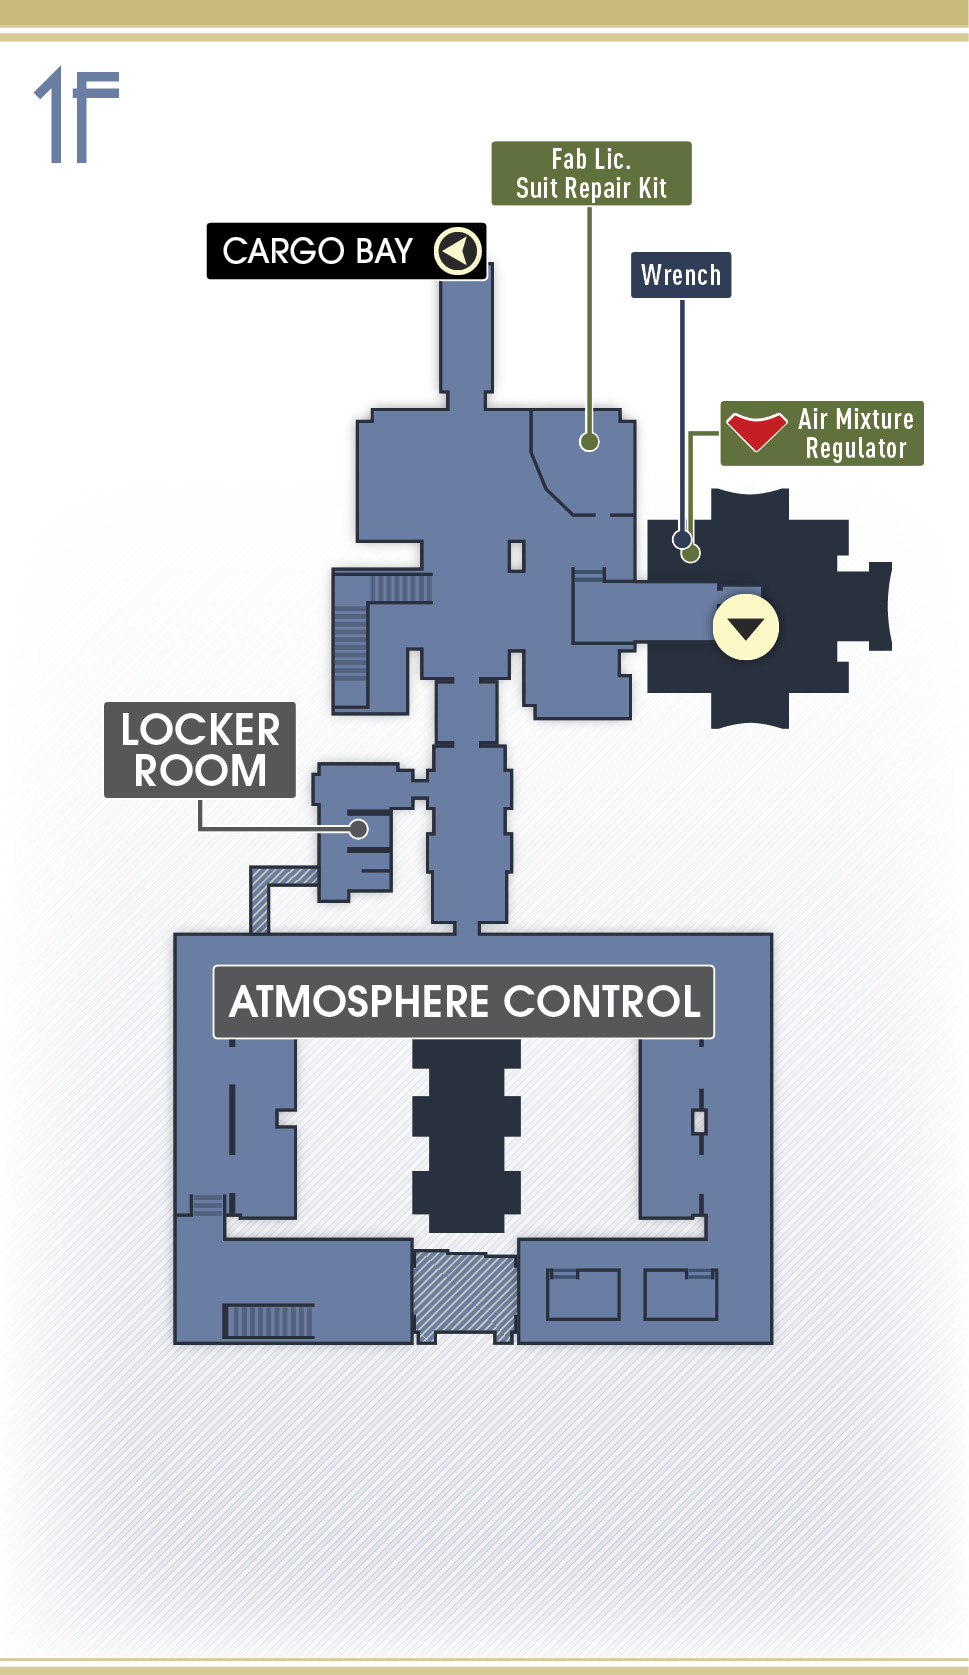
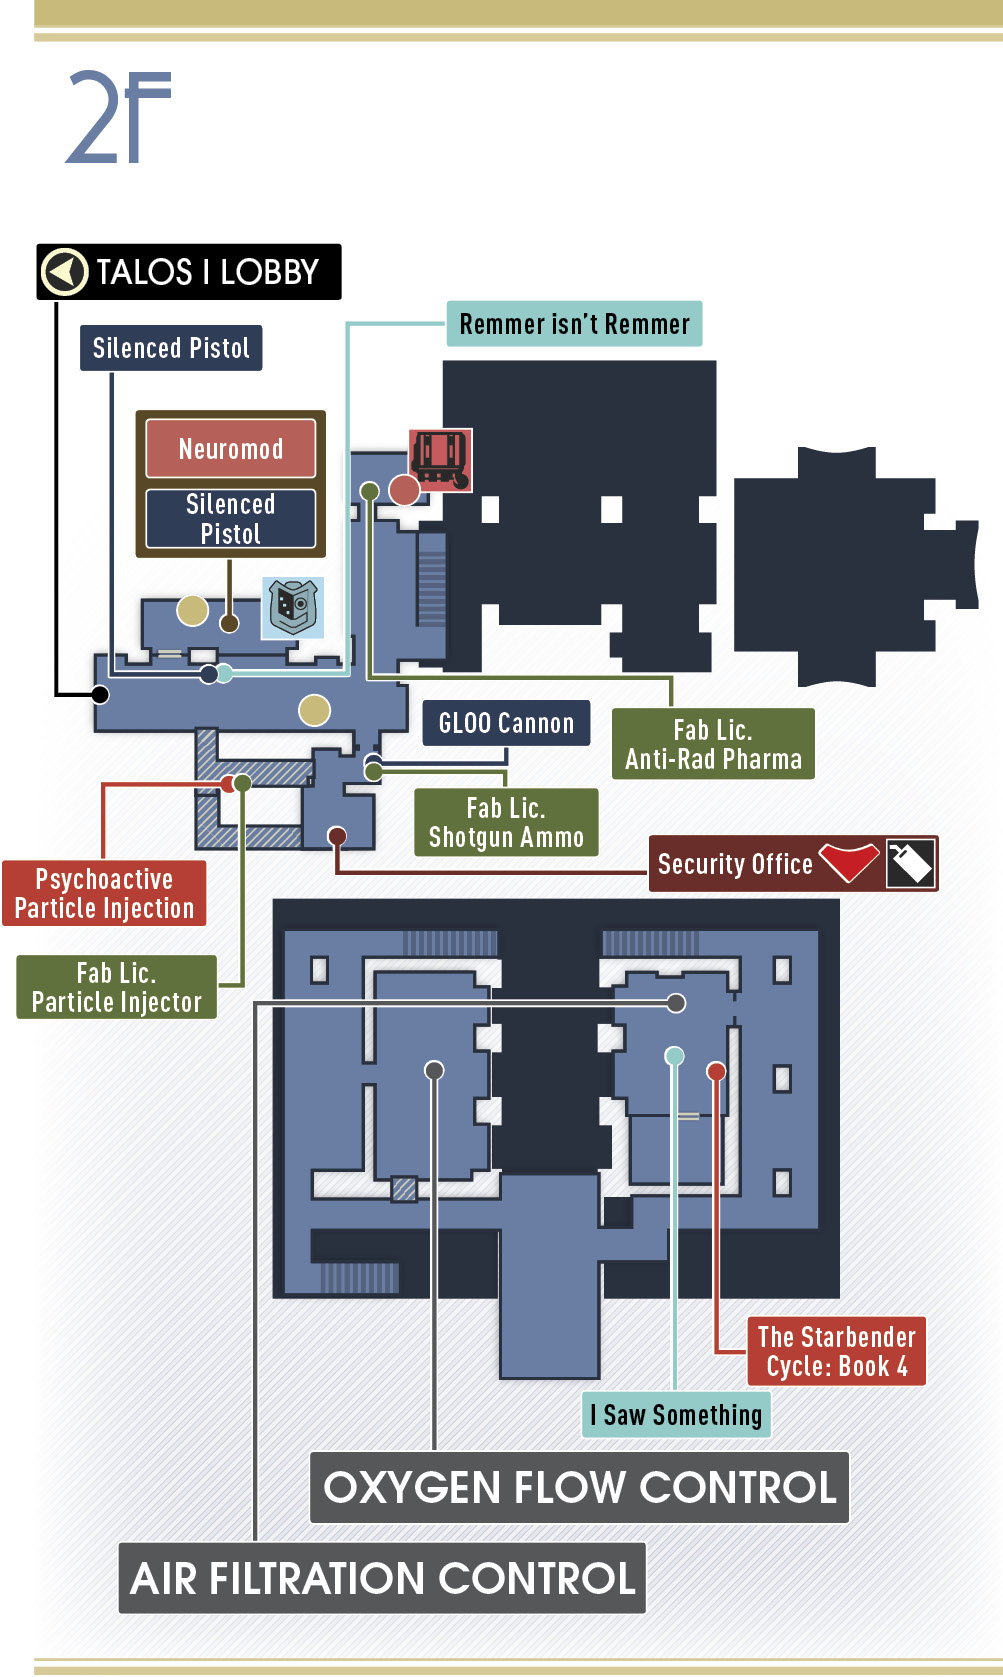
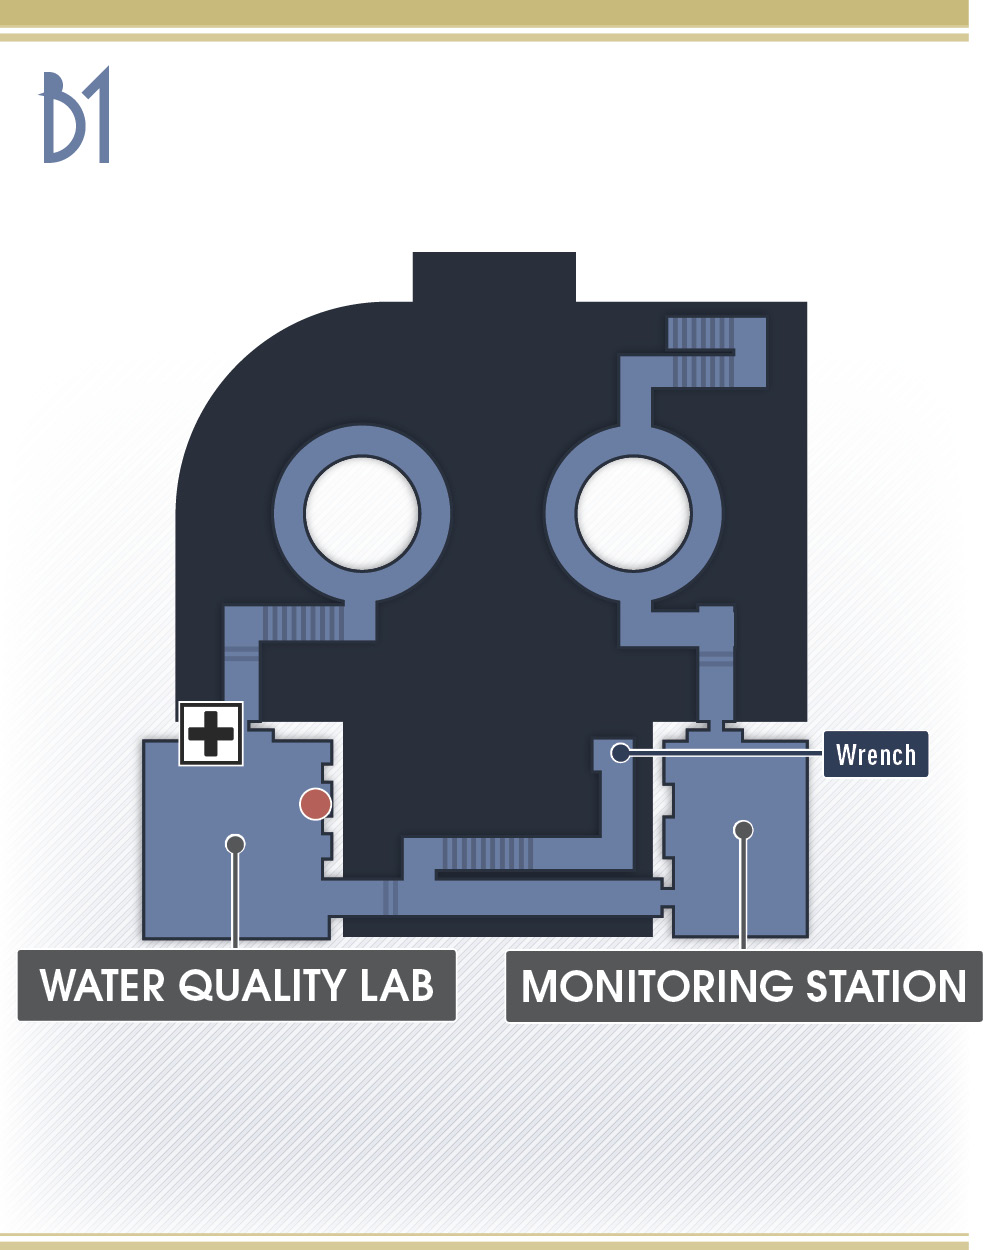
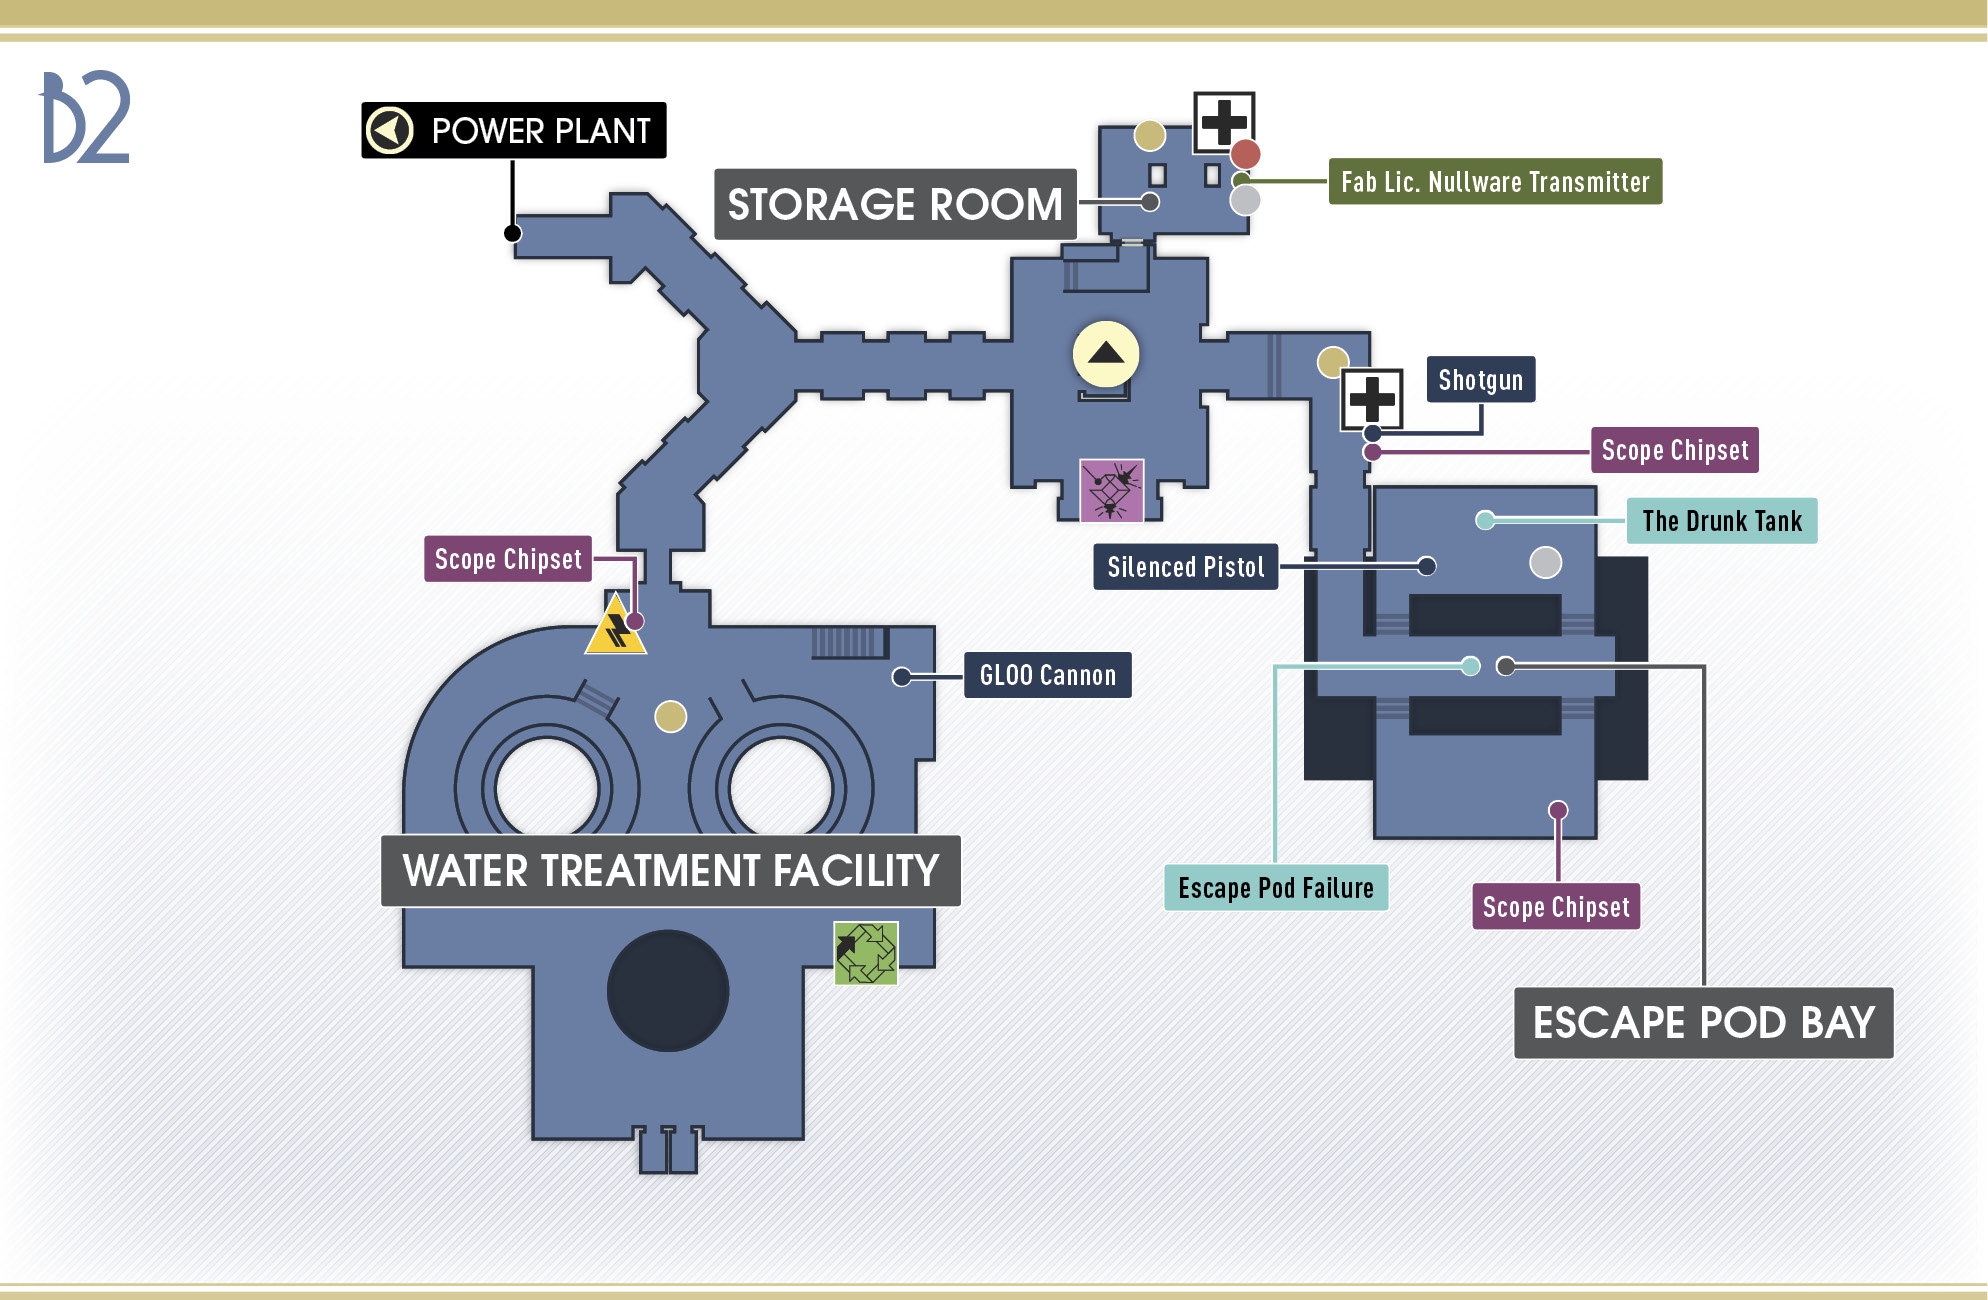
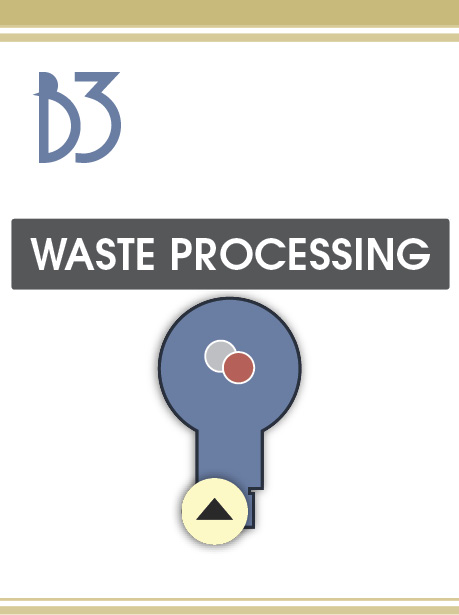
Mikhaila Ilyushin contacts you as you enter Life Support. She’s still alive, located somewhere in the Power Plant. She suggests cycling the main reactor to reboot the station. This will remove the station lockdown. Suffering from the side effects of Paraplexis, Mikhaila is incapable of cycling the reactor herself but is willing to walk you through the steps. After receiving the new objective from Mikhaila, engage the Etheric Phantom patrolling ahead. Hit it with a Nullwave Transmitter to nullify its abilities, then take it out with your Shotgun or Q-Beam. A second Etheric Phantom patrols the nearby stairway leading up to the main lift. Eliminate this second Phantom before exploring this area.