Prey Guide Walkthrough: Story Objectives
Breakout
BreakoutA stranger named January contacted me to say that I’m in danger and that I need to escape my apartment. There’s something about January’s voice that’s bothering me. |
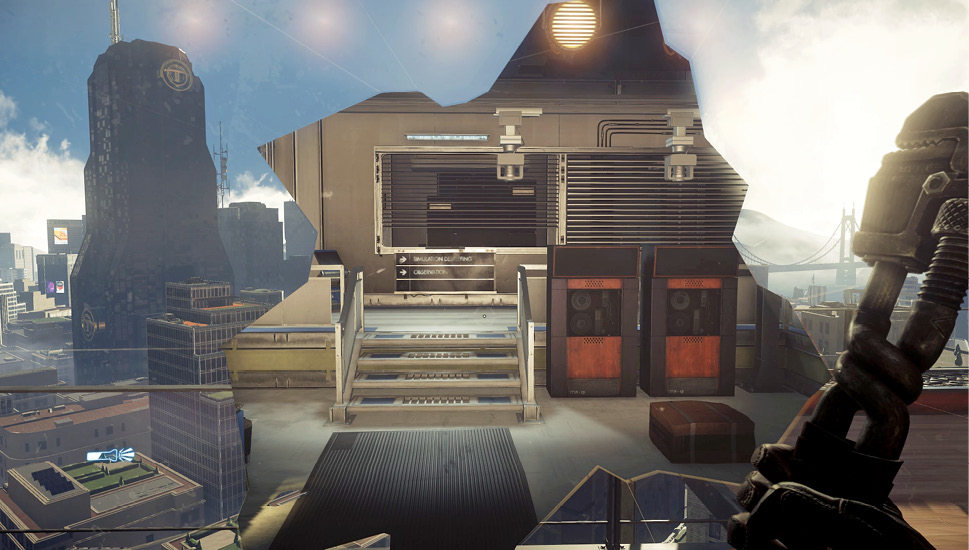
With wrench in hand, return to your apartment and approach the large window leading to the balcony. Unfortunately, the door is jammed. Shatter the window with the wrench. As glass comes crashing down, your eyes adjust to the blinding lights. Just beyond your balcony window is the interior of a lab. It appears your apartment is part of some elaborate simulation. January calls to confirm. You’re in what she calls the Simulation Lab. She needs you to get to the exit in the main lobby.

Neuromod Division
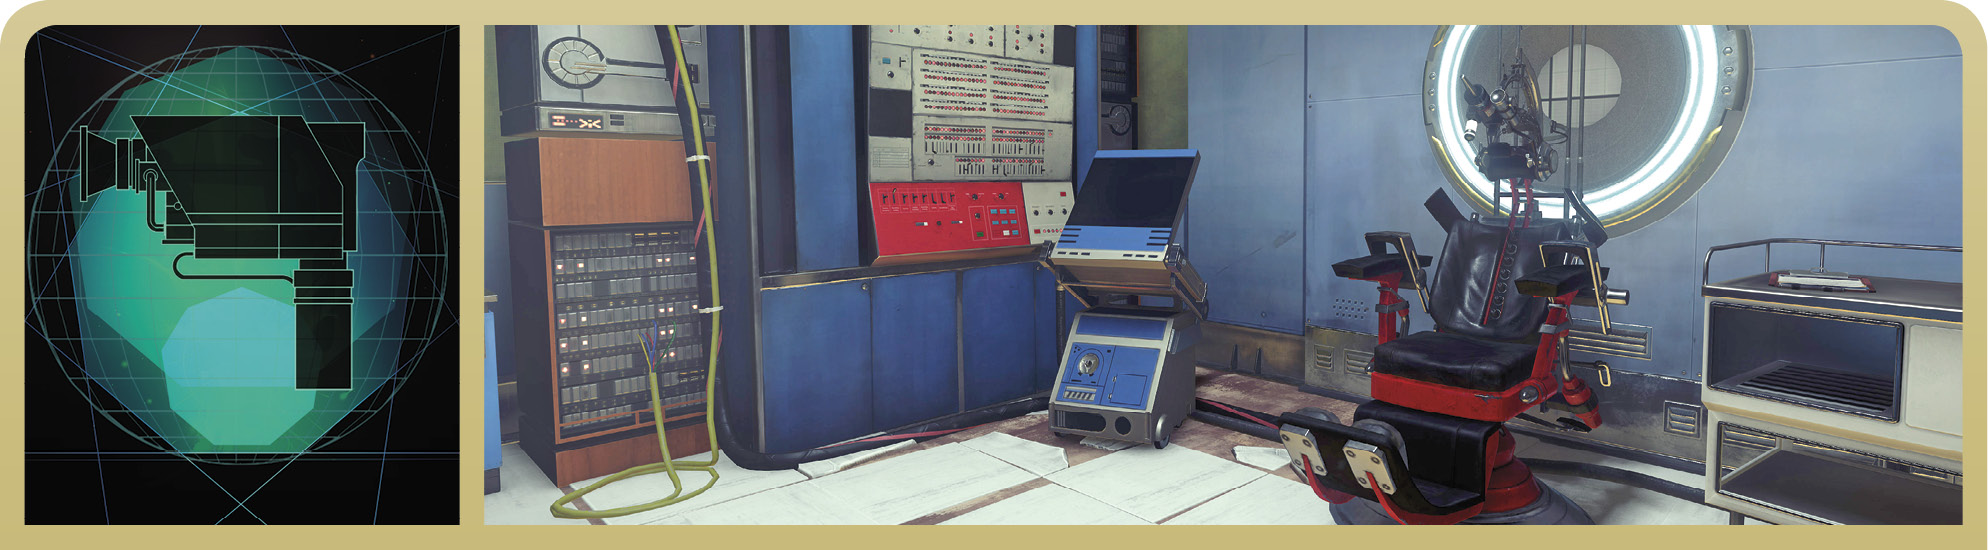
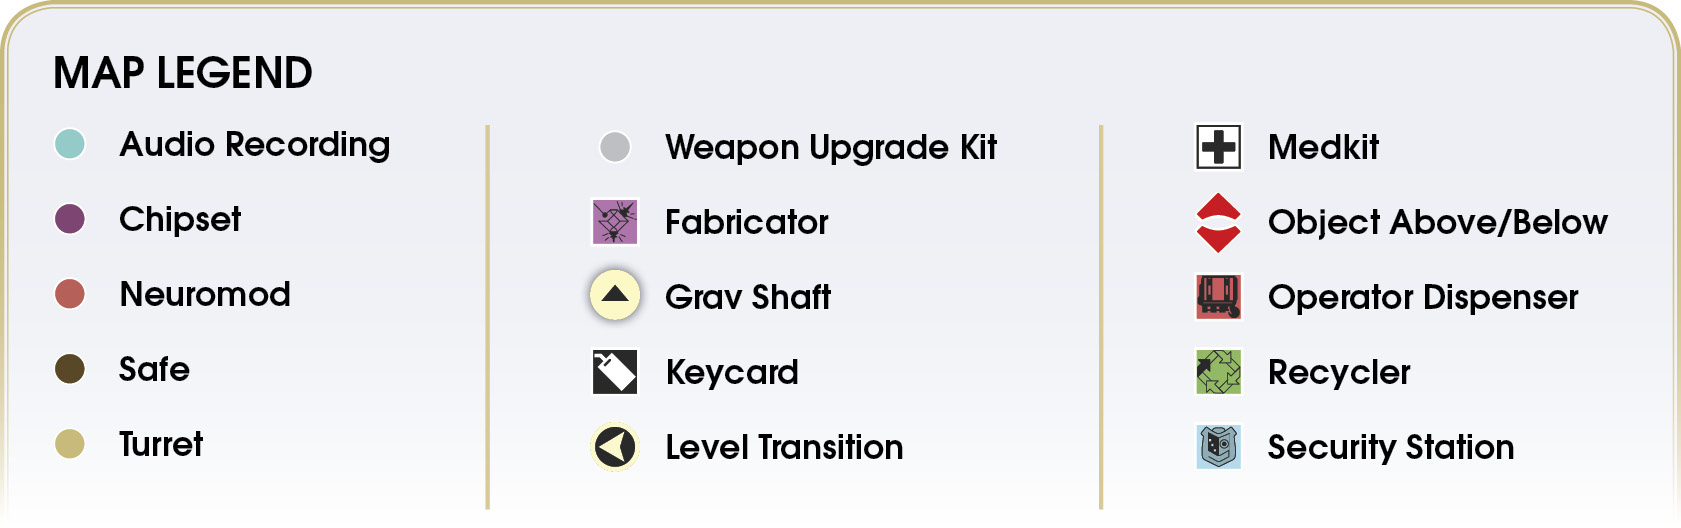
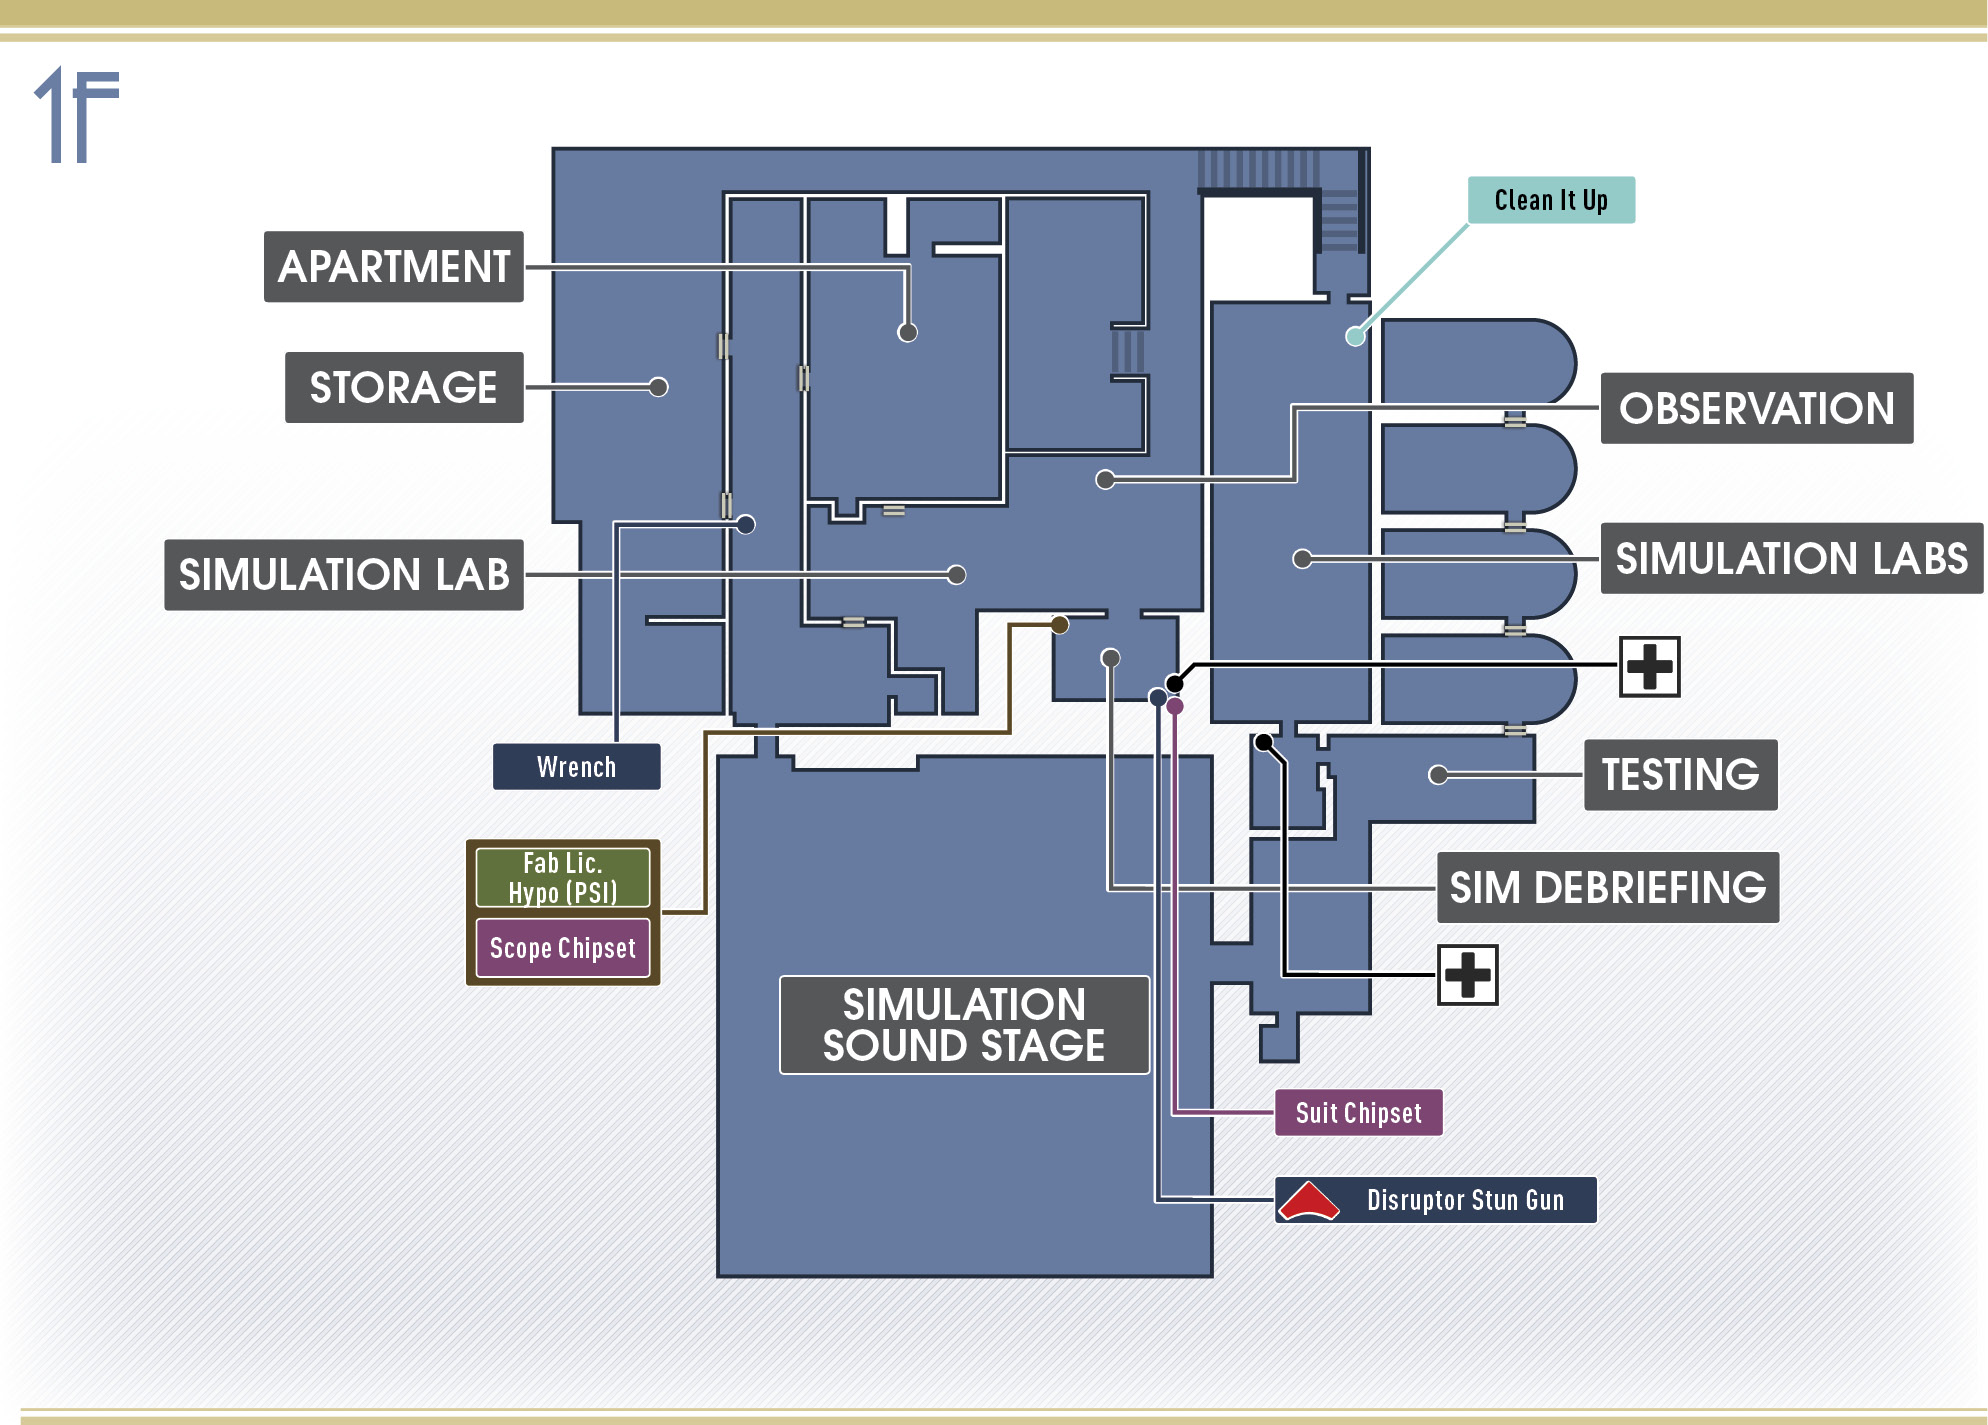
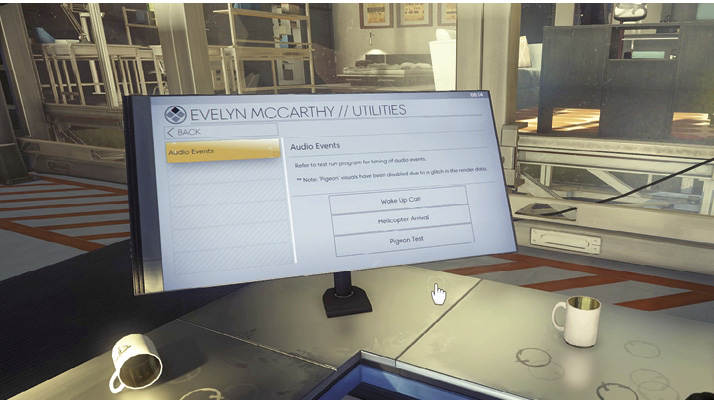
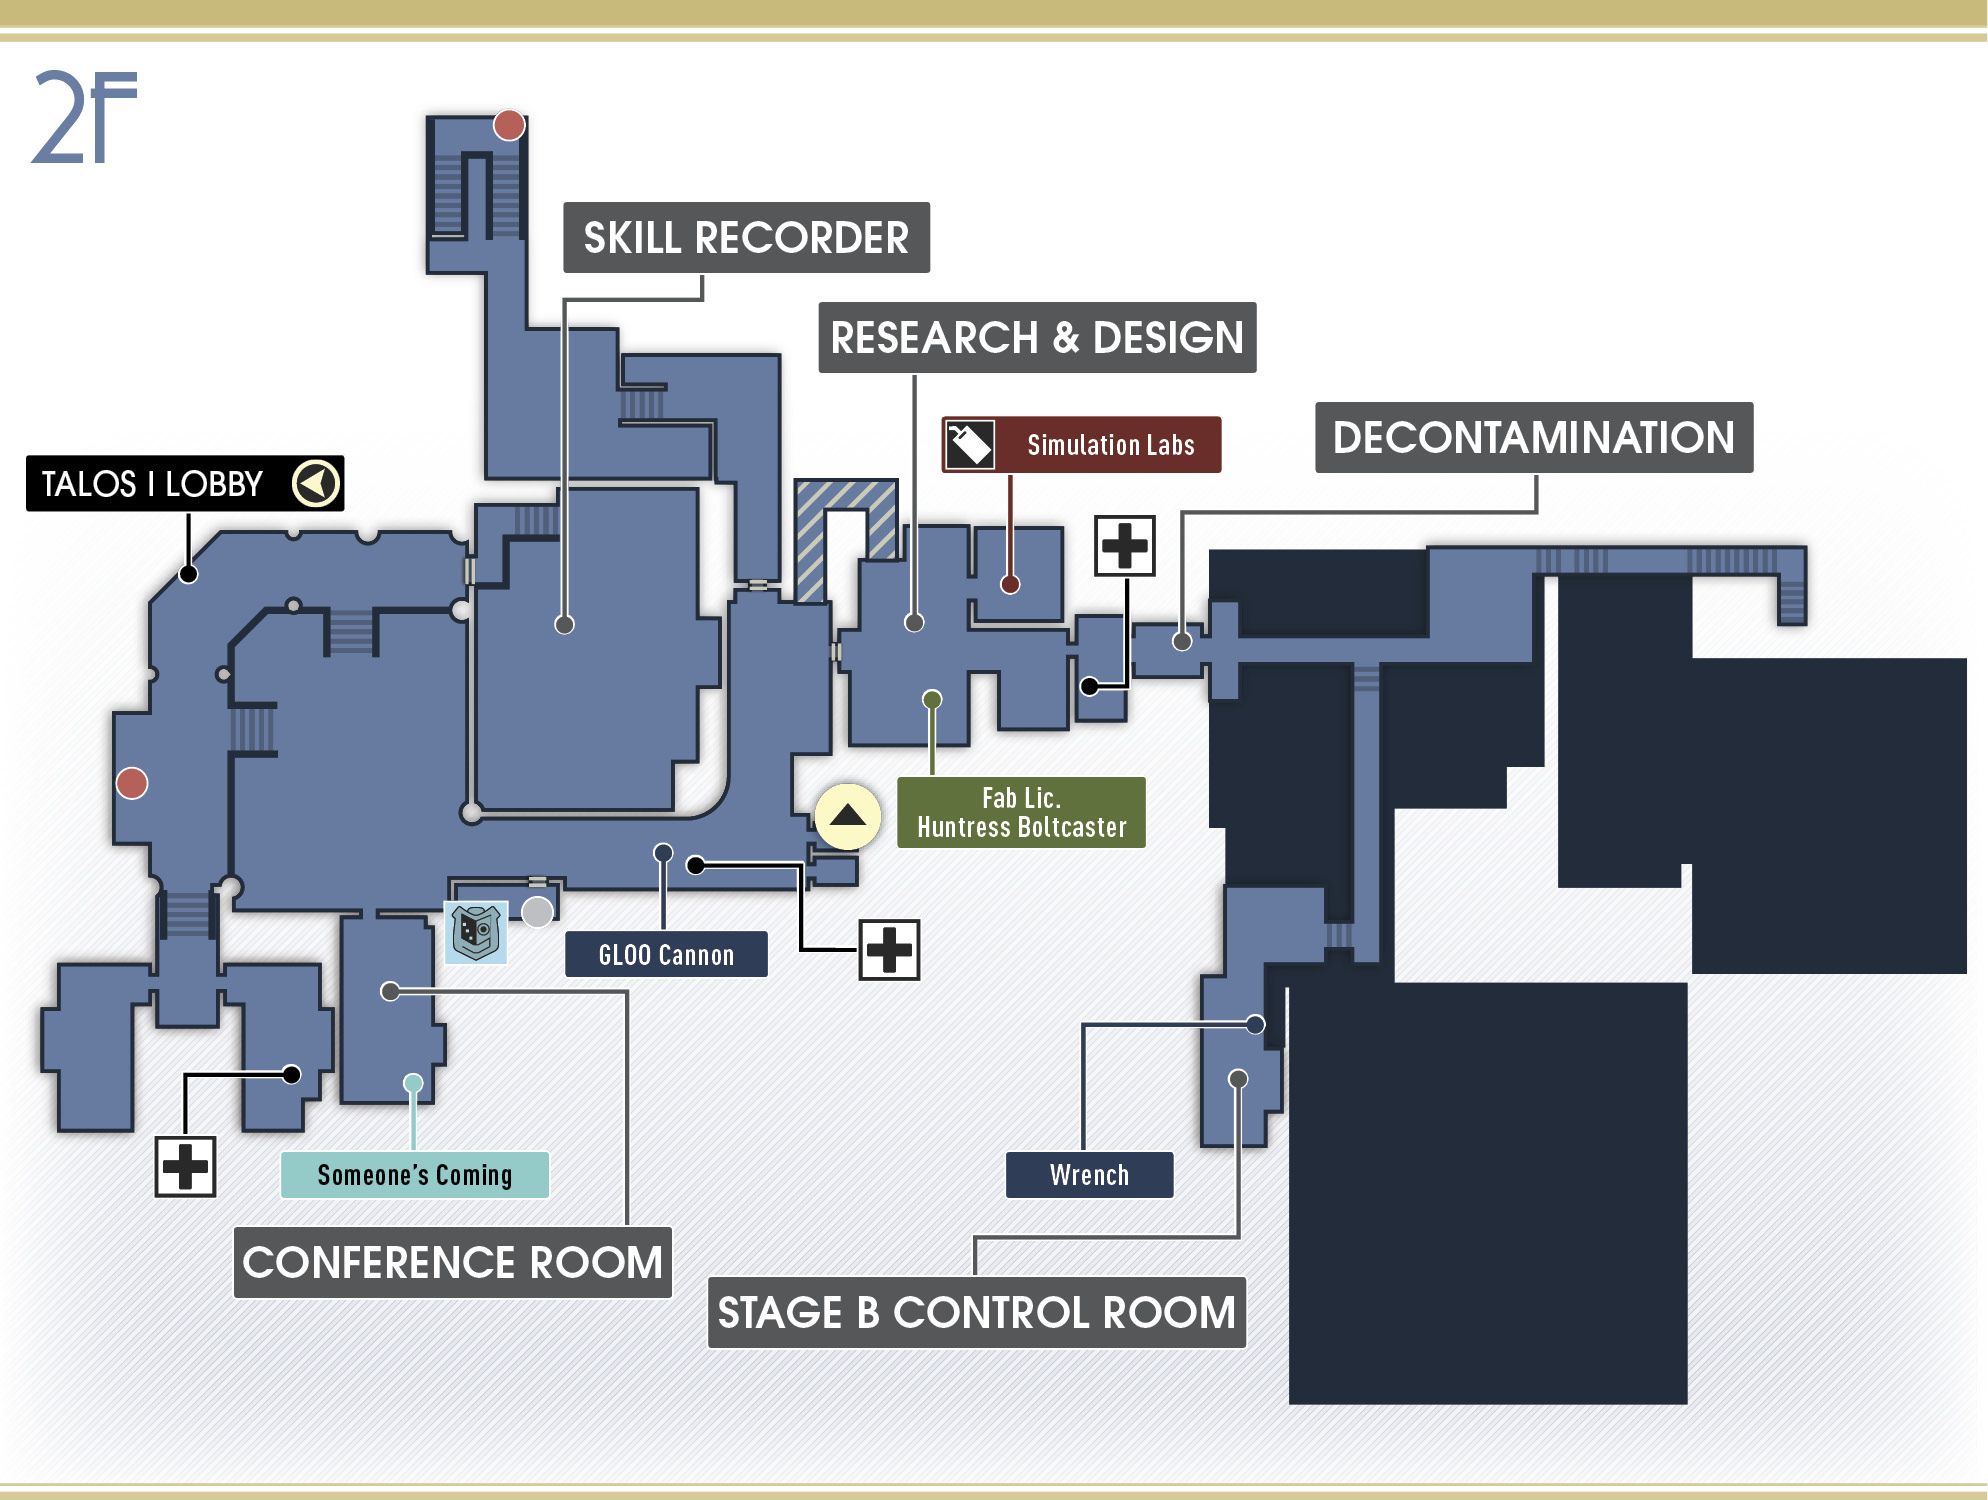
Access the workstation on the nearby desk belonging to Evelyn McCarthy. The Utilities tab reveals several audio cues used in the simulation. There are also a couple of revealing emails from Dr. Bellamy and Alex. Whatever is going on, Alex seems to hold all the answers. At this point, you’re free to explore. The path to the lobby is marked on the screen by a white icon. This waypoint marker always points to the current objective. But for now, take some time to poke around the surrounding rooms. Reference the provided map to find your way around.
Simulation Debriefing
| Notable Items: | Password: Marco Simmons |
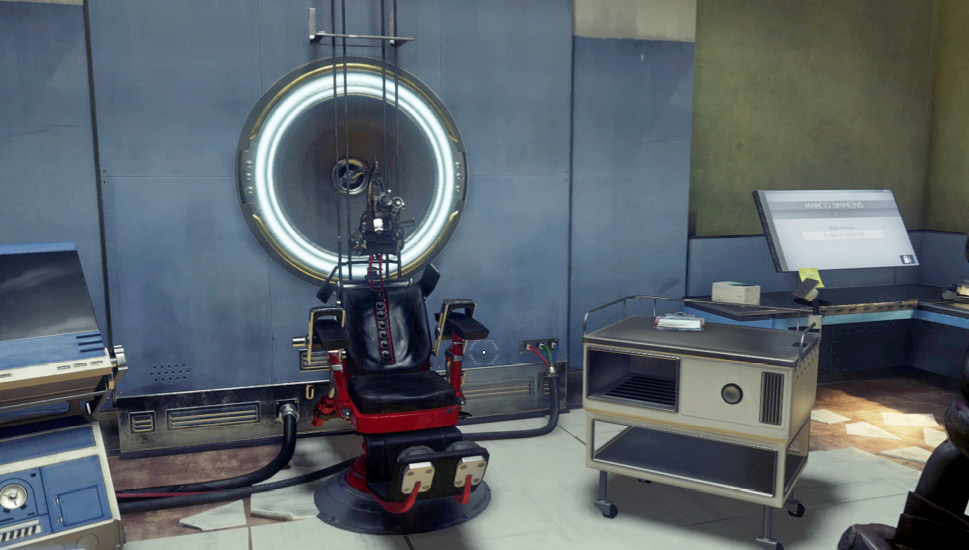
Step into this nearby room and grab the note stuck to Marco Simmons’ workstation—the note reveals his password. Keep an eye out for notes just like this, as they often contain useful information including passwords and keycodes. Login to the workstation and read a few emails, including one regarding the importance of password security. An email from Alex expresses disappointment in the latest test. The room also contains a safe. Enter the code 5150 to open the safe and retrieve some supplies.
Storage
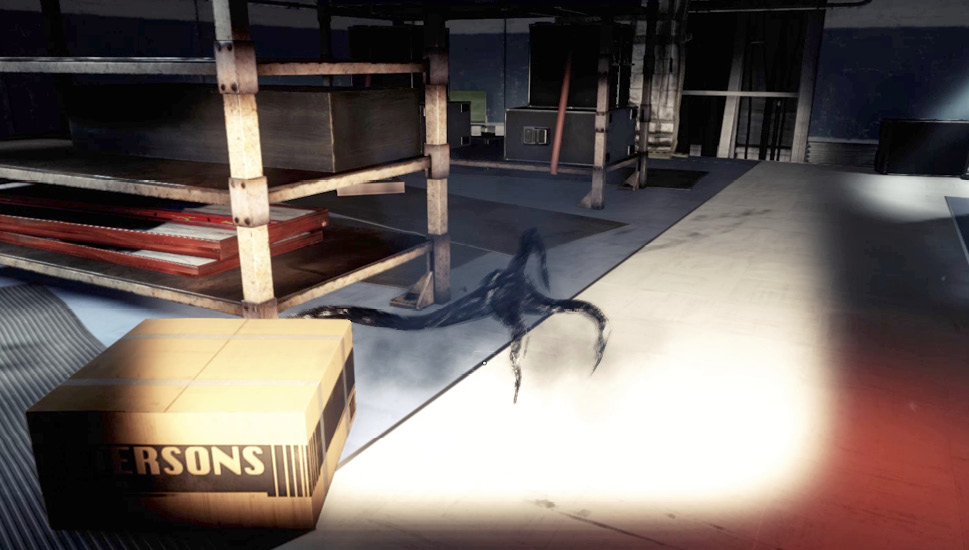
This storage area is located just outside the apartment hallway, where you retrieved the wrench. A Mimic is wandering about, so keep your wrench at the ready. The Mimic can take the shape of various objects. If you see two identical objects next to each other, there’s a pretty good chance one of them is the Mimic. Wait for the Mimic to show itself then whack it with the wrench. It takes approximately three hits to kill the Mimic. Afterward, locate what’s left of the Mimic and search the remains to retrieve a Typhon organ (you don’t have the necessary skills to harvest the Typhon tumor). Similar to the junk objects you collected earlier, Typhon organs and tumors can be recycled into exotic material, used to create a variety of useful objects. So make a habit of collecting Typhon organs after each kill.
Simulation Stage B
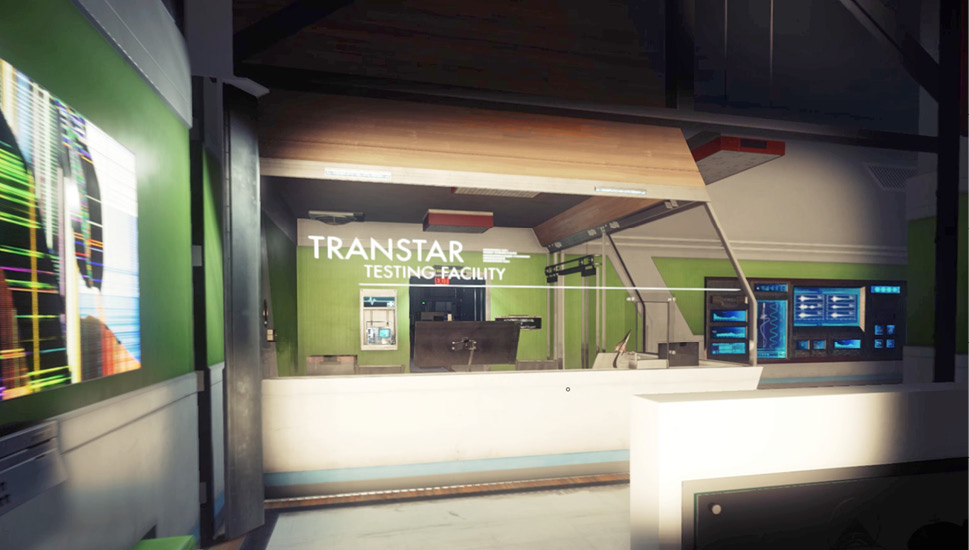
None of it was real, including that helicopter ride. It was all staged here. Once you get over the disillusionment, continue past the helicopter and enter the open doorway beneath the TranStar sign. Inside a few wall pieces appear to be malfunctioning. Ignore them for now. Instead, step inside the elevator. As you did previously during the simulation, confirm your appointment on the elevator’s screen. This causes the walls outside to reset, revealing the testing facility’s reception desk.

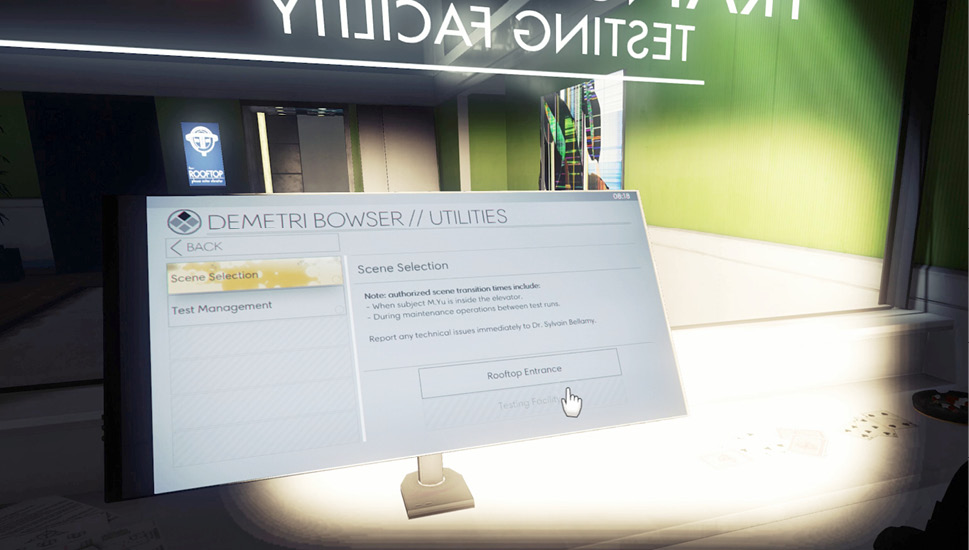
Step behind the reception desk and interact with the workstation belonging to Demetri Bowser. As the Utilities tab reveals, the workstation allowed Demetri to change scenes and reset the test rooms. It was all an elaborate ruse. But why? A Medkit is located in a cabinet behind the reception desk. Medkits are vital for recovering health—take it.
Testing Rooms (Observation)
| Notable Items: | Audio Recording: Clean It Up |
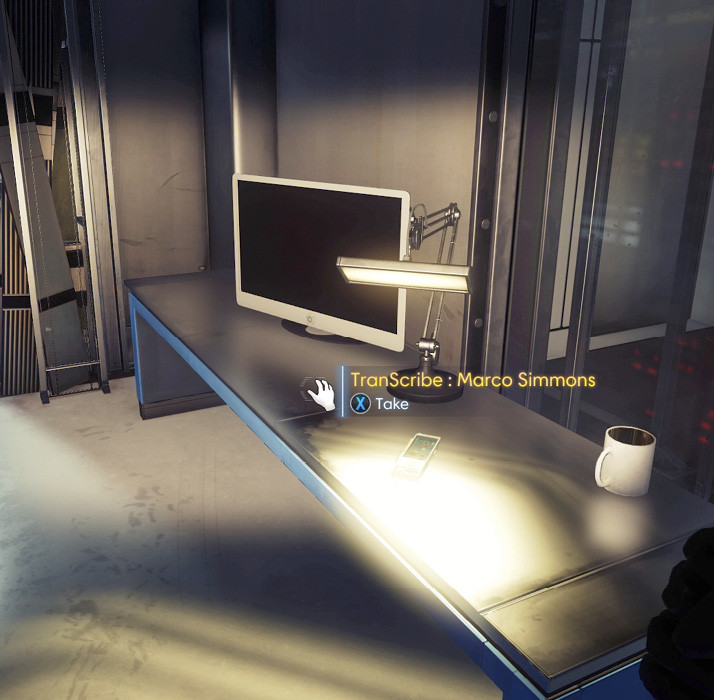
Enter the doorway behind the reception desk to access the observation area where Dr. Bellamy and his staff watched you complete the tests. A Mimic is trapped behind the glass of Test Room B, but it poses no threat. As you advance through this area, January chimes in to warn you about Mimics—be careful what you pick up. Jiao-Long Heng’s workstation reveals an interesting email about your behavior. Apparently, these tests have been going on for some time. But why can’t you remember them? As you near the exit, grab the TranSribe on the desk. The TranScribe contains an audio recording (Clean It Up) featuring a conversation between Alex and Marco Simmons immediately following the incident with Dr. Bellamy. Audio recordings are stored on your TranSribe, accessible through the Data/Audio Logs tab. Exit the room and ascend the adjoining staircase.
Stage B Control Room
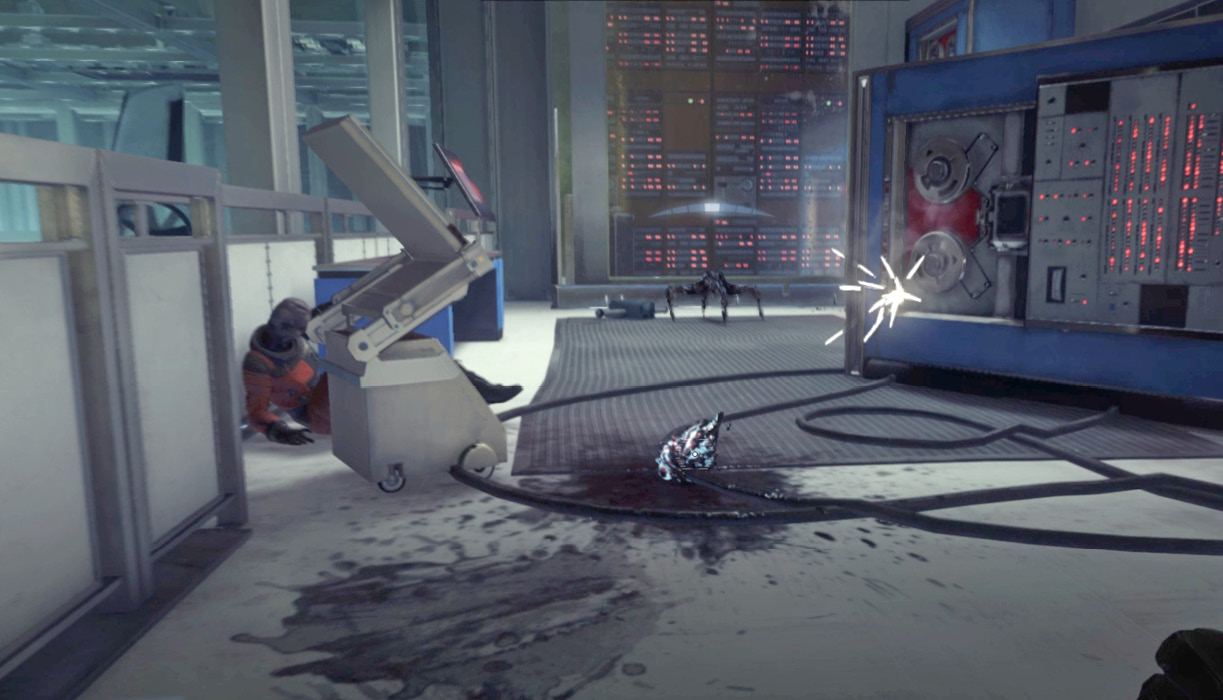
The path to the lobby is straight ahead, through the decontamination chamber. But take a quick detour along the catwalk to the left. A couple of Mimics are hiding near the control room. Crouch and move slowly in an attempt to take them by surprise. As long as you stay low and move slowly, you can get within striking distance of a Mimic before it detects you. Step forward with the wrench in hand and land a powerful blow. If the Mimic doesn’t detect you, you get a sneak attack bonus dealing 150% damage, potentially killing it with a single hit. Hunt down the second Mimic but, remember, it can take the form of practically anything. Once you’ve taken out the Mimics, search Grete Mikkelsen’s body for supplies. Then return to the decontamination chamber.
Decontamination
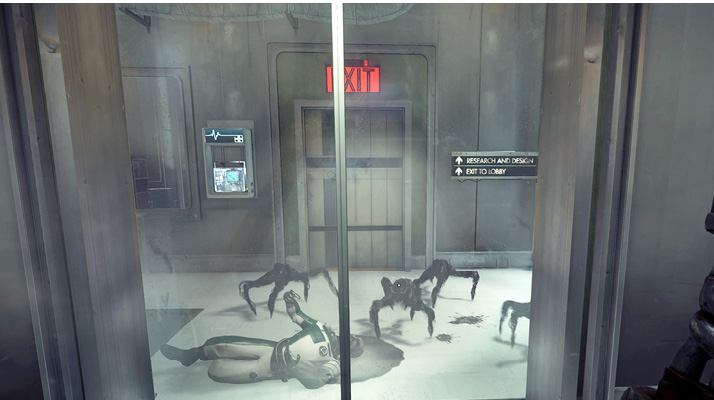
As you step into the decontamination chamber, a crew member (Jovan Gravilovic) outside comes under attack by a Mimic. Unfortunately, there’s nothing you can do to help—the chamber’s doors are sealed during the decontamination procedure. After killing the crew member, the Mimic replicates, creating three more of itself. January reports that nobody has been able to stop the Mimics from multiplying, making containment even more challenging. Once the decontamination procedure is complete, step into the adjoining locker room—don’t worry, the Mimics have fled. Search Jovan’s body to retrieve supplies. Supplies are also in the lockers, as well as a Medkit hanging on the wall near the exit.
Research and Design
| Notable Items: | Optional Objective: The Corpse Vanishes |
| Keycard: Simulation Lab |
As you enter Research and Design, listen for the distinct chirping-like sound of nearby Mimics. Keep your wrench equipped and be ready to deliver some swift blows. Enter the first cubicle on the left to access Jovan Gravilovic’s workstation. Reading the email titled “URGENT!” triggers the start of a new optional objective, The Corpse Vanishes. This requires you to locate and search Dr. Bellamy’s body. Optional objectives like this aren’t mandatory, but they may result in new findings, furthering the story and rewarding you with items.
The Corpse VanishesObjective Summary: Simmons wrote an email to Jovan Gravilovic stating that Bellamy kept some Psychoscope research data in his crew cabin. Apparently, Bellamy’s corpse is in the Trauma Center and might still have the keycard to his cabin. 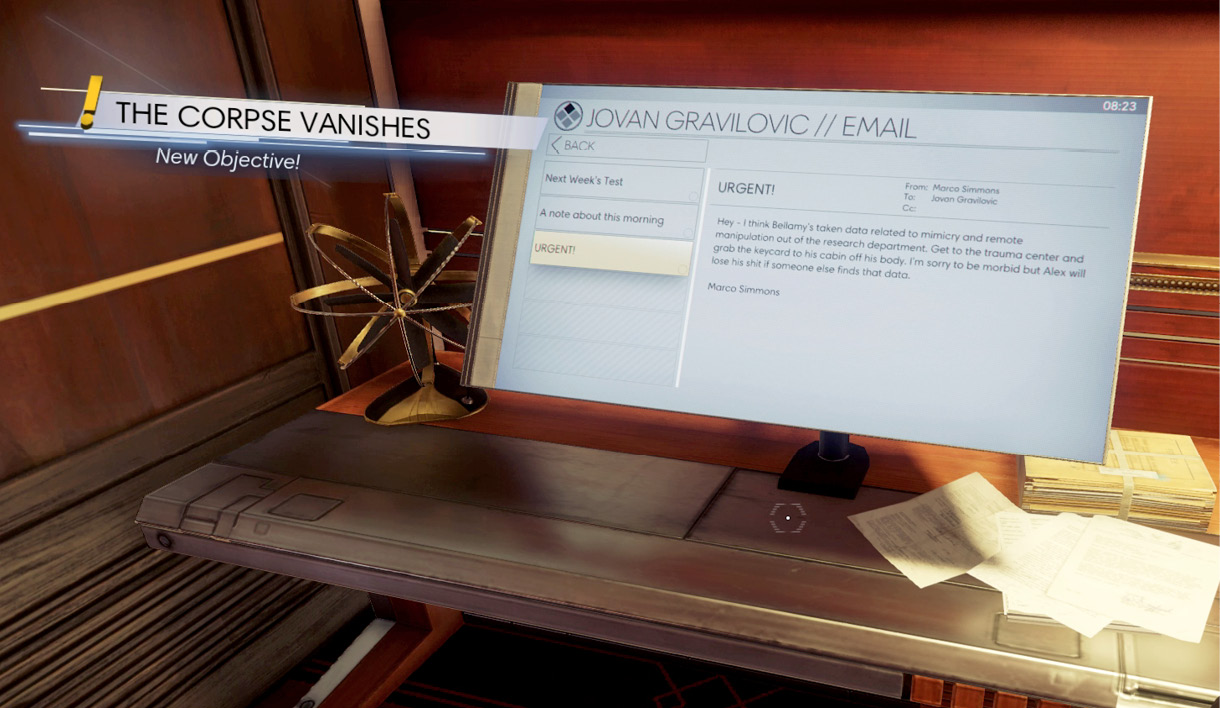
Aside from acquiring this optional objective from Jovan Gravilovic’s workstation, there’s nothing else you can complete now. The objective can be resumed once you reach the Trauma Center in the Talos I Lobby. |
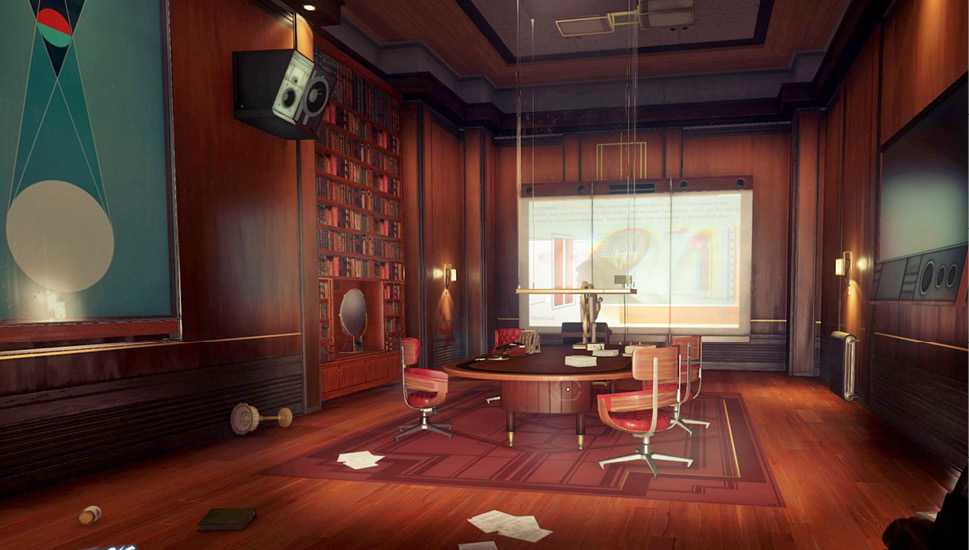
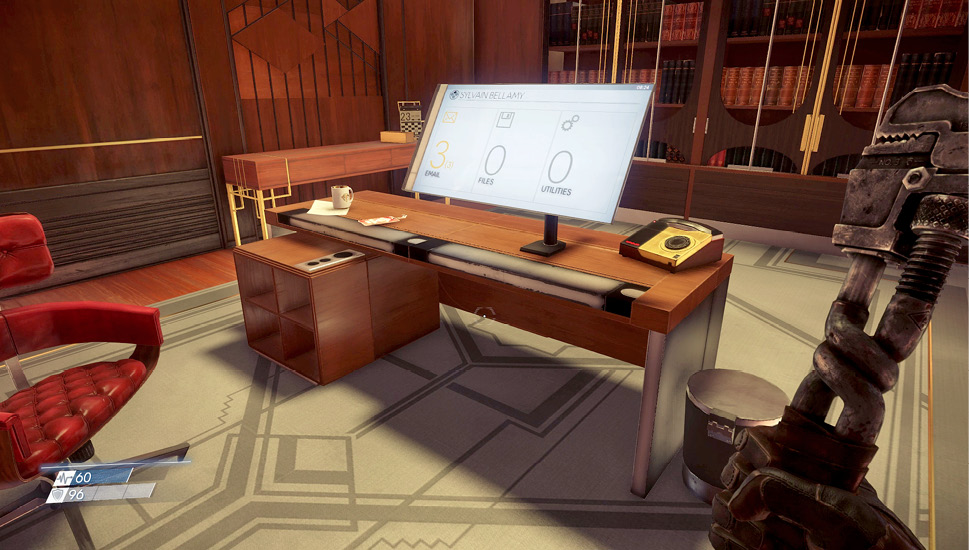
Enter Dr. Bellamy’s office to retrieve the Simulation Lab keycard. This gives you access to the Neuromod Division’s lobby. While you’re in Bellamy’s office, access his workstation to read a few more emails detailing the tests you’ve been undergoing. Use the keycard in Dr. Bellamy’s office to open the locked door leading out to the adjoining hallway.
Foyer
| Notable Items: | Neuromod |
| GLOO Cannon |
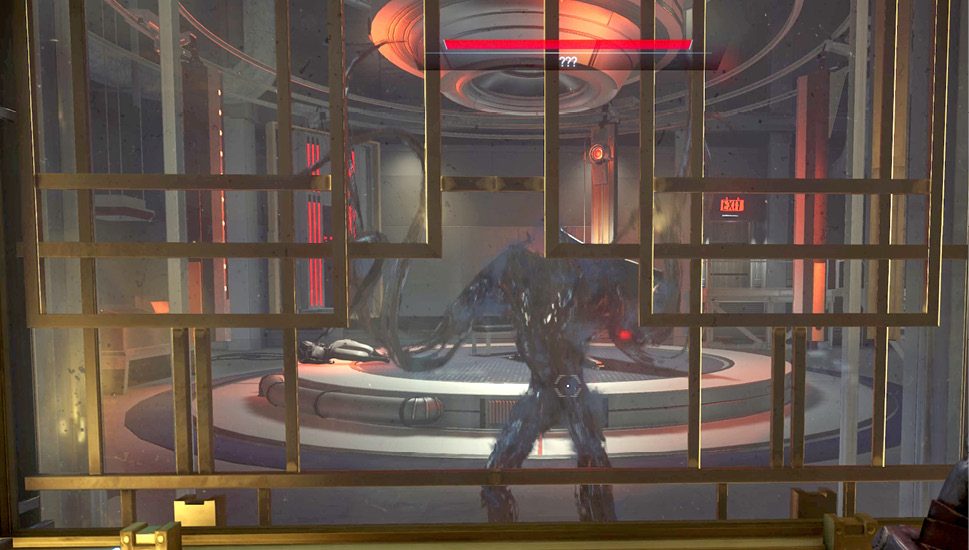
As you exit Research and Design, a tall Typhon entity can be seen through the window ahead—this clearly isn’t a Mimic. Don’t worry, it can’t reach you. It’s contained to the Skill Recorder Analysis area. Still, it’s a sobering preview of what kind of threats you’ll encounter in the near future. You’re going to need more than a wrench to survive such encounters. January urges you to keep moving.
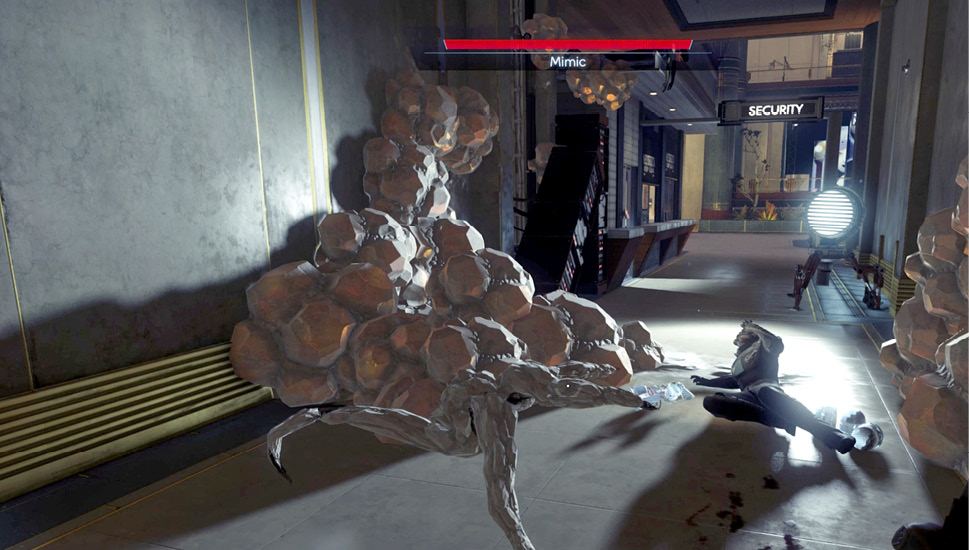
Advance through the hall until you encounter the body of Veer Singh, near the security station. A Mimic, encased in a plaster-like substance, strikes a menacing pose. Give it a good whack with your wrench to kill it. After dealing with the frozen Mimic, retrieve the GLOO Cannon and a couple of GLOO canisters from the ground next to Singh’s body. Then search Singh’s body for more supplies. The GLOO Cannon is a unique weapon, firing a foam-like substance that hardens rapidly—this is the substance responsible for immobilizing that Mimic. GLOO is ideal for temporarily disabling enemies. The GLOO can also be used to construct makeshift steps and ramps, allowing you to climb to areas that are otherwise inaccessible.
Keep the GLOO Cannon equipped while advancing past the locked security station. The foyer is just ahead. Several Mimics scurry about in the foyer, so drop to a crouch and sneak forward to avoid being detected. Remember, the Mimics can take the form of virtually any object, so listen for movement and don’t be afraid to whack objects with your wrench.
Target visible Mimics with the GLOO Cannon. The GlOO rapidly hardens as it makes contact, causing the Mimic to become immobilized for several seconds. While the Mimic is encased in GLOO, smack it with the wrench to kill it—hold down the Attack button/key to deliver a powerful, lethal blow with the wrench. While you’re battling Mimics in the foyer, January reports she’s placed a Neuromod on the nearby display case, triggering an optional objective.
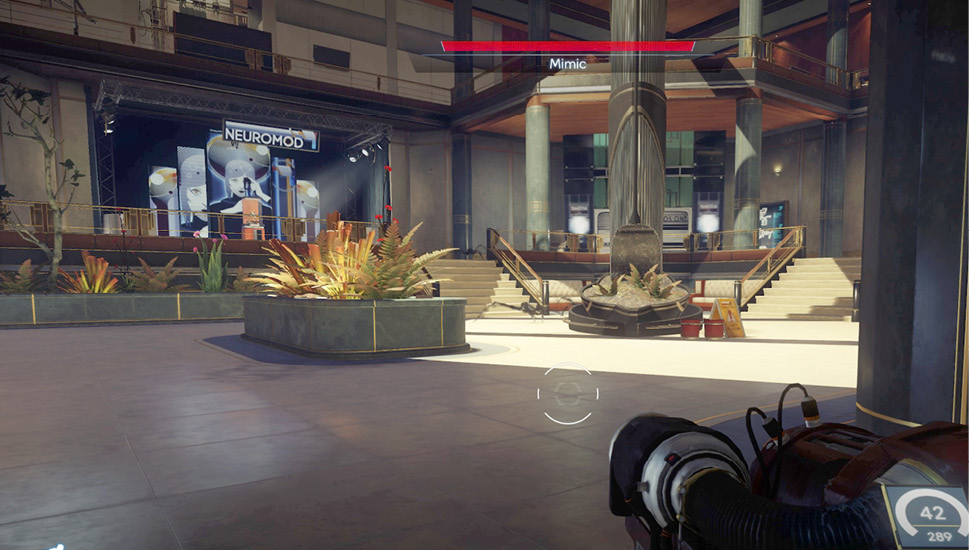
Everything You Know is About to ChangeObjective Summary: January contacted me again as I reached the foyer of the Neuromod Division. An actual Neuromod was placed where the display model used to be. Installing it will help me survive against the Typhon organisms. Once you’ve cleared the foyer of Mimics, approach the Neuromod display case. Smash the glass with your wrench and remove the Neuromod. Neuromods allow you to acquire new skills and abilities, selected through the TranScribe’s Neuromod interface. 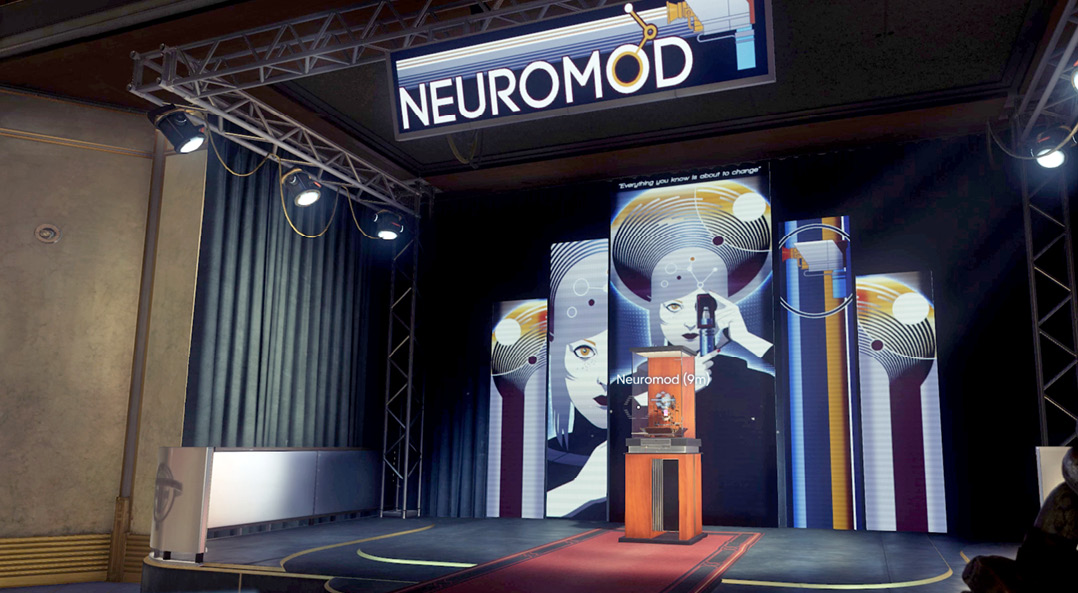
Here you can select from a variety of new skills. Browse through the Scientist, Engineer, and Security tabs to review the available skills. Not all skills are immediately available. Some require more than one Neuromod to unlock, and others require existing skills as prerequisites. While the choice is yours, consider selecting the Repair I skill, within the Engineer tab. The Repair skills are extremely valuable, allowing you to use spare parts to repair a variety of damaged items. Leverage I is another useful skill, allowing you to lift (and throw) large items. If those don’t appeal to you, pursuing the hacking skills allows you to hack into workstations, safes, and locked doors, eschewing the need to hunt down passwords and codes. Once you’ve made your selection, the Neuromod is automatically installed, granting your new skill. 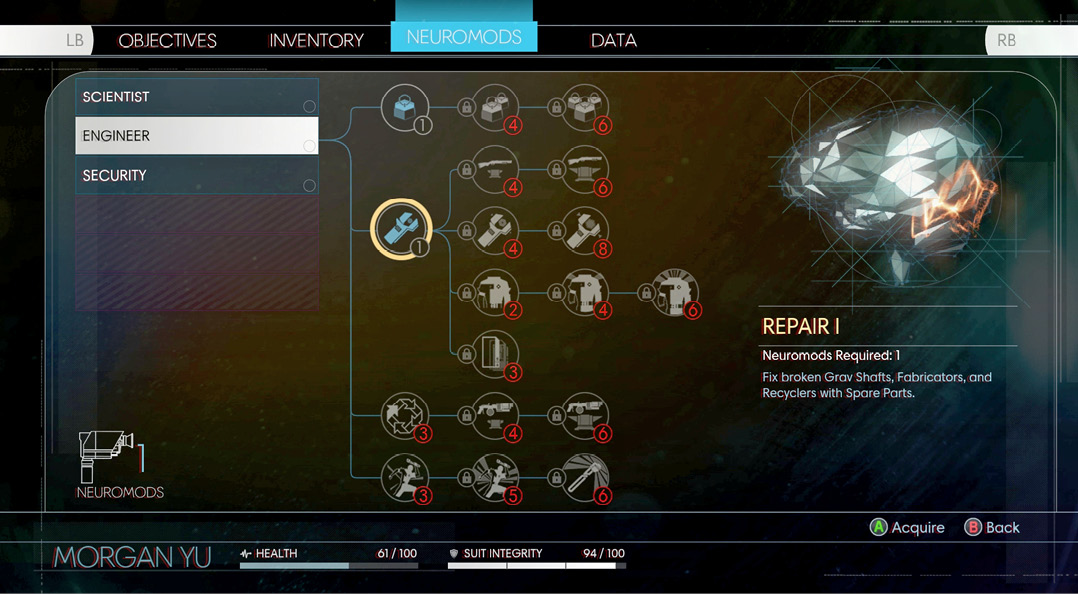
|
Conference Room
| Notable Items: | Audio Recording: Someone’s Coming |
Before heading to the station’s main lobby, take a moment to explore the conference room. Here you find a TranScribe on Robert Gage’s body containing an audio recording (Someone’s Coming), which plays a conversation between Robert and Alice Aiken. There are also some Agave Plant Clippings near the room’s doorway. When you’ve finished exploring the conference room, return to the foyer and interact with the large door leading to the lobby.