Mega Man 11 Guide Robot Master Torch Man
Mid-Boss: Sparkey
HP: 100
Weakness: Acid Barrier x2.5, Tundra Storm x3

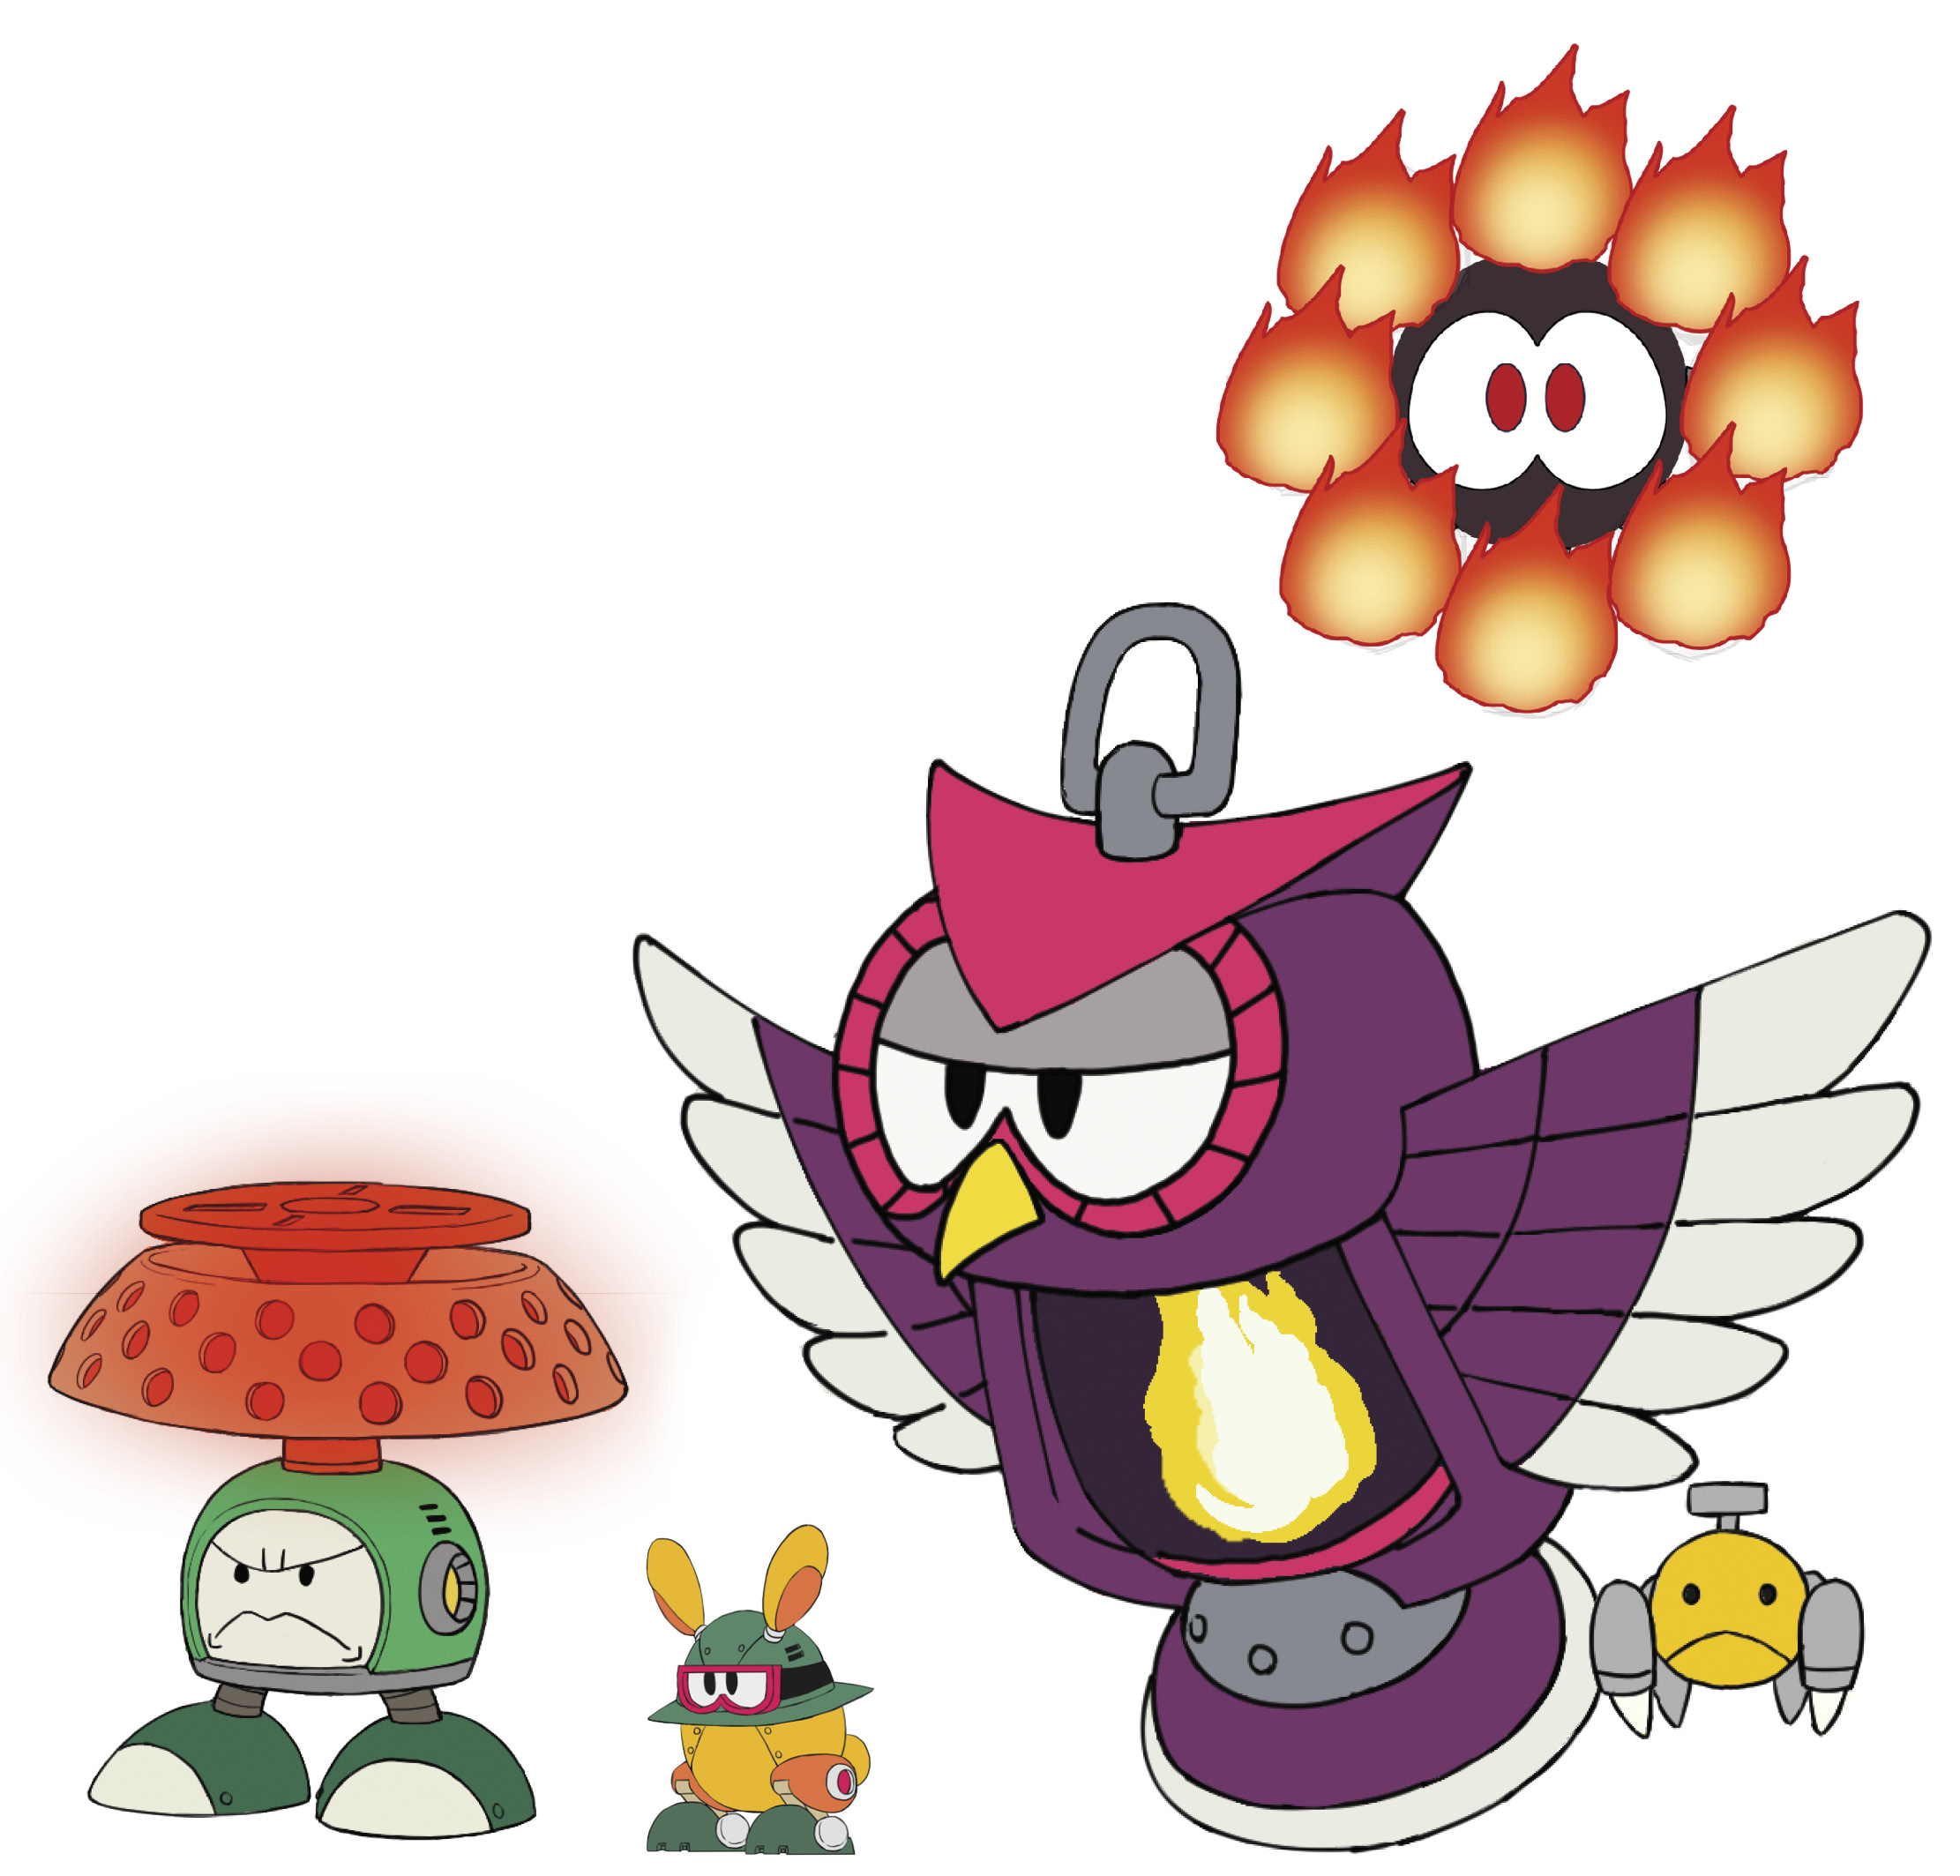
If you thought a potato robot in a tank was going to be the weirdest thing in this stage, say hello to Sparkey the Barbecue Turkey.
Sparkey starts the match by jumping around and then laying eggs, which hatch into barbecue turkey chicks if not destroyed quickly. The chicks run along the floor attacking Mega Man and can become a nuisance quickly, as Sparkey then transitions to a flaming feather attack. Sparkey can lay two eggs at a time, or three if it’s at 71 percent health or less.
When Sparkey is on fire, it is vulnerable only from the front. To extinguish the flames, reduce its health by 30 percent or simply damage it with the Tundra Storm.
In the extinguished state, Sparkey is vulnerable to attacks from all directions and is no longer able to lay eggs or shoot feathers.
Once Sparkey is extinguished, Lampers begin flying overhead and dropping flames on Sparkey, attempting to reignite it. Use Tundra Storm or Block Dropper to keep the Lampers from completing their objective.
End the battle quickly by using the Tundra Storm to extinguish Sparkey and the Acid Barrier to finish it off. If you have lots of weapon energy recovery parts or items, feel free to stick exclusively to Tundra Storm, as it deals more damage (but you’ll need it fully loaded for Torch Man).


 Grab the items above and then proceed through the tepees below.
 Knock the Tank Oven into the pit and jump across.
 Another flame wall pursues Mega Man. Take out the Air Fires and prepare for a much trickier platforming section this time. Generous use of the Speed Gear is encouraged here, especially if you plan to grab the Weapon Tank.
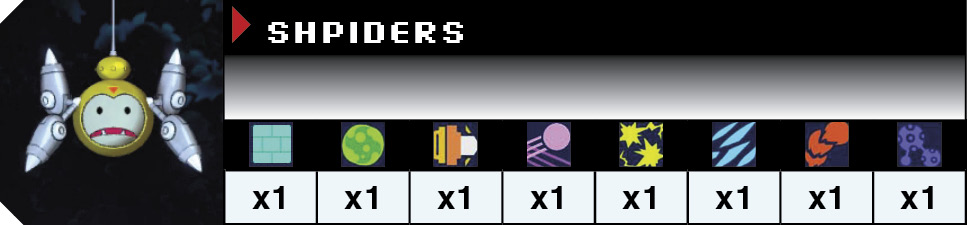
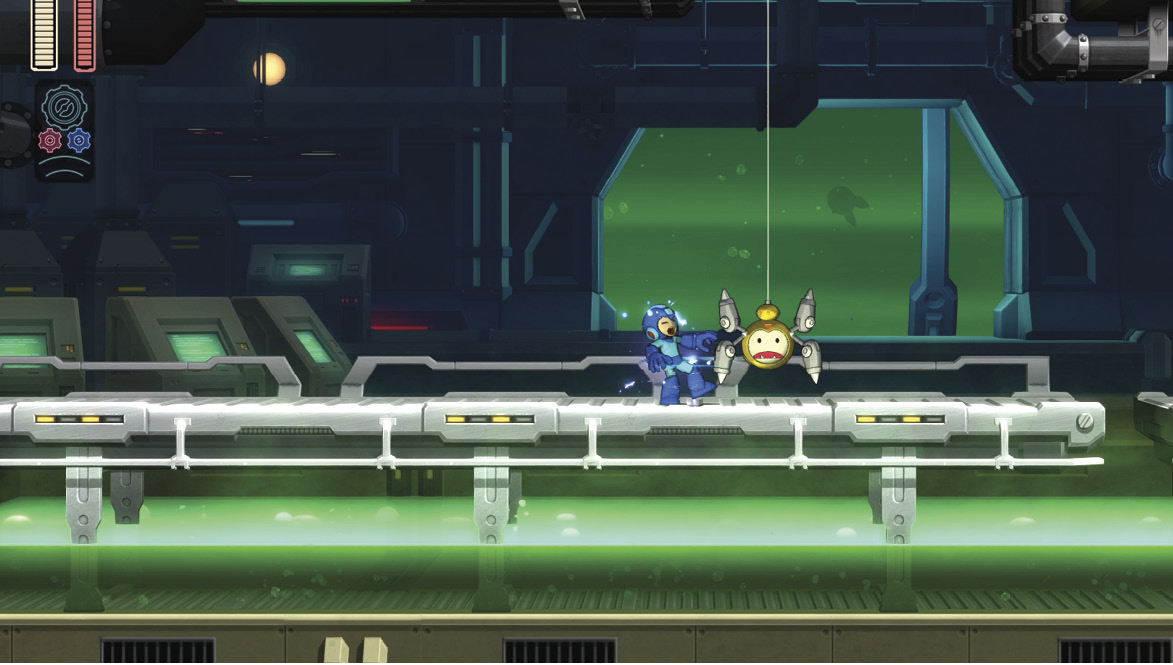
 Three Shpiders hang on the ceiling while Mash Burners torch the floor panels. Destroying Shpiders in a single shot (such as with the Charge Shot) prevents them from spawning Mini Shpiders.
Achievement/Trophy
 Cold Turkey
Prevent Sparkey the Barbecue Turkey from re-lighting. (Excludes Challenge Mode)
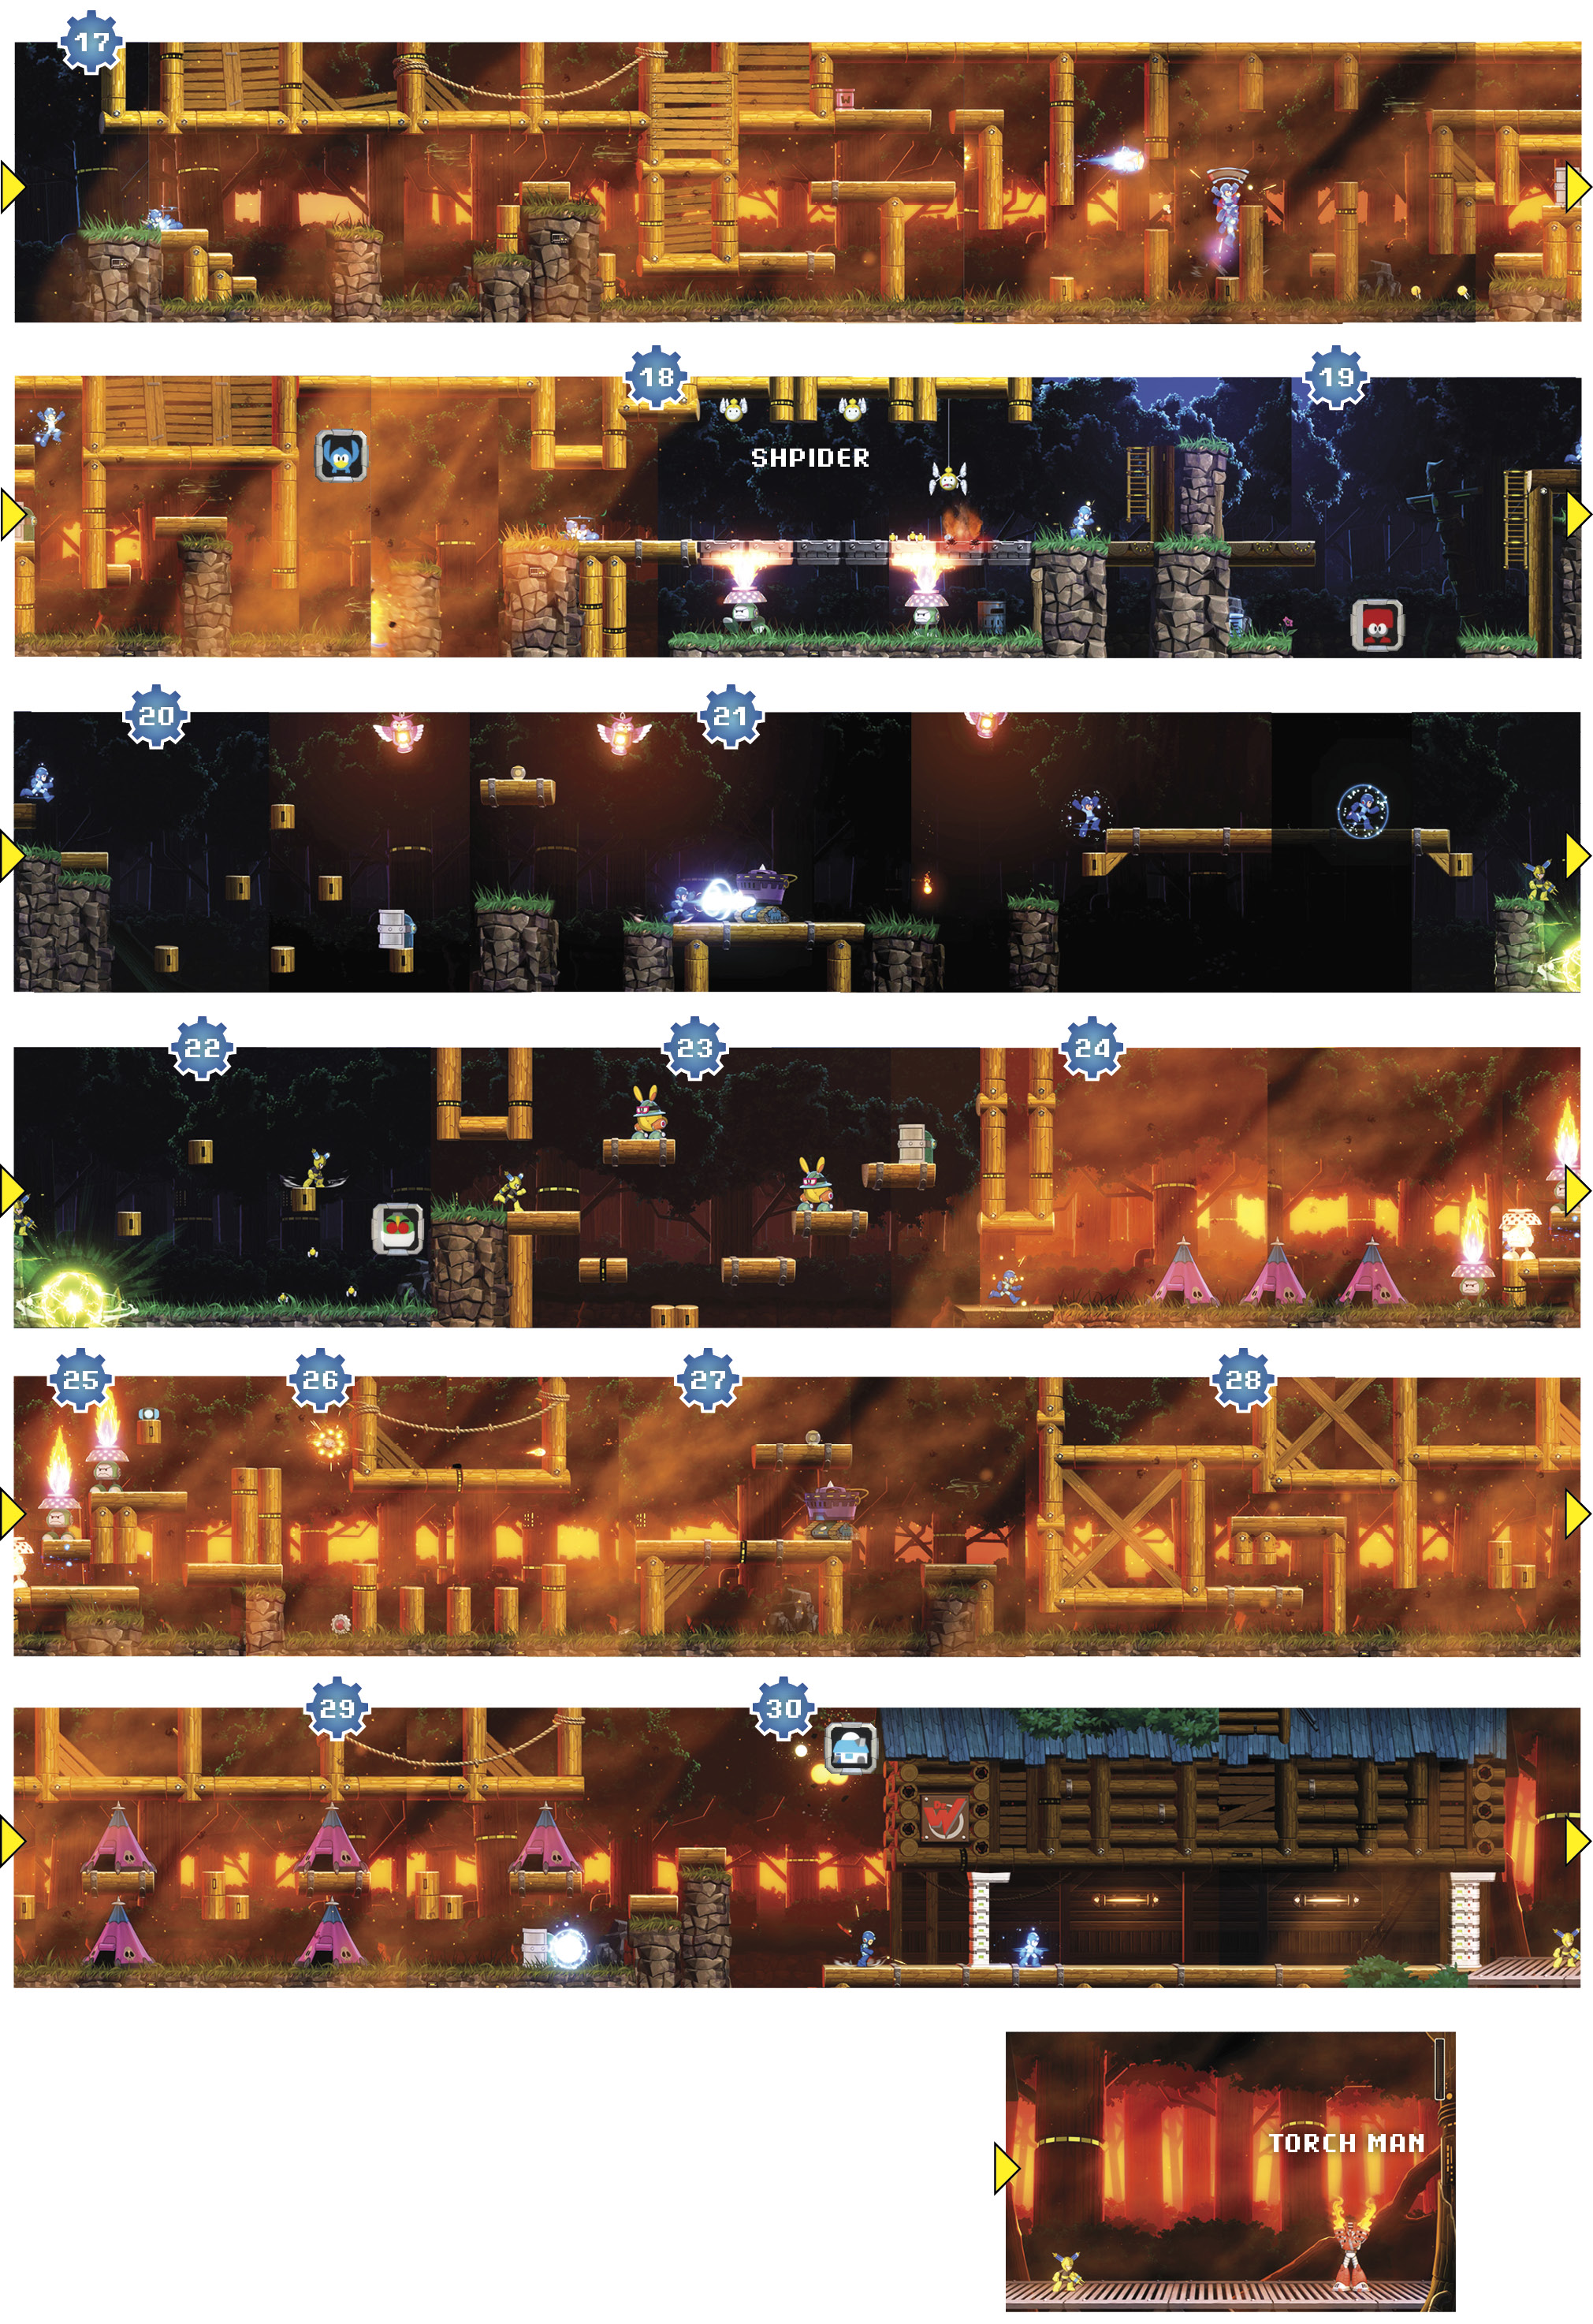
 If you need the Energy Tank, you can either turn off one of the Mash Burners and ride it down into the pit, jumping off at the last moment, or use Pile Driver or Rush Jet to reach it. The same method applies for reaching the ladder on the room’s other side.
 Another darkened area is lit only by Lampers. Proceed through the small platforms and destroy the Tatepakkan quickly to avoid being pelted by the Lampers’ fire from above. Use the Tatepakkan’s former location to jump across to the grassy platform.
 Knock the Tank Oven into the pit and continue to the next area, where another Lamper appears.
 Mini Shpiders cover the ground below as you make your way to the right.
 Two Wild Robbits and Tatepakkan stand between you and a small ledge in the bottom corner of the room leading onward.
 This is the final flame wall sequence. Before stepping forward, clear out the tepees and turn off the two Mash Burners at the screen’s far end. This saves you time when the running and screaming begins.
 Two more Mash Burners create a stairway up to an item, though you can also destroy the second to bottom Mash Burner and slide through an alternate route.
 Destroy the Air Fire and proceed across the poles. It’s very easy to fall between them, so aim your jumps precisely. Make sure you jump from the last pole to the next platform; otherwise you’ll need to summon Rush Coil.
 Don’t use Pile Driver on the Tank Oven, as it will knock you backward. Instead, prepare a Charge Shot as you enter the space and push it into the pit. Another Air Fire is just behind it.
 Because you have to run backward in this narrow area, the Speed Gear Booster is highly recommended.
 The first and last tepees on the bottom house Tatepakkans, as does the middle top. The others are empty.
 One last Air Fire appears as you jump to safety.