
Mega Man 11 Guide Robot Master Acid Man
Mid-Boss: Cyclone W
HP: 110
Weakness: Block Dropper x2.5, Scramble Thunder x2

Cyclone W is an underwater cleaning robot with four retractable arms and the ability to spawn up to 12 smaller cleaning bots. The arms are completely invincible unless you use either Block Dropper or Scramble Thunder.
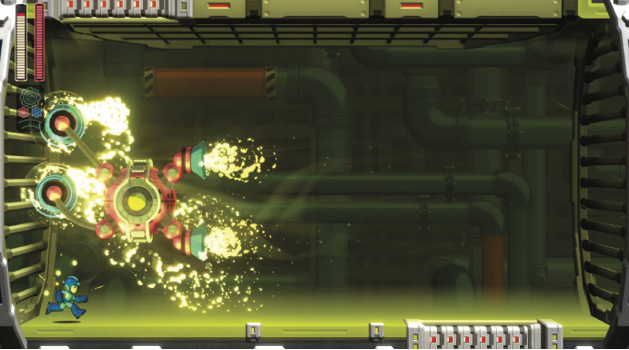
The Cyclone W has two attacks: 1) It moves around cleaning the room with its arms and causing contact damage if Mega Man gets too close.
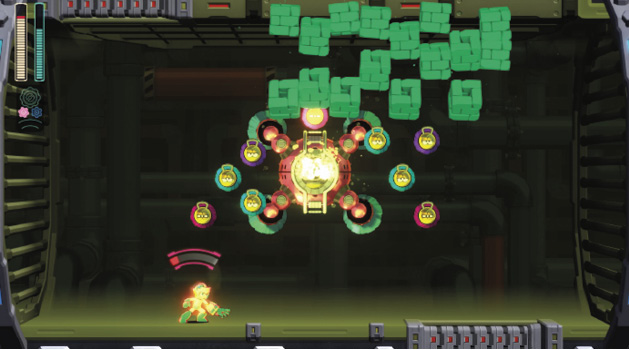
2) It opens its hatches and releases numerous Brushies, Droppies, and Wipeys, each with their own movement patterns. The smaller robots can pass through Cyclone W. If you’re feeling feisty and hurting for lives, you can turn all of the Brushies, Droppies, and Wipeys into 1UPs using an M Tank.

Just remember you need full health AND full Weapon Energy to activate the M Tank’s special effect.
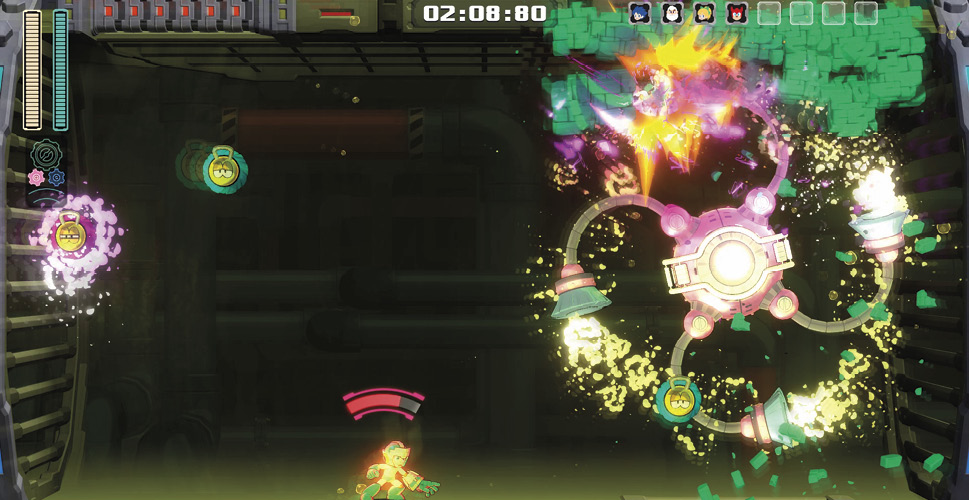
Luckily, none of this matters. Fire up your Power Gear and release three Block Dropper shots, ideally as centered above Cyclone W as possible. Congratulations, the fight is over.
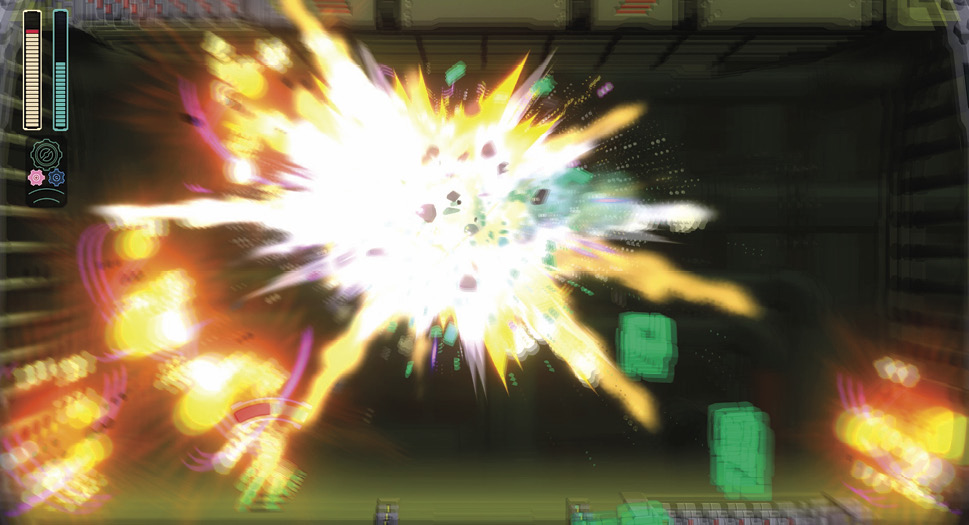

 After defeating Cyclone W, the next room has a couple sets of drops to slightly refill your health and weapon energy. If you haven’t purchased the Energy Balancer or Energy Balancer Neo, make sure to have the Block Dropper equipped when picking up weapon energy, as you’ll need it for Acid Man. Slide through the serpentine channel and down the bottom right shaft.
 This time the current is pushing against you, making for some very tight jumps over spikes. Keep a Charge Shot ready and an eye out for incoming debris as you work your way to the left.
Enter the hatch.
 At the bottom of the beautiful waterfall of questionable yellow liquid, a few Mini Shpiders hop toward you. Take them out quick with a Charge Shot and then eliminate the Pipetto from a distance before hopping up the small platforms.
 A sequence of rotating platforms lies ahead, with Pipettos on either side. With some decent platforming skills and the help of the Speed Gear if needed, you can quickly hop through this area without having to stop and kill every enemy. Typically, the Pipettos will have a hard time hitting you while on the Ferris wheel-esque contraptions as their projectiles target where you are when they’re shot, not where you will be. Still, your mileage (and luck) may vary.

If you shoot your way through, you may get some decent health or weapon energy drops.
 Another rotating platform sits over a small pool, with a Pipetto just to the right. Take him out quickly and you won’t have to worry about the pool turning acidic in case you fall into it. You can also shoot the Pipetto to the left if you jumped over him before, though his projectiles tend to hit the metal block between you and dissipate harmlessly.
At the other end of the room is a Sniper Joe. If you use the small platform just underneath him, be aware that your hitboxes will still touch when you jump up to shoot and you’ll be knocked back into the liquid. Instead, shoot him from the start of the small area, before hopping onto the rotating platforms.
Head across and down the hatch when the coast is clear.
 Hold to the right as you fall into the water. The current tries to push you to the left, down into the spikes. Take out the two Brushies before proceeding carefully over the spike pits. Prepare a Charge Shot.
 In the room below, the current switches direction, once again pushing you toward a row of spikes on the ground. Release the Charge Shot as you fall to take out the Brushy.
Jump carefully to the single rotating platform, then again to the right. If you jump too high, you’ll hit the spikes on the ceiling.
 Drop down but don’t slide to the left just yet. Wait until the Shield Attacker M is about to face right, then slide. You should be able to drop past it without colliding. If your timing is off, use the Speed Gear to course-correct.
Take out the bottom Shield Attacker M and slide under the wall to the right.
 The next room is a vertical climb with spikes, enemies, and rotating platforms. Jump up and take out the Brushy before heading to the leftmost rotating platform.
You must jump up and destroy the Shield Attacker M and then land back on one of the platforms you just jumped off of.
 When the rotating platform reaches its apex, jump up to the lowest rotating platform above. If you’re low on weapon energy, take out the Brushy to the right and carefully collect the Large Weapon Energy. Otherwise, jump up to the left toward the ladder. Either way, don’t stay on the rotating platform for a full rotation, as it will carry you straight into the ceiling spikes.
 The next room has a current pushing to the right and six Brushies. Bonus points if you can line them up and take them out with a single Charge Shot!
 After the Brushies, wait on the left side of the platform ahead. On the other side are steps with spikes on each one, as well as a similar pattern mirrored on the ceiling. This may look tricky, but it’s actually the easy part. Just do a full-height jump and hold to the right, and the current carries you perfectly through the treacherous tunnel.
 Once you touch down, you’ll need to time another similar jump over the pyramid of spikes. Take out the Brushy as you come down and hop into the hatch!

 As soon as you fall down, jump onto a platform to avoid the Mini Shpiders. You can let the Pipetto to the right turn the red liquid into acid and melt the robotic creepy-crawlies for you, or take it out before it gets a shot off to avoid additional problems.
A Large Life Energy is in the upper left corner, easily reachable using the rotating platform. Head to the right when ready. You’ll need to use the small stationary platform to jump to where the Pipetto was.
 The final platforming section requires you to cross an acid pool using two sets of rotating platforms.
By now you should be a pro rotating platform jumper, so work your magic and enter the hallway to Acid Man.

 Check your health and the Block Dropper’s energy, as you’ll need it as close to full as possible. If you need to use any items, now’s the time!