
Mega Man 11 Guide Robot Master Impact Man
Recommended Gear
 Now would be a good time to grab the Power Shield if you haven’t already. It reduces the amount Mega Man is knocked back when suffering damage. Since there are a ton of enemies attacking you throughout Impact Man’s stage, even during platforming sections over bottomless pits, the Power Shield may make the difference between taking a little damage and falling to your death.
 Just ahead are two electrified barriers. You can take them out with a single Mega Buster shot, but it’s usually best to blast them with a Charge Shot—there are likely more than one, and you have a chance to also take out any enemies behind them.
 Jump onto the construction beams and blast the Metall.

 Drop down and fire a Charge Shot to remove the next three electrified barriers.
 Jump onto the platforms and take out the second Metall.
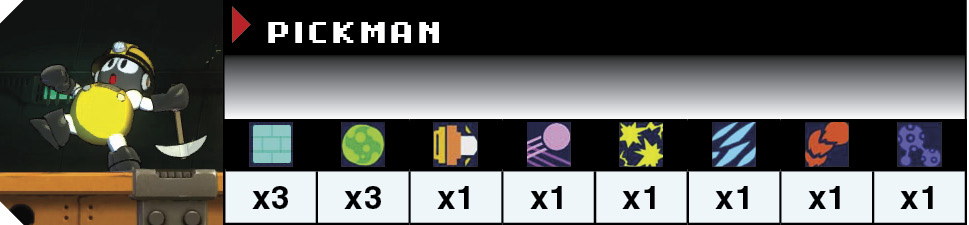
 A Pickman tosses pickaxes at you from the next platform to the right. Pickmen have excellent aim, but their pickaxes’ travel time allows Mega Man to dodge them. This gets a little more difficult later in the level when Mega Man is on cargo lifts without anywhere to go.
Pickmen have more life than the average enemy, so it takes several shots or two Charge Shots to destroy them. Luckily they are weak to both the Block Dropper and Acid Barrier, but don’t waste your Weapon Energy on them if you don’t have to. Take out the first Pickman and move ahead to his former position.
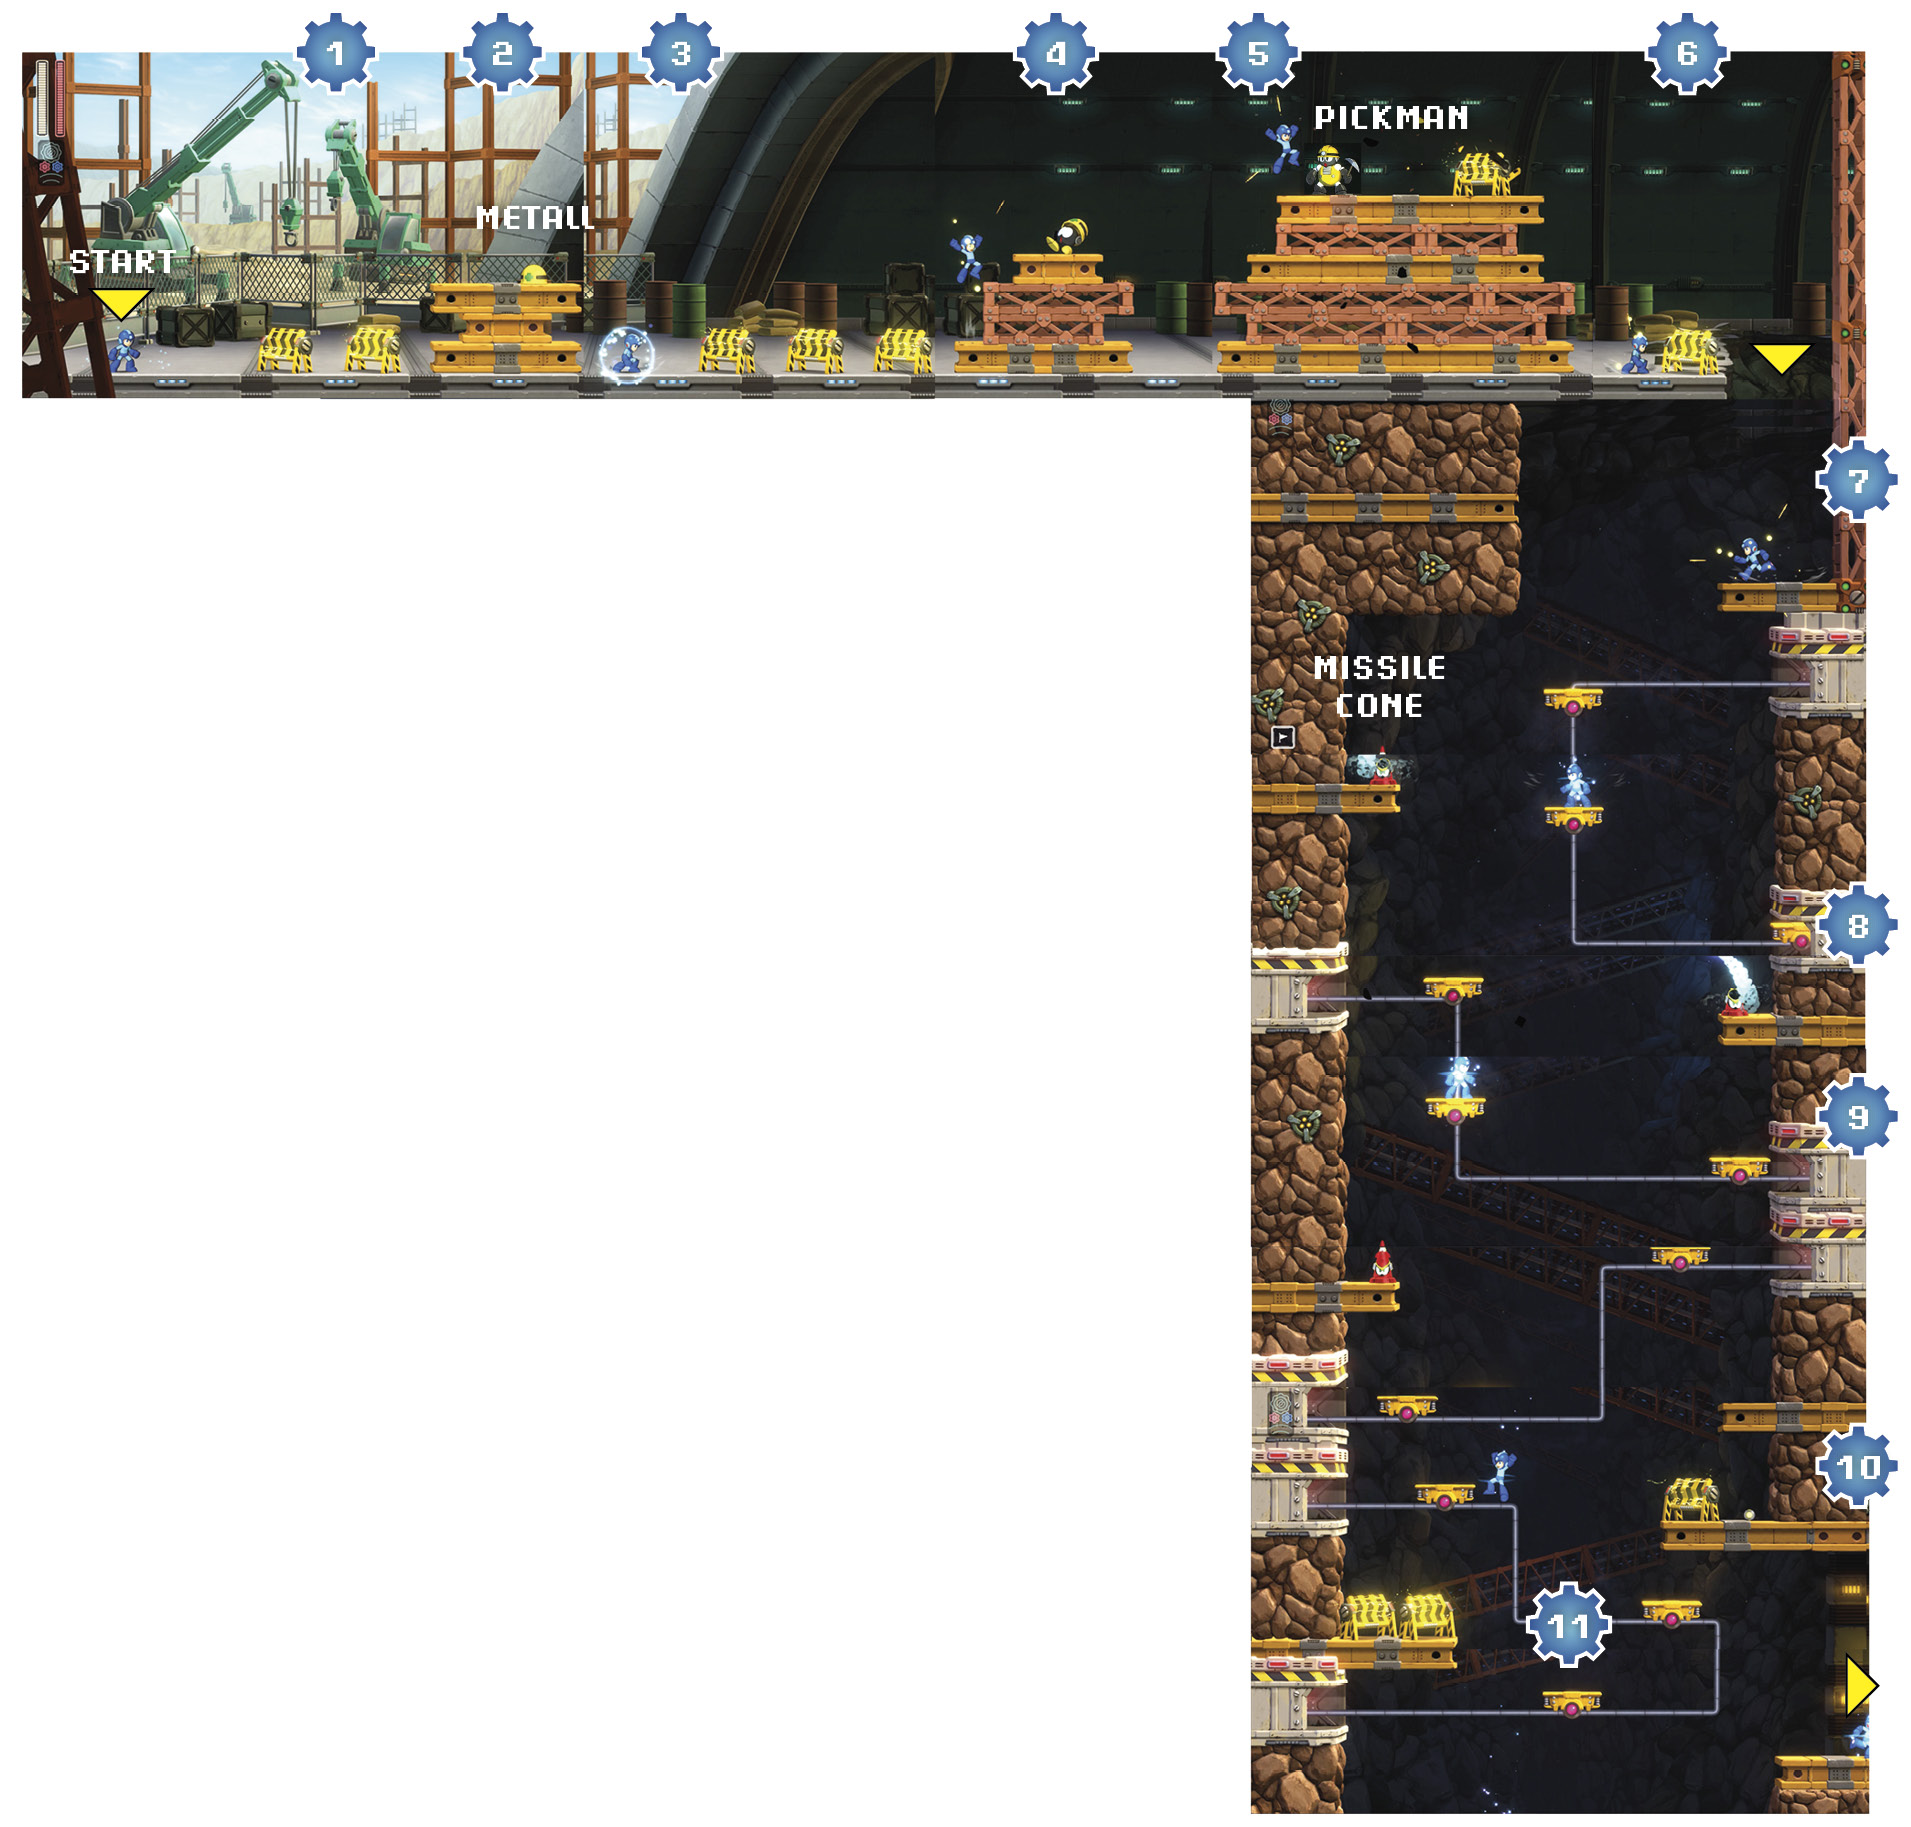
 Destroy the electrified barriers and jump down the hole.
 The following section leads you down a vertical shaft with cargo lifts and Missile Cones that shoot homing missiles. Jump onto the first platform and use a Charge Shot to take out the Missile Cone to the left. You can shoot down its missiles with a regular Mega Buster shot.
Ideally you have equipped both the Power Shield and Shock Absorber at this point. If the enemies in the platforming sections give you too much trouble, use your Acid Barrier to block their projectiles, or use Block Dropper to destroy out-of-reach enemies. However, make sure you have enough Block Dropper energy for the mid-boss and enough Acid Barrier energy for Impact Man.

 When the cargo lift begins turning right and heads toward the hole in the wall, jump onto the next cargo lift below and take out the Missile Cone.
 Repeat for the next cargo lift and Missile Cone.
 The next cargo lift zigs from right to left. There are no more Missile Cones, but there are two stationary platforms on either side below with electrified barriers. The one on the right has a space next to it where you can safely drop. Destroy the barrier and jump down to the final cargo lift when it’s in the middle of the track. Then jump to the cargo lift below it, which will move you to the right before it starts to go up, allowing you to jump to the room’s exit.
 If you’re in a hurry or just hate Missile Cones, you can take a different approach to this room: (1) Jump straight down and aim for one of the final cargo lifts, skipping the previous ones. If you miss, have a Beat Call ready. (2) Jump straight down and then angle toward the platform with the single electrified barrier. It’s the same idea but isn’t as much of a leap of faith.
 Shoot the two electrified barriers and then destroy the Pickman. You must get just below him to attack him with your Mega Buster, so move back and forth, dodging any pickaxes while you deplete his health. A Power Gear Charge Shot will also do the trick.
 There is a Small Screw near a spike pit, under the Pickman’s location. Reach this by falling off the platform and moving to the left in midair. Honestly, it’s not really worth the risk, especially if you followed the Block Man strategy earlier in the guide. Either way, progress to the right when ready.
 Before dropping down, jump up and fire a Charge Shot at the Missile Cone across the room.

 There is a Gabyoall below. Gabyoalls patrol back and forth. Any time you’re on the same horizontal plane as one, its siren activates and it speeds up considerably. They cannot be damaged except by Impact Man’s Pile Driver or Blast Man’s Chain Blast, but shooting them stops them temporarily. They’re also fairly easy to jump over, so do that now and climb up the ladder.
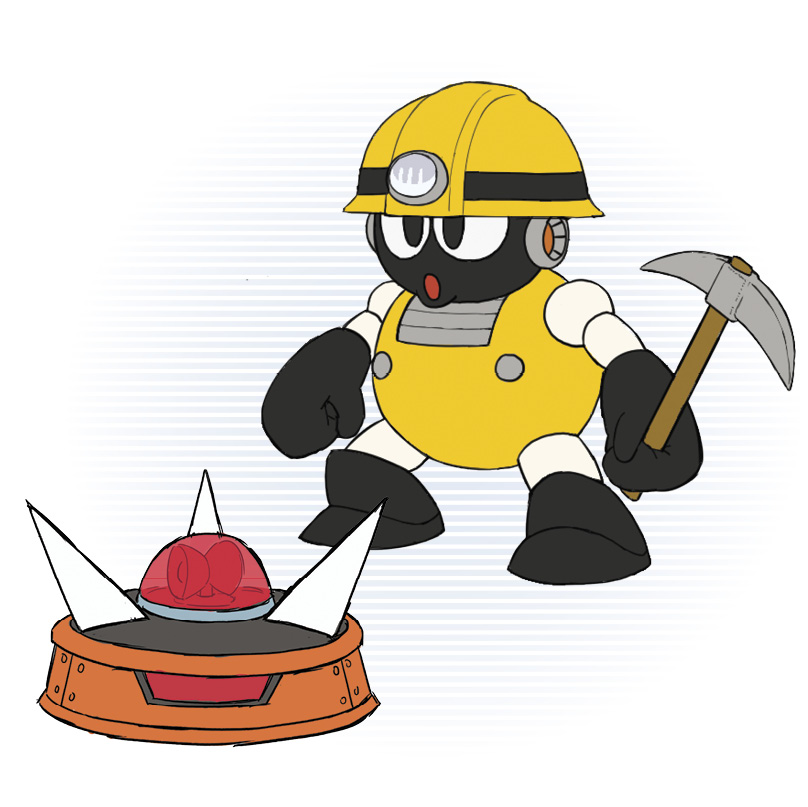
 Shoot down the electrified barrier, then jump to that platform. Jump up again and destroy the Pickman above you.
 Jump up to where the Pickman was. However, if you’re so inclined, moving toward the Metall will make it reveal itself; shoot it as well and collect the item behind it.
 As you ascend the ladder, shoot left to take out the electrified barrier and Pickman. You will be safely out of its attack range from here.

 Destroy the final two electrified barriers and continue onward and upward.
 The following area is your first encounter with the Impact Bros. Slide through the room without stopping. If the arrow indicates you’re about to collide with an Impact Bro, move out of the way and then proceed quickly. The longer you stay in the area, the more at risk you are.
 This room provides a small breather with no threats and a few small energy capsules. Switch to the Block Dropper and activate the Power Gear as you enter the next room.
 Okay, the break’s over! You are face-to-face with two Missile Cones, a Pickman, and an Arc Weldy. Use the Block Dropper as soon as you enter the room to clear the way.

 Grab the pickups and prepare to drop down into the next room. Read ahead to the next step and consider prepping another boosted Block Dropper.
 You fall into a vertical room that requires you to climb back up from the bottom. The room is filled with more Missile Cones and Pickmen. If you prepped a Power Gear–boosted Block Dropper shot, you can unleash it when you enter the room and begin your descent.
Clear out most, if not all, obstacles in your way. Alternatively, you can fire up the Acid Barrier, which negates any incoming projectiles while you clear the room.
Lastly, you can save your weapon energy and use the Mega Buster. As long as you don’t expend too much weapon energy in this room, any method will do.
 Drop down and take out the Mawaru C using the Speed Gear.
 Below it is an Arc Weldy that has already welded several spots on the ground. Shoot a Charge Shot to clear them all out, then proceed to the left.
 Jump up and destroy the electrified barrier. A Mawaru C patrols the area below, but don’t worry about it. Jump on the next available cargo lift.
 As soon as the screen scrolls to the left a bit, blast the Pickman with a Charge Shot and follow up with a few quick Mega Buster shots.
Achievement/Trophy
 Your Work Here is Done
Destroy an Arc Weldy obstacle.

 You encounter more Mawaru Cs, but they pose a threat only if you get knocked off your platform. A second Pickman is just ahead. You’ll likely have to dodge one pickaxe before you can get into position to destroy it (unless you jumped ahead to the small square platform below the cargo lift track).
 A Missile Cone rounds out the dangers in this room. Deal with the Pickman, then blast the Missile Cone. If either gives you trouble, use the Speed Gear or Acid Barrier to assist.
 Drop down and dodge the Impact Bros. as you snake around and to the bottom left of the screen.
 Repeat this once more, timing your jumps to avoid any incoming Bros. Prepare a Power Gear–boosted Charge Shot before dropping out of the room.
 Fire your Charge Shot as you drop down into the next room; hopefully it destroys the Pickman. Quickly remove the three electrified barriers and the Pickman if he still remains; then prepare to battle the mid-boss. Let the Power Gear cool down completely before proceeding.