
Mega Man 11 Guide Gear Fortress 1
Recommended Gear
The Gear Fortress amps up the difficulty of both combat and platforming, so you’ll want to have every toy from Dr. Light’s Lab at your disposal. Most importantly—and please, brace yourself—is the Speed Gear Booster. Even if you made due without it up to now, the platforming gimmicks of Gear Fortress 1 are particularly trying, made ever so perilous with copious amounts of bottomless pits, so Speed Gear Booster and maxed Beat Calls will help substantially. As always, recovery items and a full supply of lives are runner-ups in terms of importance.
Achievement/Trophy
 Stop, Drop, and Roll
Destroy all Wall Blasters, Missile Cones, and Air Nuts once and reach the boss. (Excludes Challenge Mode)
 The stage wastes no time in introducing you to your new worst enemy: gear bolts. You’ll have to use these spinning bolts as platforms throughout the stage. First it will be over solid ground, adding more and more enemies into the mix until eventually you’re jumping across nothing but bolts spinning in opposite directions across a massive chasm with tons of enemies and projectiles all trying to kill you at the same time.
After gulping in an exaggerated fashion, collect yourself and jump up the two bolts.
Stage Gimmick: Gear Bolts
It may be the Gear Fortress, but it’s the bolts that hold the gears in place that you’ll have the most trouble with. The yellow ones spin constantly in either direction, while the red ones don’t move but will fall shortly after being landed on.
Achievement/Trophy
 Unstoppable
Destroy all foes in Skull Roller area and reach the boss. (Excludes Challenge Mode)
 K-Drones move in from the right while a Sniper Joe guards the way forward. You need the Chain Blast for the boss, so save that unless you’ve got plenty of weapon energy recovery methods. The Tundra Storm, Pile Driver, and Block Dropper are especially useful in the more dangerous and congested areas of the stage. Other than that, feel free to use all of your special weapons as you see fit.
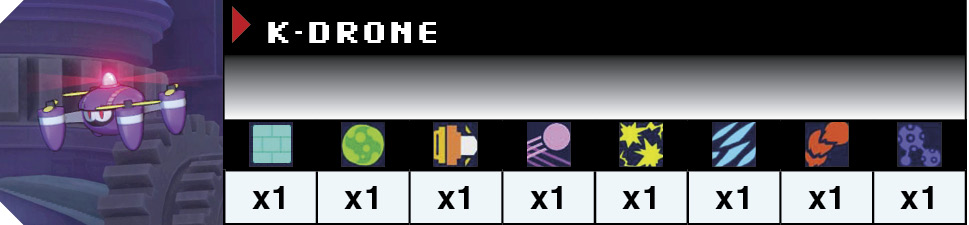
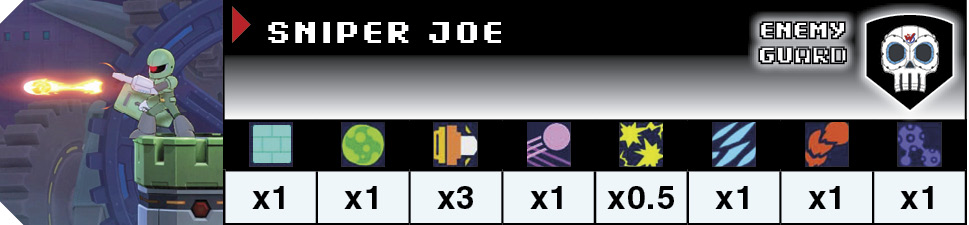
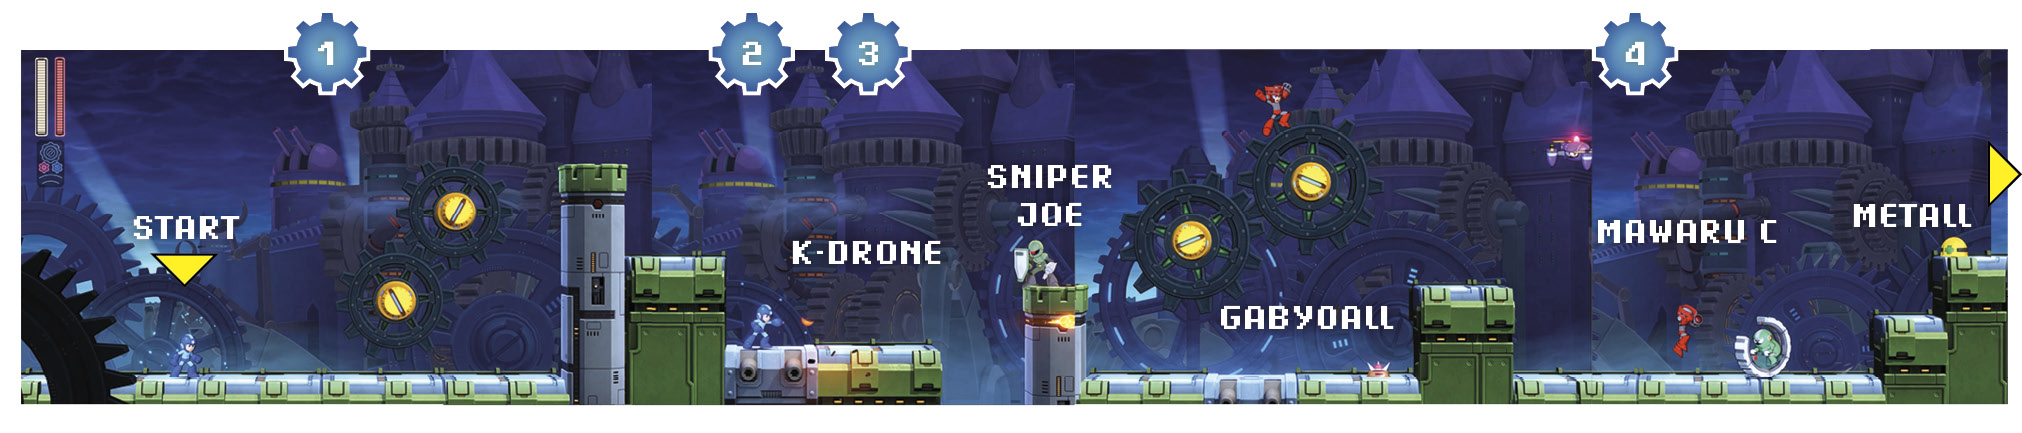
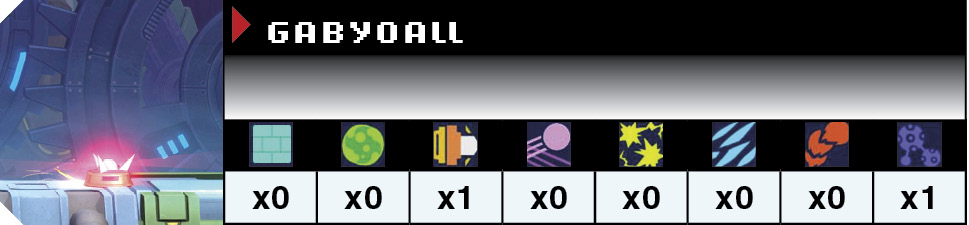
 A Gabyoall is patrolling the area below. Jump across the yellow bolts and prepare to take out another K-Drone.
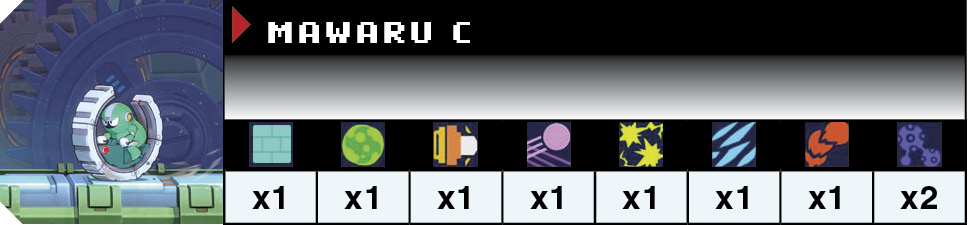
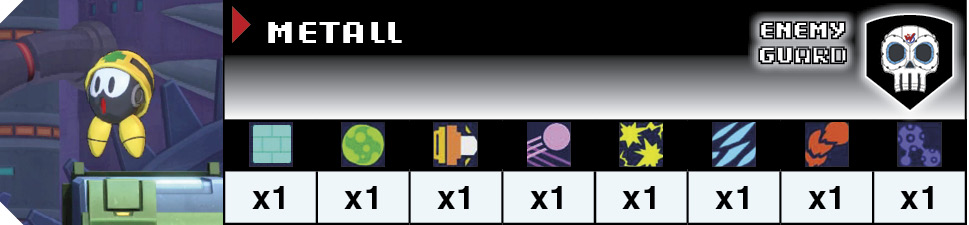
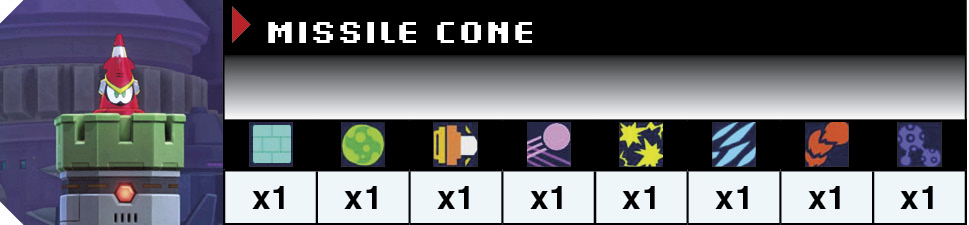
 A Mawaru C rolls toward you, while a Metall and Missile Cone wait at the top of the platforms ahead. Show your old buddies all the cool new tricks you’ve learned.
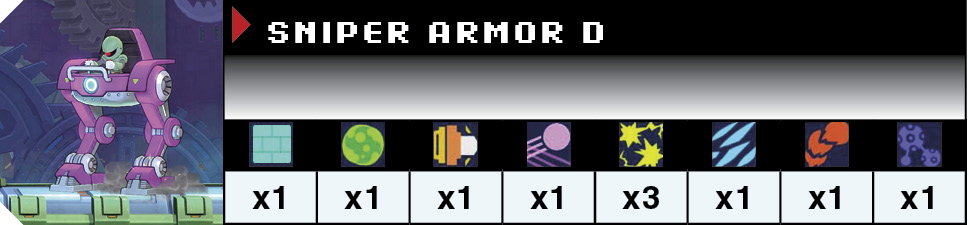
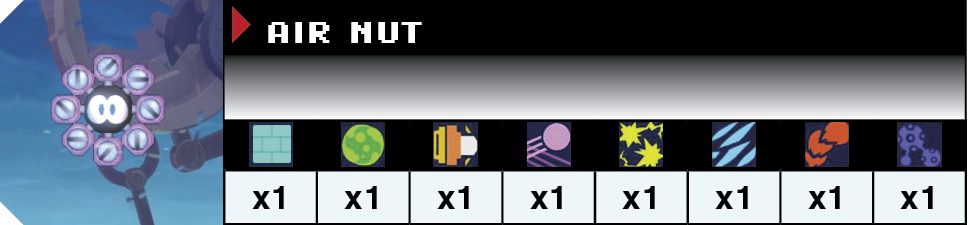
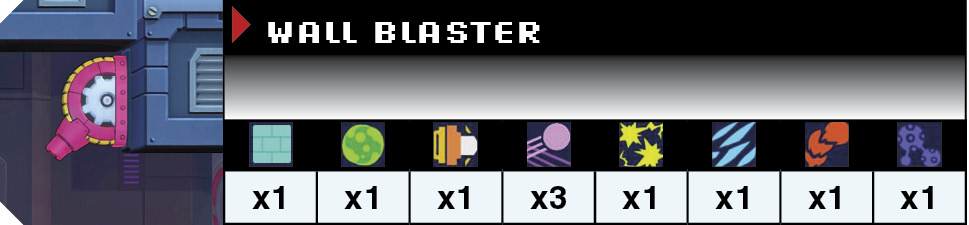
 And last but not least, a Sniper Armor D blocks the way.
 As you enter the room, an Air Nut materializes above while a Mawaru C rolls toward you. Give ’em the business and take out the second Air Nut next to the ladder.
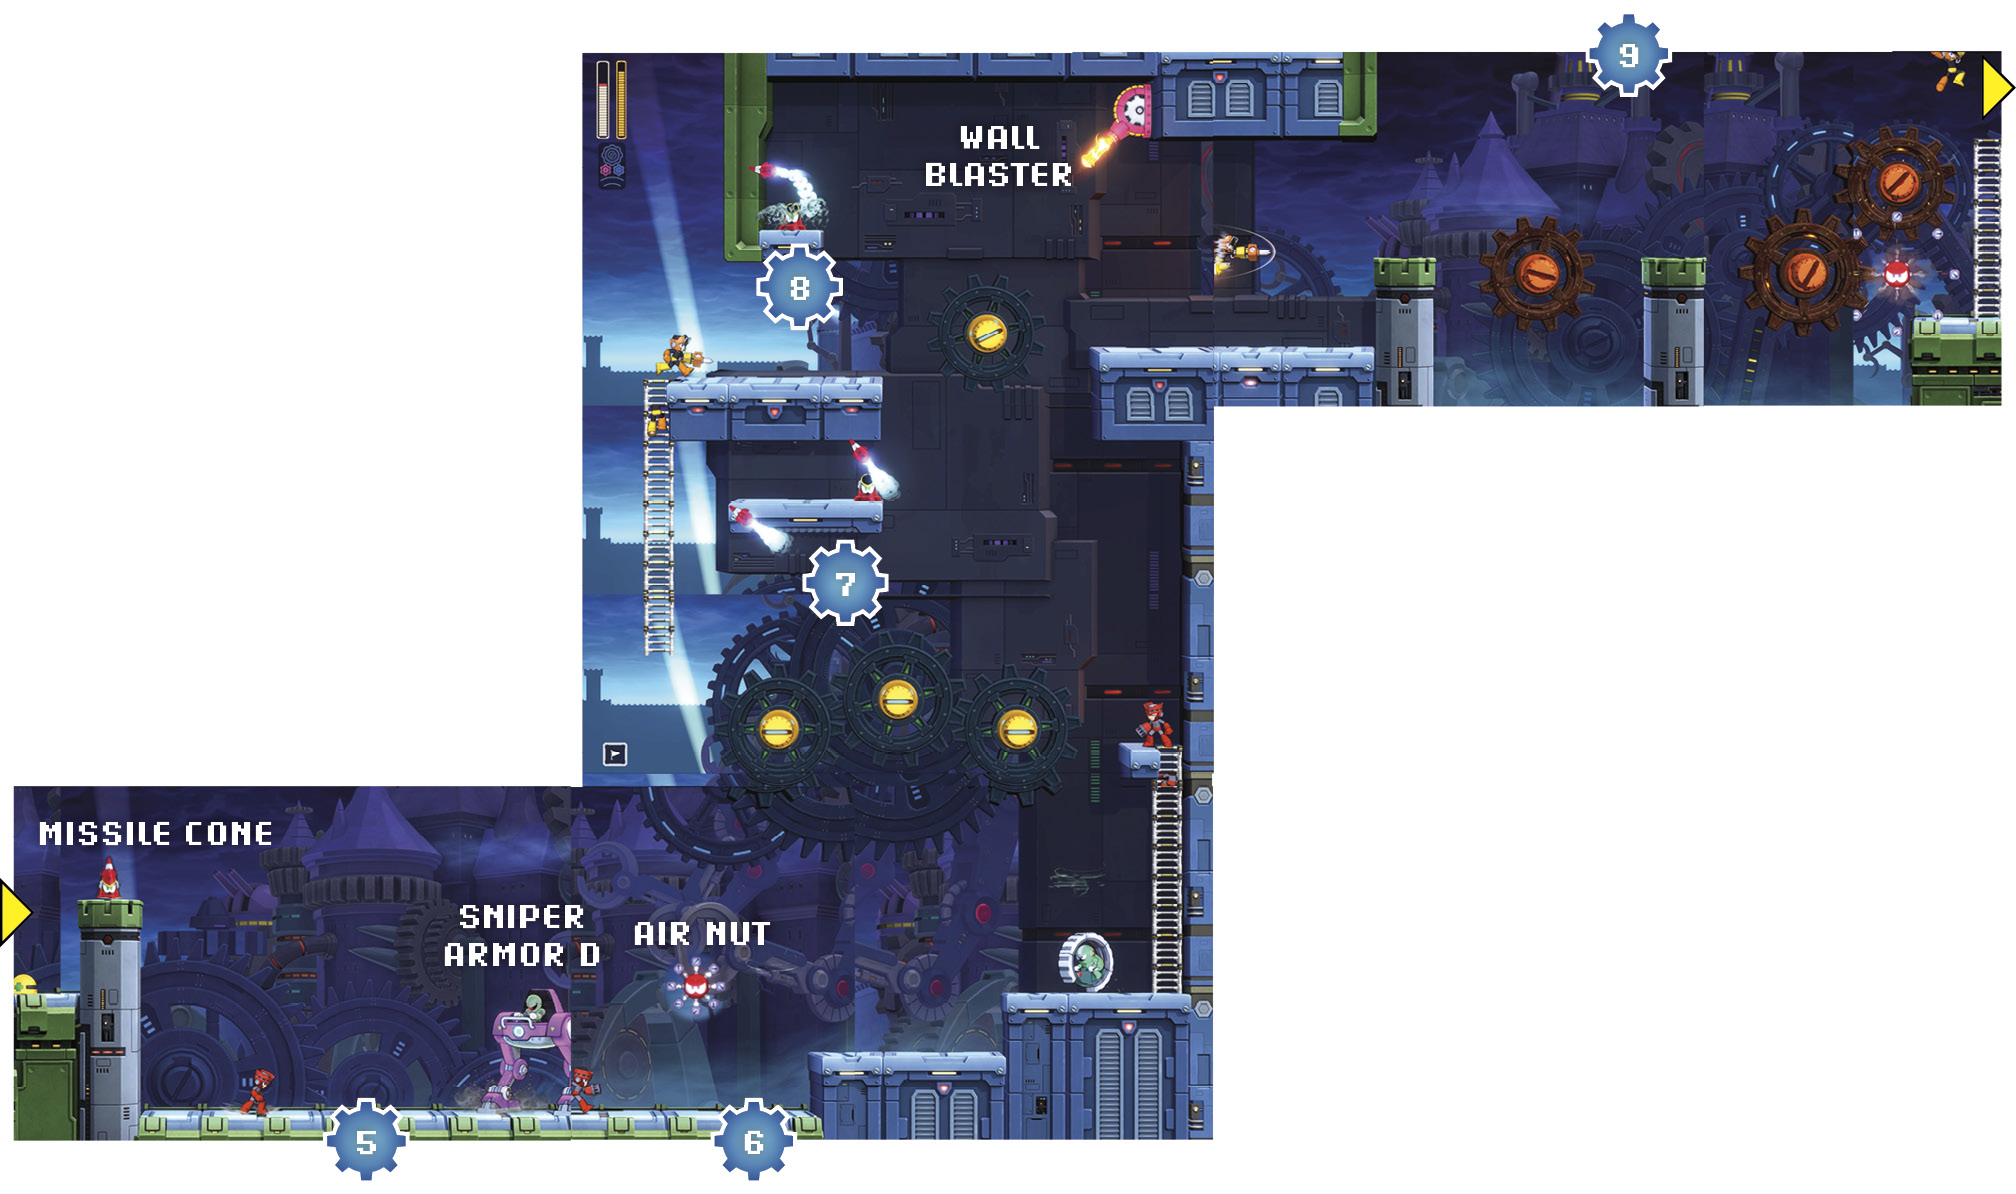
 Use Block Dropper or Tundra Storm to take out the Missile Cone and prevent it from harassing you while you head across the yellow bolts to the ladder. If you use Pile Driver, you can reach the ladder from the middle gear. The Speed Gear Booster helps with spinning gears like this, but you can also use Rush Jet to avoid them altogether.
Don’t worry too much about getting knocked down here, as you’ll just fall to the room below, rather than die outright or waste a Beat Call.
 The Missile Cone above you is easy enough to shoot, but the Wall Blaster is in a high spot that’s hard to hit. Avoid its fire or use the Power Gear and Tundra Storm to clear the room before jumping across.
 The rusty red bolts don’t spin, thankfully, but they also don’t stay up long after being jumped on, so move quickly. An Air Nut will be just under the last bolt, near the ladder. If you have the Buster Plus Chip, you can destroy the Wall Blaster with a Charge Shot before ascending the ladder.
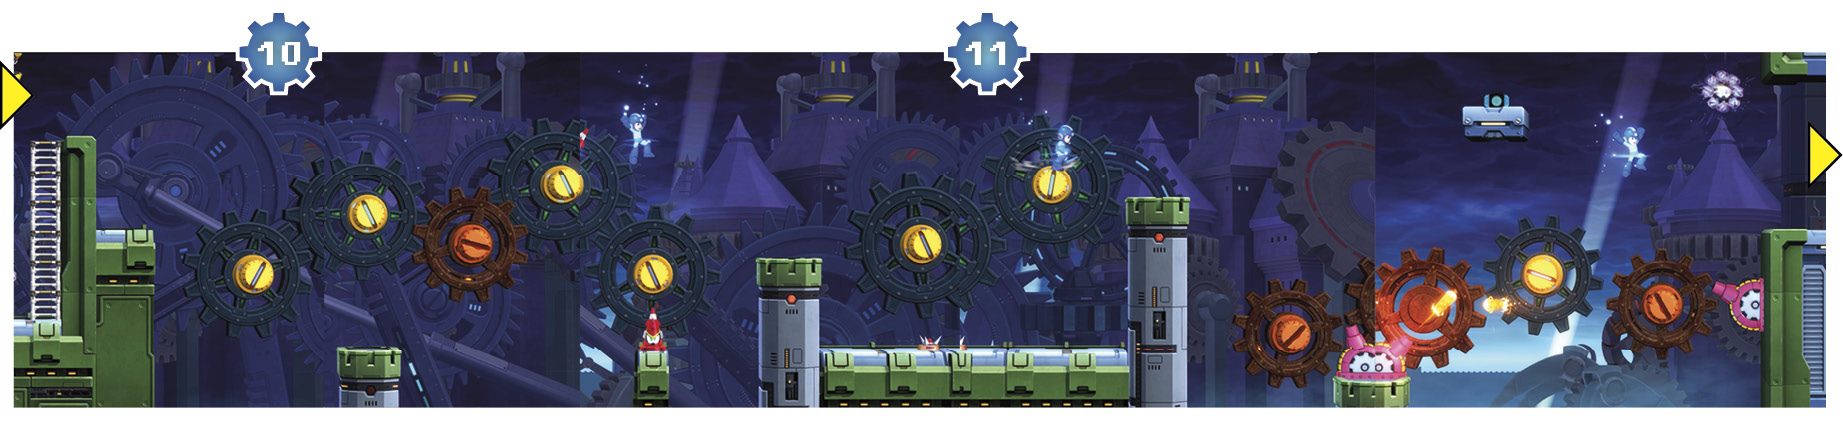
 Cross the gap. You’ll get a mix of yellow and red bolts, while a Missile Cone attacks from below. You can take it out with the Block Dropper as you go, or just act fast and avoid its missile(s).
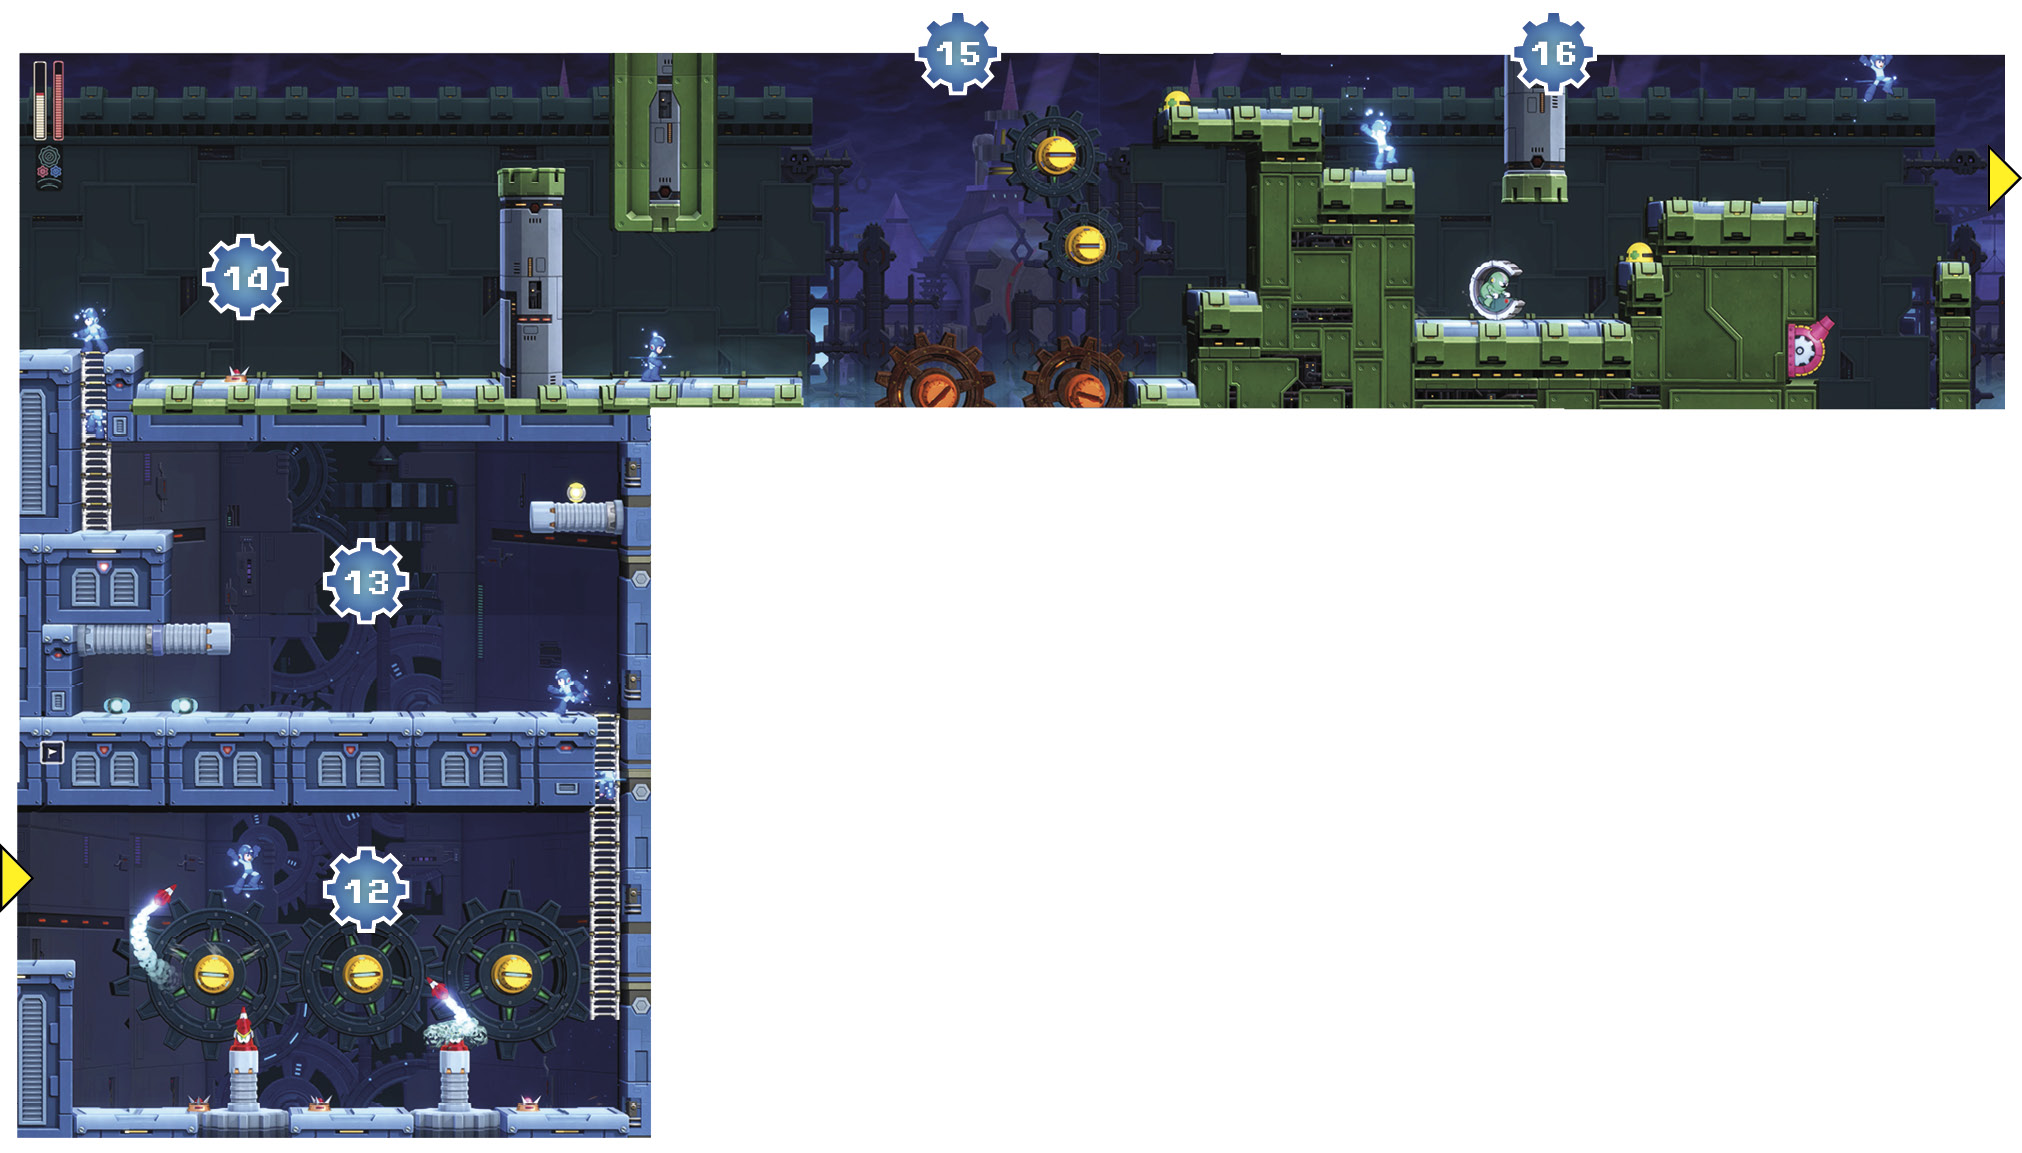
 There are two more bolts and a Gabyoall below. Once you’ve crossed, avoid the Wall Blasters’ fire and use Rush Jet instead of jumping down onto the red bolts. This leads you to a platform with a large weapon capsule. You can then Rush Jet or Pile Driver across the rest of the way, taking out the Air Nut floating high above the second Wall Blaster.
 This room has three yellow bolts, three Gabyoalls, and two Missile Cones. If you jump up from the platform you enter the room on and chain two Pile Drivers together, you can reach the last bolt and ladder without too much fuss.
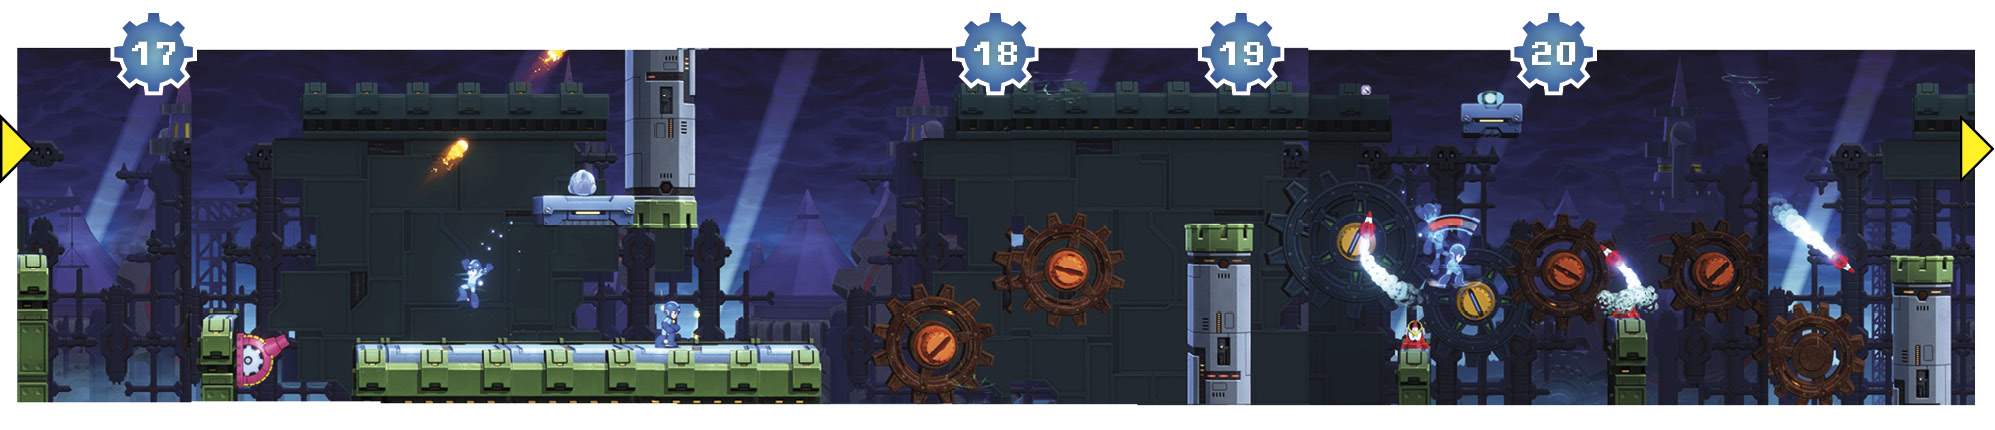
 You’ll have to make it across massive pits while jumping on narrow platforms and dealing with numerous K-Drones and Wall Blasters. Rush Jet can help you sail over your problems, while Pile Driver can at least get you to the end of the room more safely. Use Rush Coil to grab the 1UP.
 Two Air Nuts guard two rusty bolts. The first Air Nut is toward the bottom of the screen, out of range of the Mega Buster. You can aim one of your special weapons down at it when it appears, or use the Speed Gear to hop across the way before the Air Nuts can fire their bullets.
 Rush Jet gets you across to another large weapon capsule and lets you avoid having to jump across the bolts while dealing with Missile Cones. Take out the Missile Cones and any missiles. Continue with Rush Jet to the other side, shooting down the Air Nut when it appears in front of you.
 If you’re still on Rush Jet, it should take you to yet another large weapon capsule. A Wall Blaster and Missile Cone fire at you, so take them out and Rush Jet ahead, repeating this process until you reach the end.
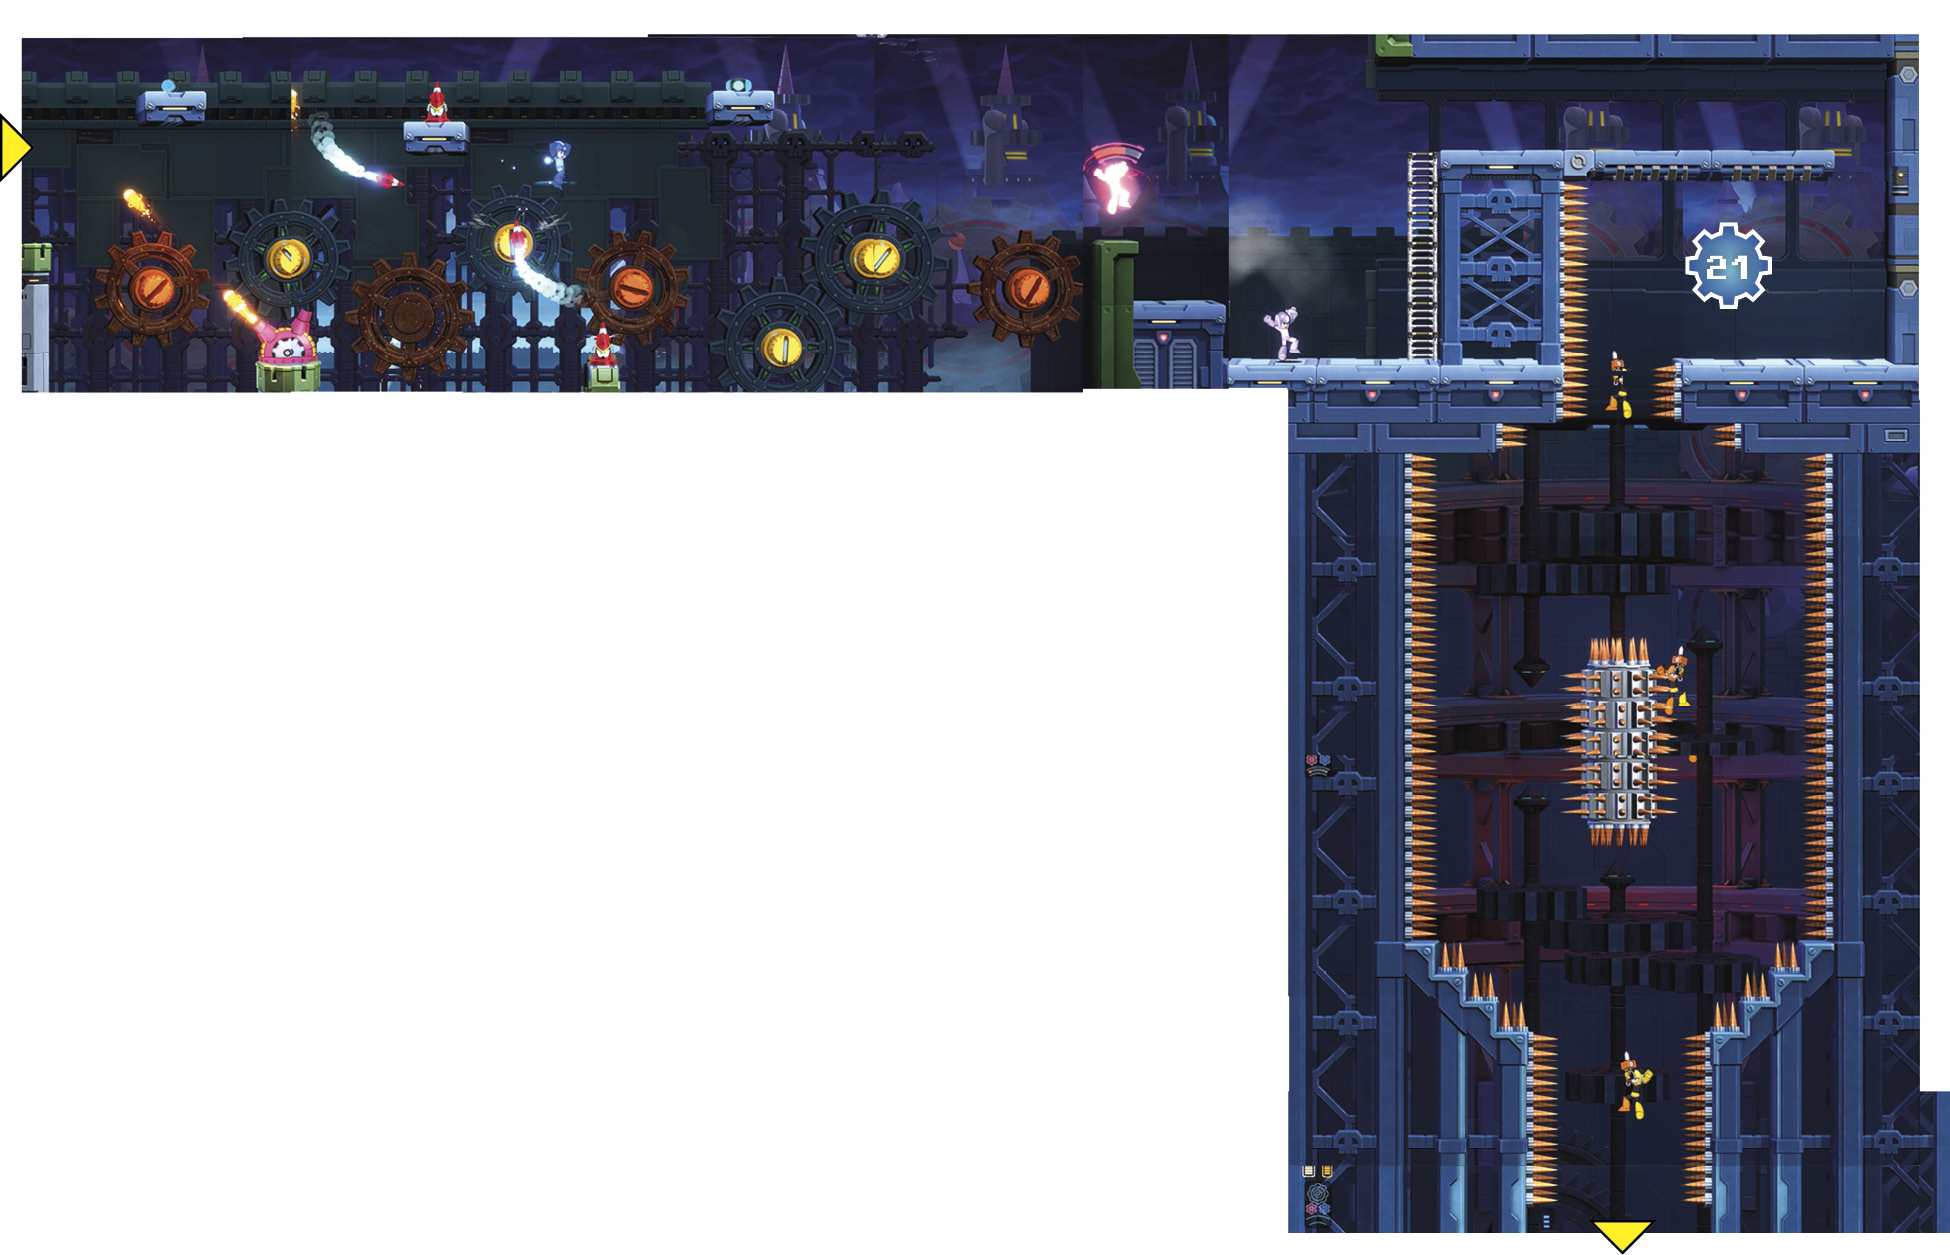
 Drop down and immediately maneuver Mega Man left or right to avoid the spikes in the middle; then head back to the middle again to safely reach the ground.
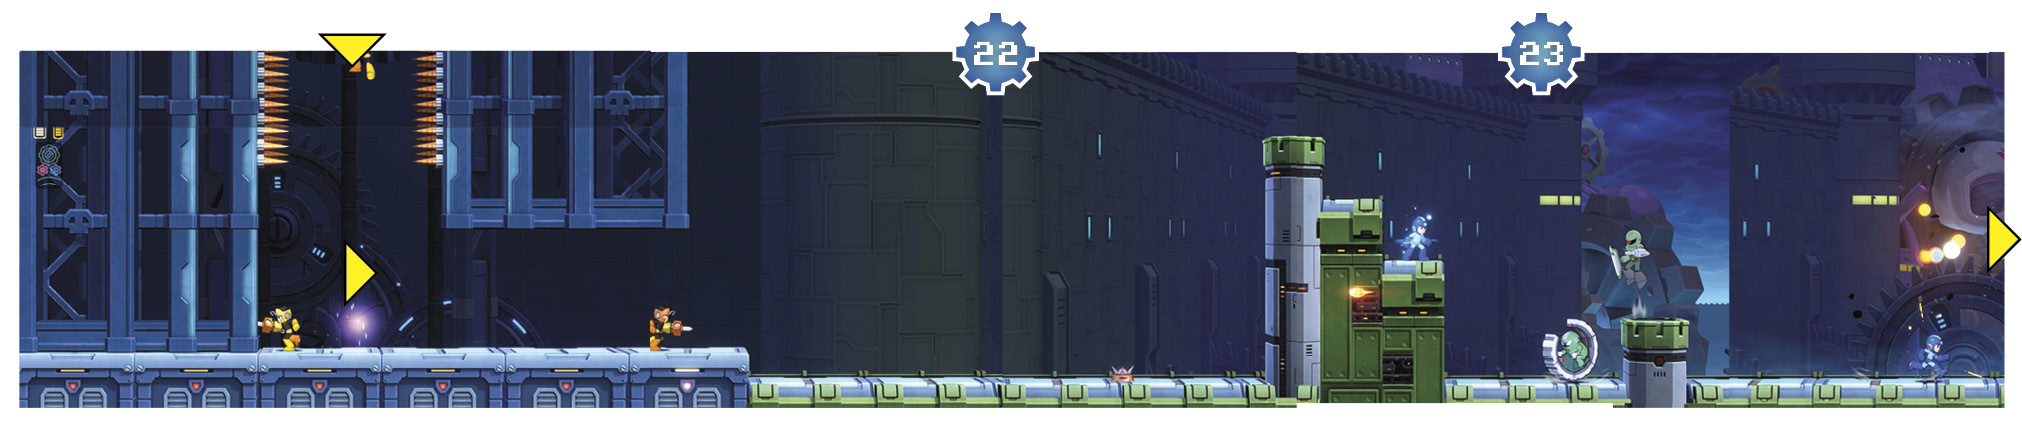
 Grab the recovery items and head up the ladder. If you need the energy pellet, use Rush Jet to reach it before grabbing the weapon capsules.
 A Gabyoall patrols the area while disappearing blocks phase in and out. This is fairly easy, but instead of trying to do it the intended way, you can use Rush Coil on the far bottom block to jump over, skipping the rest of the platforming sequence.
 Make your way across and up the bolts. The Metall shoots you as you approach, so consider taking it out with the Block Dropper or special weapon of choice first. Also, if you’re having trouble jumping up from the first yellow bolt to the one above it, hit the Speed Gear.
 A Mawaru C and another Metall are in the area ahead. Take them out and proceed.
 A Gabyoall patrols another disappearing block section. You can’t use Rush Coil like the first time, but if you get to the second level of blocks, you can use Rush Jet to avoid having to go around to the left and back again across the top blocks.
In case you fall down a lot here, you may want to destroy the Gabyoall with the Pile Driver. Don’t waste a Chain Blast shot on it.
 A Mawaru C and Sniper Joe are below. Use the Block Dropper and run along to encounter K-Drones and another Mawaru C.
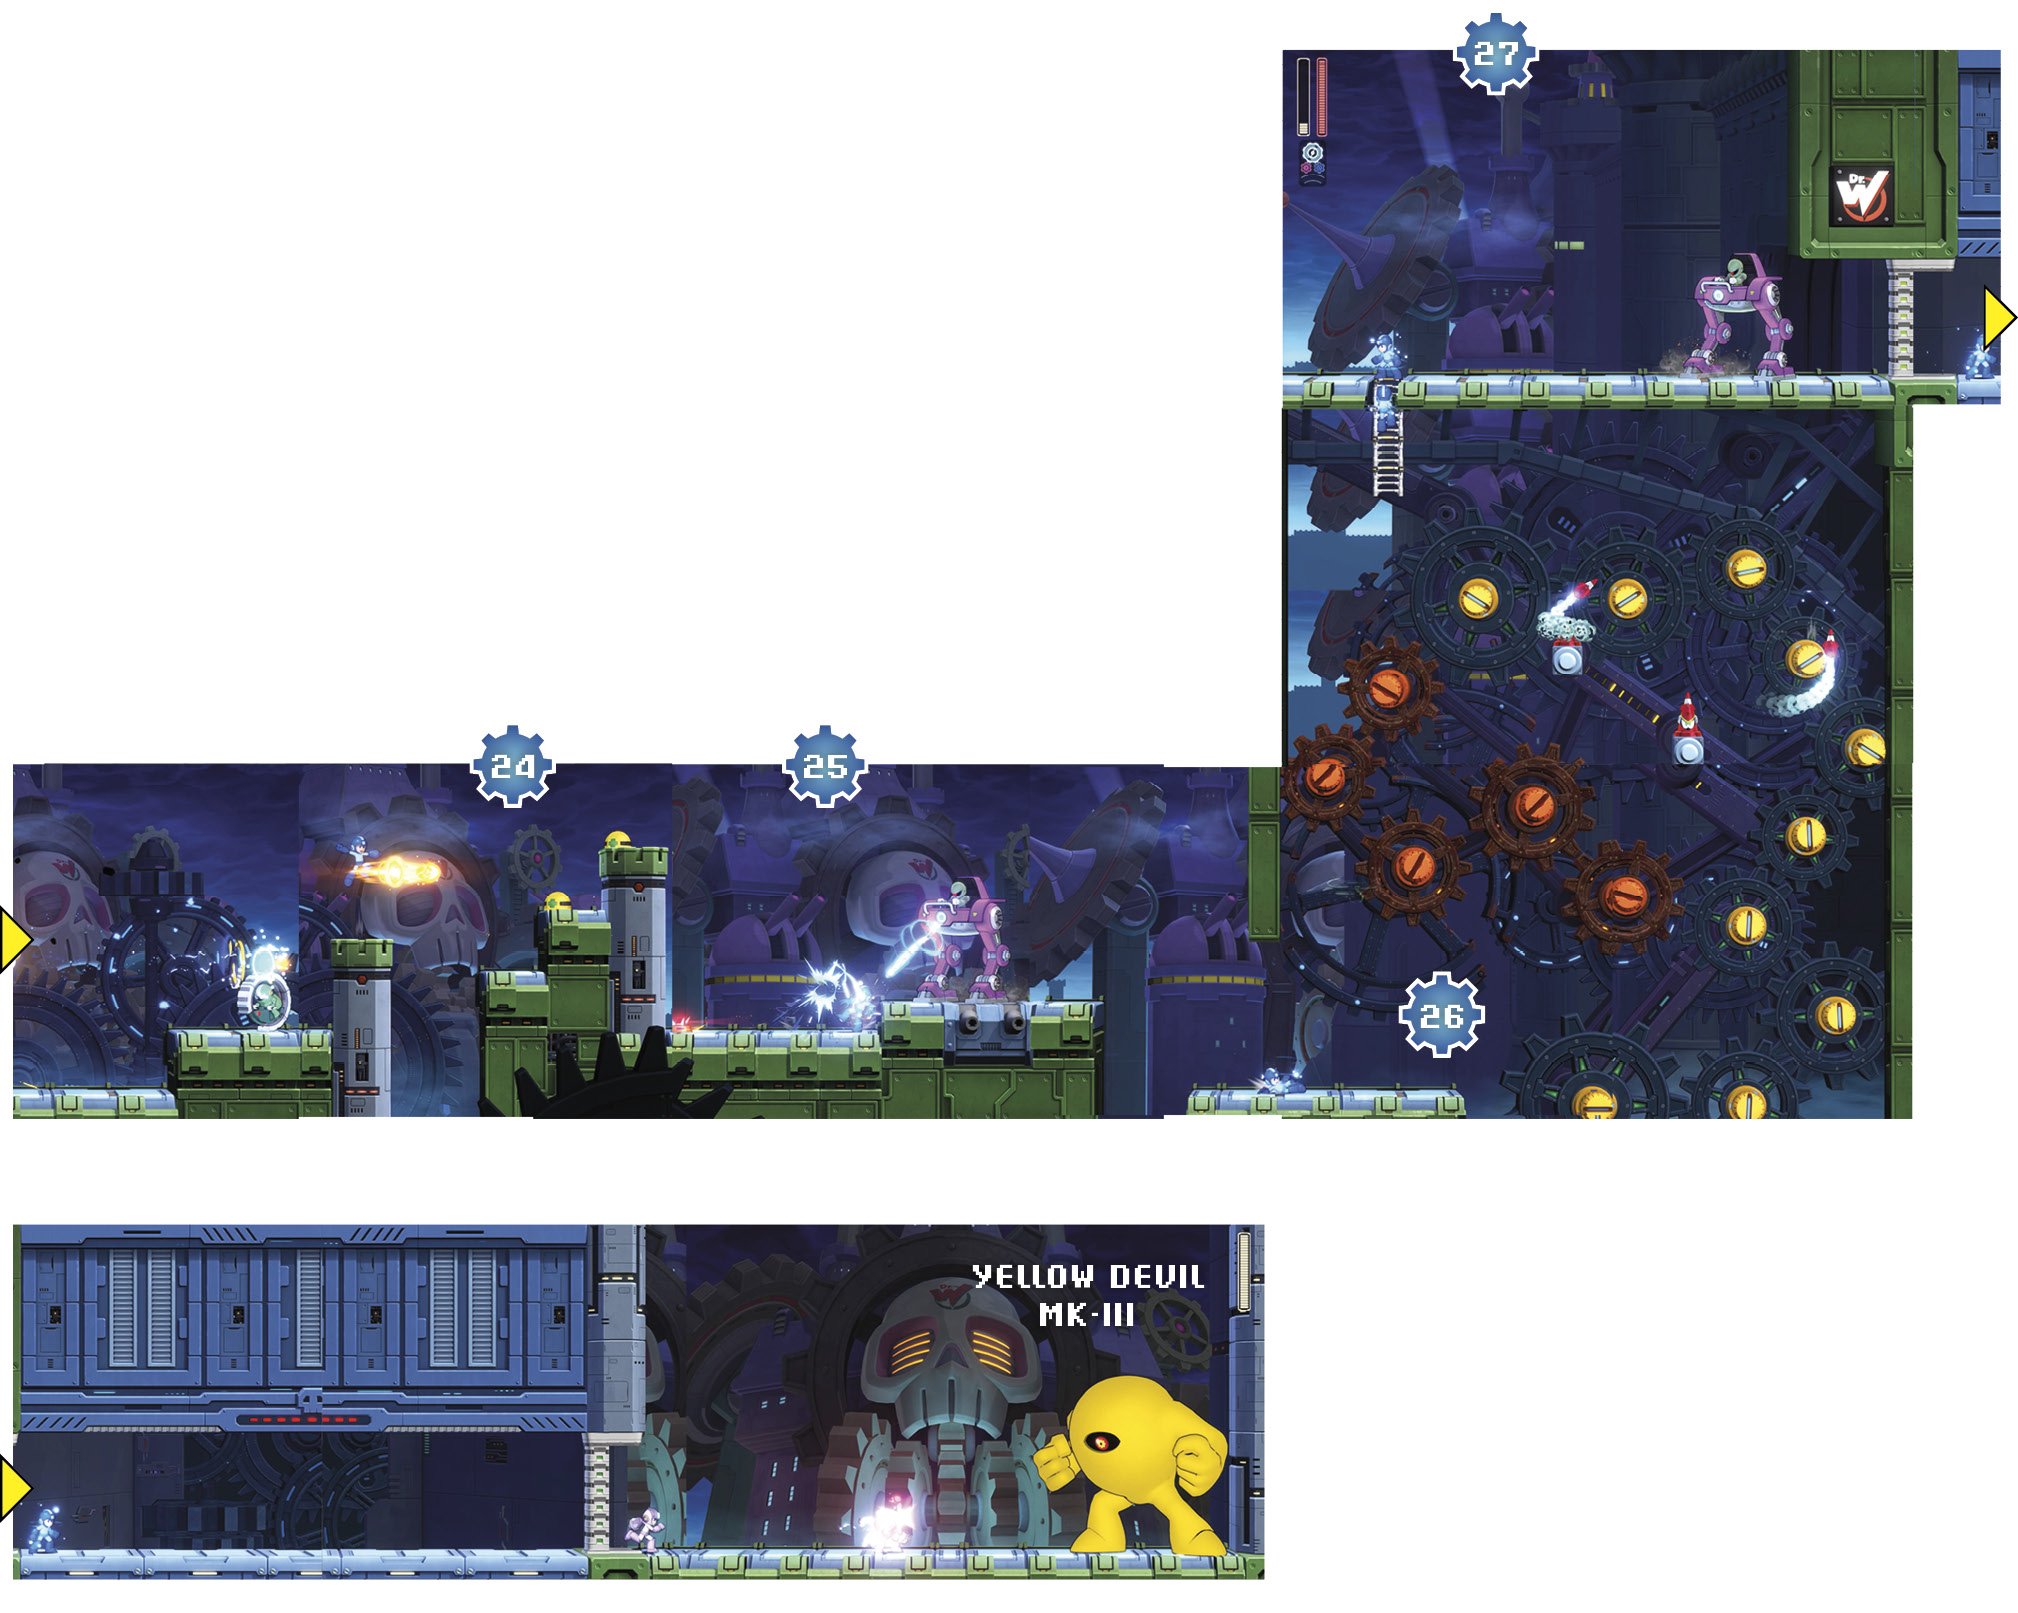
 Two Metalls wait for you across a pit. Use the Speed Gear, Power Gear, or a special weapon to destroy them while they’re in their helmets.
 A Gabyoall patrols the floor ahead, while a Sniper Armor D guards the next level up. Use a Power Gear–boosted Scramble Thunder shot to pierce the Gabyoall and hit the mech.
 Use the Speed Gear Booster for the yellow bolts, and turn it off to recover a little bit of Double Gear gauge while on the red bolts. Use whatever weapon you’re most comfortable with for the Air Nuts and Missile Cones. If you fall, try to land on one of the Missile Cone platforms rather than all the way down. A blind Pile Driver can also sometimes miraculously land, giving you a second chance at not falling too far.
 Take out the Sniper Armor D and head into the boss room.