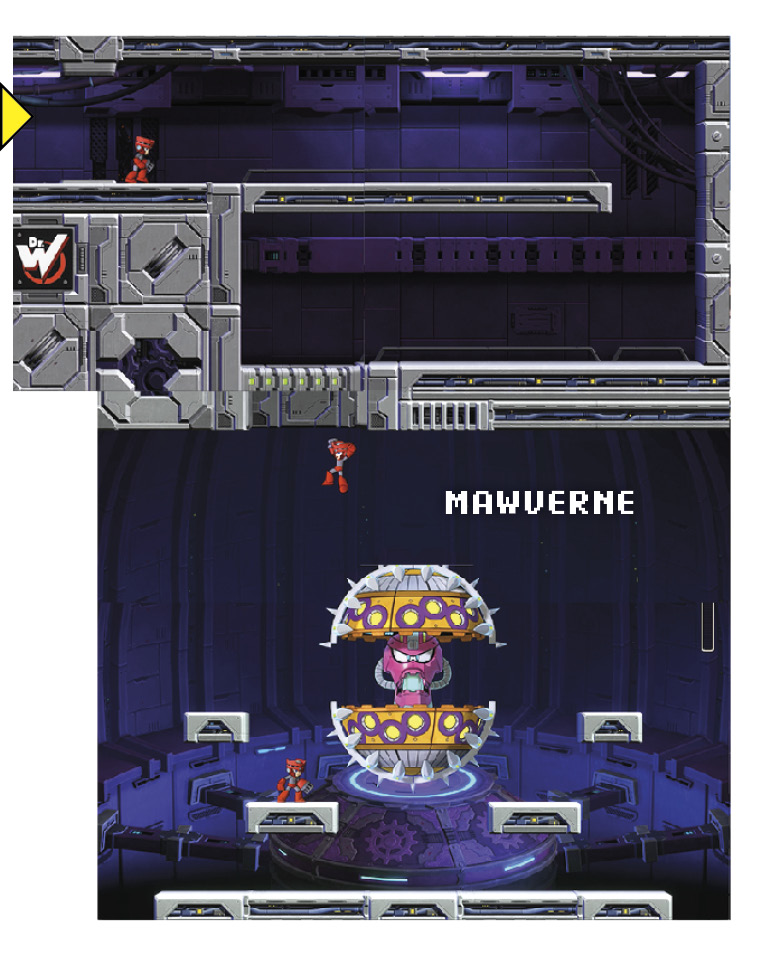
Mega Man 11 Guide Gear Fortress 2
Recommended Gear
The Speed Gear Booster and weapon energy recovery are key. If you still struggle a bit with combat, bring along some Energy Tanks and a Super Guard, as Gear Fortress 2 is brimming with enemies.
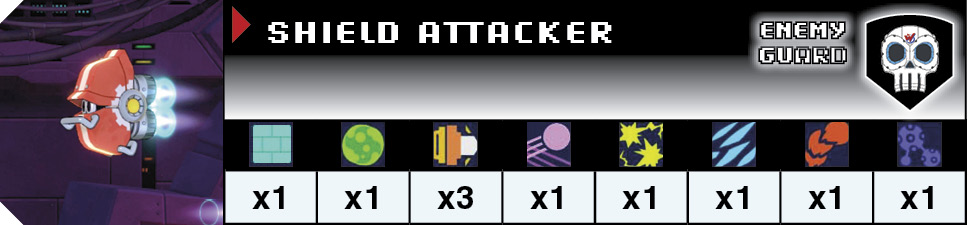
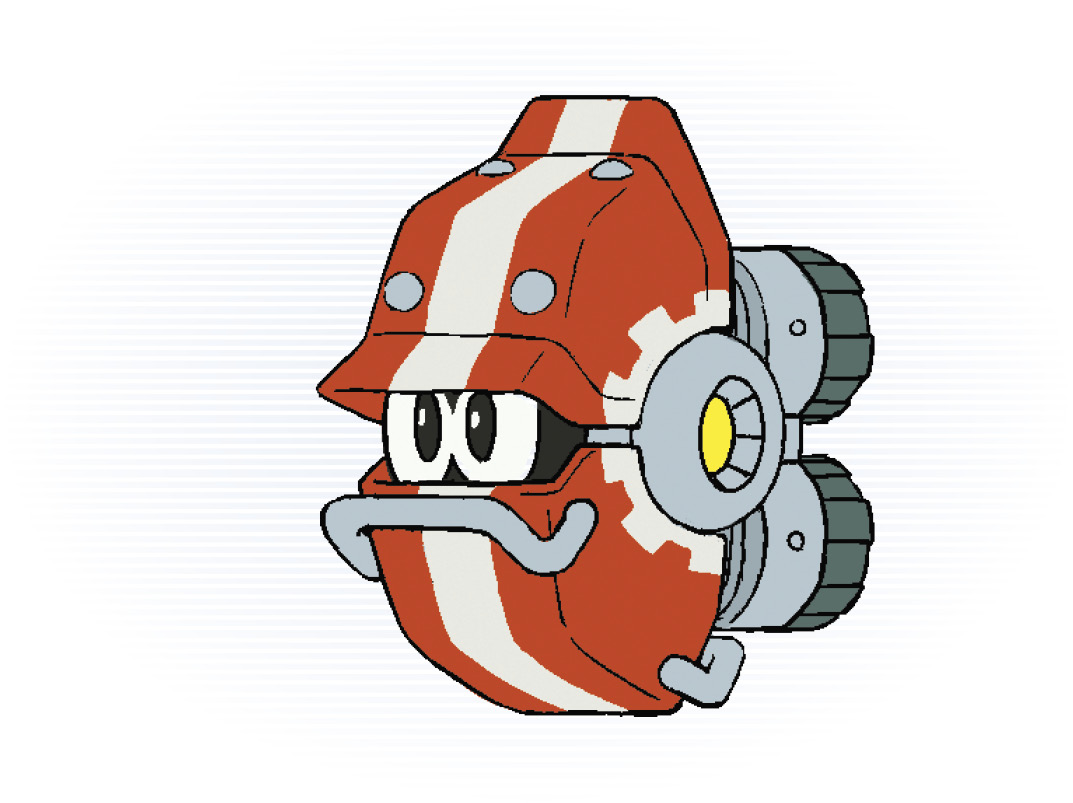
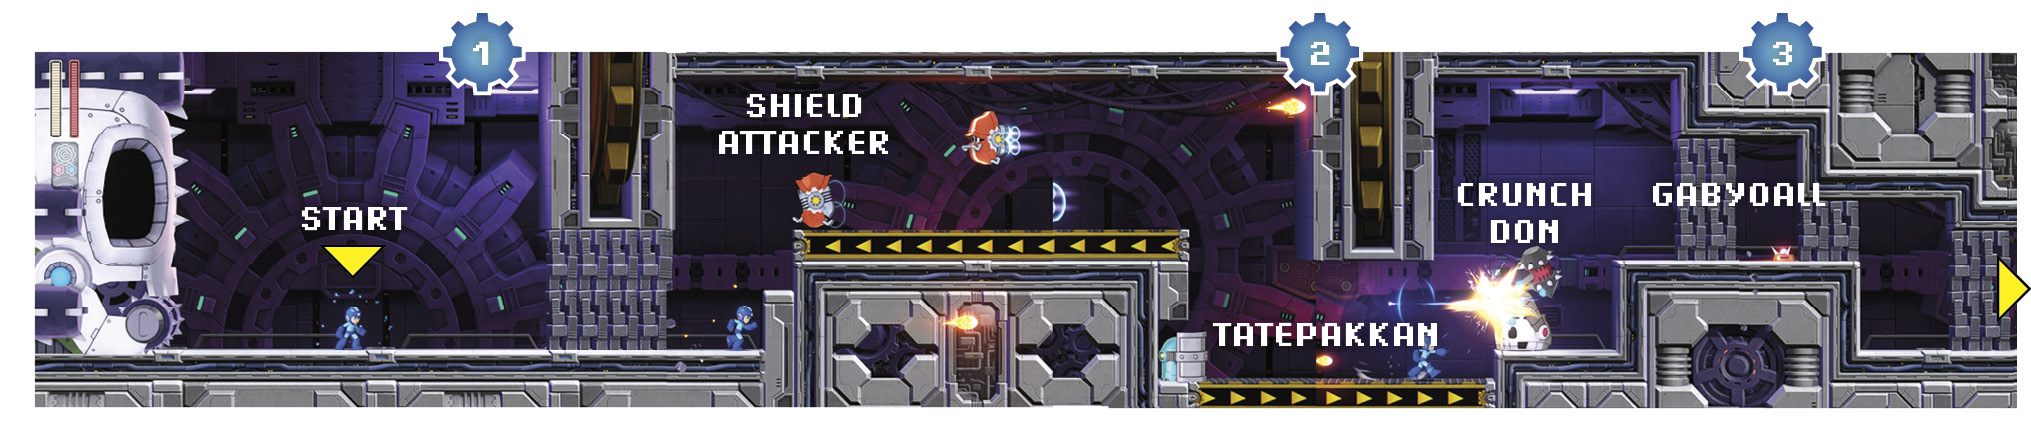
 Don’t worry about that thing to your left. It’s totally harmless...for now. Blast the stone walls to find two Shield Attackers hovering over a conveyor belt. You can take them out safely from the small ledge just before the conveyor belt—no need to waste Pile Driver energy here.
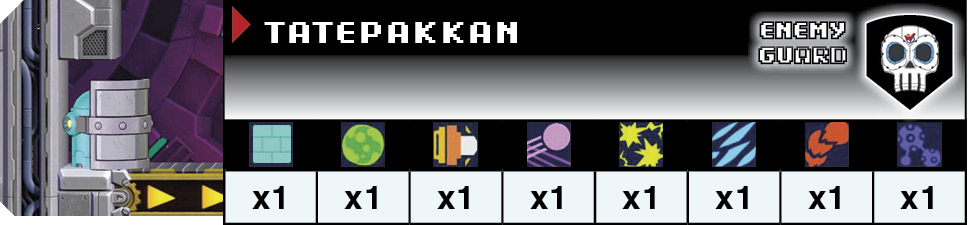
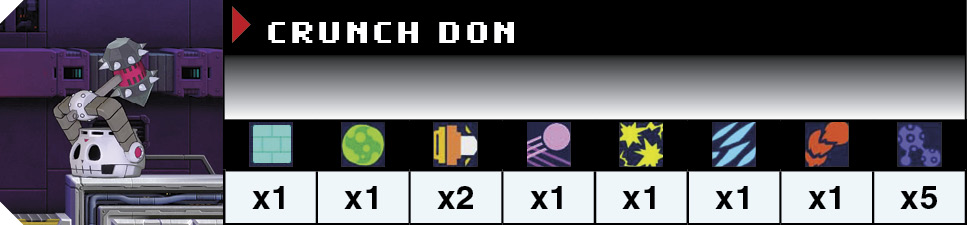
 A Tatepakkan is below, with a Crunch Don on the other side. Now that you have the Chain Blast, you can eliminate Crunch Dons very quickly.
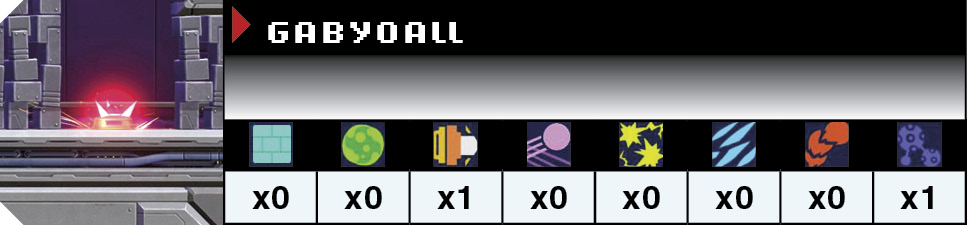
 A Gabyoall is stuck between two stacks of stone walls. You can use the Pile Driver to destroy it, or let it loose and then stun it when it’s away from the path forward. Repeat for the next two Gabyoalls.
 Lyrics spawn endlessly from three holes in the wall, as does a Shimobey from above. Use the Shimobey to destroy the explosive crates.
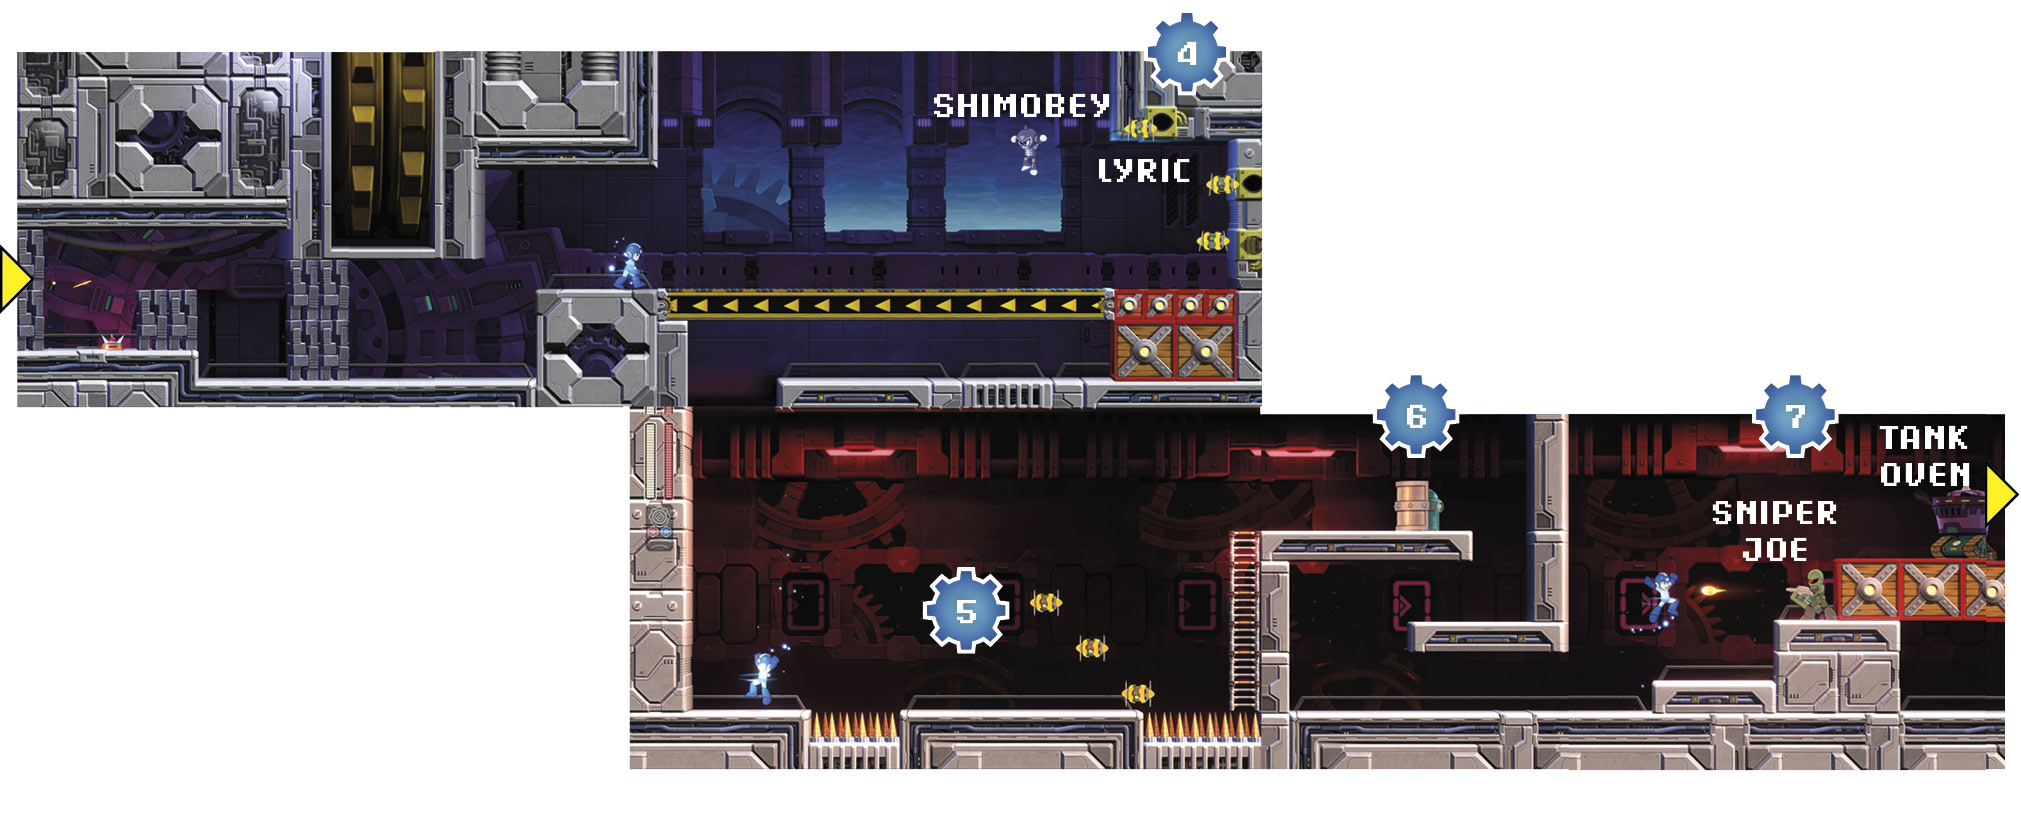
This room is seemingly designed to help you get the Collateral Blammage trophy/achievement. If you didn’t pick it up in Blast Man’s stage, wait until at least six Lyrics have spawned, then move forward, triggering the Shimobey and shooting it into the cluster of Lyrics.
Collateral Blammage
Destroy three or more enemies using a Shimobey explosion.
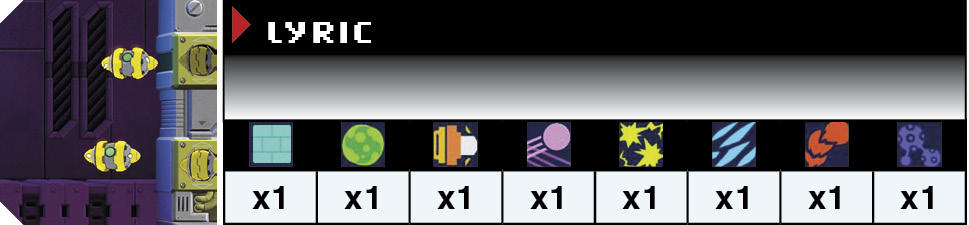
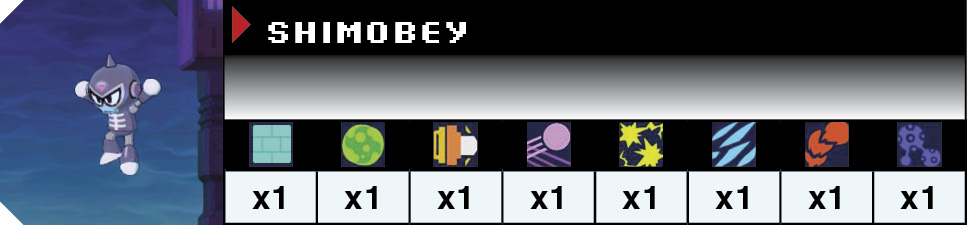
 Quickly destroy the Lyrics and head right, as the Skull Roller begins chasing you.
Stage Gimmick: Skull Roller
Gear Fortress 2 is filled with gimmicks—conveyor belts, stone walls from Block Man’s stage, and explosive crates from Blast Man’s stage—but adds one more to trump them all: the Skull Roller. Similar to the flame wall in Torch Man’s stage, the Skull Roller moves continuously over a large area as Mega Man attempts to outrun it.
Unstoppable
Destroy all foes in the Skull Roller area and reach the boss (excludes Challenge mode).
 Destroy the Tatepakkan as soon as it raises its shield, and hit the Speed Gear as you snake around the platforms.
 A Sniper Joe guards a platform made of explosive crates with a Tank Oven on top of them. You don’t have time for any of this, though, so launch a Blazing Torch shot and the explosions should clear the way.
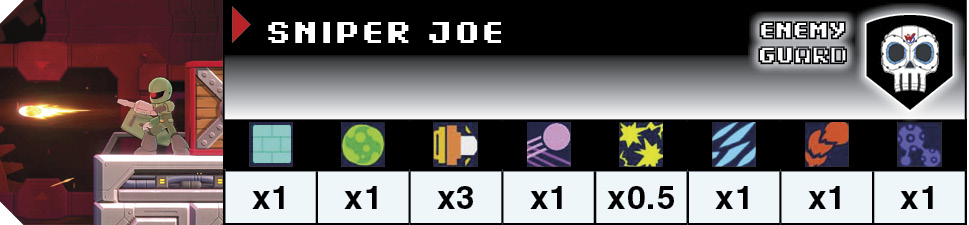
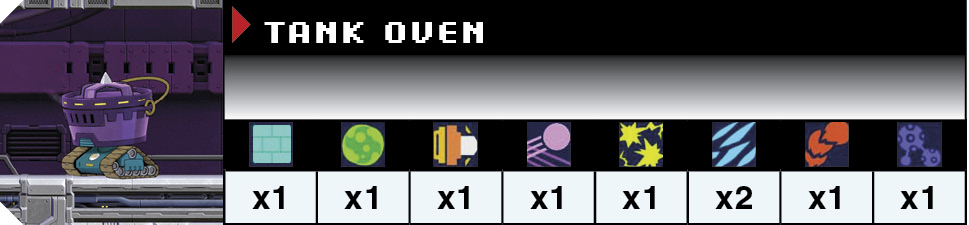
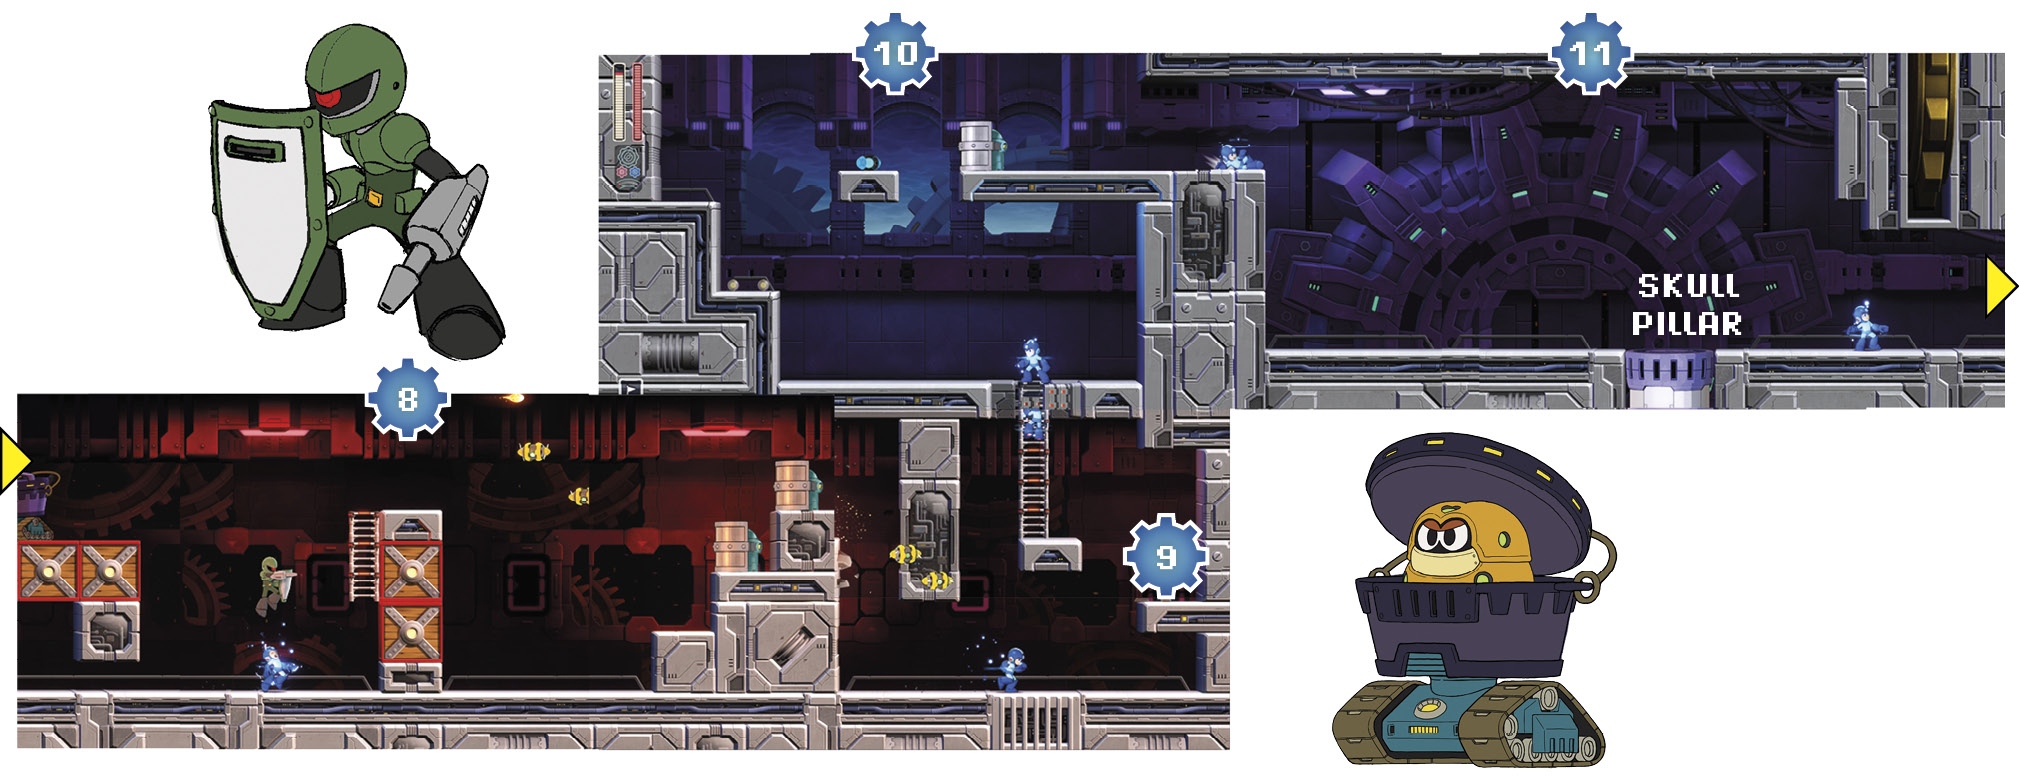
 You can either go over the platform or through it by destroying the exploding crates. Ignore the Lyrics unless you’re after the Unstoppable trophy/achievement. Two Tatepakkans block the steps up. You likely can’t get both of them with a single Charge Shot without one of them shooting you first, so prep a high-powered attack (such as the Blazing Torch or Power Gear–boosted Block Dropper) and let it rip.
 Another Sniper Joe. You should have enough time to use the Pile Driver, so take him out and get up the stairs quickly!
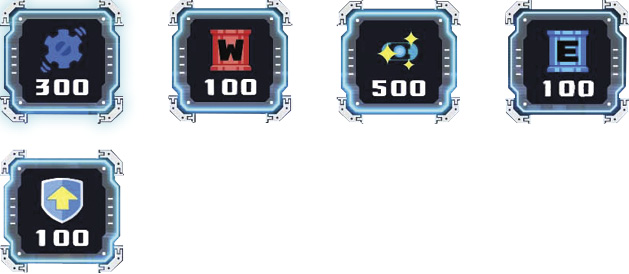
 Grab the items and take out the Tatepakkan.
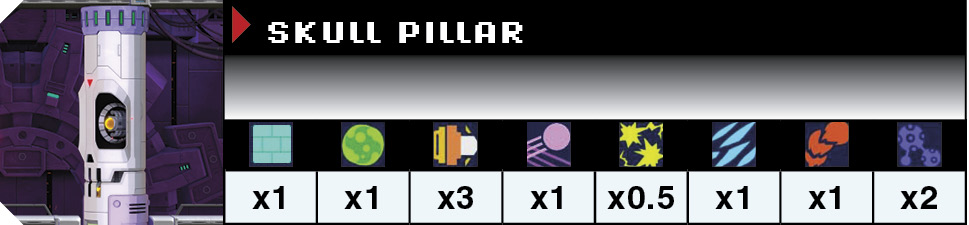
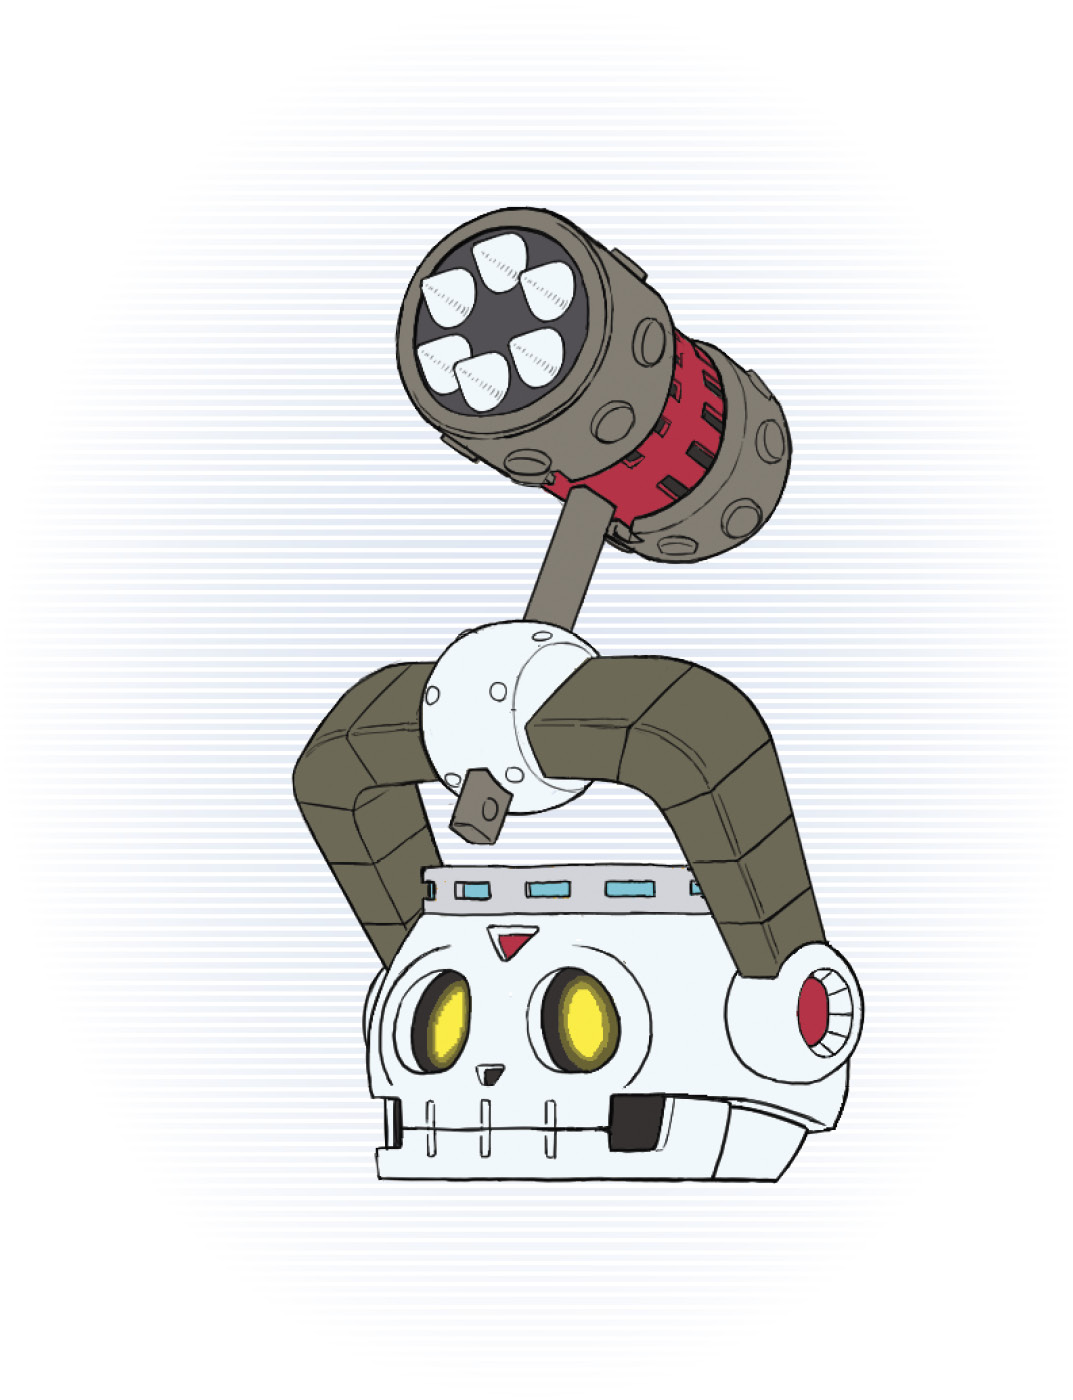
 A Skull Pillar blocks your way. Its weak points are the glowing orange orbs in its eyes and mouth. Its eyes shoot quick laser blasts, while its mouth shoots a large beam. Destroy its eyes to open its mouth permanently. Skull Pillars take extra damage from the Pile Driver and Chain Blast.
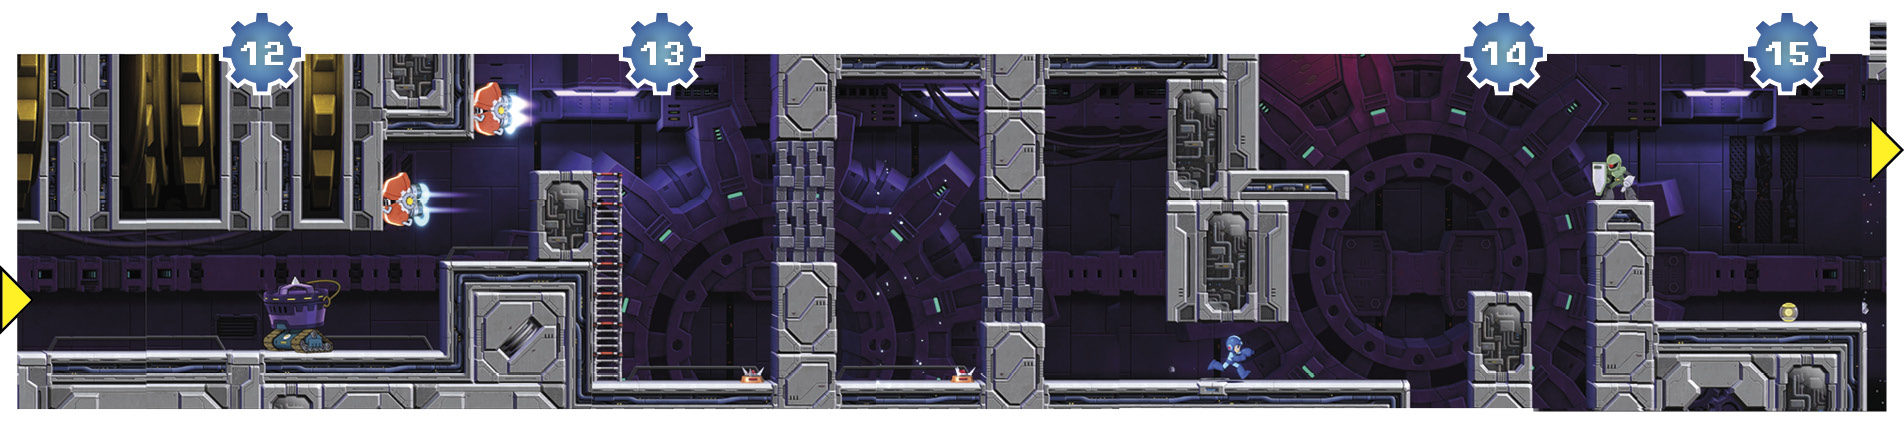
 A Tank Oven blocks a tight corridor, so there’s no pushing it into a pit this time. Shoot the potato to destroy the tank, or wait for the potato to reveal itself and then fire a Power Gear–boosted Tundra Storm, which should destroy the Tank Oven and the two Shield Attackers ahead.
 From the ladder, blast the stone walls to make an opening. Proceed through the area, avoiding the Gabyoalls below.
 Two Sniper Joes hinder your progress. Another Power Gear–boosted Tundra Storm clears them out quickly.
 A third Sniper Joe blocks the way ahead, while a fourth ambushes you from behind. It’s difficult to recommend not killing everything with the Tundra Storm since it’s so powerful and cool-looking, but use whatever means of attack you prefer. Just don’t get shot down the pit.
 Three more Sniper Joes! You know what we’re going to say...
 This Skull Pillar battle adds Shimobeys to the mix. You can use the Shimobey explosions to damage the Skull Pillar, but it’s likely faster and easier to destroy it with your Pile Driver. By landing the Pile Driver into the eye, you can potentially catch the mouth orb with the explosion. Sadly the Pile Driver is resistant to the Tundra Storm.
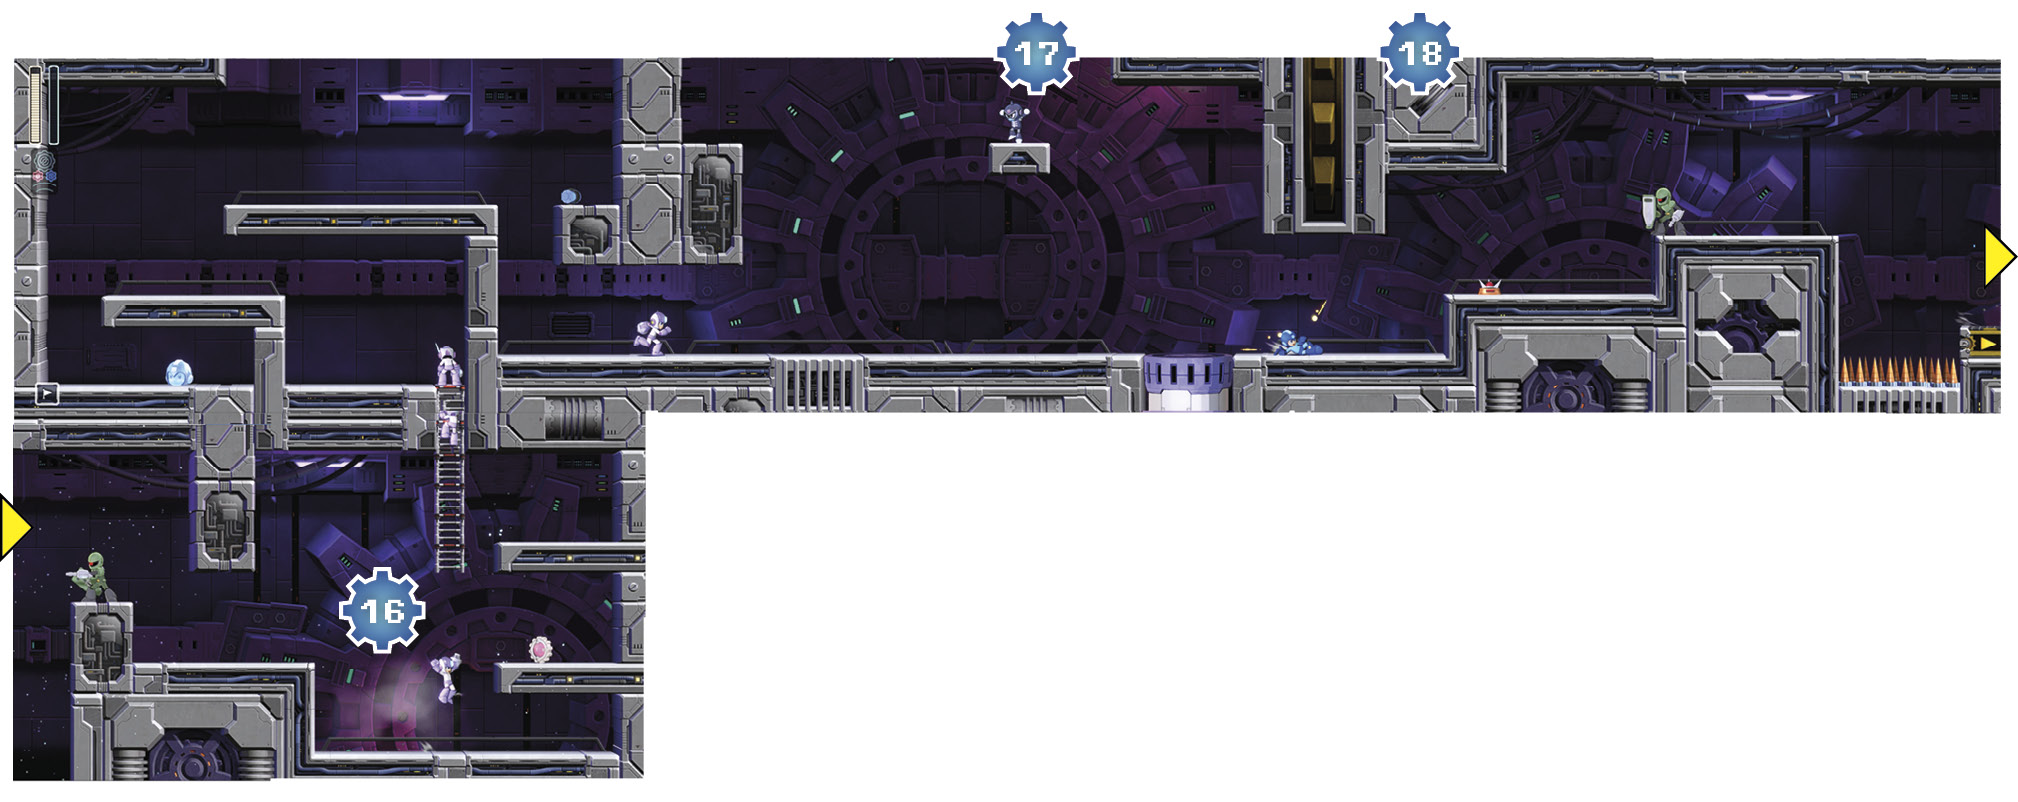
 Shoot the Sniper Joe before hopping up on the platform with the Gabyoall.
 You’ll have to balance shooting the Lyrics and Crunch Don with moving backward on the conveyor belt. If you use the Chain Blast, be careful it doesn’t get stuck on a Lyric by accident.
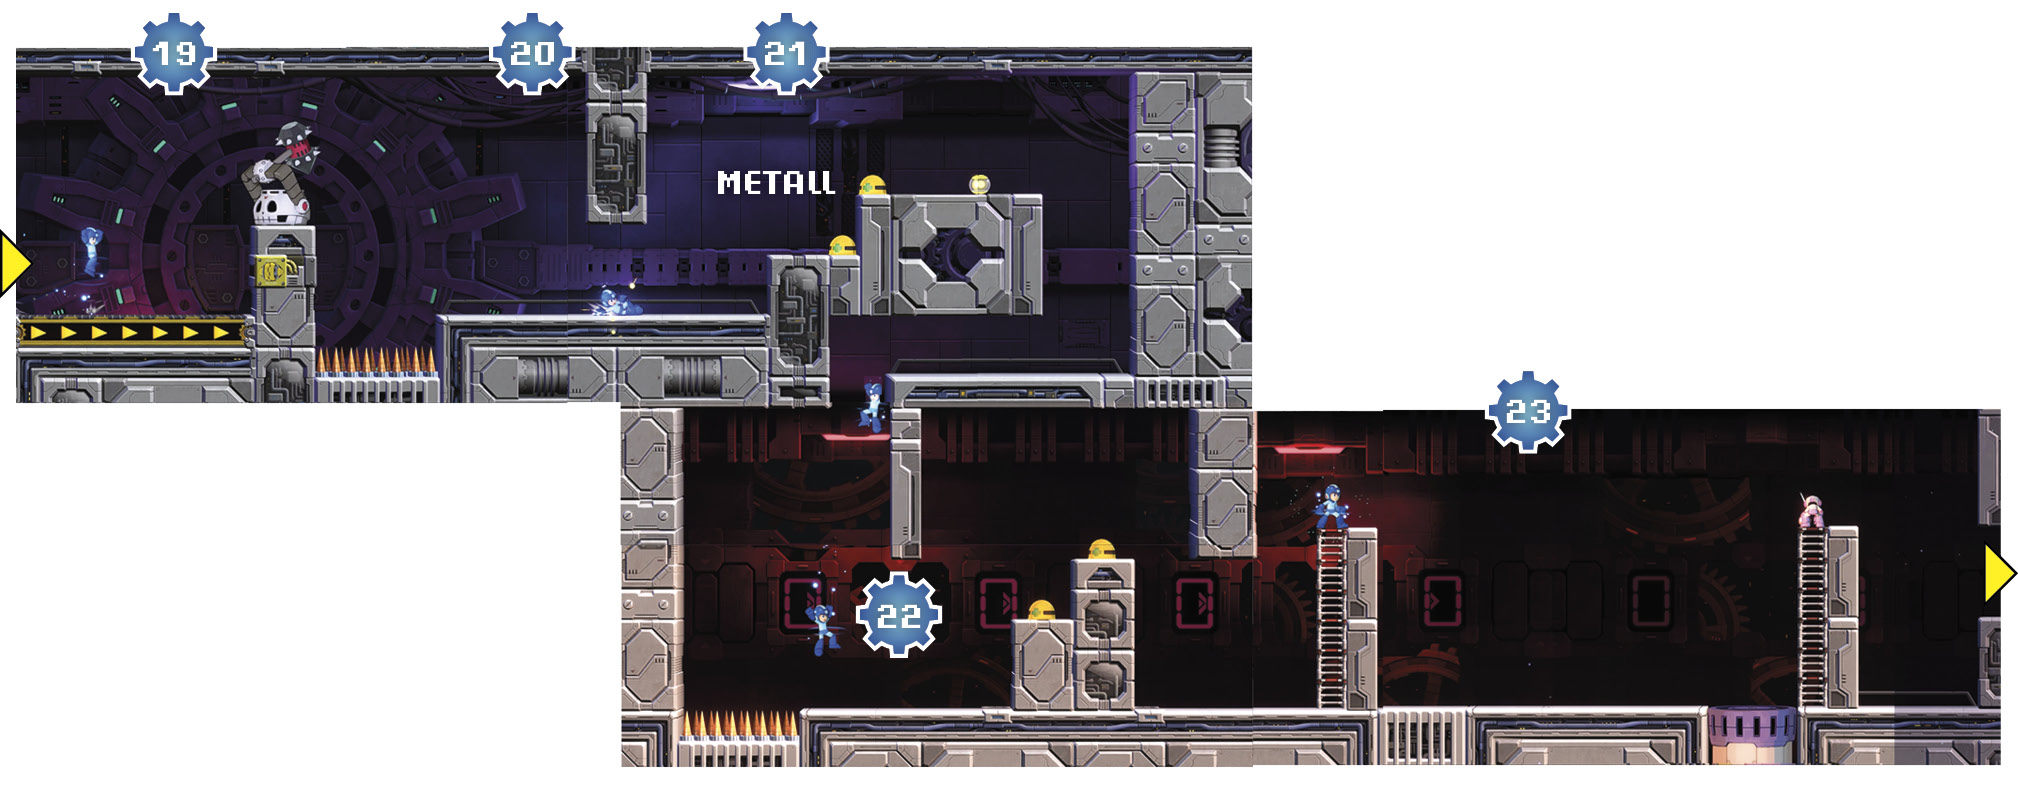
 A Shield Attacker patrols the end of the room. It’s easy enough to slide under if you’ve got places to be.
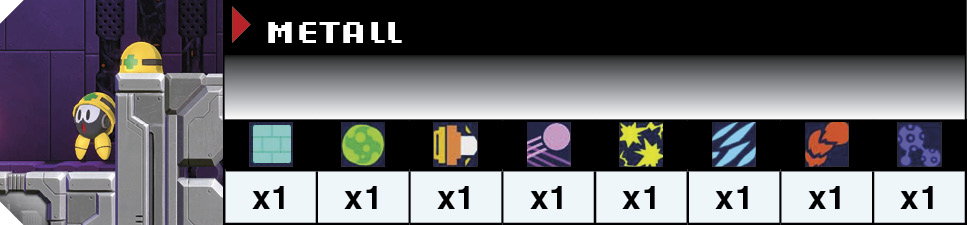
 Two Metalls sit upon the steps, while a Shield Attacker patrols the way out. Invite everyone to peaceful negotiations and see if you can work things out. Or just blast your way through. Whatever.
 Another Skull Roller sequence. You’ll run into the same combo as the previous room—two Metalls and a Shield Attacker.
 Now for the catch: A Skull Pillar AND the Skull Roller! Use the Pile Driver or Chain Blast to get through as fast as possible.
 Another Pile Driver attack should clear the Sniper Joe, while the Chain Blast will clear the Crunch Don. However, conserve your weapon energy if either of these are low. You’ll need them momentarily.
 Yep, another Skull Pillar! Show it who’s boss and head up the ladder.
 Grab the recovery items and take out the Tatepakkan to proceed.
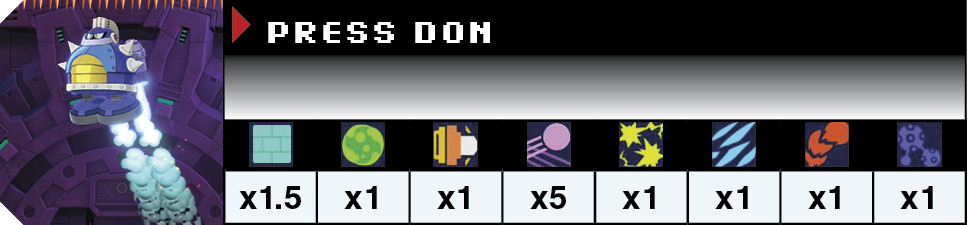
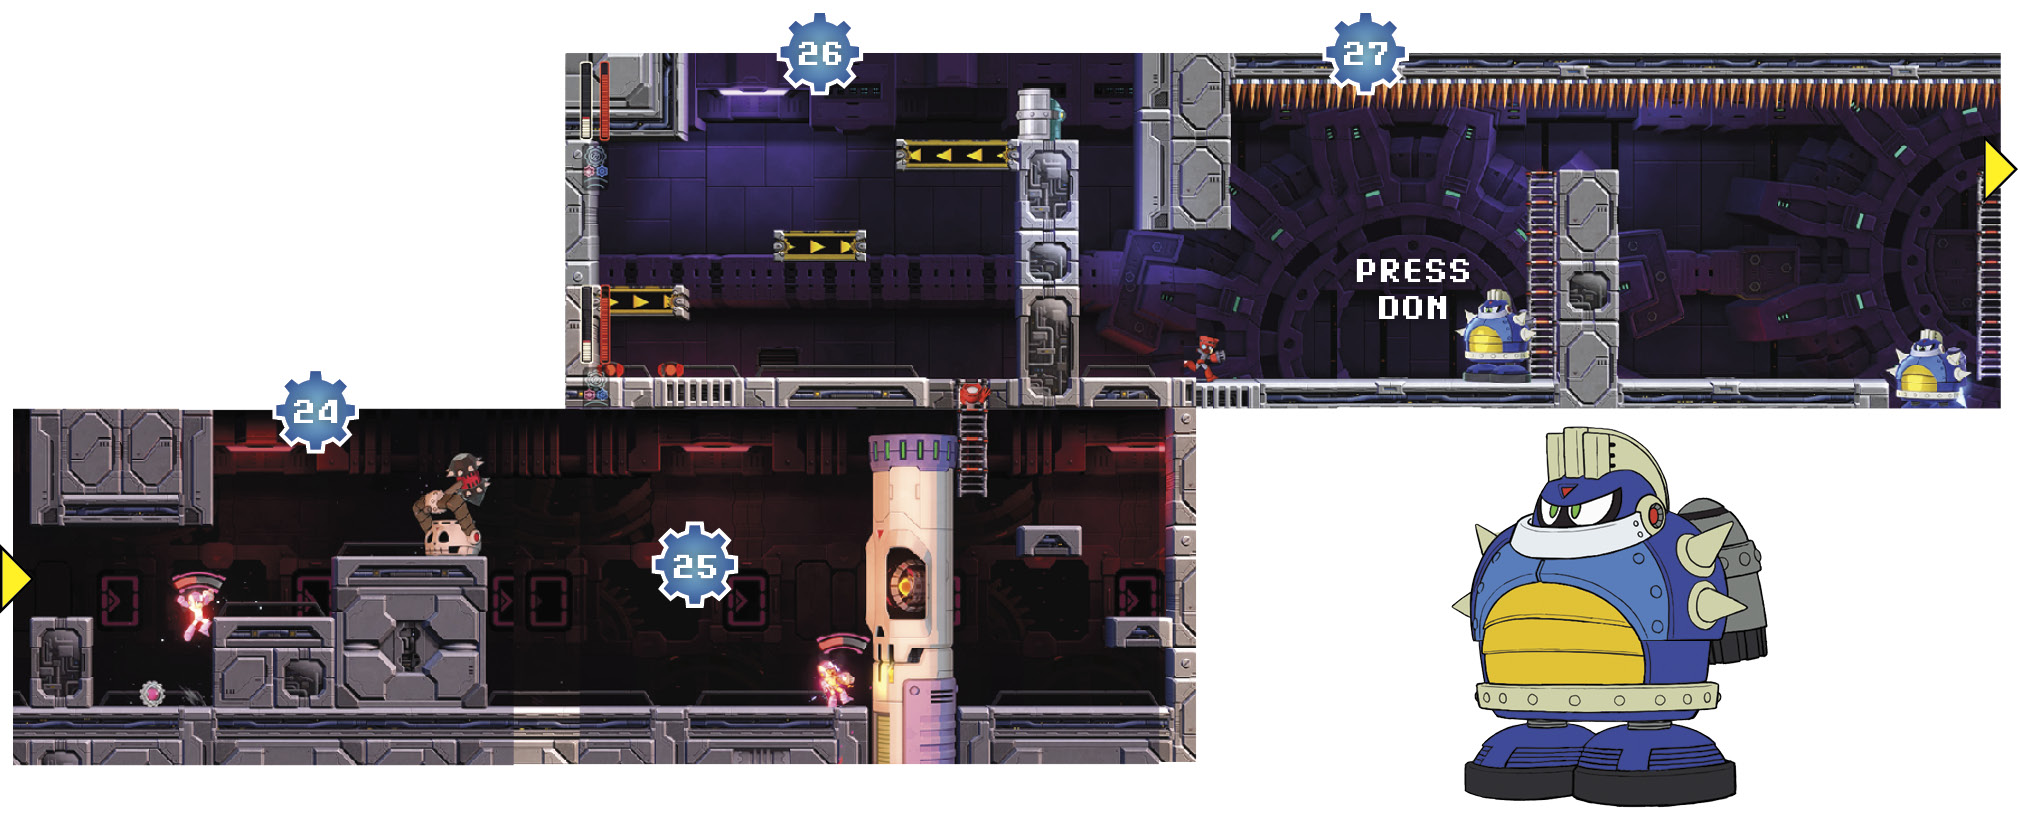
 A Press Don confronts you in a tight space, so get the Bounce Balls going to take it out quickly. You’ll encounter two more Press Dons as you head through this room.
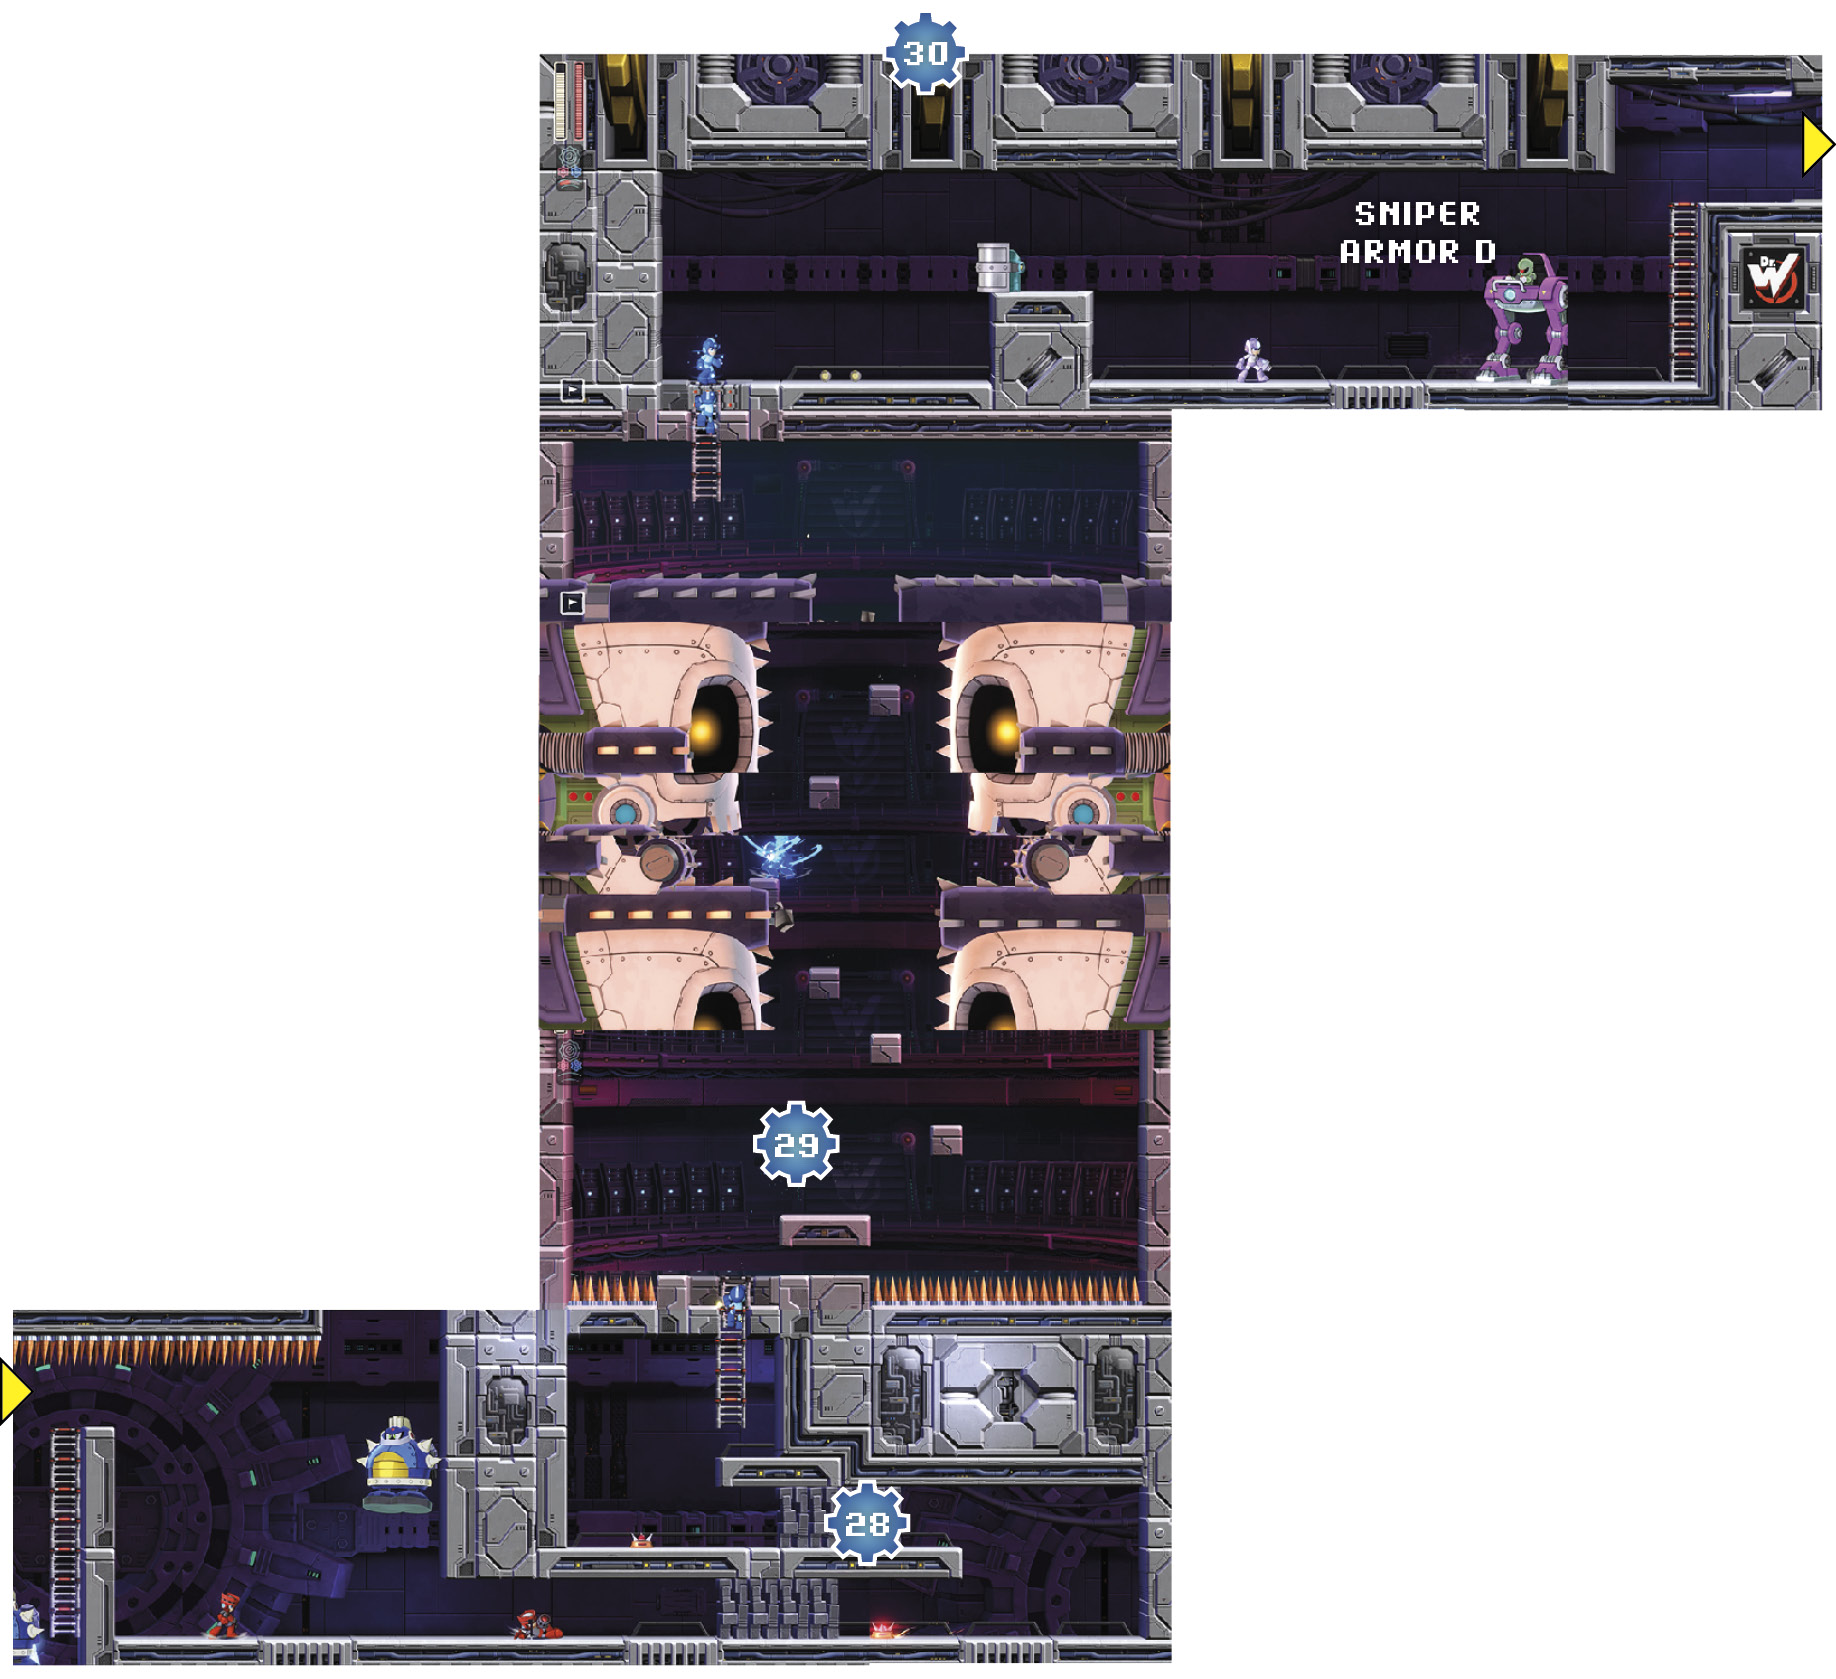
 Two Gabyoalls wait on the other side of the stone walls. Timing can be tricky here if you’re trying to avoid them, so an offensive approach may be the safer call.
 Two Skull Rollers try to crush you, so hit the Speed Gear Booster and make your way up the platforms without wasting a single second. Two more pairs appear as you continue up the room. Jump onto the ladder before it’s too late.
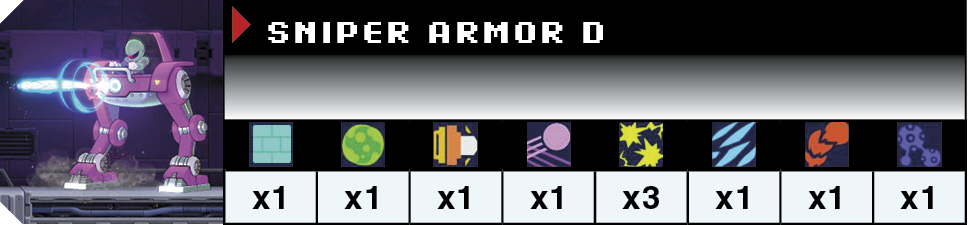
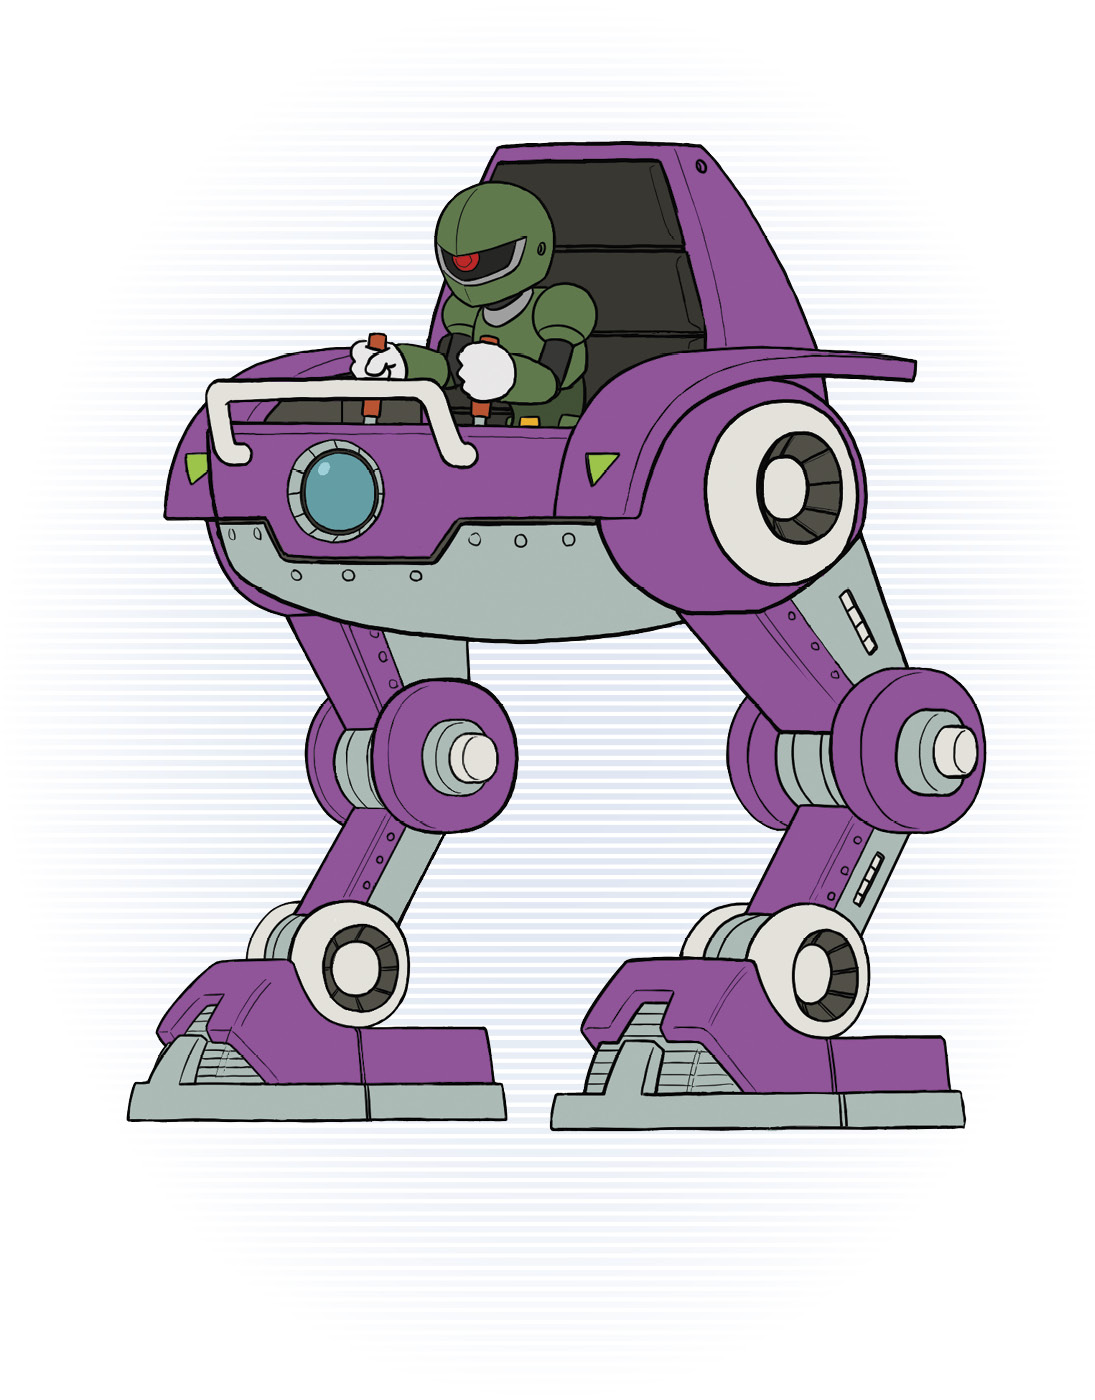
 Head to the right a little to draw out a Shimobey, which you can use to destroy the Tatepakkan. More Shimobeys attack alongside a Sniper Armor D. A Power Gear–boosted Scramble Thunder shot can clear the path. All that’s left is the boss!