
Mega Man 11 Guide Robot Master Fuse Man
Recommended Gear

The Bounce Ball Special Weapon is a must for this stage, so good thing you already have it! The Speed Gear Booster will also substantially simplify certain areas in this and all other stages.


 Head right, taking out any Electriri’s floating toward you and avoiding the exposed coils on the ground.
 Beware the Batton perched above, as it can be somewhat difficult to see. Lure it out and blast it, then proceed forward, clearing out the last few Electriris.
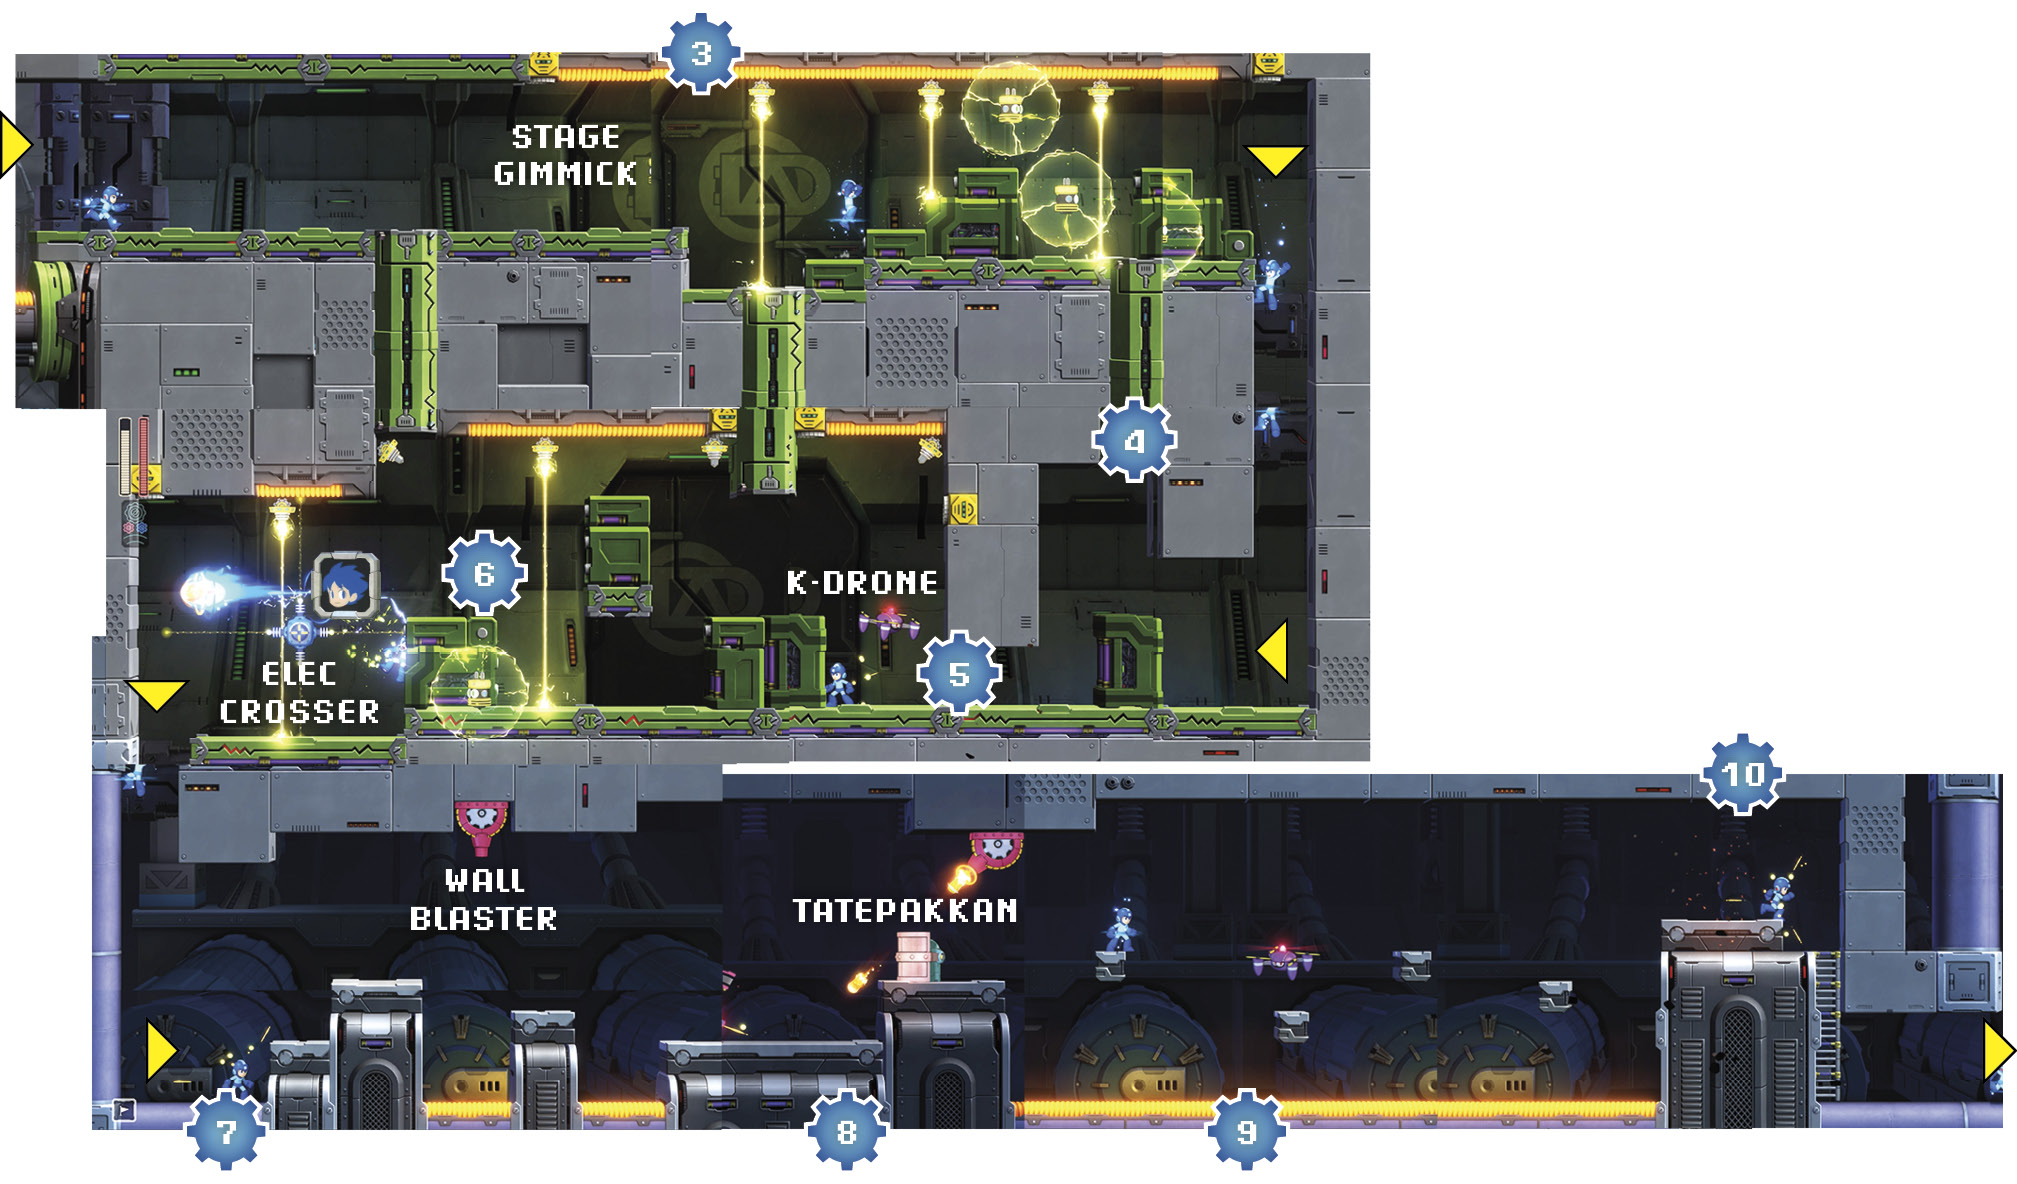
 In this room you’ll have to avoid an environmental hazard called Lightning emitters, which continually shoot straight beams of energy while moving along a track. Electriri also pass through the environment as they float toward you, but so do the Mega Buster shots, so take them out before they can reach you.
Stay between the beams and move in unison with the lightning emitters until you can drop down the shaft at the room’s far right side.
Achievement/Trophy
 Danger! High Voltage!
Avoid all lightning emitters and reach the boss. (Excludes Challenge Mode)
 A Batton is hiding on the ceiling above. Lure it out and kill it, then proceed to the right.
 As the lightning emitters begin to shoot your path with their beams, a K-Drone hovers toward you. Destroy it and then move along with the lightning emitters.

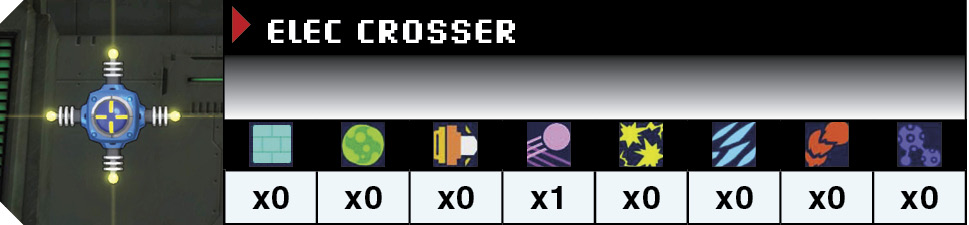
 Shoot or avoid the Electriris and you’ll soon come upon an Elec Crosser. You can avoid its beams or quickly destroy it with the Bounce Ball. Prepare a Charge Shot as you drop down into other next room.
 Release the Charge Shot to the right as you enter the room to destroy a Wall Blaster on the ceiling ahead.
Note that Bounce Balls deal triple damage to Wall Blasters.
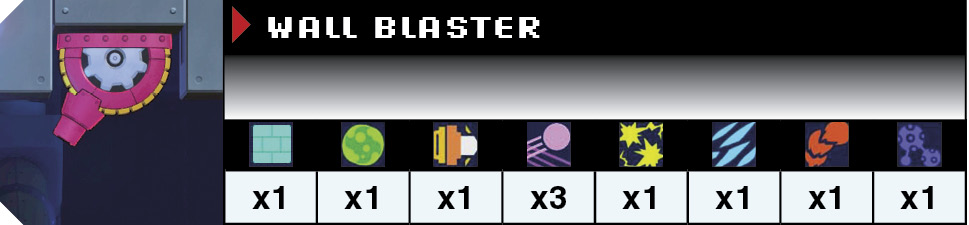
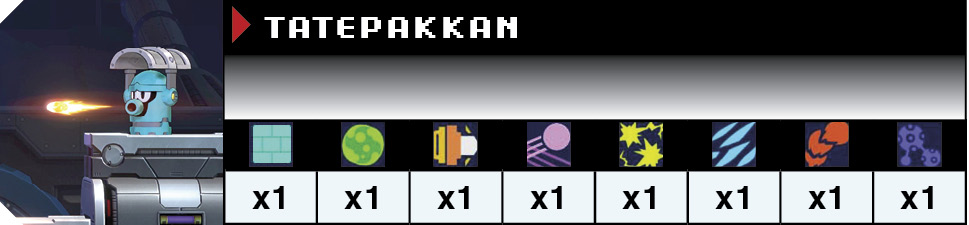
 Jump across the platforms and you’ll be confronted by an Electriri and a Tatepakkan, with a Wall Blaster providing fire support from above. Fell your foes with fire and fury, then proceed as the proof of their existence fades to ash.
 Jump from platform to platform and be ready for multiple K-Drones. They fly in a wavelike formation, up and down, which can make them difficult to hit before they reach you (and potentially knock you into the superheated coils below). Don’t hesitate to use the Block Dropper here.
 A Tatepakkan protects your escape. Get it to expose itself and blast it; then advance down the ladder.
 This room may look scary, but it’s not. Destroy the Elec Crossers and Elec Xtenders with a single Bounce Ball. Clear the way and the only thing you must worry about are the three rotating lightning emitters as you jump across the platforms and a K-Drone near the exit.
This is also a great room to use a Mega Tank, as you’re guaranteed 10 1UPs, which is more than you can carry.


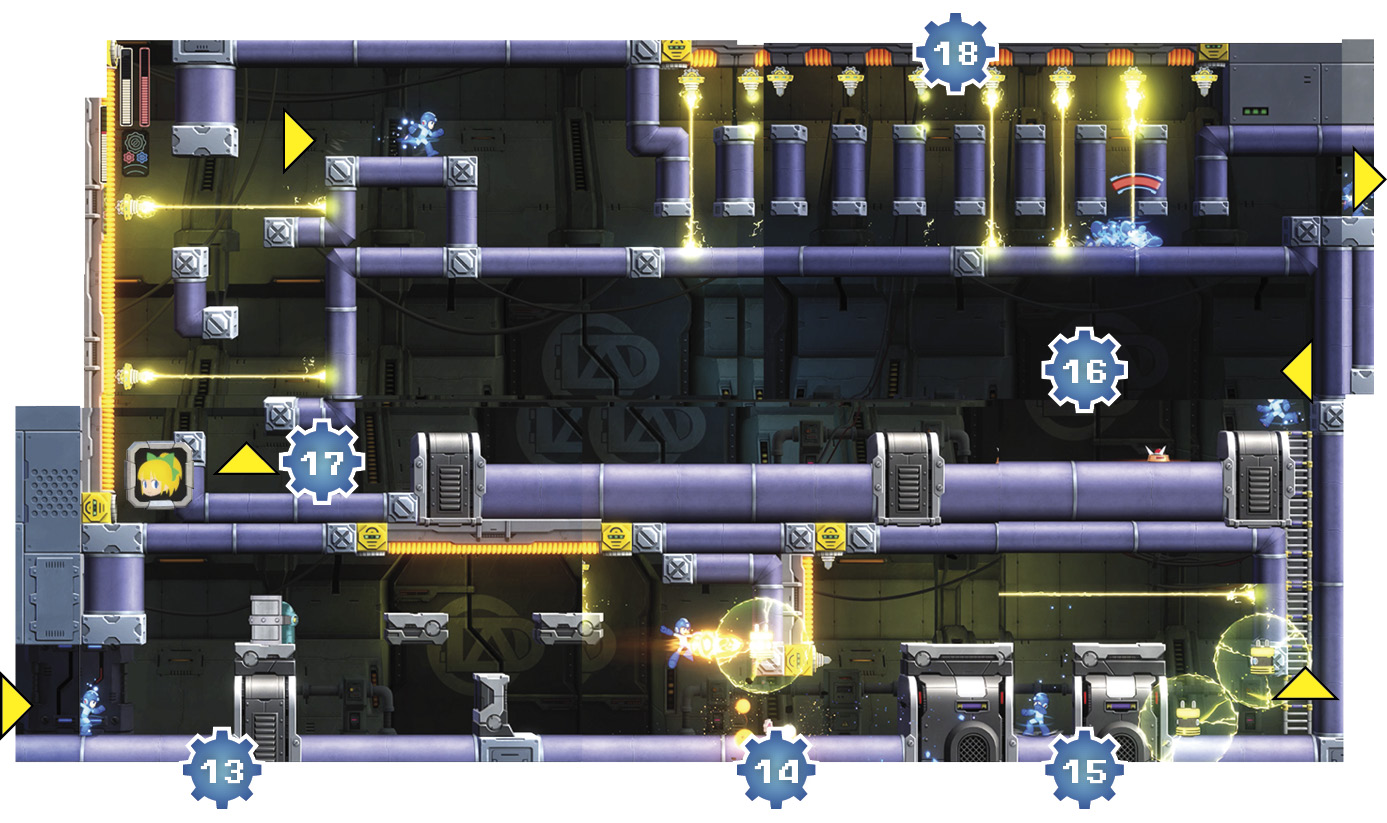
 Head down the path and to the next room.
 Destroy the Tatepakkan and move forward, using the platforms to avoid the lightning emitter beams.
 Destroy the Electriris and wait for your chance to run ahead, between lightning emitters.
 Drop down into the gap and then press onward when the coast is clear. Take out two more Electriris before heading up the ladder.
 A wave of Electriris heads toward you, while Gabyoalls patrol the floor. Shoot the Electriris and then head across the room.
 Another Electriri is ahead, followed by another lightning emitter section. Time your jumps to avoid the beams as you head upward. Use the Speed Gear if you’re having trouble!
 You’ll need to slide under numerous lightning emitters, but once you start, you can’t stop, so wait until the columns are blocking the closest beams and then slide forward. You should avoid all of the beams if the timing is correct.
 To reach the upper level in this room, you must destroy the Wall Blaster and Tatepakkan, then use Rush Jet before dropping down to the mid-boss slider. Quickly jump back off of Rush Jet to reach the platform.