
Mega Man 11 Guide Robot Master Block Man
Mid-Boss: Totemer 2
You must face a second Totemer, made more difficult by the addition of a conveyor belt. The tactics remain largely the same, except you may want to attack only when Totemer is assembled on either side of the screen. Otherwise, firing a Charge Shot temporarily prevents you from controlling Mega Man, which often causes the conveyor belt to push him into Totemer.


Consider swapping the Power Gear for the Speed Gear during this battle to further ensure your safety.
The far sides of the screen, where Totemer reassembles, have a small area without the conveyor belt; safely wait out each cycle here.
Is it still a mid-boss if there’s more than one?
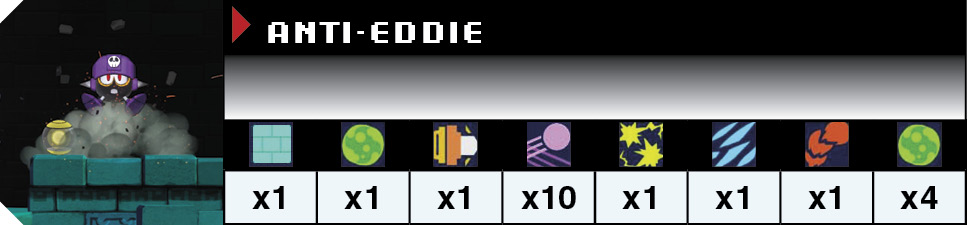
 Before leaving the mid-boss room, prepare a Charge Shot for the Anti-Eddie in the next room. Quickly take him out to get the 1UP. Use the Speed Gear if you want to ensure he doesn’t get away.
Climb up the ladder and clear the stone blocks to continue.
 Two Air Stones await on different levels, meaning they can shoot at you before you can shoot at them. A Mawaru C also rolls down the levels toward you. Wait at the ladder until it is on the same level as you, then take him out with the Speed Gear and a Charge Shot.
Quickly proceed forward, taking out the Air Stones as you progress back and forth toward the upper level.

 The next section has a conveyor belt leading to a Crunch Don. The low ceiling means you can’t jump over him, even when his maintenance platform is revealed. Lyrics also spawn overhead, meaning additional trouble if you can’t destroy the Crunch Don quickly.
Before moving into this area, switch to the Power Gear and prepare a full Charge Shot. This will clear out the Crunch Don and let you move forward.
Farm the Lyrics for potential drops if you’re in need.
 The next section involves another bladed pillar and platforming structures on a conveyor belt. The structures are more complex this time around, so use the Speed Gear when in doubt.
The first platform has four levels, each obstructed by a row of stone blocks. Send a Charge Shot down the middle of the lower two rows, clearing them out.
Then run inside the structure and use rapid Mega Buster shots to clear the remaining stone blocks as you snake your way up and to the right.
 Another pillar drops behind you, this time much closer than in previous sections, meaning you’ve got less time to escape.
The last structure may look complicated at first but is relatively simple. Jump to the first ledge and release a Charge Shot to clear the two small blocks ahead of you. Then jump up again and clear the two stone blocks at the top so you can slide through.
Drop down and slide to the left, then quickly jump up and slide to the right, and you’re out!
 The next room has a pit with falling blocks. An E Tank is on a ledge in the upper left. Jump across the gap and drop Rush Coil as close to the edge as possible. Once the way is clear of falling blocks, bounce up to grab the E Tank. Proceed to the right, grabbing the Large Gear power-up as you go.
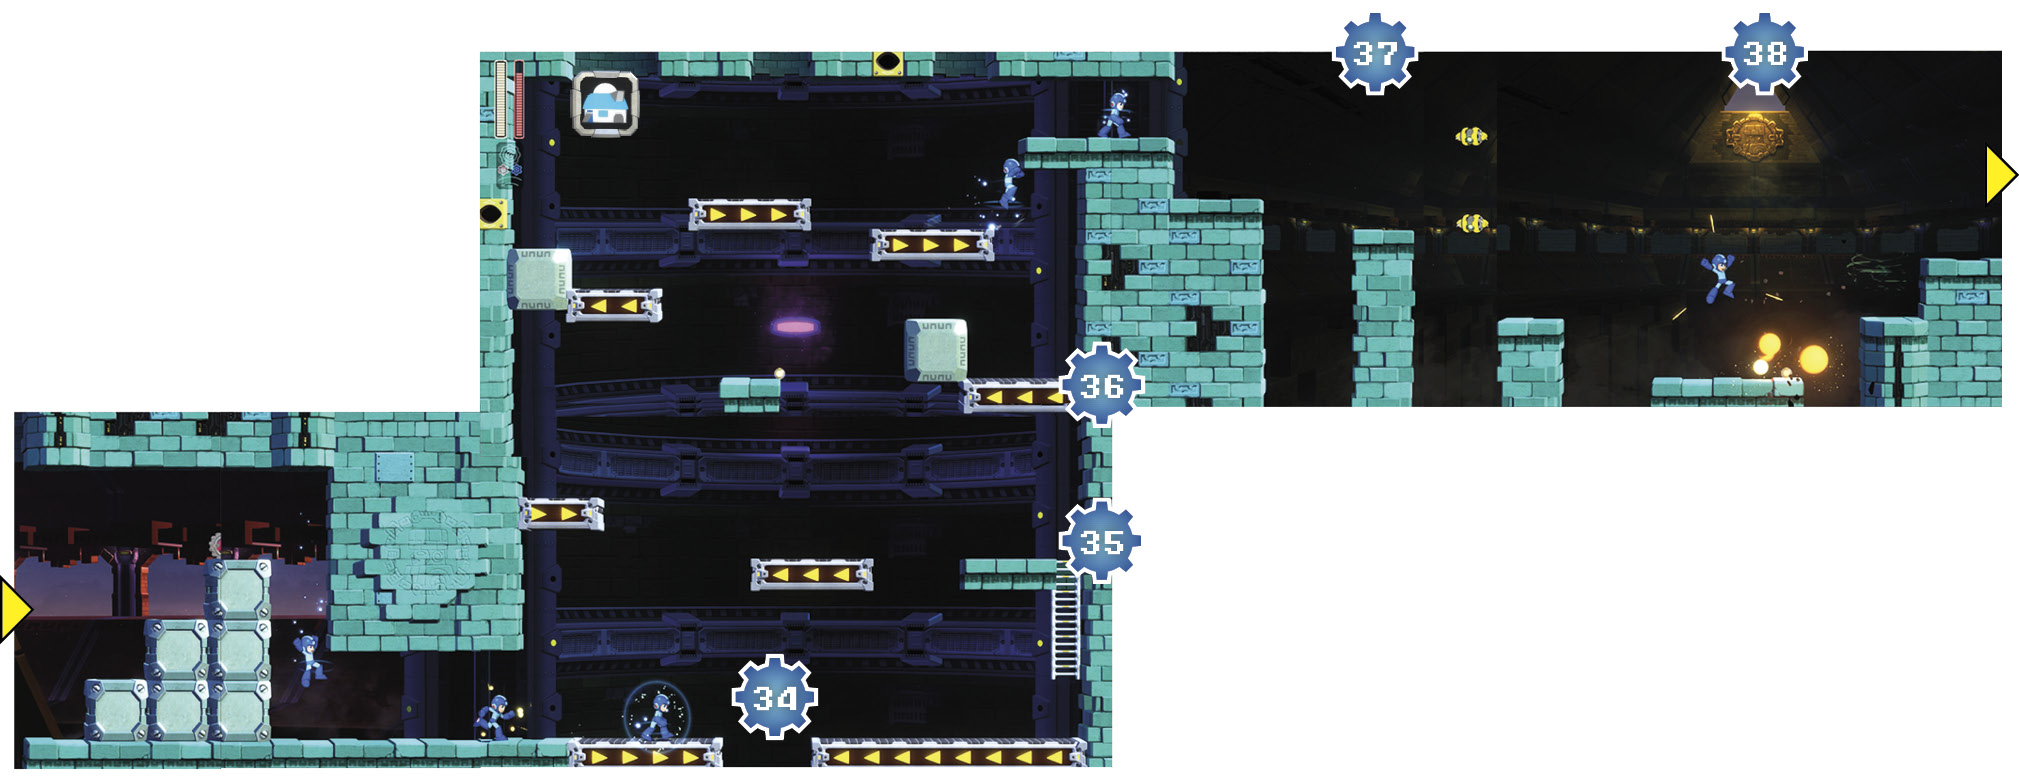
 You must traverse another series of conveyor belts, with a bottomless pit in the middle of the room. This time, however, there are multiple falling blocks that land on the conveyor belts.
Upon entering the room, immediately head right and climb up the ladder.
 Note the patterns of the blocks moving along the conveyor belts. You can go left along the intended path, but there’s an easier shortcut to reach the next level. Drop a Rush Coil near the ledge of the platform with the ladder. When the way is clear, jump up and to the right to get on top of the conveyor belt above you.
 Keep running to the right to stay in the corner of the conveyor belt and avoid the falling blocks.
You must use the block to jump onto the next conveyor belt. However, if you wait until the block touches the same conveyor belt you’re on, it will be much more difficult to jump off it. The trick is to jump up alongside the block as it’s falling off the top conveyor onto your level and land on it as it lands. Then immediately jump again to reach the conveyor belt above. Use the Speed Gear to make this process much easier.
You can also wait for the way to be clear and drop a Rush Coil instead. Keep in mind that Rush will move along the conveyor, so act quickly.
Note that if you spend more than a few seconds in this area, jumping up causes Lyrics to start homing in on you. Lyrics also spawn from the left wall, so beware of them and shoot them down as needed before attempting any tricky jumps.
Jump to the right and you’re out of the room.
 Ahead are several platforms surrounded by bottomless pits. Falling blocks drop from above, while Lyrics move in on your position. As you’ve likely learned by now, Mega Man gets stunned and knocked backward whenever he takes damage. This is the number one cause of bottomless-pit-related deaths.
Let the Lyrics get close and take them out, then jump across the first few platforms.
 An Air Stone waits on the lowest platform, along with another Lyric. Destroy them and then inch to the right on the same platform to materialize the next Air Stone and destroy it as well.


 Two more Air Stones are at the far right side of this room. Destroy the first one, then prepare a Charge Shot and drop down to take out the second one.
 Upon entering the next room, a Mawaru C rolls toward you on a conveyor belt. You can either use the Speed Gear to destroy it before moving forward, or jump over it and simultaneously blast the Air Stone floating over the middle of the conveyor belt.
 Head up the ladder and then to the ladder on the left. Another Mawaru C rolls toward you. Jump over this one, as you’ll need your Speed Gear fully charged for the next area. Proceed up the ladder.
 Clear out the stone blocks with a Charge Blast, then prepare another Charge Blast as you head right. As soon as you jump onto the platform where the Air Stone is, trigger the Speed Gear. Take out the Air Stone and prep a final Charge Blast. Jump up and shoot it to the left to clear out the stone blocks and destroy the Anti-Eddie before he gets away.
 Up the ladder is the doorway leading to Block Man. There are no enemies, just an Energy. Use any items you need before proceeding.