
The Sims 3 Guide Essentials Community
Sharing with the World
The Sims 3 features a robust online experience for taking your Sims well beyond the city limits of Sunset Valley. From The Game Launcher that starts to game to The Sims 3 site where you can build your own profile pages and share movies of your Sims, The Sims 3 is loaded with easy-to-use toolsets.
The Game Launcher
When you start up The Sims 3, you open a launcher. The left side of The Game Launcher features a giant “Play” button that begins the game. However, below the button is a collection of additional buttons that turn The Game Launcher into much more than a way to start the game. The default view of The Game Launcher is Welcome, which shows you what’s new in the world of The Sims 3.
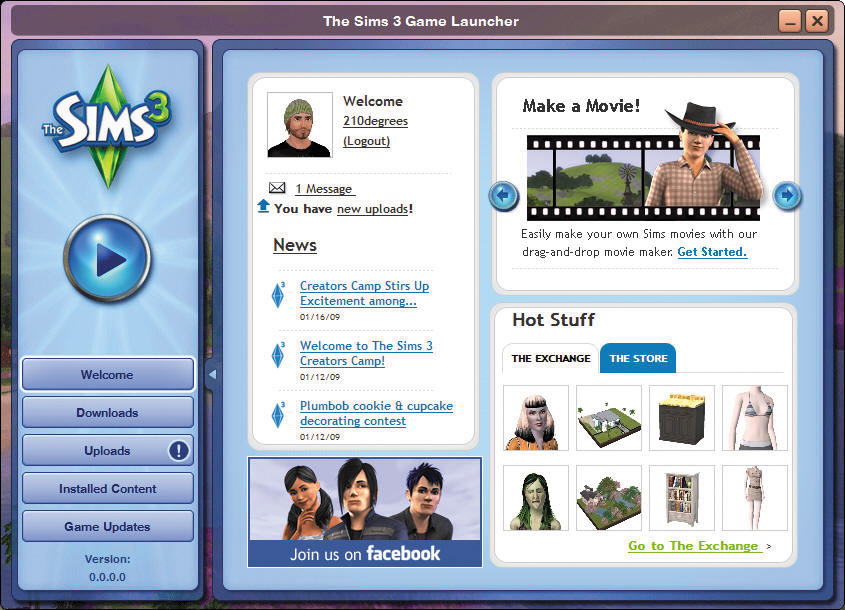
From The Game Launcher screen, you can store and upload all content shared from the game, including screenshots, videos, patterns, clothing and accessory styles, wall and floor styles, object styles, Sims households, and lots.
From the Welcome screen, you can see new objects and clothing that are being offered in The Store (which uses virtual SimPoints) and The Exchange, which is where other players upload their creations to share with the rest of The Sims 3 community. News about the game is noted on the Welcome screen, too.
The Downloads button launches the Downloads screen, which is where objects and items you select from The Store and The Exchange appear. Here, you can easily install all downloaded content into your game. Just check the box next to the item you want installed into your game and click the Install button.
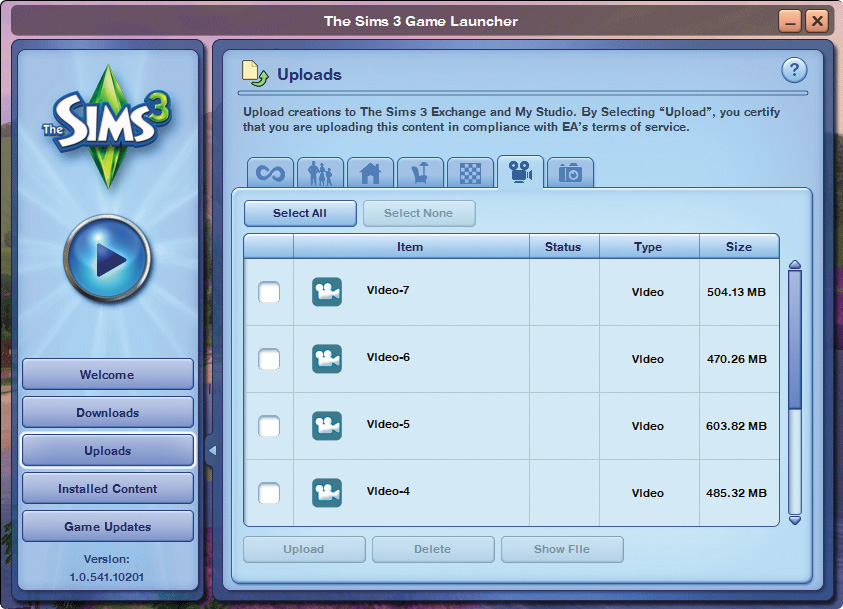
The Uploads button takes you to a springboard for uploading your custom content to The Exchange. From The Game Launcher screen, you can share screenshots and video taken with the Camera tool. (More on this in a moment.) Custom patterns and decorated objects can also be uploaded to The Exchange here, too. These uploaded items are featured on your My Page and My Studio.
Wait, what’s a My Page?
My Page
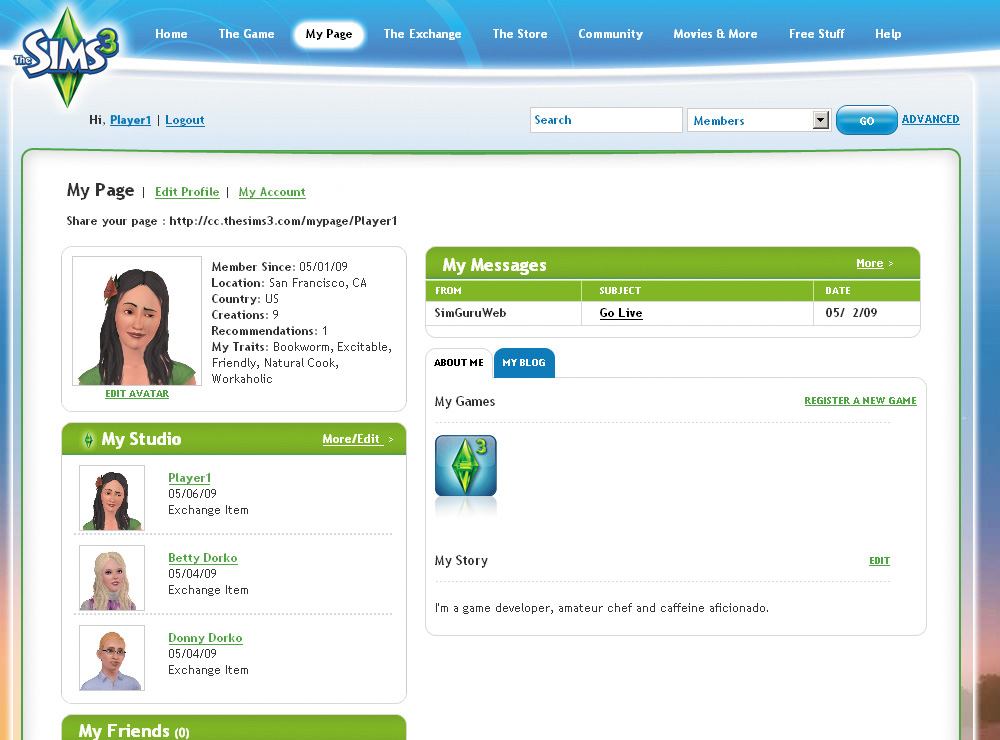
Each registered user gets their very own My Page site, which is their online profile for connecting and sharing with other The Sims 3 players. You can customize your My Page with an avatar created and shared from Create a Sim, post blog entries detailing your experiences inside the game (or just air some thoughts), and share screens and video with other community members.
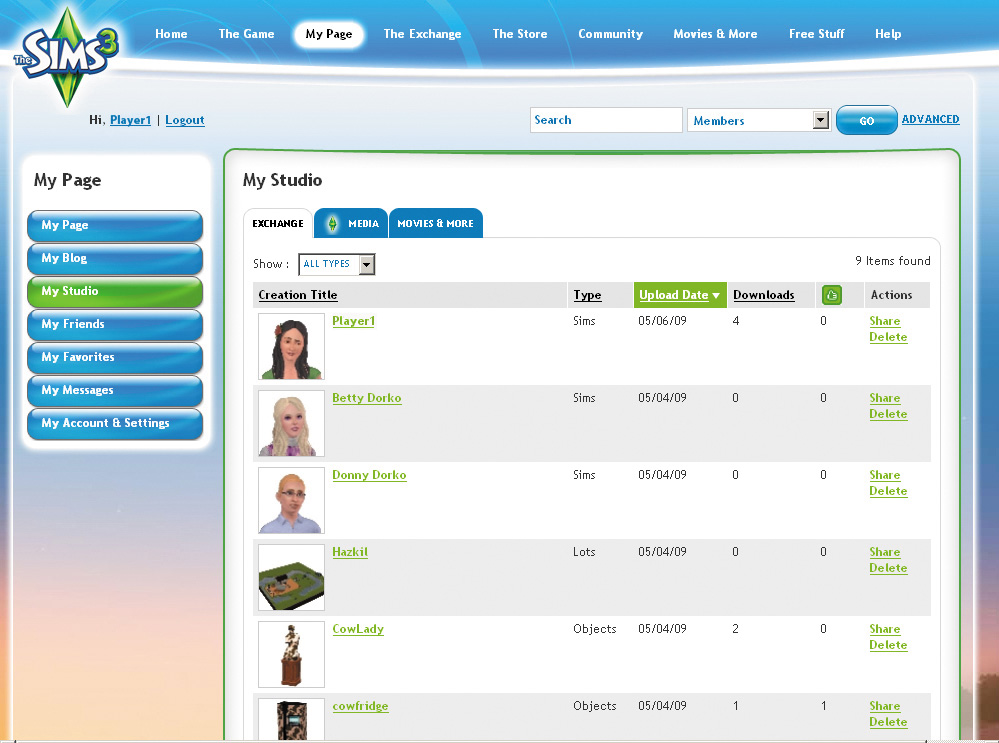
The My Studio column on the left side of your My Page is where content you have uploaded appears so you can keep track of it and manage it for sharing. Lots, Sims, and all of your uploaded content appear over here so other players can click on them and then go straight to The Exchange where they can download your shared stuff.
Your profile page also shows which items you have tagged as favorites in The Exchange. This lets other players see the kind of stuff you are interested in and what you might have downloaded and installed into your game.
The Exchange and The Store
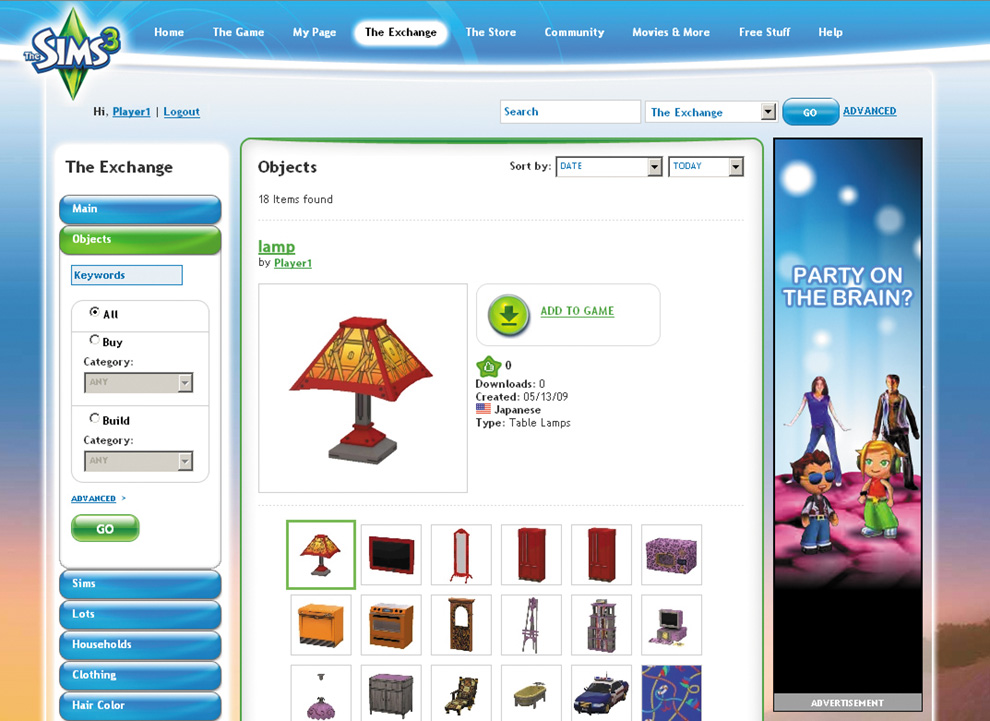
The Exchange is where content created by other The Sims 3 players is shared. On this page, you can scroll through highlighted objects, Sims, and lots. You can also can dig deeper into The Exchange and follow an object listing into a My Page and see what other content the player has to offer. The categories of content that can be shared in The Exchange include:
Objects
Sims
Lots
Clothing
Hair Color
Accessories
Patterns
The Exchange keeps a running tab on the most popular downloads in each category and features them in the center of the page. To the right of the Top Downloads are related items from The Store, which is another destination for content that can be downloaded into your game.
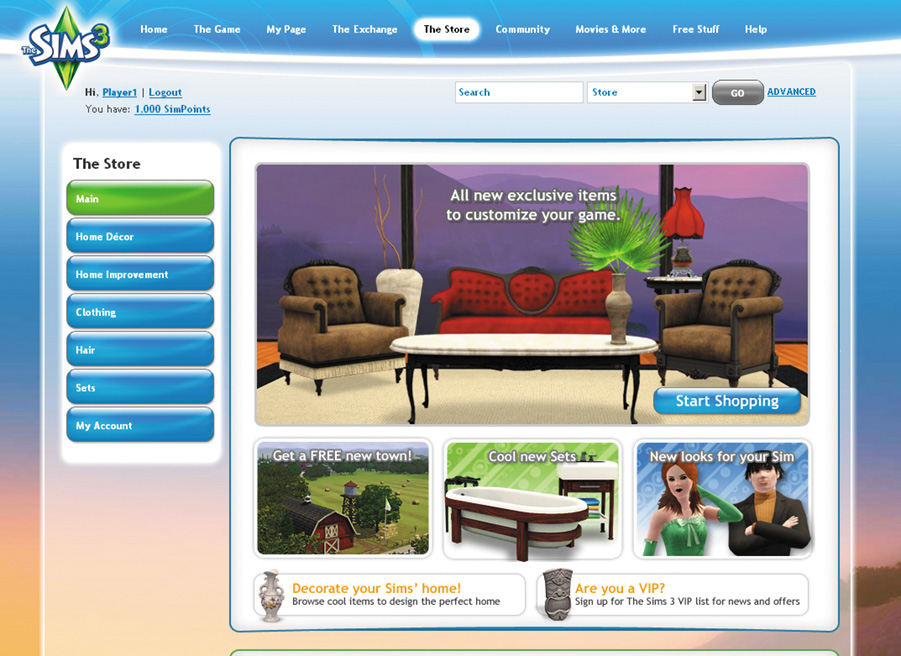
The Store is where Official Content is collected and offered to The Sims 3 players for download and installation into your game. The Store works a bit differently from The Exchange. Many of the categories of content are the same, but to download content from The Store requires SimPoints, which are a virtual currency.
Movies & More
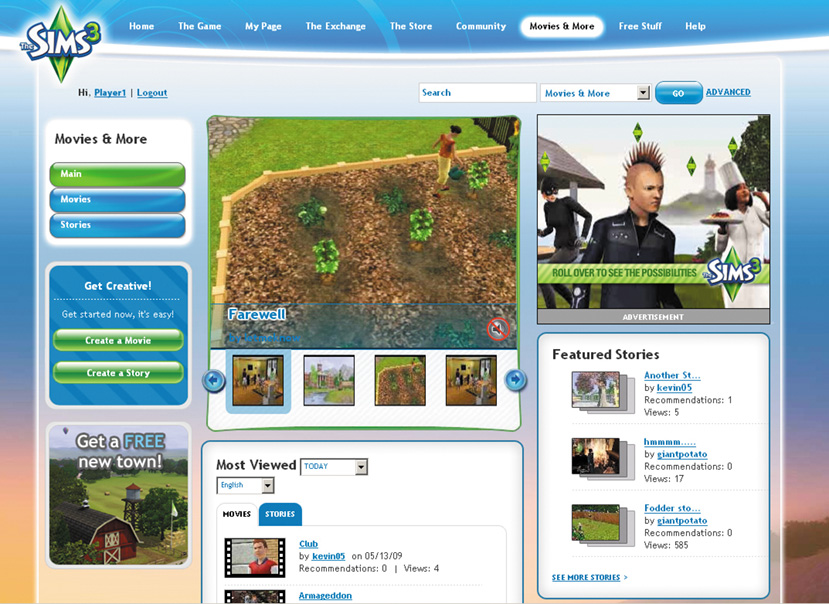
In addition to sharing content created in Create a Sim and Create a Style (as well as your Sims, households, walls and floors, objects, and entire lots), you can also share the screenshots and videos you take inside the game. To take a screenshot of the current activity, just press c. The camera flashes and the screenshot is saved to The Game Launcher. (Taking a screenshot strips out the user interface by default.
You can adjust these settings and other media settings from the game Options panel.) To take a video clip inside the game, press v. Immediately, the camera starts recording the on-screen action. You can set whether or not you want the have the UI on-screen in the Options tab. To stop recording, press v again. Like screenshots, your video is saved to the Uploads tab of The Game Launcher.
Once you have finished recording your video clips and taken your screens, upload them to your My Studio via The Game Launcher. Now, log back on to The Sims 3 site via your web browser and check out the Movies & More tab.
This tab contains a movie studio for editing those clips into a movie, adding special transitions such as wipe and dissolve, slapping captions on top of the action, and finishing it off with a soundtrack. (The soundtrack comes from clips in the Movies & More tool. You cannot use your own music.)
To create a mashup video, just drag the saved clips and screens into an on-screen viewer to preview the clip and set it up in the timeline
of your movie. Drag transitions between the clips to instantly preview them. The Text tool lets you add subtitles to scenes and even further explain the action or just add a snarky running commentary on the plight of the Sims in the video. You can even place filters over the clips to make them look like old-timey flicks or cast entire scenes in favored hue.
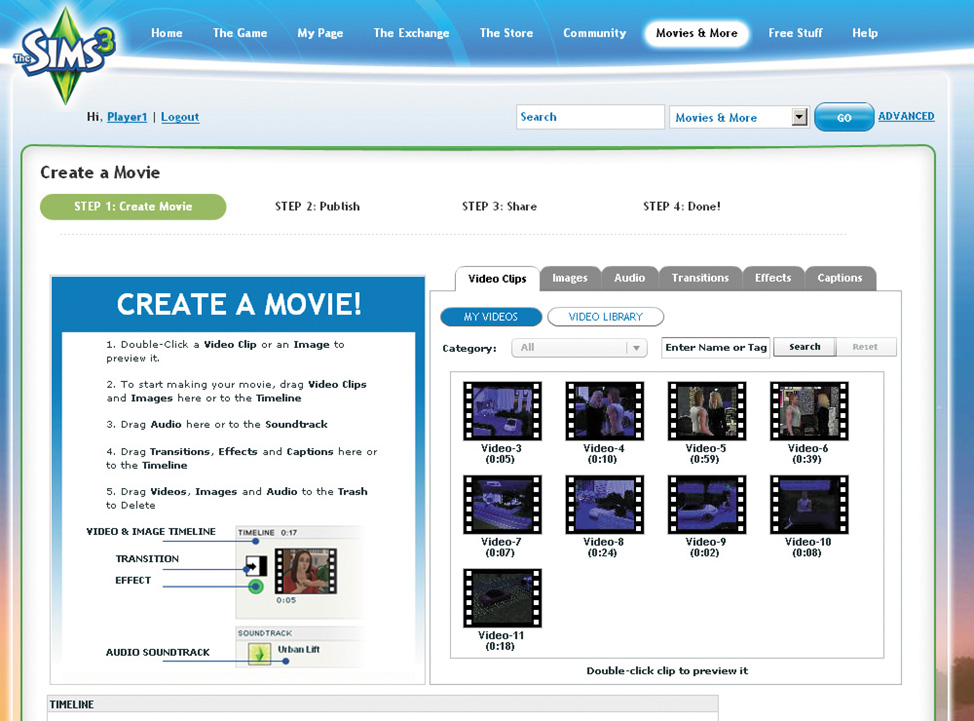
Once you have assembled the video, it’s simple to save and share with community, or publish it privately so only you can see it.
Saved movies can be further edited by going to your My Studio, selecting the movie and clicking the Edit link. The Video tool is one of the most exciting new features in The Sims 3. We cannot wait to see what you all come up with—and, who knows? Perhaps we’ll put up a few videos of our own, too!