
Super Mario 3D Land Guide Walkthrough Worlds
World Two
World 2-1
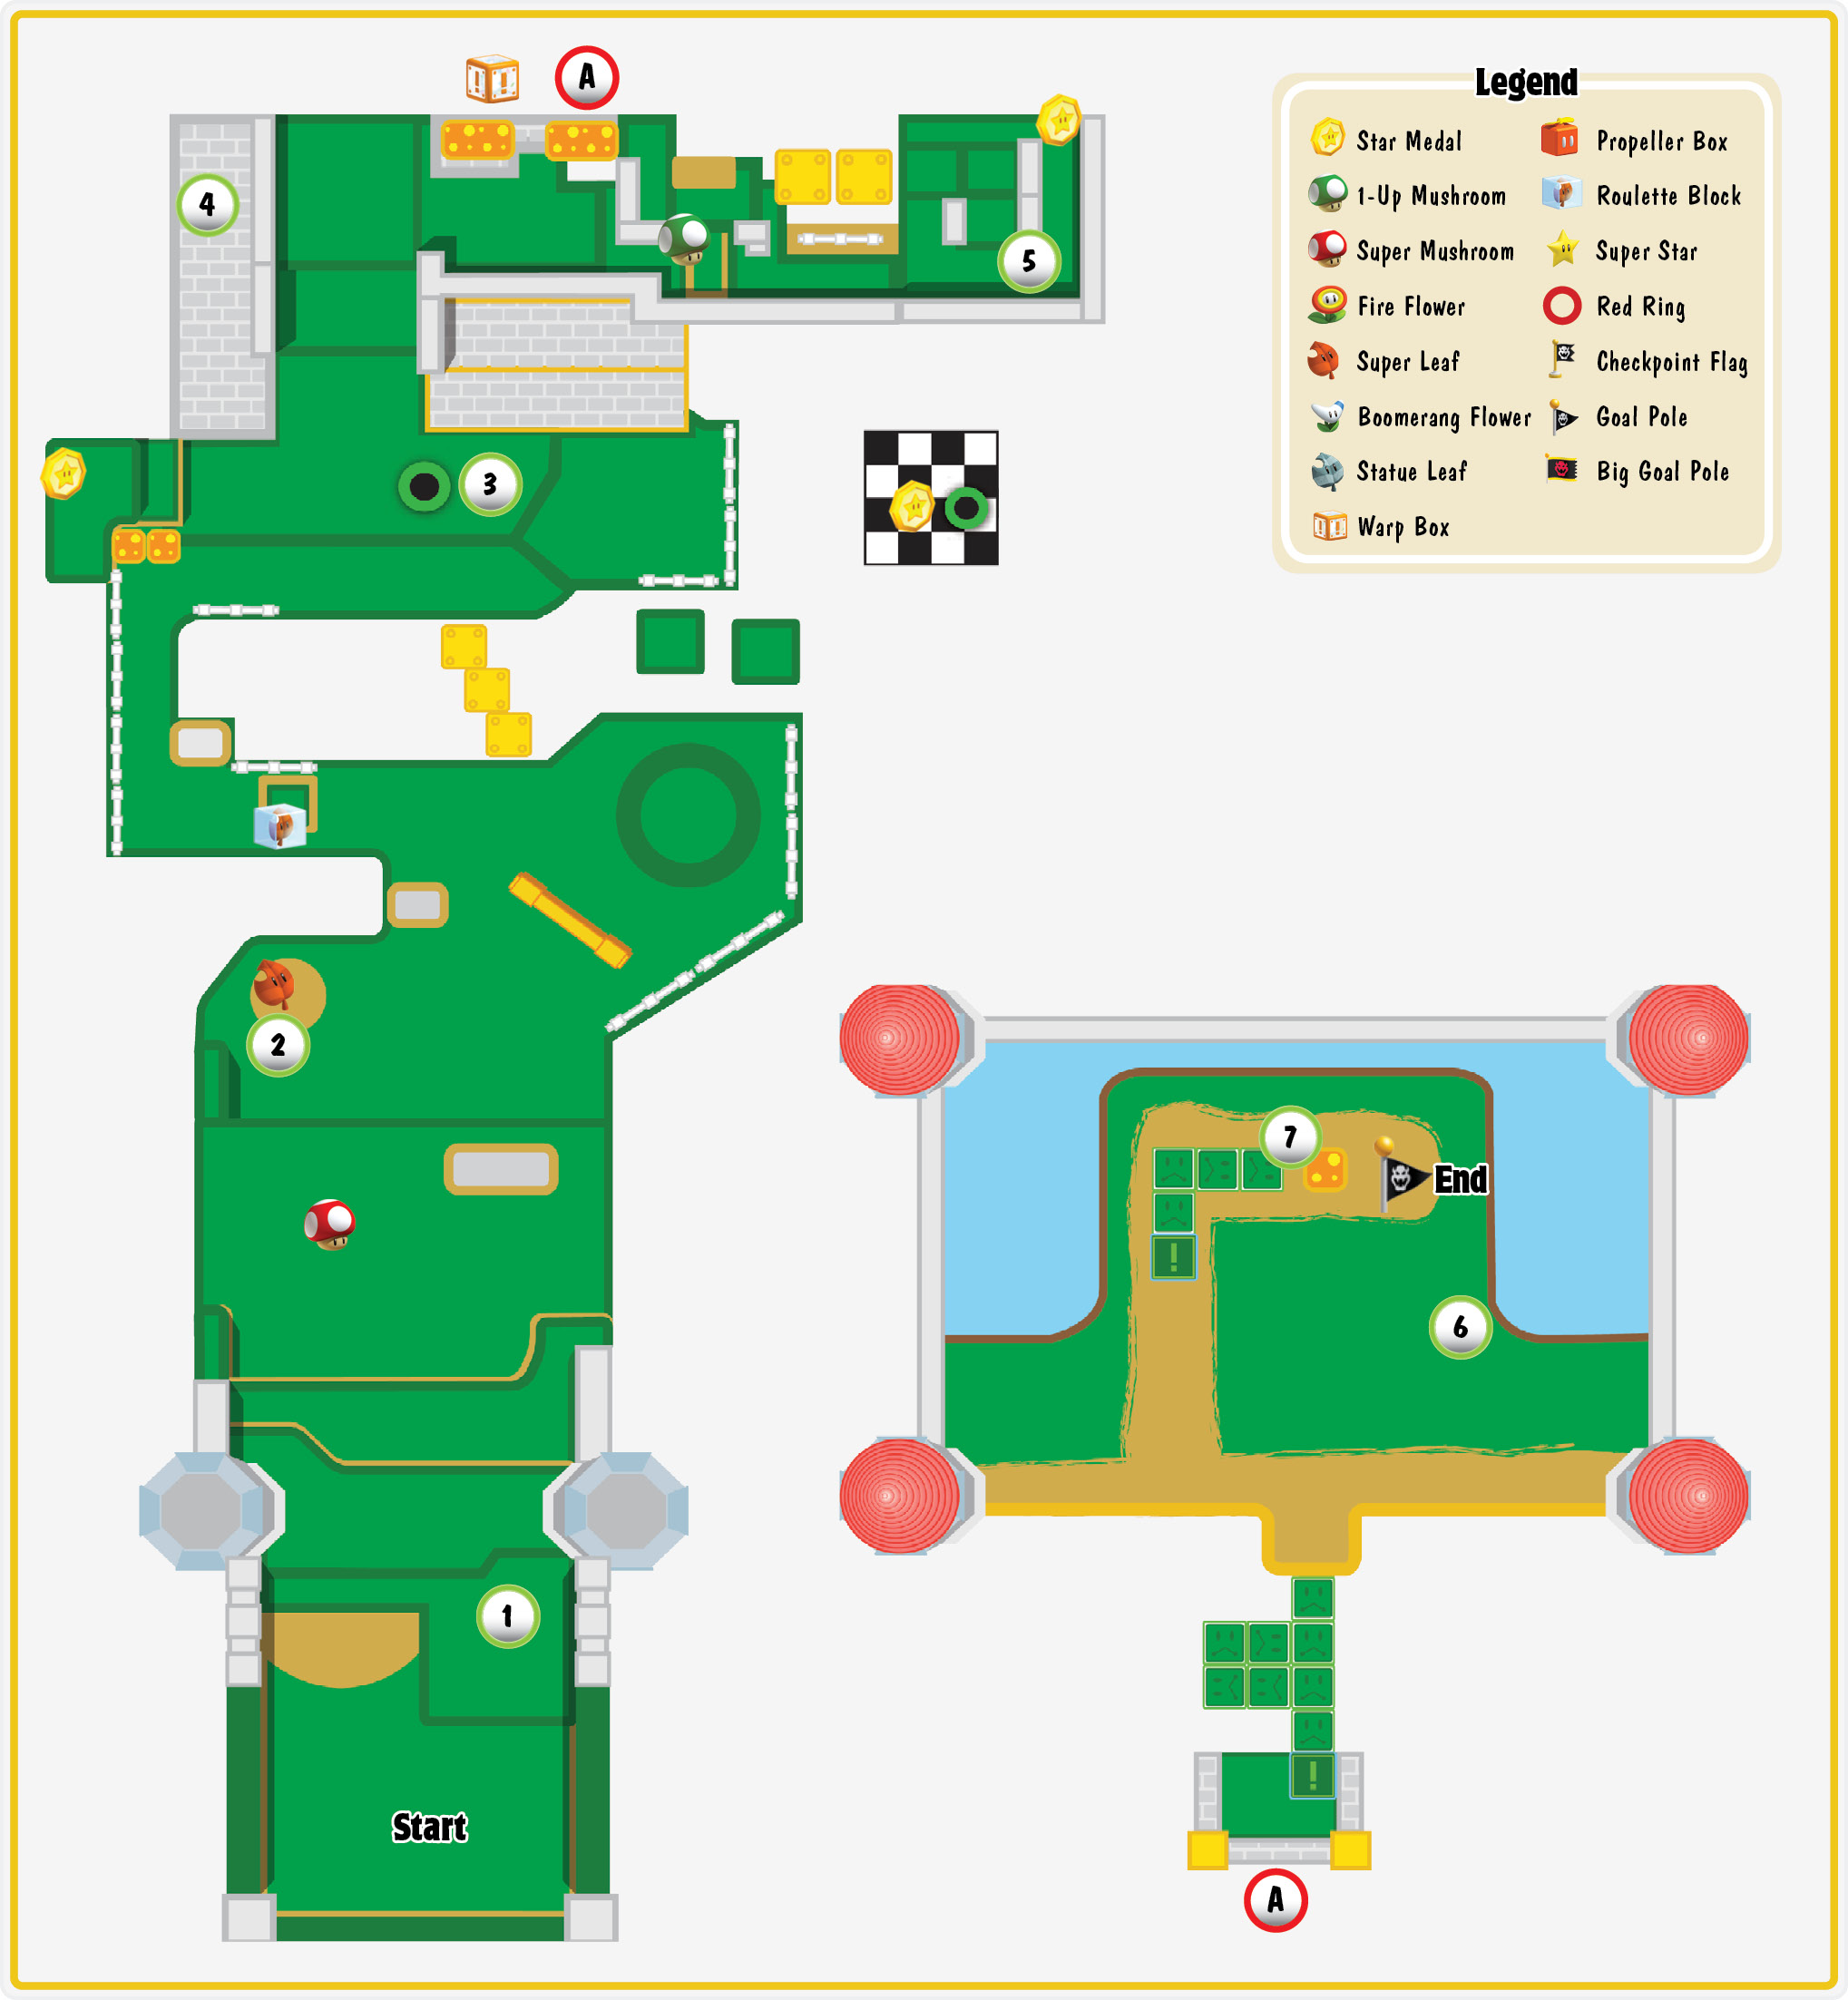
Star Medal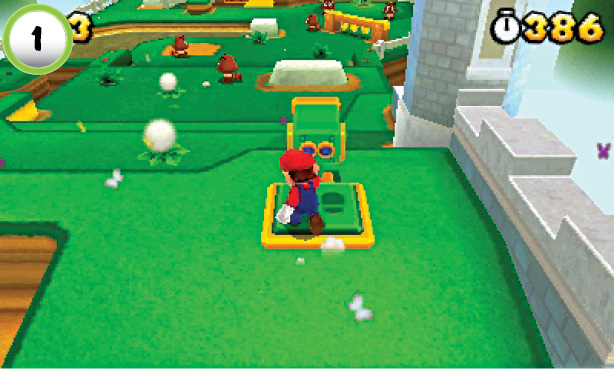 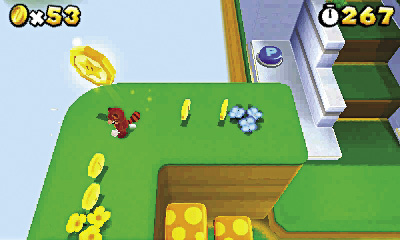 Use the Binoculars at the start of the level to locate Toad near the top of the castle. When you zoom in on him, Toad tosses a Star Medal onto a distant platform. When you make your way to the Star Medal’s location, use the rubber platforms to reach it. |
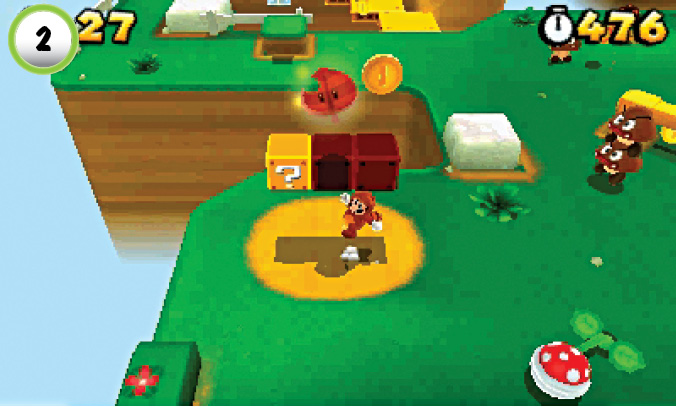
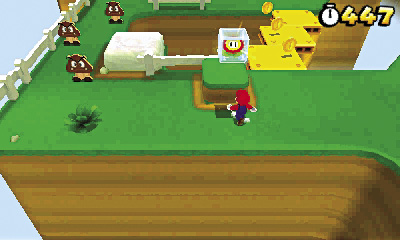
One of the ? Blocks at Point 2 contains a Super Leaf. After you collect it, head toward the castle and hit the Roulette Block to grab another power-up.
Star Medal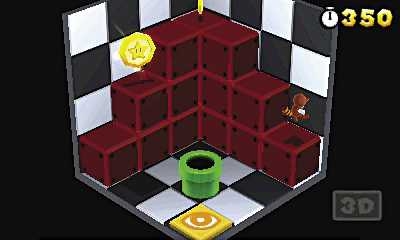 To collect this level’s second Star Medal, find the Pipe at Point 3. Defeat the Piranha Plant, then use the Pipe to enter a secret area. Step onto the view plate to reveal the Star Medal’s true location, then jump up along the used Blocks on the right wall. The used Block below the Star Medal casts a shadow on the ground, so use this to line up your jump. Hop across to grab your prize, then drop to the ground and head back through the Pipe. |
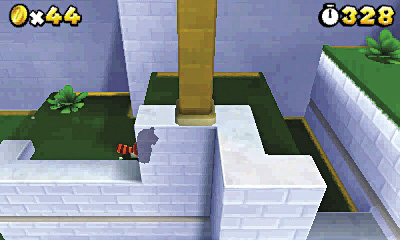
Trigger the P Switch at Point 4 to reveal a trail of musical notes. Collect all of the notes before they vanish to earn a Super Leaf. After you collect your power-up, enter the secret passage to the right and grab a 1-Up Mushroom.
Star Medal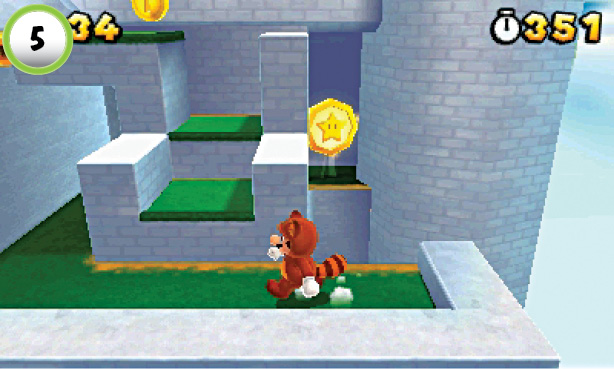 Before you climb the castle, look for the Star Medal to the right of the stairs. Clear out the Goomba patrolling the area, then slip through the opening behind the stairs to collect the Star Medal. |
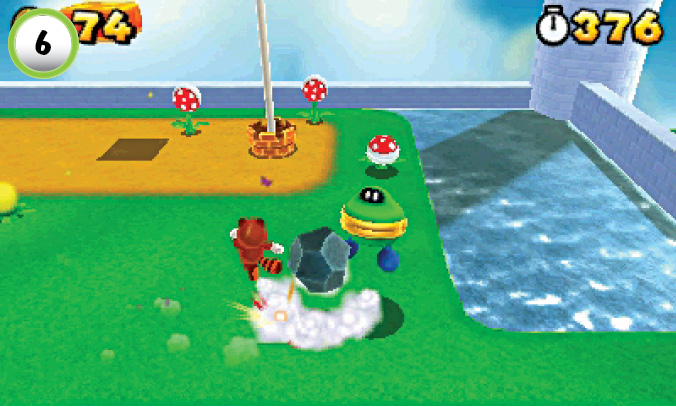
Kick the Rock at Point 6 to uncover a Coin Coffer. Jump on the cowardly enemy five times without touching the ground to earn an extra life.
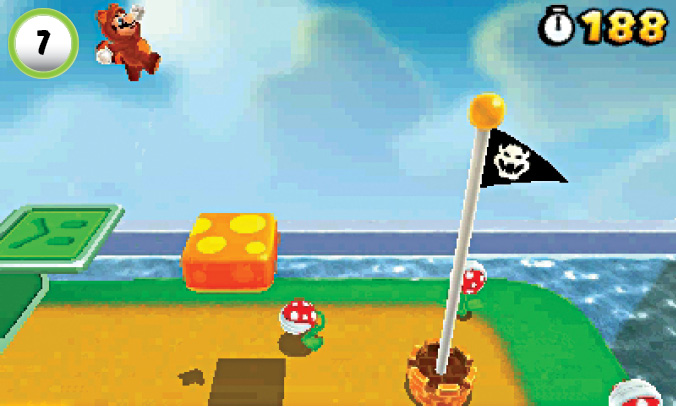
To reach the top of the Goal Pole, step on the Flip Panel at Point 7, then climb up to the rubber pad. A well-aimed bounce will take you clear to your target, but the Tanooki Suit makes your task much easier.
World 2-2
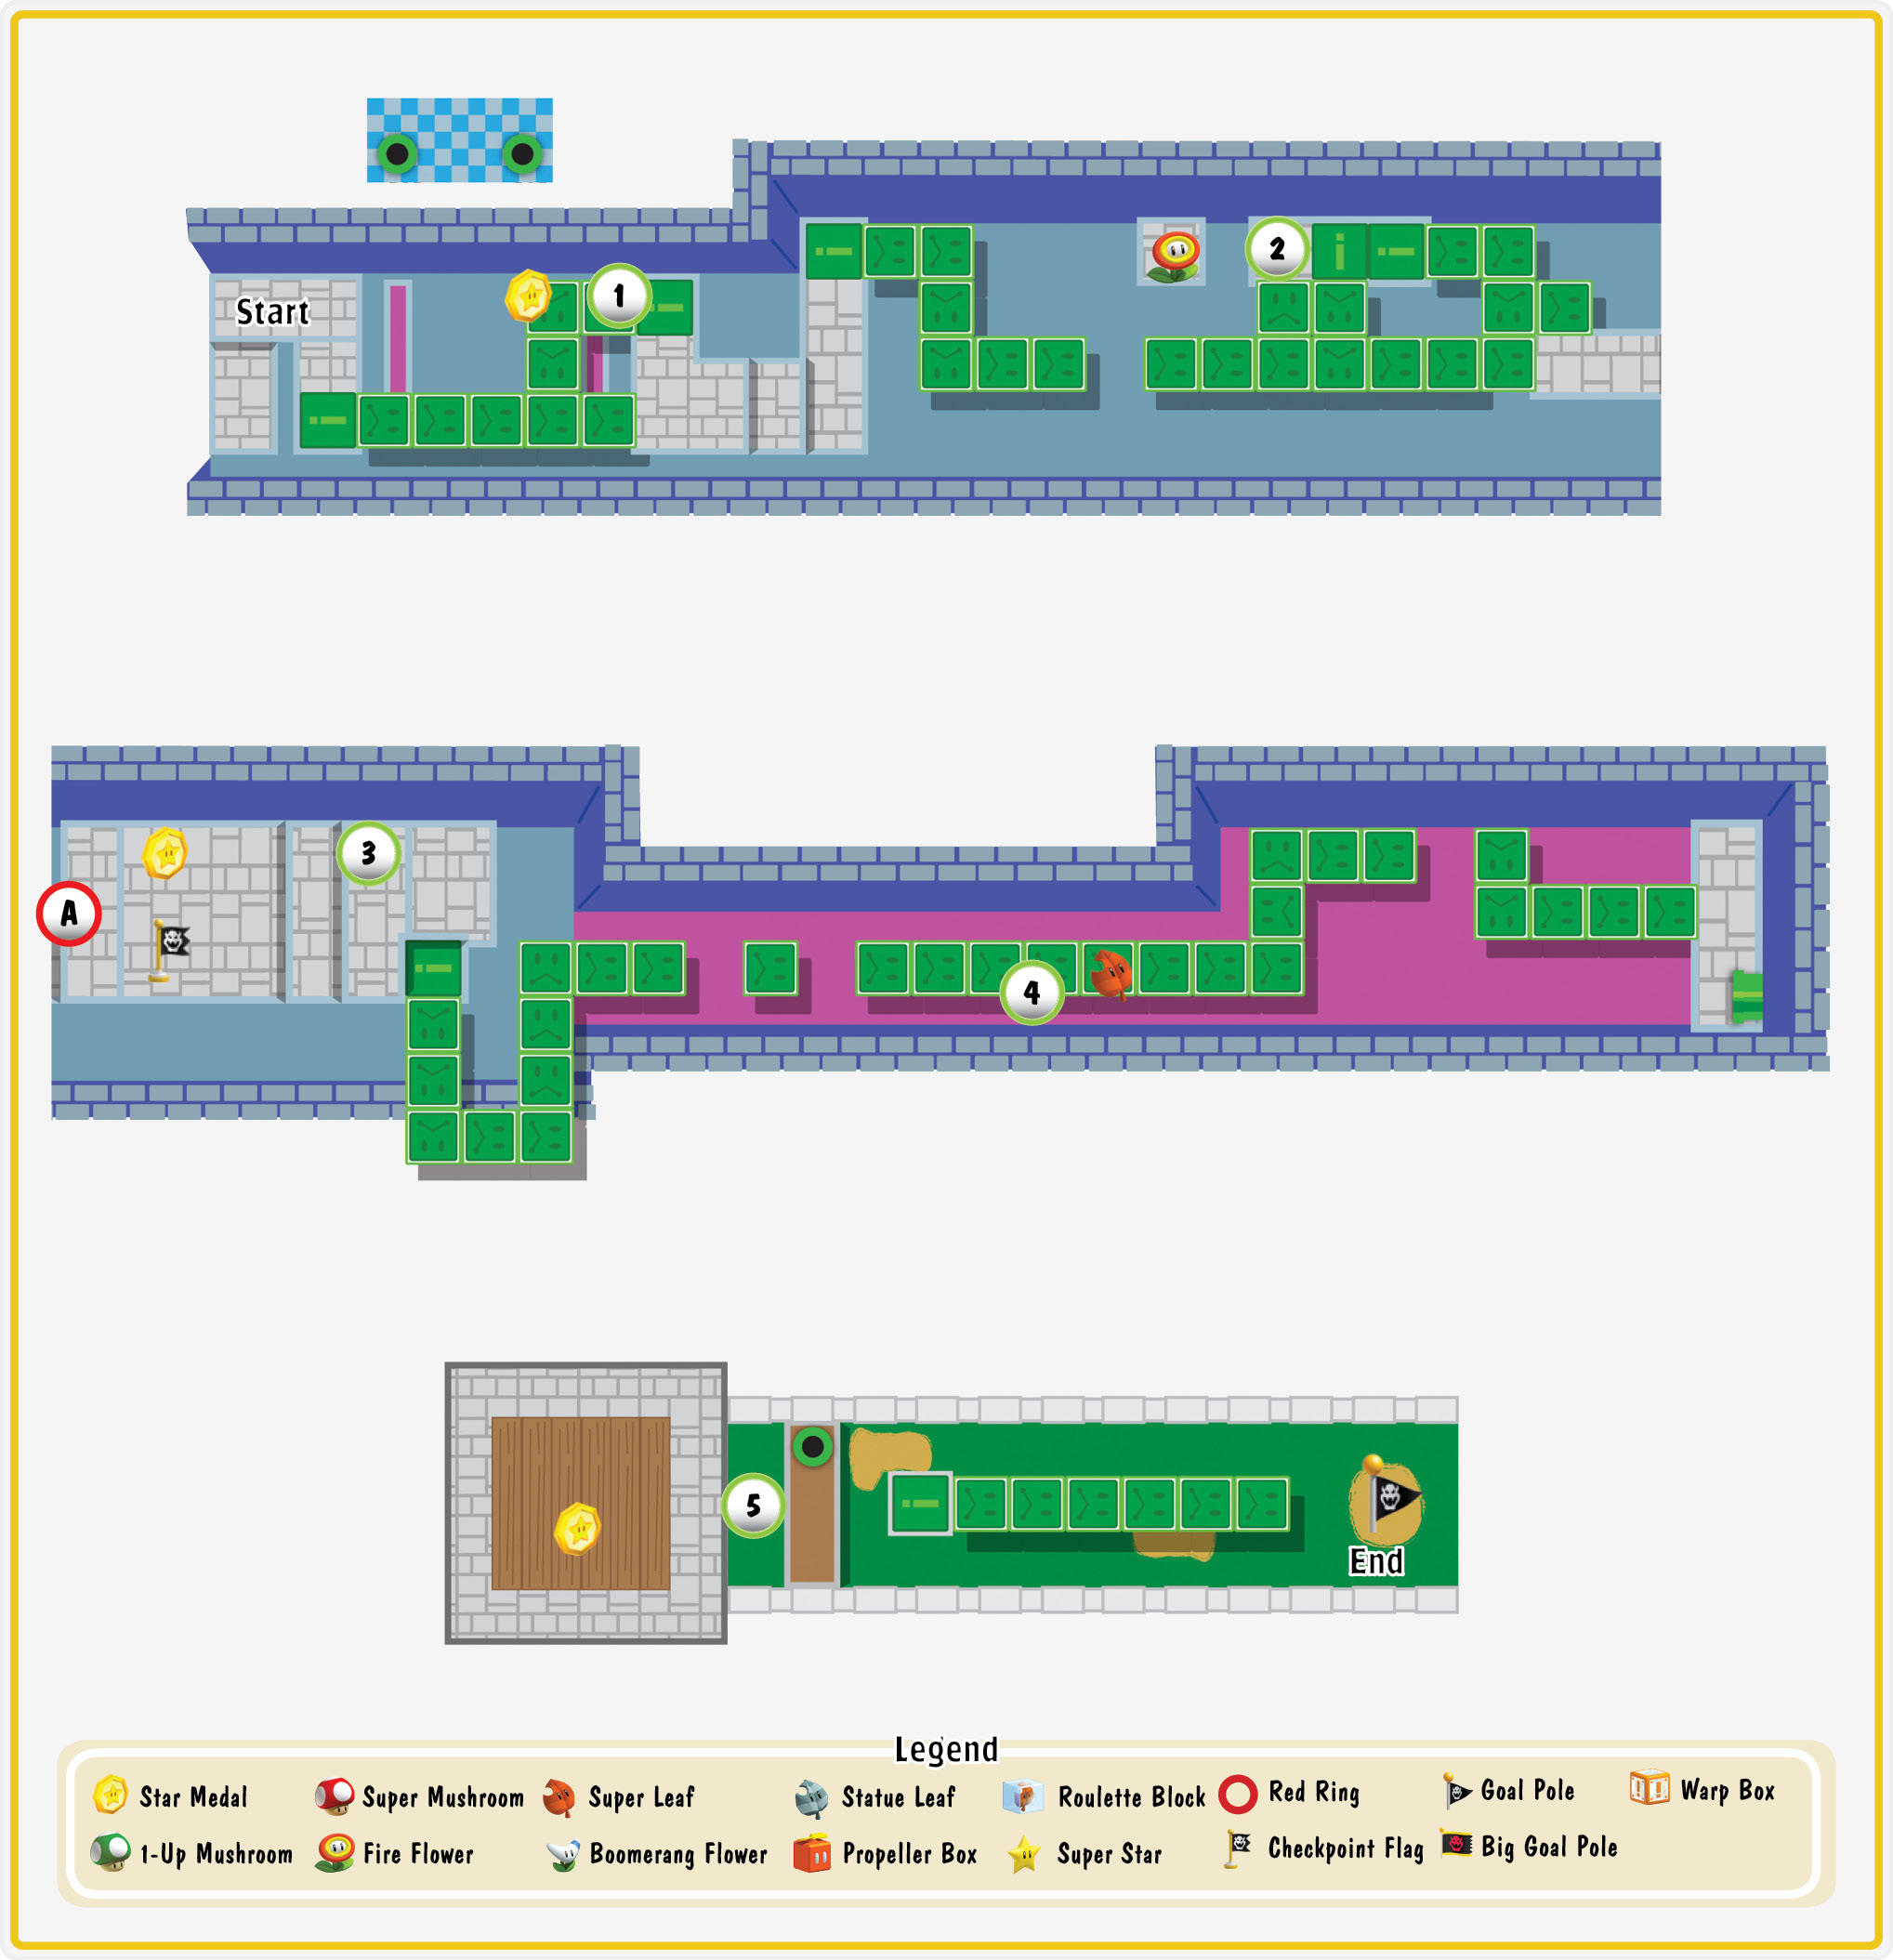
Star Medal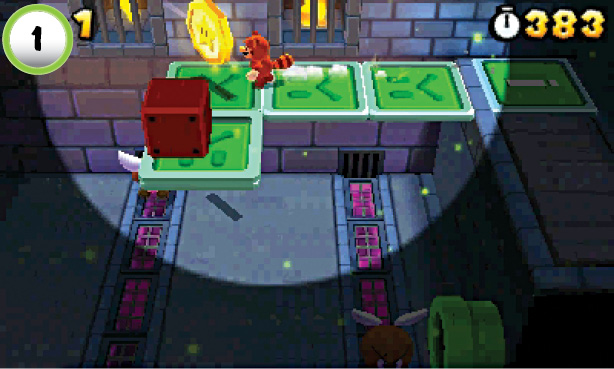 The first Star Medal is floating along the back wall at the start of the level. Step on the Flip Panel on the ledge to the right, then follow the walkway to collect the Star Medal. Before you move on, drop down and enter the Pipe to the right to find a secret area. |
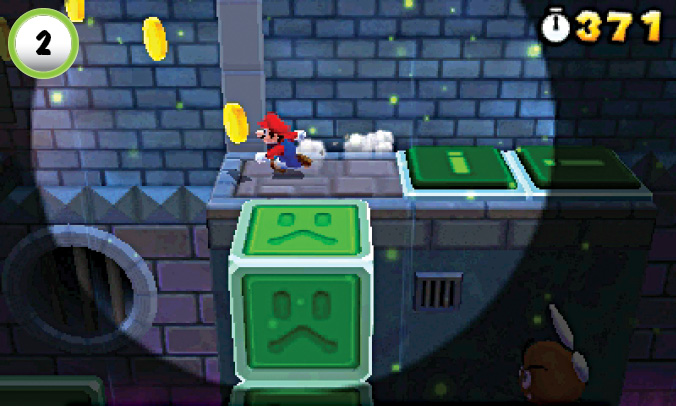
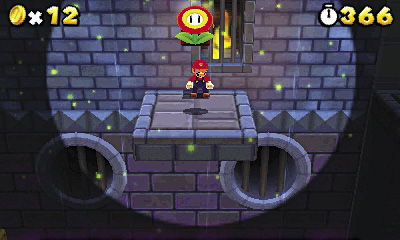
When you reach Point 2, make a running leap through the coins to the left. Hit the ? Block on the next platform to collect a Fire Flower, then leap back to the main path. The gap is fairly large, so make sure you’re running at full speed before you attempt the jump.
Star Medal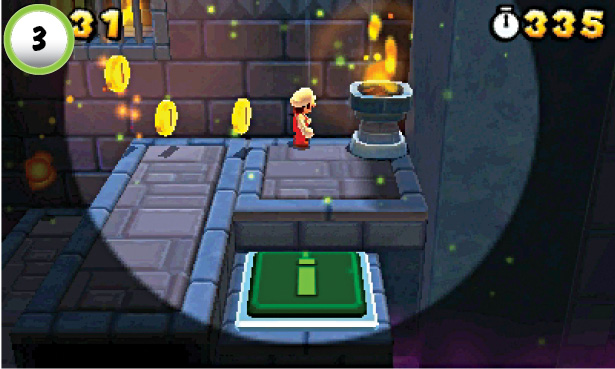 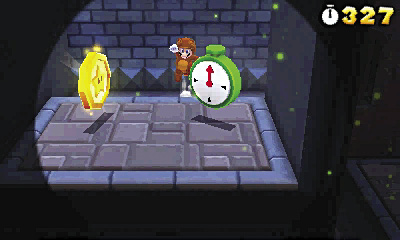 Light the pedestal at Point 3 to reveal a trail of coins. Follow the coins to find a secret area containing a Star Medal and a green + Clock. |
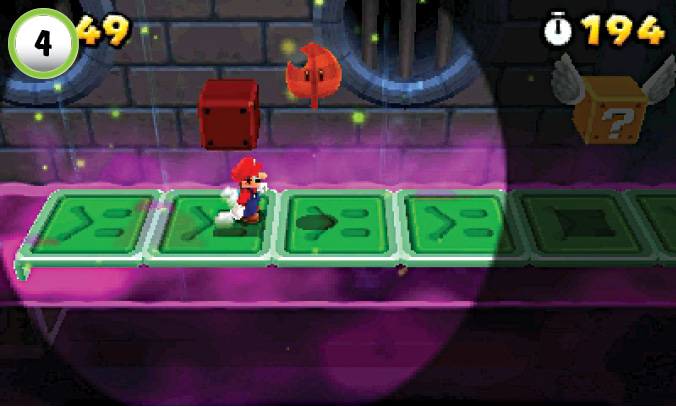
After you collect the blue + Clock at Point 4, smash the Blocks to reveal a Super Leaf. The Flying ? Block to the right contains a stash of coins, but be sure you stay ahead of the vanishing tiles if you choose to collect those coins.
Star Medal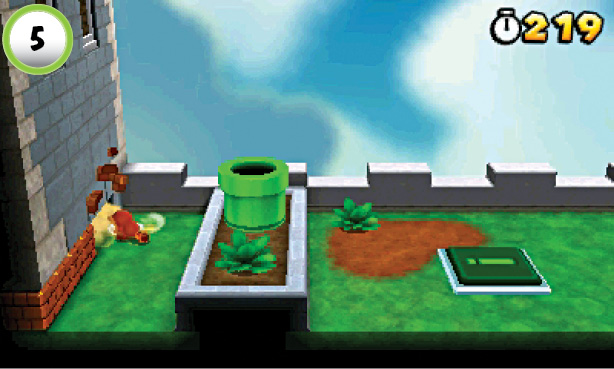 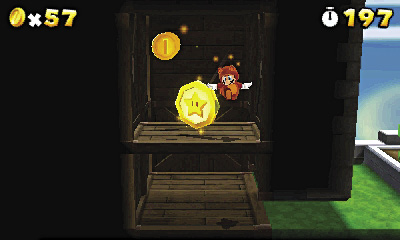 Once you’re outside, drop down from the Pipe and move to the building to the left. Use a somersault or tail whip to smash through the Blocks long the base of the building, then head inside. Perform a wall jump off of the back wall, then collect the level’s last Star Medal from the ledge. |
World 2—Mystery Box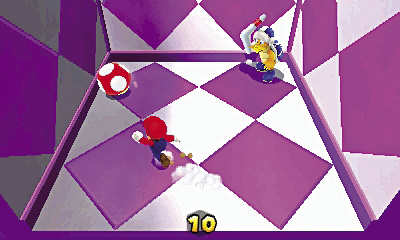 After you complete World 2-2, you unlock another Mystery Box. This Mystery Box contains a random encounter. Clear the area and collect your reward before time runs out. |
World 2-3
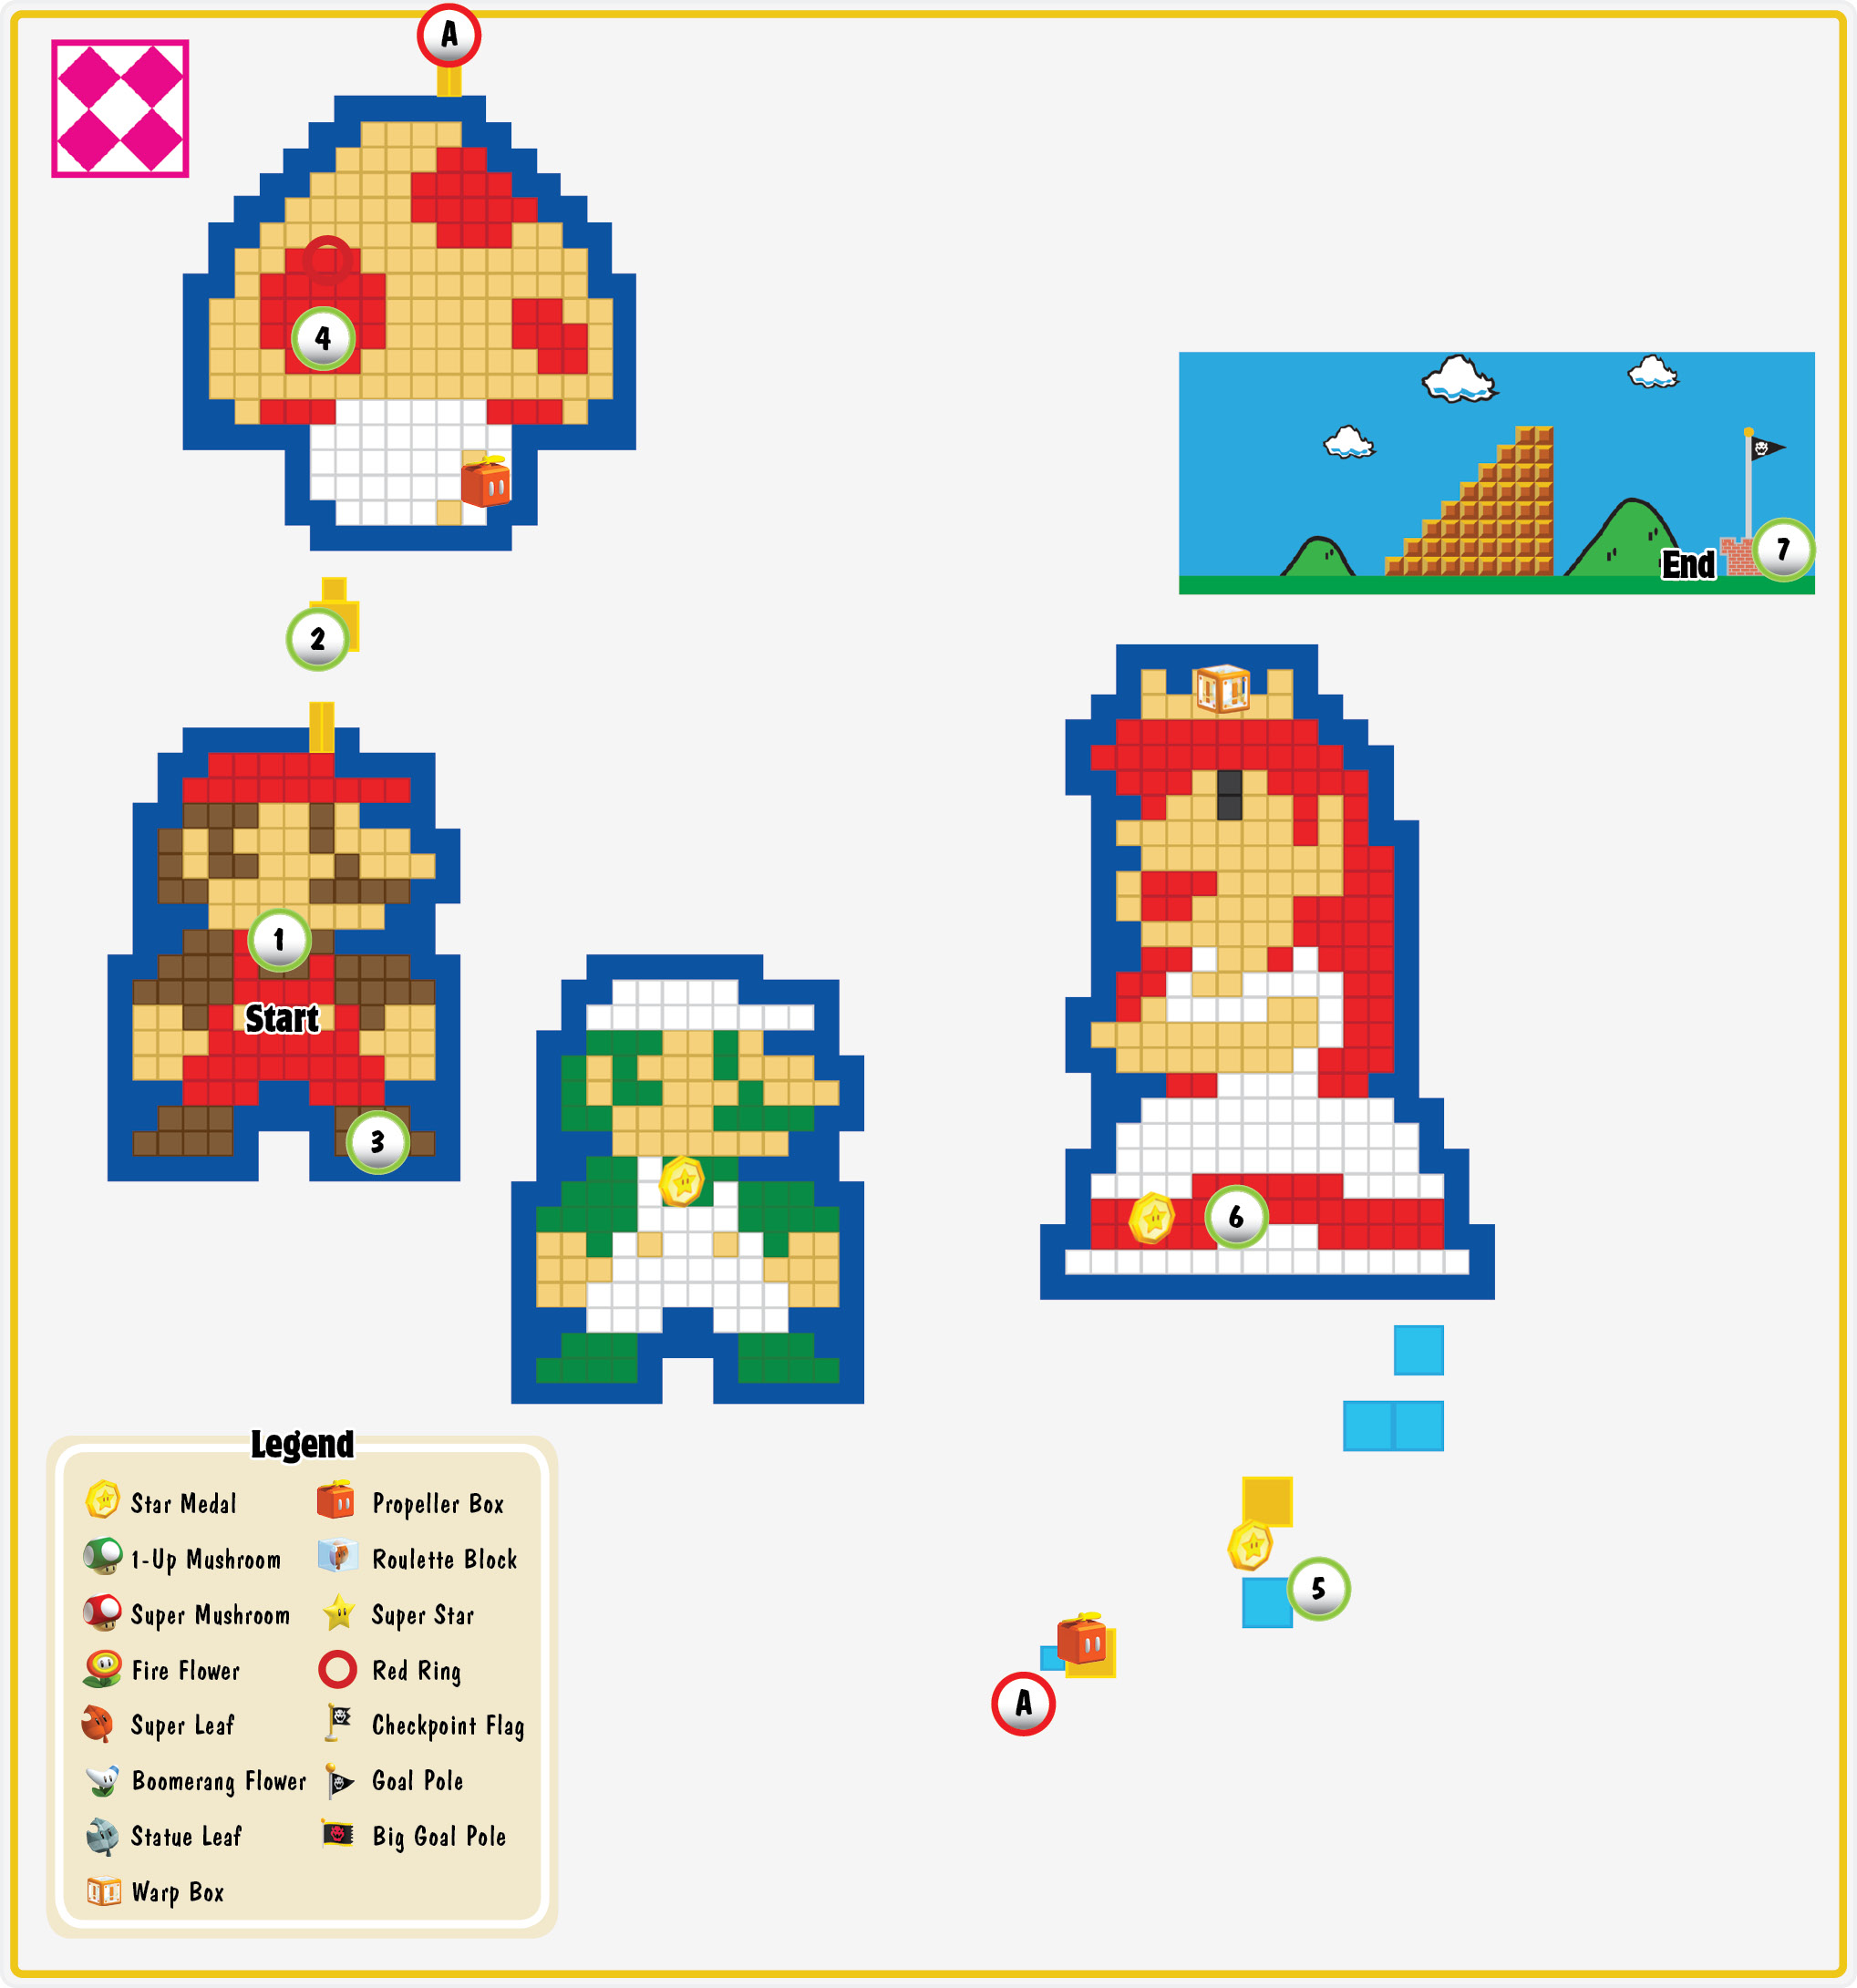
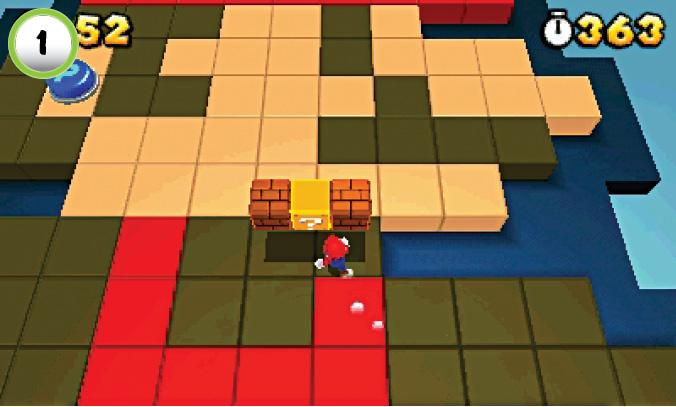
The level starts on a Mario-shaped platform. Before you trigger the nearby P Switches, hit the ? Block to collect a Propeller Box—you’ll need this power-up to collect many of the coins revealed by the P Switches.
There’s a Tail Wheel hidden in a single Block on the platform. If you don’t have a Super Leaf handy, you can get one from the P Switch at Point 2. Land on the P Switch to reveal a trail of musical notes. Use the Propeller Box to fly above the nearby coin ring, then drop straight through the notes. Collect all of the notes before they vanish to earn your power-up.
Star Medal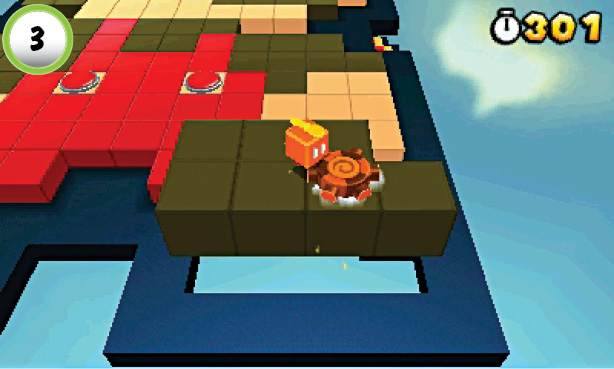 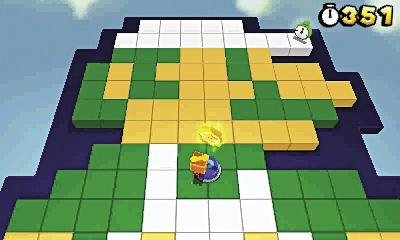 When you have a Tanooki Suit, use the Tail Wheel on the first platform. Tail-whip the wheel until you reach the Luigi-shaped platform directly above you. Collect the Star Medal from the center of the platform, then use the P Switch to reveal more coins. When you’re ready to continue, drop down from the platform and hold the jump button to make a controlled landing. |
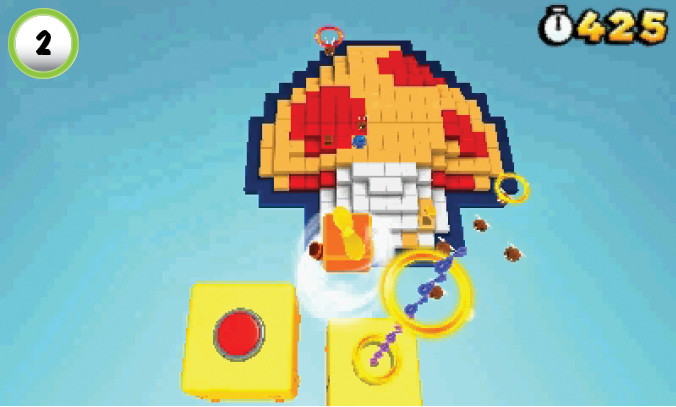
Red Ring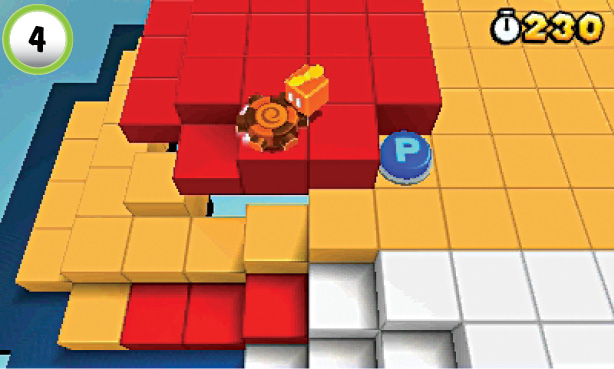 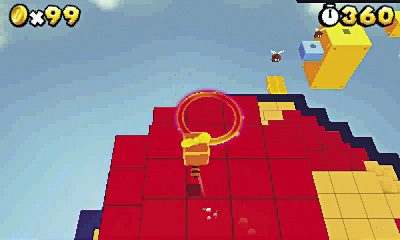 Smash the single Block at Point 4 to reveal a Tail Wheel, then use a series of tail whips to reach the Red Ring far above the platform. Clear the Paragoomba out of the way, and touch the Red Ring before the platform drops away. Jump up and use the Propeller Box to collect the Red Coins directly above you. Grab them all to earn another power-up, then drop back down to the mushroom-shaped platform. |
Star Medal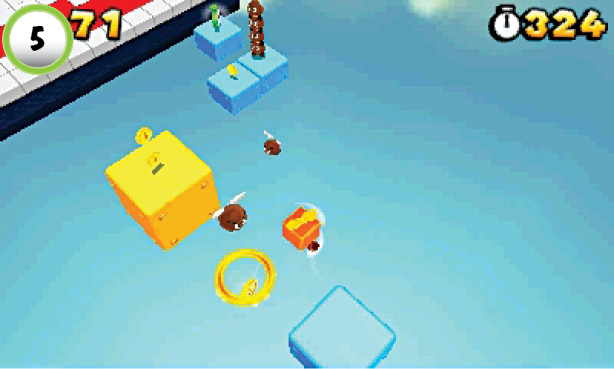 Make sure you have a Propeller Box power-up before you attempt to collect the Star Medal at Point 5. Jump onto the Paragoomba to clear a path, then drop down through the coin ring to grab the Star Medal. As soon as you collect it, use the Propeller Box to fly back up, then make a safe landing on one of the nearby platforms. |
Star Medal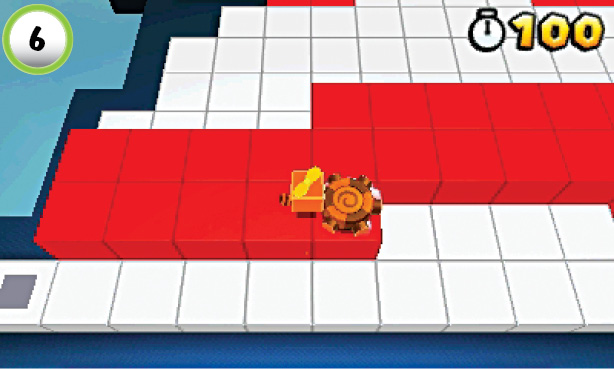 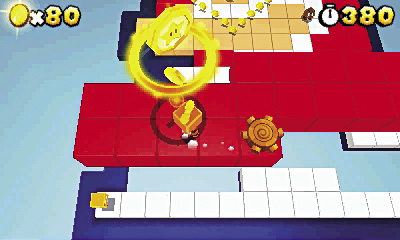 Smash the single Block at Point 6 to reveal a Tail Wheel, then use it to reach the coins high above the platform. With the help of a Propeller Box power-up, jump through the coins to collect the level’s last Star Medal. |
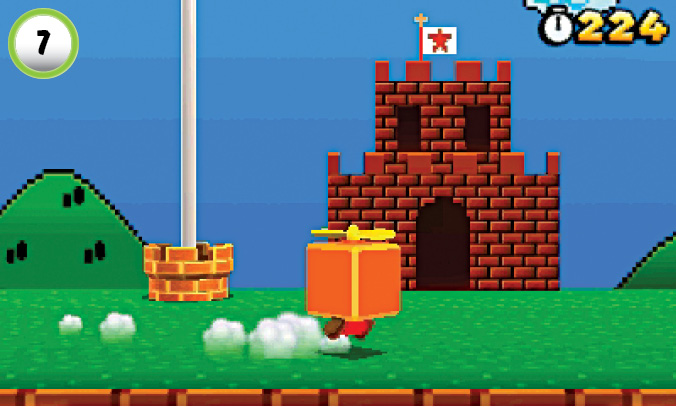
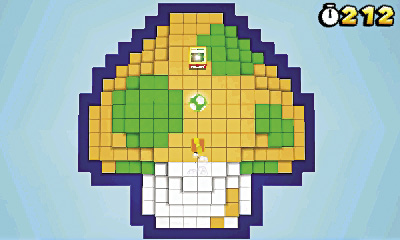
Before you complete the level, enter the small castle just past the Goal Pole to find a secret platform. Collect the 1-Up Mushroom near the center of the area, then use the Warp Box to exit the area.
World 2-4
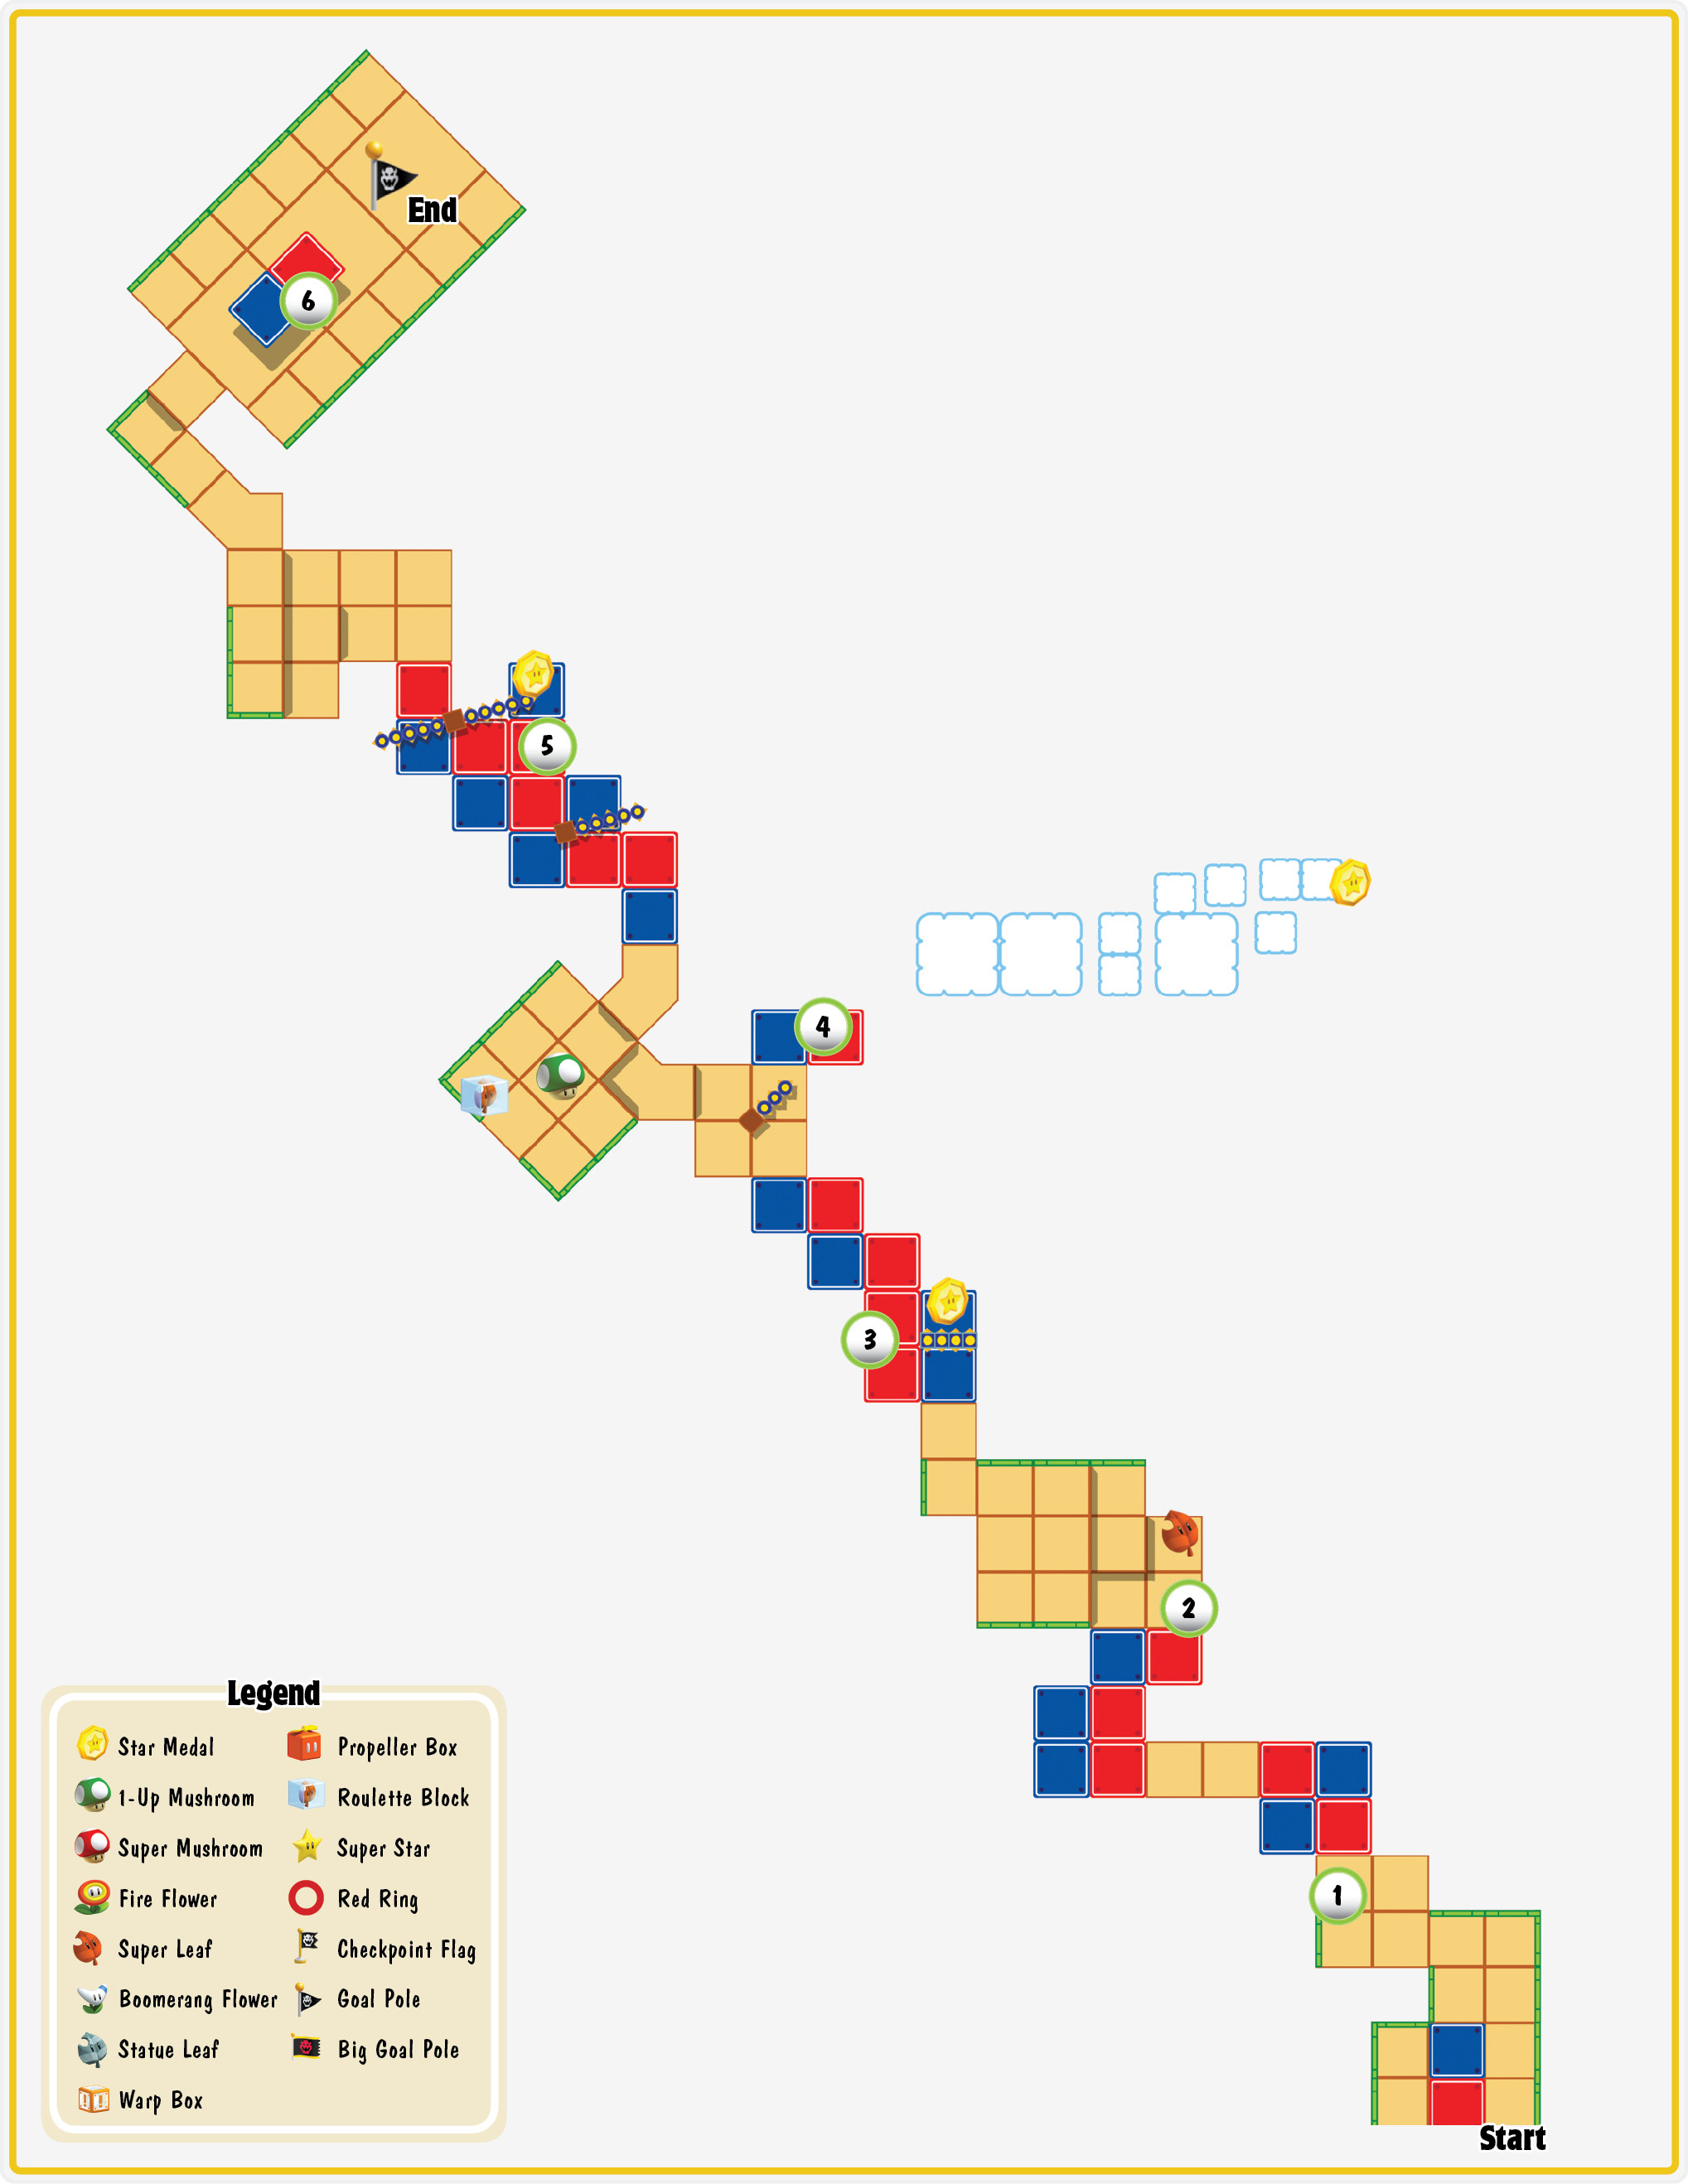
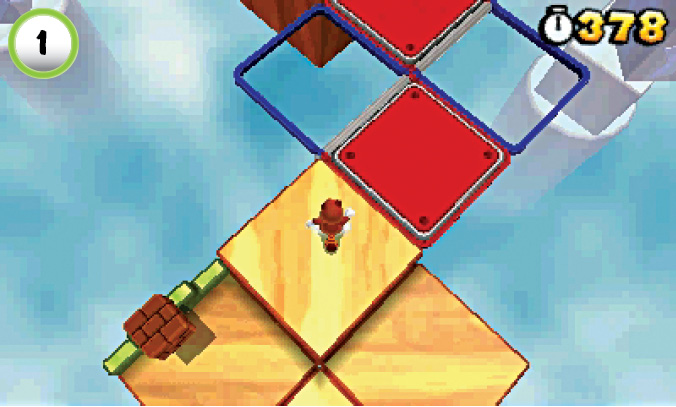
The Red-Blue Panels throughout this level flip positions each time you jump. Plan your jumps carefully to ensure that there’s always a platform to land on.
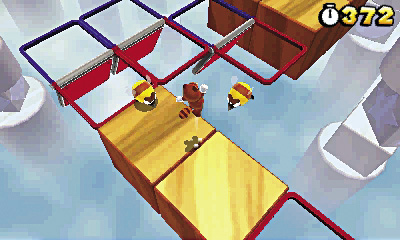
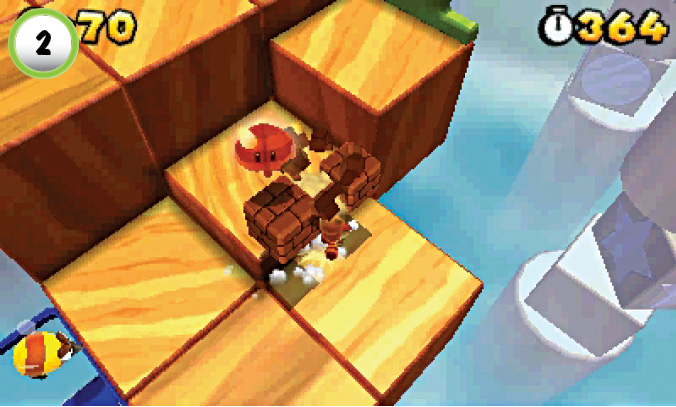
One of the Blocks at Point 2 holds a Super Leaf. You’ll need the Tanooki Suit’s tail whip to collect one of the upcoming Star Medals, so make sure you grab the power-up before you continue through the level.
Star Medal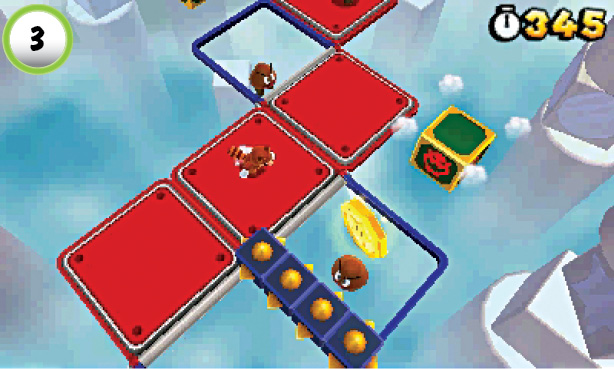 Before you collect the Star Medal at Point 3, wait for a Goomba to pop out of the nearby Baddie Box. When the Goomba falls through the gap, jump over to collect the Star Medal. The platform will swing into place to provide a landing spot, but make sure you jump away before the next enemy arrives. |
Star Medal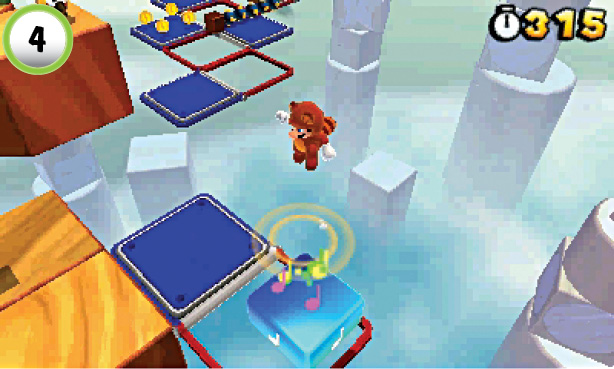 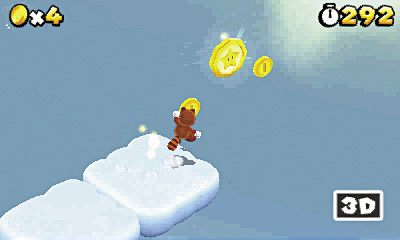 Use the Super Note Block at Point 4 to bounce up to a secret area. Jump along the cloud platforms to find the second Star Medal floating at the edge of the area. Leap out to collect it, then drop back down to the main path. When you land, hit the Flying Roulette Block to collect another power-up. |
Star Medal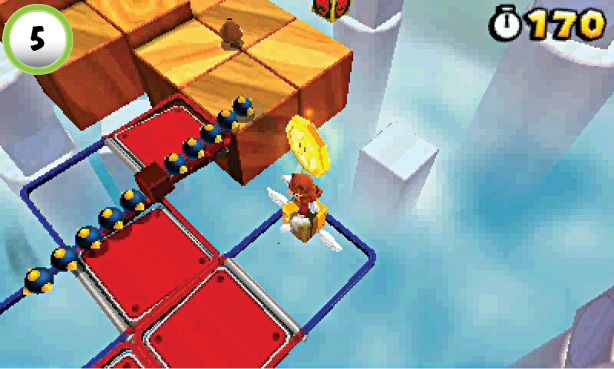 The level’s last Star Medal is located above a large cluster of flipping platforms. Avoid the rotating obstacles and jump onto the Flying ? Block. When the ? Block moves under the Star Medal, jump up to collect it. Use a quick ground pound to lock the ? Block in place while you choose a path across the remaining platforms. |
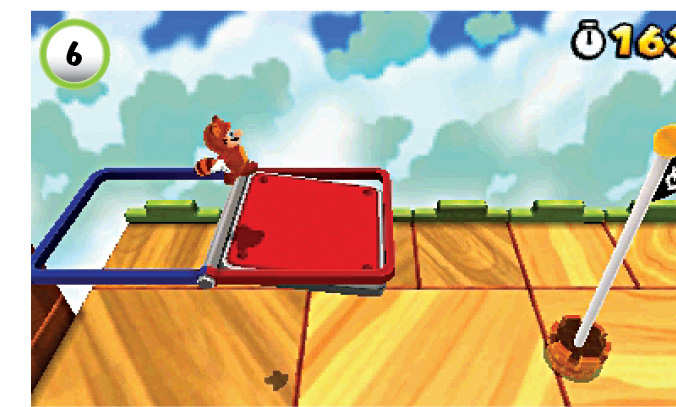
To reach the top of the Goal Pole, you must jump from the Red-Blue Platform. If you fall before you make your jump, move under the platform and jump straight up. When the panel flips, it sweeps you back into position to make another attempt.
World 2—Toad House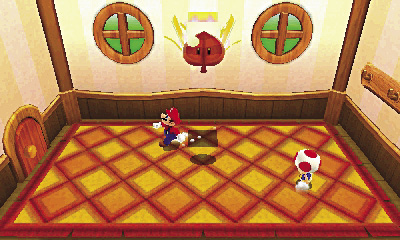 After you complete World 2-4, a Toad House appears on the level-selection screen. When you find yourself in need of a power-up, unwrap the Gift Box inside the house to collect a Super Leaf. Remember, you can only get the power-up from a Toad House once, so make sure you save it for when you need it. |
World 2—Ship
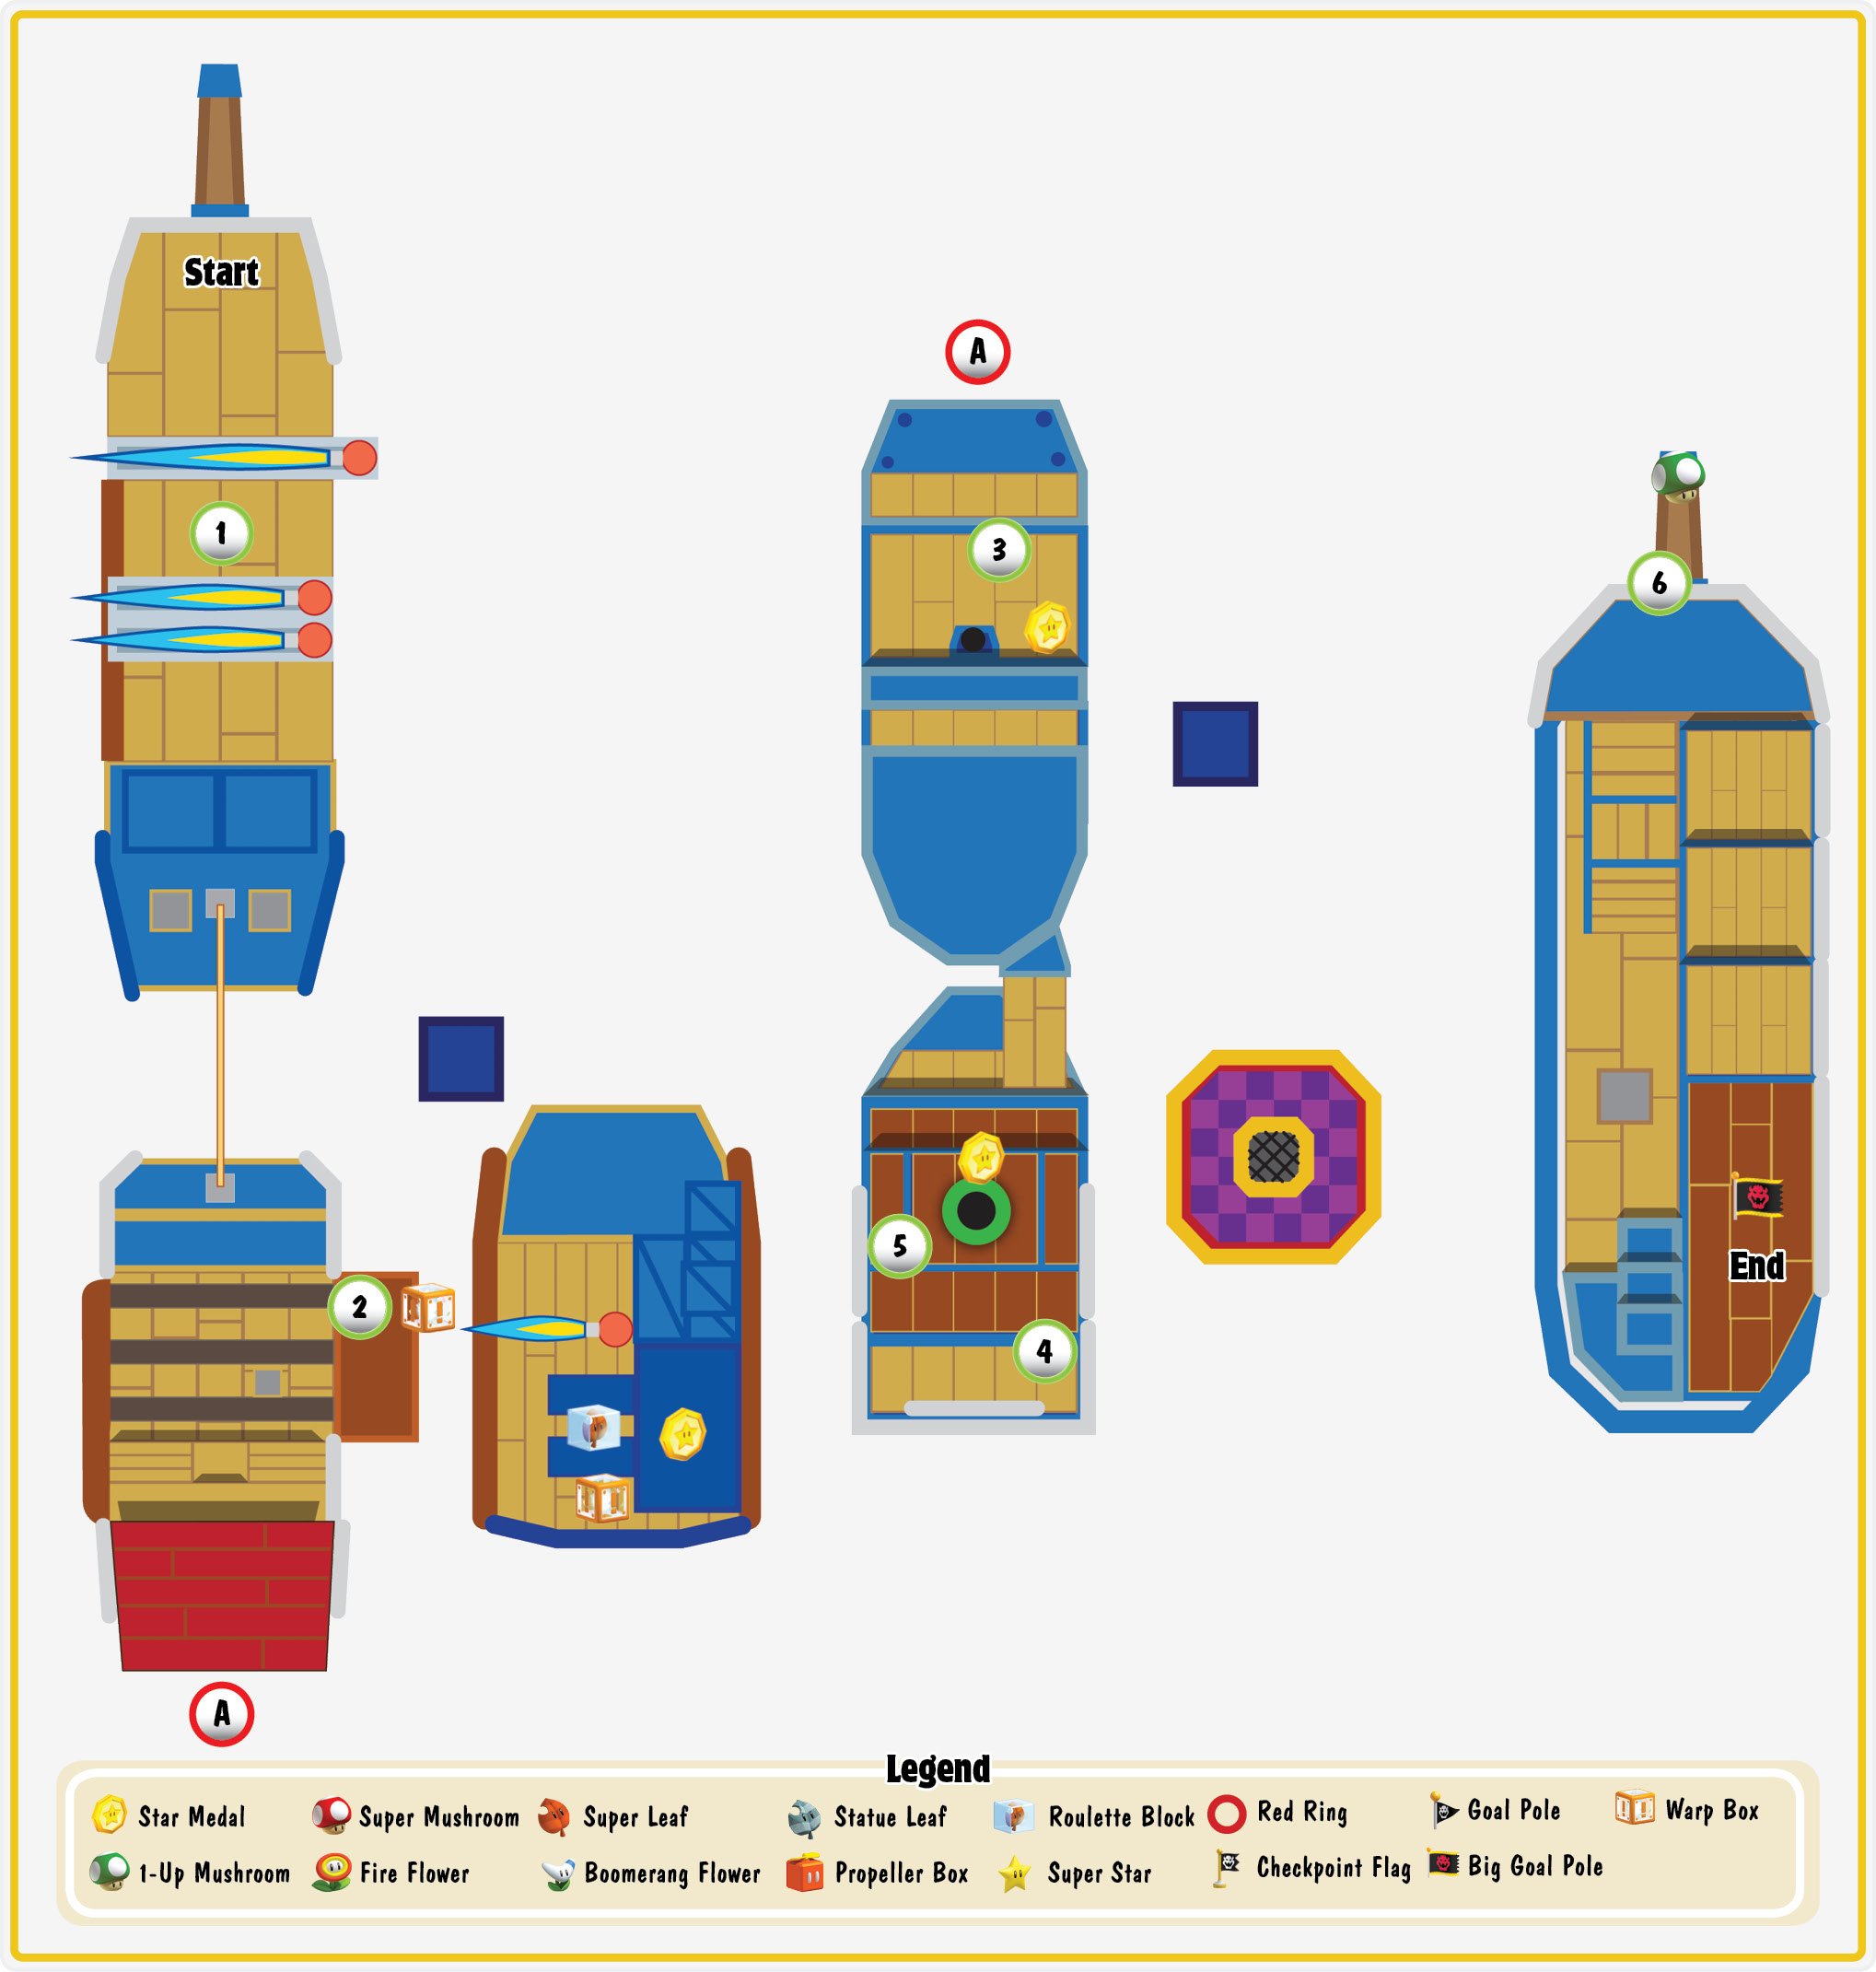
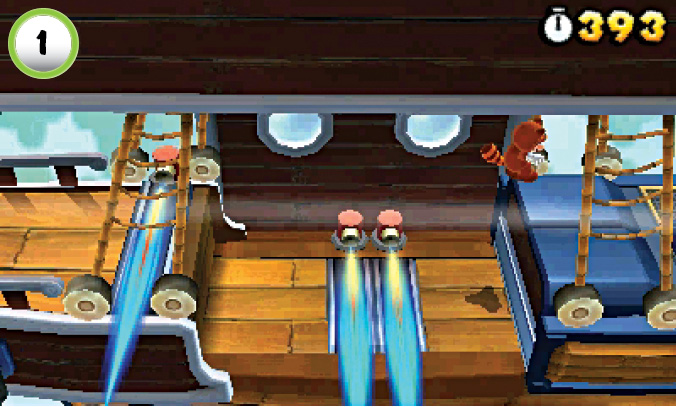
Many airships have jet engines that blast dangerous exhaust across their decks. Engines fire at regular intervals, but you may not always have the time to wait for a clear path. Jump over the flames when you can’t afford to stand still, but make sure you have a safe spot to land.
Star Medal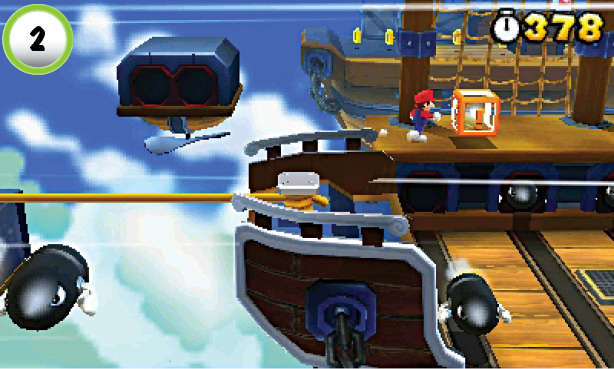 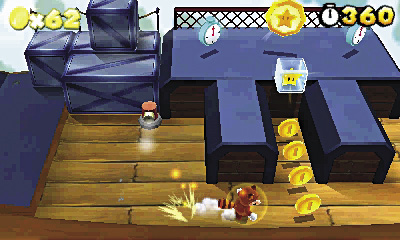 Use the Warp Box near the Bullet Bills to reach the ship in the background. The ship’s deck has several coins and a Roulette Block to collect, but the Star Medal is located along the upper platform. You don’t have much time on the ship, so you may want to grab the Star Medal before you collect the nearby items. Use the Warp Box at the end of the ship to return to the main path. |
Star Medal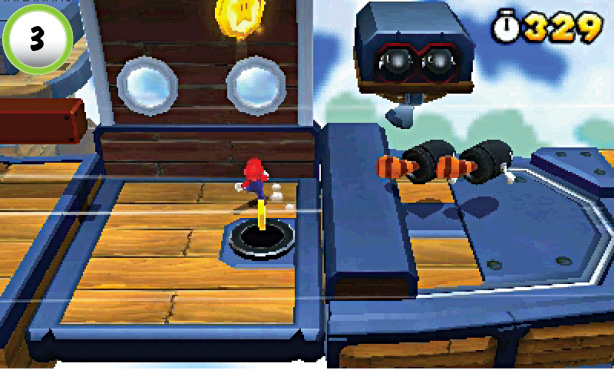 When you reach Point 3, deal with the Rocky Wrench, then perform a wall jump to collect the Star Medal floating high above the deck. |
Star Medal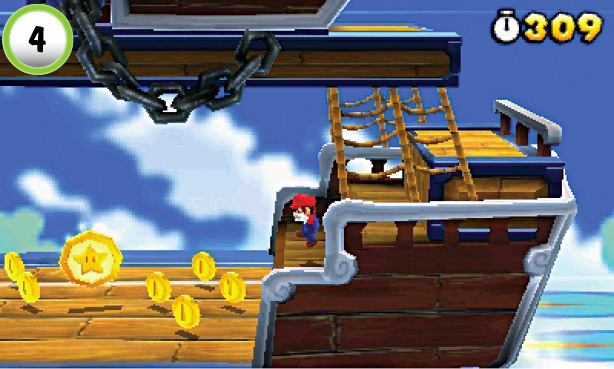 When you reach the last ship, the level stops scrolling. Drop down from either side of the upper deck to find a Star Medal. When you’re ready, climb the stairs on the right and return to the upper deck. |
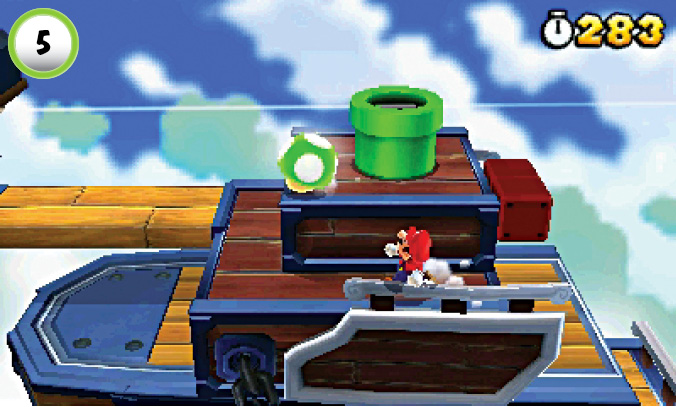
There’s a 1-Up Mushroom hidden in an Invisible Block to the right of the Pipe. When the 1-Up Mushroom appears, move quickly to collect it before it drops off the deck.
Boss Battle: Boom Boom
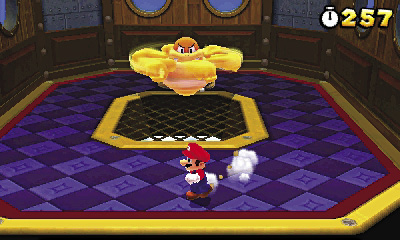
Boom Boom alternates between two basic attacks, and you’ll spend most of the encounter avoiding them. If you stay on your toes, you should be able to defeat him without much trouble. When Boom Boom begins his spin attack, dash around the room to stay clear of his flying fists. After a moment, Boom Boom becomes dizzy and falls to the ground. Jump on his head to deliver a damaging blow, then move away before he recovers.
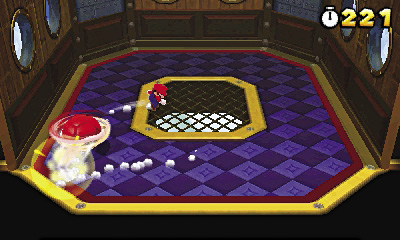
When Boom Boom tucks into his shell, he speeds directly toward you and bounces off the walls. Try to stay near the center of the room, and jump clear of Boom Boom each time he approaches you. After a few bounces, he emerges from his shell and attempts another spin attack. Continue to dodge Boom Boom’s attacks, and jump on his head each time he becomes vulnerable. Land three successful blows to end the encounter.
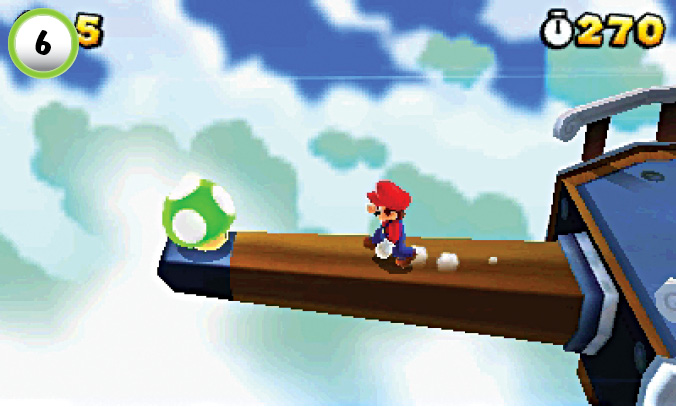
Before you jump onto the Goal Pole, move to the ship’s left edge. Walk to the end of the bowsprit to collect a 1-Up Mushroom.