
Super Mario 3D Land Guide Walkthrough Specials
Special Three
Special 3-1
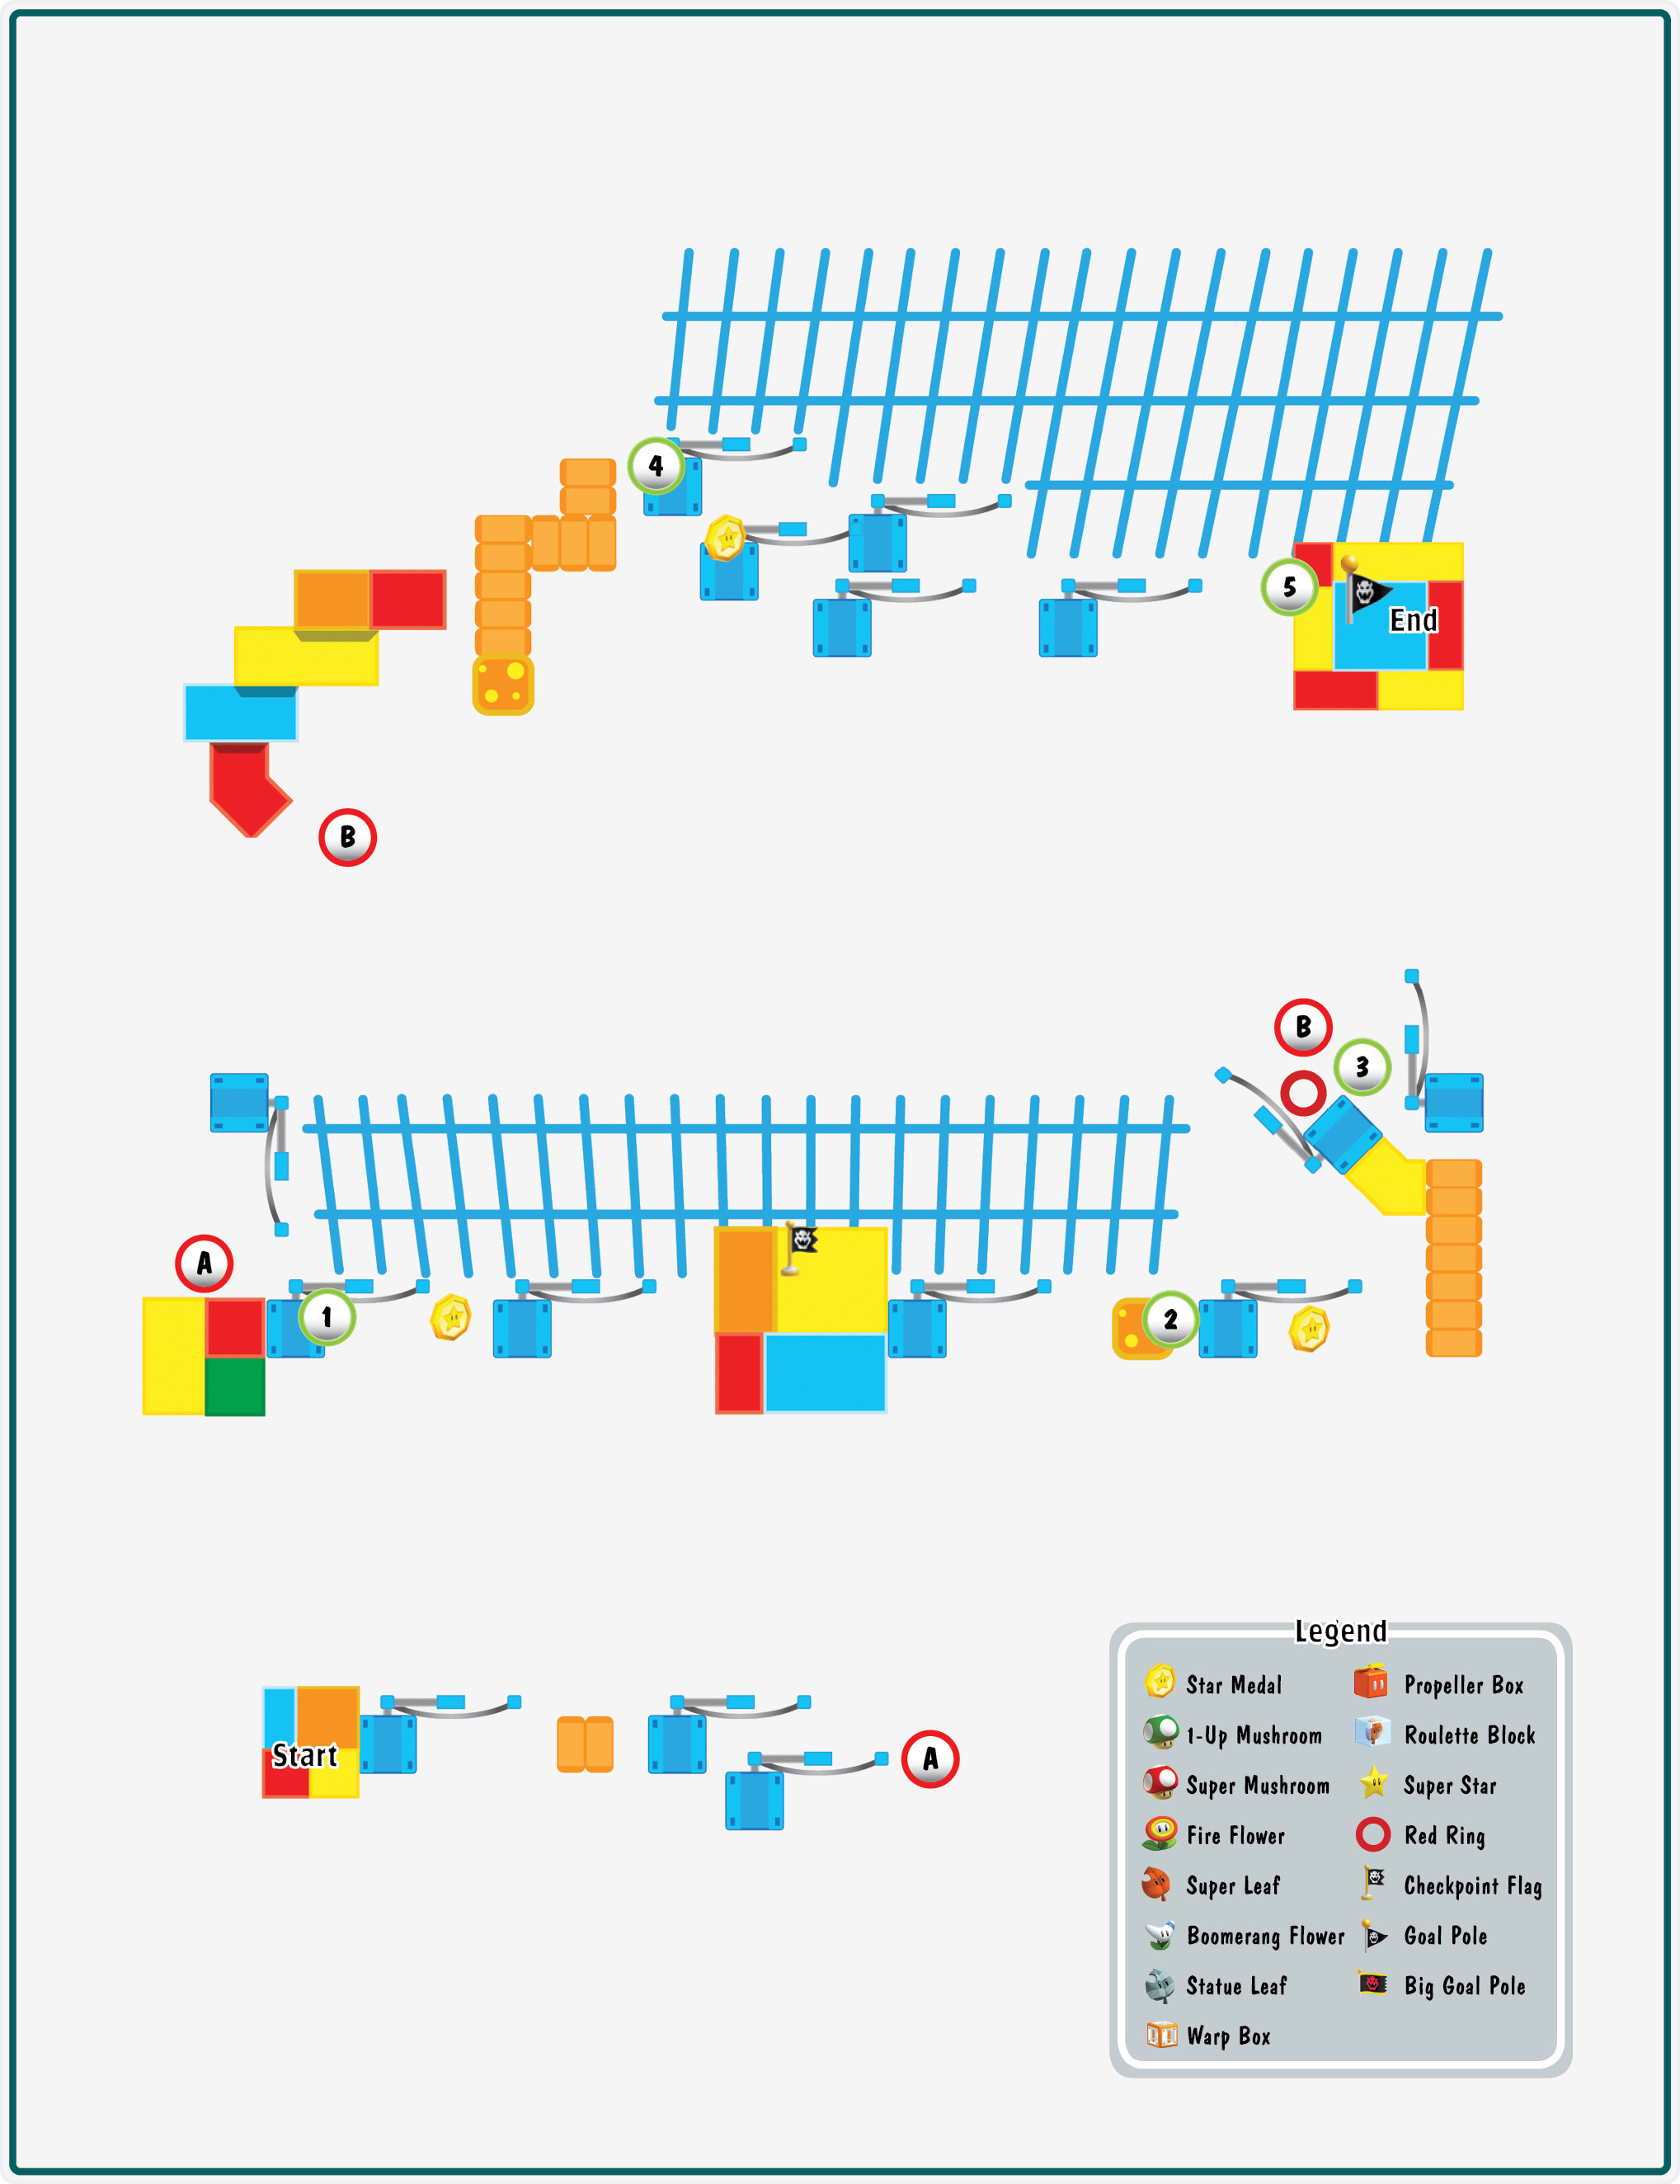
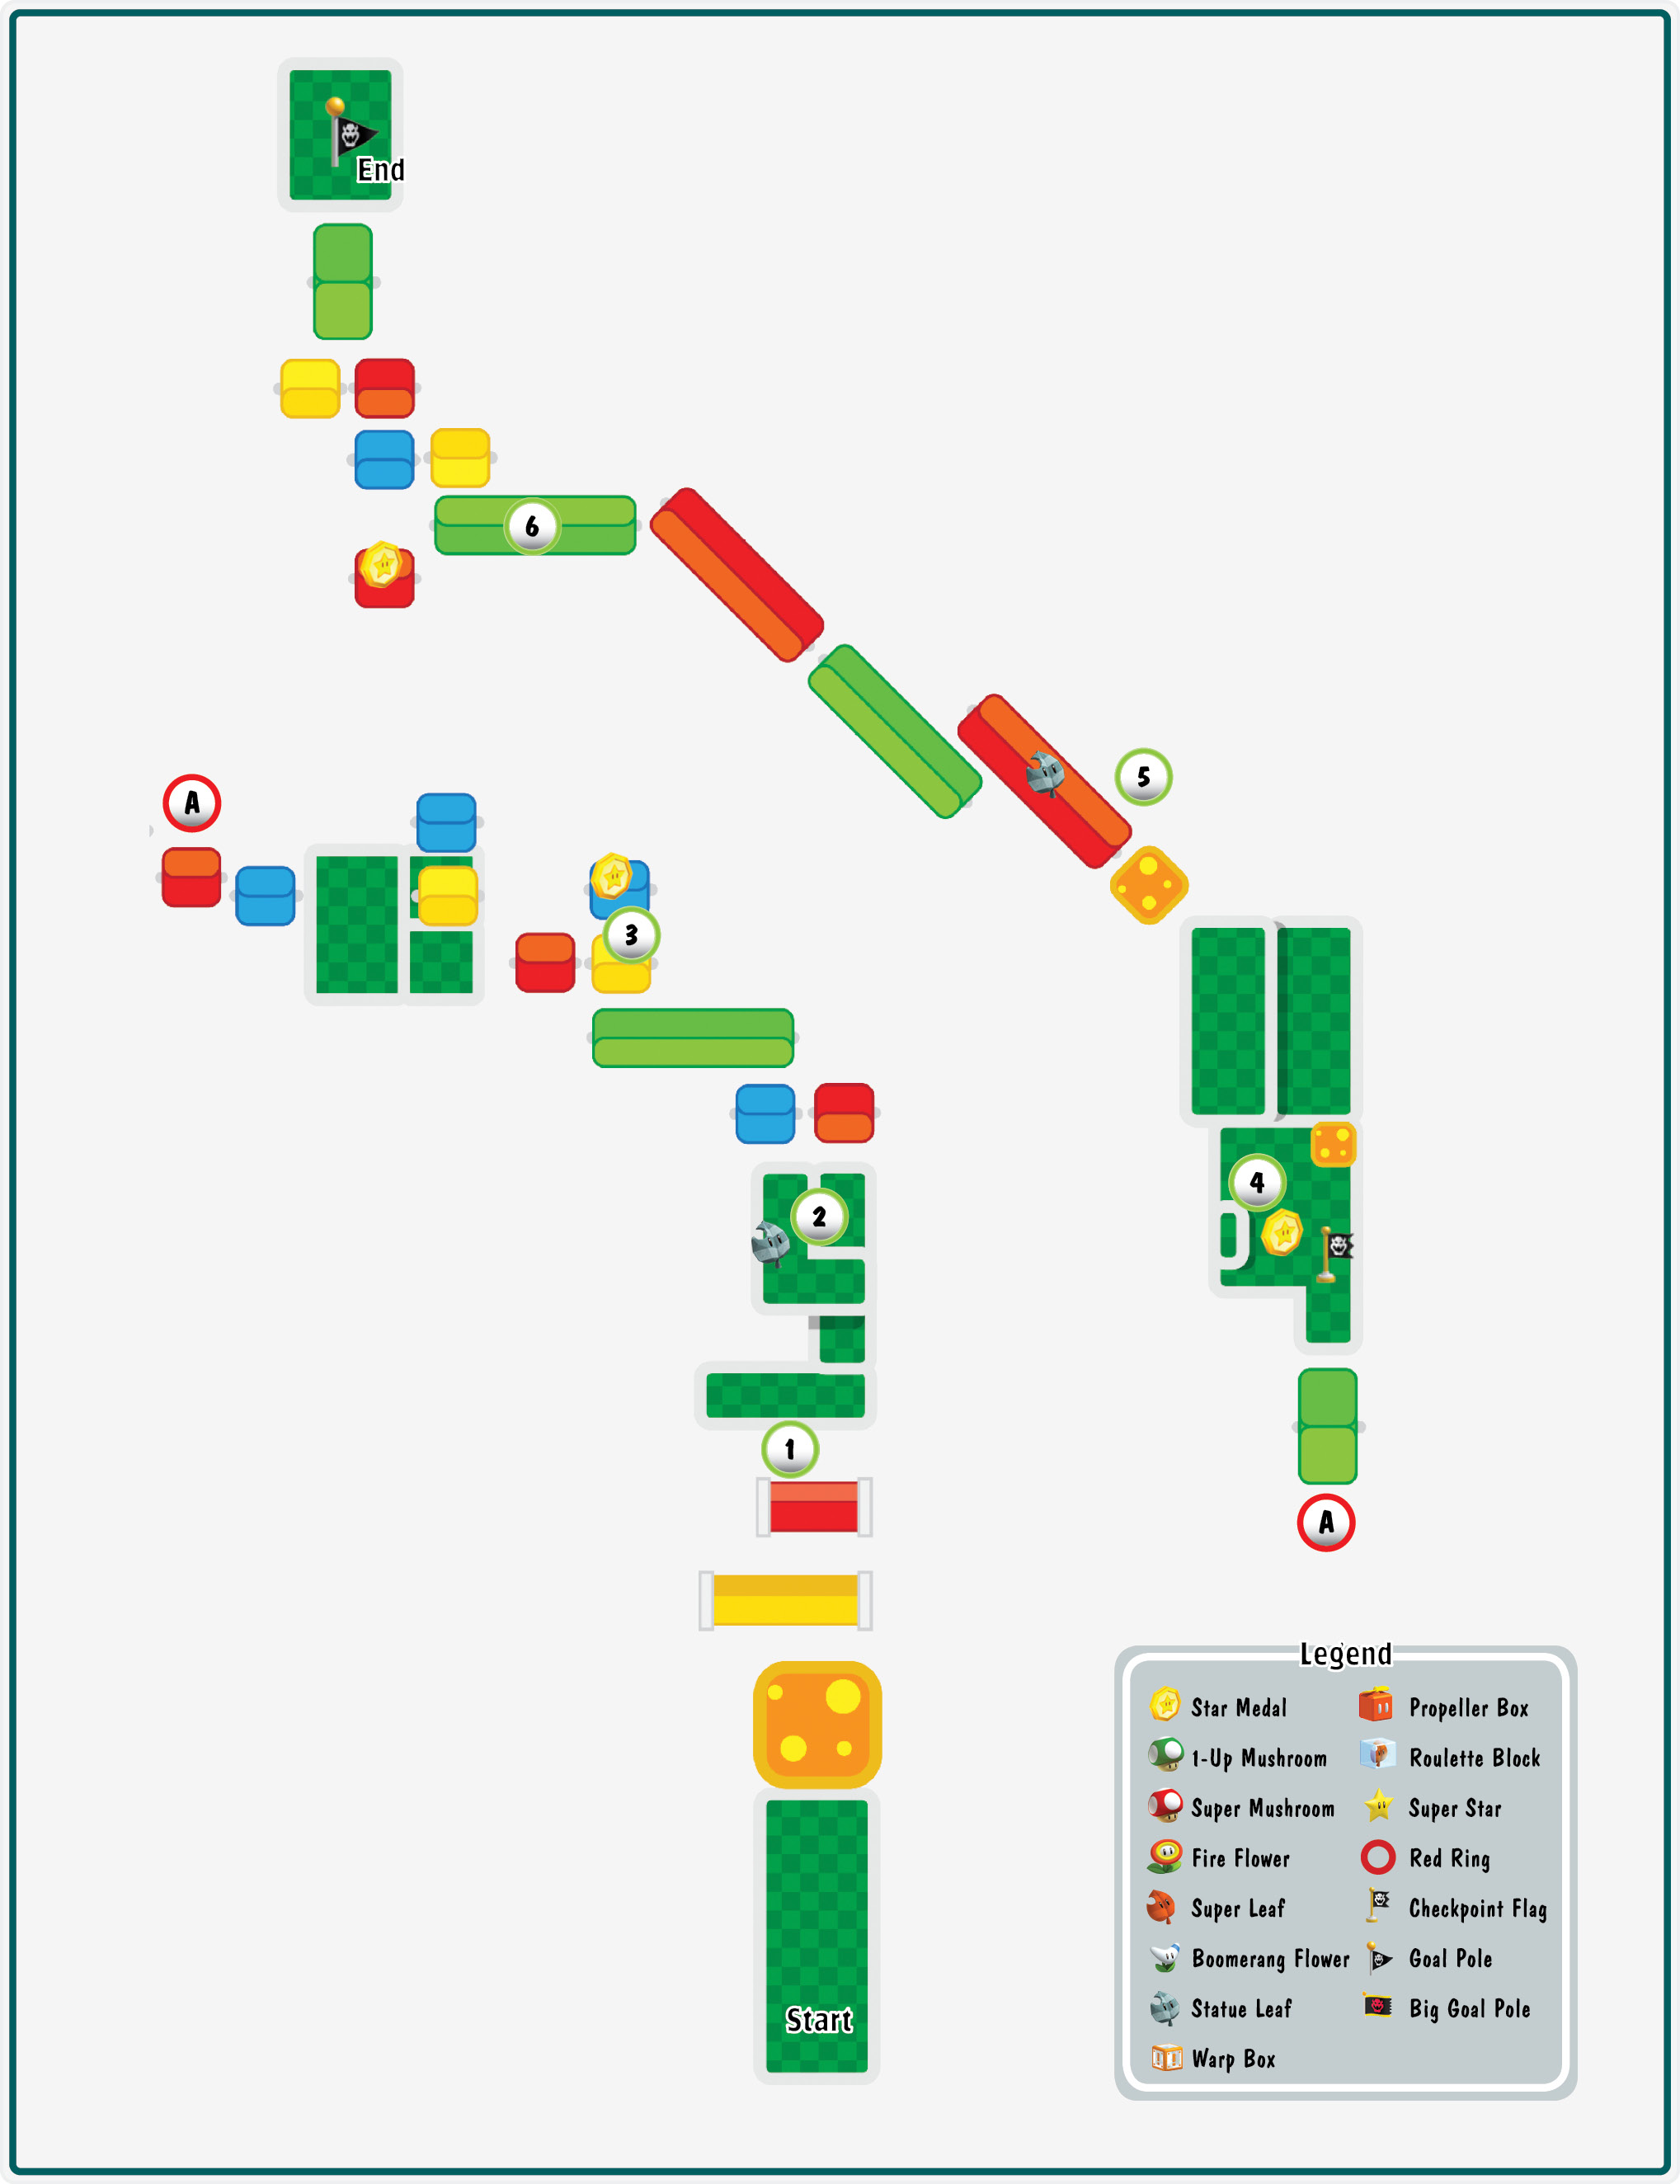
Star Medal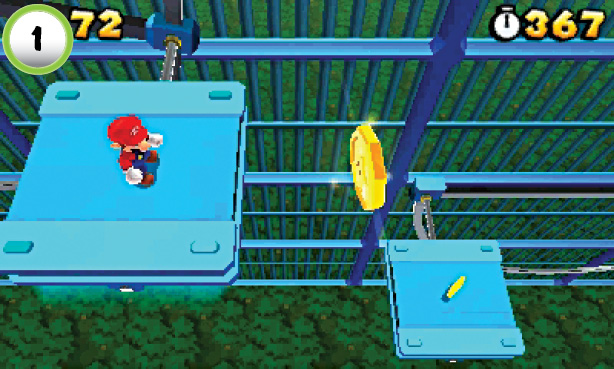 As you ride the platform at Point 1, look for the Star Medal floating to the right. Make a running leap through the Star Medal to land safely on the next platform. |
Star Medal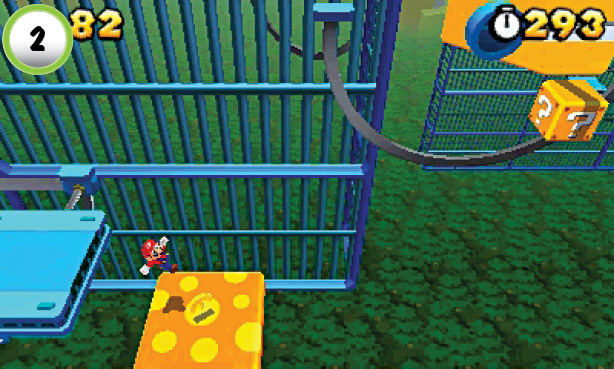 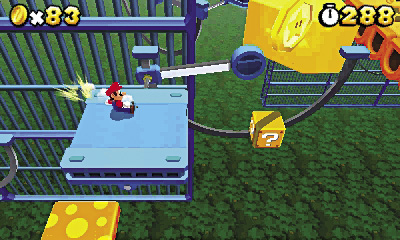 When you jump to the rubber platform at Point 2, bounce in place until the next platform swings toward you. When it moves into range, bounce onto the blue platform and jump over to collect the Star Medal. Land on the ? Block below the Star Medal, or steer your jump to meet the platform as it reaches the end of its path. |
Red Ring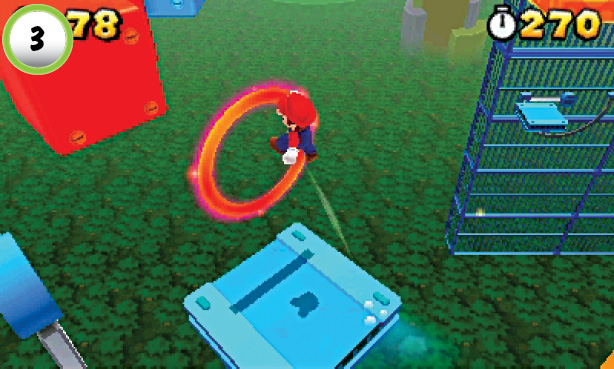 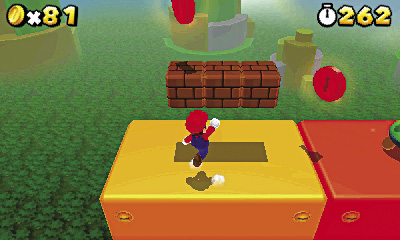 As you swing toward the Red Ring at Point 3, try to stay near the center of the platform. Jump up to pass through the Red Ring, then continue along the path. The Red Coins are farther away than normal, so keep moving until you see them. Collect the Coins from each of the platforms, then jump onto the nearby Blocks to grab the last one. Collect all of the Red Coins before they vanish to earn a power-up. |
Star Medal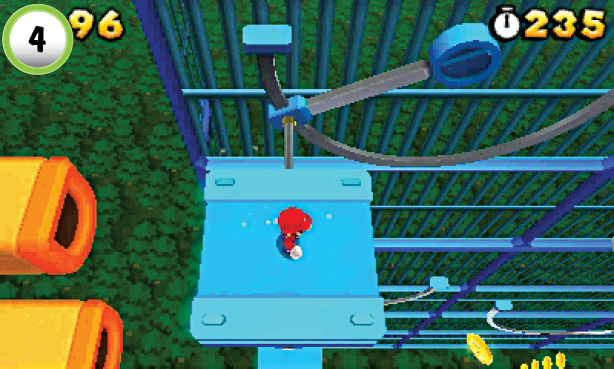 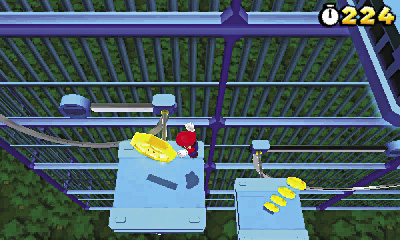 When you reach the swinging platforms at Point 4, the camera angle tilts down to show a Star Medal below you. Move down along the platforms and grab the Star Medal as you swing into range. |
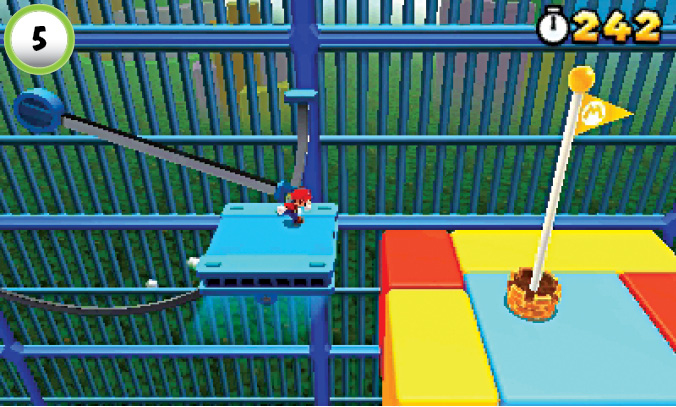
To reach the top of the Goal Pole, you must leap from the platform as it swings into position. Start running when the platform reaches the base of the Goal Pole, then jump from the edge as the platform reaches the end of its track.
Special 3-2
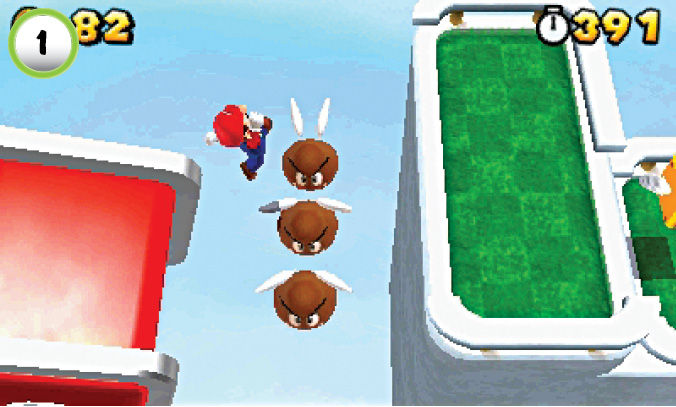
This level utilizes the colorful spinning platforms found in World 4-3. However, the location, direction, and size of each platform makes for some challenging jumps. As you move along the first group of spinning platforms, watch out for the gap at Point 1. Jump from the red platform and bounce off of a nearby Paragoomba to safely reach the ledge.
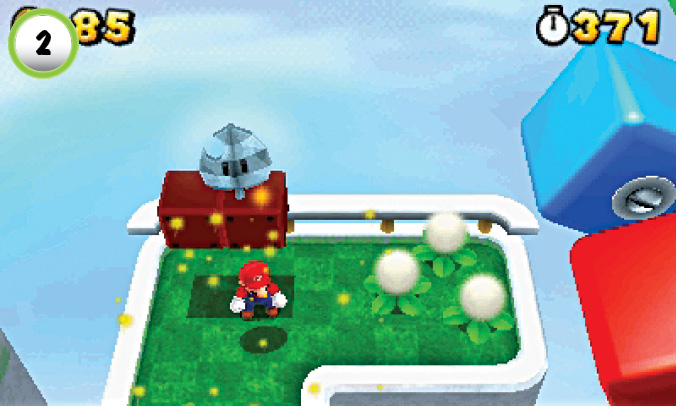
One of the ? Blocks at Point 2 contains a Statue Leaf. Make sure you collect it before you continue to the next series of spinning platforms.
Star Medal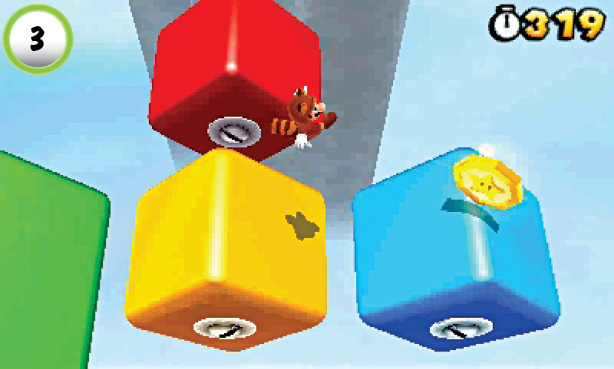 The level’s first Star Medal is located on the blue platform at Point 3. Flutter-jump over to collect it, then return to the main path. |
Star Medal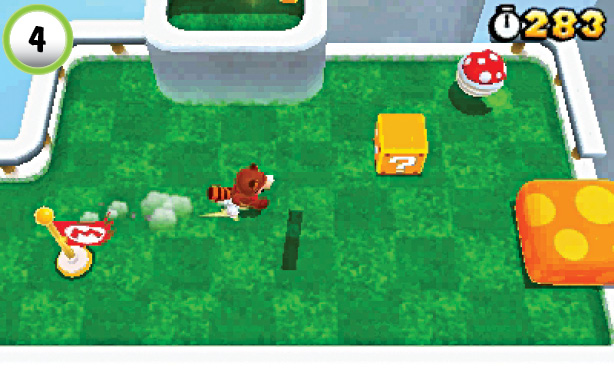 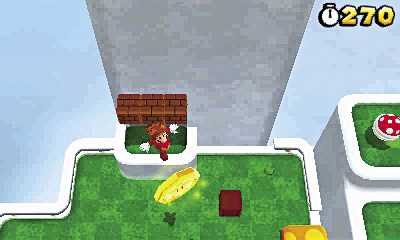 When you reach Point 4, use the Star Medal’s shadow to pinpoint its location. Jump up to the Blocks along the back wall. If you still have a Tanooki Suit, flutter-jump over to the Star Medal; if not, perform a wall jump to gain enough distance. |
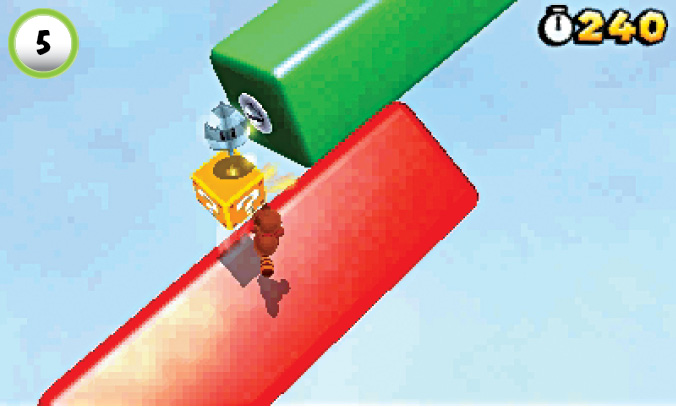
The ? Block at Point 5 contains another Statue Leaf. Make sure you collect this valuable power-up before it slides off the platform.
Star Medal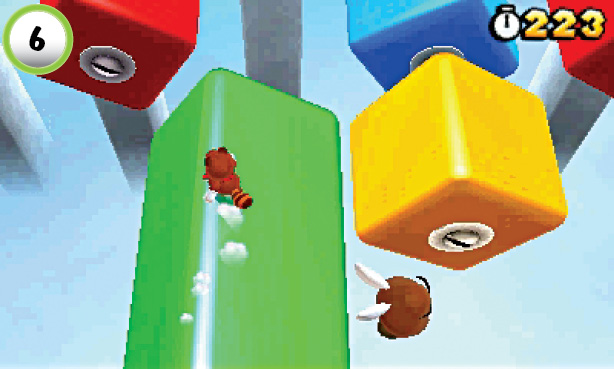 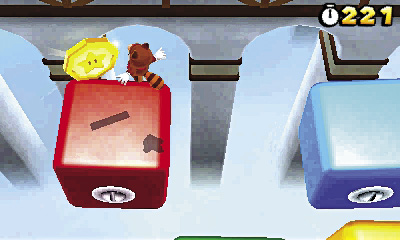 As you run along the green platform at Point 6, look for the small, red platform to the left. When you’re within range, jump across to the red platform to collect the level’s last Star Medal. |
Special 3-3
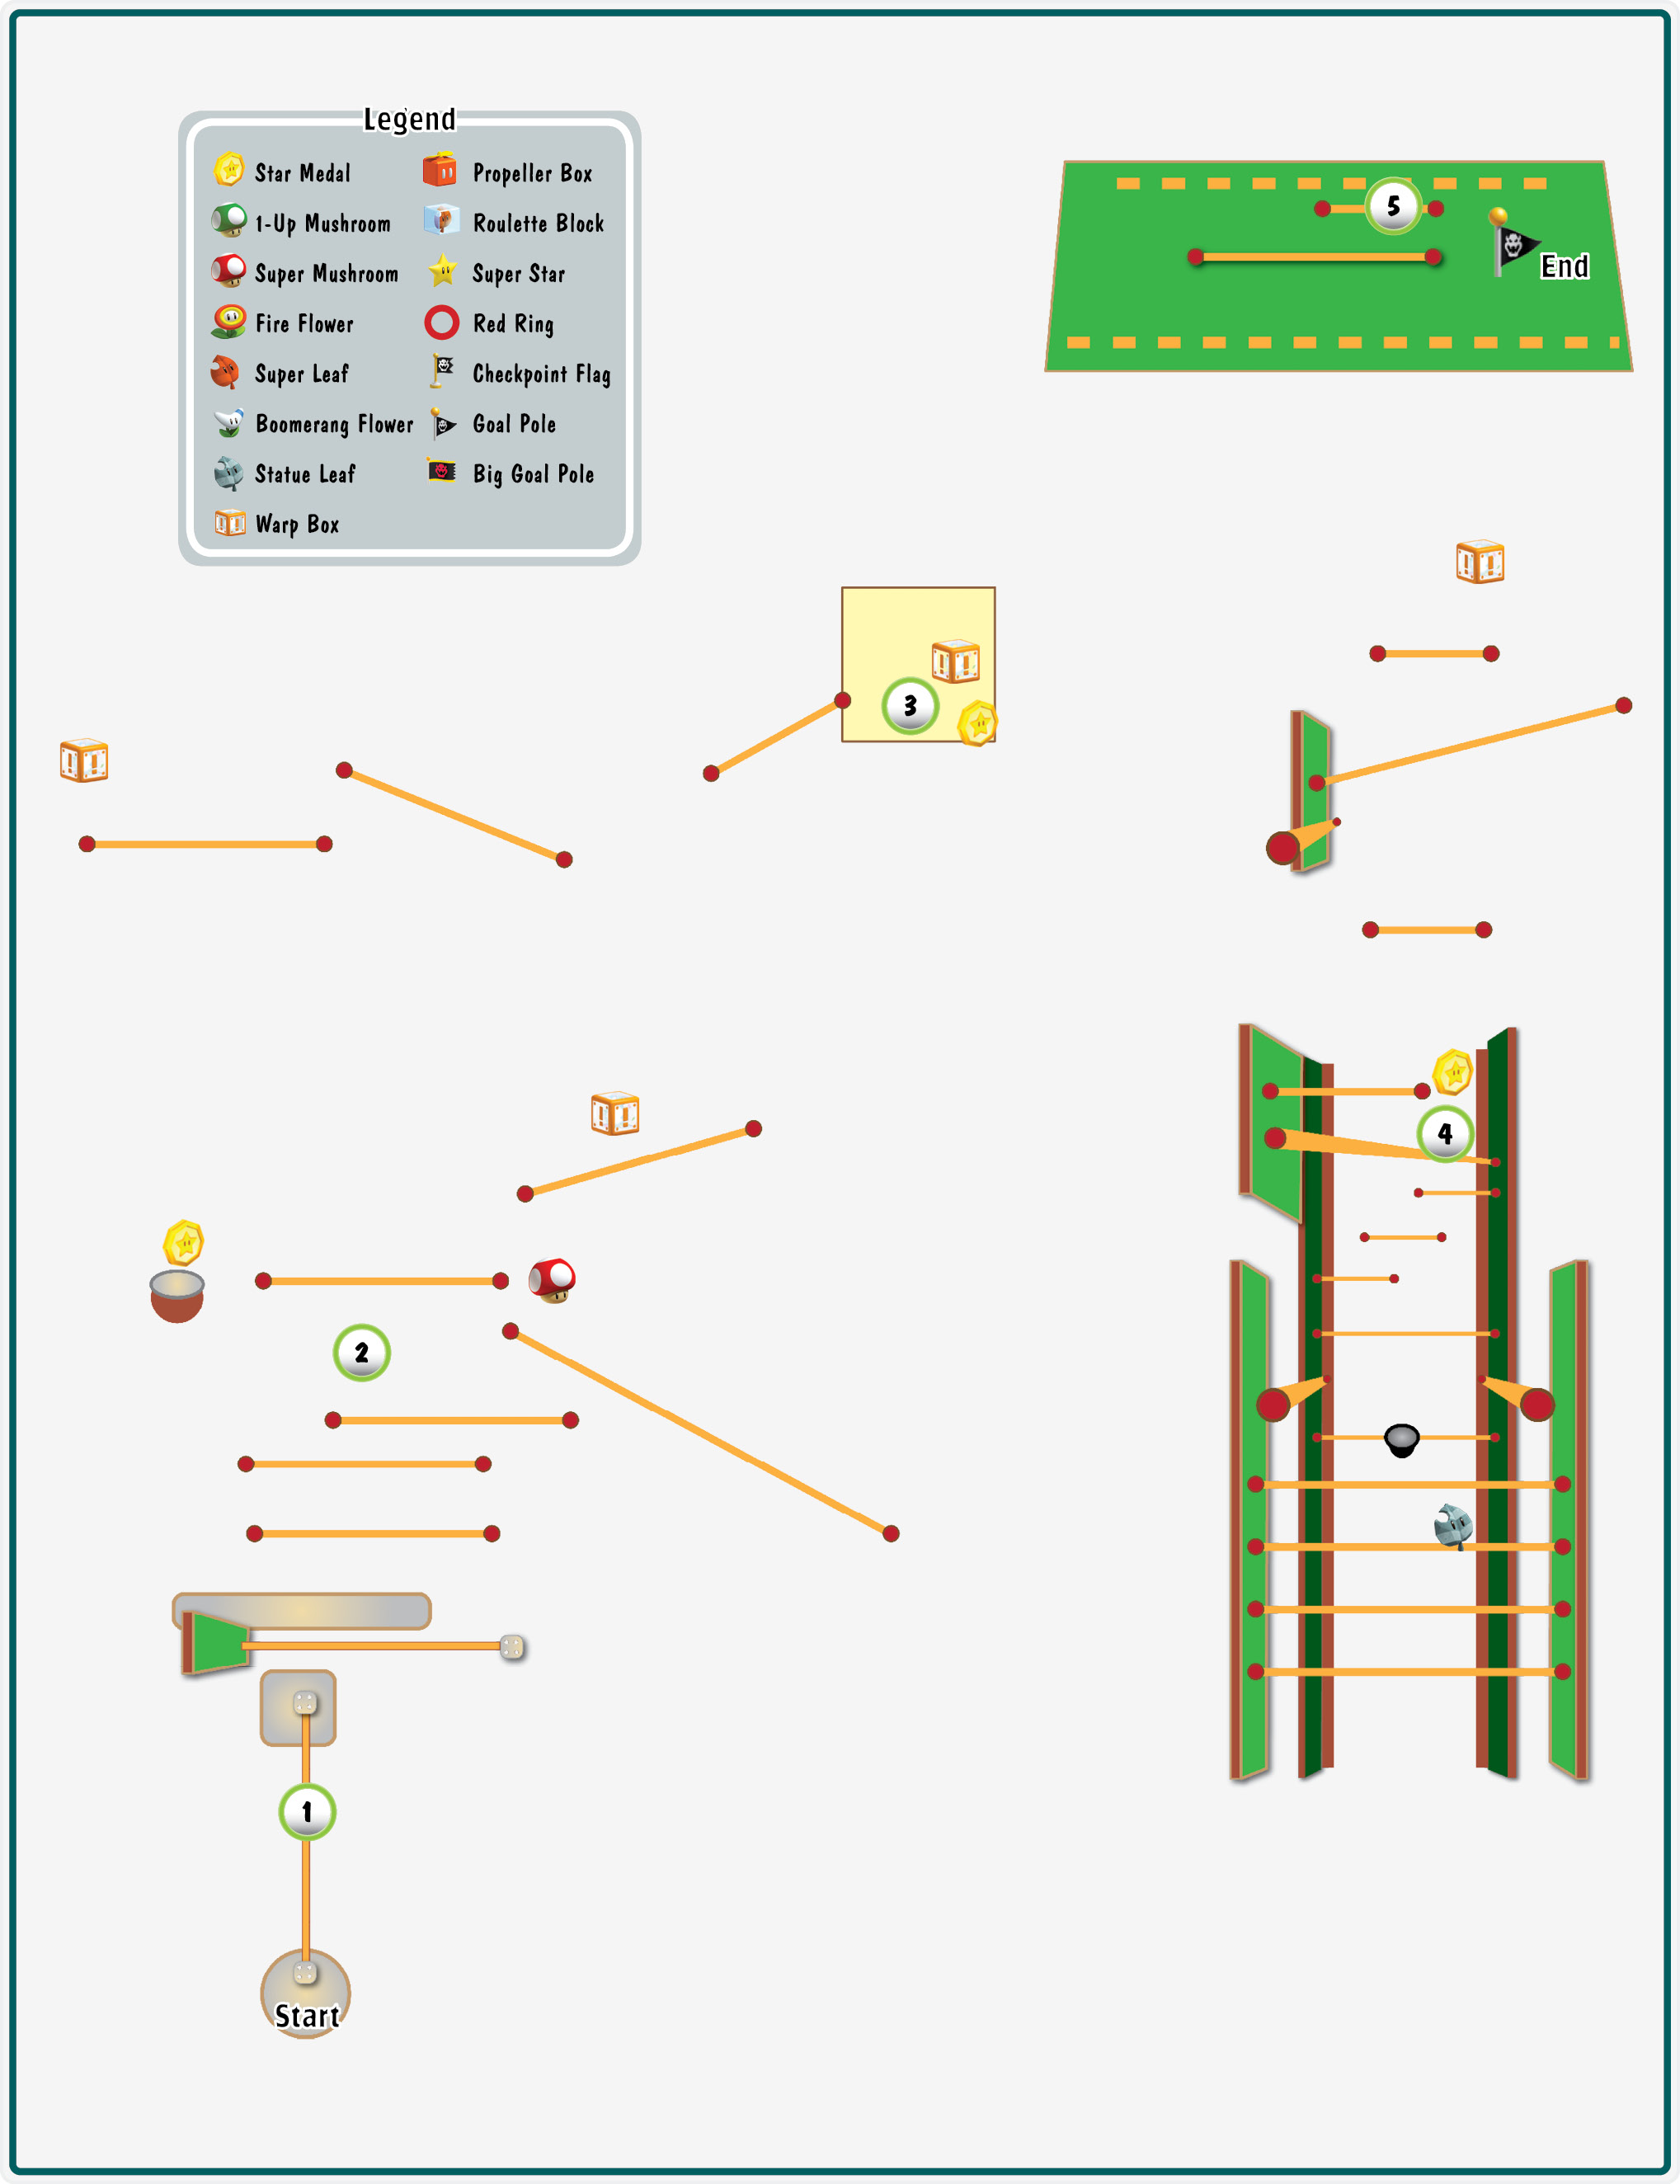
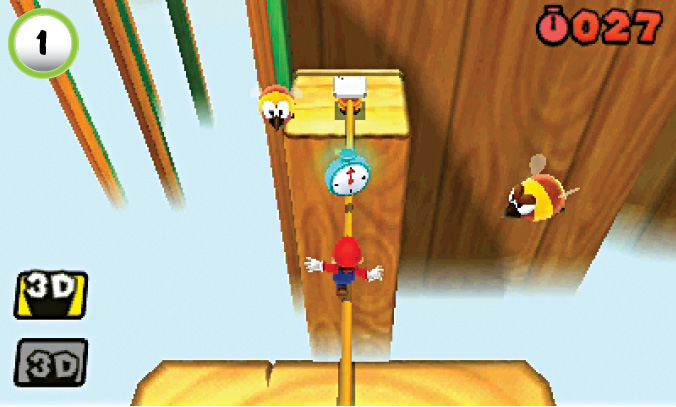
The level starts with just 30 seconds on the clock, so speed should be your priority. Collect the + Clocks located throughout the level, and avoid enemy encounters whenever possible.
Star Medal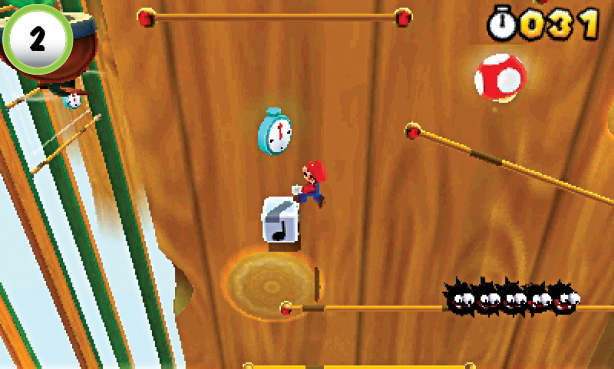 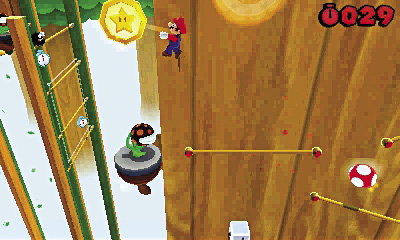 Slip past the Fuzzies, and use the Note Block at Point 2 to bounce straight up to the tightrope above you. The Star Medal is just above the Fire Piranha Plant to the left. Bounce over and grab the Star Medal, then drop down and take out the Fire Piranha Plant. Head back to the right and drop down to grab the Super Mushroom and a + Clock, then bounce up and enter the Warp Box. |
Star Medal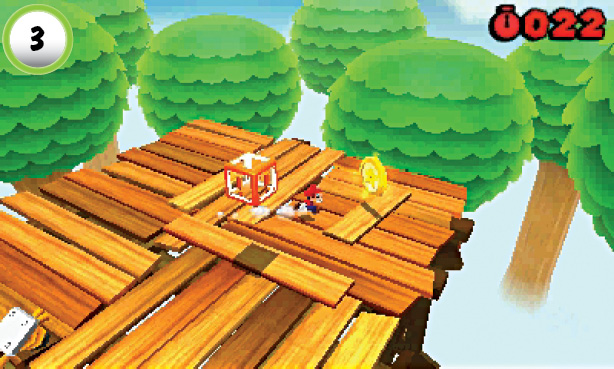 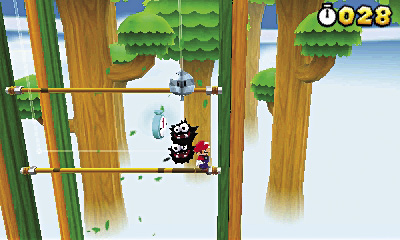 Grab the Star Medal at Point 3, then jump into the nearby Warp Box. When you emerge, you land on a tightrope. Move to the right and let the incoming Fuzzies pass by, then grab the Statue Leaf that’s trailing behind them. |
Star Medal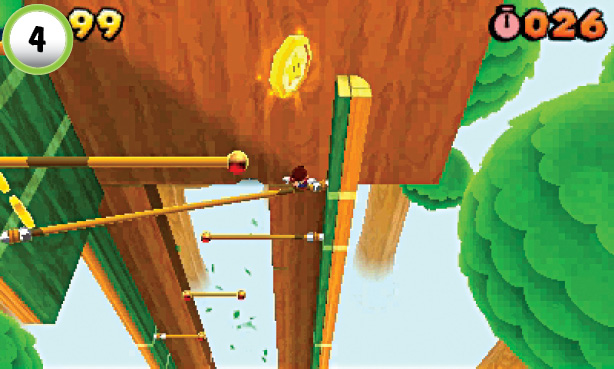 When you reach Point 4, the level’s last Star Medal is floating directly above you. Jump up to grab it, then continue along the tightropes. |
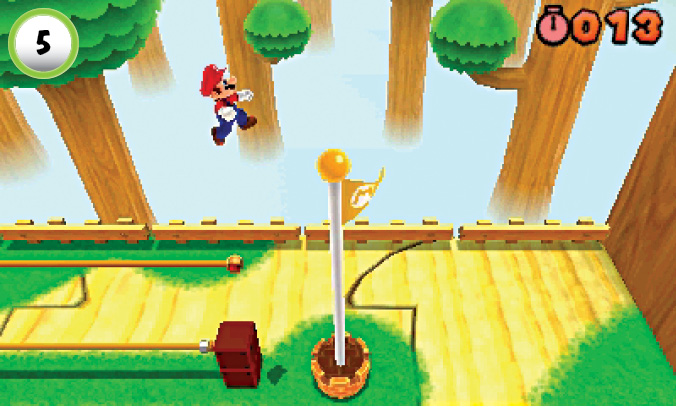
To reach the top of the Goal Pole, perform a well-timed bounce from the nearby tightrope. With enough height, you shouldn’t have any trouble making a perfect landing.
Special 3—Mystery BoxAfter you complete Special 3-3, you gain access to a new Mystery Box. This Mystery Box contains a random encounter. Clear the area and collect your reward before time runs out. |
Special 3-4
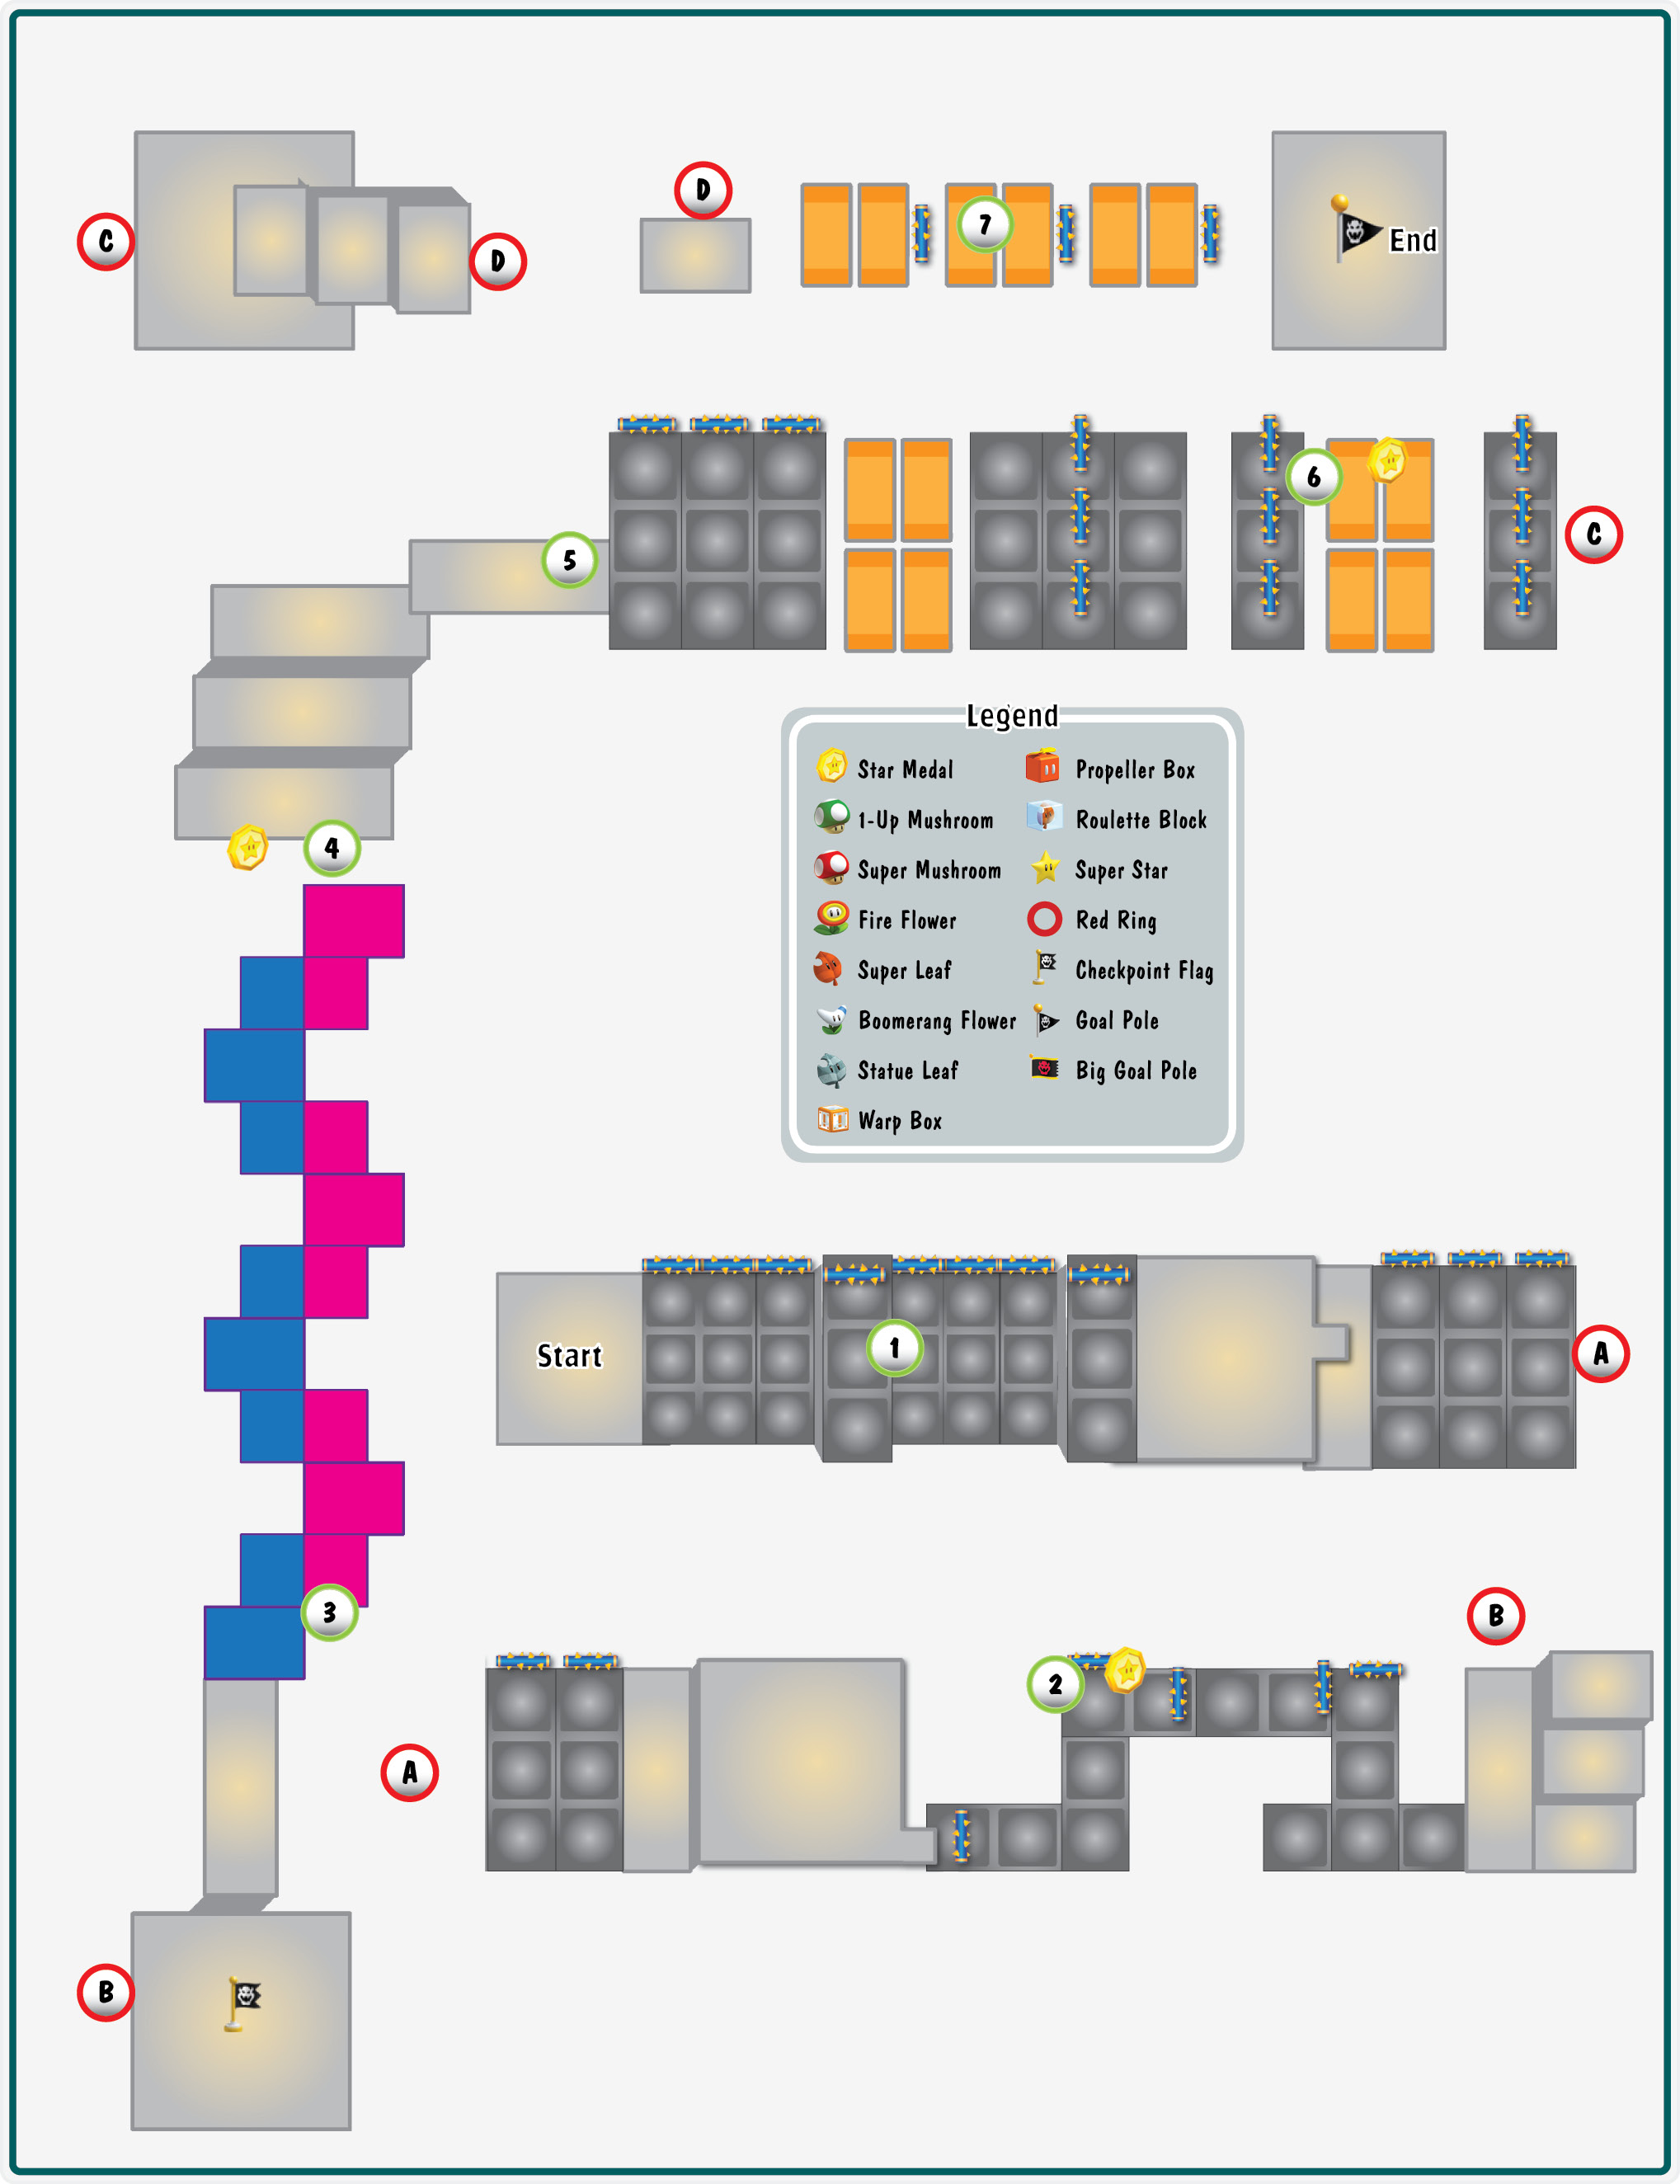
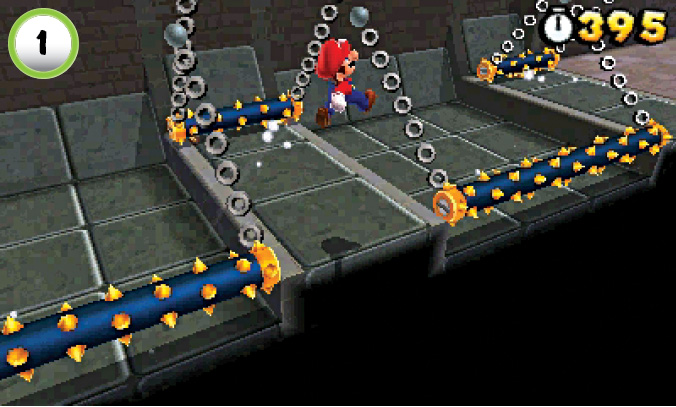
This level has very few enemies, so most of your time is spent negotiating devious traps. Spiked hazards are located throughout each area, and they can vary in size, shape, and behavior. Timing is essential! Before you charge into a cluster of swinging spikes, take a moment to observe their movements and identify the nearest safe areas.
Star Medal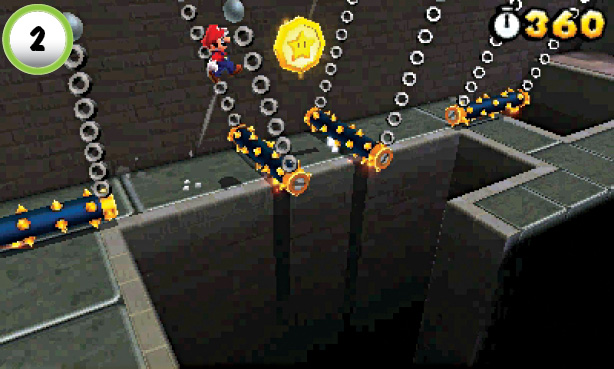 The first Star Medal is located at Point 2. As you dodge the spikes along the walkway, time your jump to grab the Star Medal. It won’t take long for the spikes to return, so make sure you keep moving. |
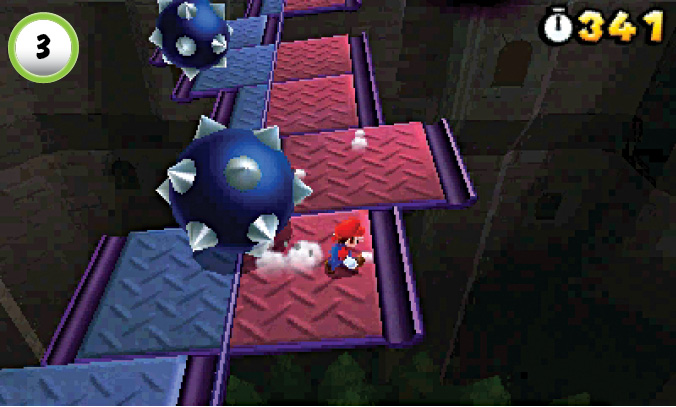
As you approach Point 3, giant spiked balls begin rolling across the tilting walkway. Dodge through the spiked balls, or tilt the walkway to roll each of the hazards out of your path.
Star Medal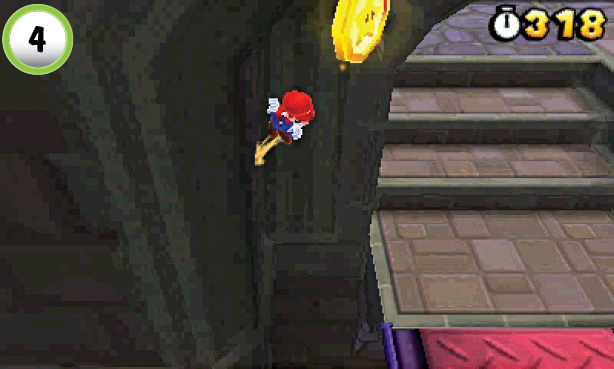 When you reach the end of the tilting walkway, listen for the distinctive sound of the nearby Star Medal. Wall-jump off of the archway’s left side to grab the hidden Star Medal before you move on. |
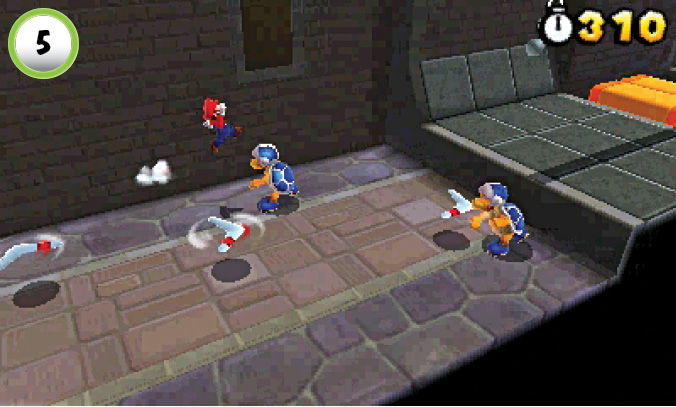
Defeat the Boomerang Bros at Point 5 to collect a Boomerang Flower. The hazards just ahead are particularly devious, but this useful power-up should help you get through them.
Star Medal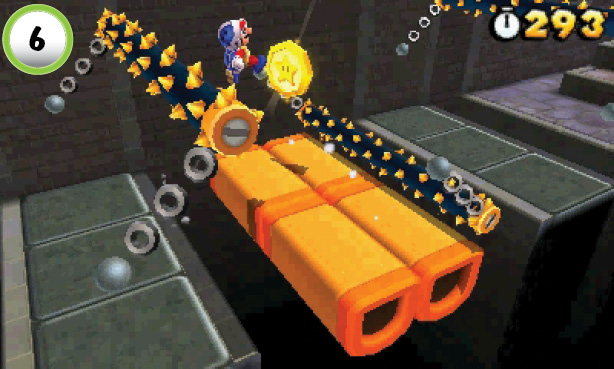 The level’s last Star Medal is floating above the Donut Blocks at Point 6. Dodge through the spikes, then jump over to grab it. When you land, try to touch down on a single platform. If the path ahead is clear, make a running leap across the gap. If you need a moment to time your jump, hop between the remaining Donut Blocks while you look for an opening. |
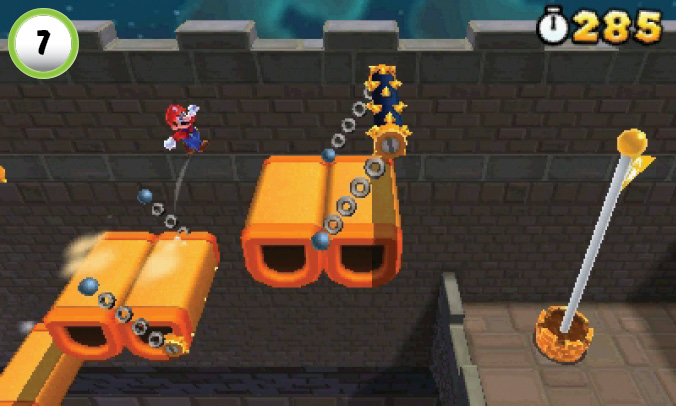
The spikes near the end of the level can make it a bit difficult to jump across the Donut Blocks. You have a little time before each platform drops away, so make sure the path is clear before you attempt each jump. When you reach the last pair of platforms, make a running leap to the top of the Goal Pole.
Special 3-5
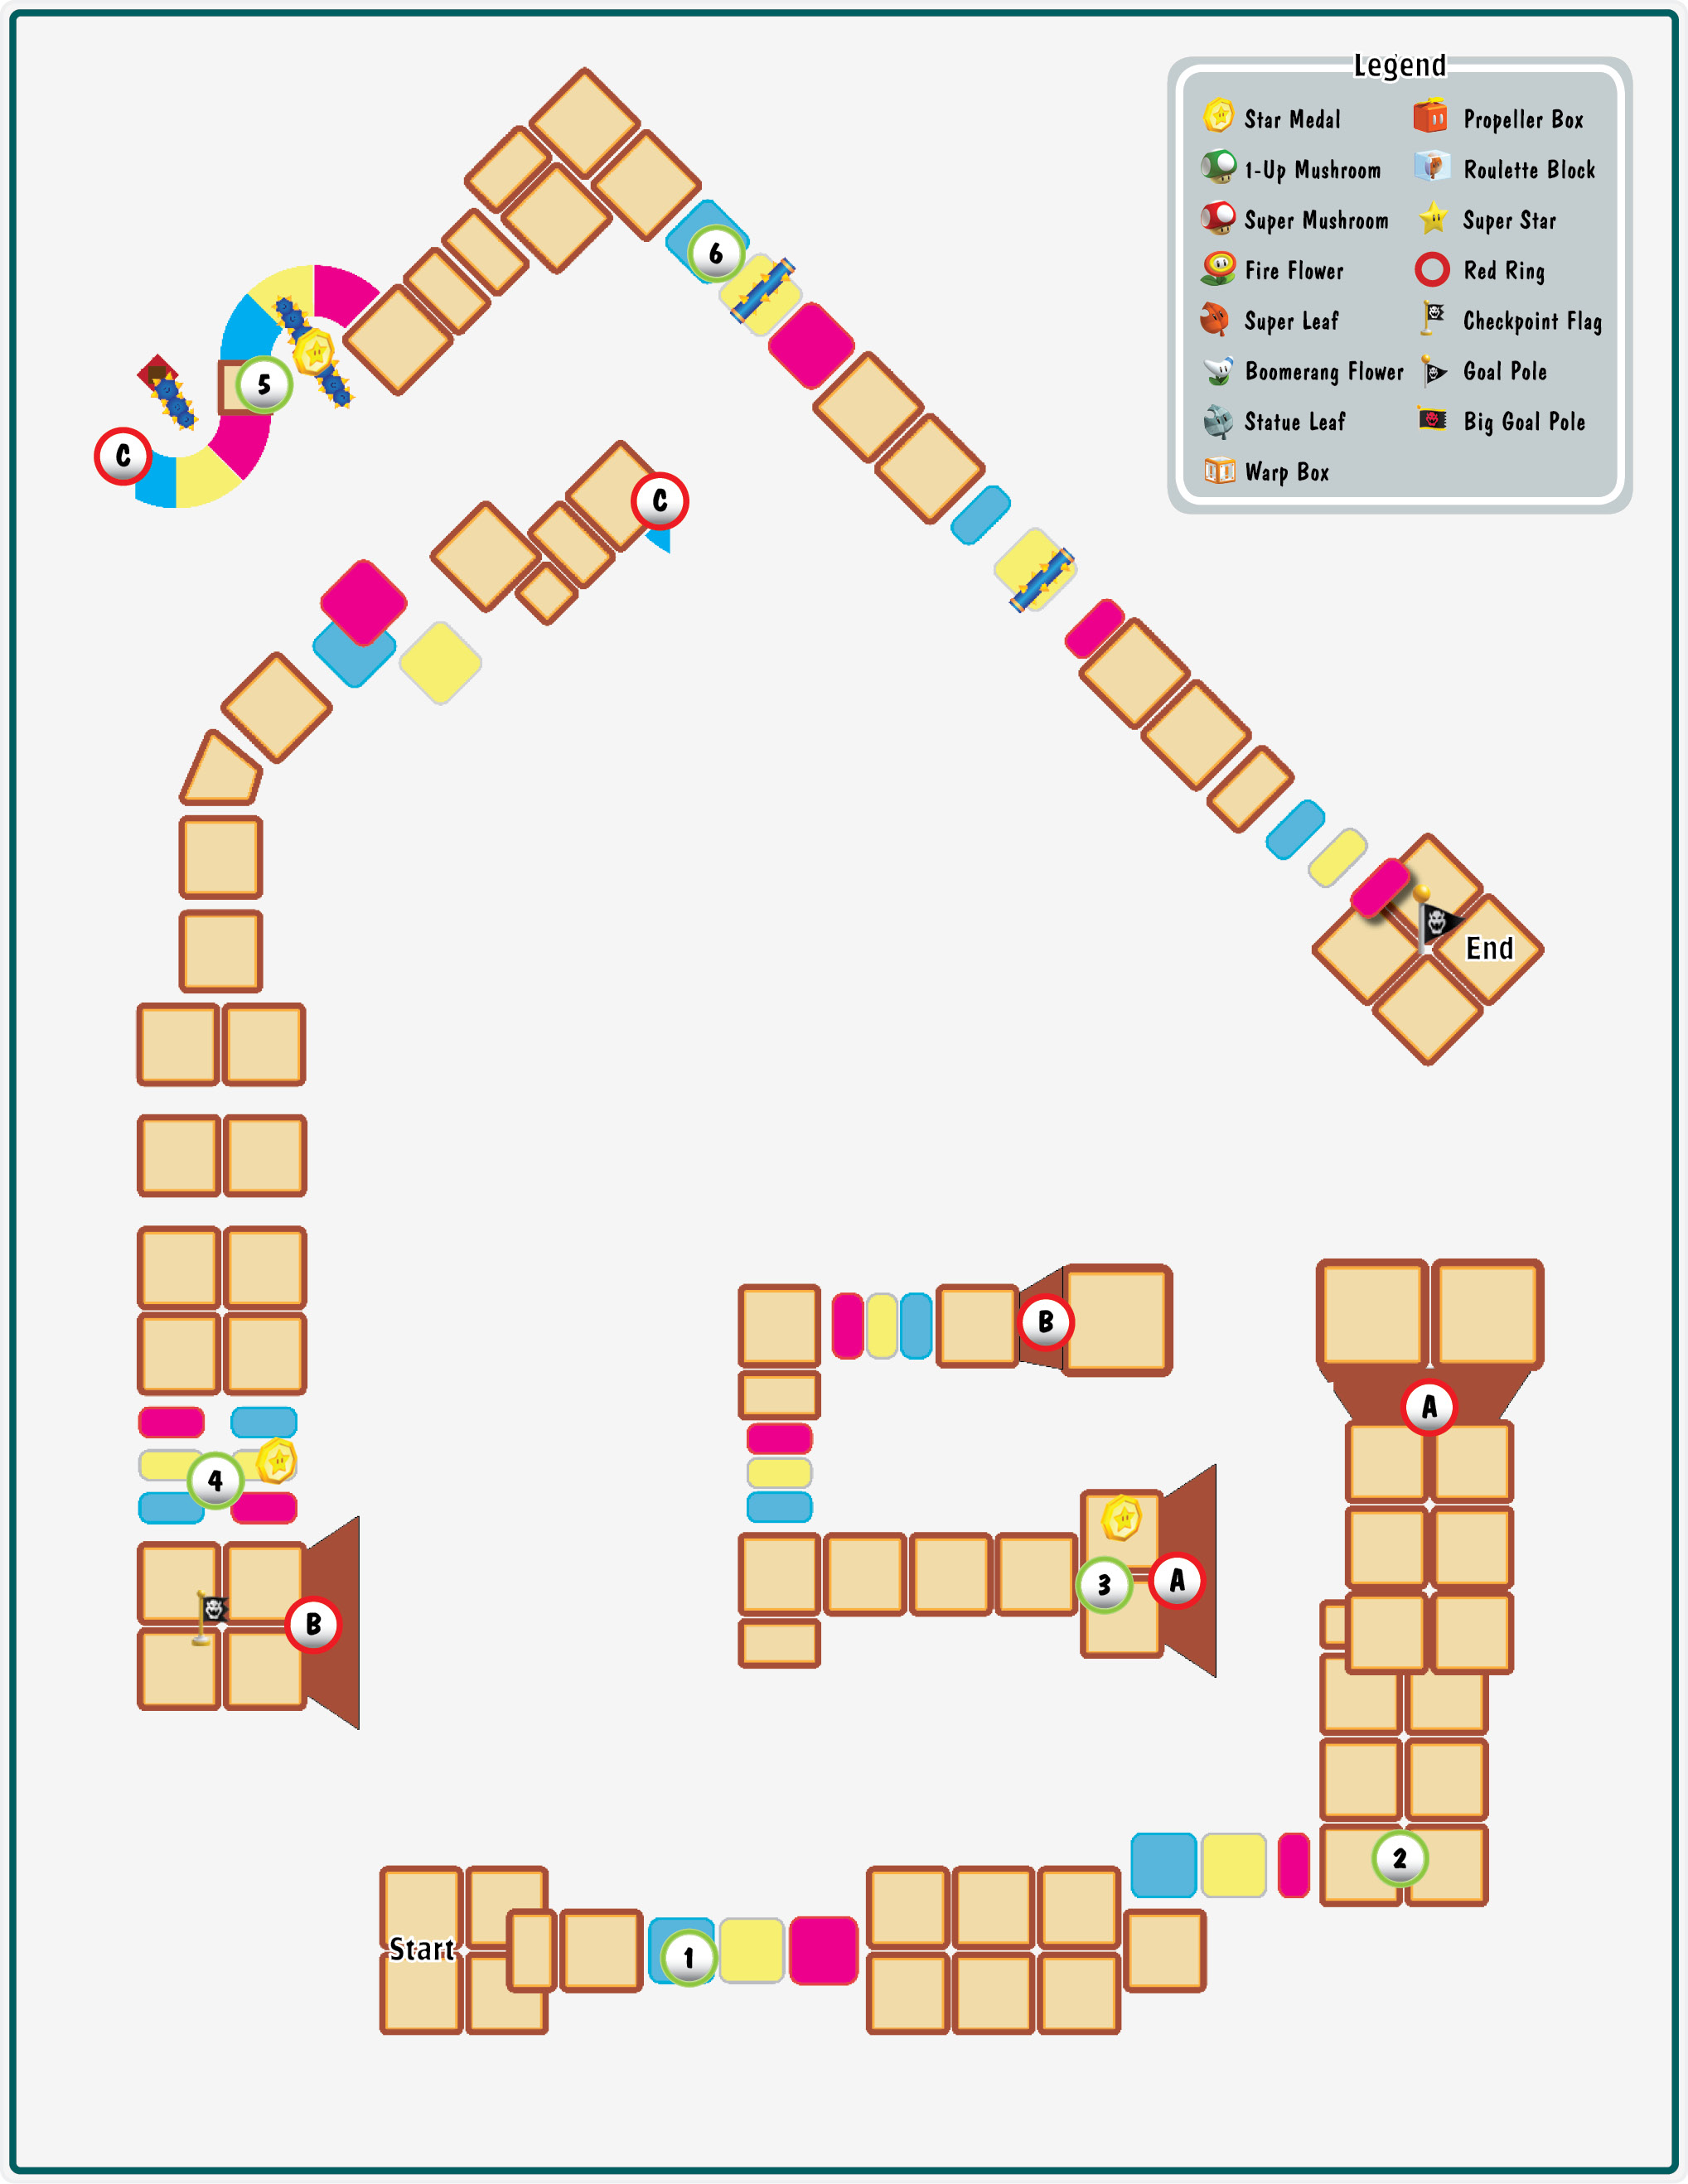
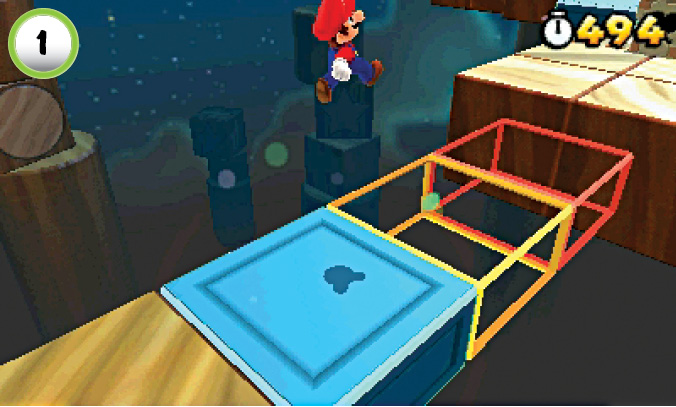
This level is very similar to World 6-4, but the vanishing platforms are a bit tricker this time around. Once again, the colored platforms appear and disappear in time with the music, but each one only stays in place for a single beat. To cross the gaps along the path, you must anticipate the appearance of each platform. Listen to the music, and jump between beats to ensure your intended platform appears below you.
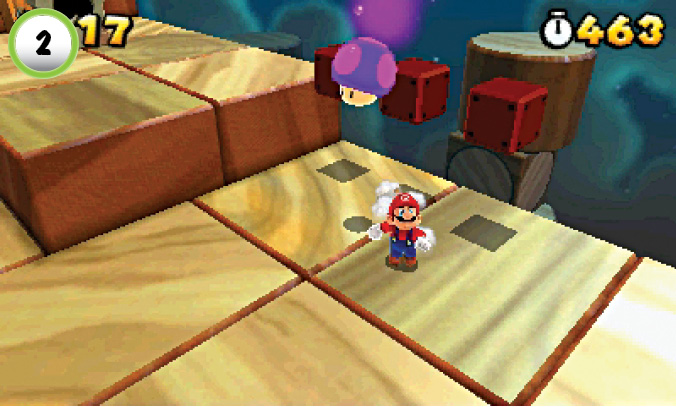
One of the ? Blocks at Point 2 contains a Poison Mushroom. When you search these ? Blocks, avoid hitting the one in the middle.
Star Medal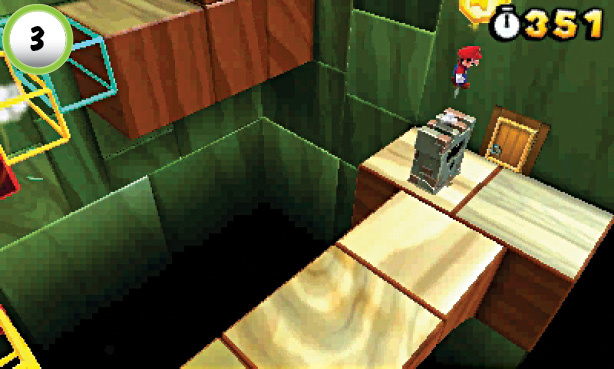 When you reach Point 3, wait for the Wallop to meet you at the door. Jump up to bait the Wallop into doing the same, then hop onto its head when it slams to the ground. When the Wallop recovers, jump up and grab the Star Medal. |
Star Medal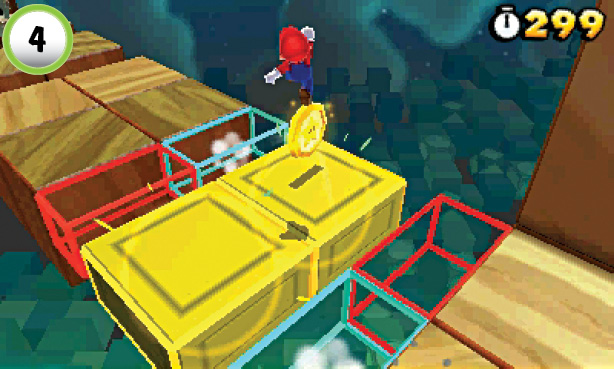 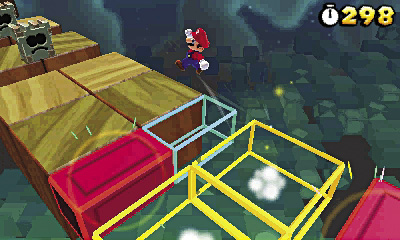 The second Star Medal is floating just past the Checkpoint Flag. Jump to the Star Medal just as the yellow platforms are about to appear, then hop off before they vanish again. Hop over to the pink platform as it appears, or simply leap clear across the gap. |
Star Medal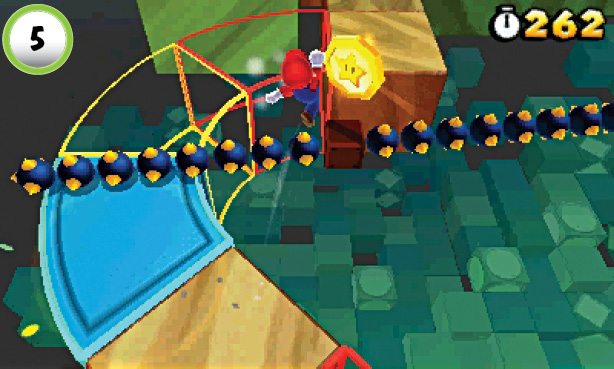 Collecting the level’s last Star Medal is a dangerous undertaking. Negotiate the vanishing platforms and rotating spikes to reach Point 5, then leap across to grab the Star Medal. The used Block doesn’t offer much room to land, so accuracy is the key to a safe jump. |
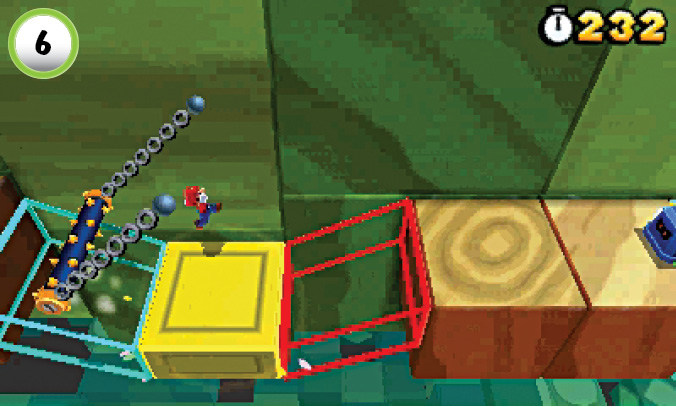
When you cross the platforms at Point 6, make sure you time your jumps to avoid the swinging spikes. Listen to the beat of the music, and watch the spikes swing back and forth. It’s best to step onto the blue platform as the spikes are swinging toward you. As you jump over the spikes, the yellow platform should appear beneath you.
Special 3—Ship
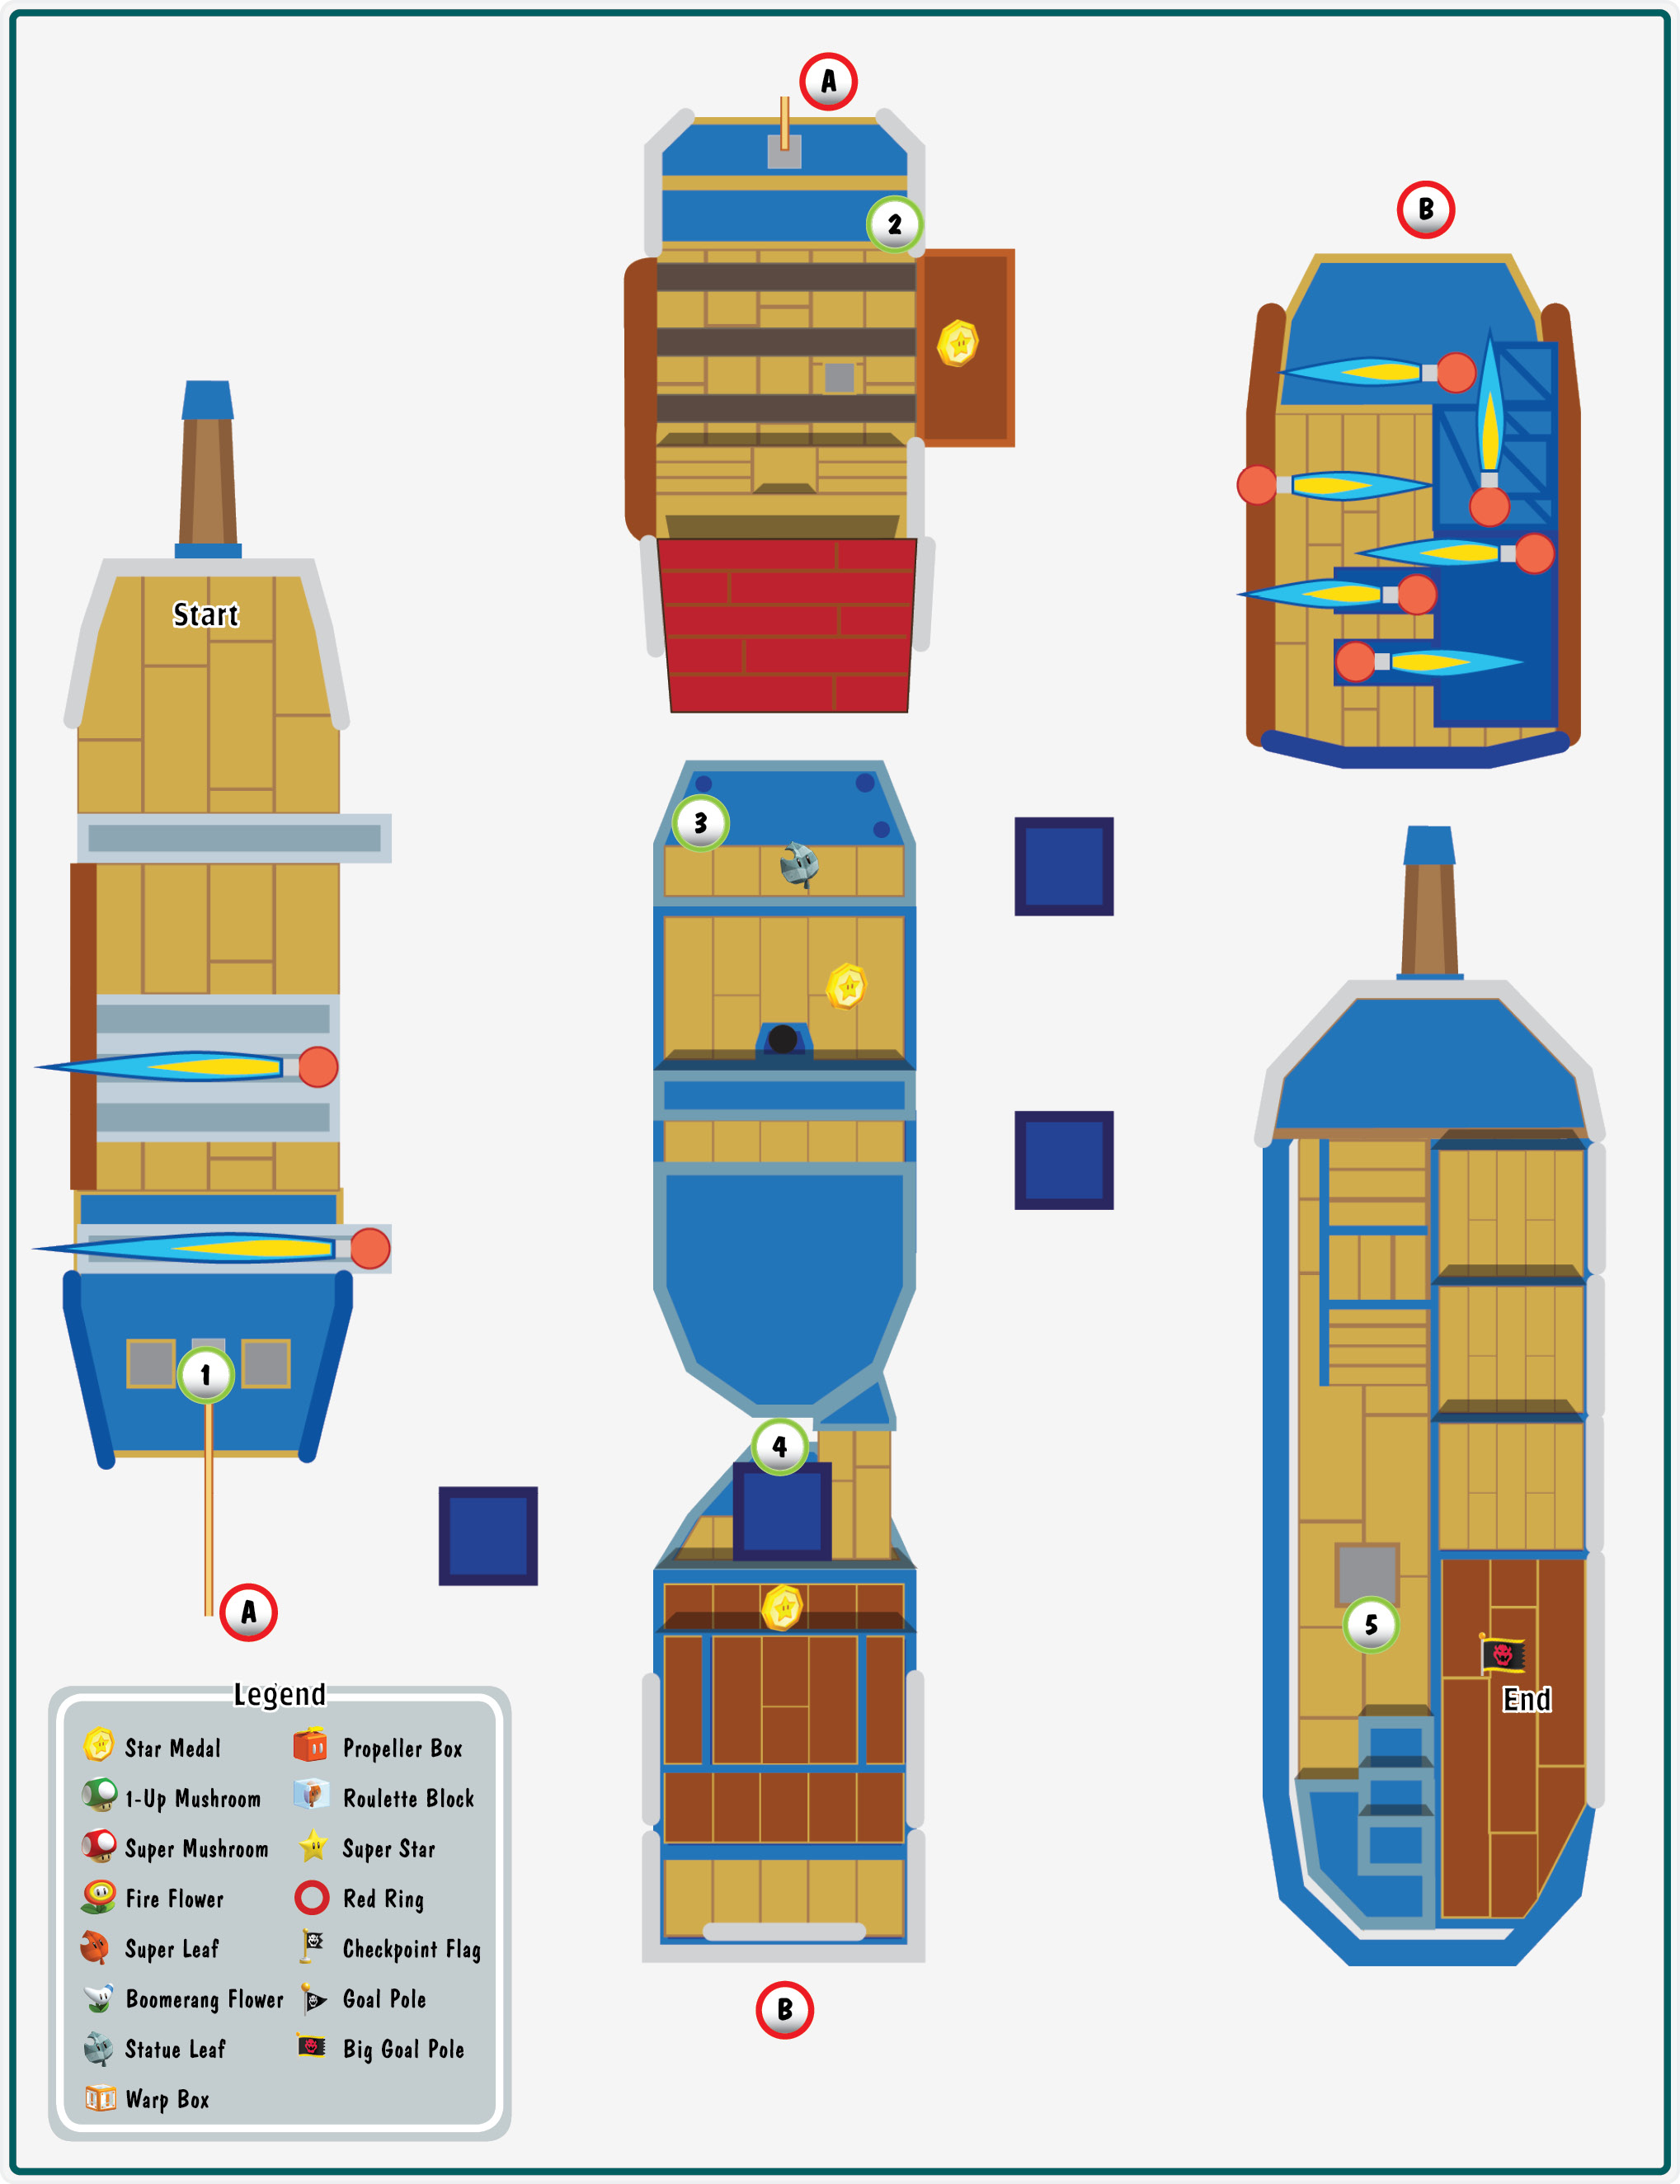
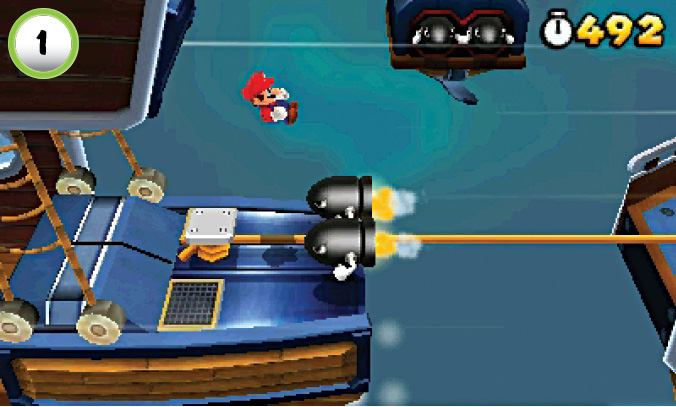
When you reach the tightrope, bounce up to avoid the incoming Bullet Bills. These fast-moving enemies are located all throughout the level, so always be ready to make an emergency jump.
Star Medal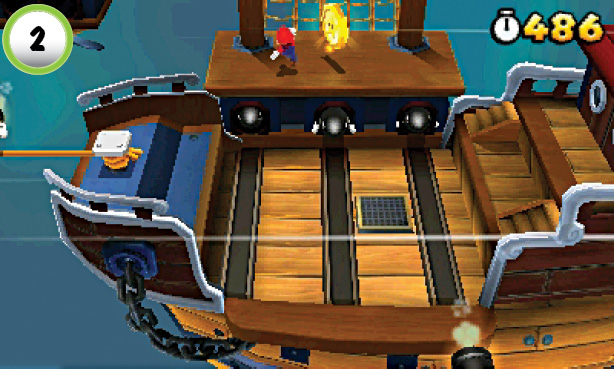 The first Star Medal is located on the ledge at Point 2. Jump up to collect it, then continue along the ledge to avoid the Bullet Bills shooting across the deck. |
Star Medal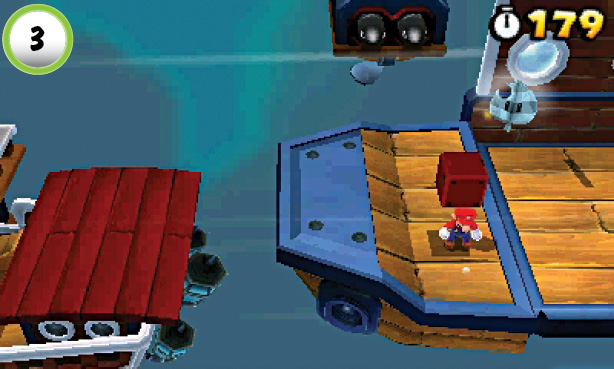 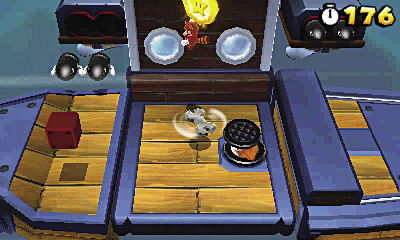 Hit the ? Block at Point 3 to collect a Statue Leaf, but move quickly to avoid the Bullet Bills. Watch out for the Rocky Wrench to the right, and wall-jump to the Star Medal floating high above the deck. |
Star Medal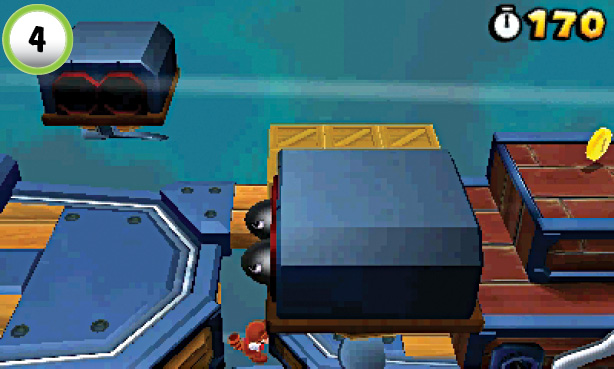 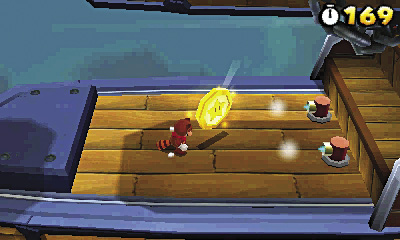 The level’s last Star Medal is located below the main path. Deal with any emerging Bullet Bills, and drop through the gap at Point 4. Run through the Star Medal, but make sure you avoid any exhaust from the nearby jet engines. |
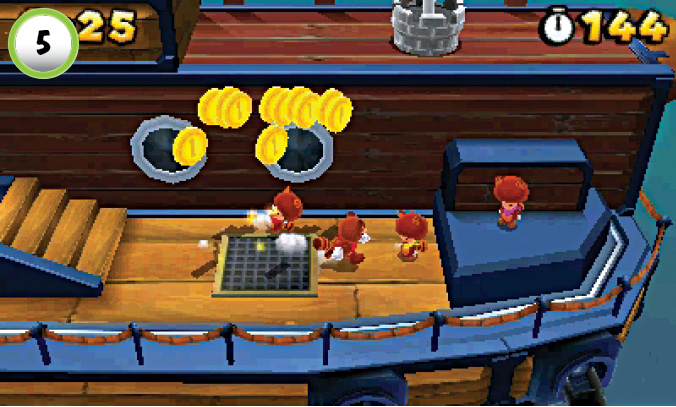
Before you make your Goal Pole jump, look for the group of Toads cheering you on. Run through the group of Tanooki Toads to reveal a nice stash of coins.