
Super Mario 3D Land Guide Walkthrough Specials
Special Eight
Special 8-1
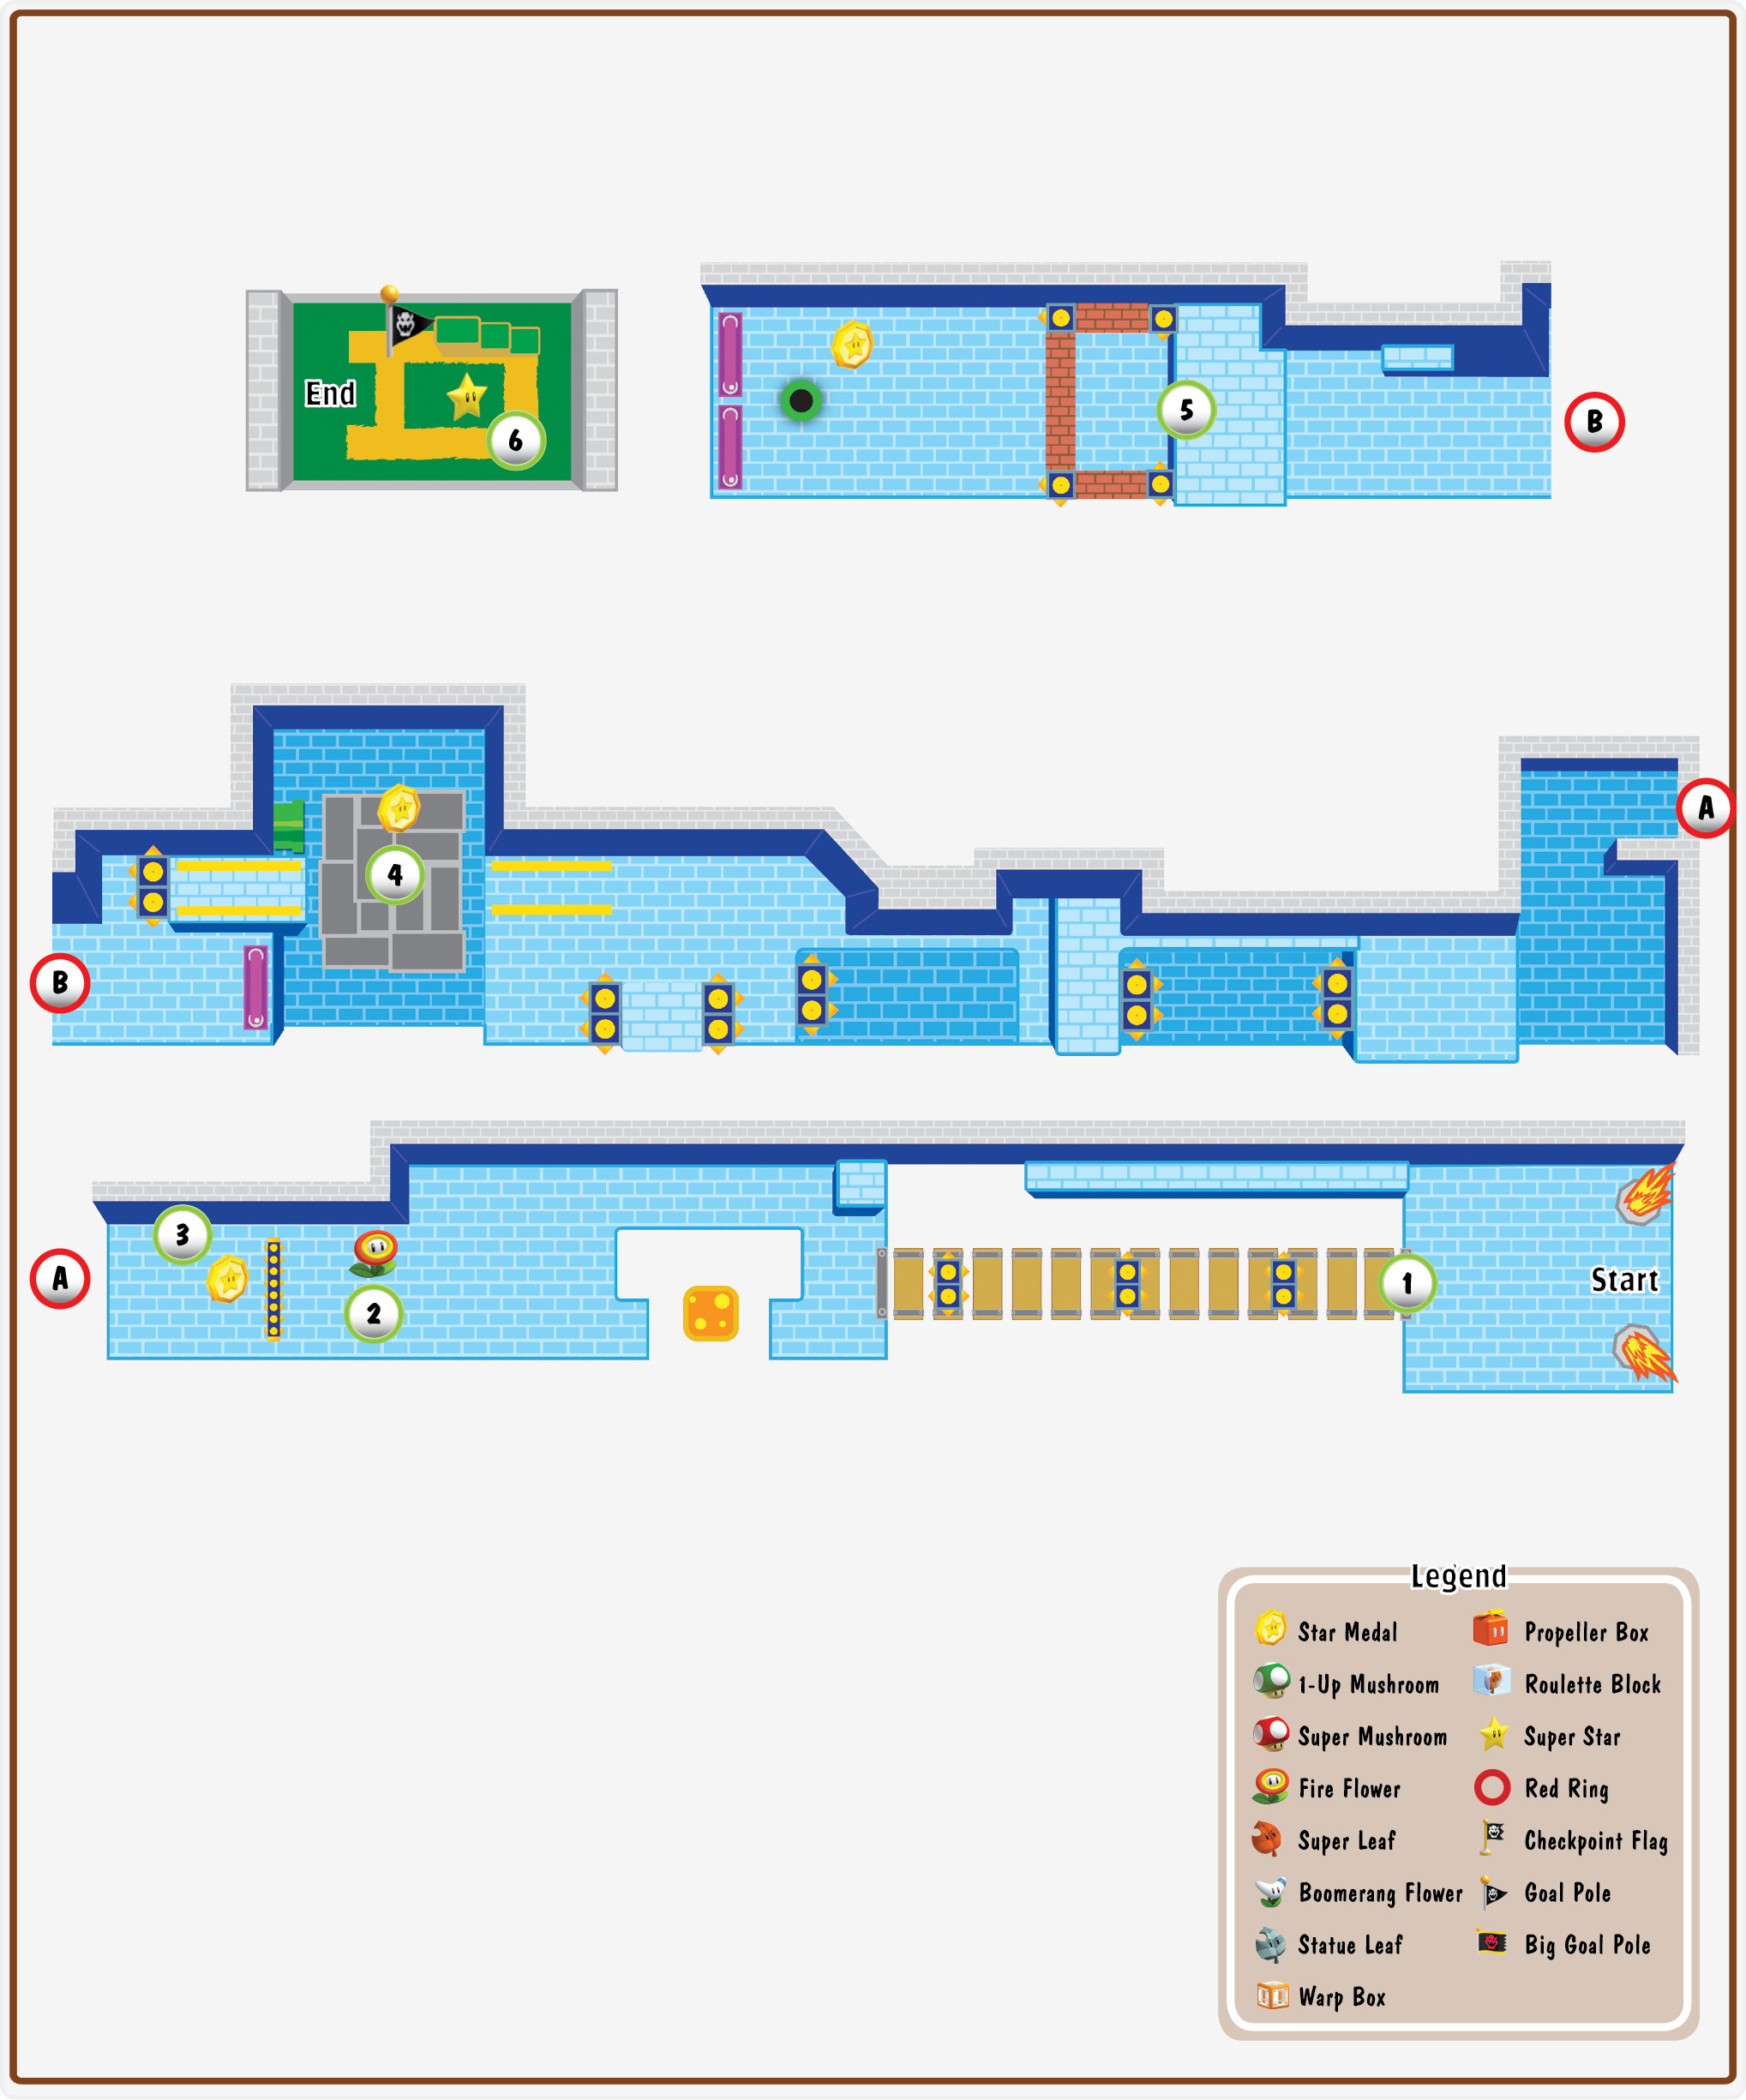
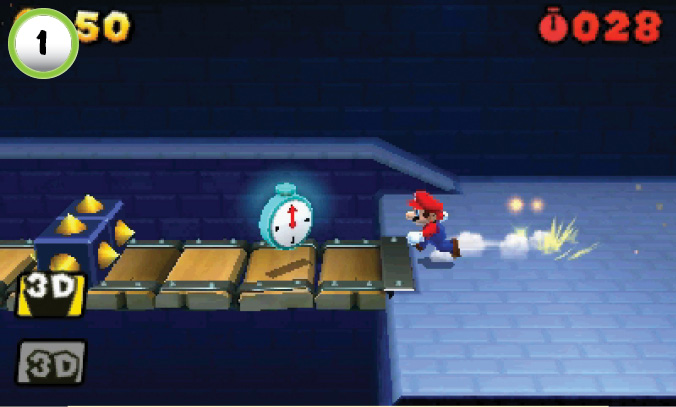
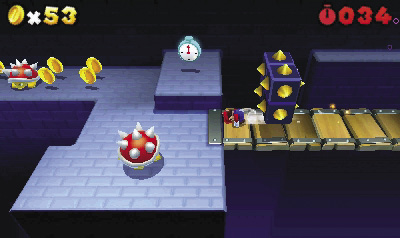
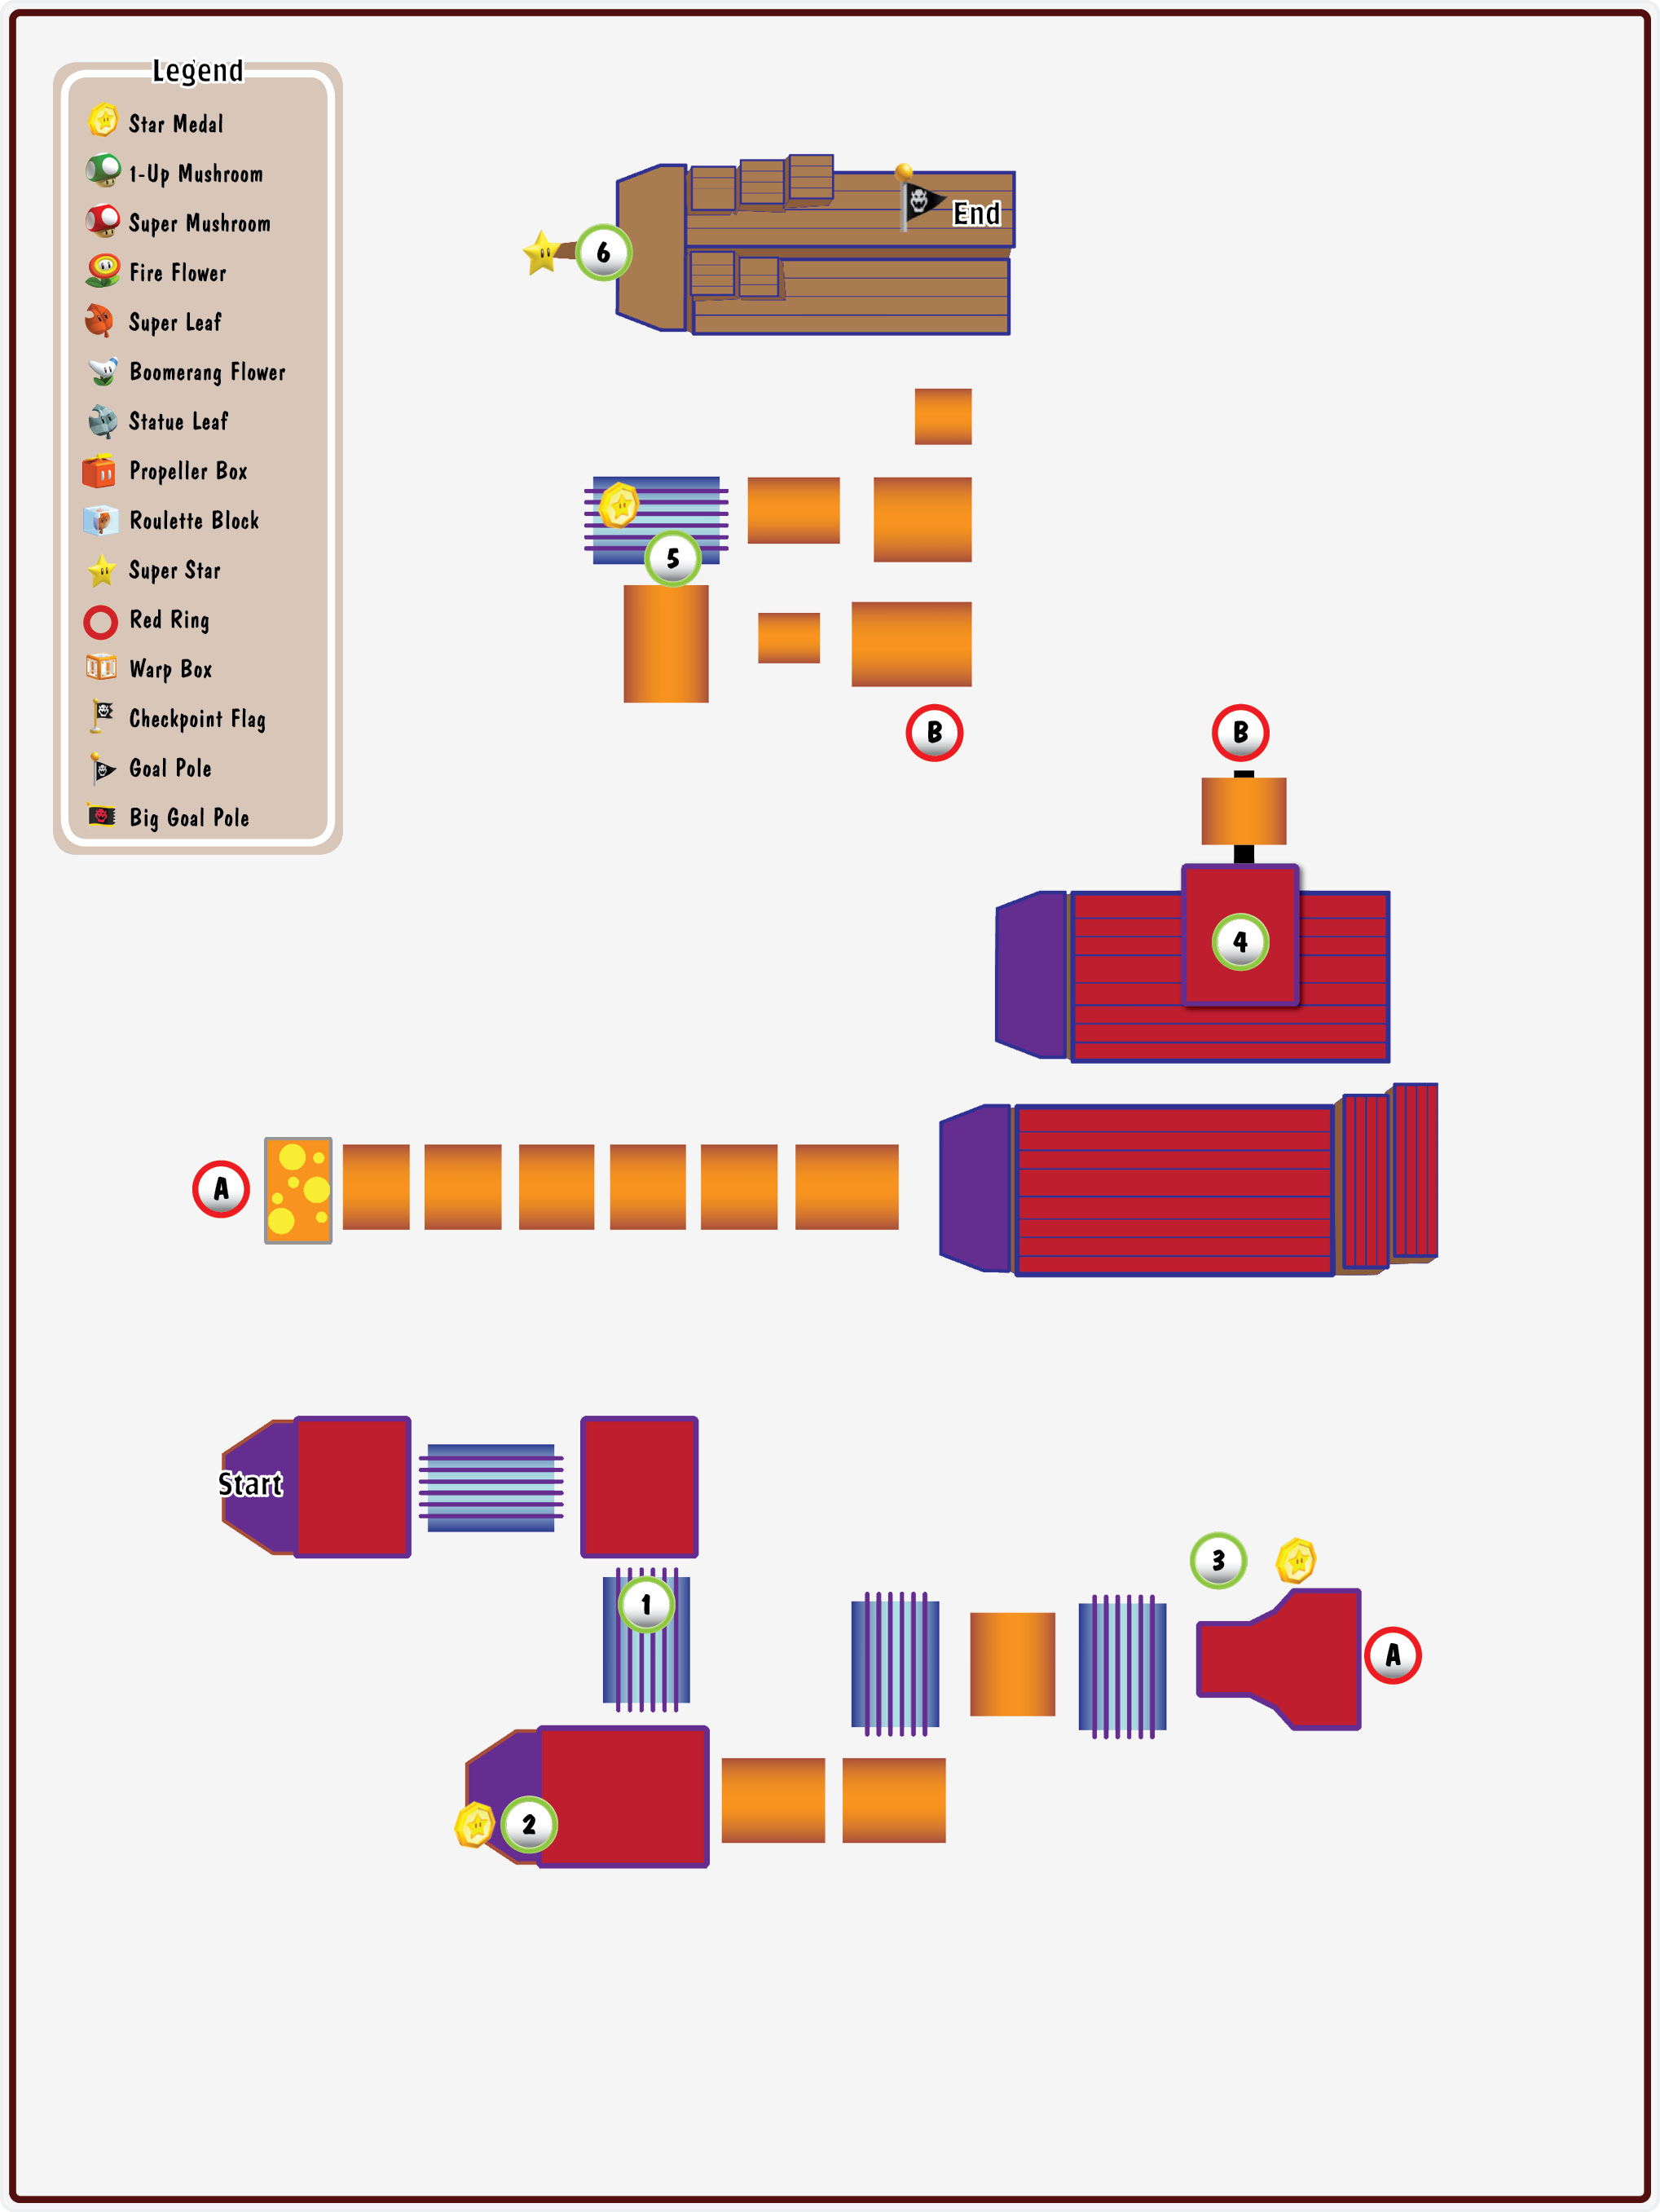
When the level starts, collect the blue + Clock at Point 1 and continue across the bridge. Jump over the first two sets of spikes, then somersault under the third. Grab the + Clock near the back wall and continue to the left.
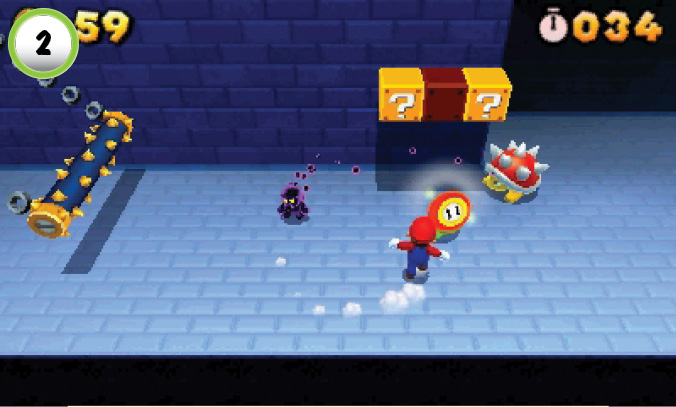
There are three ? Blocks at Point 2. The ? Block in the middle contains a Fire Flower, but the other two contain Poison Mushrooms.
Star Medal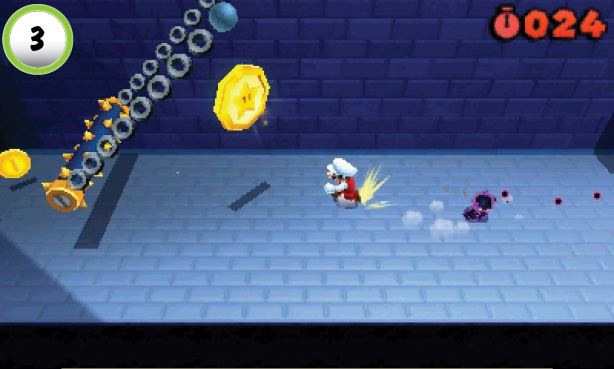 The first Star Medal is floating above the swinging spikes at Point 3. Wait for the spikes to move toward you, then jump over them to safely collect the Star Medal. |
Star Medal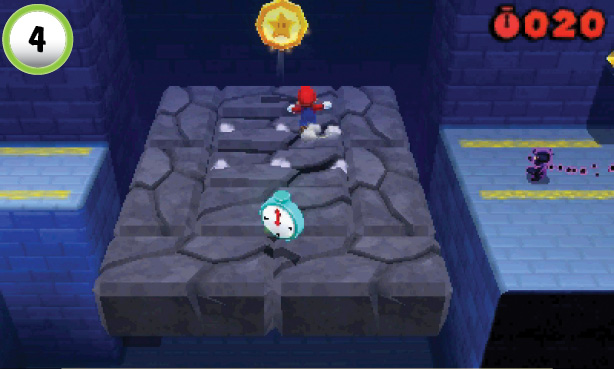 When you reach the crumbling platforms at Point 4, collect the Star Medal near the back wall. Circle around to avoid the Cosmic Clone as you grab the blue + Clock near the bottom of your screen. Use the remaining platforms to to continue along the path, or drop down and enter the Pipe to the left. |
Star Medal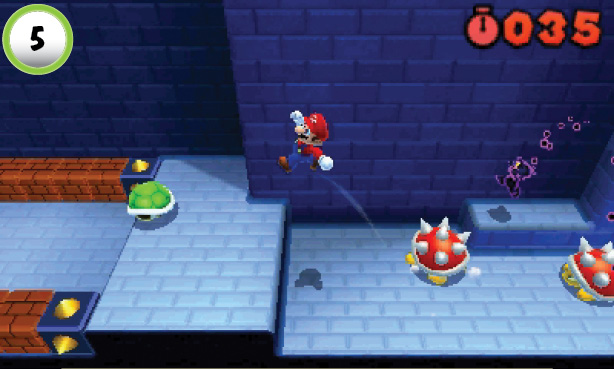 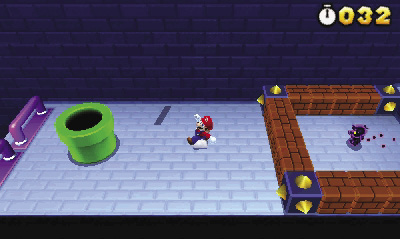 Avoid the Green Shell at Point 5, and move past the Blocks to find the last Star Medal’s shadow. Wall-jump up to the Star Medal, then head through the nearby Pipe. |
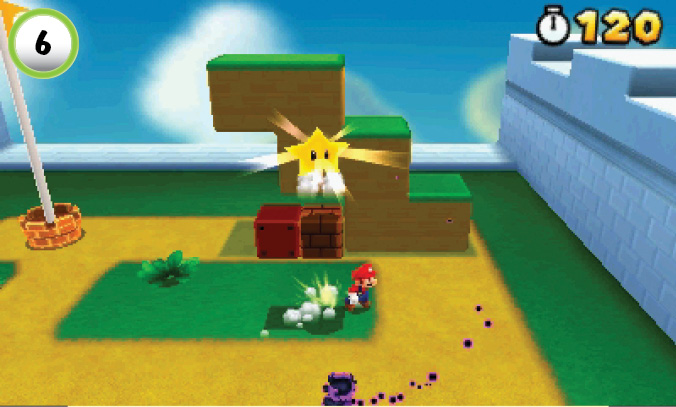
Search the Blocks at Point 6 to find a Super Star. Grab the power-up before it bounces out of the area, and use it to temporarily defeat the Cosmic Clone. With your enemy out of the way, you shouldn’t have any trouble reaching the top of the Goal Pole.
Special 8-2
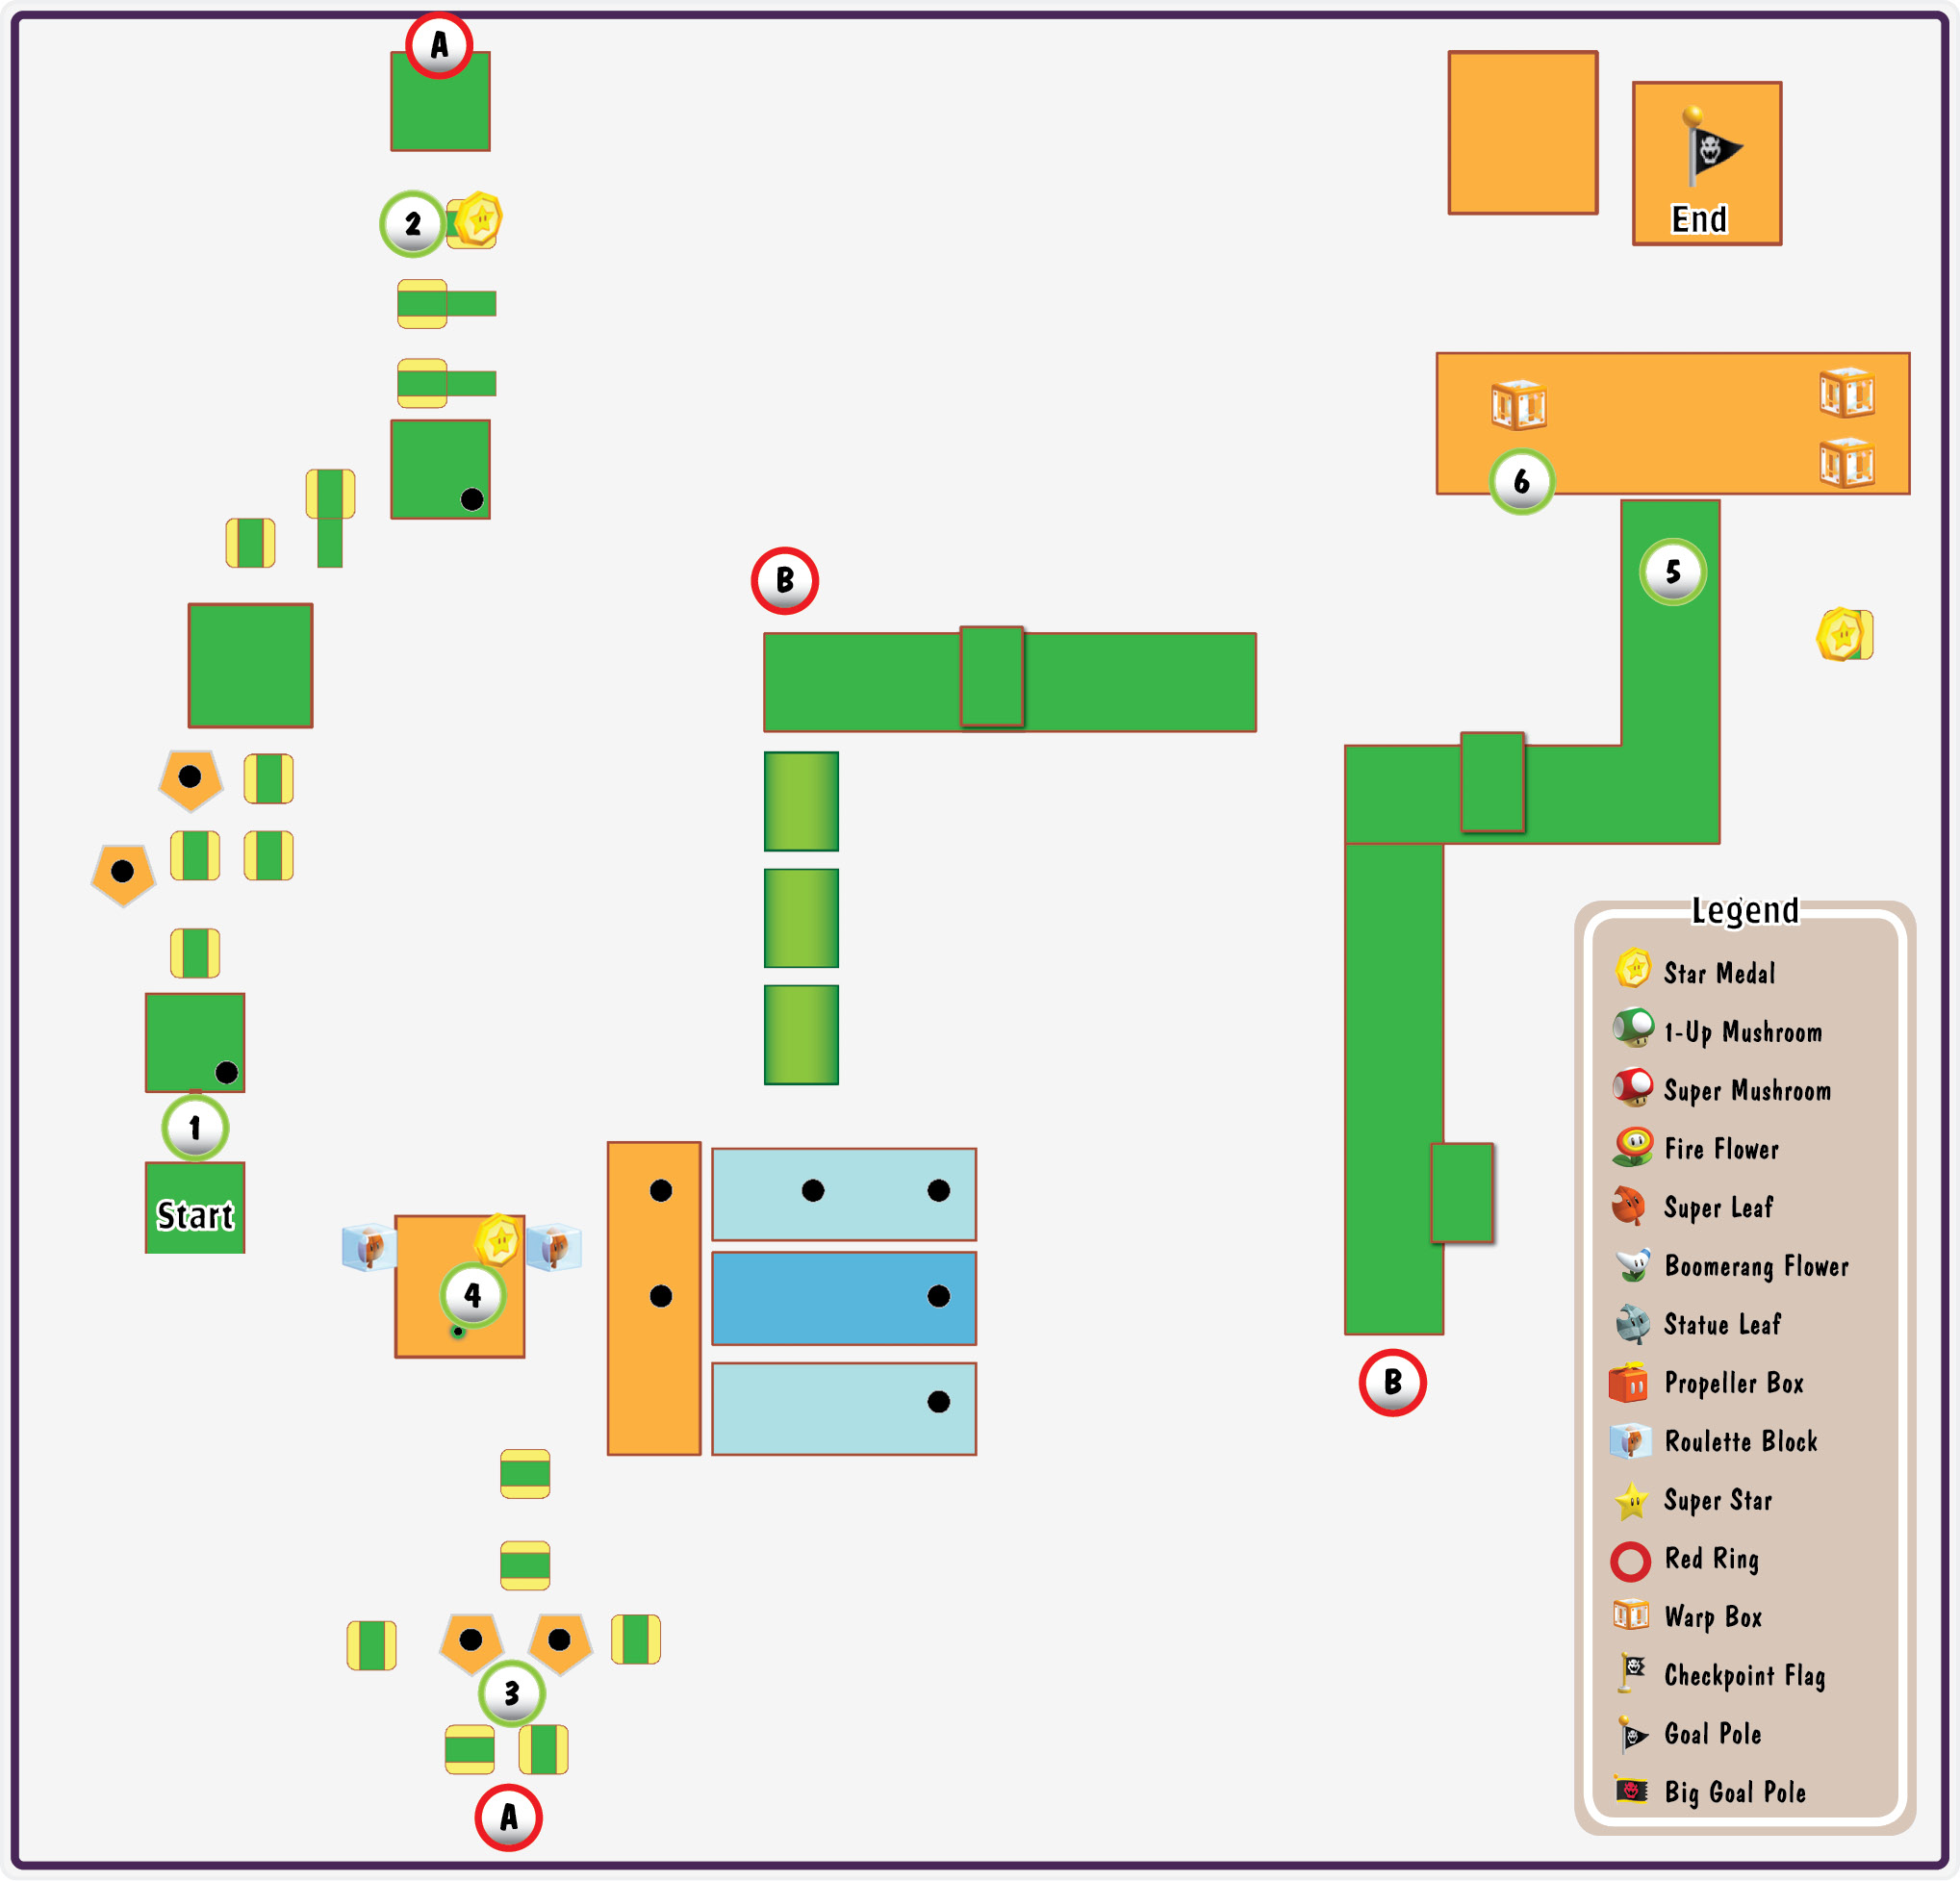
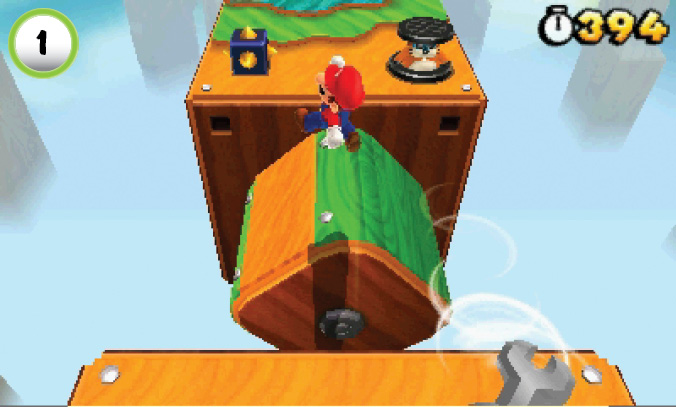
This level contains many of the spinning platforms you first encountered in World 8-3. Once again, the platforms come in a wide variety of shapes and sizes, so use caution as you jump between them. There are several Rocky Wrenches along the path, and they can be very dangerous in large groups. Watch out for incoming wrenches. As you make your way across the platforms, keep an eye out for incoming attacks.
Star Medal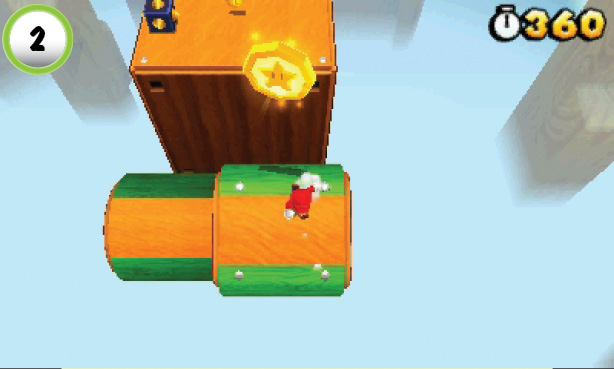 The level’s first Star Medal is above the spinning platform at Point 2. Move to the platform’s right side and match its speed to keep from falling off. When the platform’s extension lifts you toward the Star Medal, jump up to collect it. |
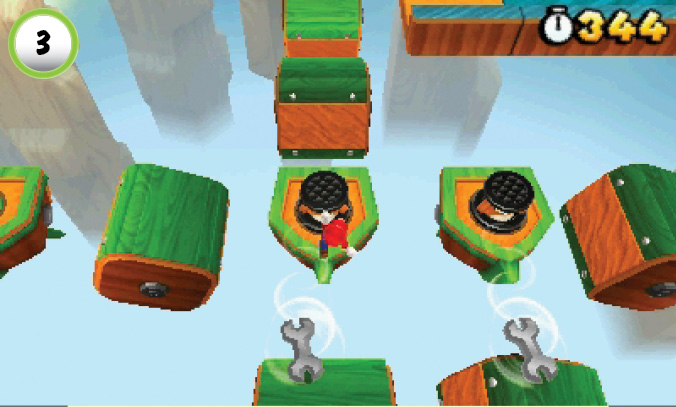
Take out both of the Rocky Wrenches at Point 3, then jump to the spinning platform on the left. Continue across to the small, boat-shaped platform and clear the Rocky Wrench out of the Pipe.
Star Medal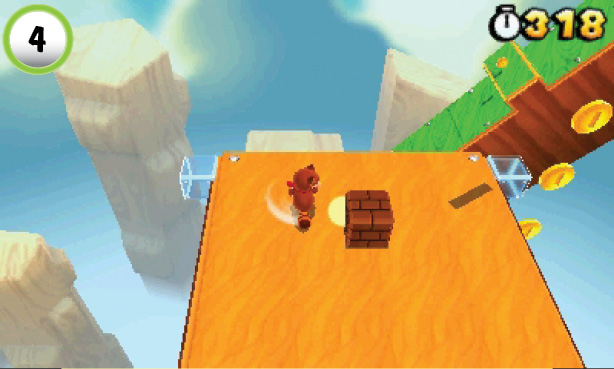 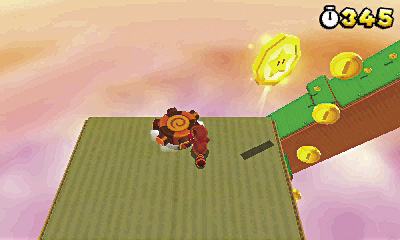 Pass through the Pipe to reach a large platform high above the main path. Smash the Block to reveal a Tail Wheel, then ground-pound the nearby Roulette Blocks. If you’re lucky enough to collect a Statue Leaf, use the Tail Wheel to reach the Star Medal above you. When you’re ready to continue, drop down through the trail of coins to return to the main path. |
Star Medal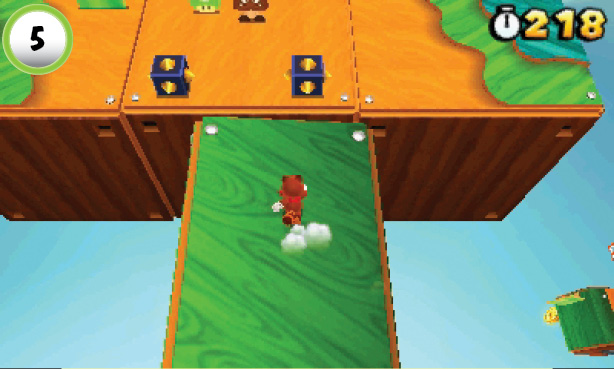 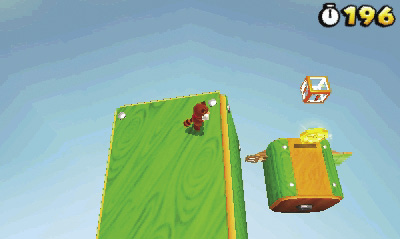 When you reach Point 5, stop near the end of the large green platform and ride it toward the level’s last Star Medal. Adjust your position to keep from slipping off on the way down, then hop over to the spinning platform. After you collect the Star Medal, use the Warp Box to return to the main path. |
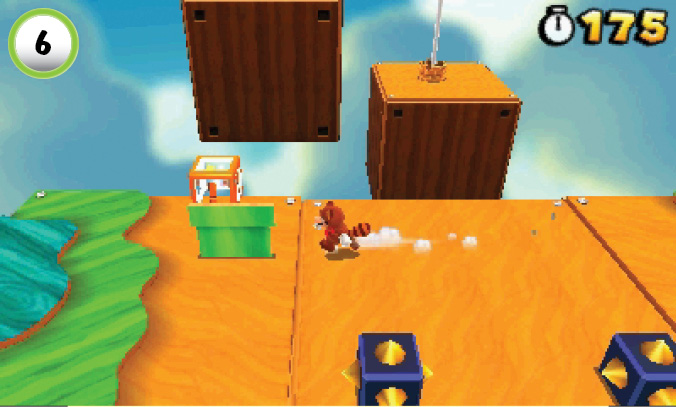
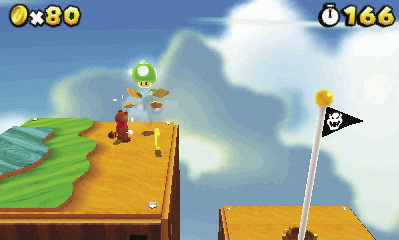
There are two Warp Boxes near Point 6, but only one allows you to reach the top of the Goal Pole. When you’re ready to leave the area, move to the left and use the Warp Box behind the Pipe Board. When you emerge, smash the 1-Up Mushroom Board to reveal a real 1-Up Mushroom, then make a running leap to the top of the Goal Pole.
Special 8-3
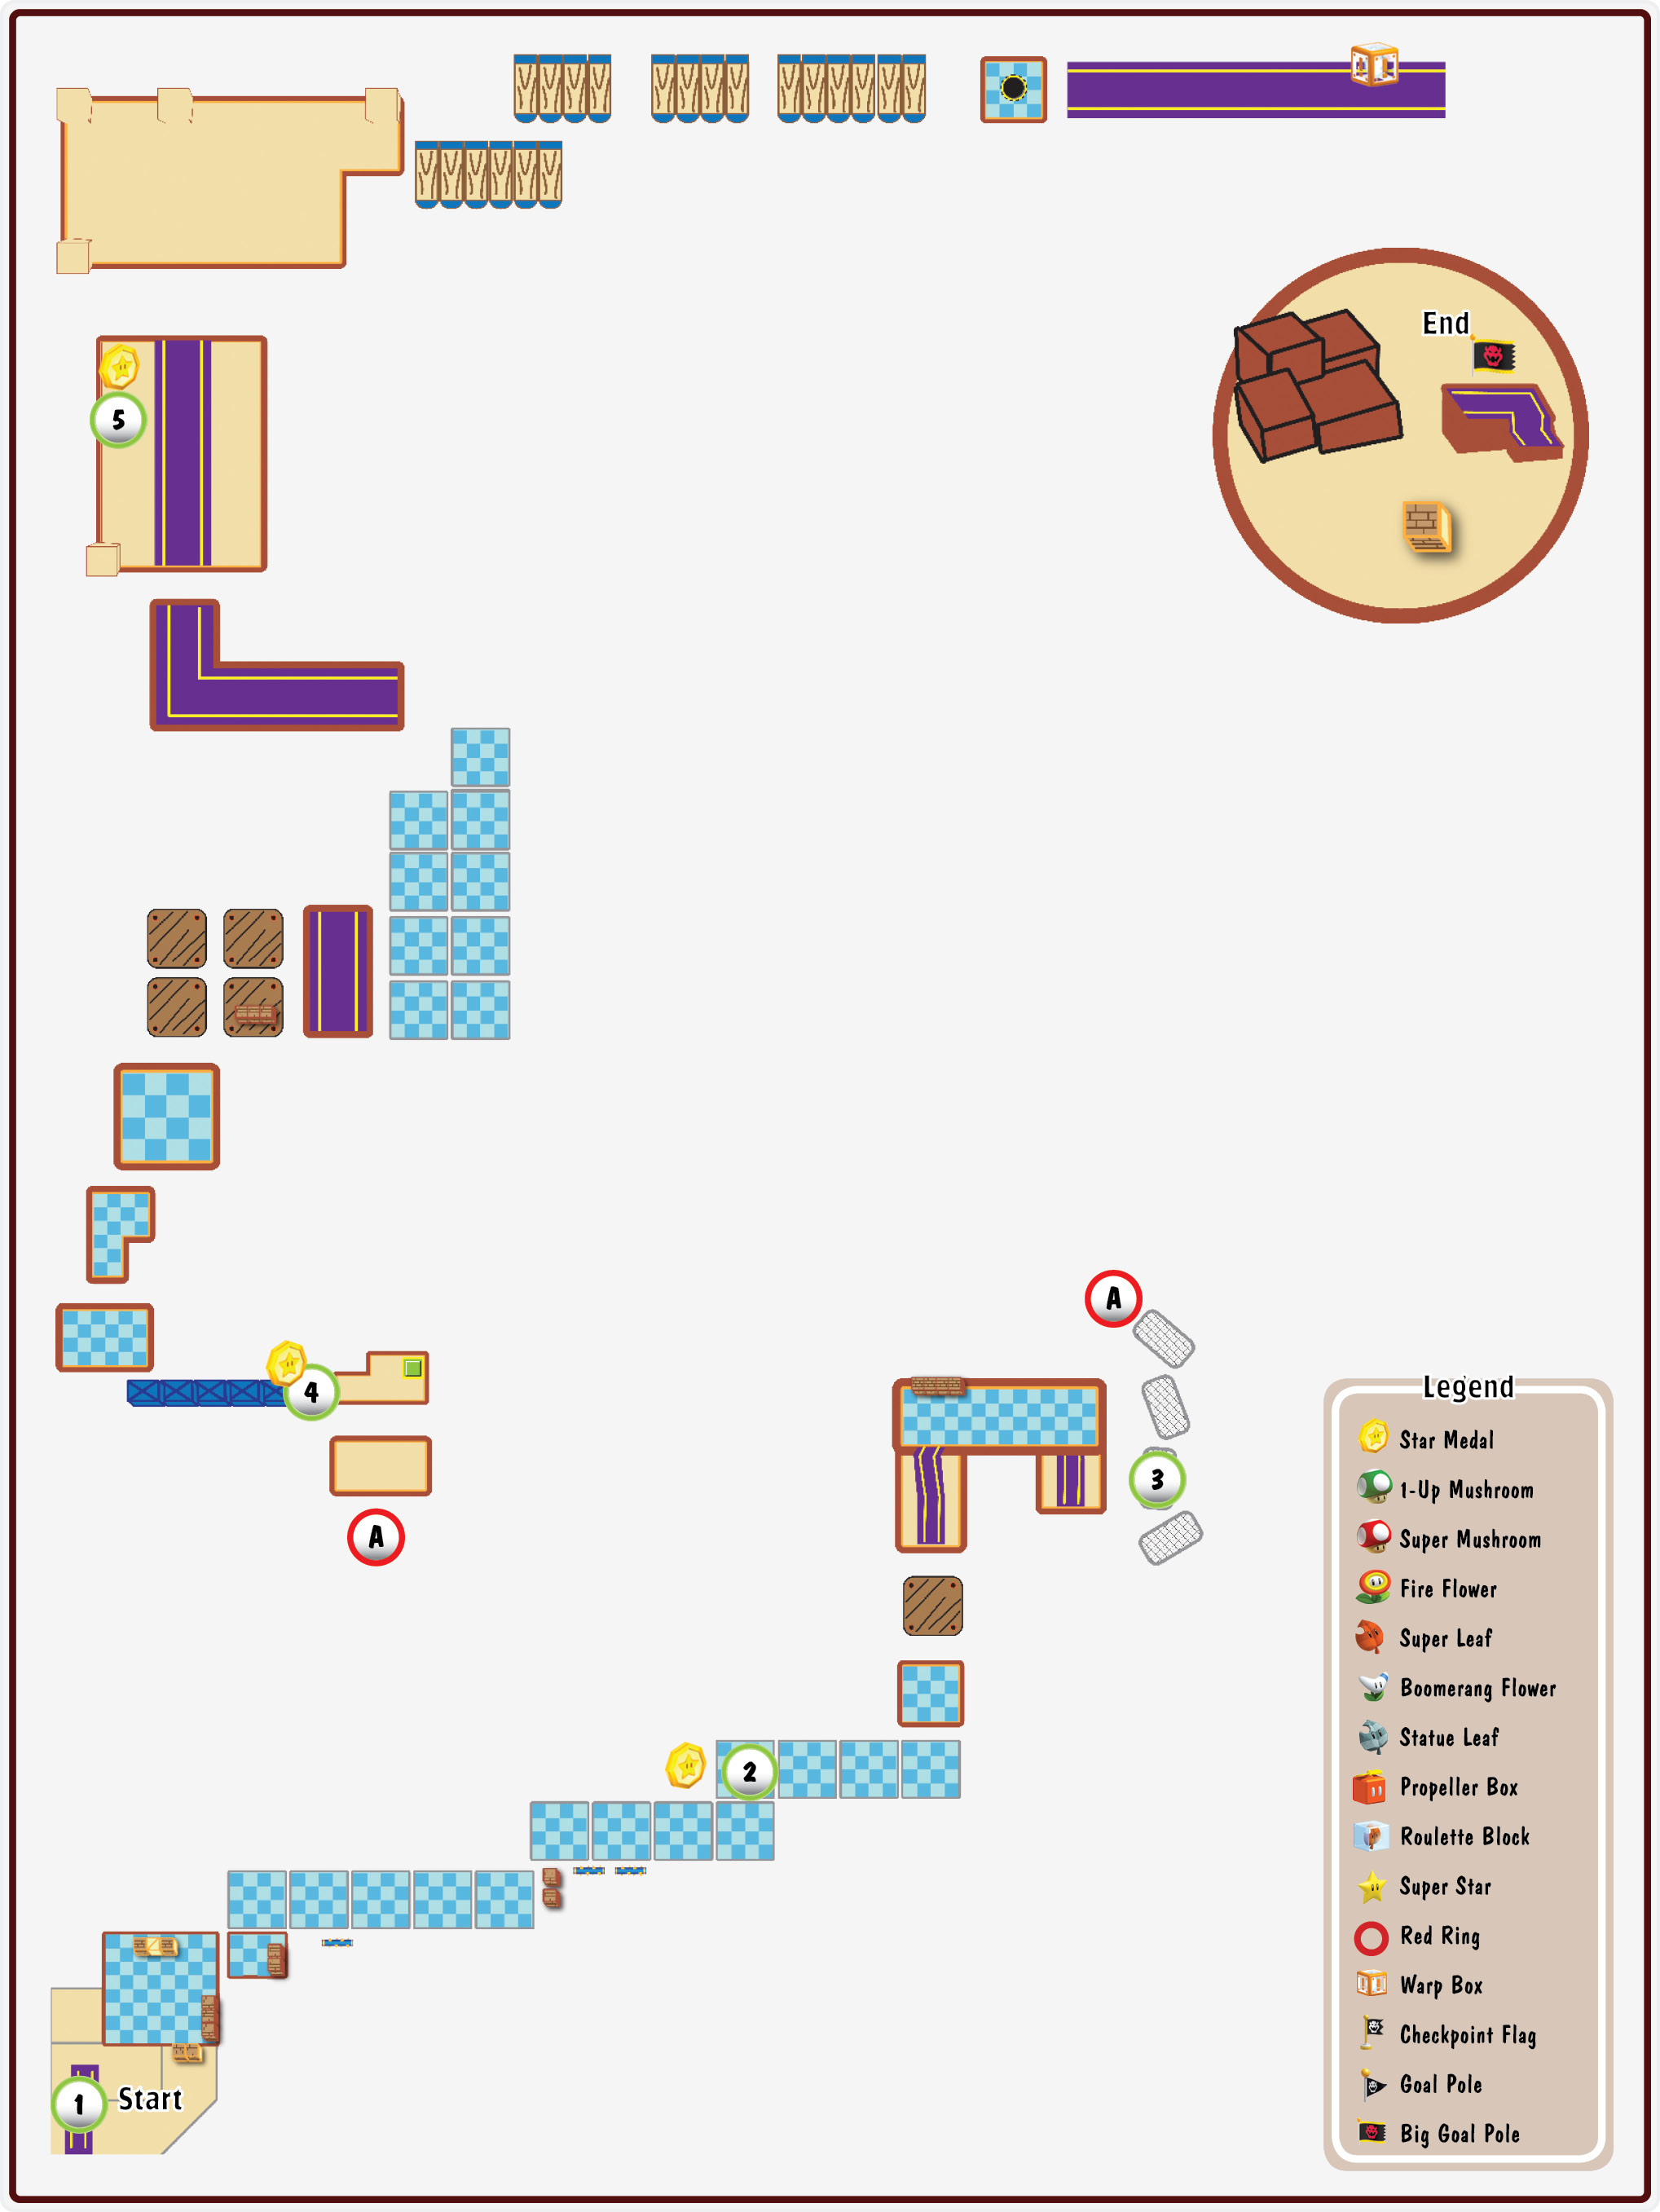
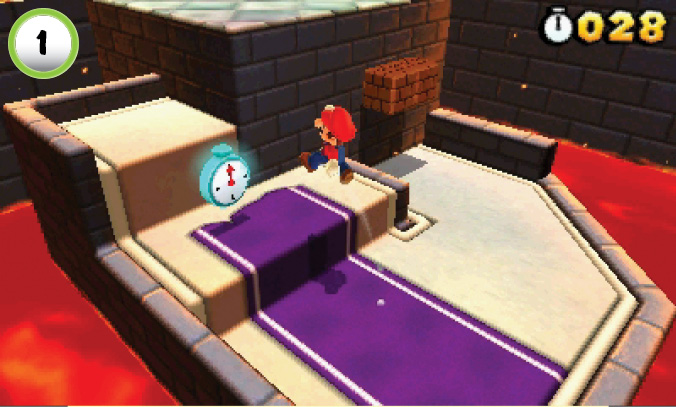
To stay ahead of the clock, you’ll need to collect nearly every + Clock along the path. It’s important to move quickly, but don’t cut corners if it means you’ll miss one of these essential items.
Star Medal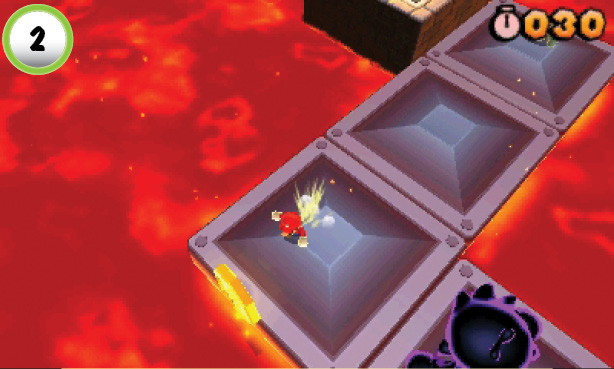 The level’s first Star Medal is floating at Point 2. As the platforms pass below it, they sink into the lava. Hop onto the nearest platform, and grab the Star Medal as soon as it’s within reach. You must keep moving to avoid the Cosmic Clone, so run along the edge of the platform if you need to buy a little time. Once you have the Star Medal, jump to the next platform to avoid sinking into the lava. |
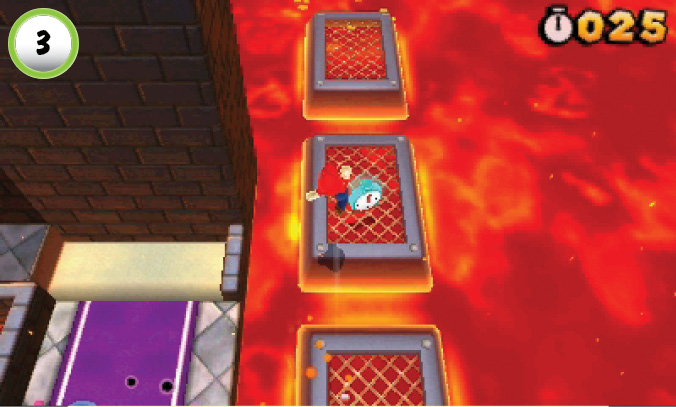
After you dash through the first group of Thwomps, jump straight onto the moving platforms to the right. Grab the blue + Clock floating above the lava, then jump across the platforms to save precious seconds on the way to the next area.
Star Medal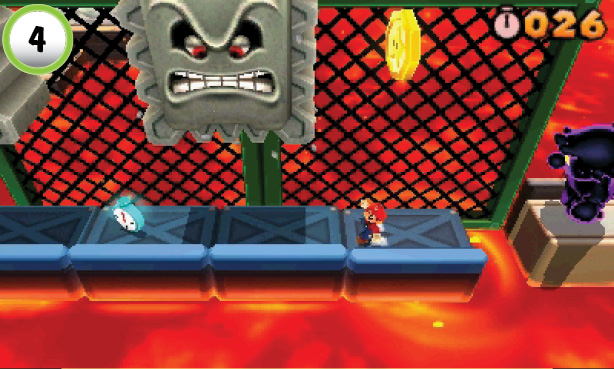 To collect the Star Medal at Point 4, move toward the Thwomp to get its attention. Wait for it to slam down, then wall jump through the Star Medal. The Thwomp moves back up while the Cosmic Clone performs its wall jump, so dash to the left while the path is clear. |
Star Medal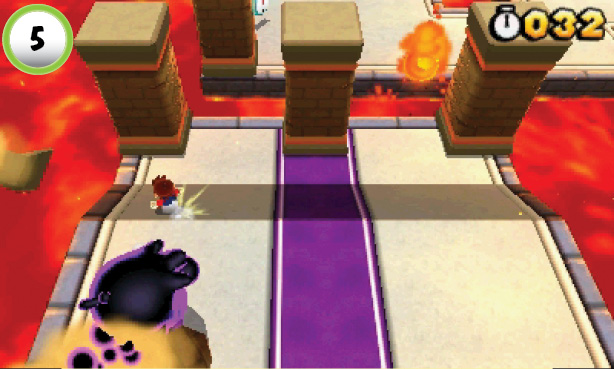 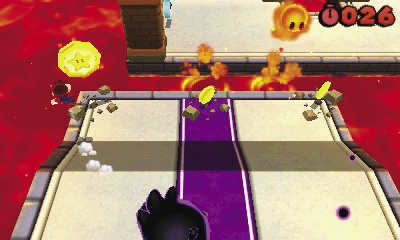 The last Star Medal is hidden inside of a column at Point 5. Use the Cosmic Clone to destroy the column at the left edge of the path, then circle around to collect the revealed Star Medal. |
Special 8—Toad House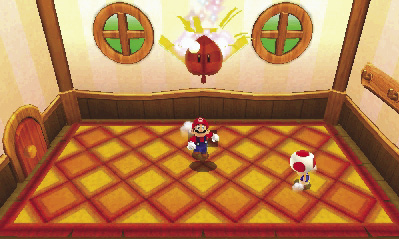 After you complete Special 8-3, a Toad House appears on the level-selection screen. When you find yourself in need of a power-up, unwrap the Gift Box inside the house to collect a Super Leaf. Remember, you only get the power-up from the Toad House once, so make sure you save it for when you need it. |
Special 8-4
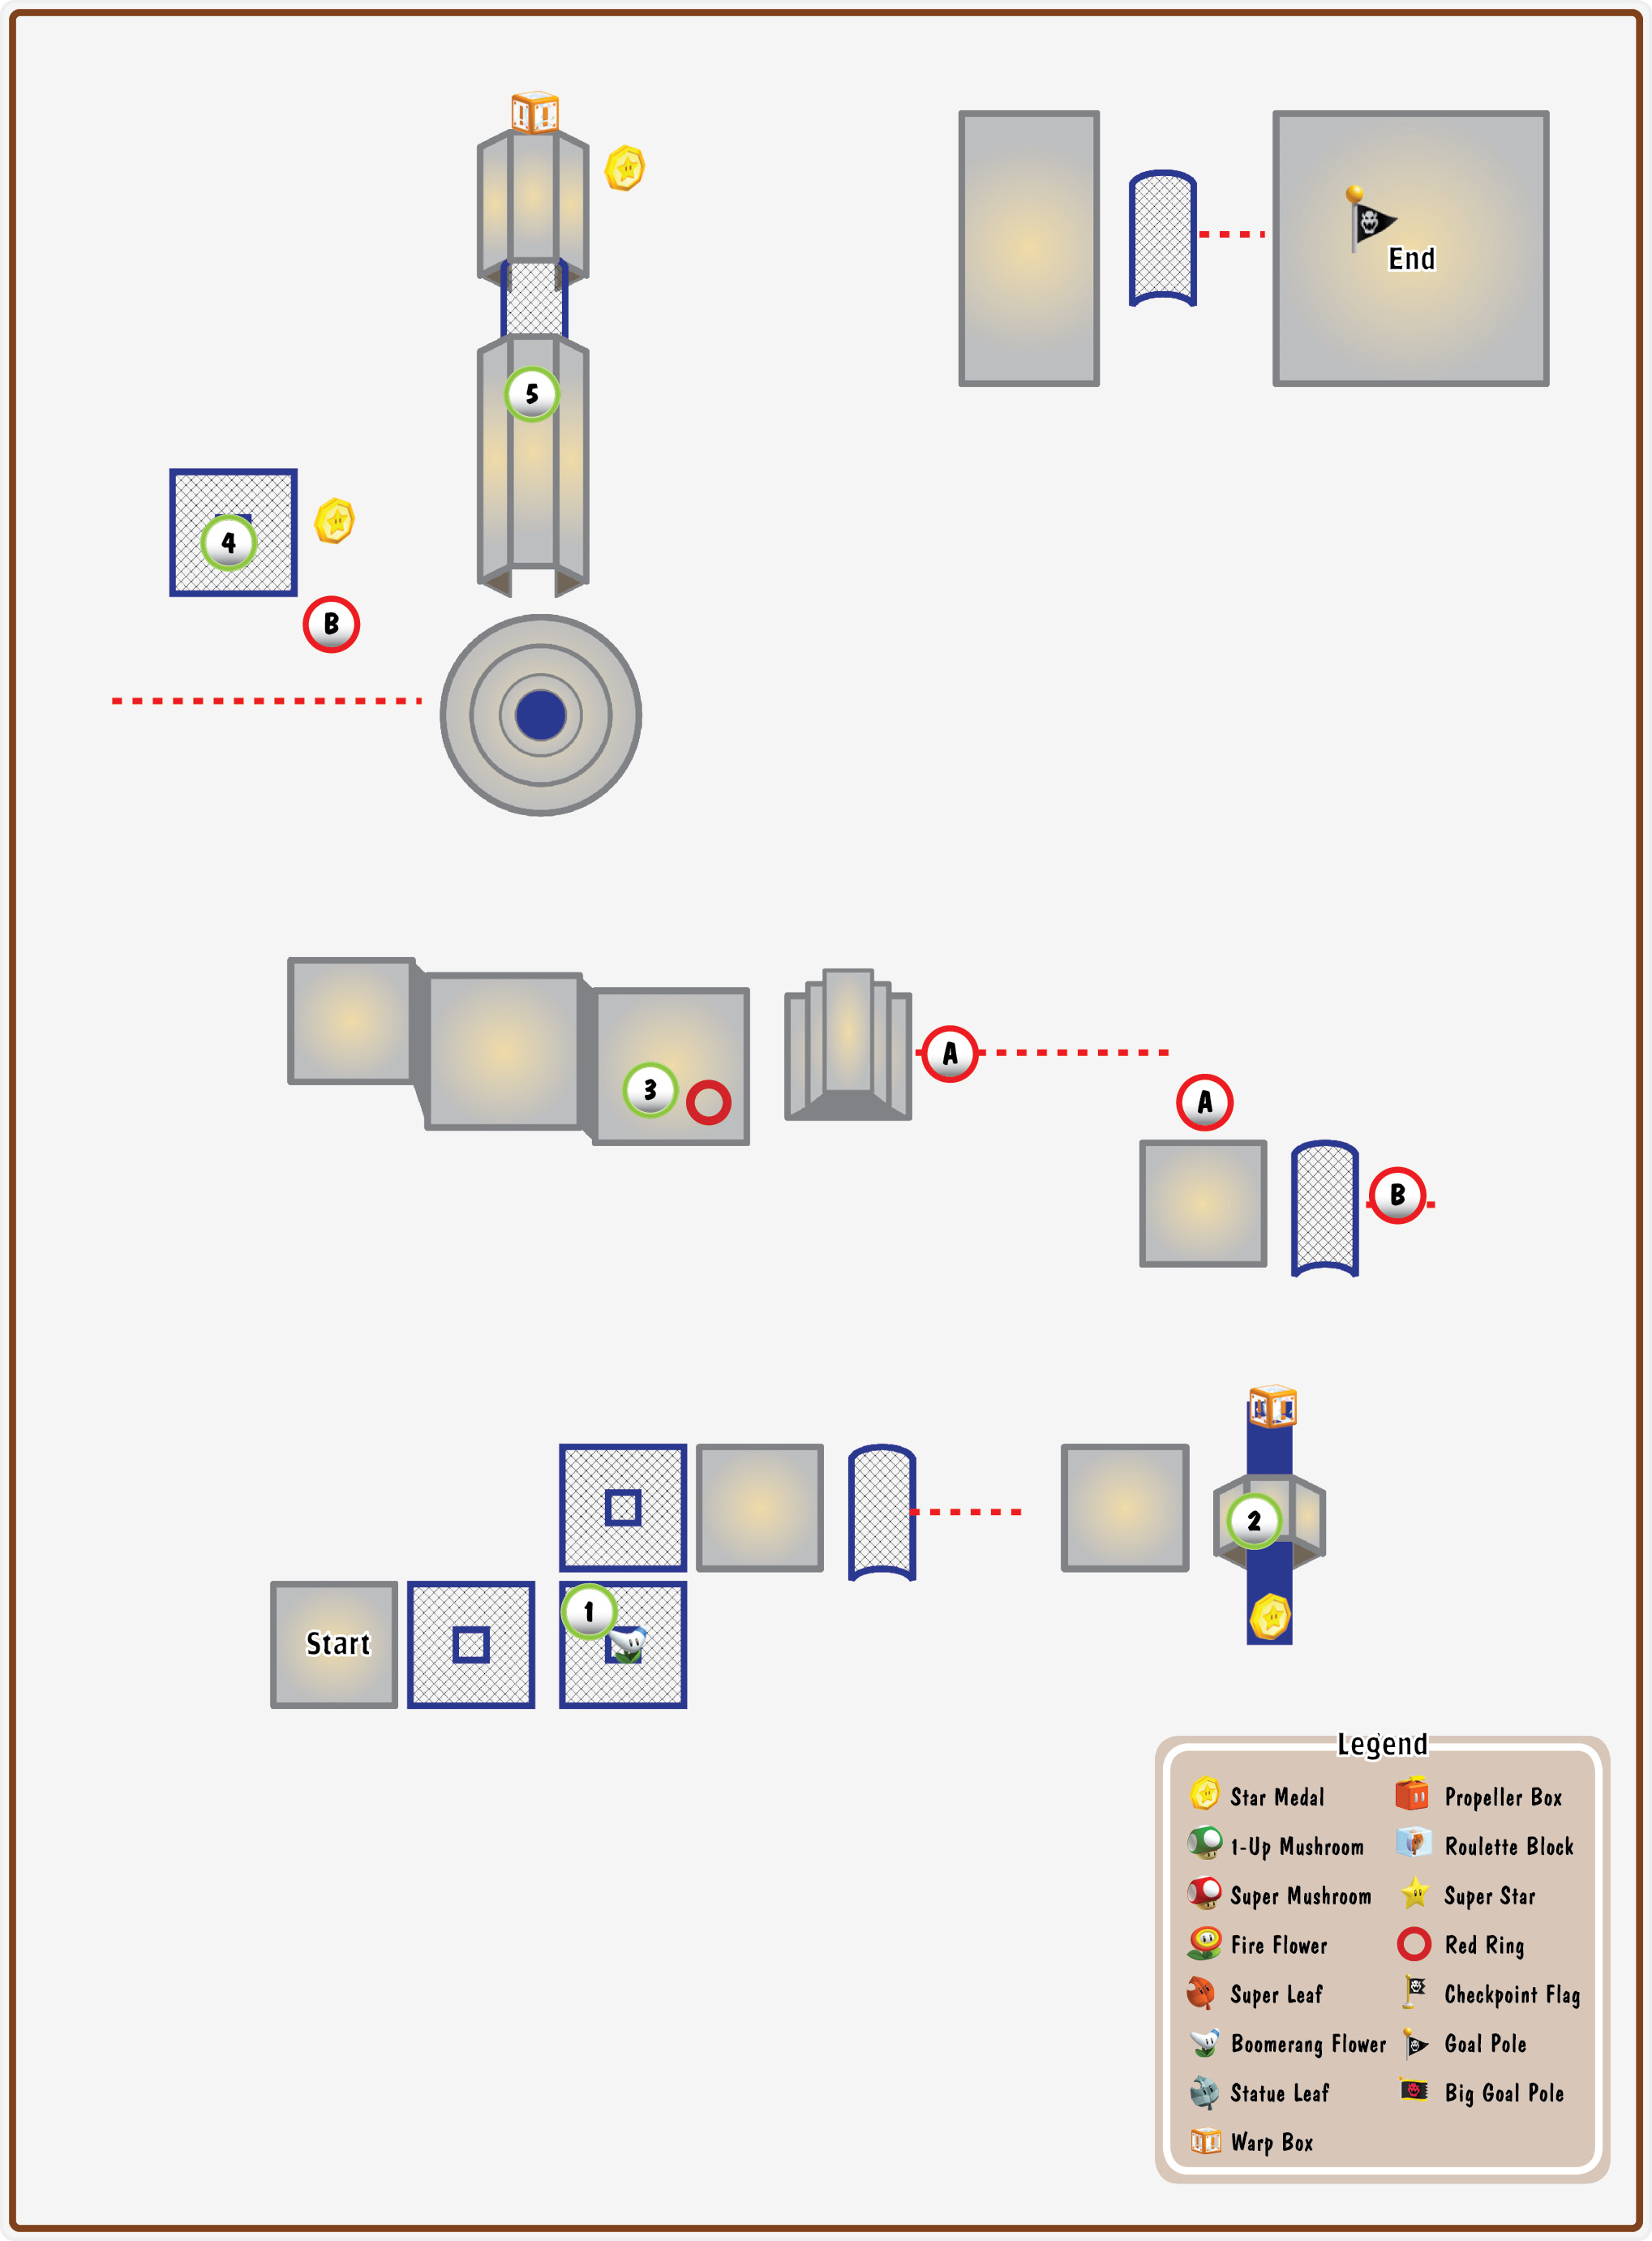
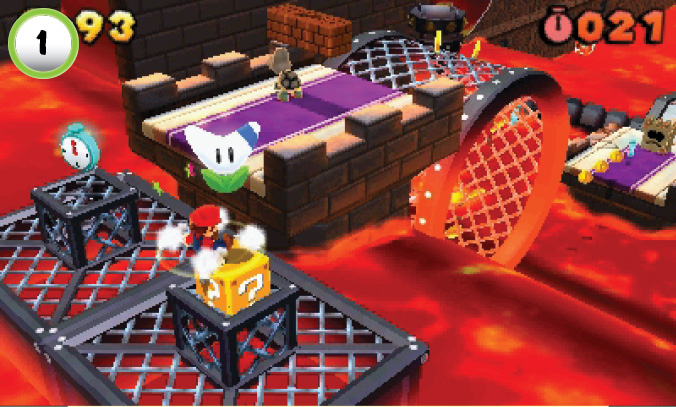
As you jump along the sinking platforms, ground-pound the ? Block at Point 1 to collect a Boomerang Flower, then hop over and grab the blue + Clock on the next platform. Nearly all of the + Clocks in this level are located along the main path. As long as you keep a reasonable pace, you shouldn’t have much trouble staying ahead of the clock.
Star Medal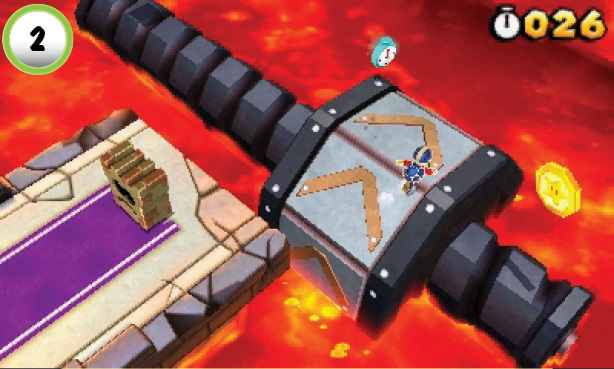 At Point 2 you must collect the Star Medal to the right, then use the Warp Box to the left. Spinning the platform along the bolt is a fairly slow process, so use a boomerang to collect the Star Medal from a distance. To save time on the way to the Warp Box, drop down from the platform and run along the top of the bolt. |
Red Ring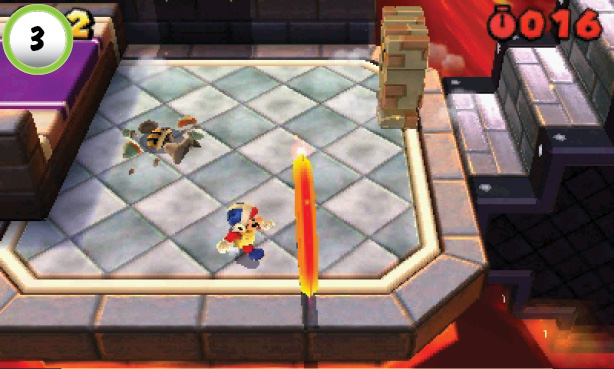 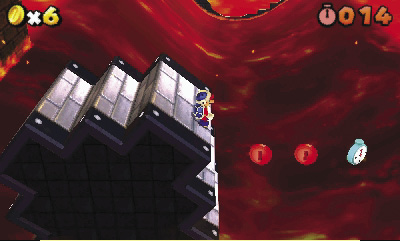 Jump through the Red Ring at Point 3, then dodge around the Thwomp and follow the Red Coins onto the rolling platform. Stand on the platform’s right side to get it moving, then adjust your position to keep from falling off. Collect the last two Red Coins before they vanish to earn a Boomerang Flower. |
Star Medal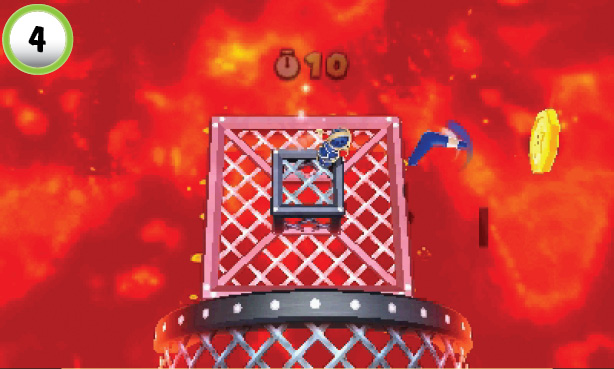 When you reach the platform at Point 4, jump off of the rolling cage and grab the blue + Clock. Use a boomerang to collect the Star Medal to the right, then leap back onto the rolling cage and continue through the area. |
Star Medal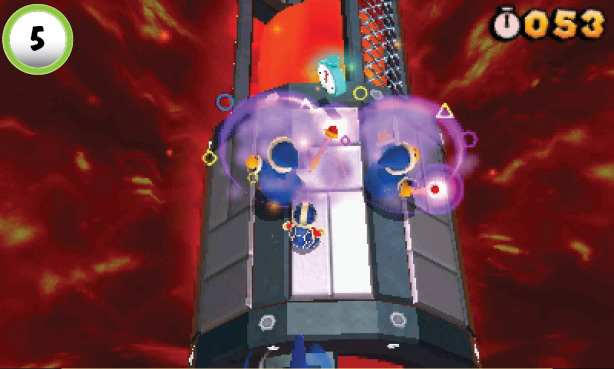 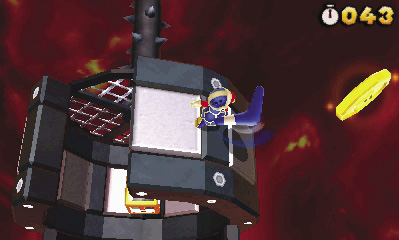 Try to keep the platform fairly steady on your way to Point 5. When the two Magikoopas appear, take them both out before they have a chance to attack. Continue to the end of the platform to find the level’s last Star Medal. You must move quickly, but don’t allow the platform to spin out of control! Use a boomerang to collect the Star Medal, then spin the platform until you drop down to the Warp Box. |
Special 8-5
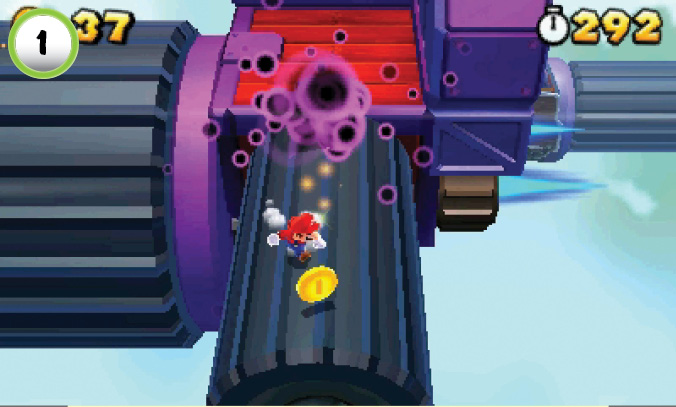
This level’s cylindrical platforms spin at very high speeds, so it’s generally easier to jump along them instead of trying to run straight across. If you choose to run along the surface of each platform, it will take nearly all of your speed to keep from falling off. This is the only way you are likely to collect the coins, however. To grab the coins, run against the motion of the platform, then veer gently toward your intended direction. The Cosmic Clone makes this method particularly risky, so you must keep an eye on your oversized opponent.
Star Medal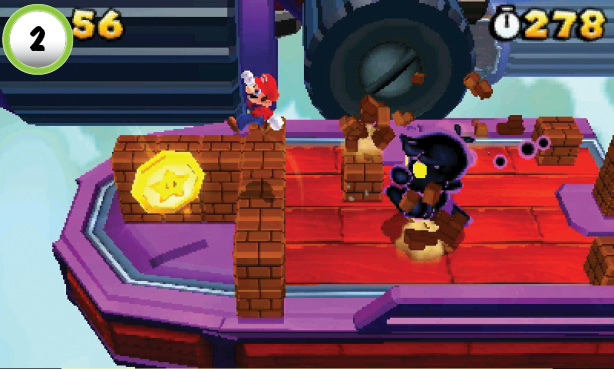 The level’s first Star Medal is behind the Blocks at Point 2. Hop over the Blocks to grab the Star Medal, then jump back out of the area before the Cosmic Clone arrives. As you continue across the deck, weave between the stacked Blocks to maintain your speed. |
Star Medal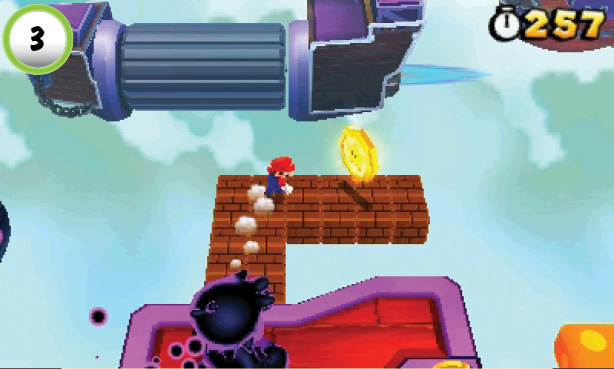 The second Star Medal is floating above the Blocks at Point 3. Run along the Blocks and grab the Star Medal, then leap back to the main path and continue to the right. |
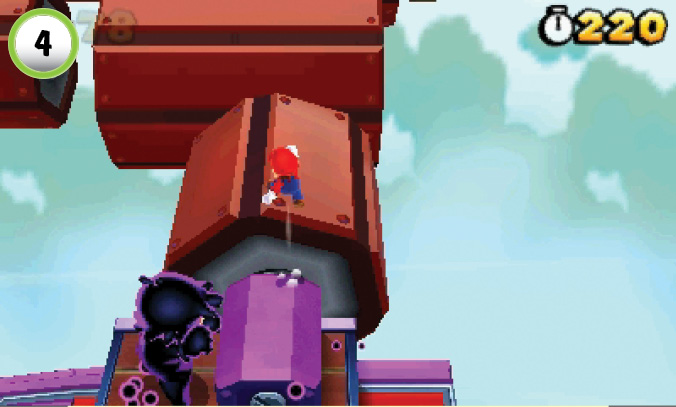
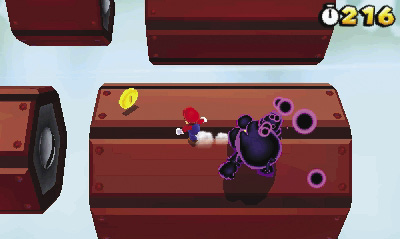
The platform at Point 4 is spinning much more slowly than the others. After you jump on, dash straight across the top of the platform and leap from the edge. As soon as you reach the next platform, jump up and improve your position. The Cosmic Clone is right behind you, so you have to keep moving. The path across the spinning platforms is marked with coins. Jump across the gap to the left, then follow the coins around the area.
Star Medal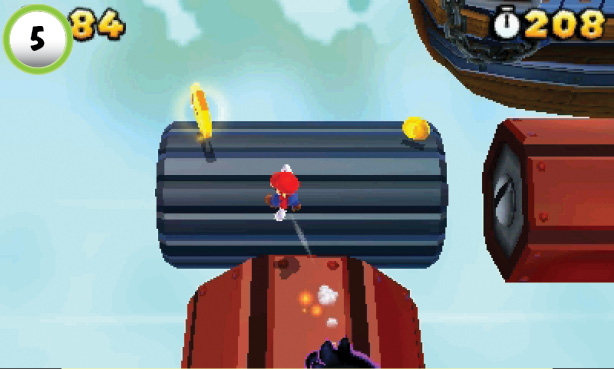 The last Star Medal is located on the spinning platform at Point 5. Leap directly to the Star Medal, then follow the coins to the right. |
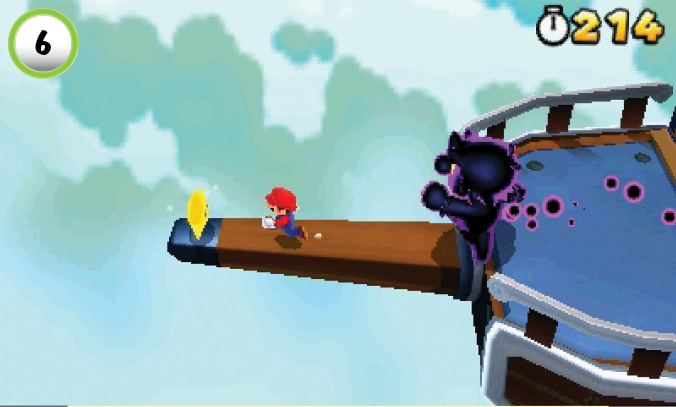
When you reach the last ship, run onto the bowsprit to find a Super Star. Use the power-up to temporarily dispatch the Cosmic Clone, then move back to the right and jump to the top of the Goal Pole.
Special 8—Bowser
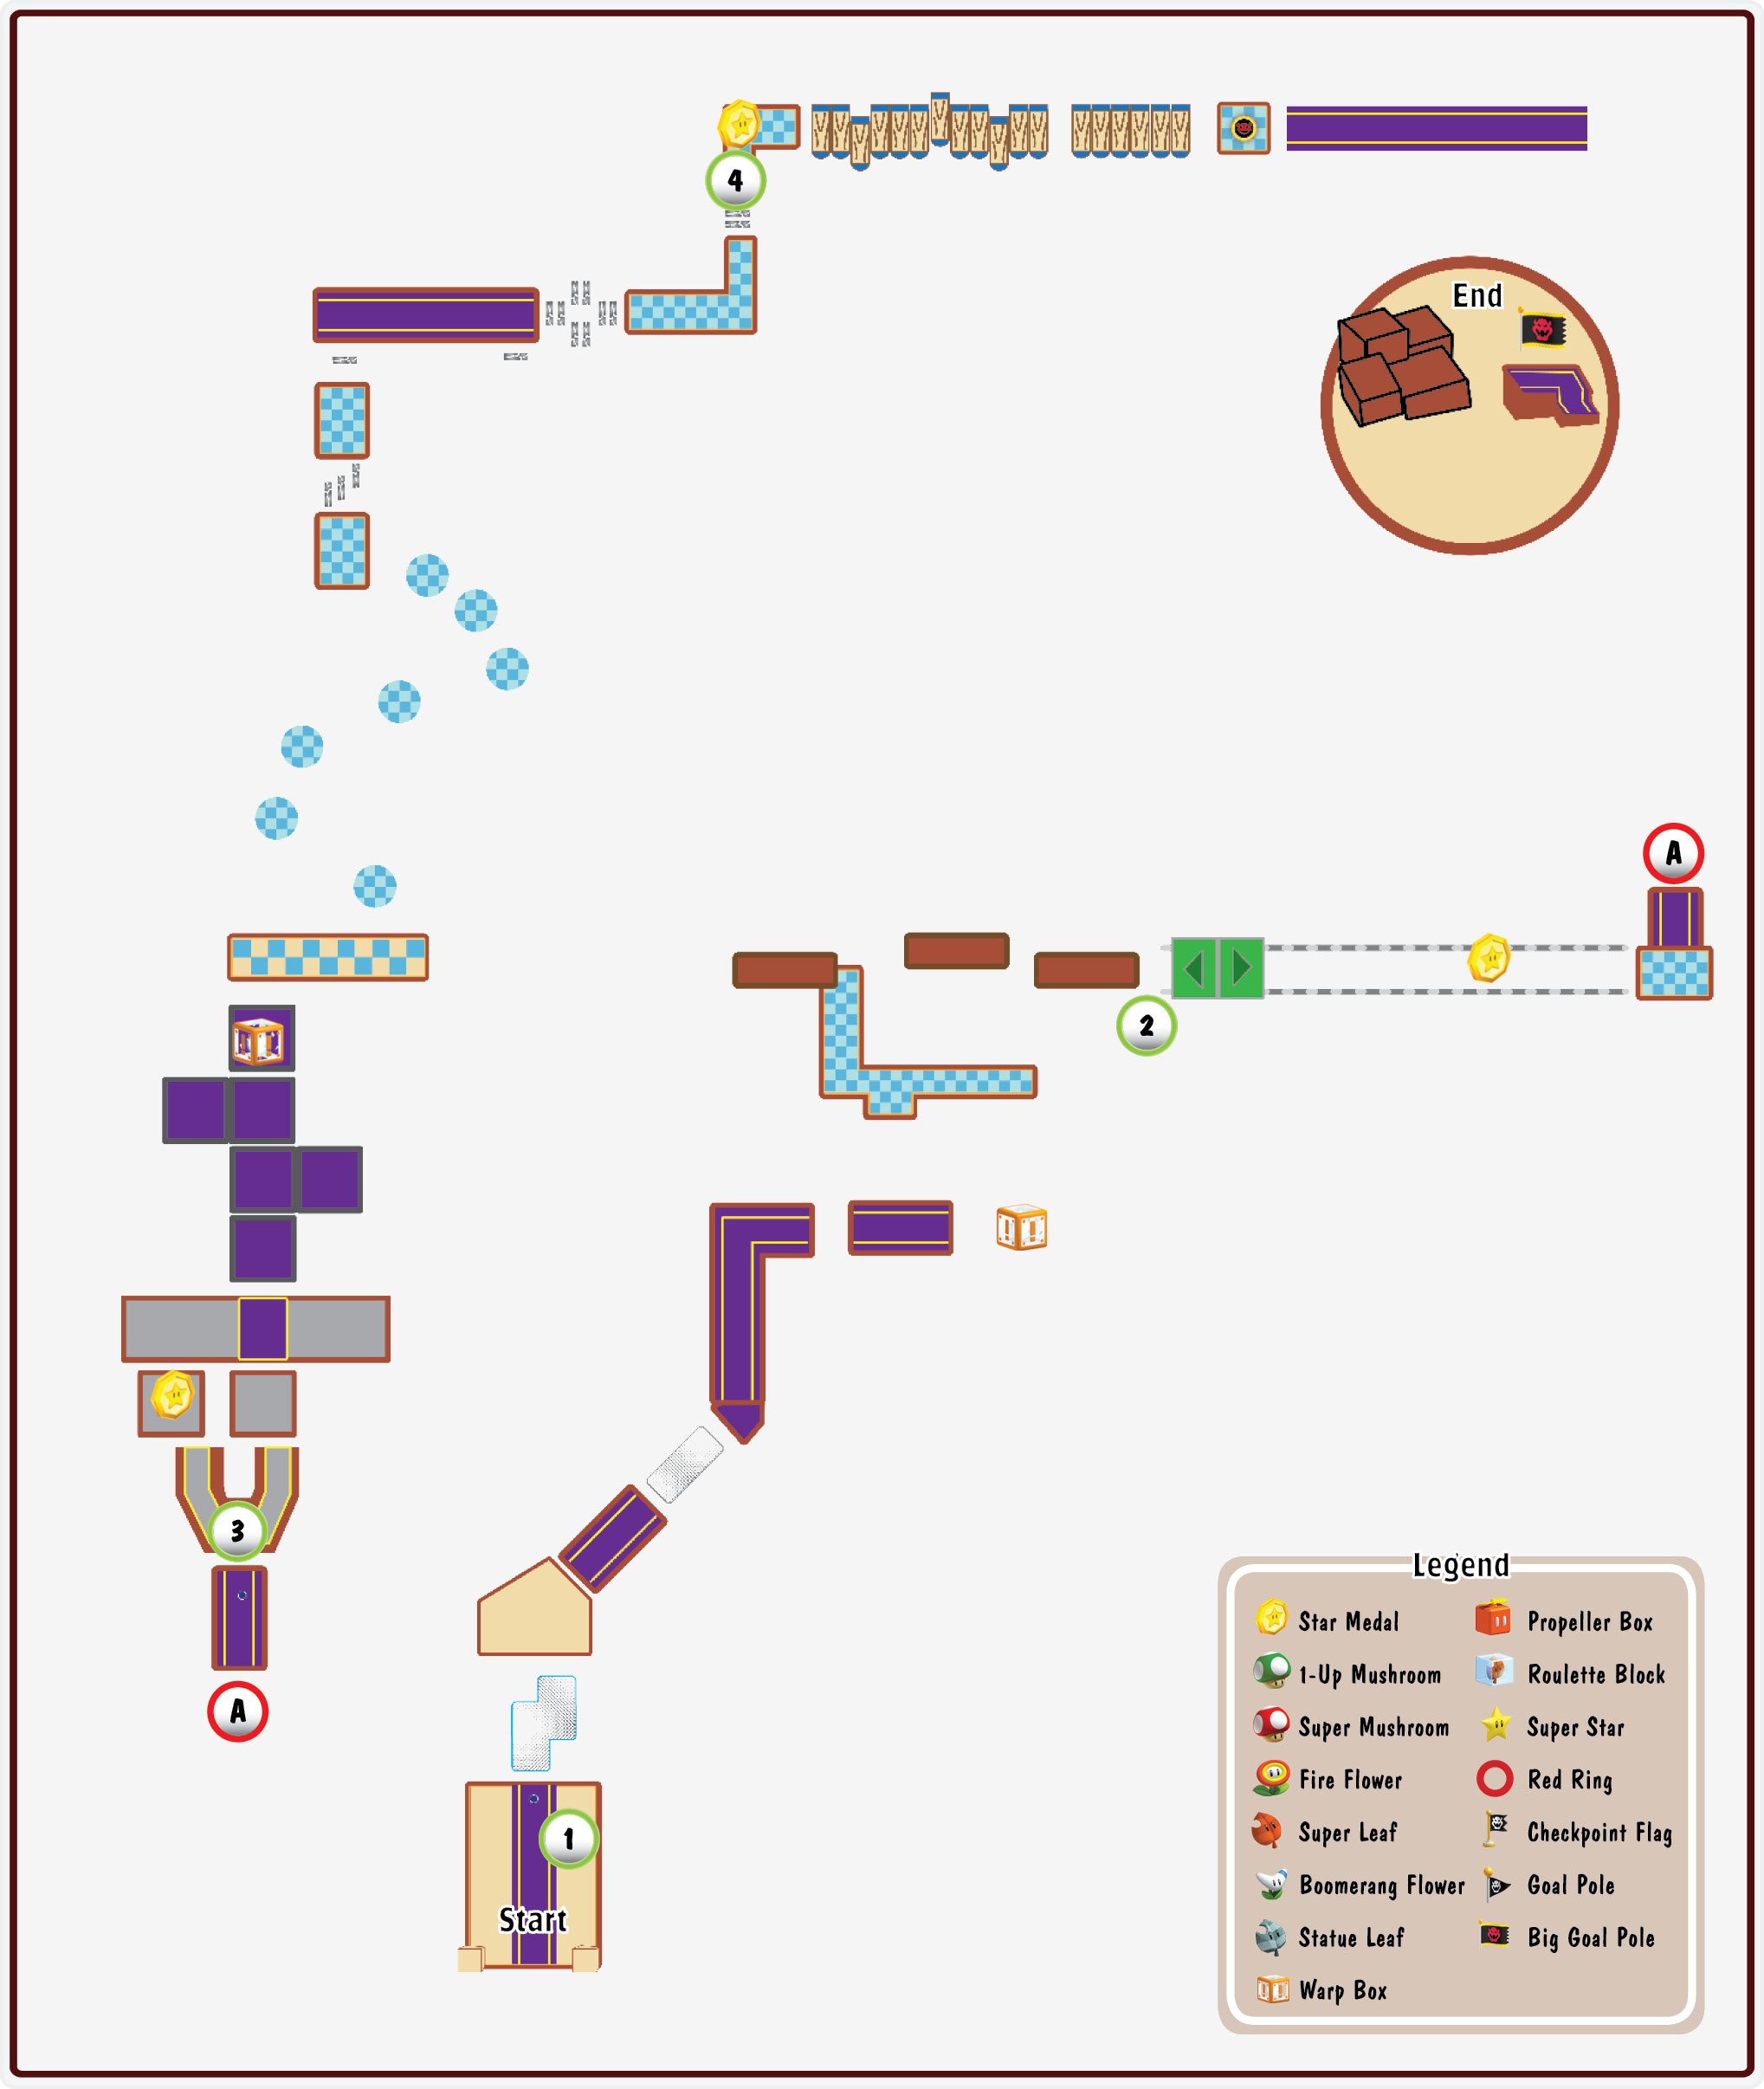
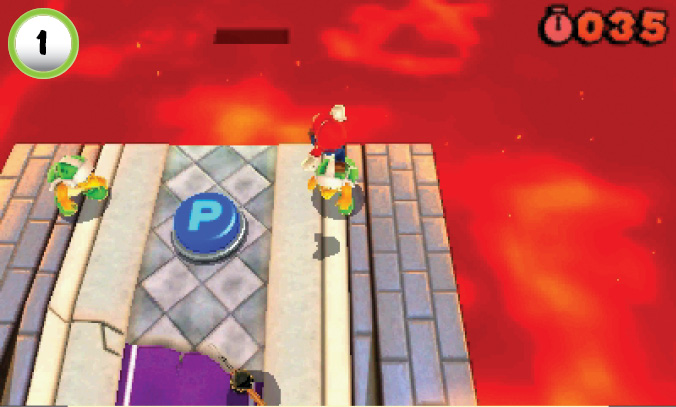
The level begins with a 30-second time limit. You gain extra time for each Hammer Bro you defeat, but there are also several + Clocks located along the main path. There’s a boss battle toward the end of the level, so make sure you earn as much time as possible.
Star Medal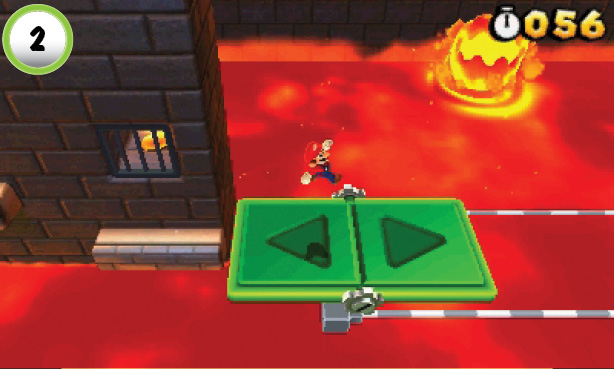 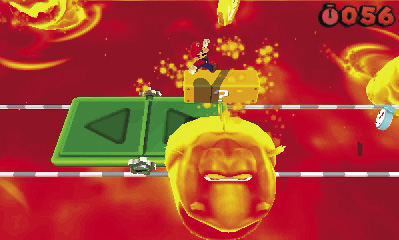 Keep an eye on the clock when you reach the Switchboard at Point 2. Avoid the Magmaarghs as they swim across your path, but don’t stop moving unless it’s absolutely necessary. Jump on the ? Block above the tracks to collect the level’s first Star Medal, then drop back onto the Switchboard and continue to the right. |
Star Medal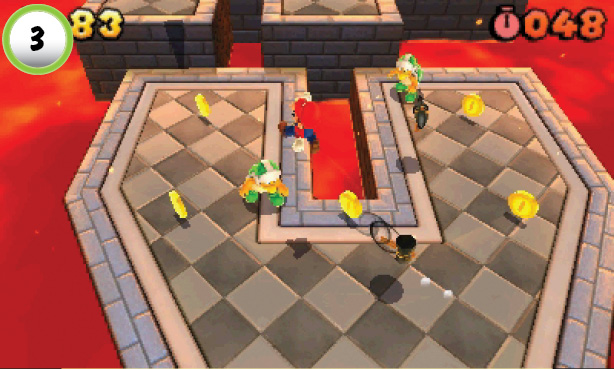 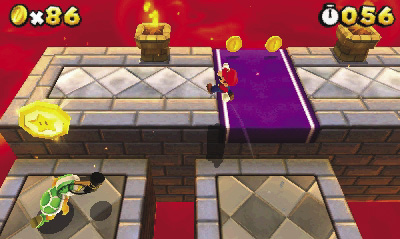 The second Star Medal is located behind the Hammer Bros at Point 3. Clear out the two enemies on the lower platform, then head up and take care of the last Hammer Bro. After you grab the Star Medal, jump along the hidden platforms just past the purple carpet. |
Star Medal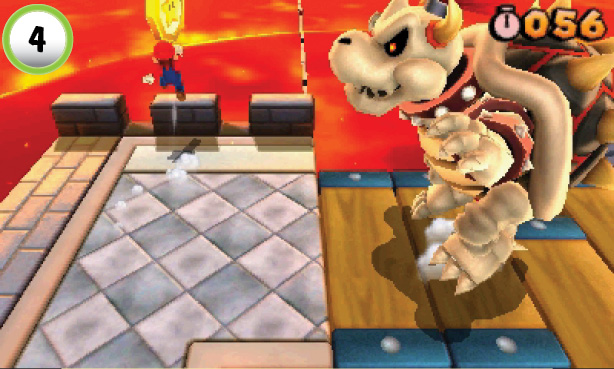 As you battle your way past Dry Bowser, make sure you grab the Star Medal at Point 4. If you end the encounter before you collect it, you must revisit the level to make another attempt. |
Boss Battle: Dry Bowser
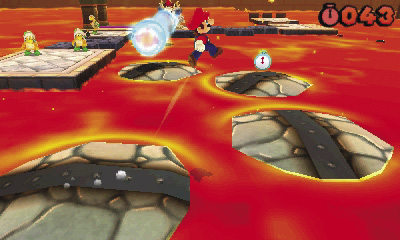
When Dry Bowser appears, he begins attacking with fireballs. As you make your way toward him, watch for the Hammer Bros that spring up along the path. New Hammer Bros appear throughout the encounter, so take them out as quickly as possible.
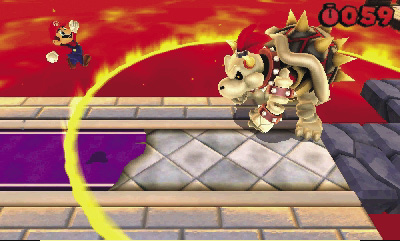
When you reach Dry Bowser, dodge his fireballs and tail whips until he jumps into the air. When he lands, the impact sends a powerful shock wave through the area. It’s very difficult to dodge this attack if you’re too close to his landing spot, so it’s best to keep your distance. Jump over the shock wave as it approaches you, then slip past Dry Bowser as he begins his next attack. When he jumps ahead of you, repeat the process to continue along the path.
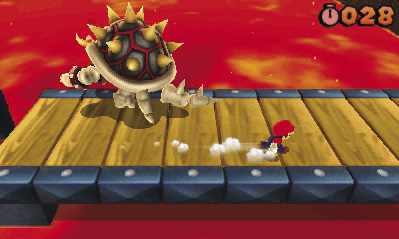
You’ve survived several similar encounters, so the time limit may be your biggest concern. Make sure you defeat each Hammer Bro as it appears, and remember to collect the Star Medal at Point 4. Stay clear of Dry Bowser’s attacks, and run past him each time you see an opening. Cross the bridge and jump on the Bowser Switch to end the encounter.