
Super Mario 3D Land Guide Walkthrough Specials
Special Six
Special 6-1
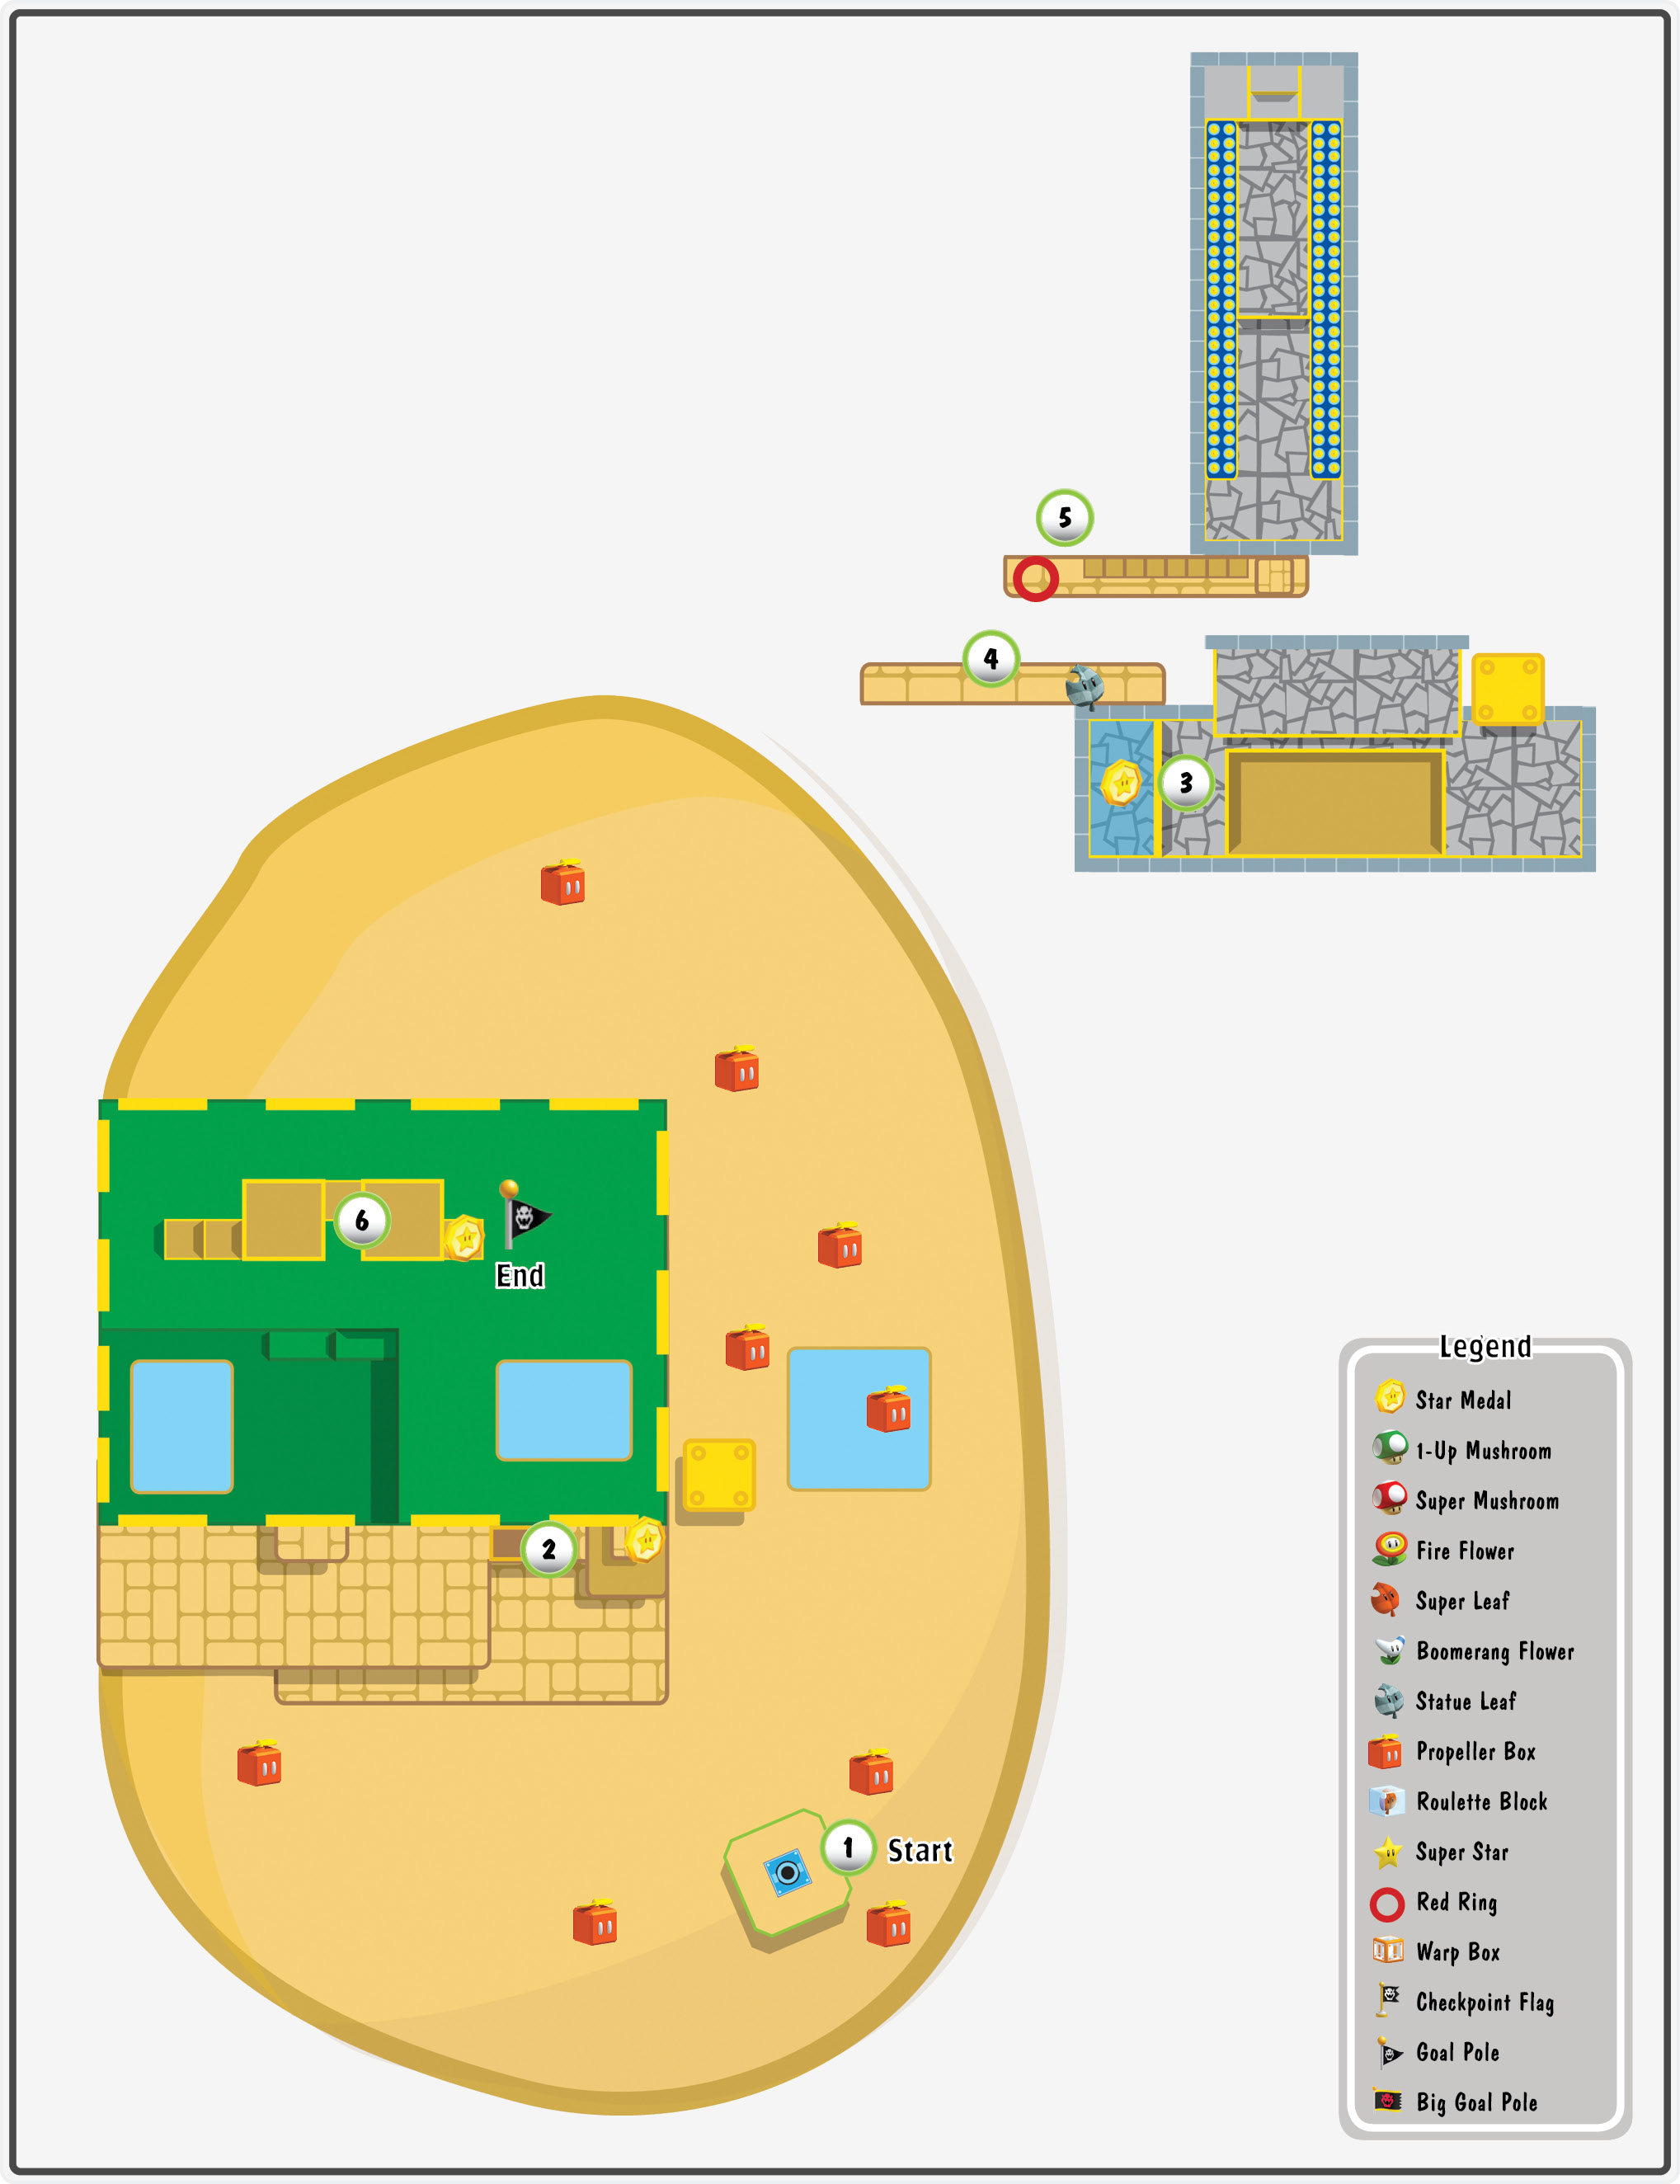
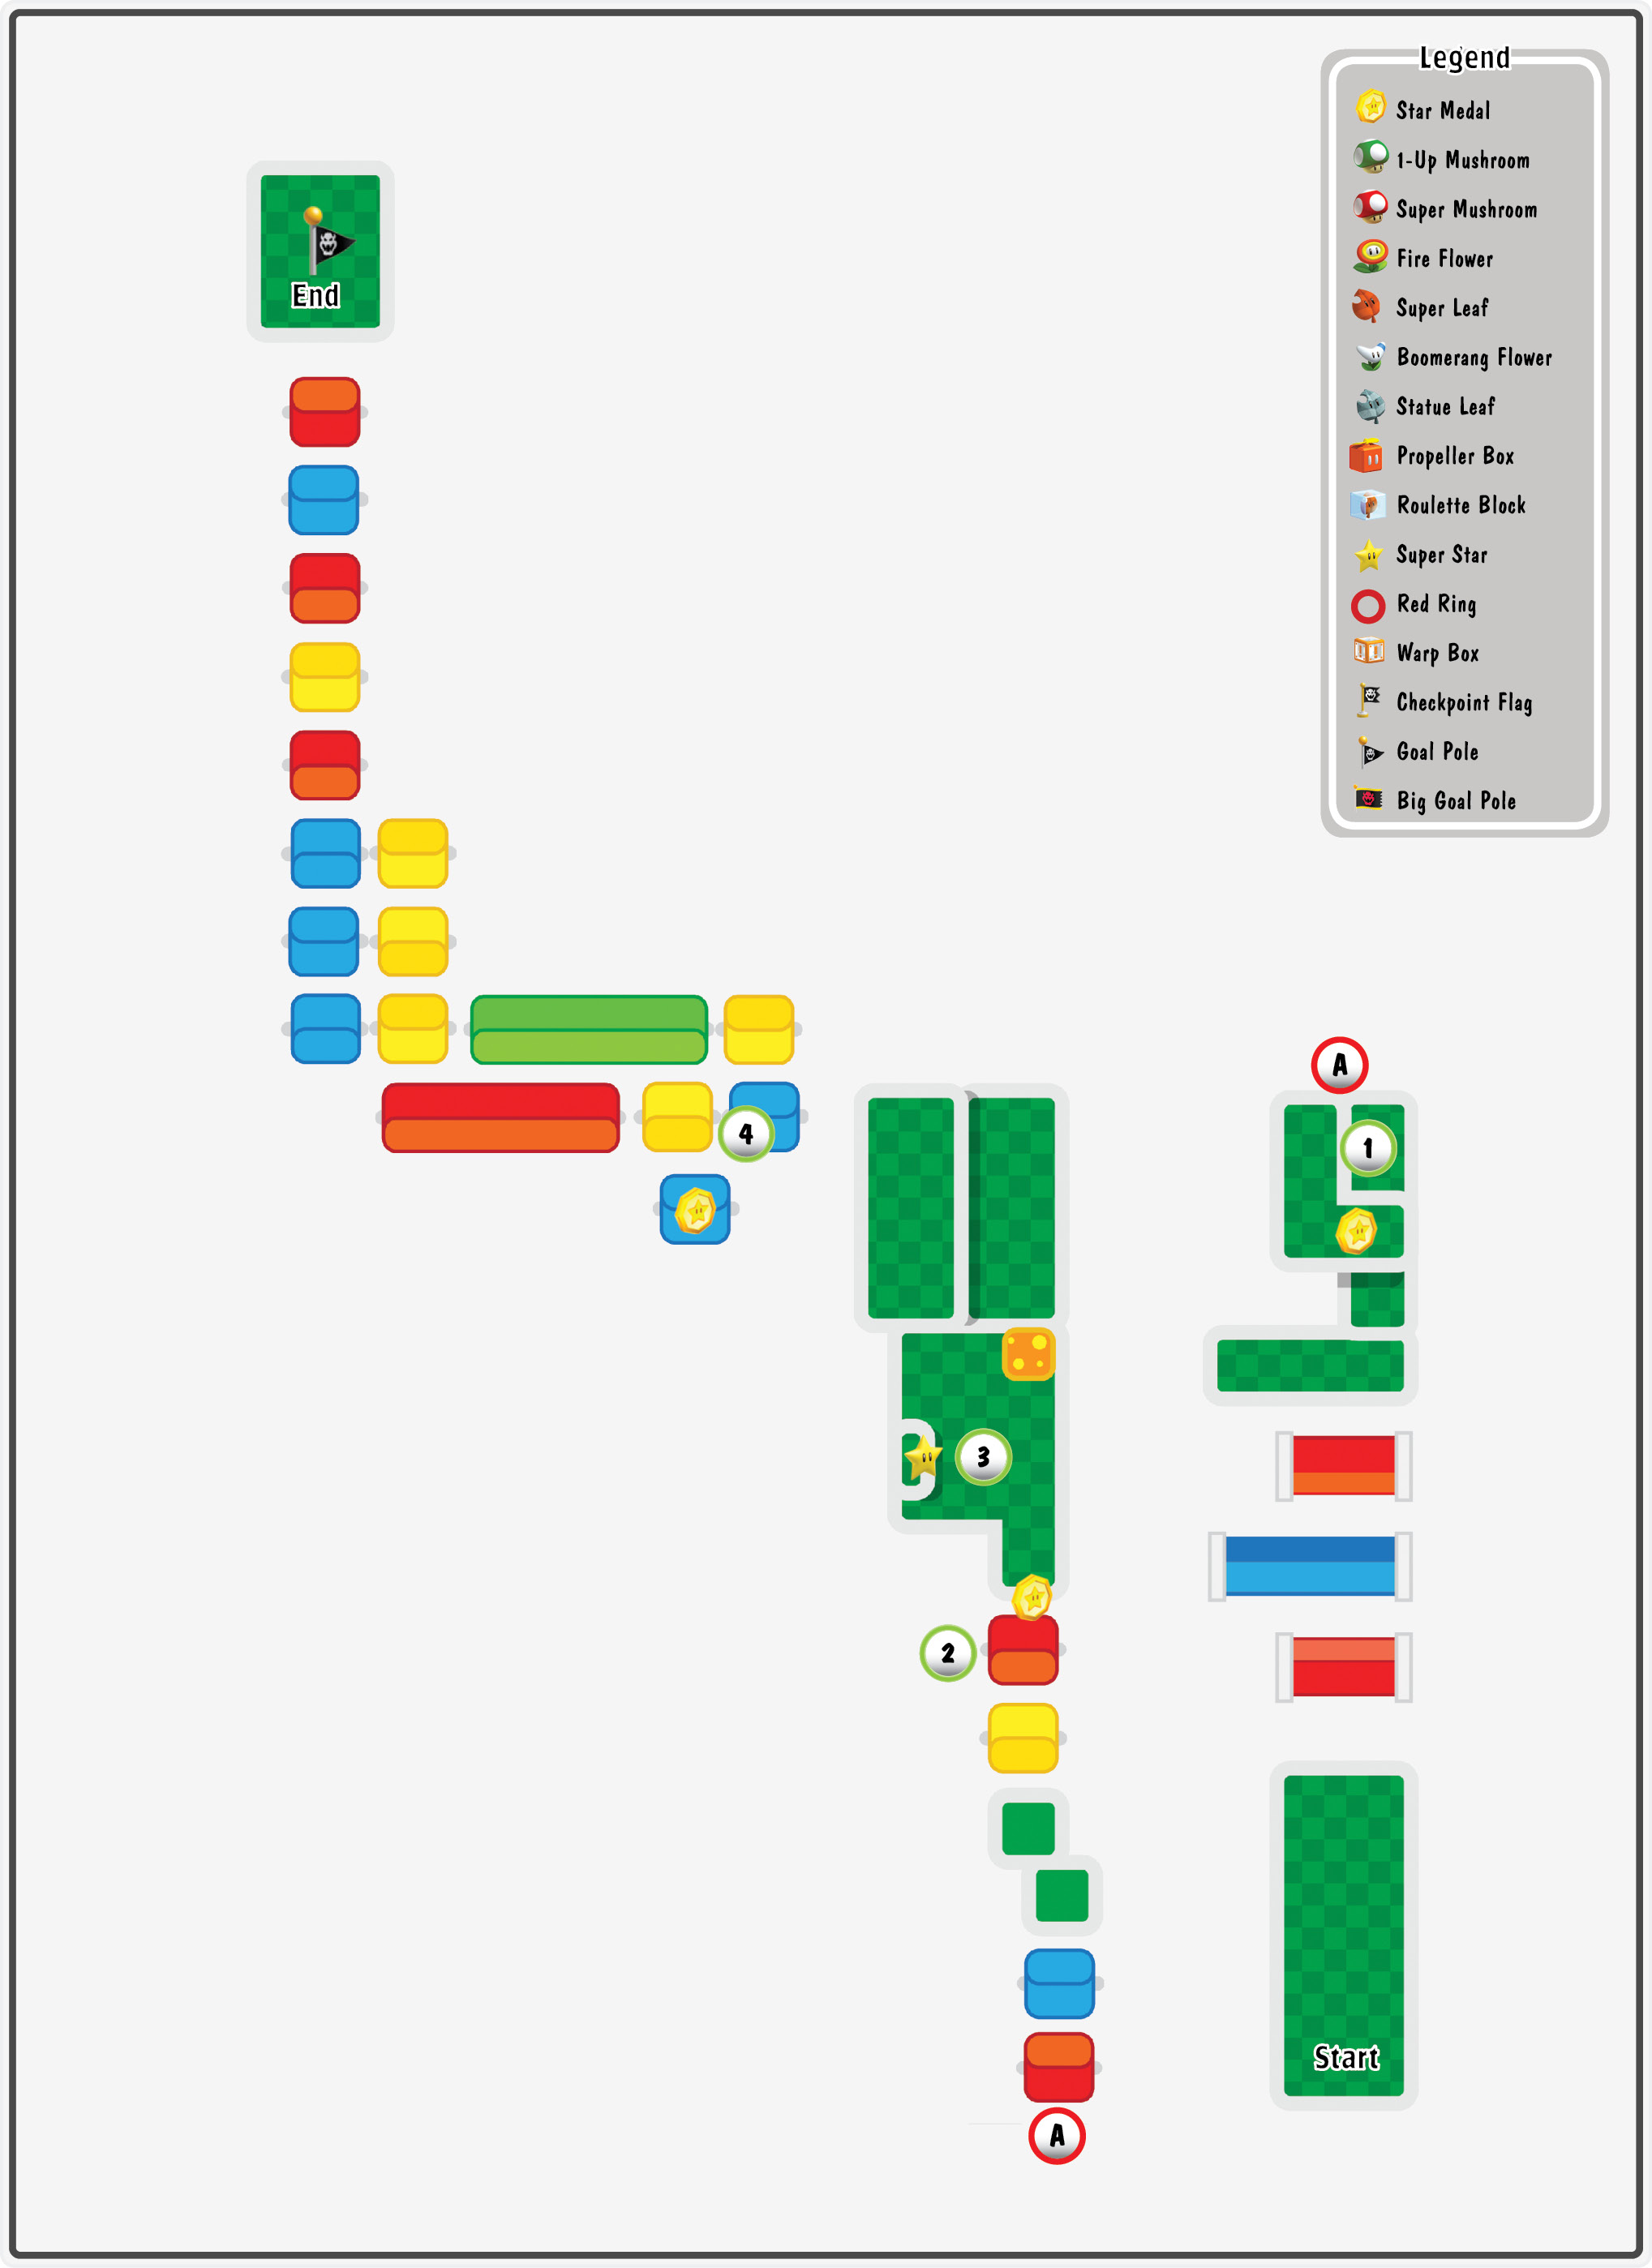
When the level starts, hit the ? Block at Point 1 to reveal a Propeller Box. Each of the nearby ? Blocks contains either a Propeller Box or a Poison Mushroom, so it’s best to avoid them for now. Search the area for coins and other objects, or use the Propeller Box to scale the tower.
Star Medal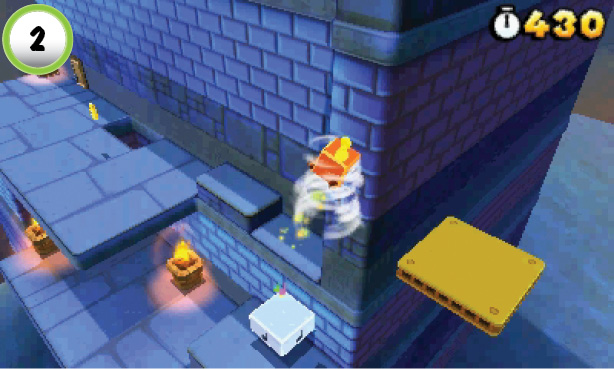 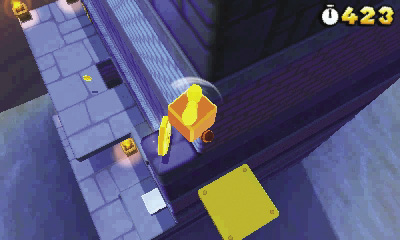 Use a Propeller Box to fly up to the Note Block at Point 2. Bounce off of the Note Block, then perform a wall jump and fly up to the first Star Medal. If you’re having trouble reaching it, float around the corner to the right. Touch down on the platform to recharge your Propeller Box, then fly up to the Star Medal. |
Star Medal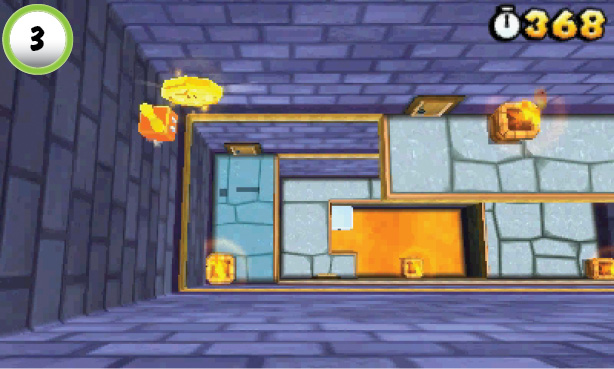 The second Star Medal is floating inside the tower. Fly up from below and use a wall jump to grab the Star Medal, or simply make your way up along the various platforms. |
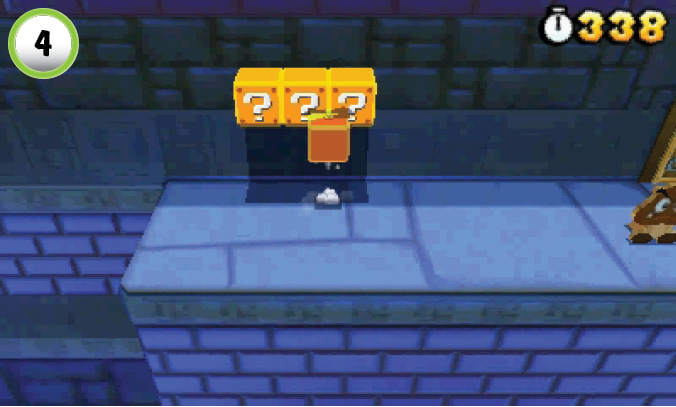
After you collect the second Star Medal, drop straight down and head through the nearby door. Search the ? Blocks along the wall to collect a Statue Leaf. When you’re ready, move back to the door and fly up to the next ledge.
Red Ring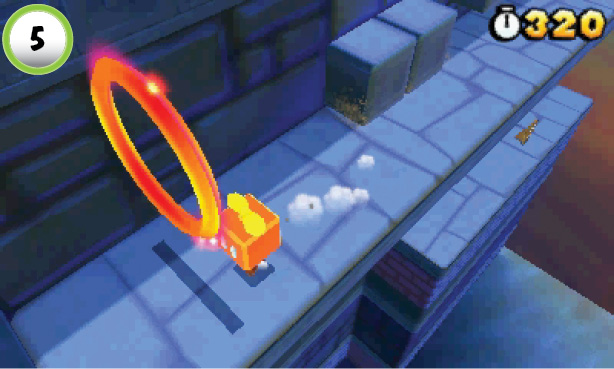 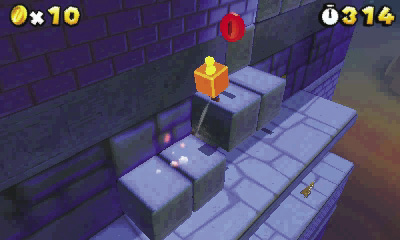 Hop through the Red Ring at Point 5, then follow the Red Coins to the right. Collect all of the Red Coins before they vanish to earn a Statue Leaf. When you reach the next door, use the Propeller Box to fly to the top of the tower. |
Star Medal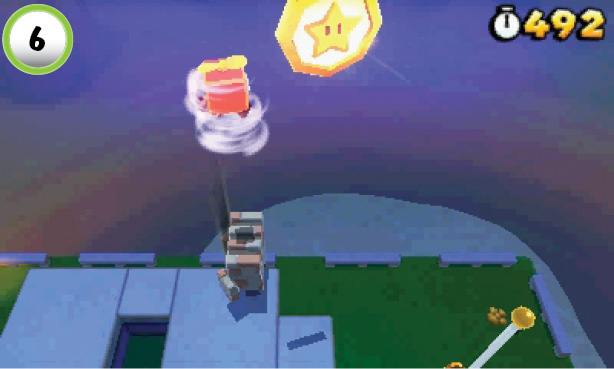 Before you jump to the Goal Pole, make sure you collect the level’s last Star Medal. Look for it’s shadow at Point 6, then use the Propeller Box to fly up and grab it. |
Special 6-2
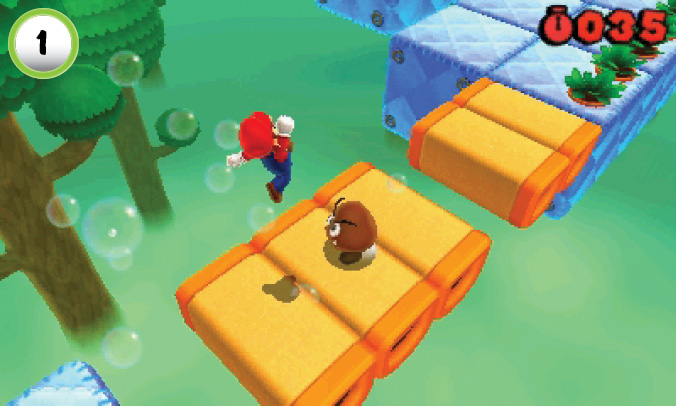
Move quickly across the Donut Blocks, but make sure you jump on the Goombas along the way. Each time you defeat one, 10 seconds are added to the clock. If you fail to defeat these enemies before the platforms break apart, you’ll find it very difficult to complete the level within the time limit.
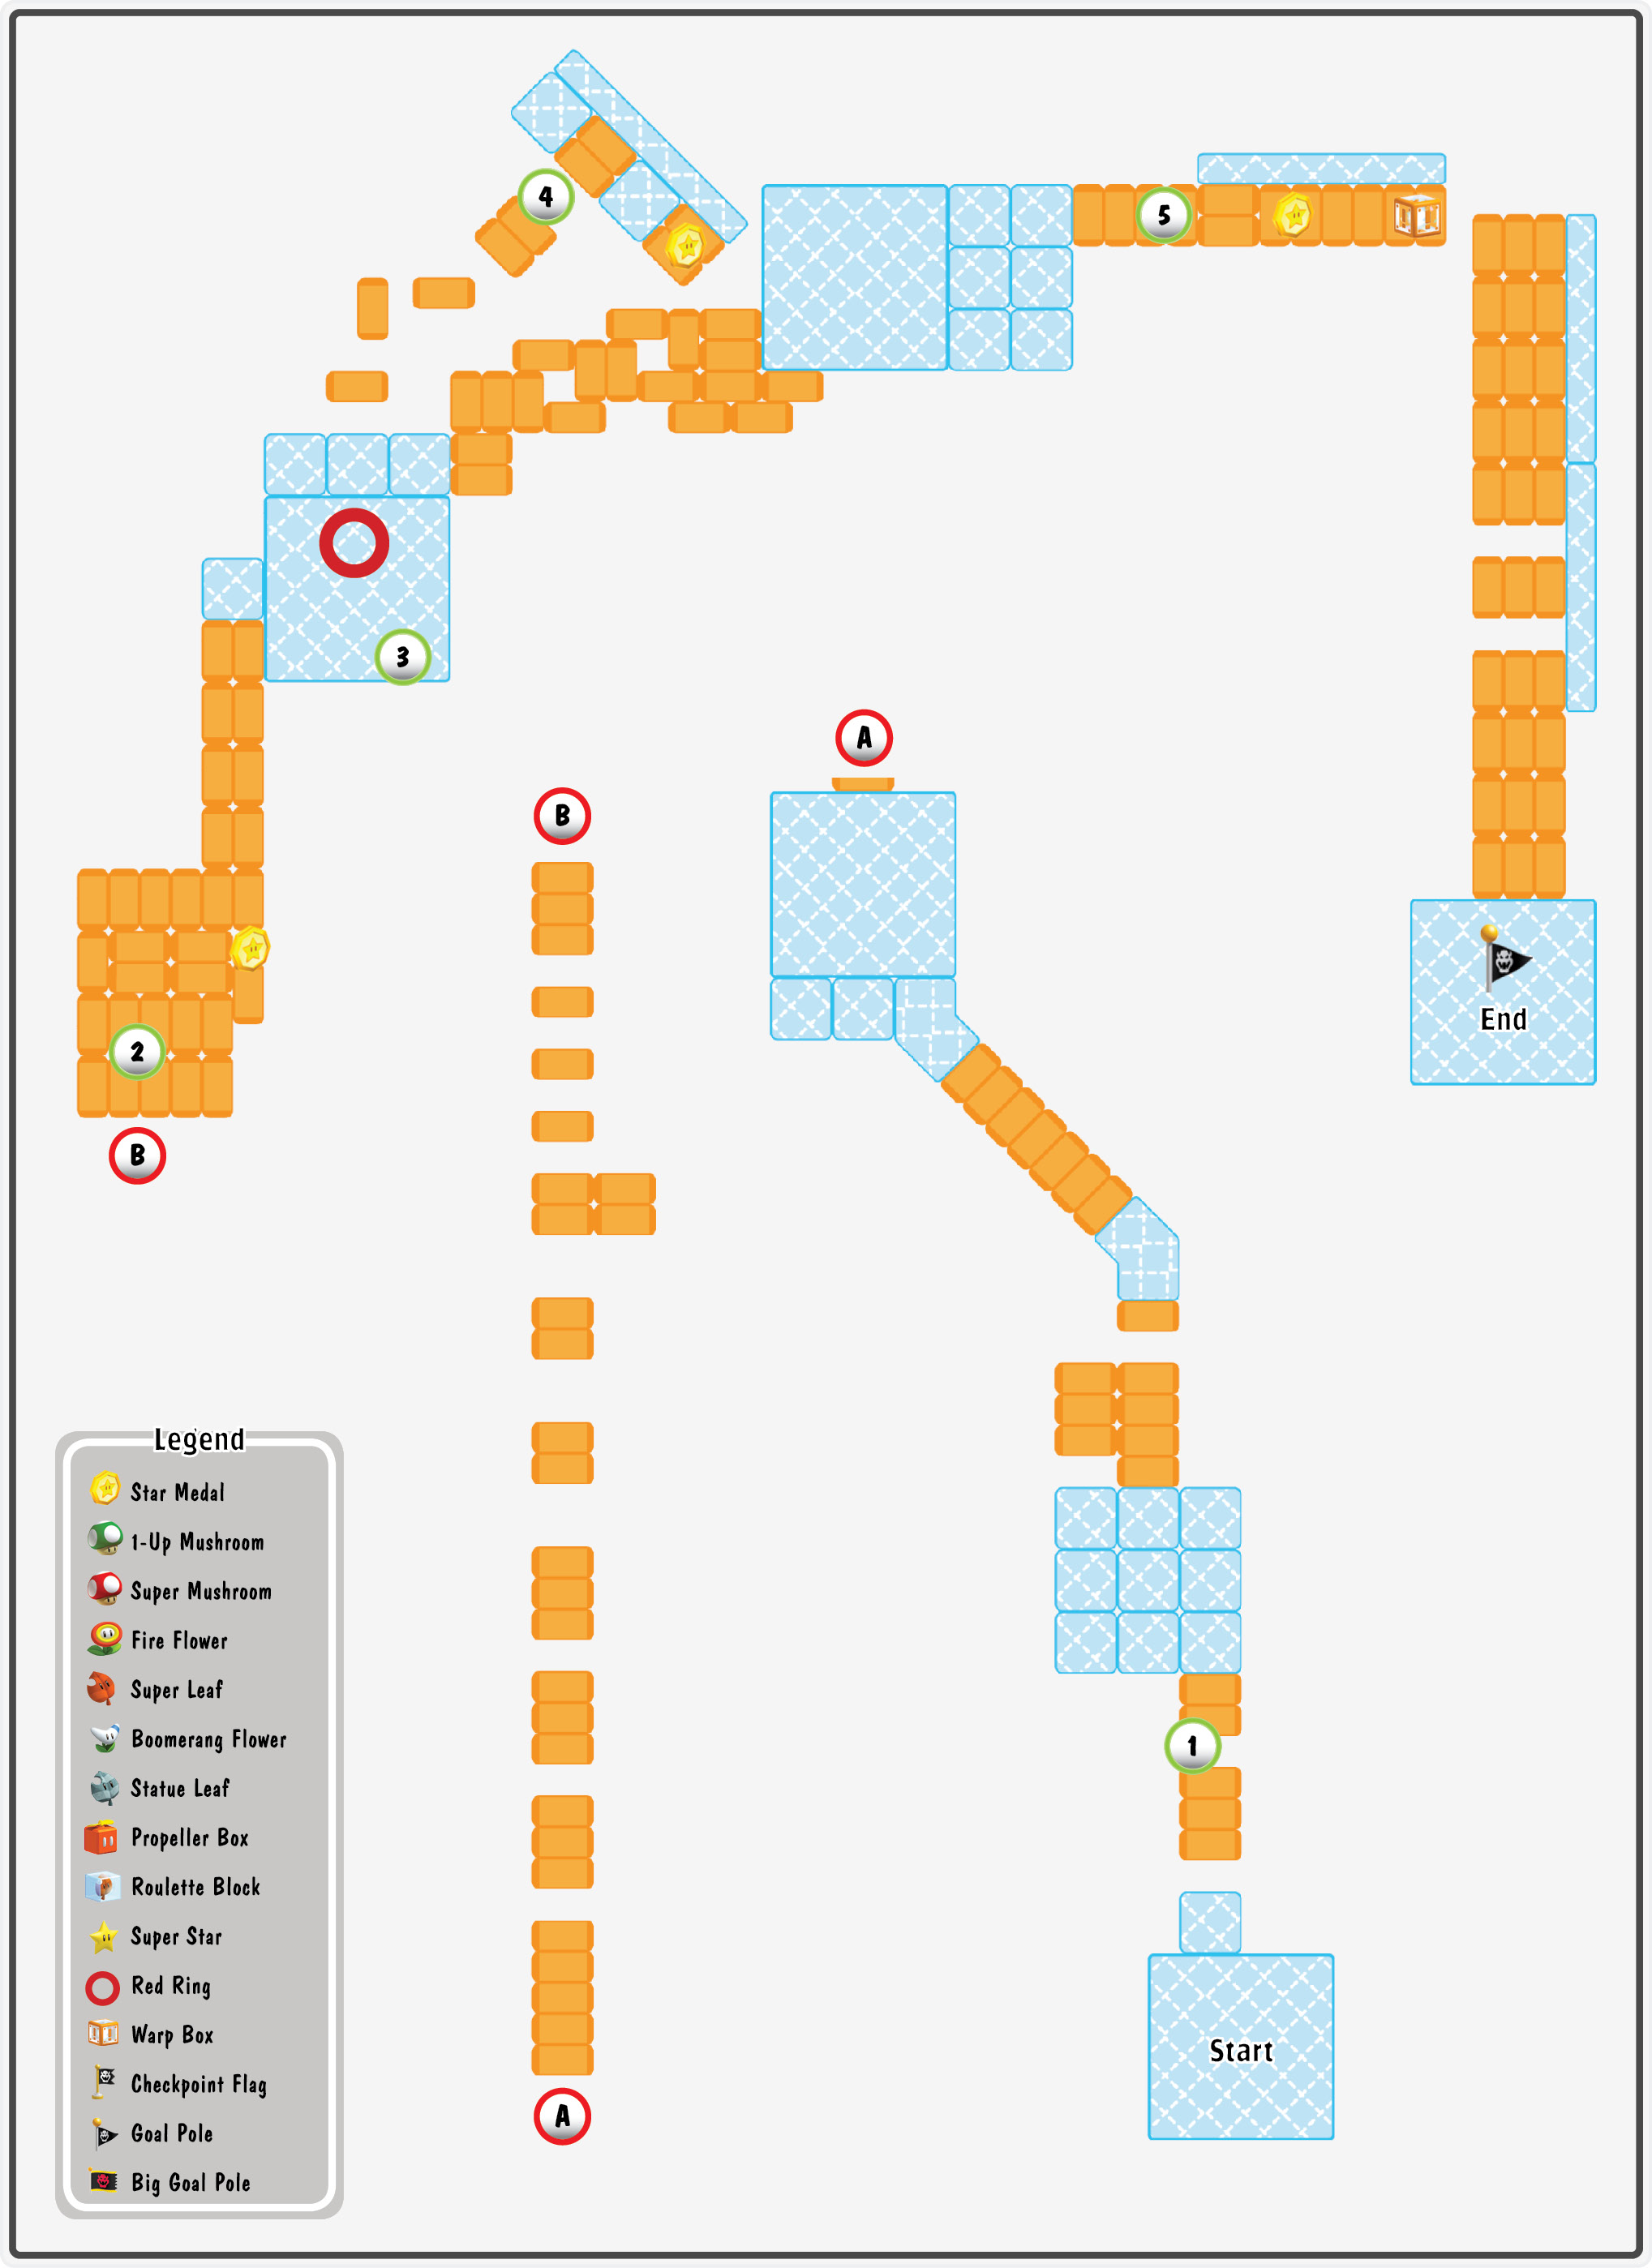
Star Medal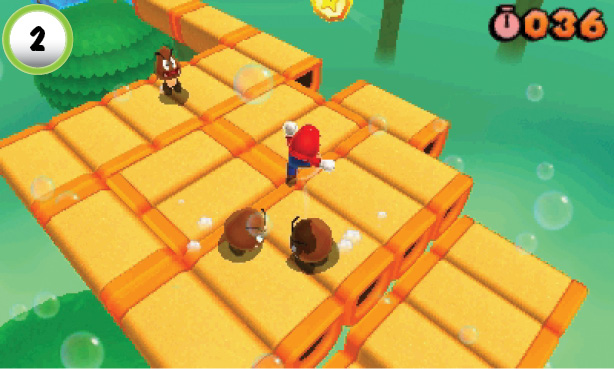 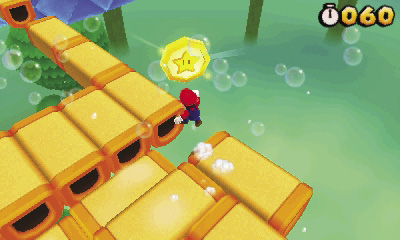 When you reach Point 2, draw all of the nearby Goombas to your position. It takes a while for the third Goomba to reach you, so jump between Donut Blocks to slow the rate at which they drop. After you defeat all three enemies, dash to the edge of the Donut Blocks and jump through the Star Medal. |
Red Ring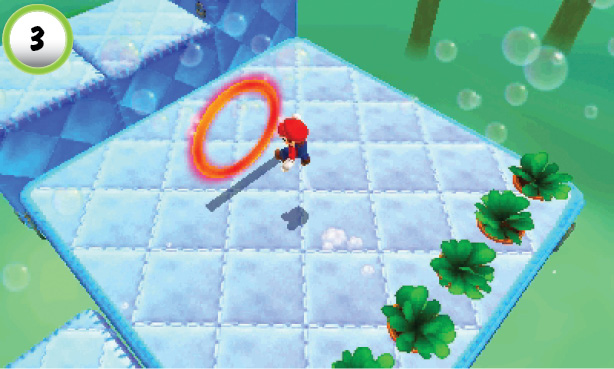 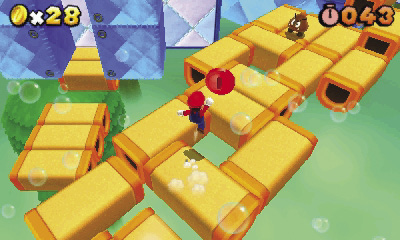 Pass through the Red Ring at Point 3, then follow the Red Coins across the Donut Blocks. As you grab each Coin, try to leave the surrounding area. Collect all of the Red Coins to earn a Statue Leaf, then turn around and follow the Donut Blocks toward the background. |
Star Medal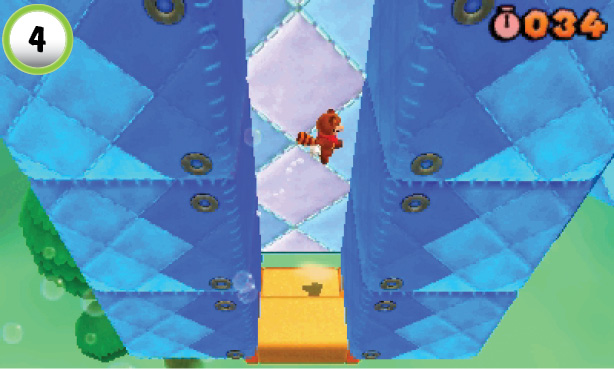 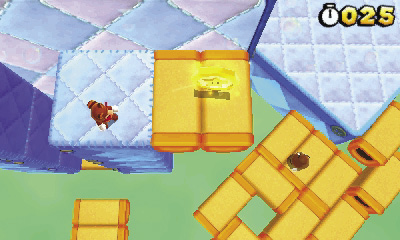 When you reach Point 4, perform a series of wall jumps to reach the ledge above you. Run through the Star Medal on the Donut Blocks, then drop down onto the Goomba and continue along the main path. |
Star Medal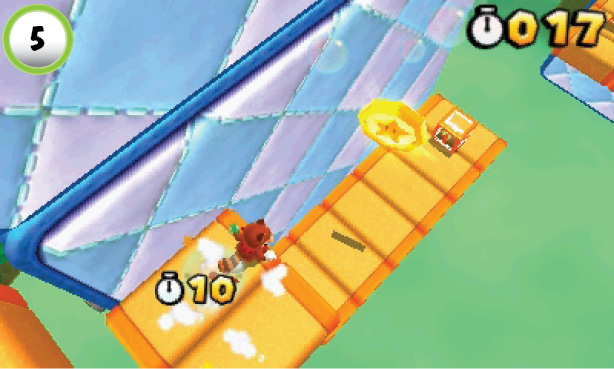 Drop down to defeat the Goomba at Point 5, then make a running leap through the Star Medal. When you land, head through the Warp Box and follow the path to the Goal Pole. |
Special 6-3
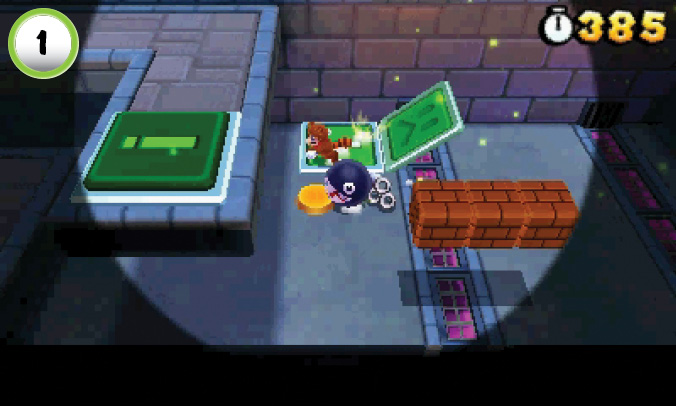
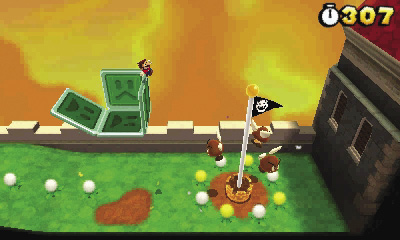
When the level starts, dodge past the Chain Chomp and hit the Flip Panel on the ground.Climb up and trigger the Flip Panel to the left to create a temporary bridge to the next ledge.
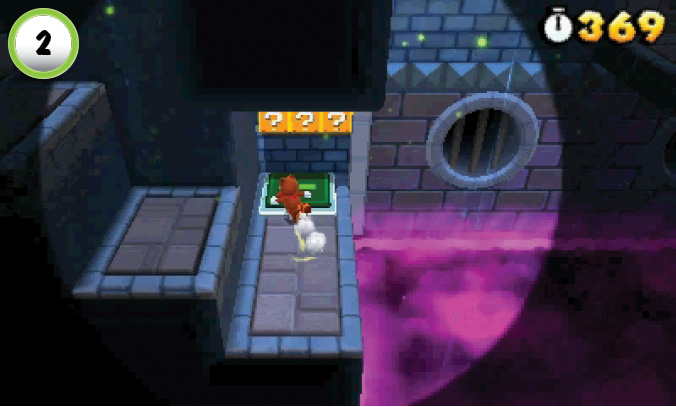
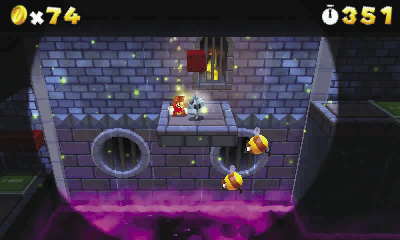
When you search the ? Blocks at Point 2, avoid the one on the left—it contains a Poison Mushroom. Step on the Flip Panel and search the two remaining Blocks to collect a Super Star. Follow the path as it leads you to the back wall, then leap to the platform on the left. When you land, jump up to find the Statue Leaf hidden in an Invisible Block.
Star Medal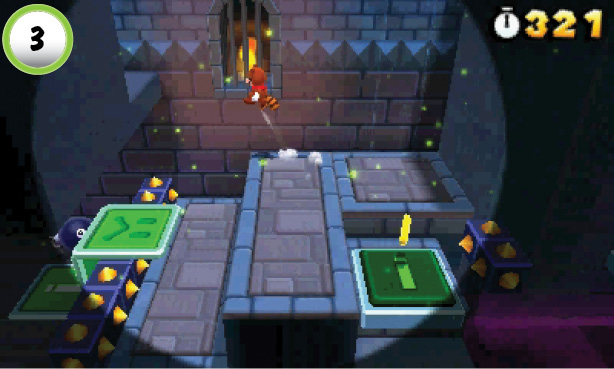 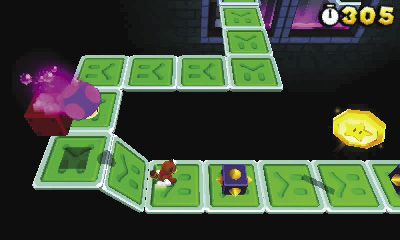 Before you trigger the Flip Panel, jump to the ledge on the left to find the level’s Checkpoint Flag. When you’re ready, return to the Flip Panel and follow the path to the first Star Medal. The ? Block along the way contains a Poison Mushroom, so it’s best to avoid searching it. |
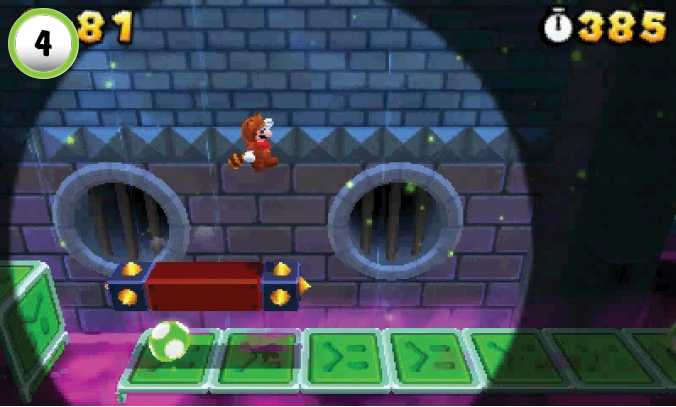
Watch out for the spikes at Point 4. Jump across the ? Block, then double back and grab the 1-Up Mushroom behind you. There’s another 1-Up Mushroom to the right, but you must move quickly if you hope to collect both of them. The path runs to the end of the area, and you must travel the entire distance before it vanishes.
Star Medal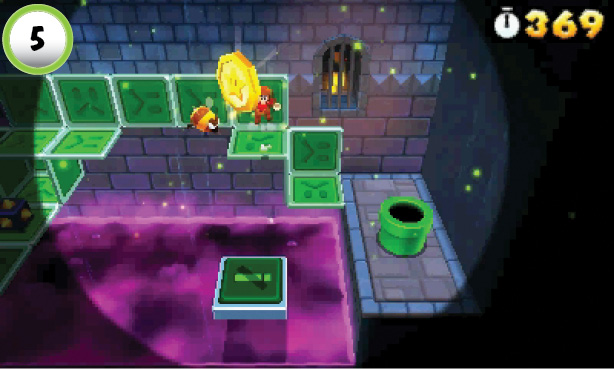 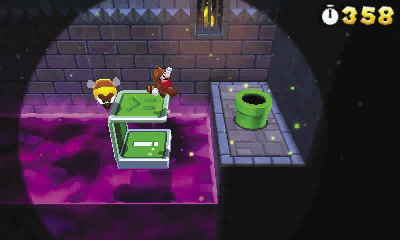 The last Star Medal is floating near the end of the path. The area is swarming with Stingbies, but you may not have enough time to engage them. Dodge past the enemies and position yourself behind the Star Medal. Jump out to collect it and drop down to the Flip Panel. Jump up along the path as it unfolds above you, or wait for the Flip Panel to reset before you jump to the Pipe. |
Star Medal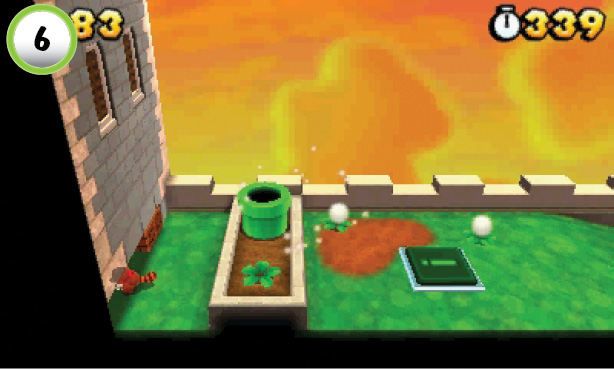 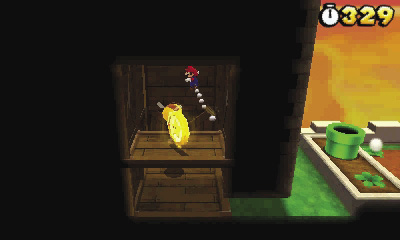 When you exit the Pipe, drop down and somersault through the Blocks to the left. Wall-jump onto the Stingby, then collect the Star Medal from the ledge. |
Special 6-4
Star Medal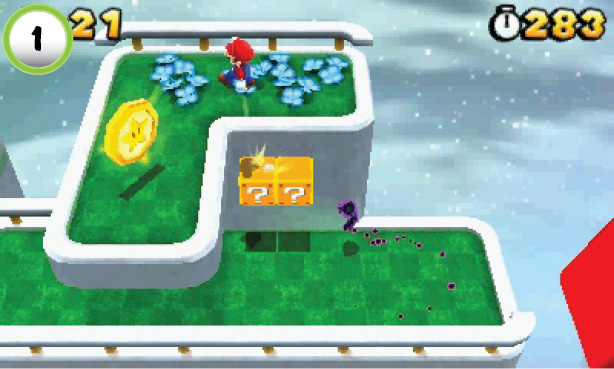 Run past the ? Blocks at Point 1, then circle back and use them to reach the Star Medal on the ledge to the left. To ensure you avoid the Cosmic Clone, drop down from the ledge before you turn back to the right. |
Star Medal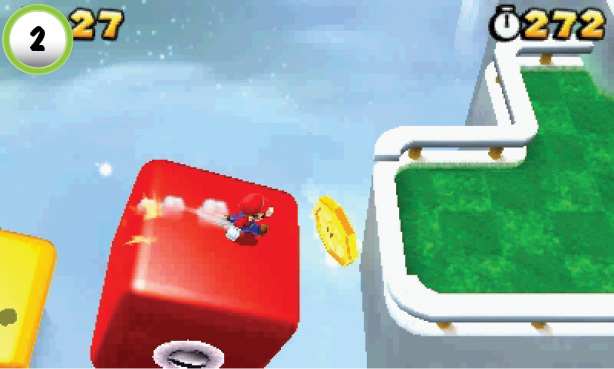 When you reach the spinning platform at Point 2, try to collect the nearby Star Medal. If the platform’s angle doesn’t allow this, jump to the ledge and circle back to make a second attempt. Each time you change direction, make sure you leave enough space to run past the Cosmic Clone as it catches up to you. |
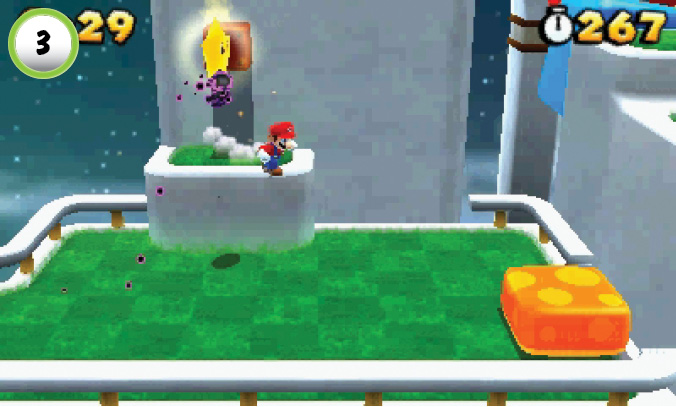
Hop onto the small platform at Point 3, then jump up to reveal a Super Star hidden in an Invisible Block. Use this power-up to temporarily clear out the Cosmic Clone, then bounce up to the next area.
Star Medal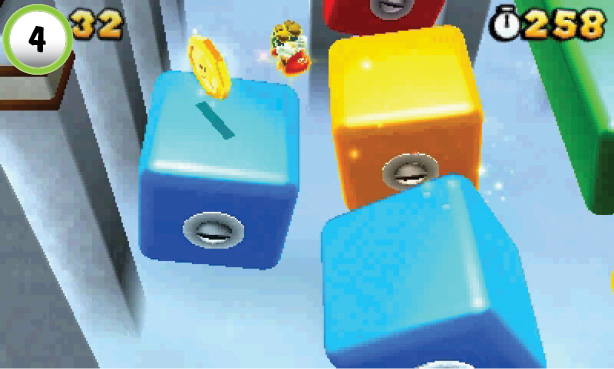 When you spot the Star Medal at Point 4, jump over and grab it. Jump back to the right and follow the spinning platforms to the end of the level. It won’t take long for the Cosmic Clone to reappear, so keep moving to reach the Goal Pole! |
Special 6-5
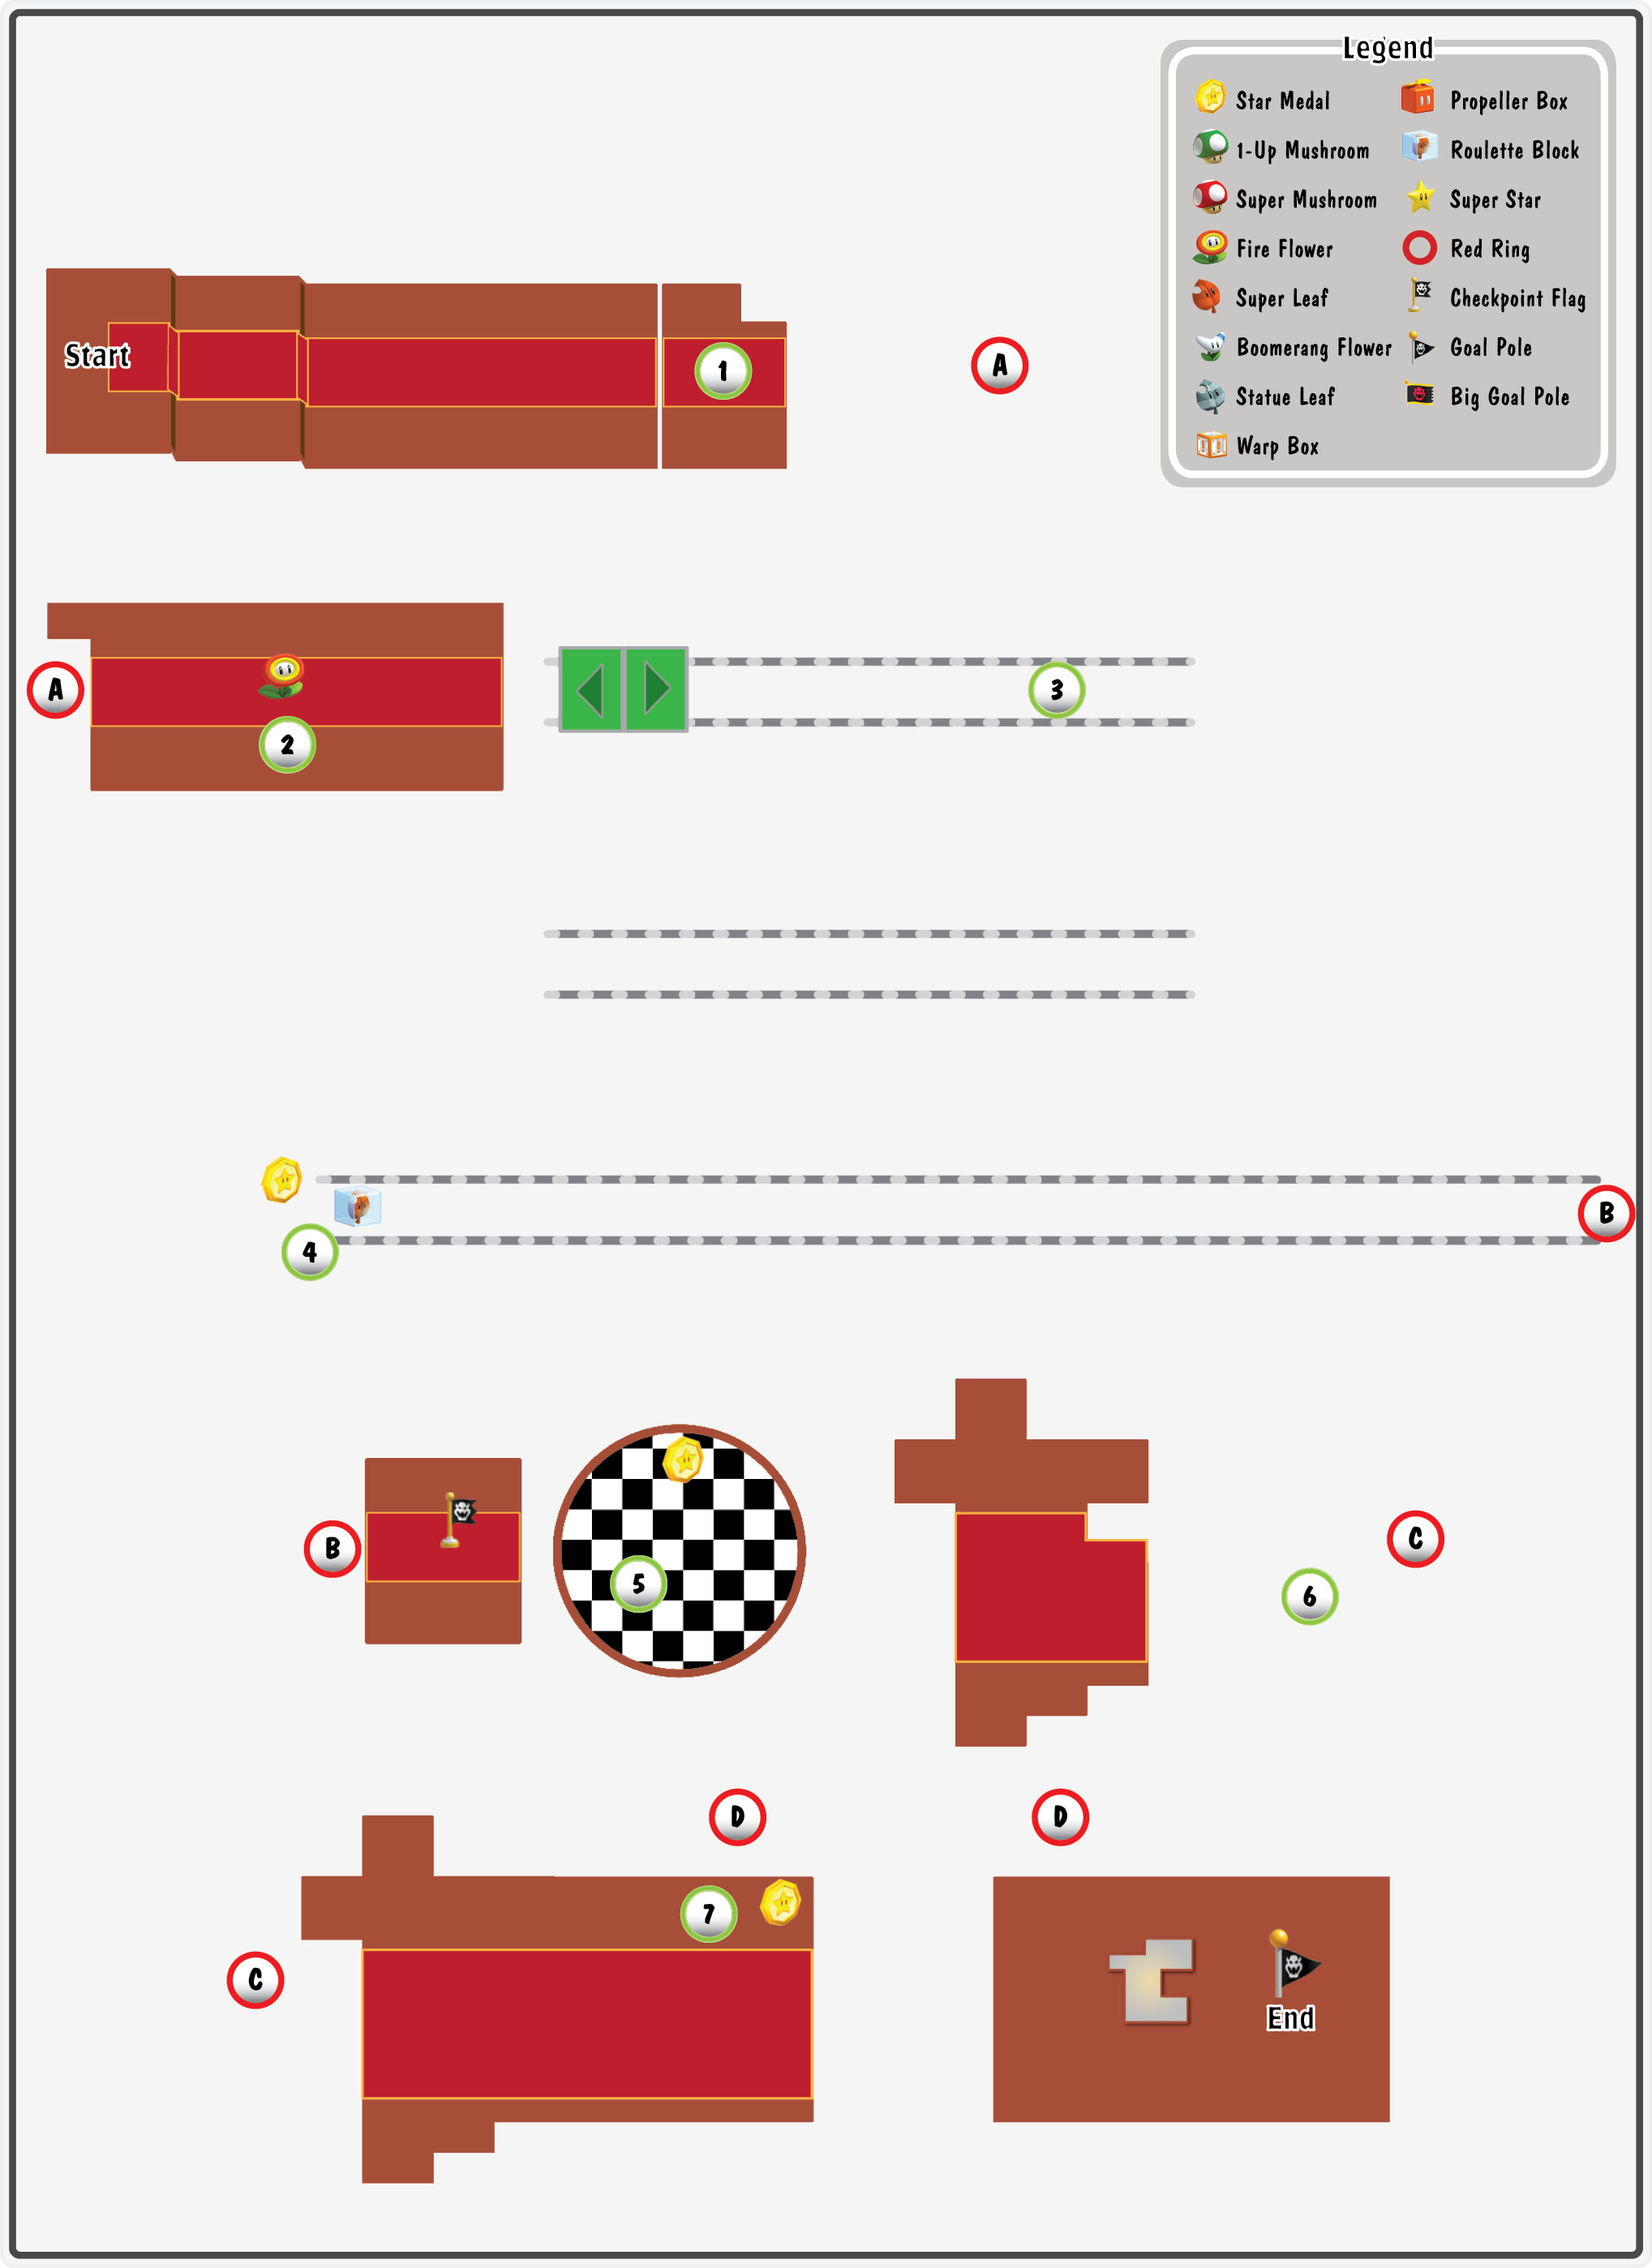
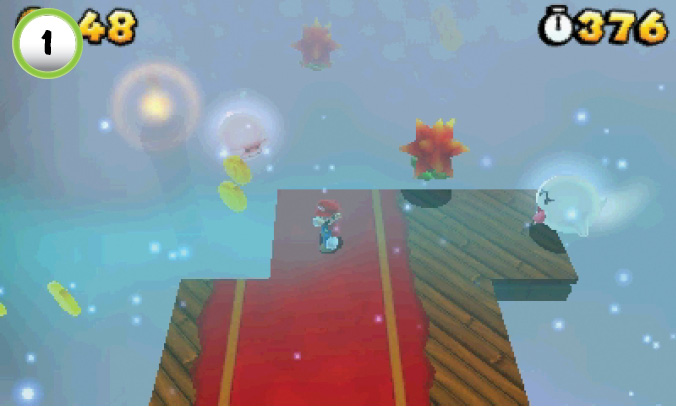
As you ride the platform through the first area, watch out for thistles and Boos along the path. Adjust your position each time the platform rotates, and be careful when you attempt to collect the nearby coins.
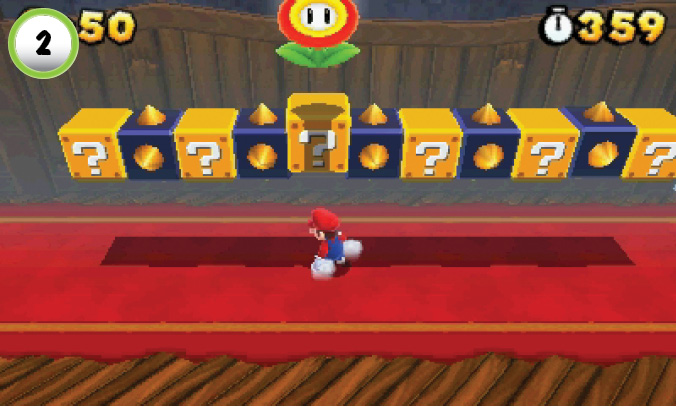
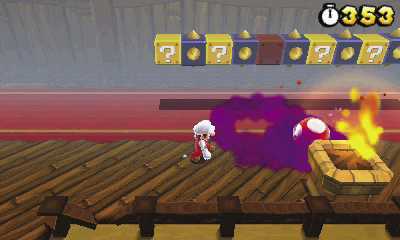
Search the ? Blocks at Point 2 to collect a Fire Flower. Move toward the bottom of the screen to find a pedestal. Light the pedestal to reveal two Poison Mushrooms and a Super Mushroom. Destroy the Poison Mushrooms with your fireballs, then grab the Super Mushroom and hop onto the nearby Switchboard.
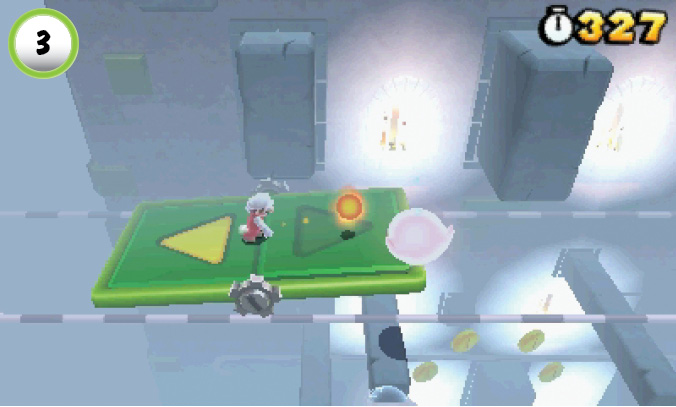
The Boos along the tracks can be troublesome, so be sure to keep an eye on them. When one of these enemies is blocking you, use a fireball to temporarily clear it from your path.
Star Medal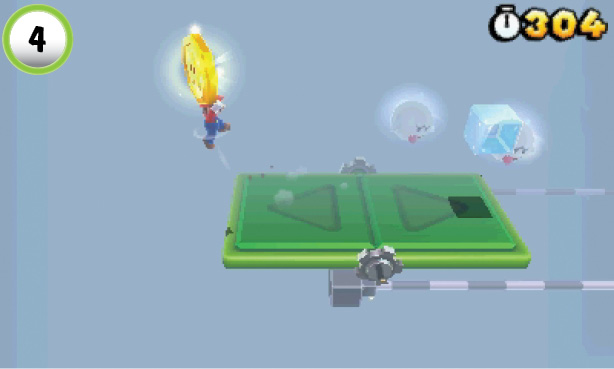 When you drop down to the lower tracks, continue left until the Switchboard stops at Point 4. Jump up to collect the Star Medal, then grab a power-up from the Roulette Block. |
Star Medal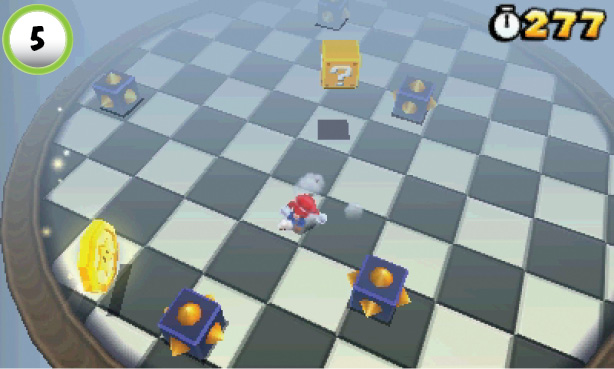 Search the edge of the large, rotating platform to find the level’s second Star Medal. Before you leave, hit the nearby ? Block to reveal a Super Star and three Big Boos. Grab the Super Star and clear out the enemies before its effect wears off. |
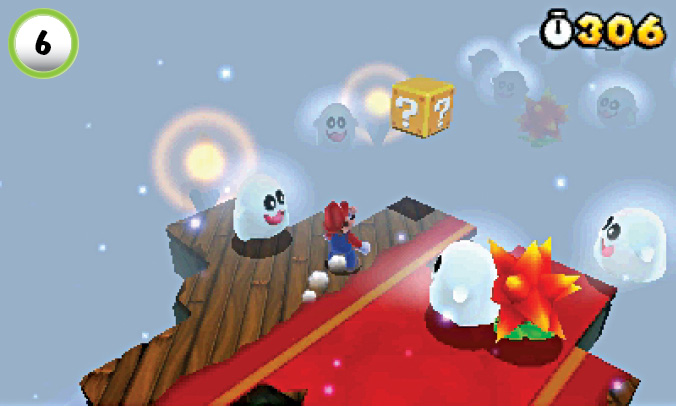
The next platform carries you through several enemies, but the thistles along the path are just as dangerous. Watch for upcoming hazards, and dodge through the gaps as you pass by them.
Star Medal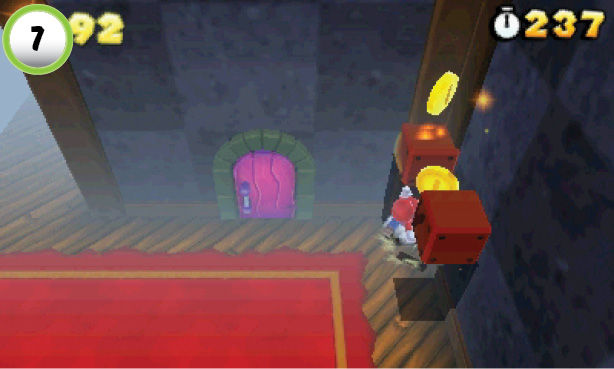 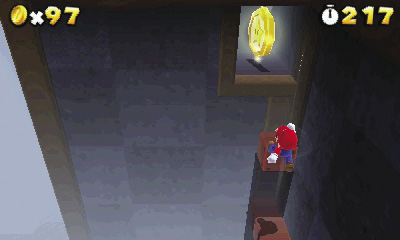 Before you head through the door at Point 7, collect the coins to the right. Jump up to reveal the three Invisible Blocks just above you. Hop onto the used Blocks and jump up to reveal two more Invisible Blocks. Continue up the wall to find one more Invisible Block, then use it to reach the level’s last Star Medal. |
Special 6—Ship
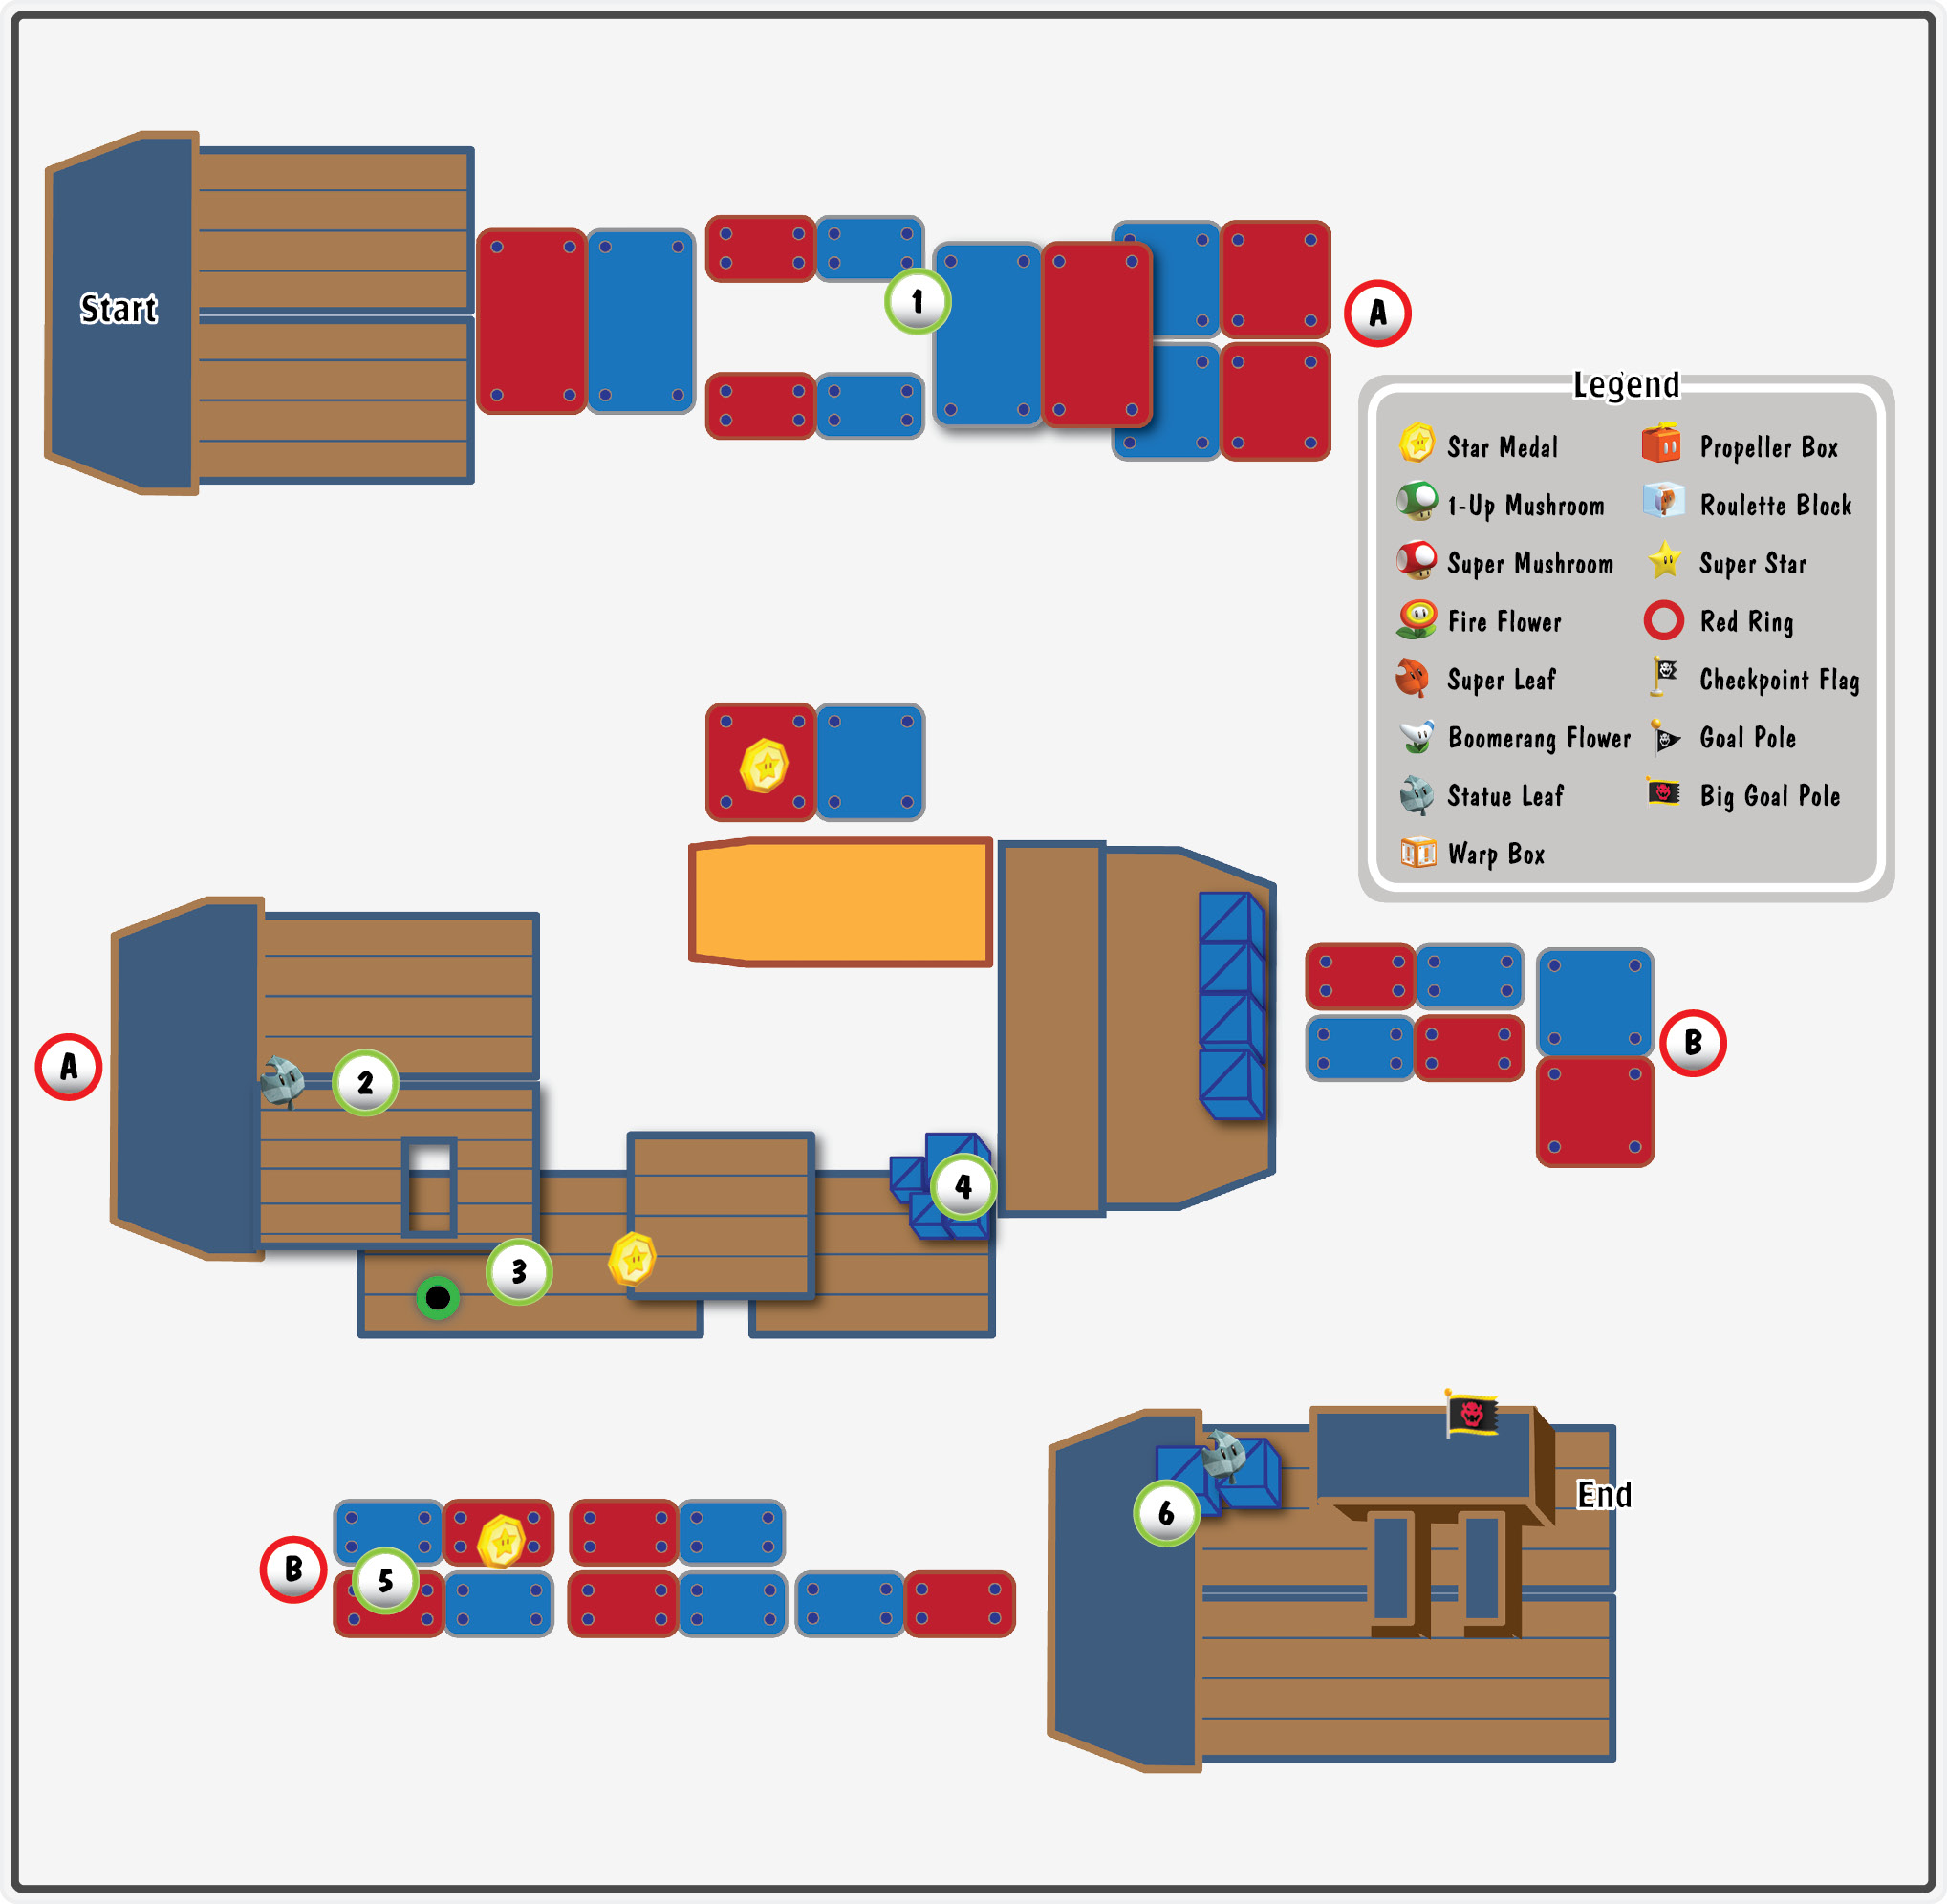
Due to the scrolling level, you don’t have much time to plan your route along the Red-Blue Platforms. If you find yourself in a difficult
position, jump to one of the Blocks along the center of the path and flip the platforms into a more accommodating arrangement.
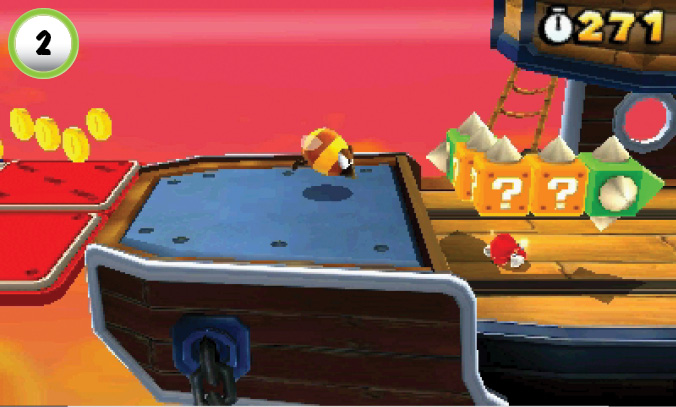
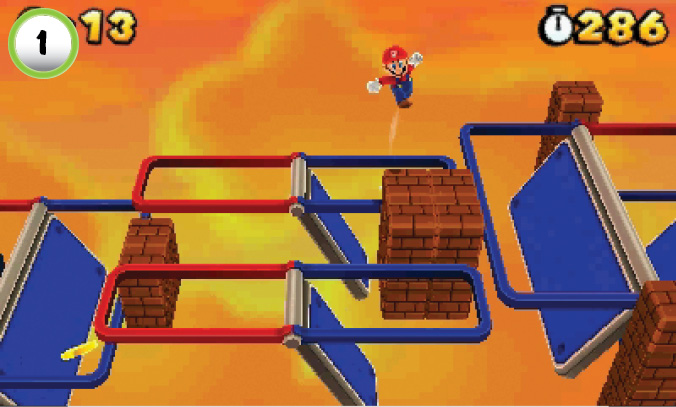
When you reach Point 2, hit the ? Block at the center of the Blokkablok to reveal a Statue Leaf. The nearby Stingbies make it dangerous to stay put, so consider moving on as soon as you collect it.
Star Medal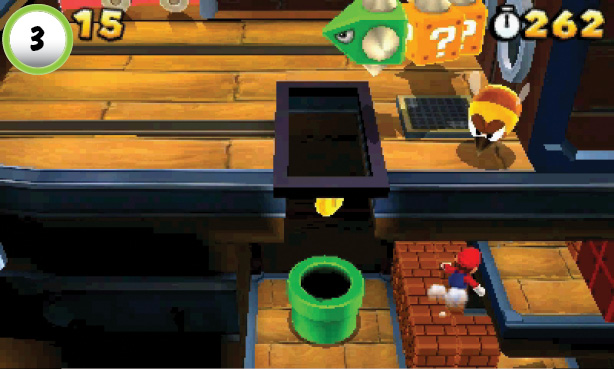 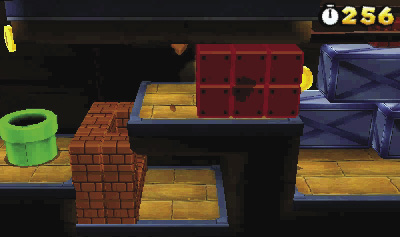 To collect the first Star Medal, hurry down to Point 3 and drop through the gap in the stacked Blocks. Grab the Star Medal to the right, then jump back up through the Blocks before they move off the screen. Enter the Pipe to the left to initiate a boss battle, or take the shortcut to the right. To skip directly to the next area, jump up to the ledge and crouch near the used Blocks. Somersault through the single Block at the center of the stack to find a secret passage. |
Boss Battle: Boom Boom
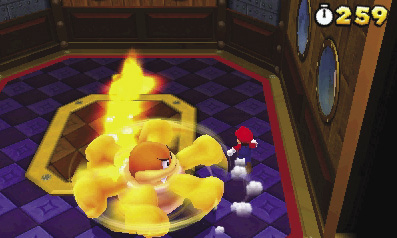
If you choose to enter the Pipe, you’ll find that Boom Boom has learned a new ability. When he follows you with his spinning attack, he leaves a trail of fire on the ground. You can jump over the flames while you wait for Boom Boom to get dizzy, but consider stopping his attack early. Leap over Boom Boom’s spinning fists, and land on his head to deliver a damaging blow.
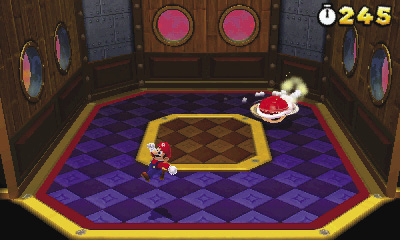
When Boom Boom tucks into his shell, he behaves like he did in previous battles. Dodge his attacks as he bounces around the room, and wait for him to reemerge.
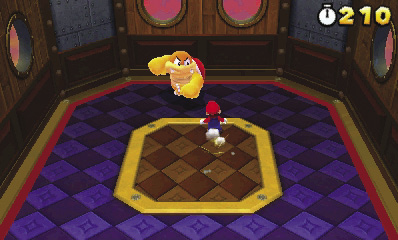
Whenever Boom Boom’s head is exposed, he’s vulnerable to your attacks. Simply jump on his head three times to end the encounter.
Star Medal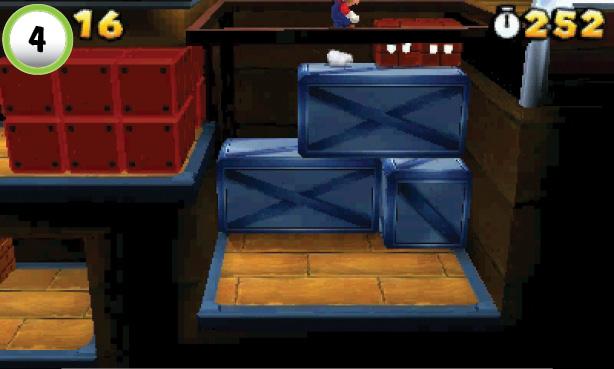 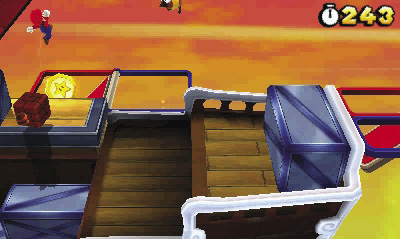 Jump up past the Fake Blocks at Point 4 and return to the ship’s deck. You need to keep moving, so it’s best not to fight them. The second Star Medal is located on the Red-Blue Panel in the background. If the platform’s blue panel is showing, jump up to move the Star Medal into place. When you see the Star Medal, run over and grab it before it moves off the screen. |
Star Medal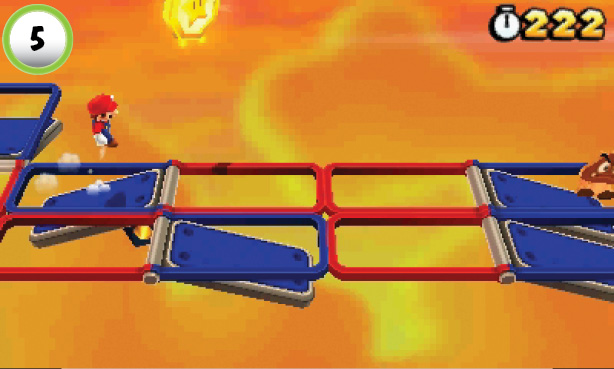 The level’s last Star Medal is located above the Red-Blue Panel at Point 5. Stand on the blue panel near the Star Medal, then jump up to collect it. There’s a set of spikes attached to the platform’s red panel, so make sure you jump far enough to avoid them as you land. |
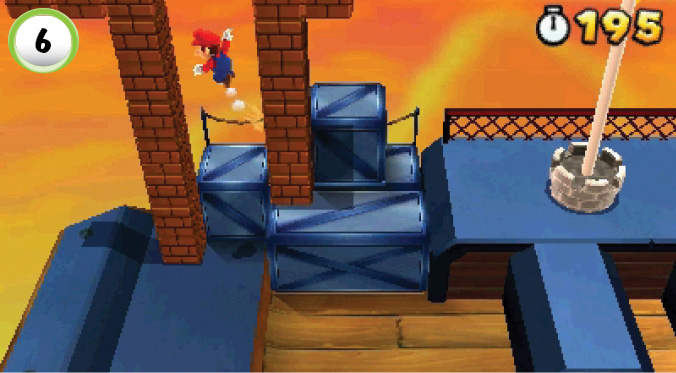
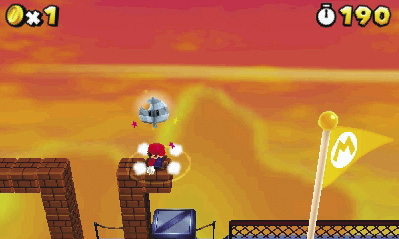
When you reach the end of the level, wall-jump between the stacked Blocks at Point 6. When you reach the top, ground-pound the Block nearest the Goal Pole to collect a Statue Leaf.