
Super Mario 3D Land Guide Walkthrough Worlds
World Seven
World 7-1
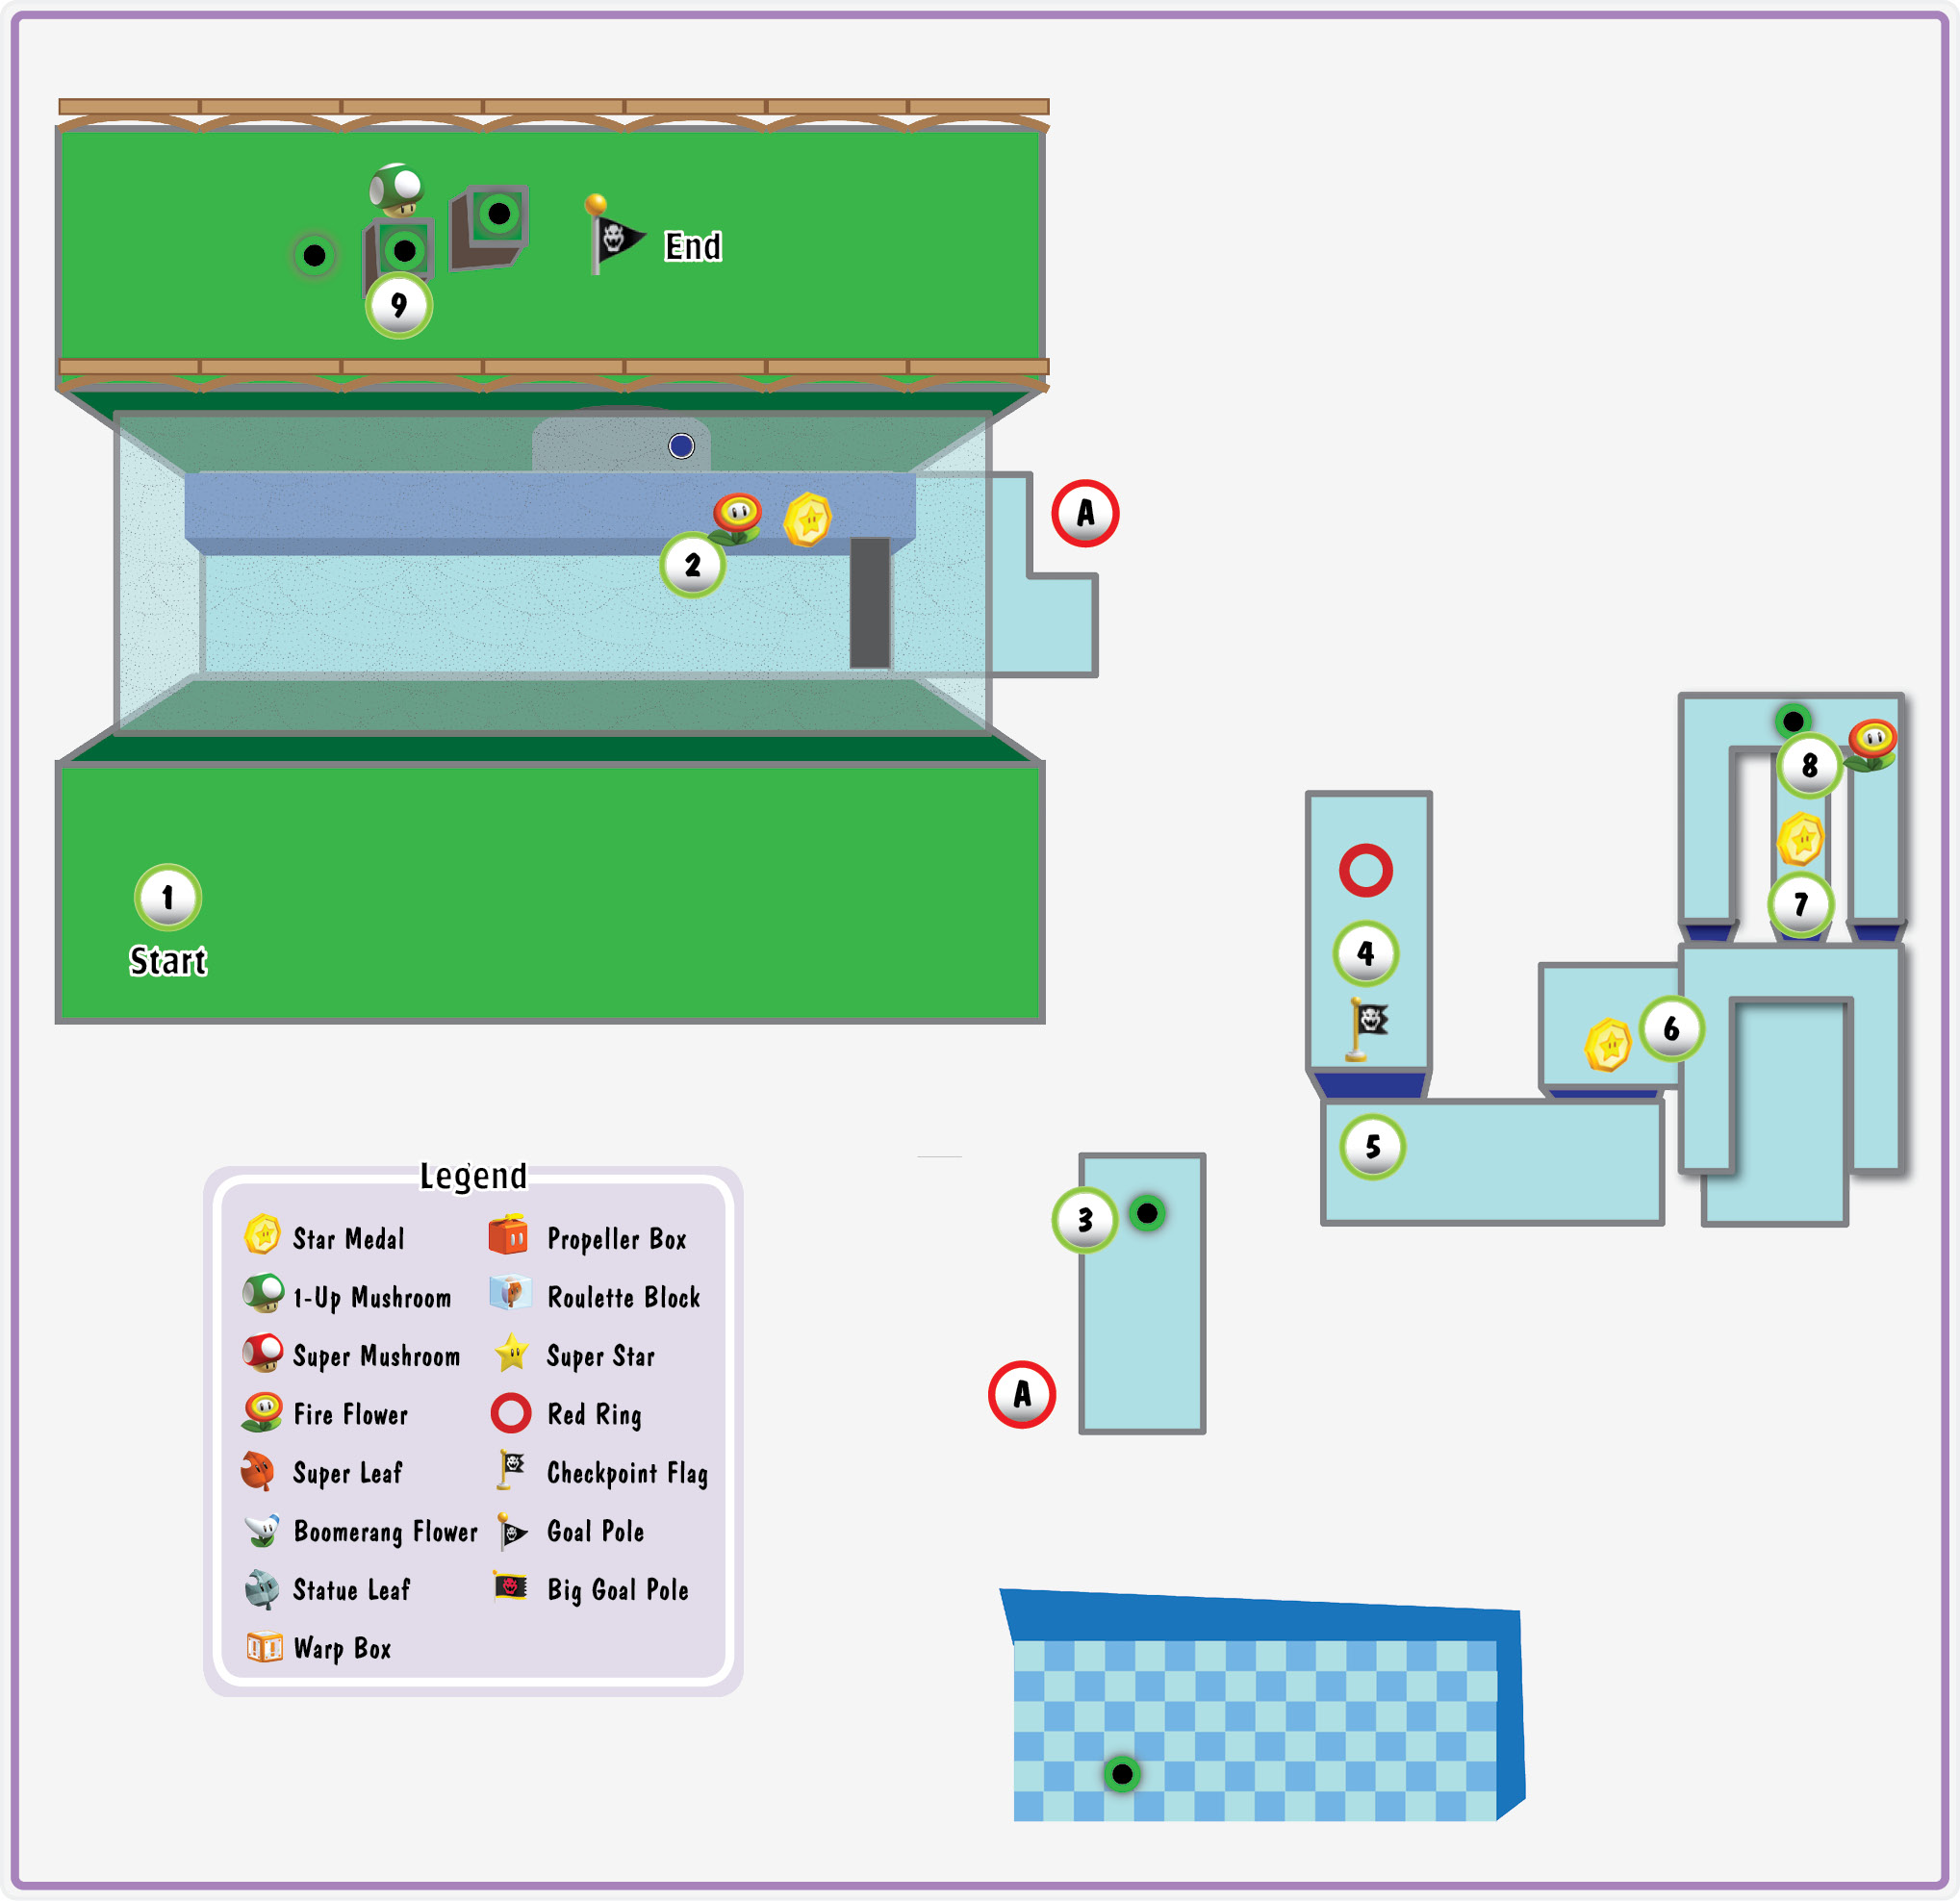
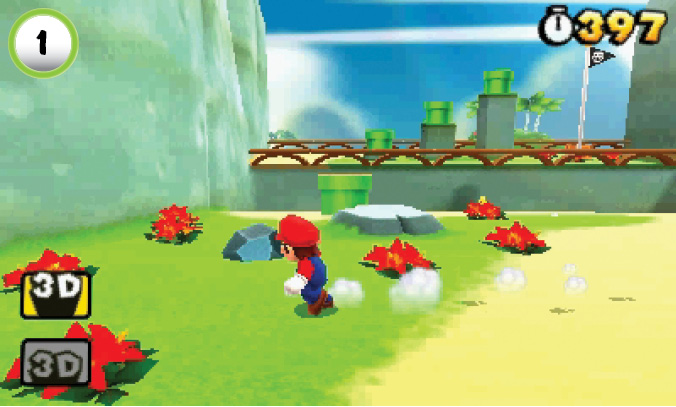
Smash the Pipe Board near Point 1 to reveal a trail of Coins. There are also two Rocks nearby, so give each of them a kick before you dive into the water.
Star Medal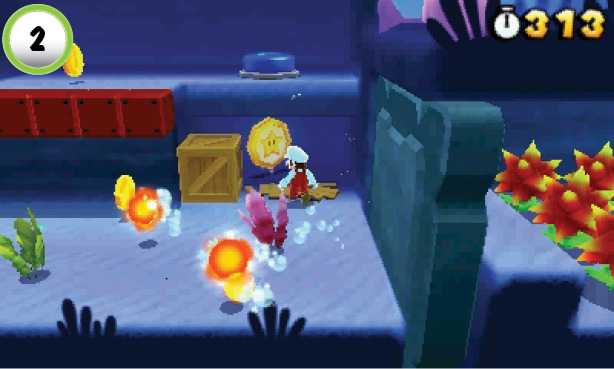 Search the ? Blocks at Point 2 to collect a Fire Flower, then use a few fireballs to take out the nearby Cheep Cheeps. When the area is clear, destroy the stacked crates to find the level’s first Star Medal. After you collect it, trigger the P Switch on the ledge to open a panel in the wall to the right. |
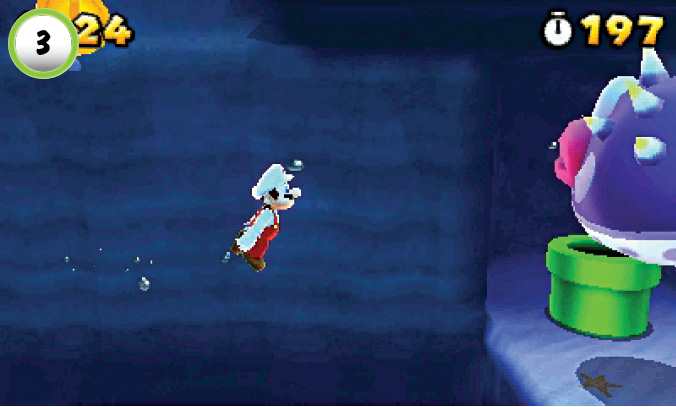
At Point 3, a trail of coins leads you up through a narrow passage. Before you collect them, clear out the Porcupuffer to the right. Enter the Pipe to find a secret area with a green + Clock and a nice stash of coins. When you’re ready to continue, use the Pipe to return to the main path. Follow the trail of coins straight up and smash through the Blocks to collect another green + Clock.
Red Ring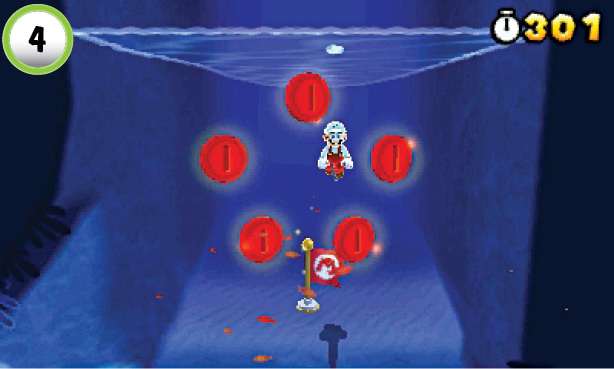 When you reach the Checkpoint Flag, move toward the background and swim through the Red Ring. Hurry back to the Checkpoint Flag and collect the Red Coins to earn a power-up. |
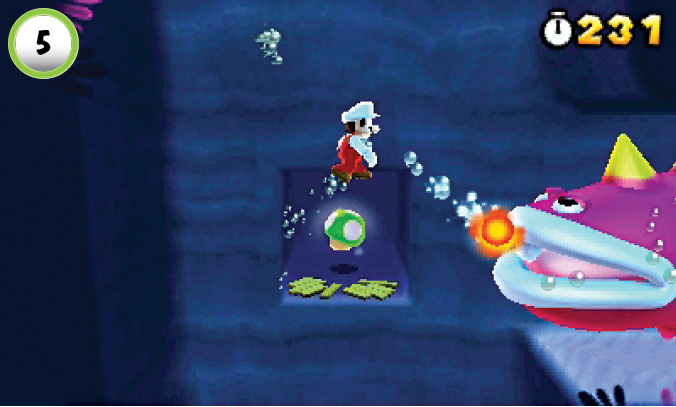
Look for the 1-Up Mushroom behind the crates at Point 5. Use your fireballs to destroy the crates, then fire off a few more to keep the Spike Eel from moving off the ledge.
Star Medal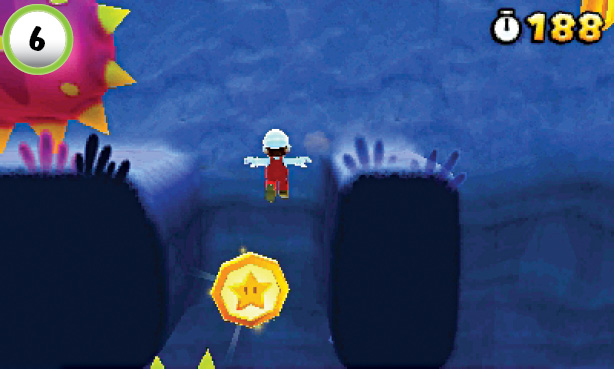 To reach the Star Medal at Point 6, use some fireballs to push one of the nearby Spike Eels down to the left. Swim into the opening to collect the Star Medal, then use your fireballs to shoot your way back out. There’s a green + Clock on the ledge above you, so use the same method to deal with the next Spike Eel. |
Star Medal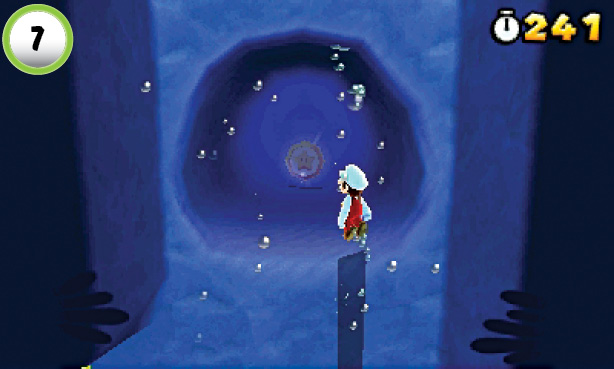 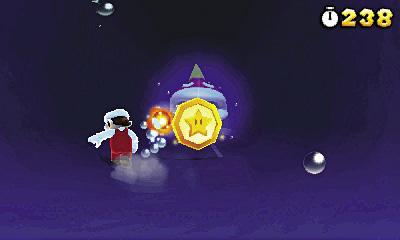 Swim into the opening at Point 7 to find the level’s last Star Medal. As you approach the Star Medal, an Spike Eel appears in the background. Grab the Star Medal, then turn around and swim back to the main path. If you’ve managed to hang on to a Fire Flower, consider using a few fireballs to stun the Spike Eel before you attempt your escape. |
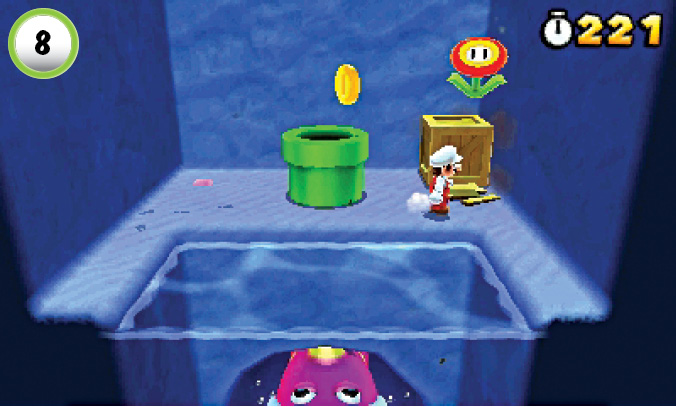
When you return to the surface, smash the nearby crates to find another Fire Flower. Clear the Piranha Plant from the Pipe, then head out to the end of the level.
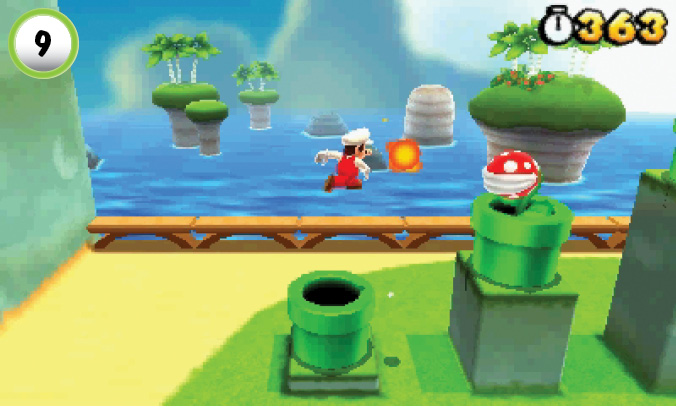
Use a fireball to clear away the Piranha Plant near the Goal Pole, then hop up to the second Pipe. Jump straight up to reveal an Invisible Block. After you collect the 1-Up Mushroom, jump up to the next Pipe, then make a running leap to the Goal Pole.
World 7-2
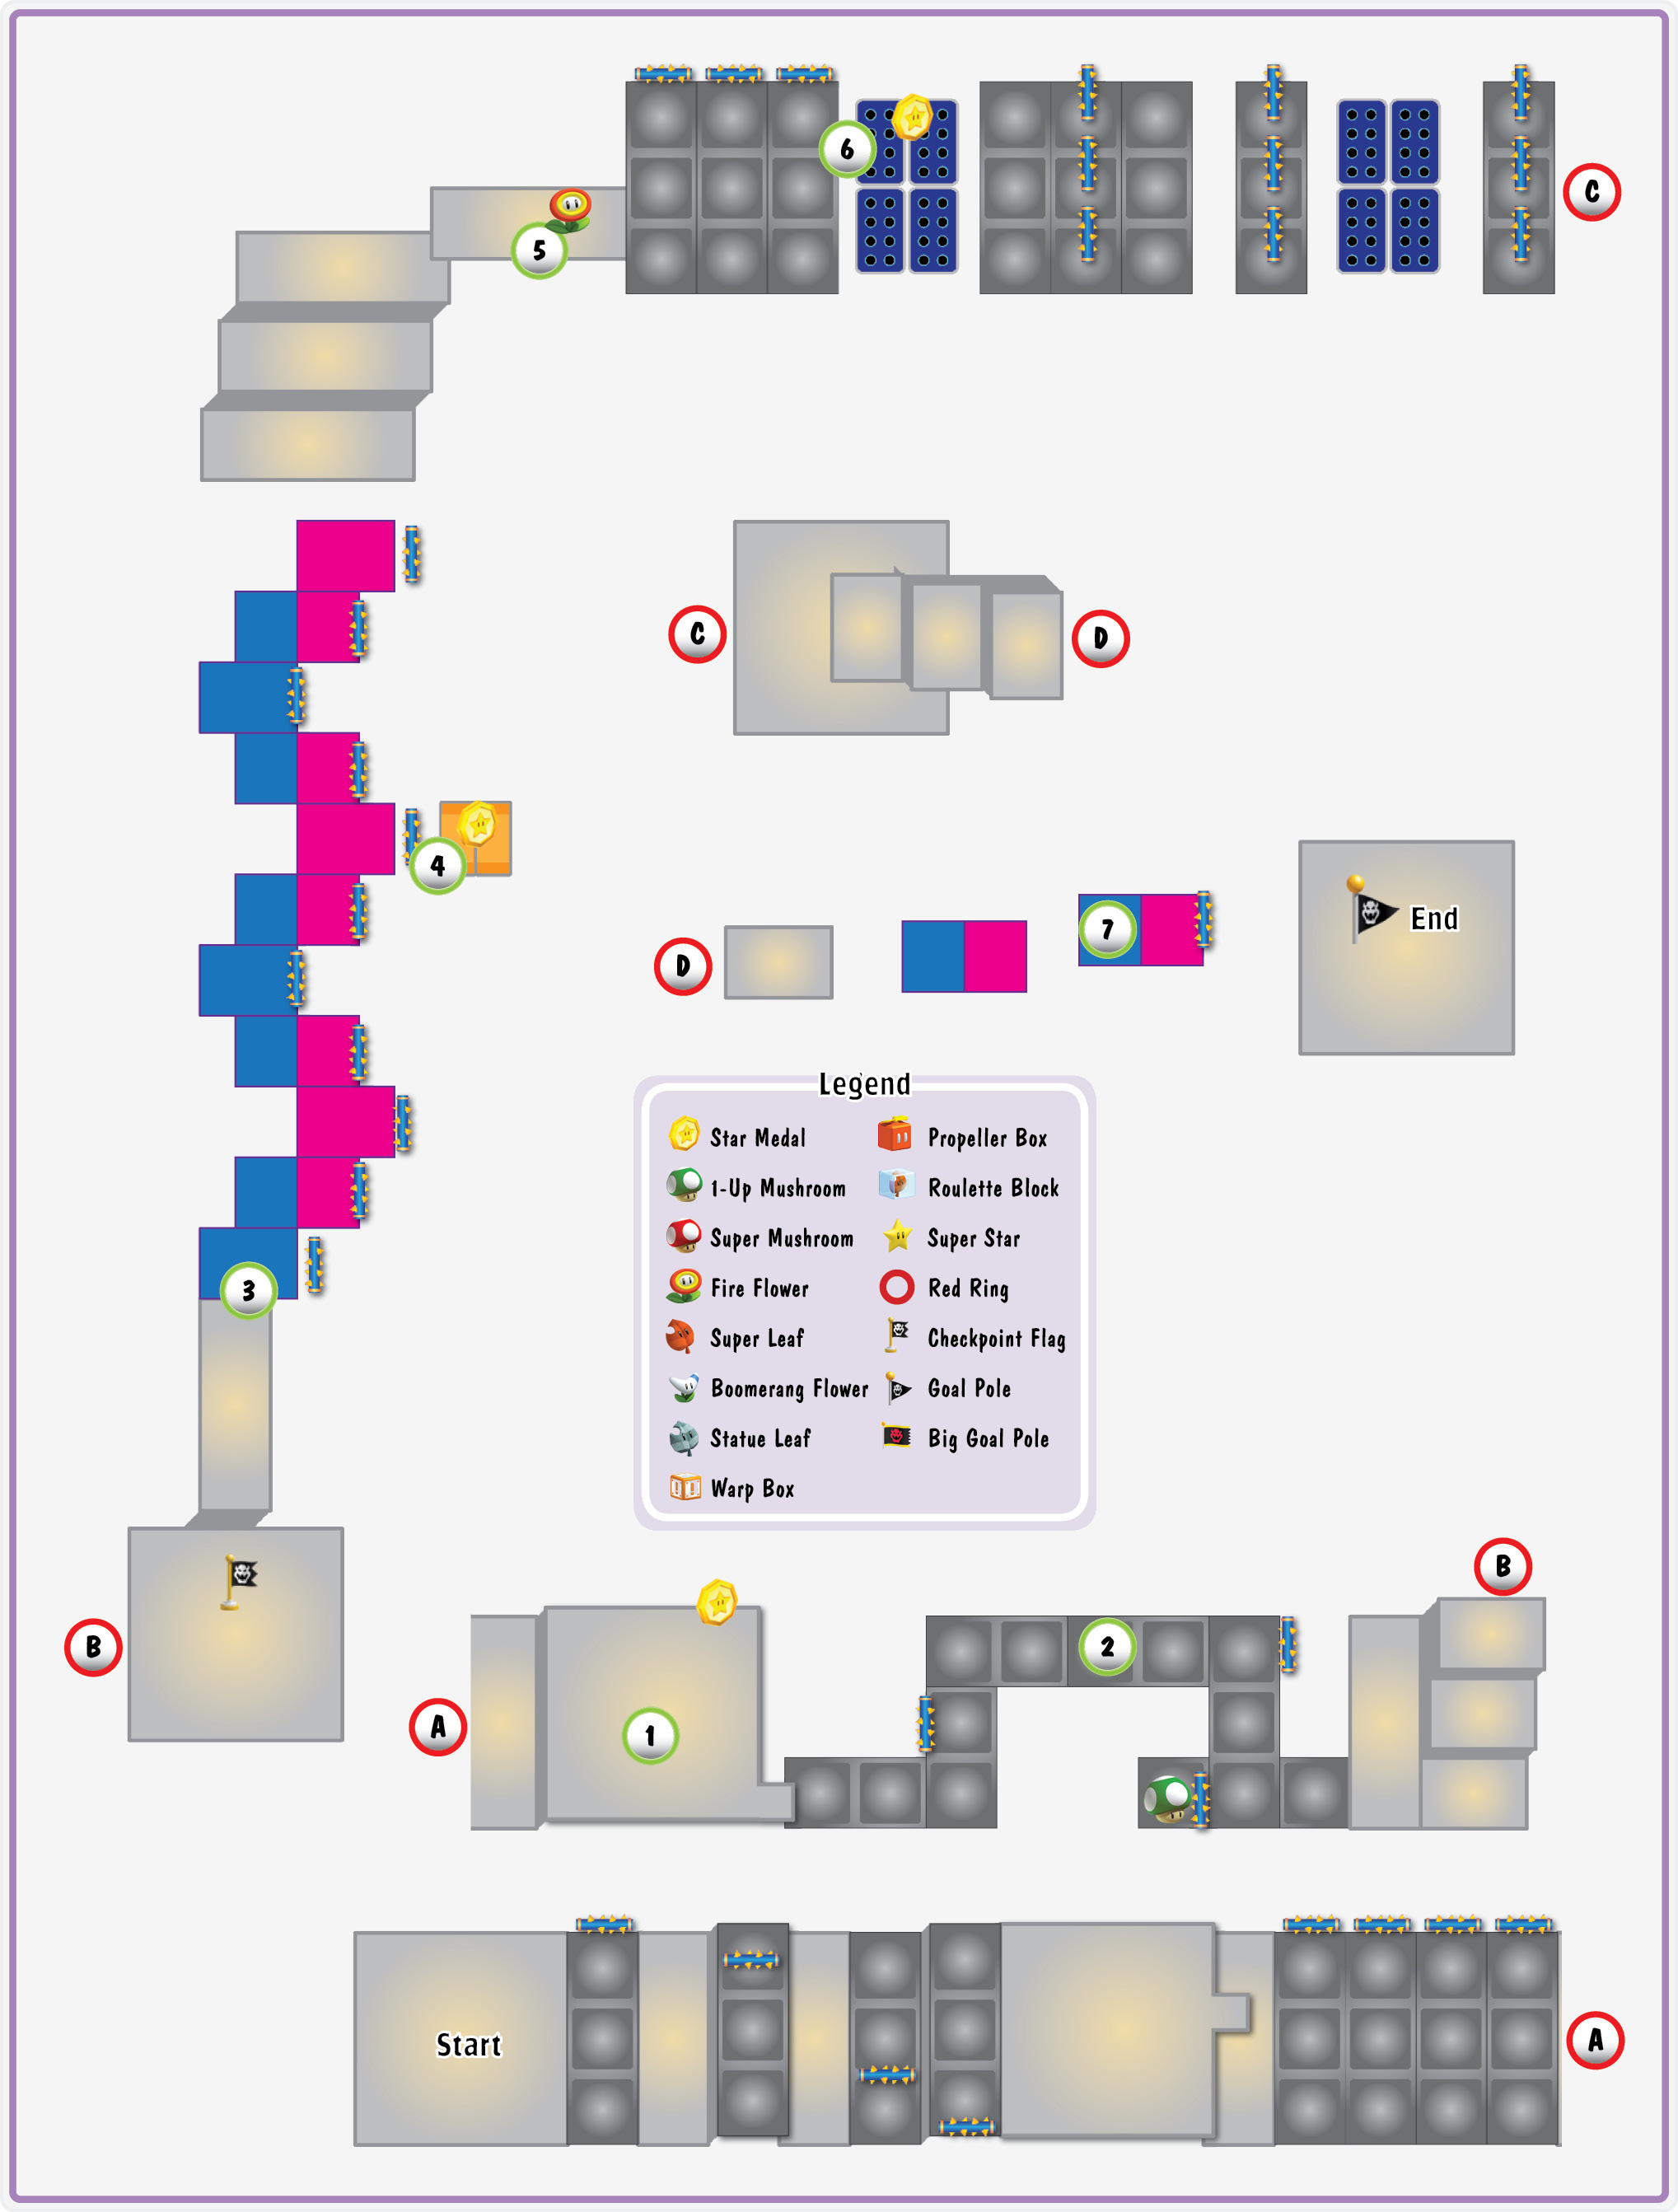
Star Medal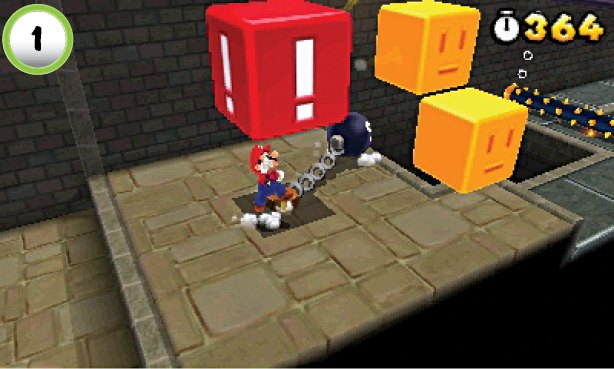 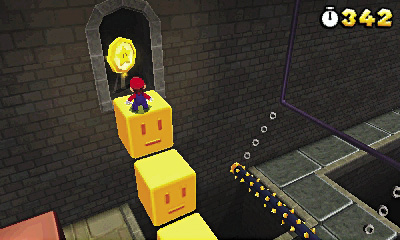 To collect the first Star Medal, you’ll have to use the giant ! Block at Point 1. Circle the Chain Chomp until it lunges toward you, then hit the ! Block three times to create a temporary path. Jump up along the face blocks to collect the Star Medal from the ledge. |
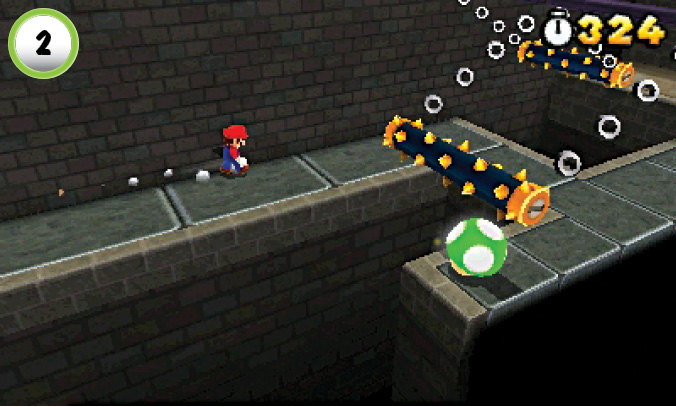
Look for the 1-Up Mushroom at Point 2. Whether you choose to follow the walkway or leap across the gap, make sure you time your jumps to avoid the swinging spikes.
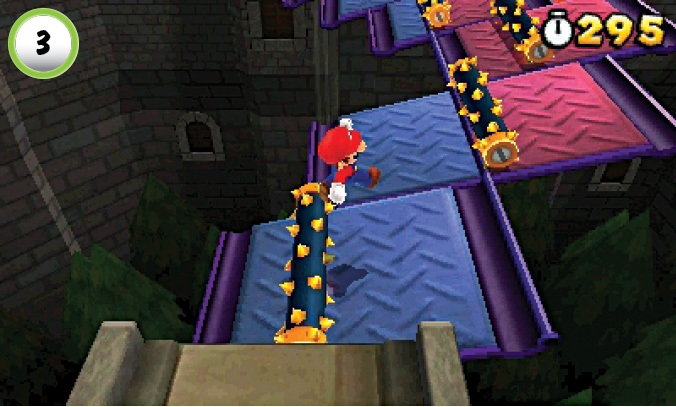
The metal platforms at Point 3 are all connected, so the entire walkway reacts to your weight. When you stand on the blue panels, the platforms tilt to the left; when you stand on the purple panels, the platforms tilt to the right. Every time the walkway tilts, the spikes on each platform roll downward. Make your way across the platforms, and dodge the spikes as they roll back and forth.
Star Medal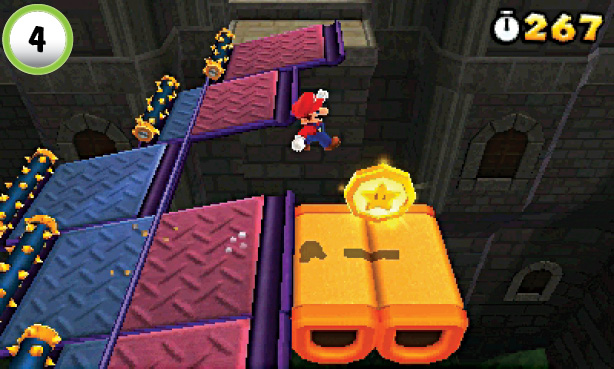 The level’s second Star Medal is floating above the Donut Blocks at Point 4. Stand on one of the walkway’s blue panels to draw the spikes toward you. Hop over the spikes, then jump over to the Star Medal. Return to the walkway before the Donut Blocks drop away, and follow the path to the ledge. |
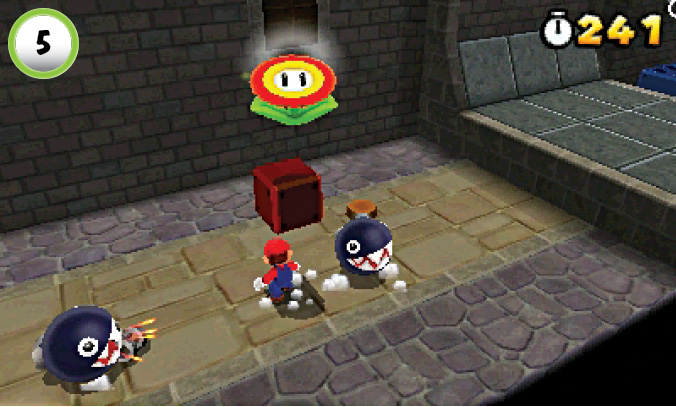
The ? Block at Point 5 contains a Fire Flower. Run past both Chain Chomps to bait them into attacking, then dash in and hit the ? Block before they recover.
Star Medal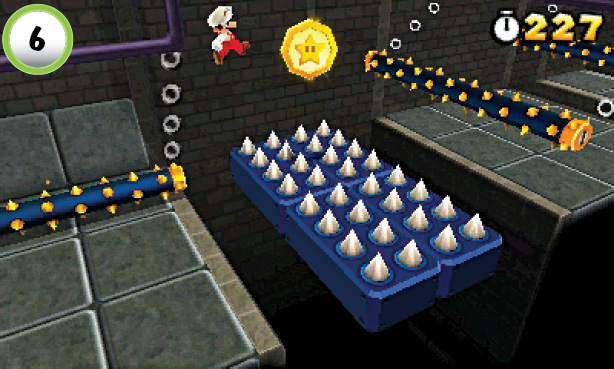 To collect the level’s last Star Medal, you must dodge a series of hazards. Jump in place to dodge the first set of spikes each time they swing toward you, and try to gauge the timing of the retractable spikes in the next platform. Jump over to the Star Medal just as the spikes are about to lower, then hop across the gap to the right as the next set of swinging spikes moves away from the ledge. |
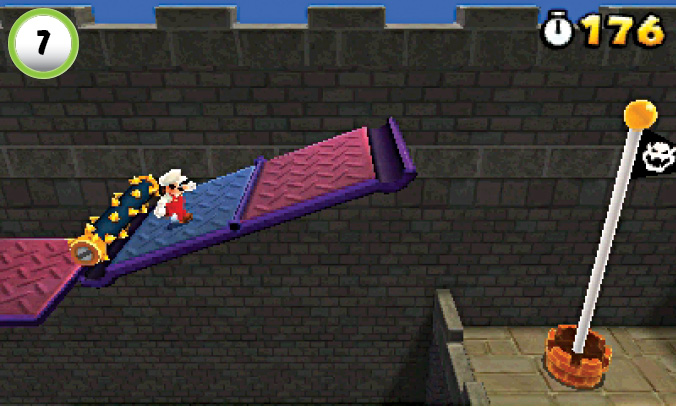
To reach the top of the Goal Pole, use the platform at Point 7 as a ramp. Jump onto the blue panel and hop over the spikes as they roll toward you. Make sure you land on the blue panel to prevent the platform from tipping the other direction, then make a running leap to the Goal Pole.
World 7—Toad House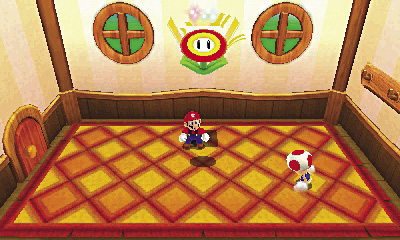 After you complete World 7-2, a Toad House appears on the level-selection screen. When you find yourself in need of a power-up, unwrap the Gift Box inside the house to collect a Fire Flower. Remember, you can only get the power-up from a Toad House once, so make sure you save it for when you need it. |
World 7-3
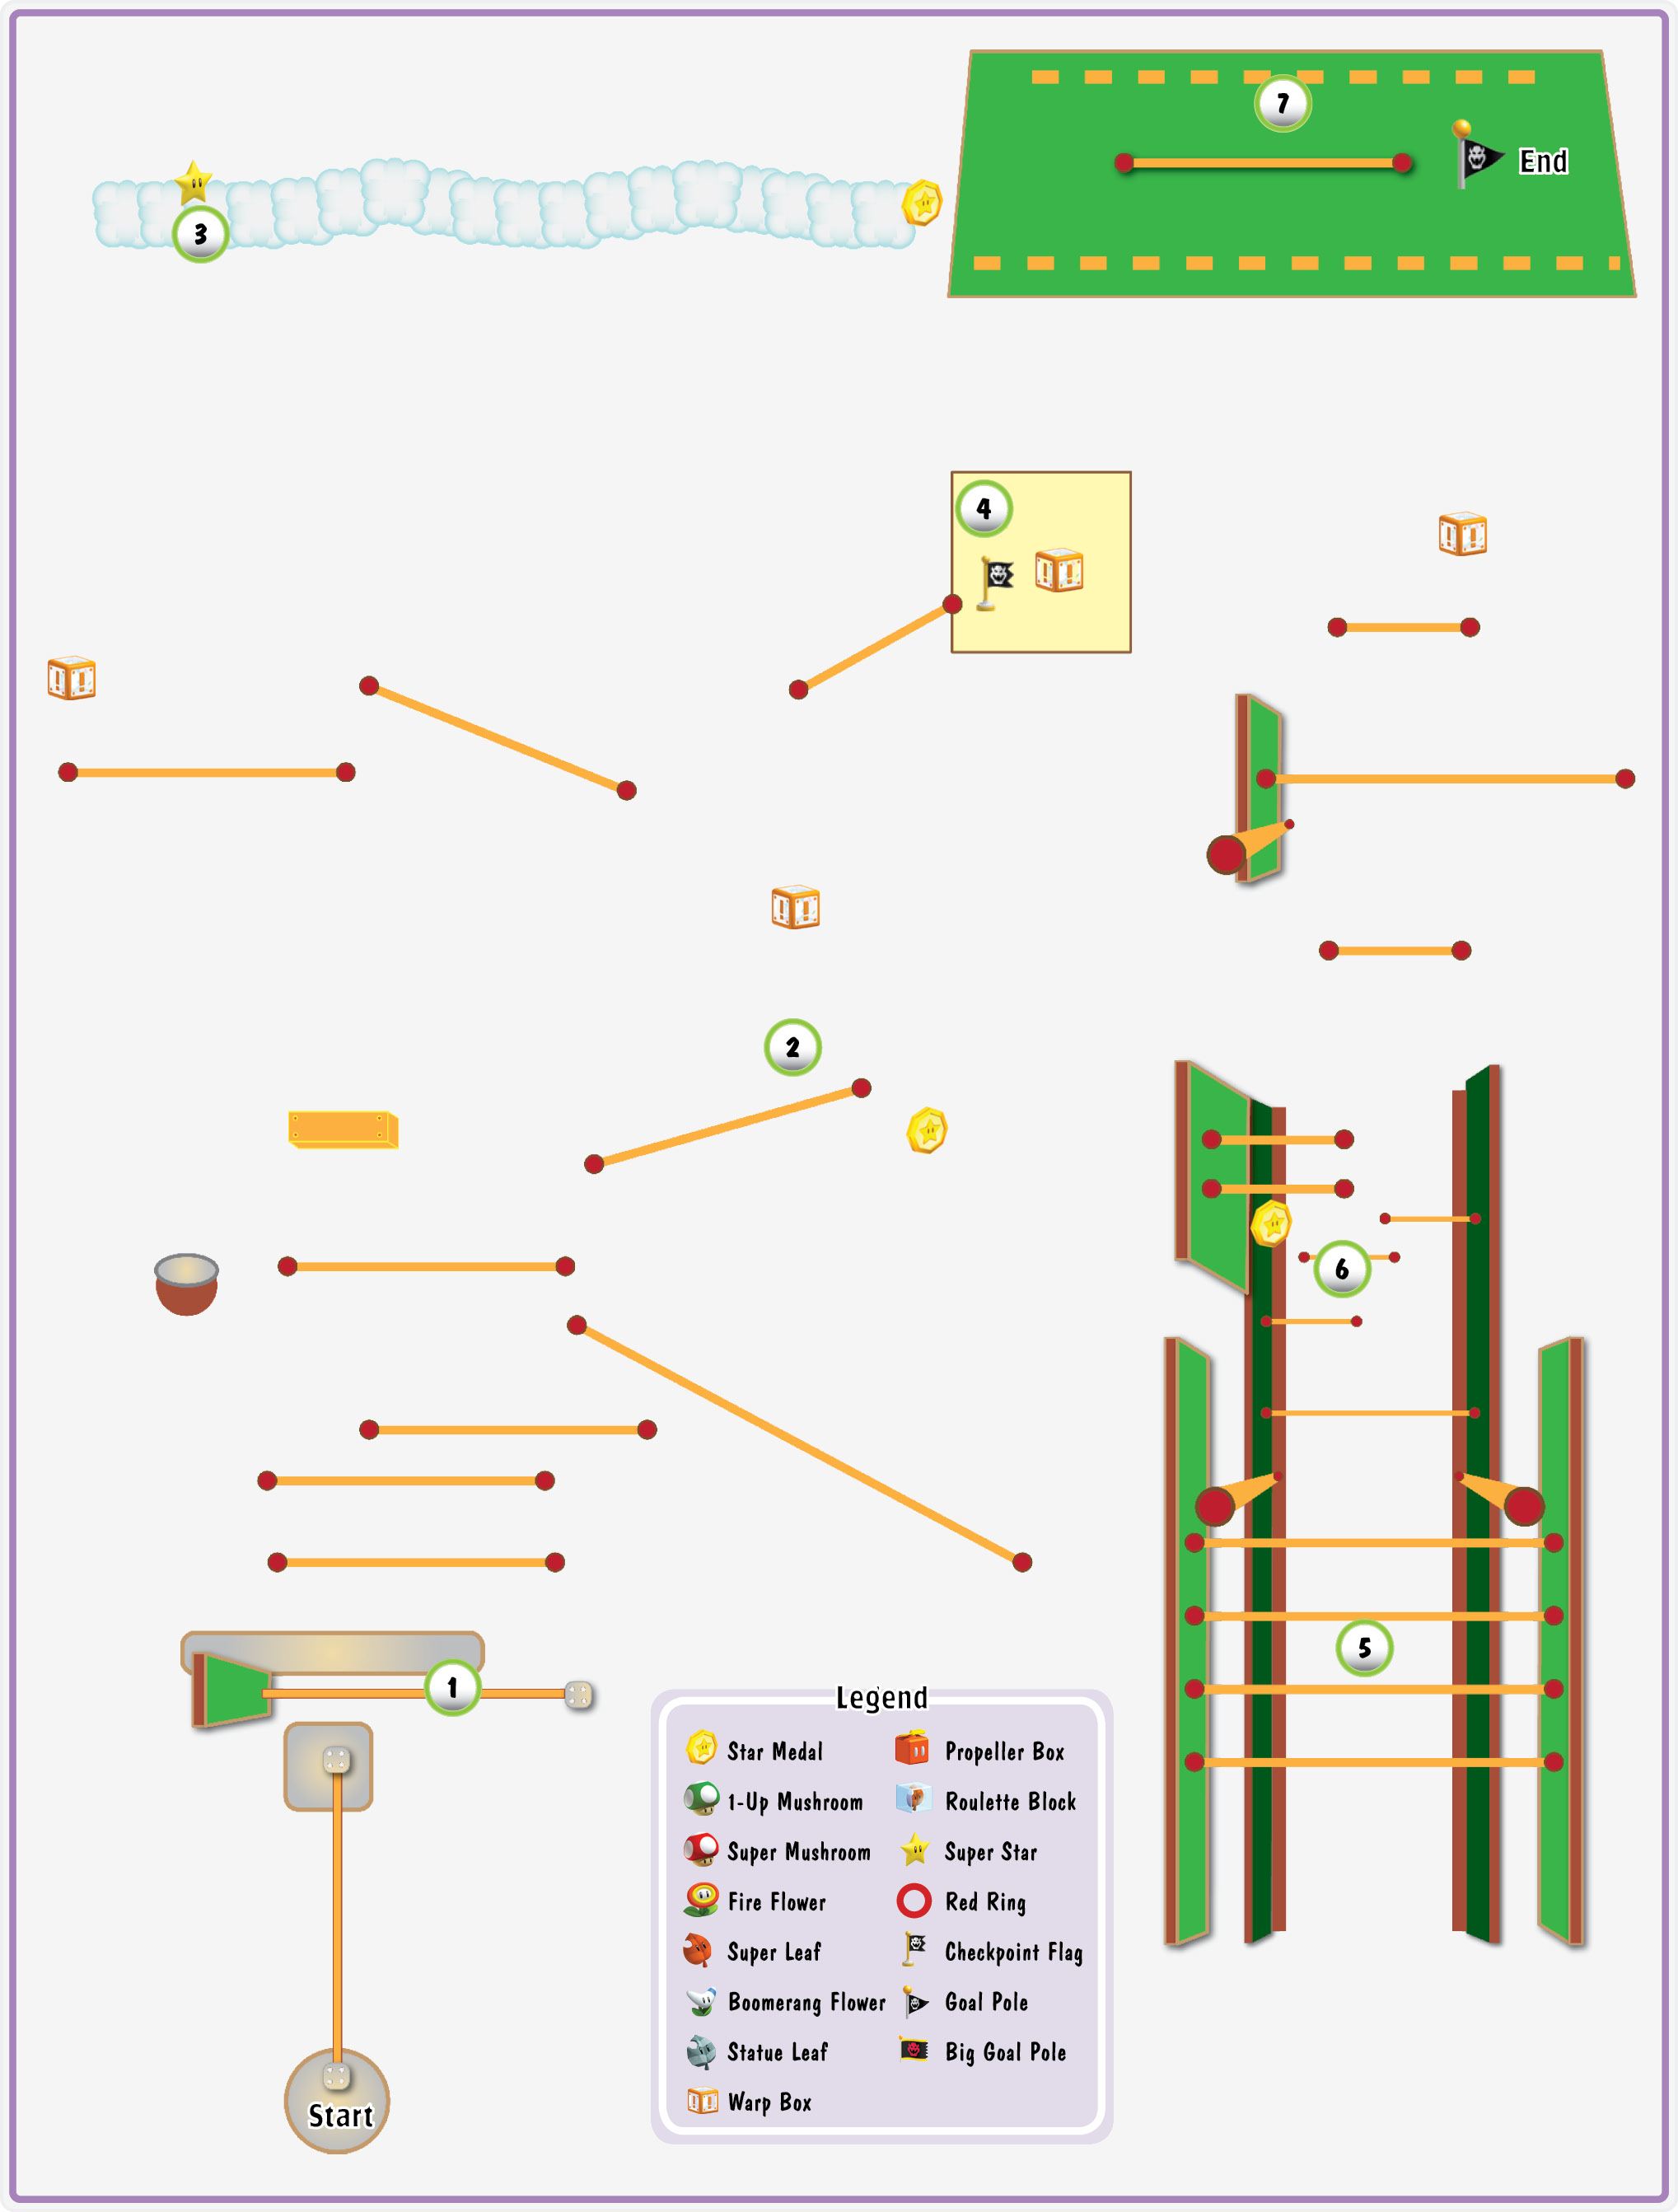
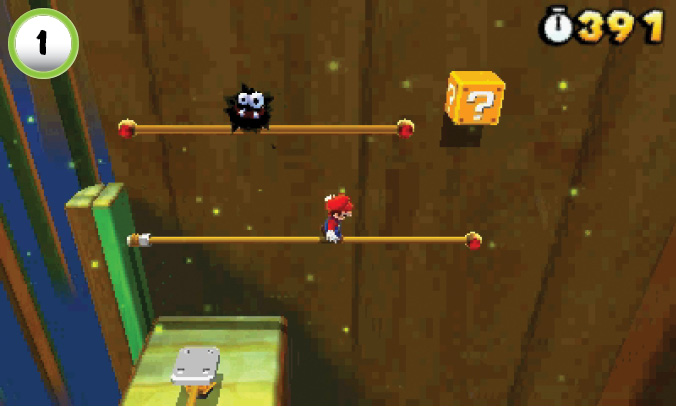
Watch out for Fuzzies as you navigate the tightropes. Speed isn’t always your best option. Make sure you look before you bounce!
Star Medal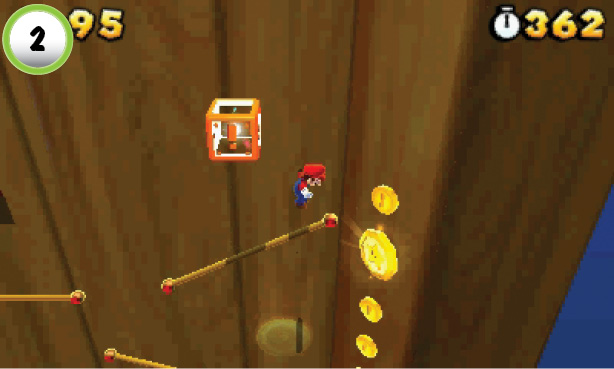 Before you use the Warp Box at Point 2, drop down to grab the Star Medal below you. When you land, move to the left, then bounce back up and enter the Warp Box. |
Star Medal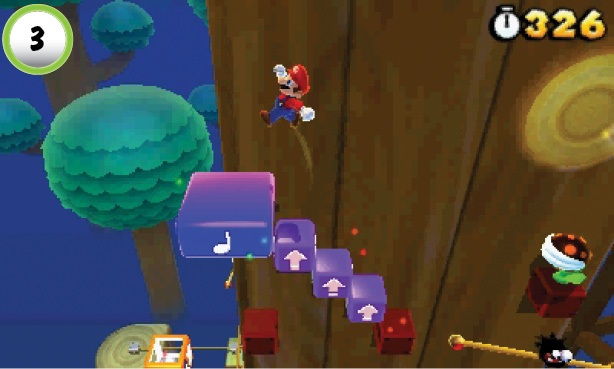 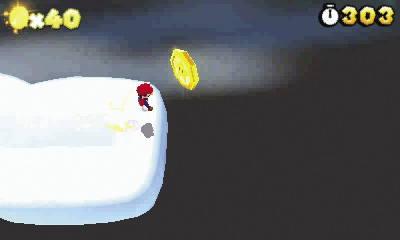 Arrange the Directional Blocks at Point 3 to create a path to the Super Note Block, then use it to bounce up to a secret area. When you land, search the ? Block to collect a Super Star. Dash to the right to find the second Star Medal at the end of the path. |
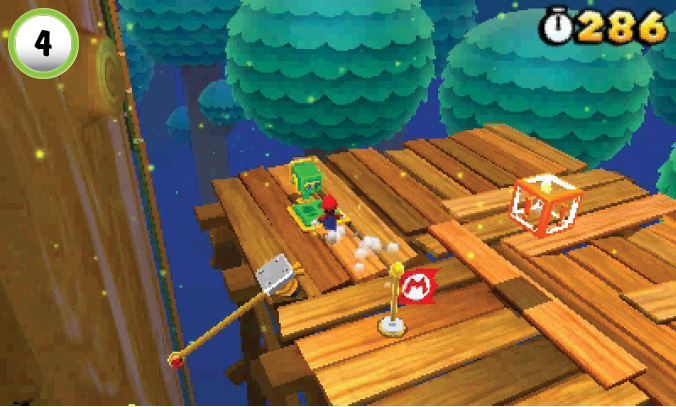
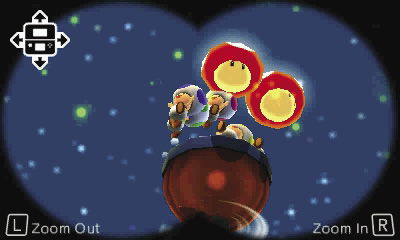
Before you enter the Warp Box at Point 4, take a moment to use the nearby Binoculars. Aim the Binoculars up and to the right to find a group of Toads on a small platform. When you zoom in on the Toads, they toss two Super Mushrooms down to you.
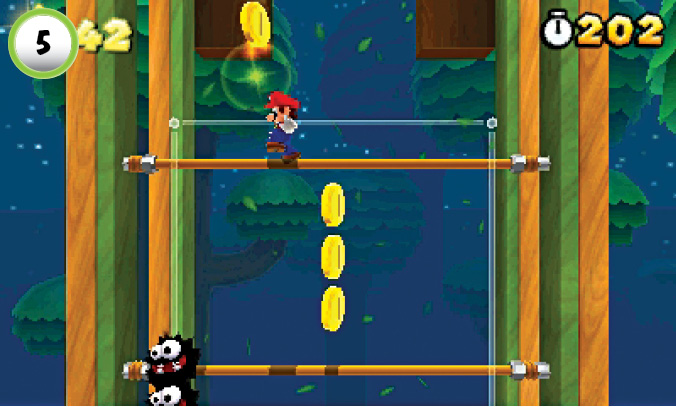
After you reach Point 5, be especially careful when you bounce between tightropes. Patrolling Fuzzies and Para-Biddybuds aren’t always easy to see. Before each bounce, make sure you check the area above you.
Star Medal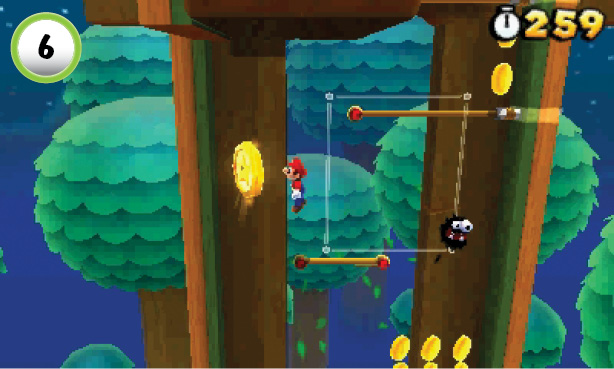 When you reach Point 6, wait for the Fuzzy to move out of your path, then bounce up to collect the Star Medal. Use a wall jump to avoid falling off of the screen, then continue up the path. |
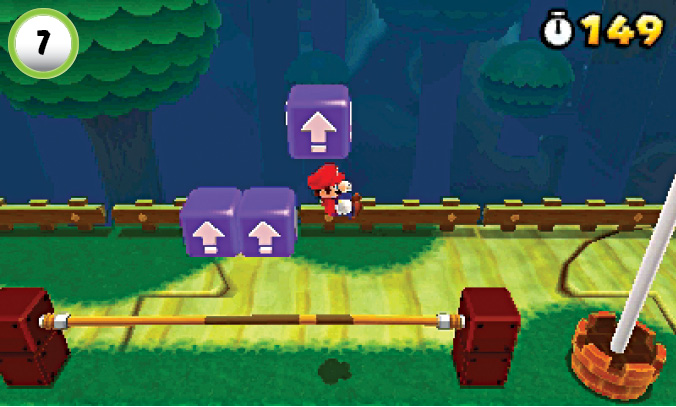
To reach the top of the Goal Pole, use the Directional Blocks to create a platform above the tightrope. You need enough height to make a proper jump, but be careful not to hit the Directional Blocks out of reach.
World 7-4
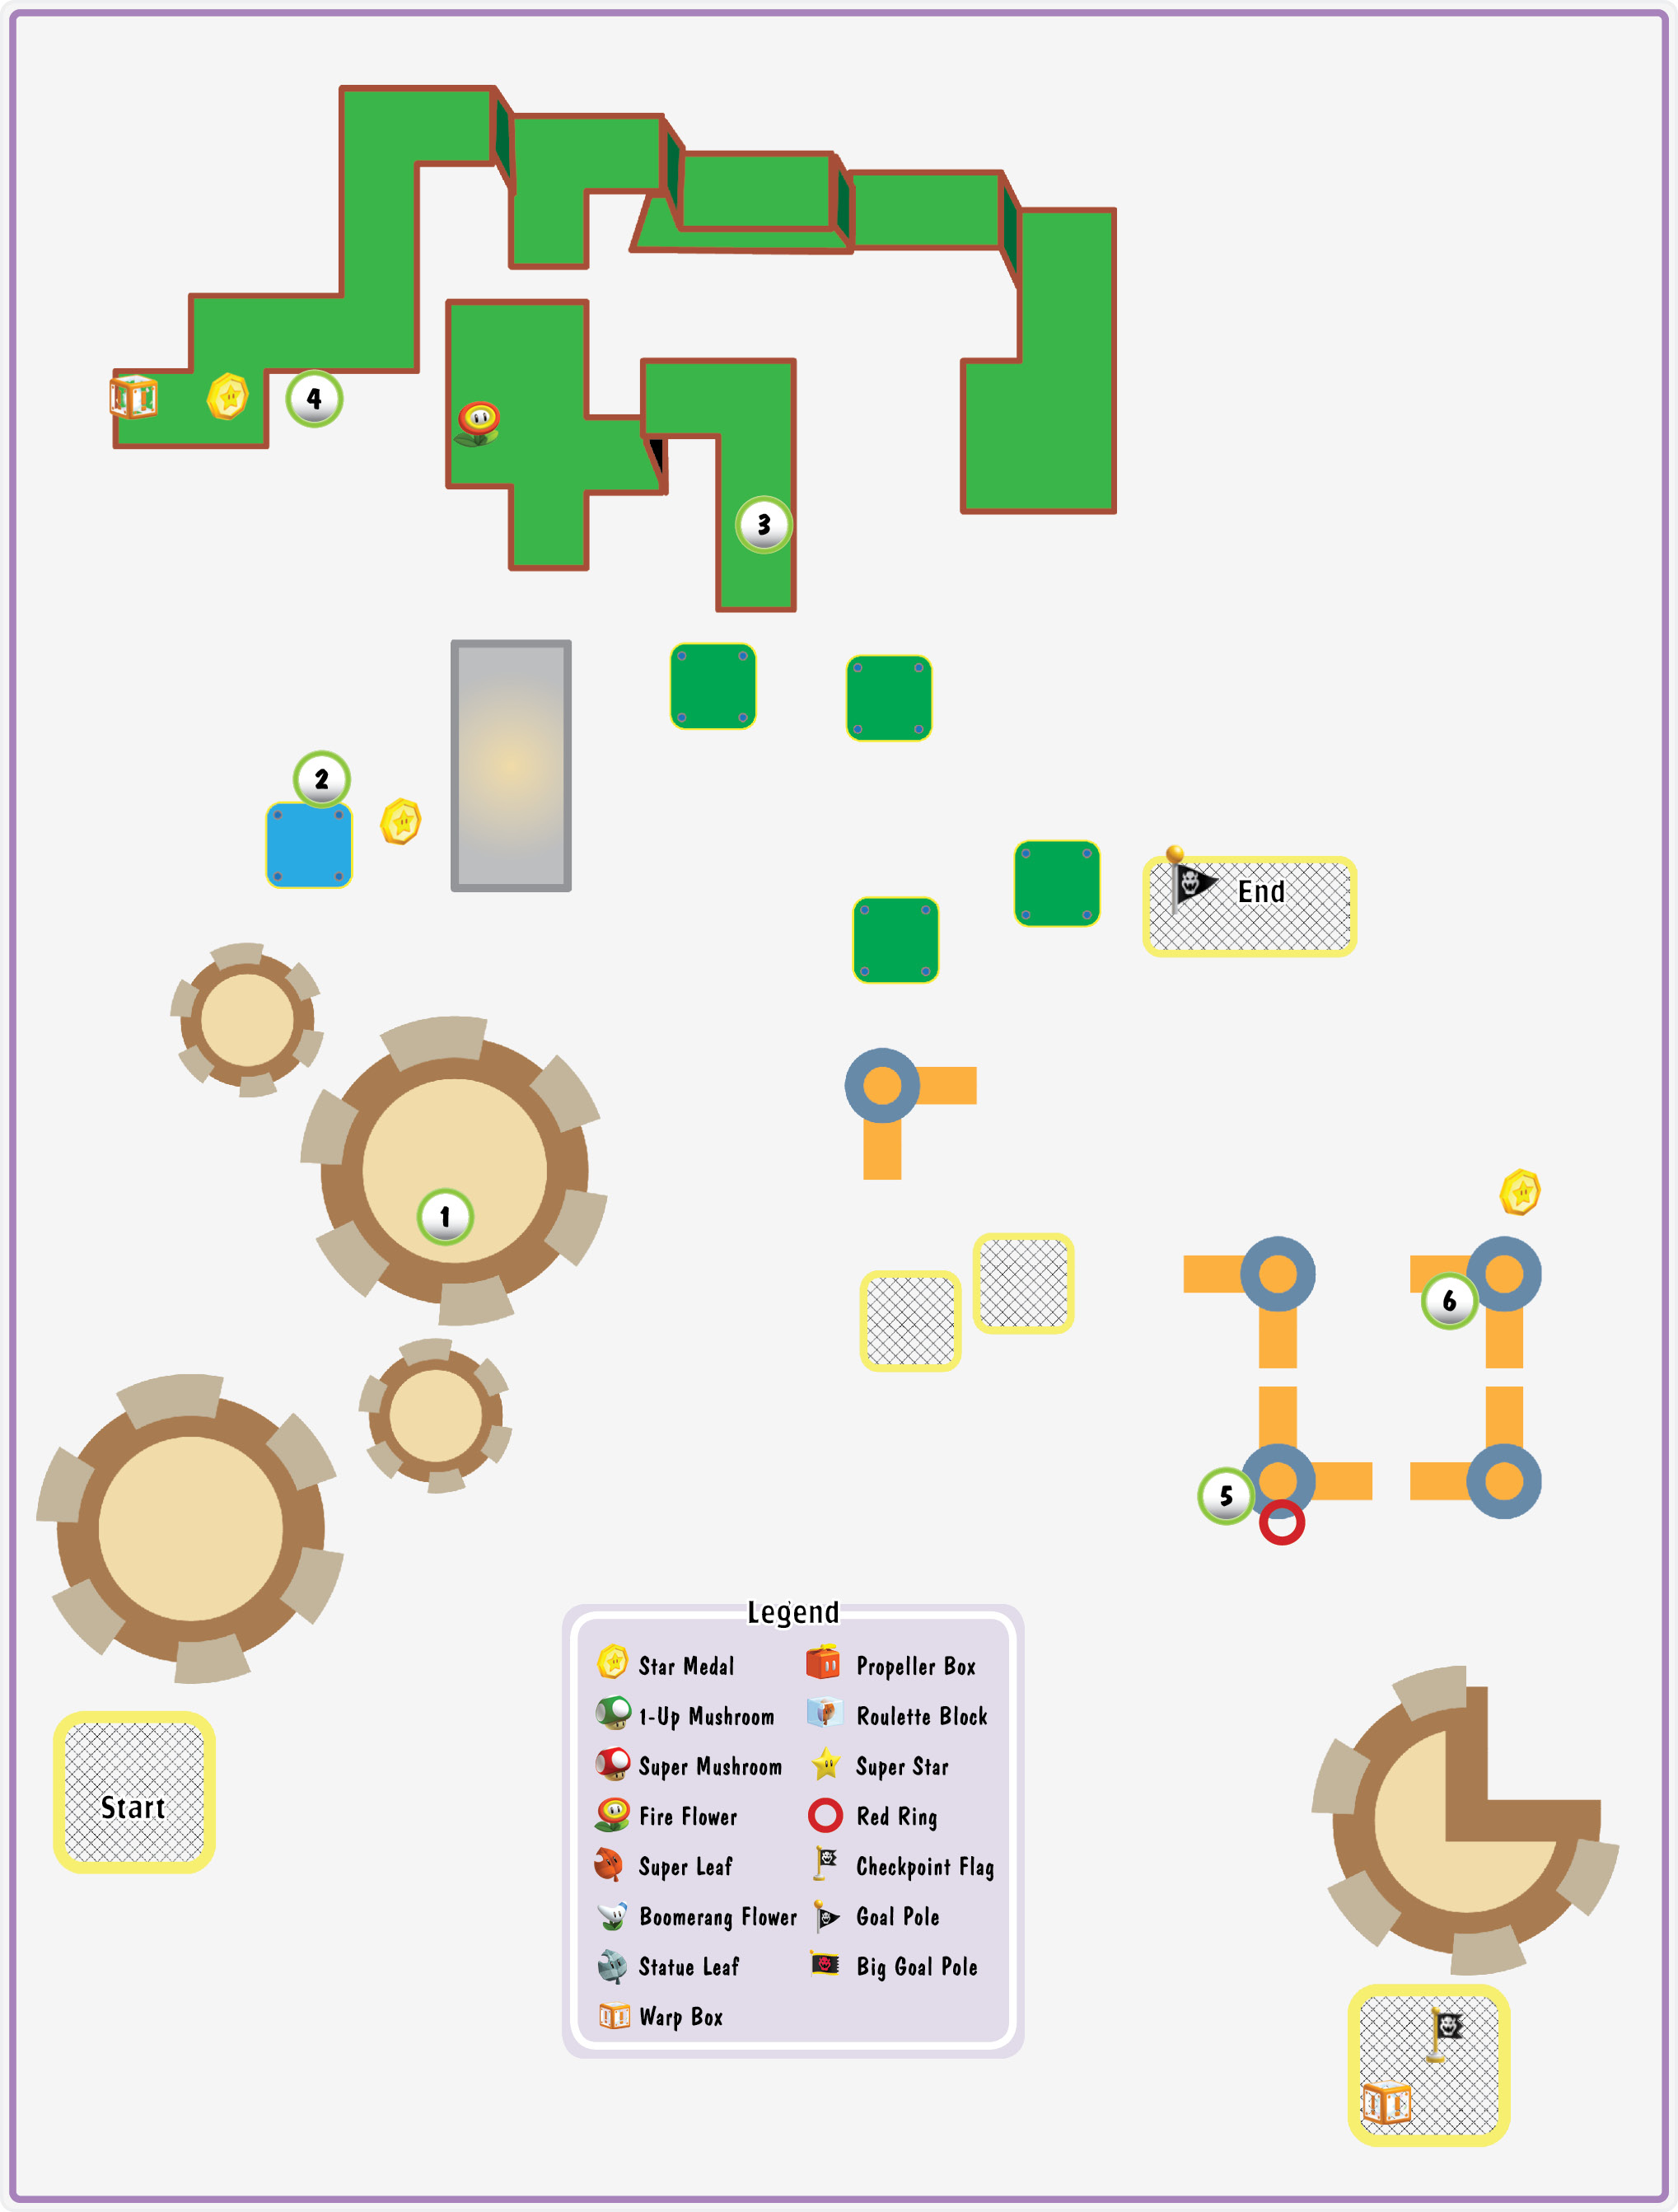
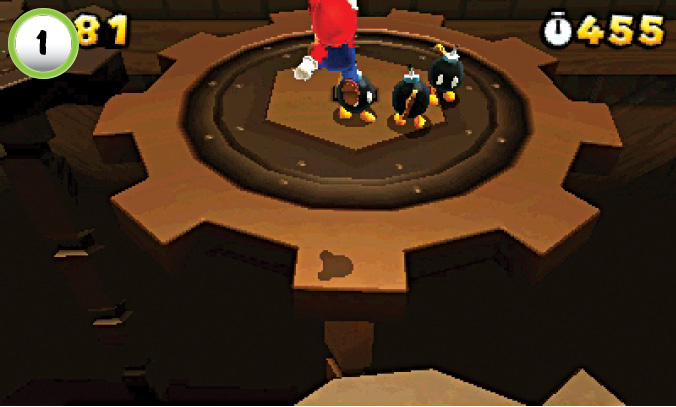
When you reach the Bob-ombs at Point 1, stay near the left edge of the gear to take advantage of its clockwise rotation—the extra speed helps you reach the next gear before the Bob-ombs detonate.
Star Medal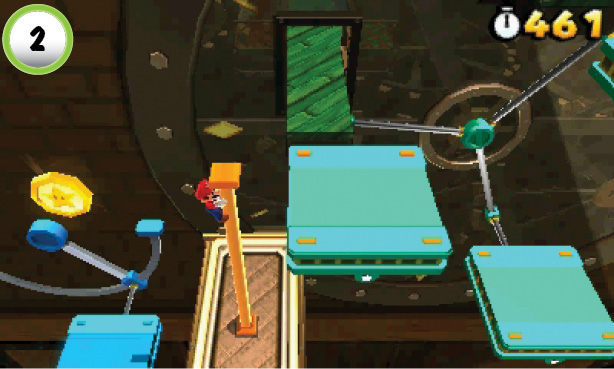 The level’s first Star Medal is floating near the pole at Point 2. Climb to the top of the pole, then wait for the swinging platform to return. When you see its shadow appear on the platform, jump out to collect the Star Medal. |
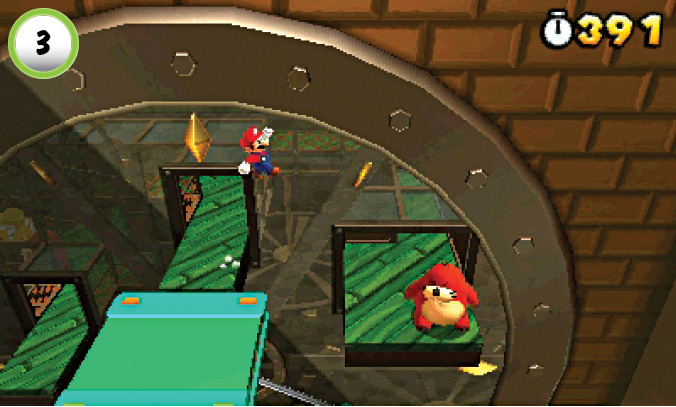
When you reach the openings at Point 3, take the time to explore each of them. The area on the left contains a ? Block with a Fire Flower, and the area on the right leads to the main passage. The blue platforms pause in front of the opening in the middle, so that’s the safest spot to begin your search. Head inside and drop down to the area on the left, or make a running leap from the ledge to reach the area on the right.
Star Medal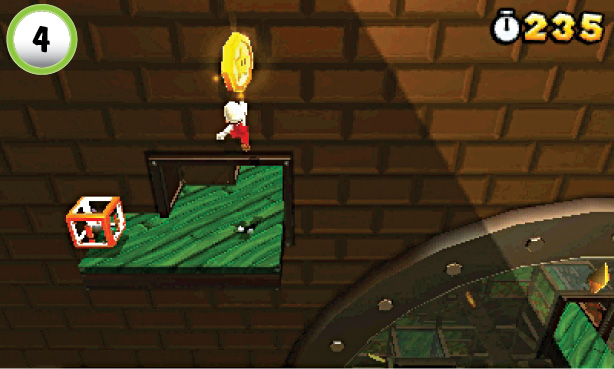 Before you use the Warp Box at Point 4, perform a wall jump to collect the Star Medal above you. To avoid an unfortunate fall, make sure you steer toward the ledge as you push off of the wall. |
Red Ring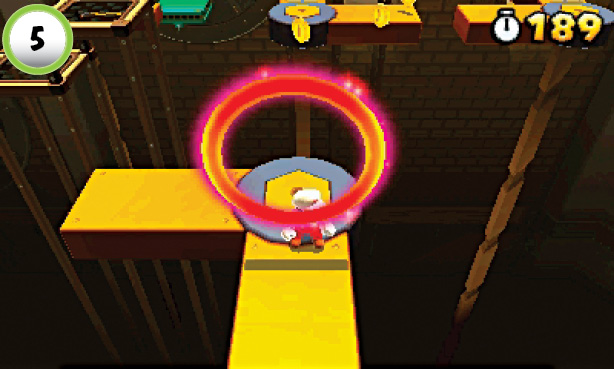 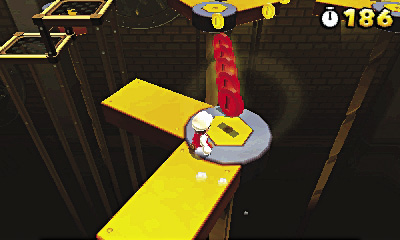 When you pass through the Red Ring at Point 5, a trail of Red Coins leads toward the background. To collect them all, trigger the Red Ring as the platform rotates into position. If you time it properly, you can run straight through the Red Coins to collect another power-up. |
Star Medal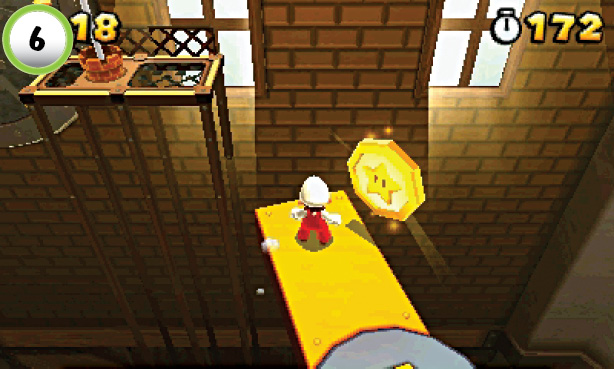 To collect the level’s last Star Medal, move to the platform at Point 6 and stand on one of its extensions. As the platform rotates, it carries you through the Star Medal. |
World 7-5
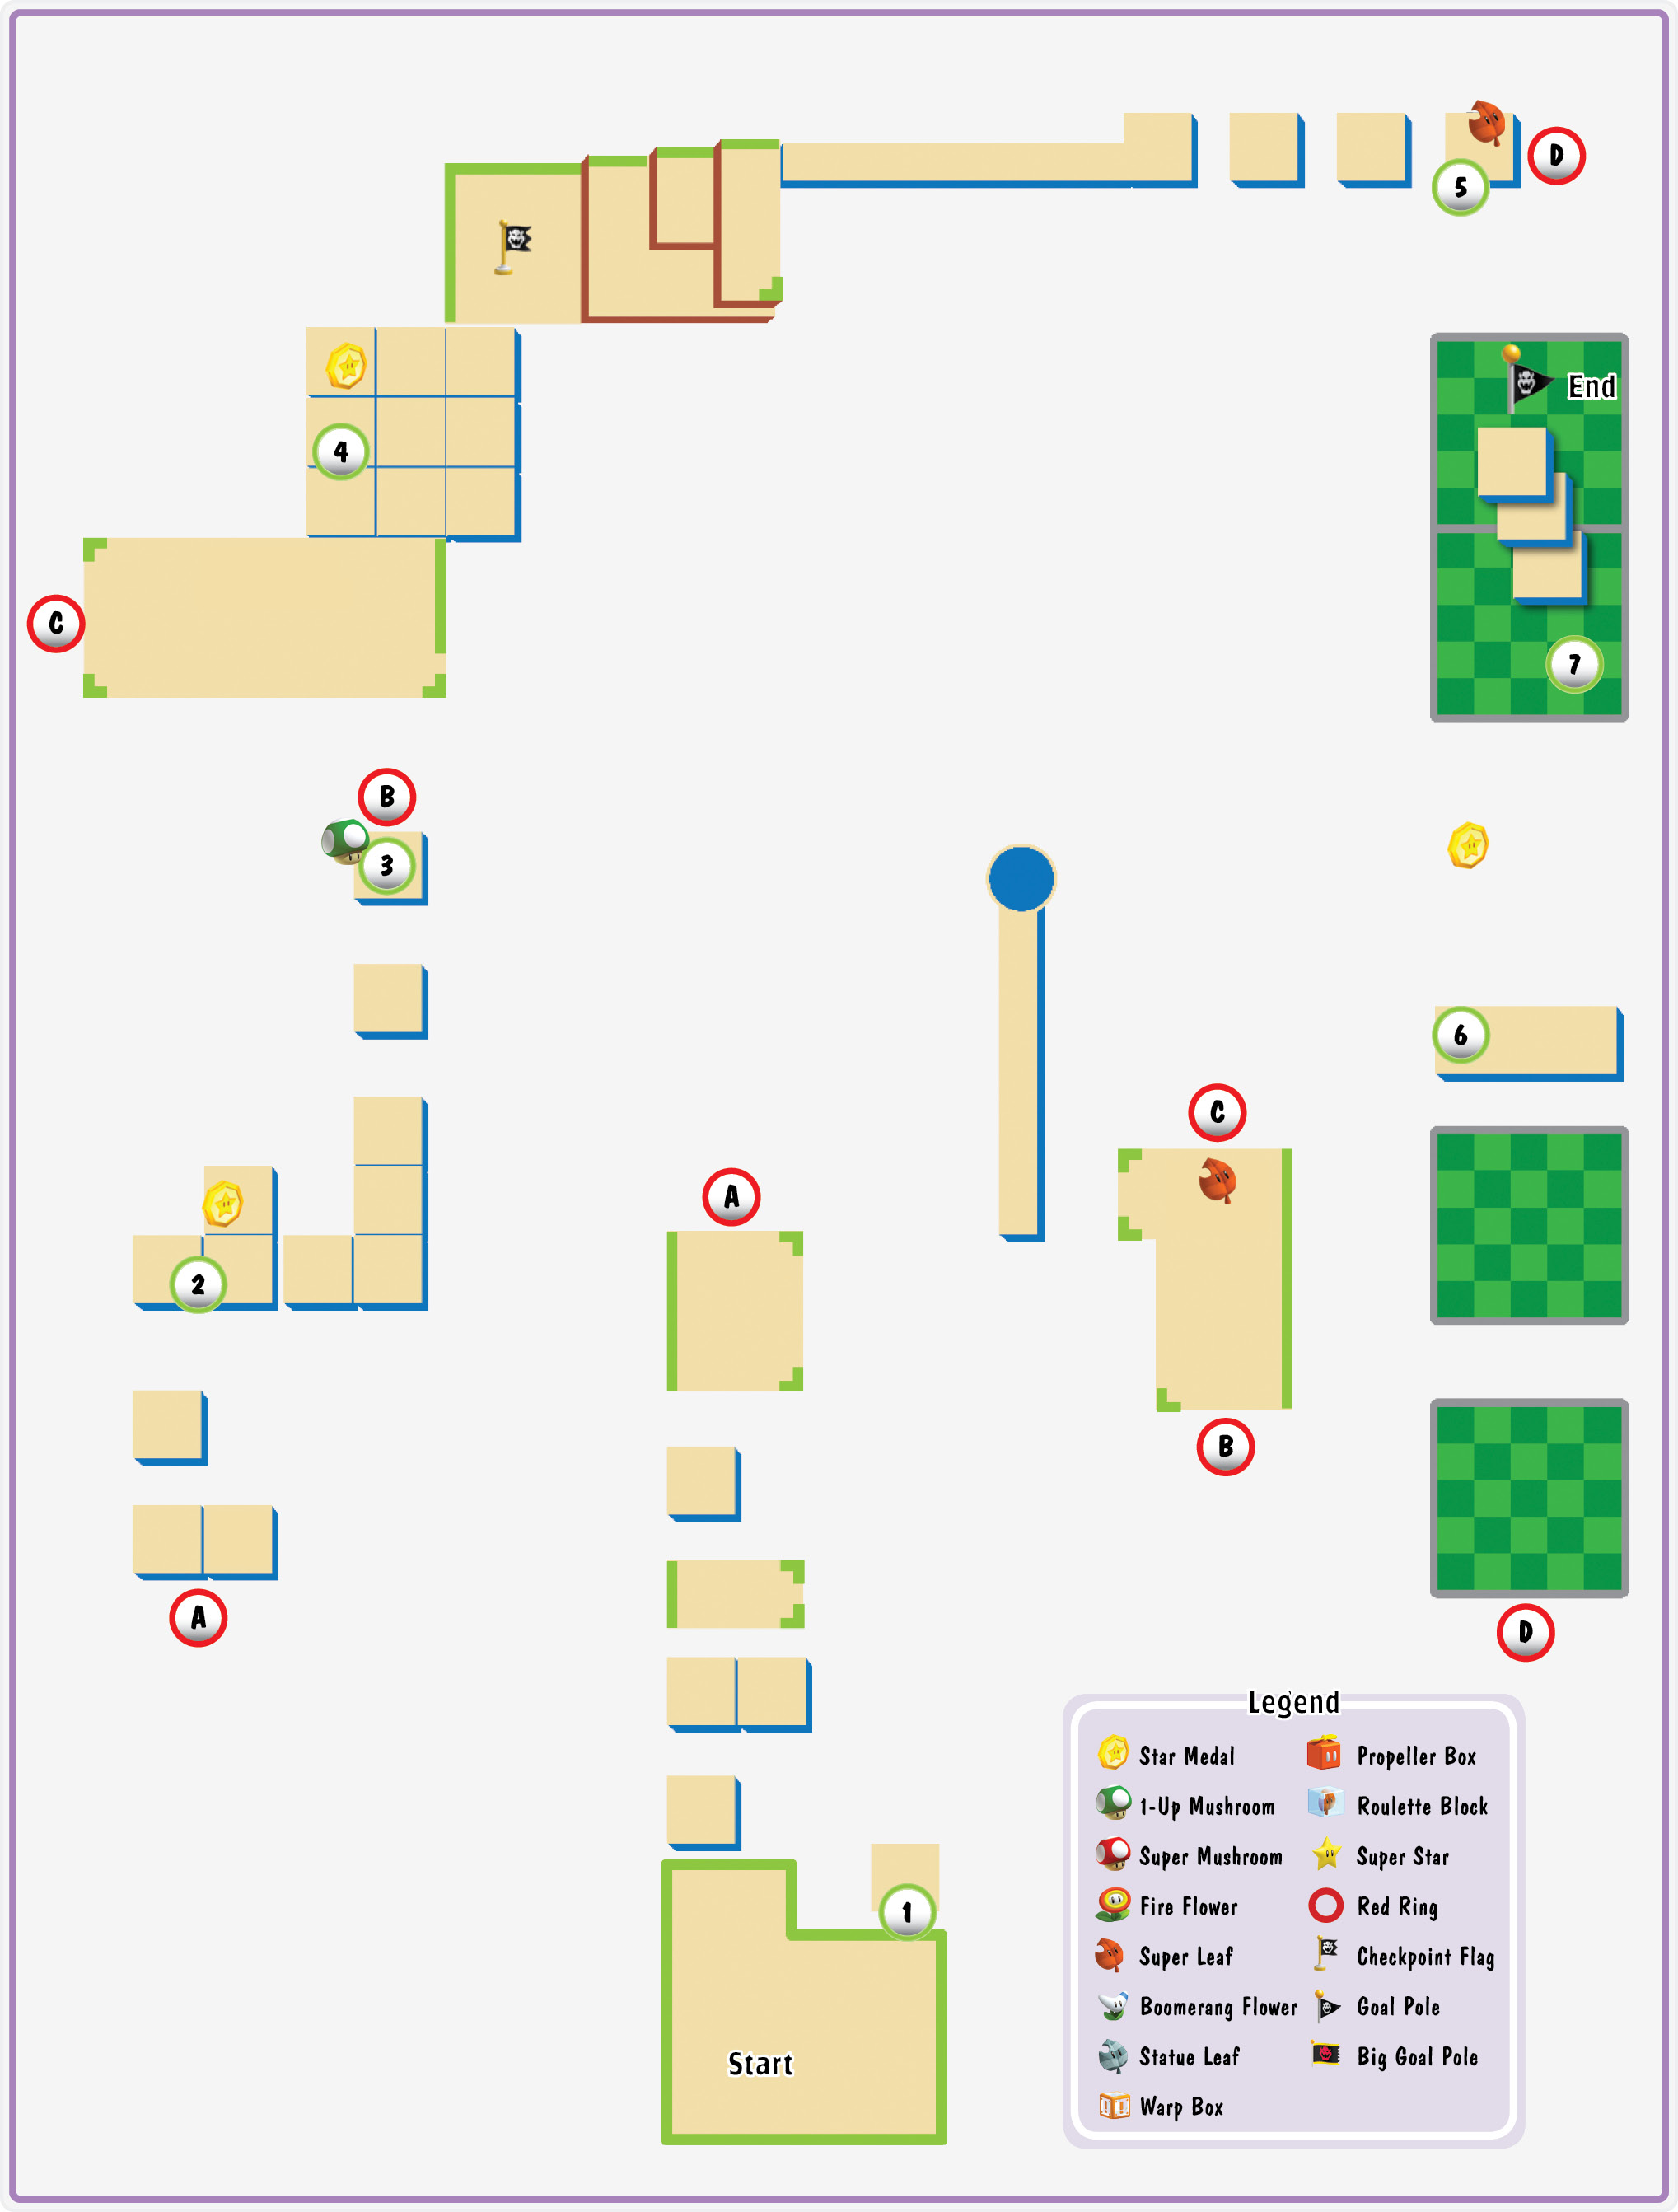
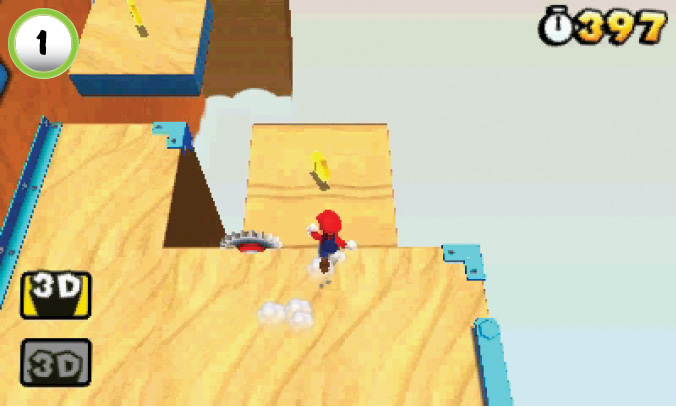
Watch out for the Grinders scattered throughout the level. You’ll find these hazards wedged between platforms or mounted on posts. Once they start spinning, Grinders can significantly alter the environment. Try to identify any panels or platforms that might be cut loose as you approach them.
Star Medal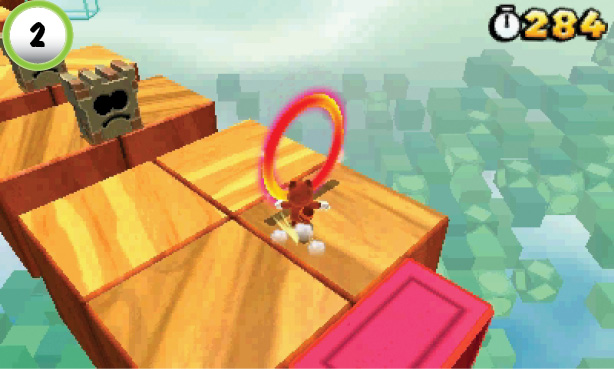 When you reach Point 2, Grinders begin to separate the platforms. The loose platforms vanish after a short time, so you must move quickly! Grab the Star Medal near the back wall, then dodge the remaining saw blades as continue along the main path. |
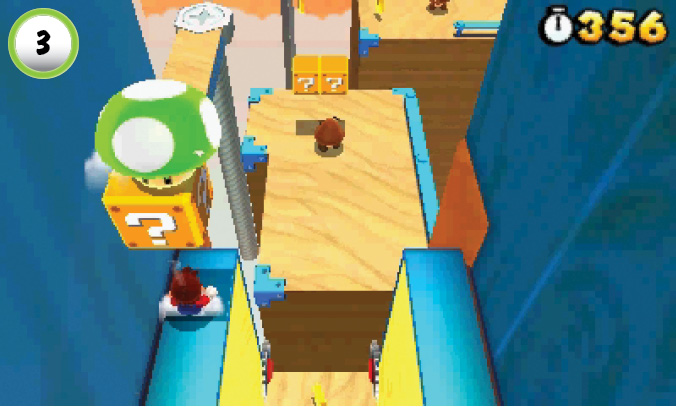
There’s a 1-Up Mushroom in a secret ? Block at Point 3! As you move through the narrow corridor, perform a series of wall jumps to reach the top of the large panels. After you collect the 1-Up Mushroom, jump back down to the main path. One of the ? Blocks ahead of you contains a Super Leaf, so make sure you grab it before you move on.
Star Medal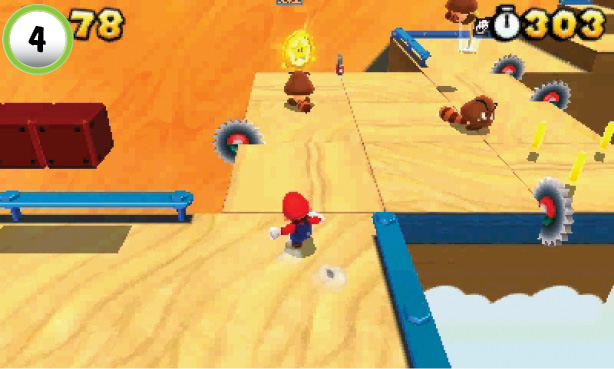 Before you approach the platforms at Point 4, look for the Star Medal near the background. Run across the platforms and hop over the first Grinder, then deal with the Tail Goomba blocking your path. Grab the Star Medal from the last platform, then hurry over to the Checkpoint Flag. These platforms drop away when they’re cut loose, so you must move quickly. |
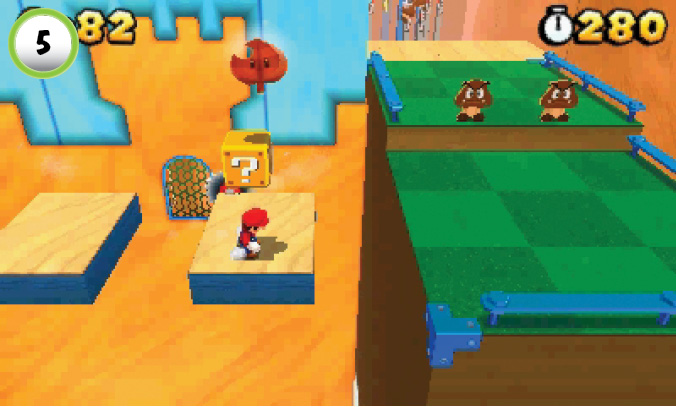
The ? Block at Point 5 contains a Super Leaf. The Tanooki Suit is especially helpful in the upcoming area, so make sure you grab this power-up before it drops out of reach.
Star Medal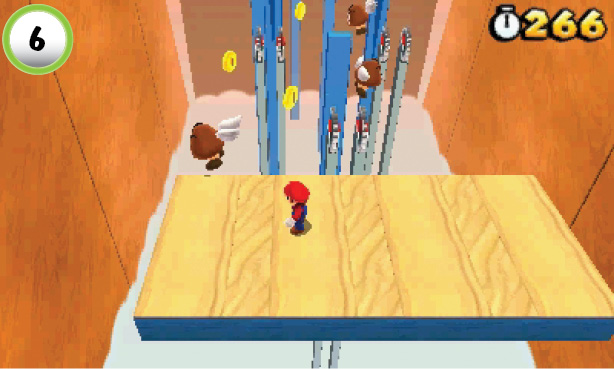 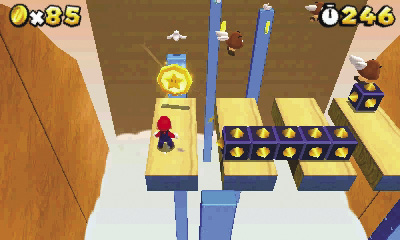 When you jump on the large platform at Point 6, it starts moving. Stay near the left edge and clear out any enemies that cross your path. As the platform passes through each set of Grinders, its cut sections drop away. Stay to the left to collect the level’s last Star Medal, then jump across the platform’s remaining sections to continue along the path. |
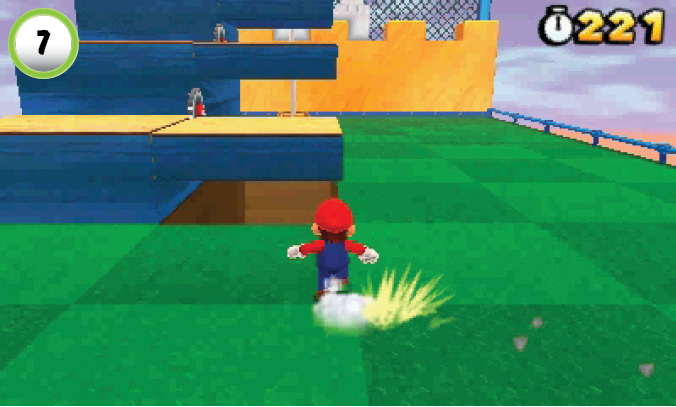
Use the wood platforms at Point 7 to reach the top of the Goal Pole. The platforms are cut loose as you approach them, so make sure you move quickly.
World 7—Ship
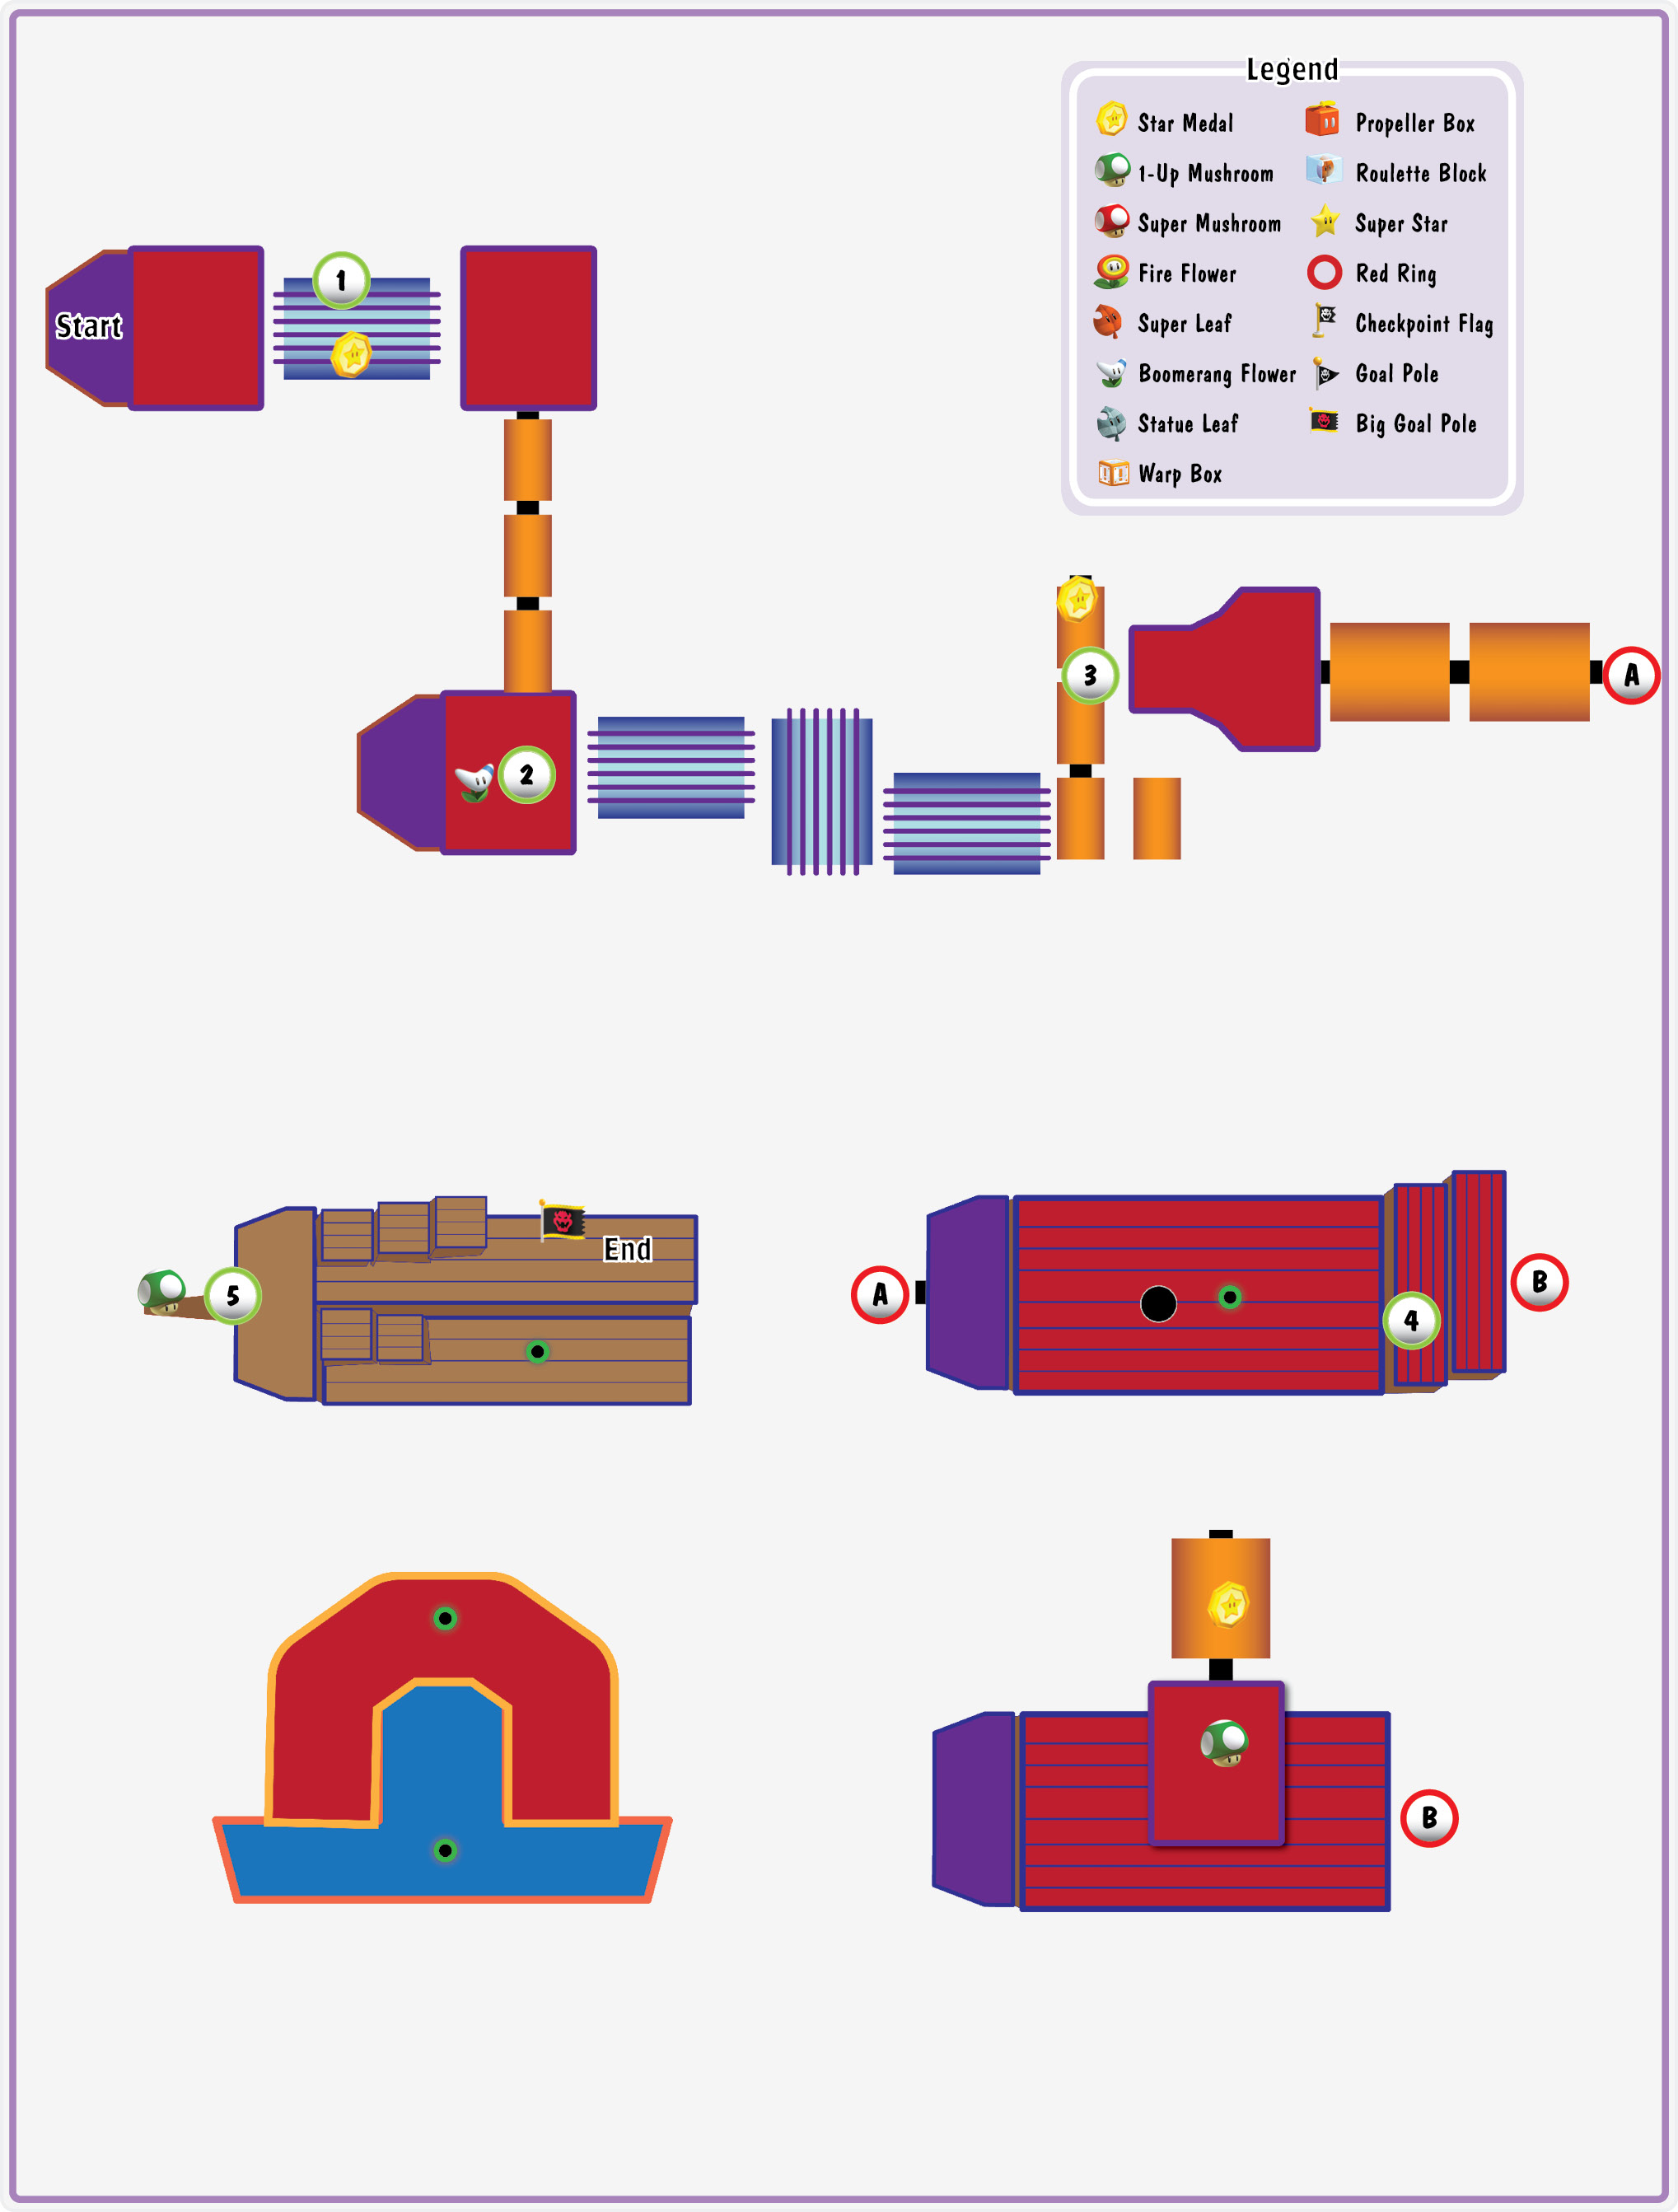
Star Medal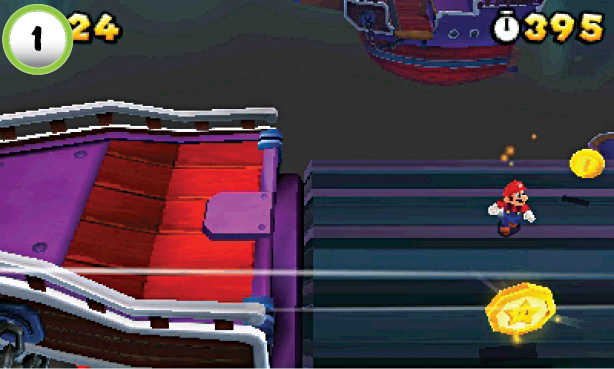 Move onto the spinning platform at Point 1 and collect the level’s first Star Medal. Run back to the top of the platform before you fall off, then continue to the right. |
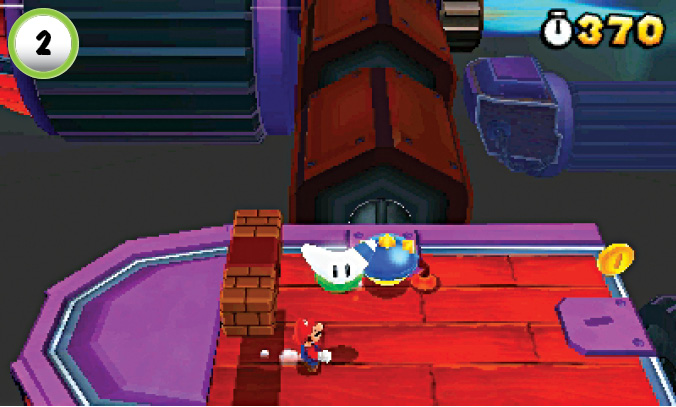
Check the Blocks at Point 2 to find a Boomerang Flower. This power-up allows you to defend yourself as you cross the upcoming platforms, so make sure you grab it.
Star Medal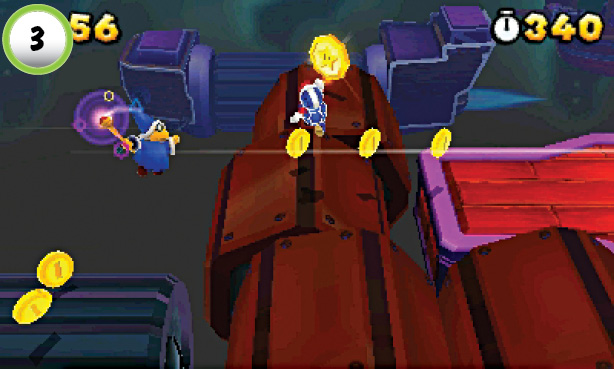 Run along the spinning platforms at Point 3 to collect the second Star Medal. There’s a troublesome Magikoopa guarding the area, so consider clearing the path with a well-aimed boomerang. |
Star Medal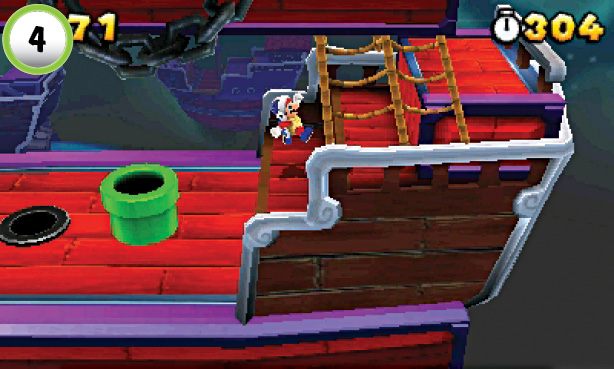 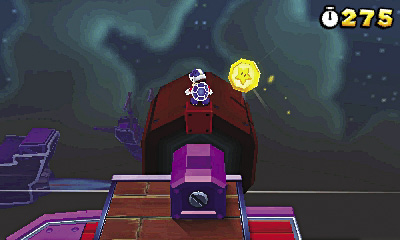 When you reach the Pipe at Point 4, deal with the Rocky Wrenches, then use the steps to the right to reach the upper deck. Hop onto the purple casing near the spinning platform, and jump up to collect a 1-Up Mushroom from an Invisible Block. Move onto the spinning platform and collect the Star Medal as it moves toward you. |
Boss Battle: Boom Boom & Pom Pom
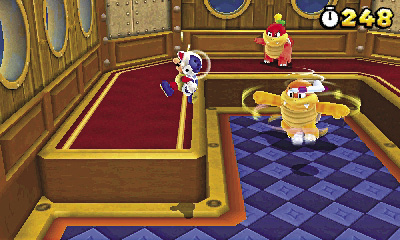
Boom Boom and Pom Pom make a formidable team, so it’s best to deal with them individually. When the battle starts, jump onto Pom Pom’s platform and dodge her attacks. Boom Boom can’t leave the blue tiles, so stay on the platform until you’re ready to deal with him.
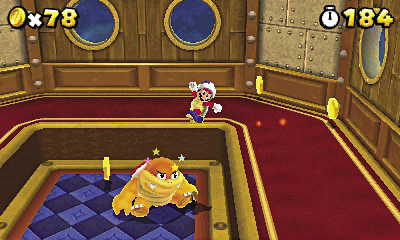
Boom Boom and Pom Pom don’t have any new attacks, so you should know what to expect. Dodge Pom Pom’s attacks and jump on her head, then avoid her shell as she attempts to retaliate. Repeat the process until you defeat her, then turn your attention to Boom Boom. Stay on the platform until he becomes dizzy, then jump on his head to deliver a damaging blow. Return to the platform and repeat the process until you end the encounter.
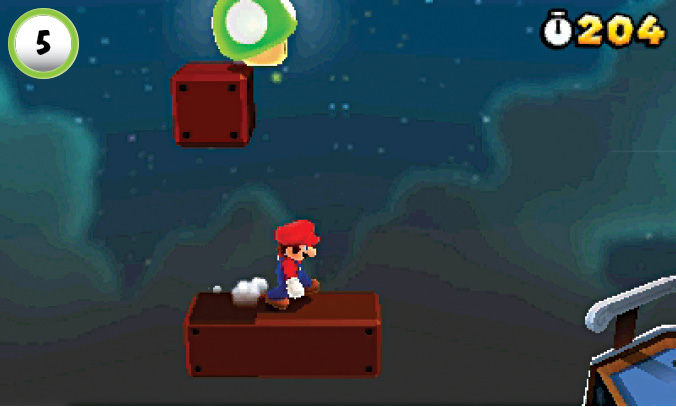
Before you jump to the Goal Pole, jump onto the ? Block above the ship’s bowsprit. Locate the Invisible Block above you to collect a 1-Up Mushroom.