
Super Mario 3D Land Guide Walkthrough Worlds
World One
World 1-1
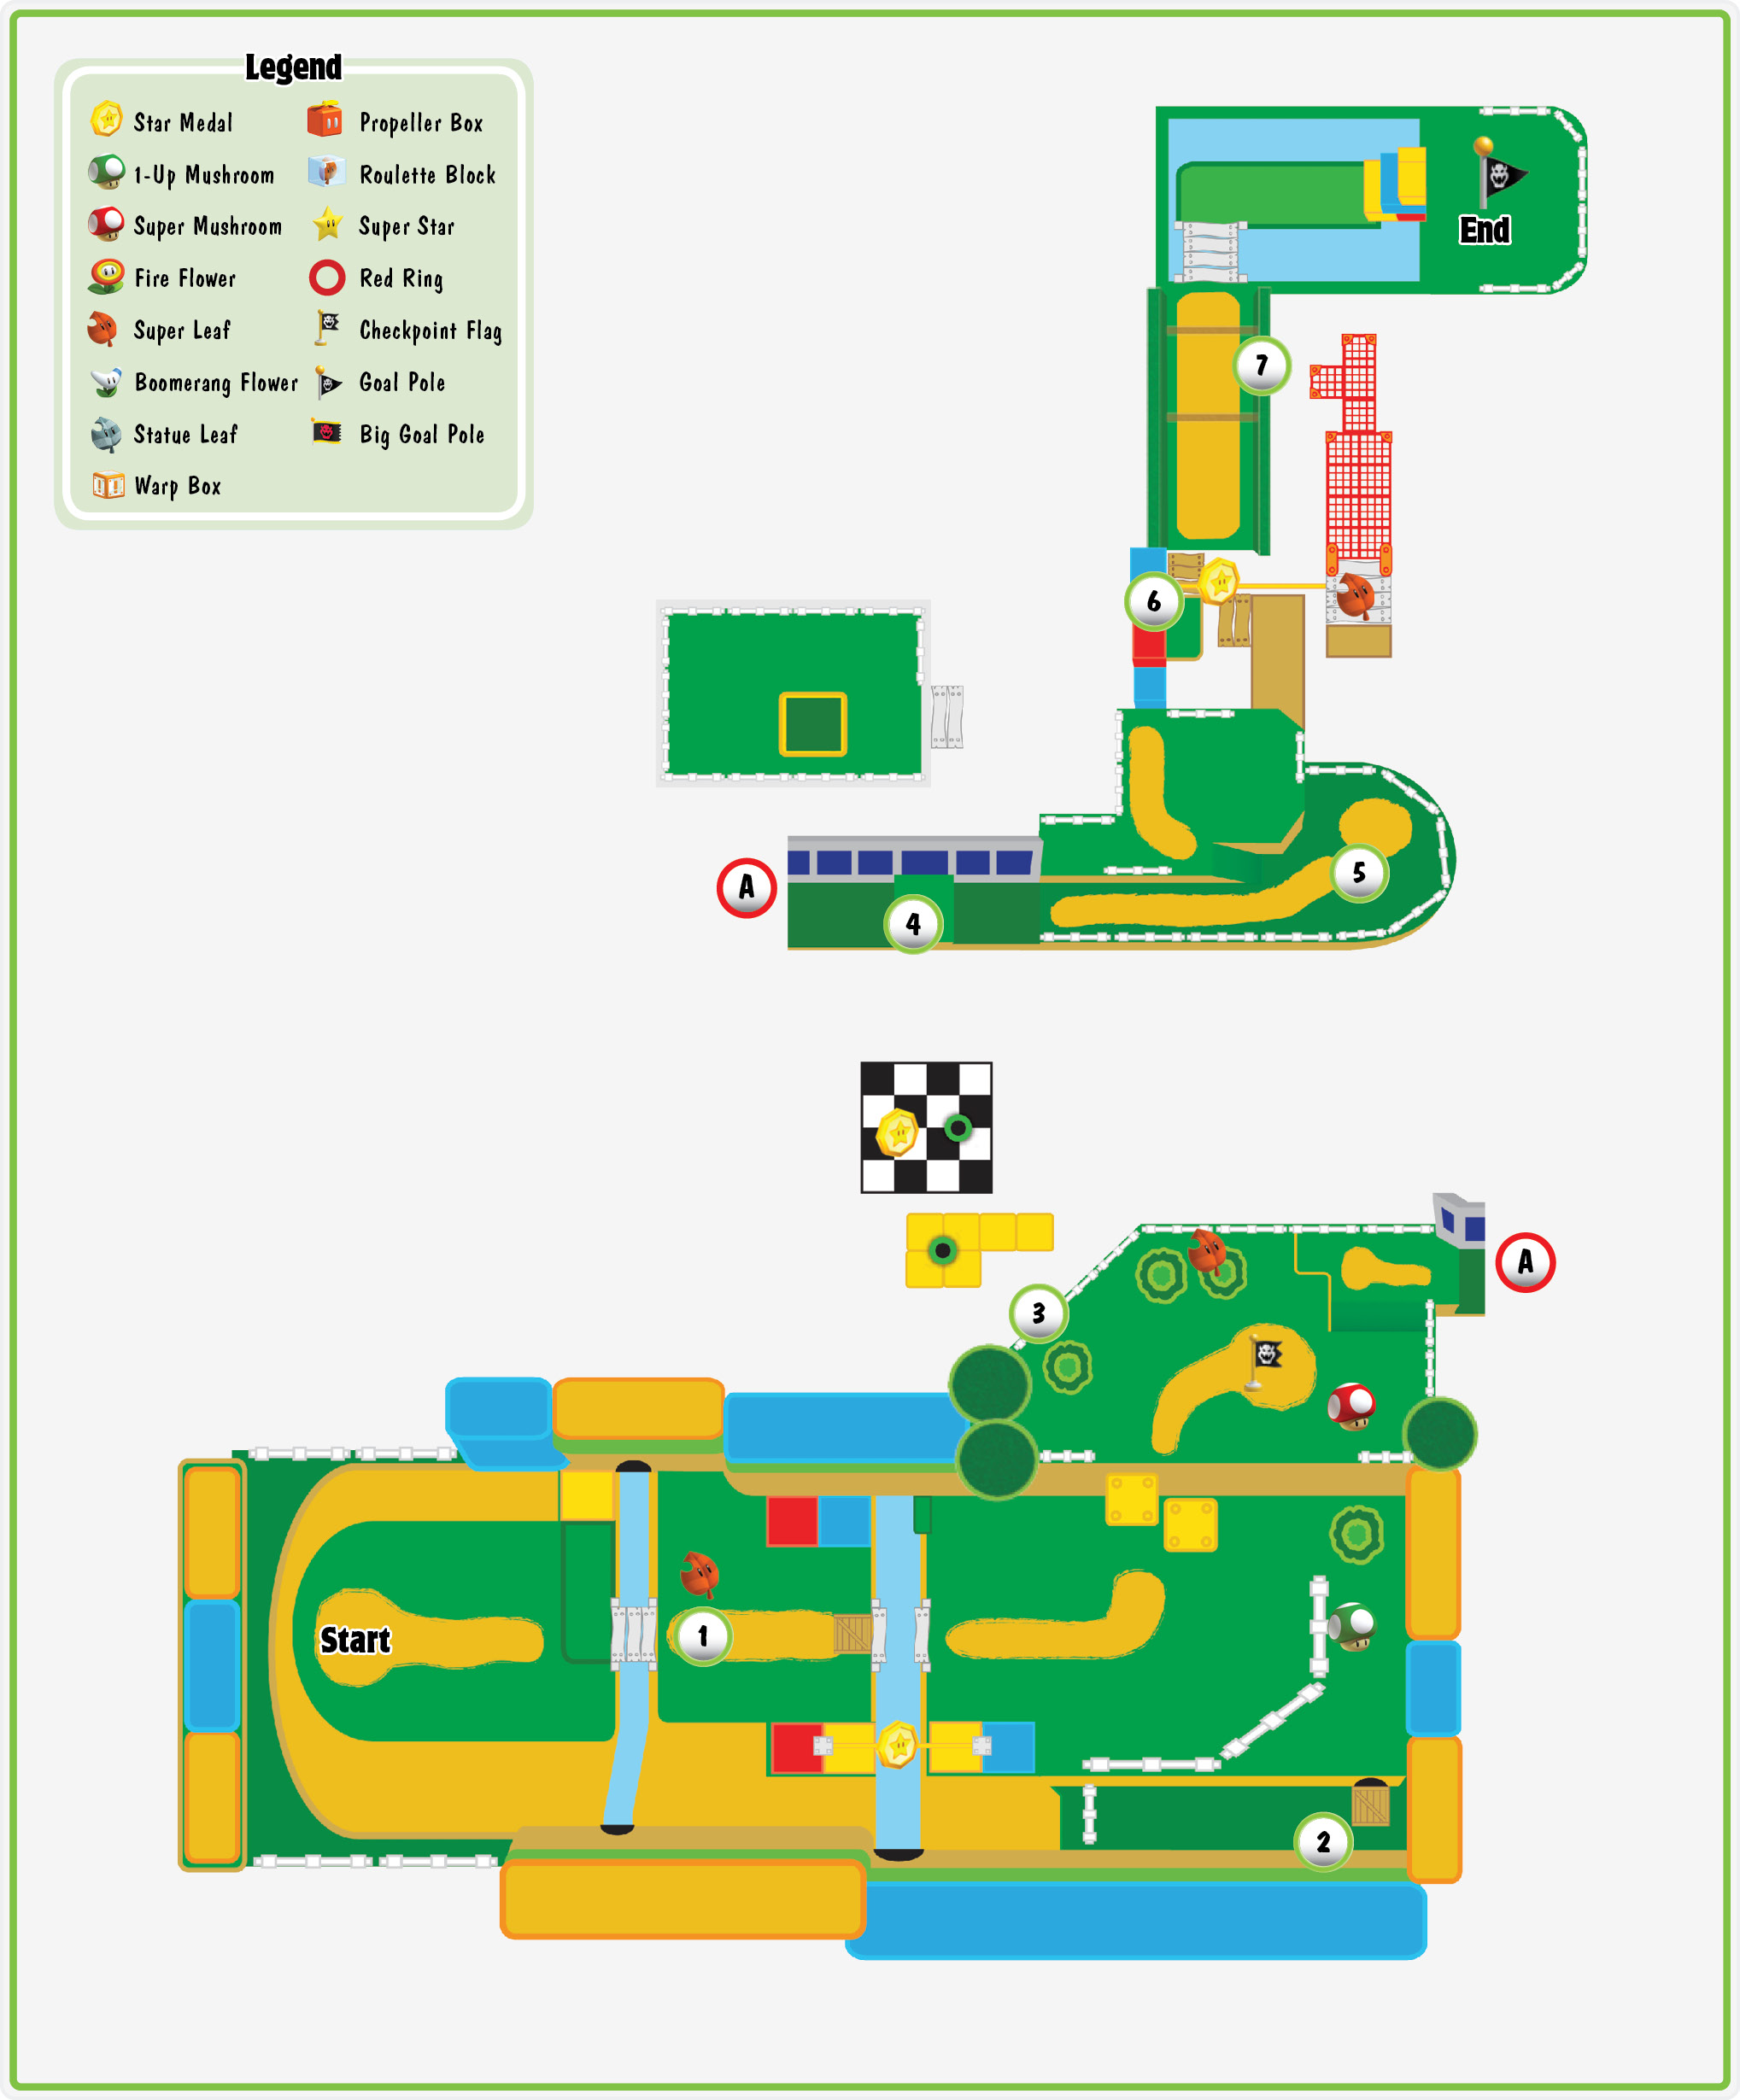
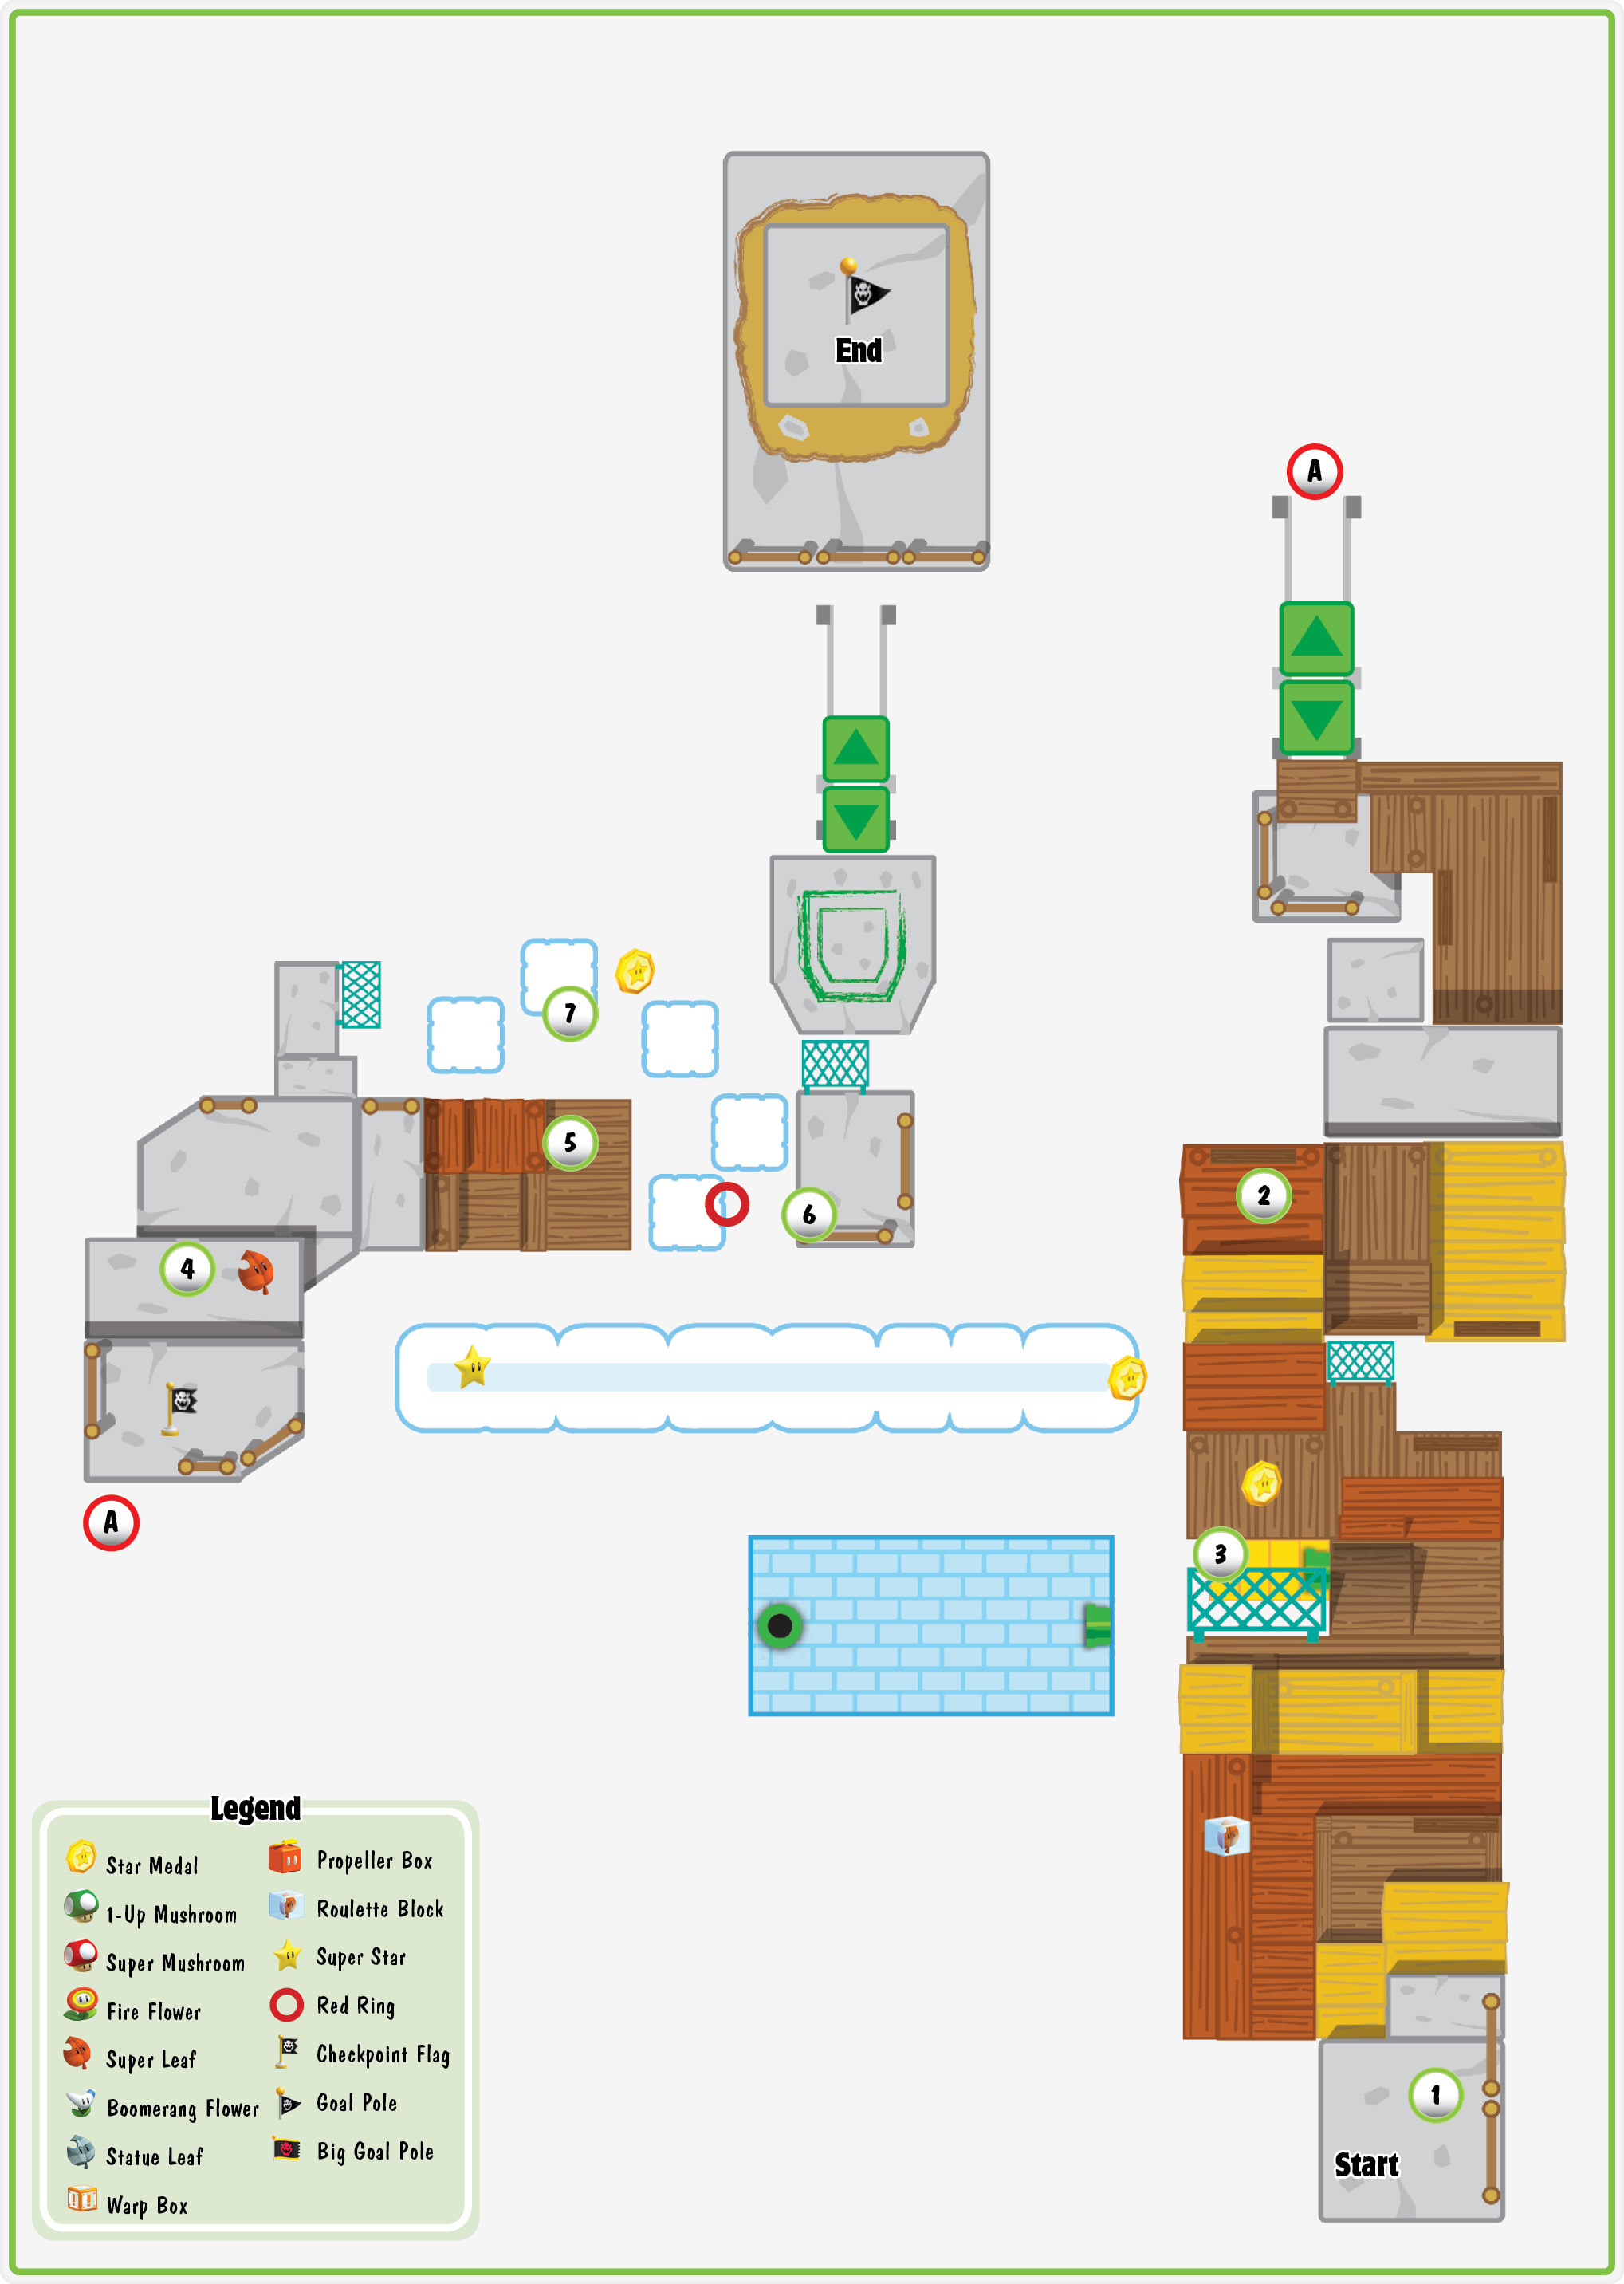
Star Medal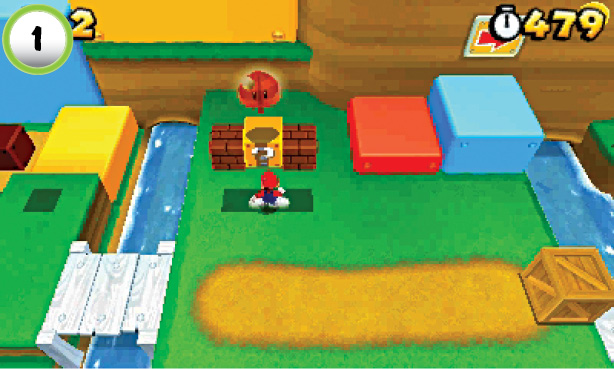 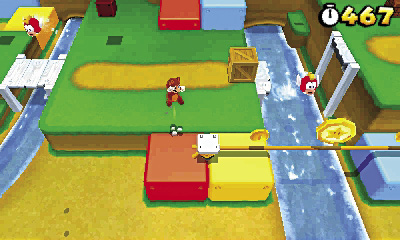 The first Star Medal is located near the beginning of the level. Hit the ? Block at Point 1 to reveal a Super Leaf, then move toward the bottom of the screen. When you spot the tightrope to the right, hop on and collect the Star Medal. |
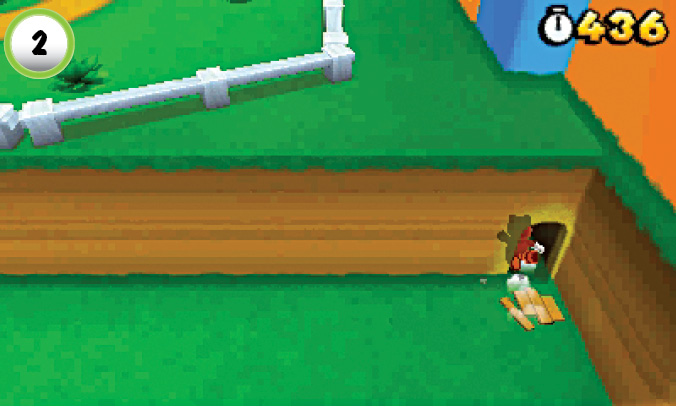
Smash the crate at Point 2 and head into the secret area. After you collect the hidden 1-Up Mushroom, turn around and head back outside.
Star Medal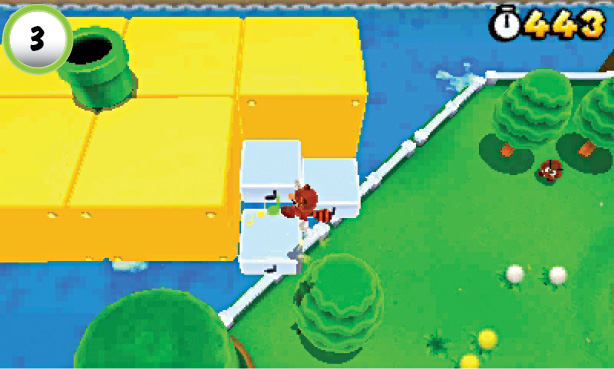 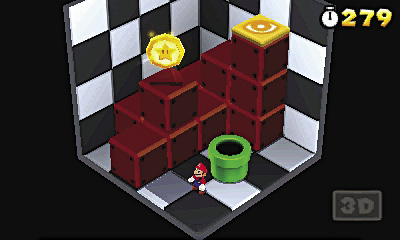 After you reach the Checkpoint Flag, move to the left and climb the tree near the wall. When you reach the top of the tree, handspring onto the Note Block and bounce up to the floating platform. Enter the nearby Pipe to find a secret area. Reaching the Star Medal isn’t quite as simple as it seems. Jump up to the view plate to shift the camera angle, then jump over and grab the Star Medal on the other side of the room. |
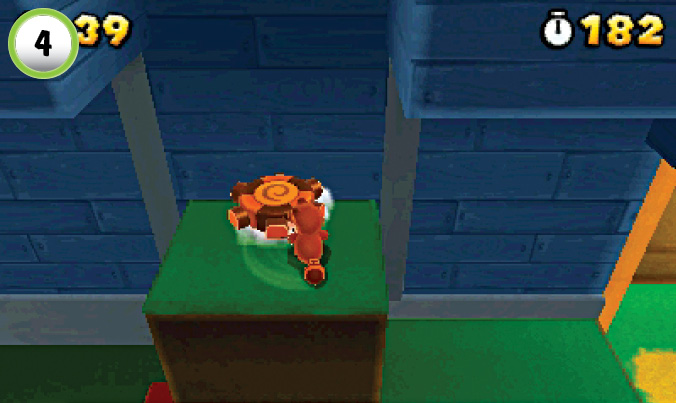
Defeat the Tail Goomba in the tunnel to collect a Super Leaf. Jump up to the single Block and smash it to uncover a Tail Wheel. Tail-whip the Tail Wheel to raise the platform through a hole in the tunnel’s ceiling. Jump off of the platform before it drops back to the ground. Grab the green + Clock, then smash the crates and search the area for coins. When you’re ready to continue, follow the trail of coins back down to the main path.
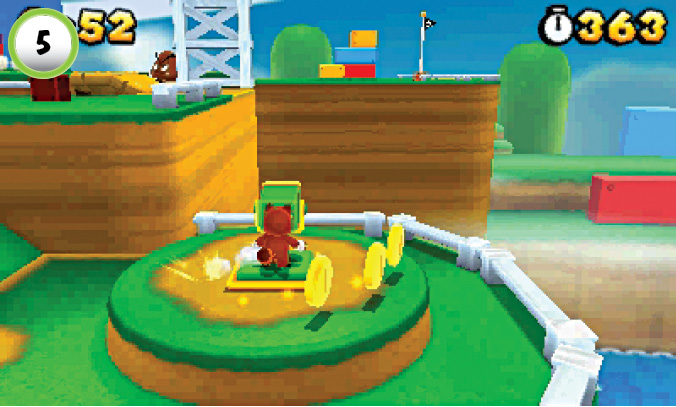
Use the Binoculars to get a better look at the rest of the level. Scan the area for the remaining Star Medal, then look for Toad near the Goal Pole at the end of the level. When you zoom in on Toad, he attempts to show you how to complete the level.
Star Medal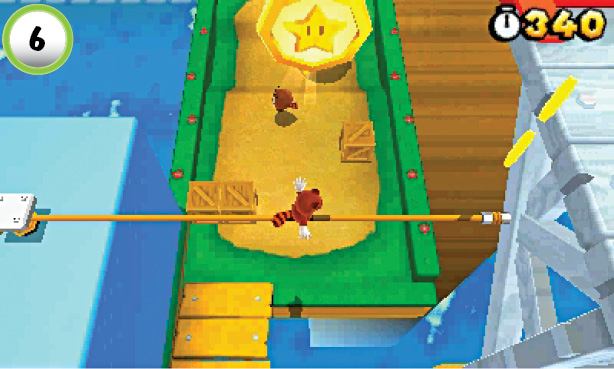 The level’s last Star Medal is floating high above the main path. Use the Note Block on the path’s left side and climb the steps to the tightrope. Move to the center of the tightrope, then bounce up to grab the Star Medal. Continue across the tightrope and hit the ? Block on the next platform to collect another Super Leaf. |
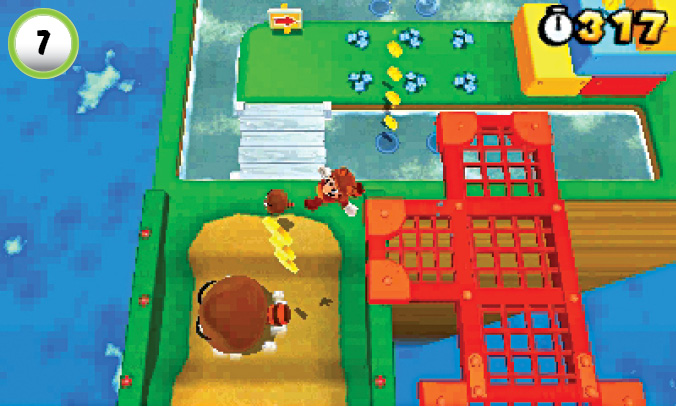
The Big Tail Goomba can be a troublesome obstacle. To help overcome its size advantage, climb up to the platform on the path’s right side and drop down for a surprise attack.
World 1-2
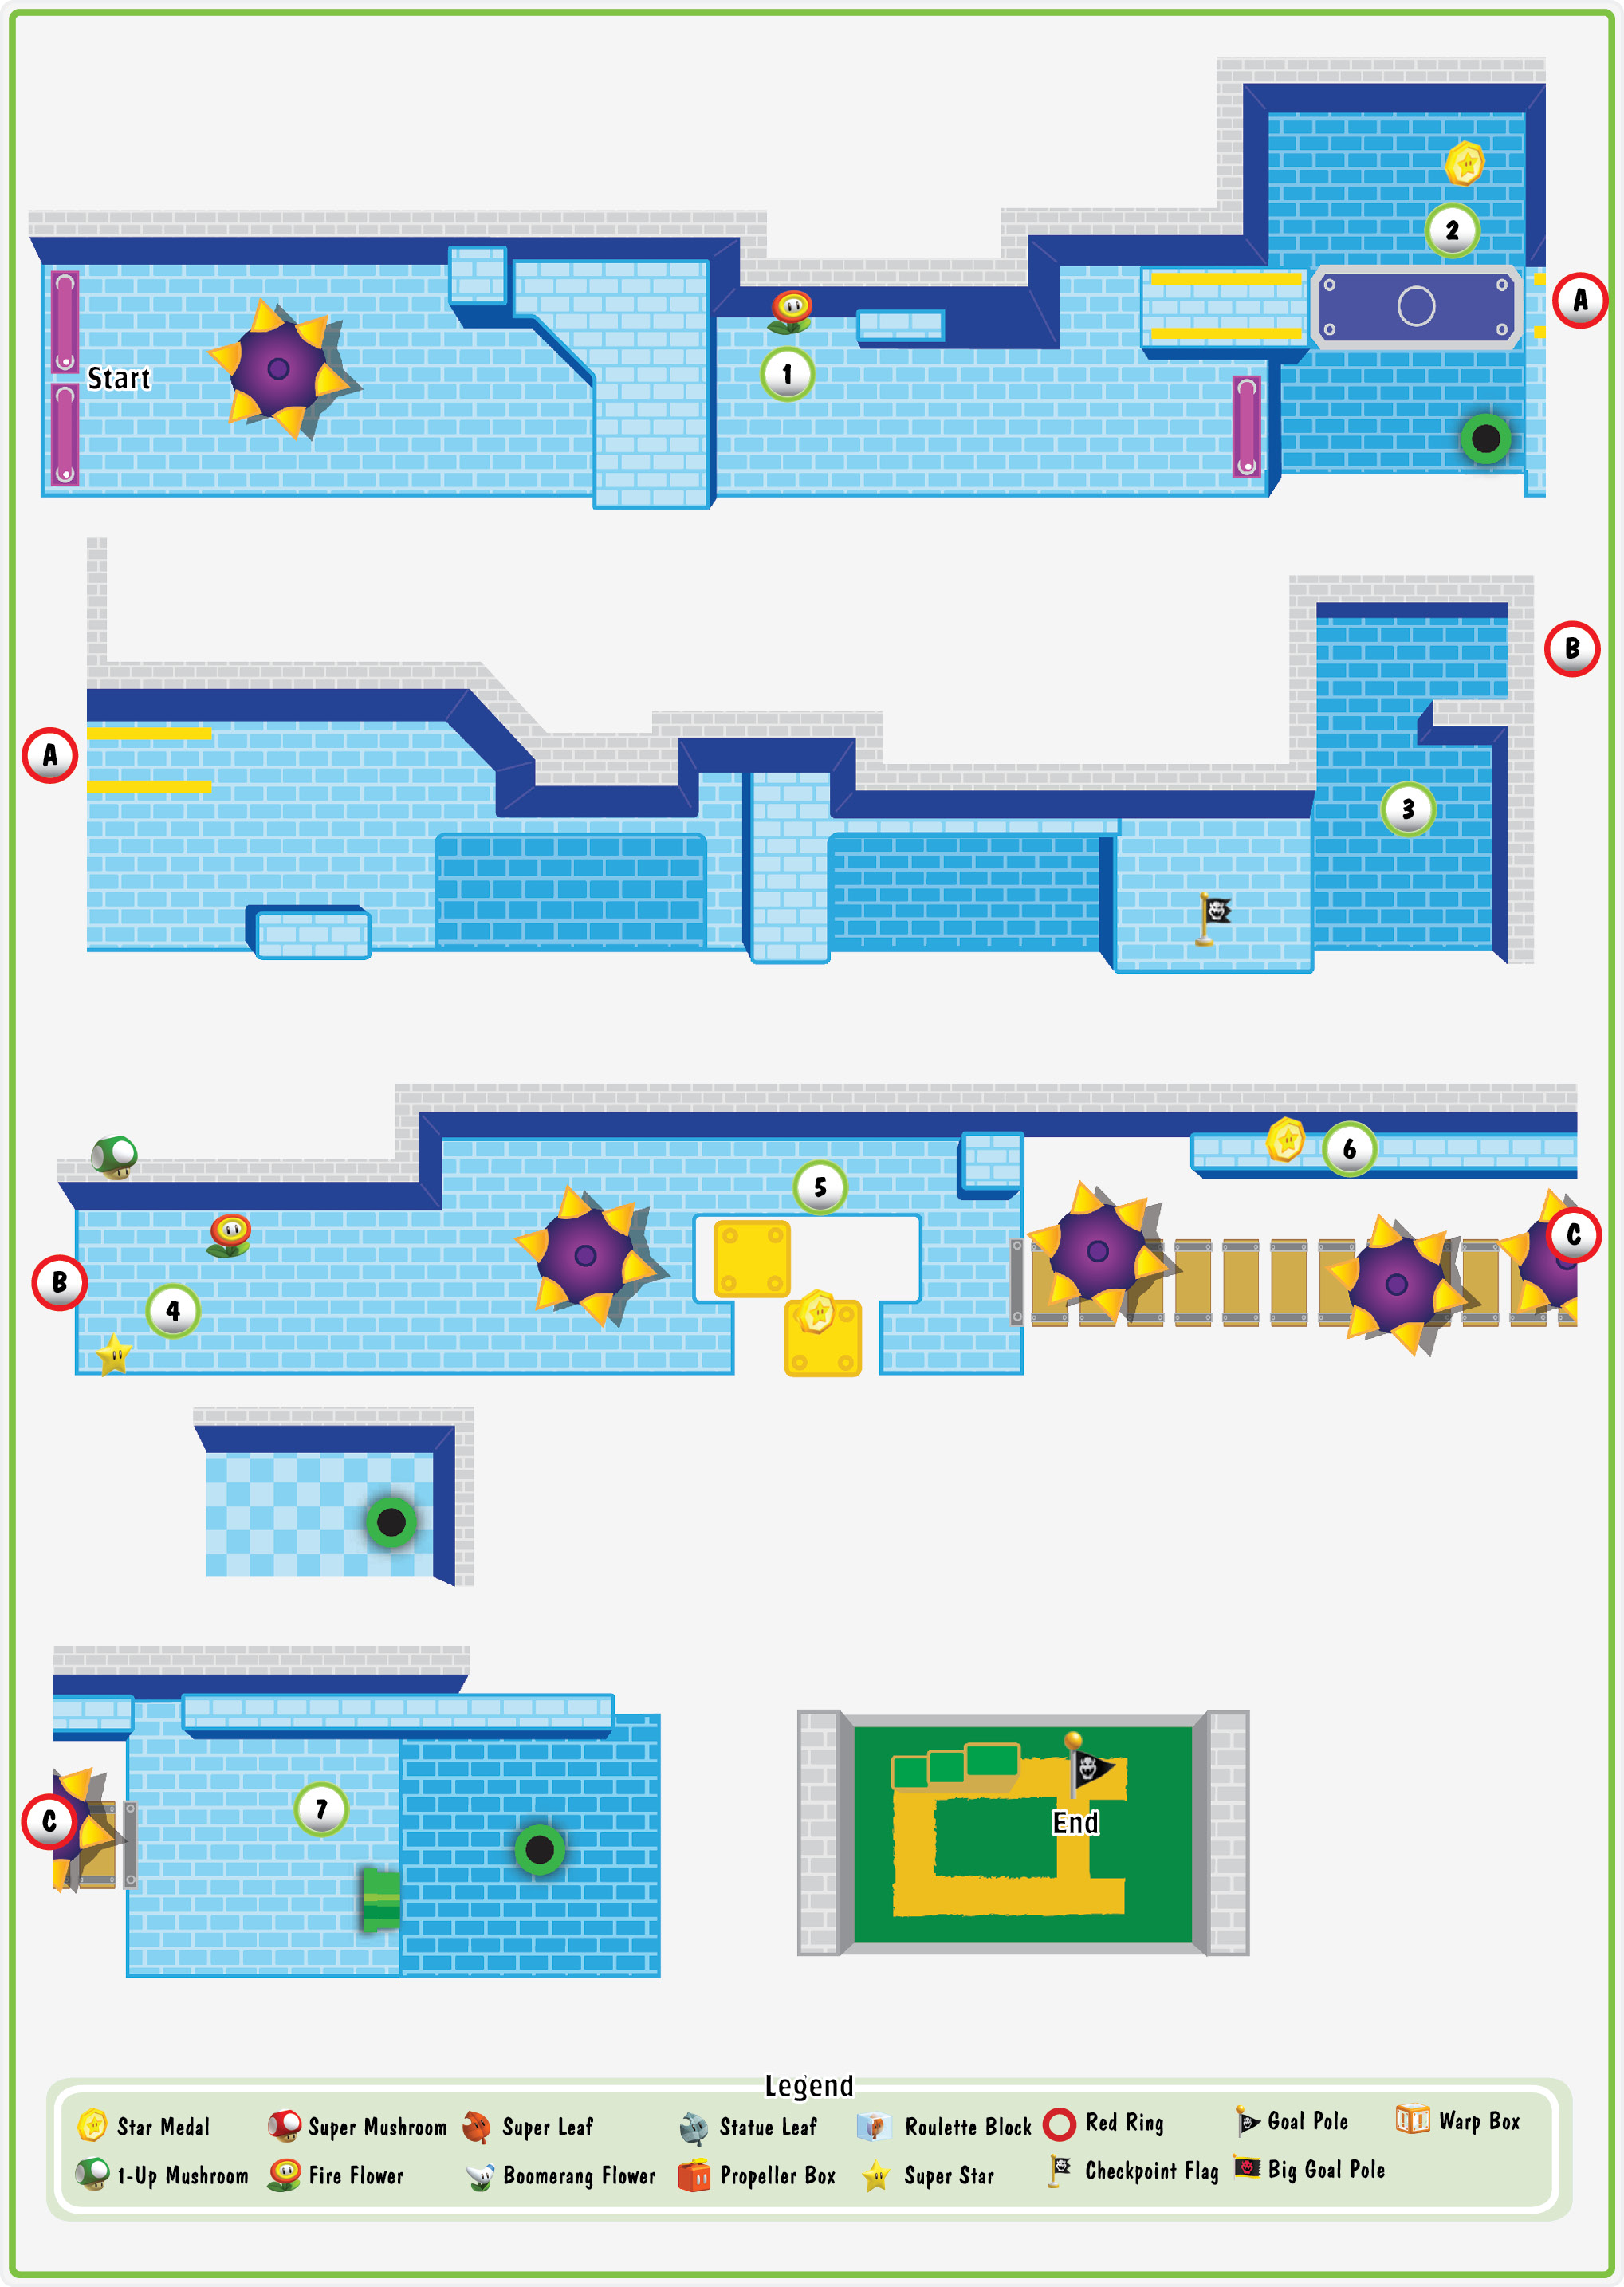
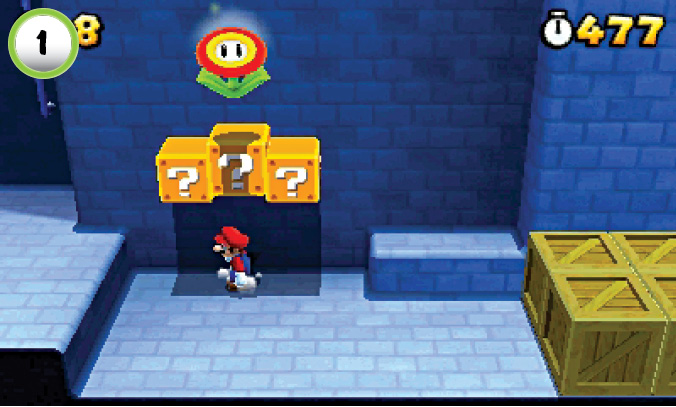
There’s a Fire Flower in one of the ? Blocks at Point 1. Grab this useful power-up to make your run through the level much easier.
Star Medal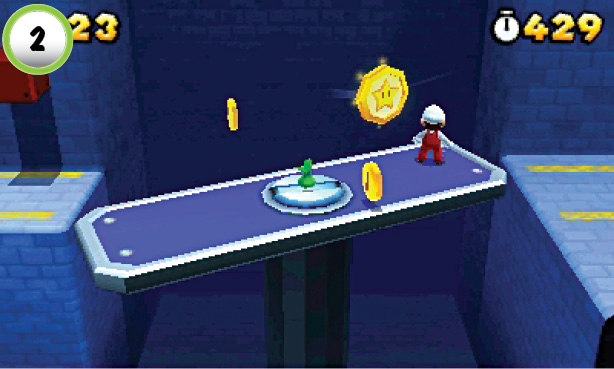 After you deal with the Inky Piranha Plant, move to the right edge of the bridge. When the bridge rotates around, it takes you right through the level’s first Star Medal. |
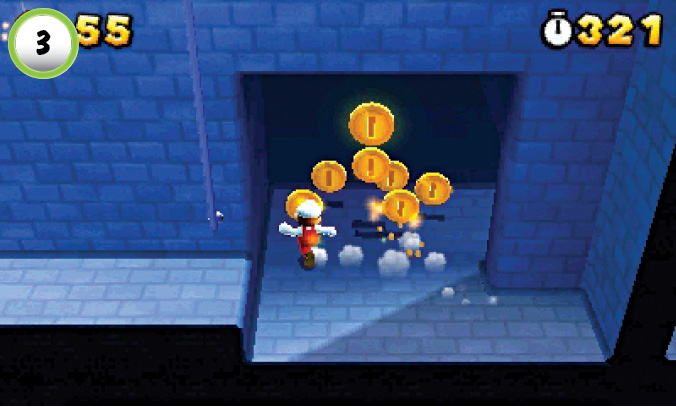
Don’t miss the coin past the Checkpoint Flag—collect it to reveal a hidden trail of coins in the area.
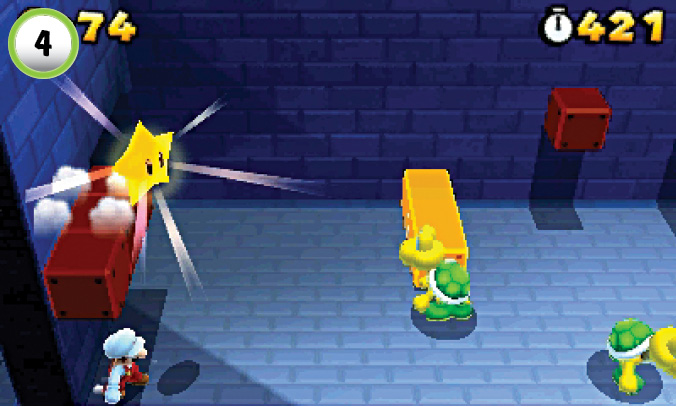
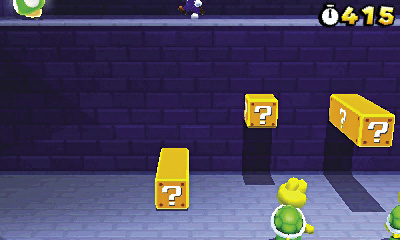
Before you deal with the Koopa Troopas at Point 4, locate the Invisible Blocks near the room’s entrance to find a Super Star. Use the brief period of invincibility to clear out the Koopa Troopas without worrying about stray Green Shells. Check the ? Blocks to find another Fire Flower before you move on.
Star Medal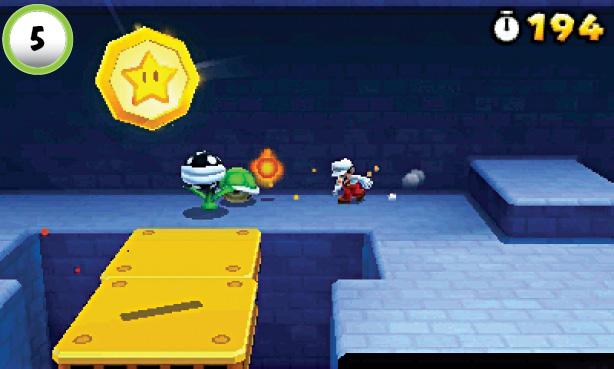 The level’s second Star Medal is located at Point 5. The secret area’s exit Pipe places you past the Star Medal, so be sure to head back if you need to collect it. Clear out the Inky Piranha Plant, then walk across the moving platforms. When the platform passes under the Star Medal, jump up to collect it. |
Star Medal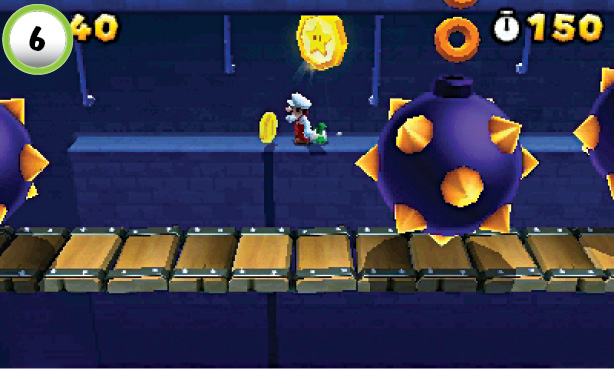 When you reach the wooden bridge, look for the Star Medal along the back wall. Avoid the spiked balls as you make your way across the bridge. After you’re safely across the gap, move to the back wall and clear out the Inky Piranha Plants along the ledge to the left. Jump up to collect the Star Medal before you move on. |
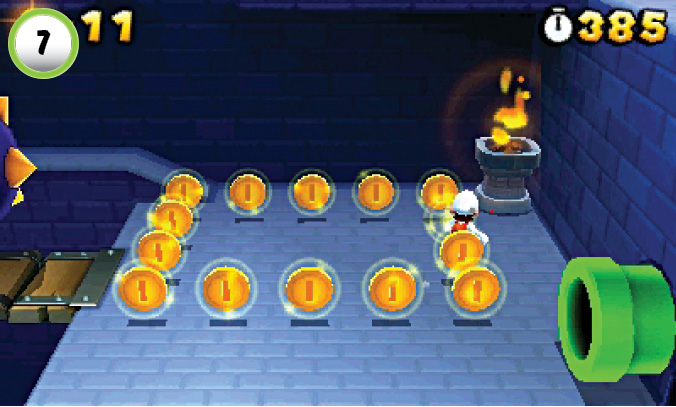
If your Fire Flower power-up is still active, use a fireball to ignite the pedestal at Point 7. Collect the revealed coins, then use the Pipe to reach the level’s Goal Pole.
World 1—Mystery Box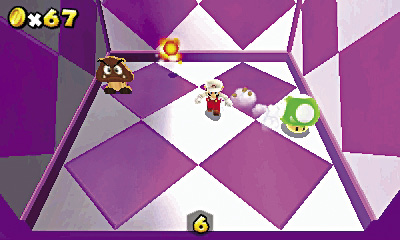 After you complete World 1-2, you gain access to your first Mystery Box. This Mystery Box serves as a tutorial, but it also gives you the chance to earn a Star Medal. Grab the Fire Flower near the back wall, then destroy the Goomba Boards and collect your reward before time runs out. |
World 1-3
Star Medal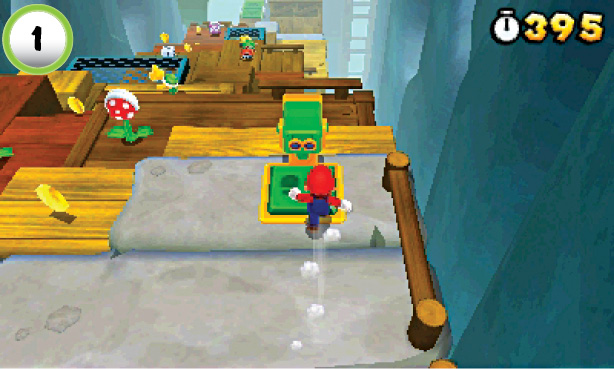 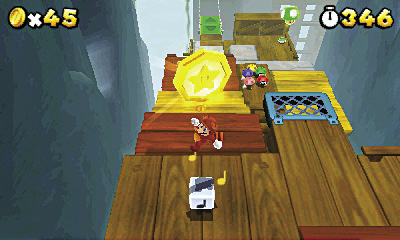 To collect the level’s first Star Medal, you’ll need a little help from an old friend. When the level starts, use the nearby Binoculars to locate Toad up on the cliffs to the right. When you zoom in on Toad, he throws the Star Medal into place. When you’re ready to collect the Star Medal, use the Note Block to bounce up and grab it. |
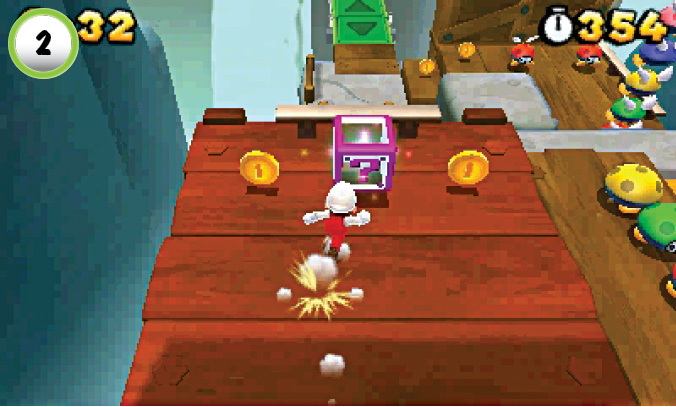
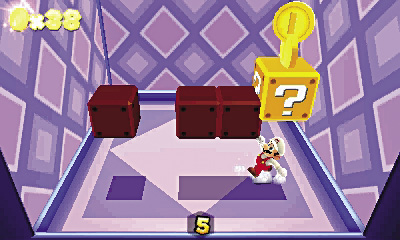
After you enter the Mystery Box at Point 2, run to the ? Block to the right. This ? Block contains an endless supply of coins, so collect as many as you can before time runs out.
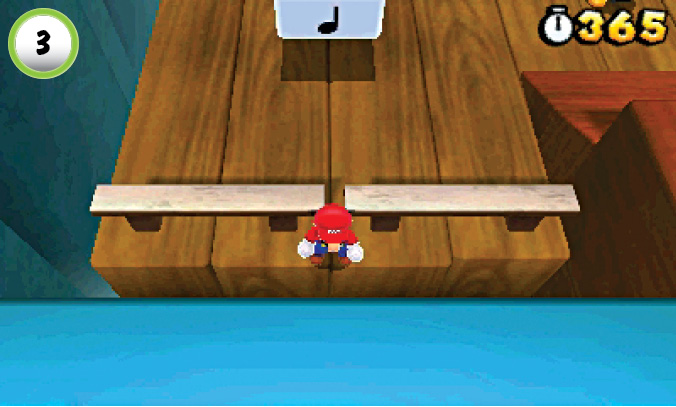
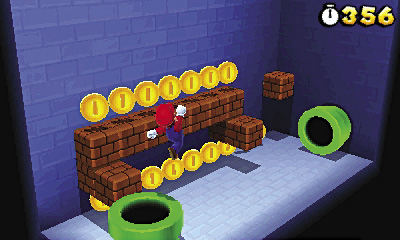
There's a hidden Pipe below the blue grate at Point 3. When you're ready to move on, drop down from the ledge and use the Pipe to enter a secret area. Before you leave, hit the Block near the right wall to reveal a Fire Flower.
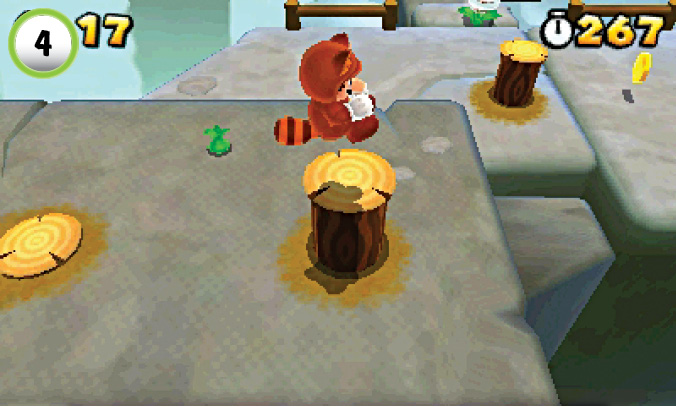
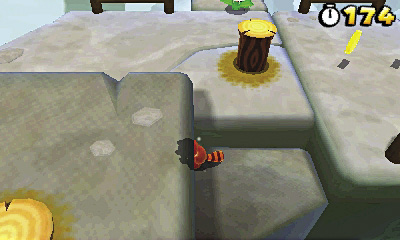
Ground-pound the tree stumps to collect some coins and a Super Leaf. Clear out the Fire Piranha Plants to earn a Fire Flower. There are some tricky areas coming up, so consider switching back to the Tanooki Suit after you grab the new power-up. You can drop down from the nearby blue grate and follow the cloud platforms down to another Star Medal, but you won’t be able to return to this area. There’s an alternate path down to the Goal Pole, so consider exploring the area fully before you choose a route.
Star Medal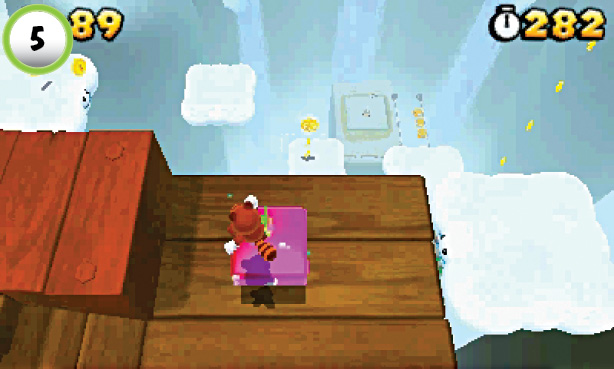 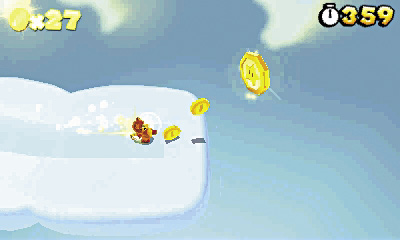 Use the Super Note Block at Point 5 to bounce up to a secret area. Jump along the cloud platforms to find the Star Medal at the end of the path. A large jump can send you soaring right over the Star Medal, so use the trail of coins to help ensure a proper approach. If you miss the Star Medal, you must revisit the level to make another attempt. |
Red Ring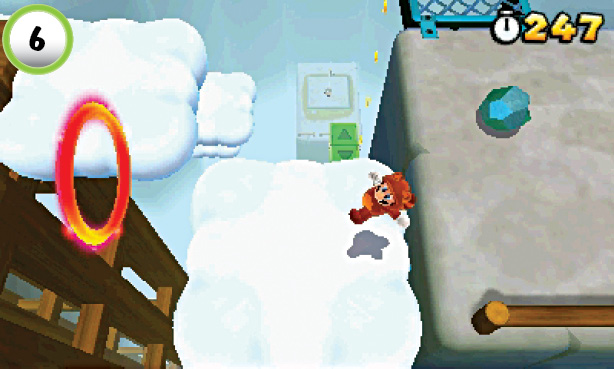 Jump through the Red Ring at Point 6 for a chance to grab another power-up. You don’t have much time, so hop between the cloud platforms as they move across the gap. |
Star Medal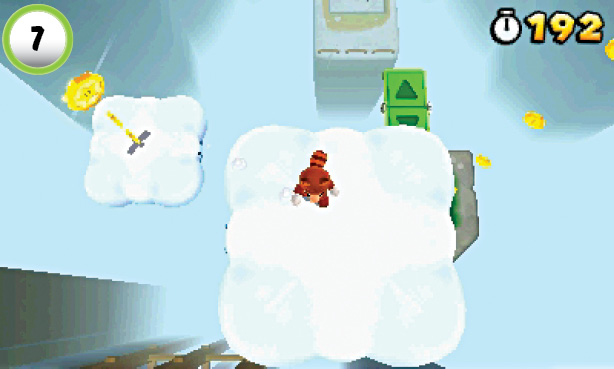 To collect the remaining Star Medal, head back to the blue grate near the tree stumps. Drop down along the moving cloud platforms until you see the Star Medal. Make sure you time your jump with the moving platforms to ensure a safe landing. When the platform moves back to the right, follow the coins down toward the end of the level. |
World 1-4
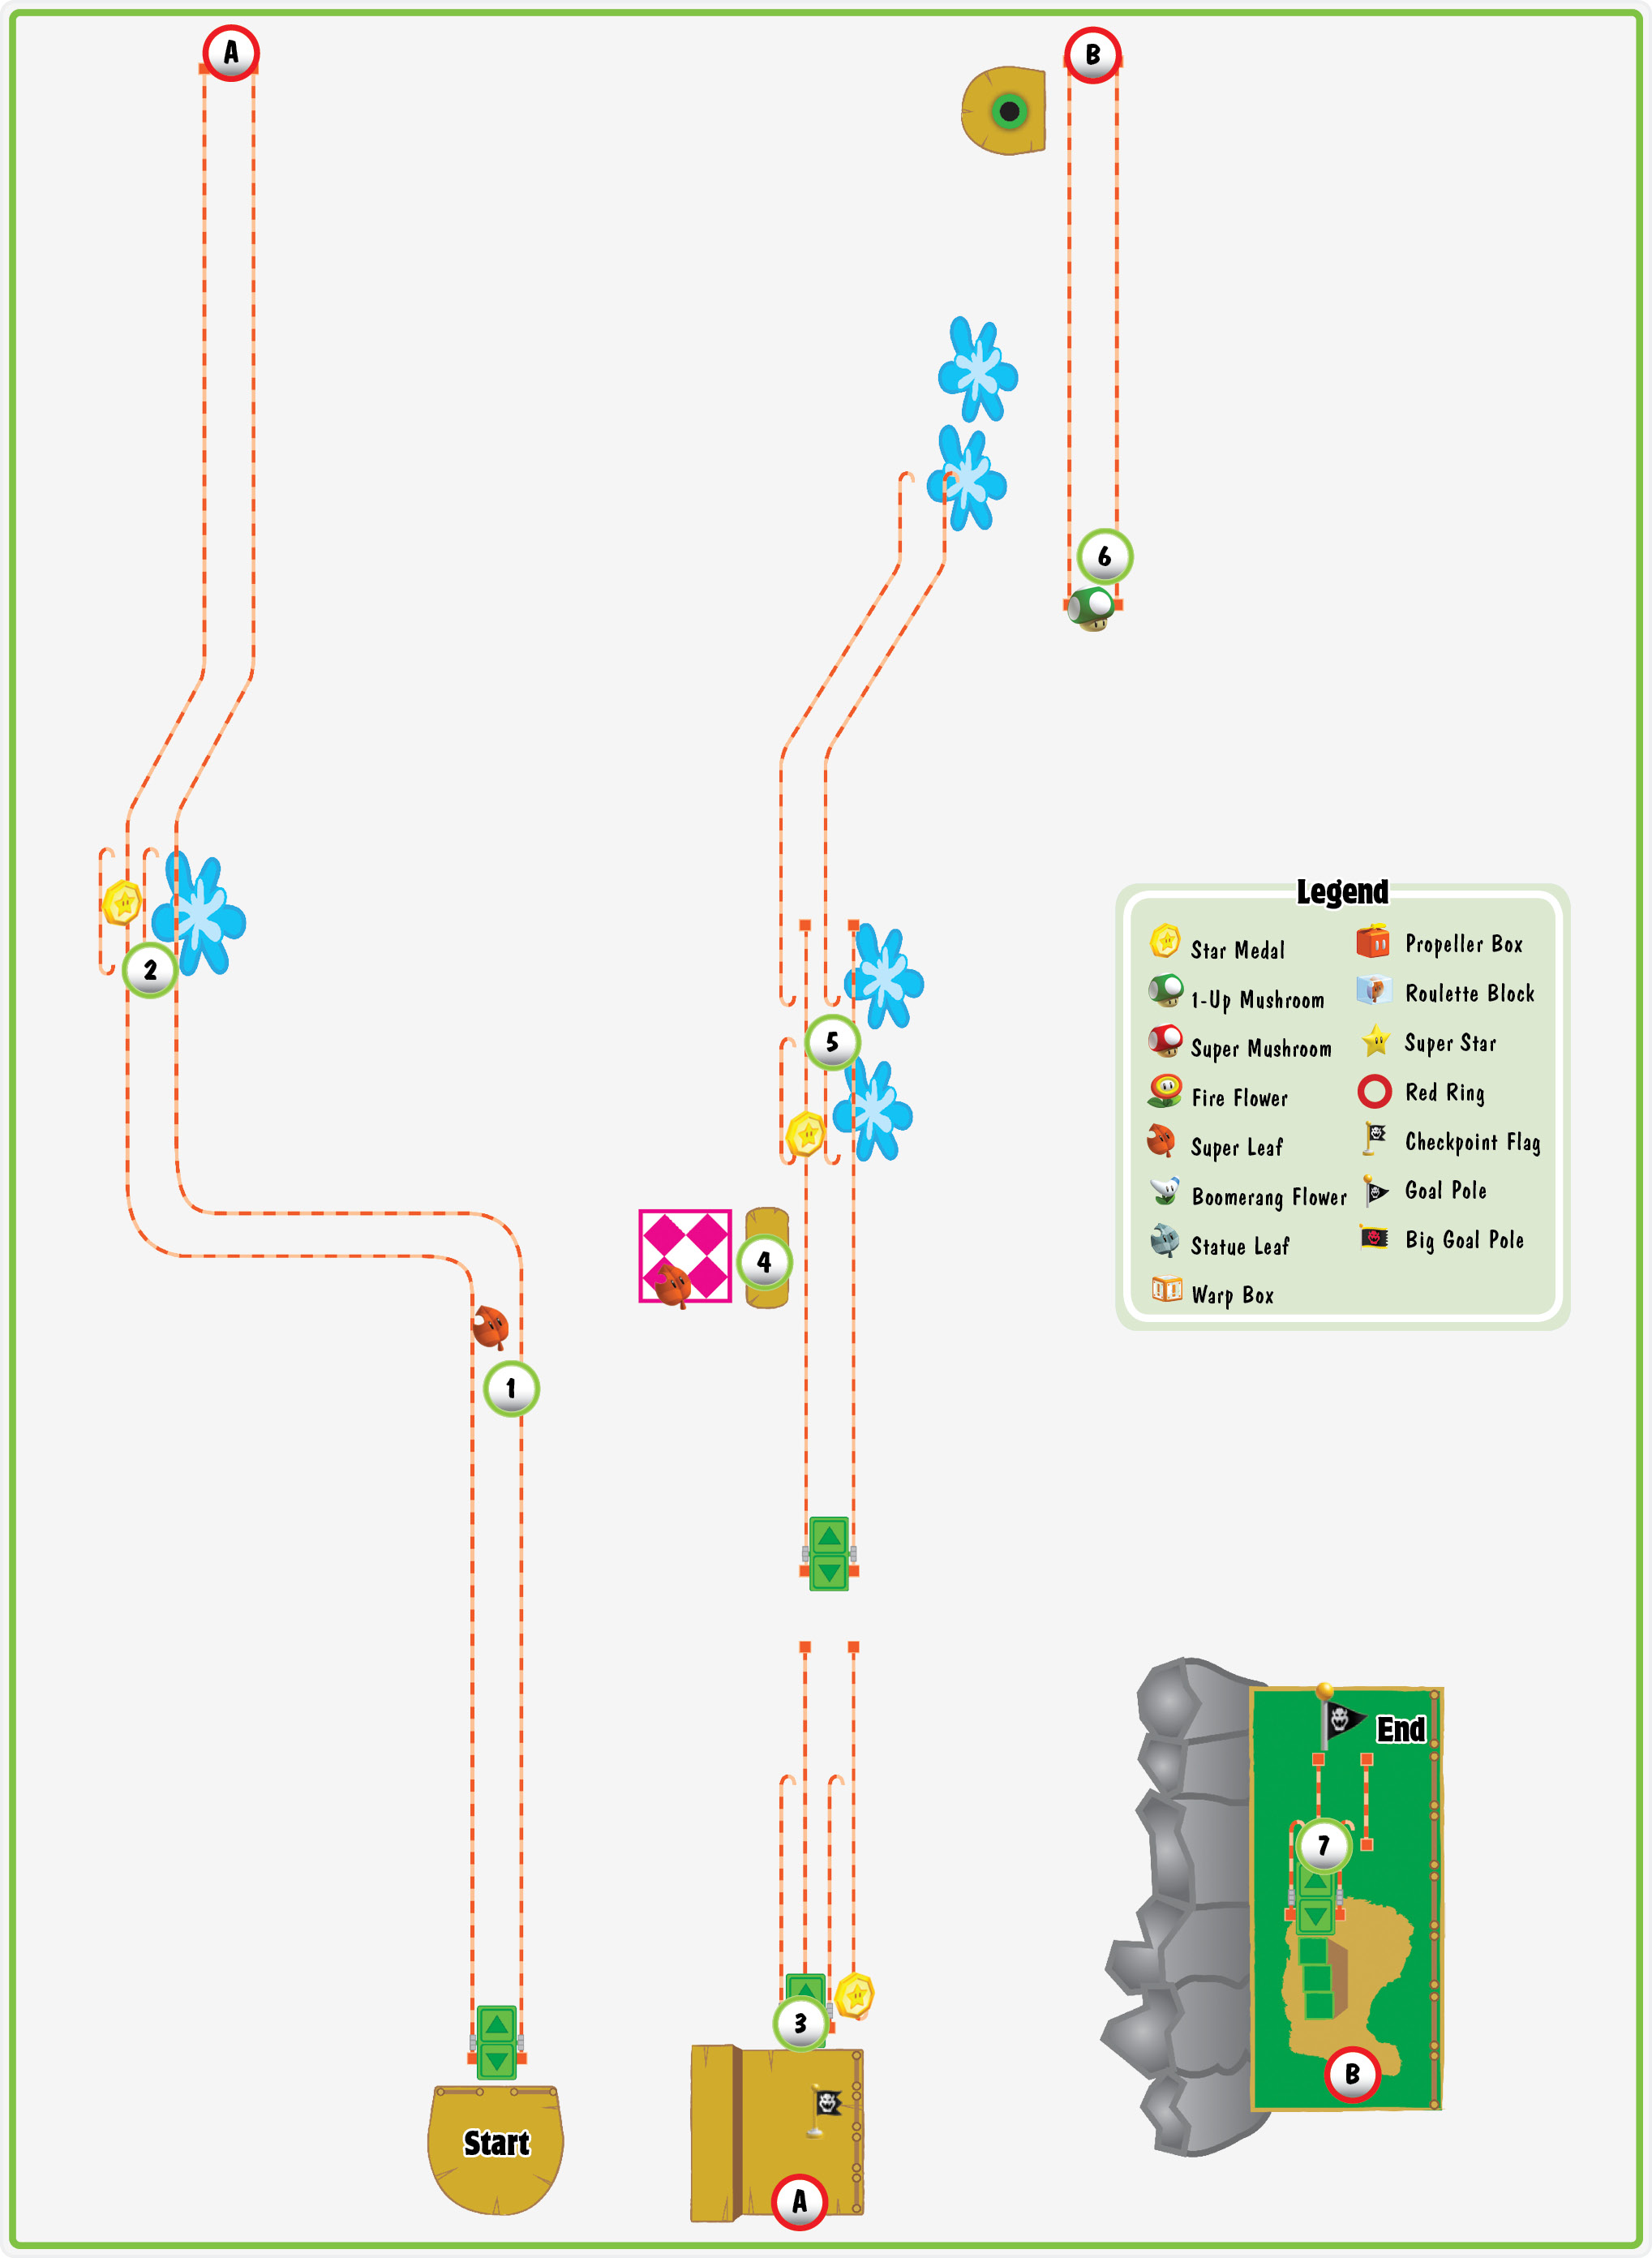
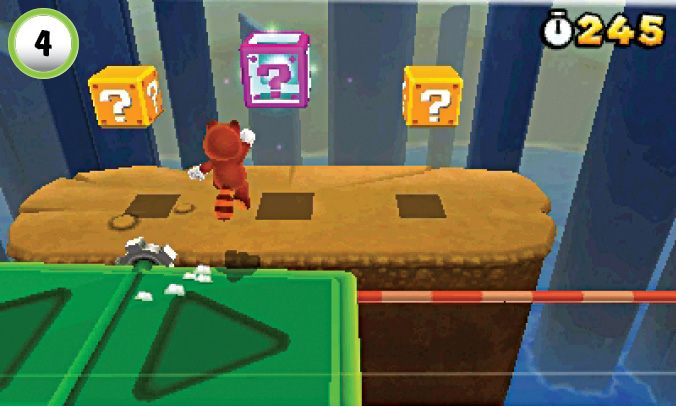
Jump up and hit the ? Block at Point 1 to reveal a Super Leaf. The Tanooki Suit’s tail whip is a great way to clear enemies from the tracks, so make sure you’re in a position to catch it when it appears.
Star Medal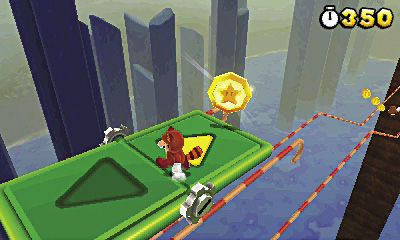 Use the geyser at Point 2 to launch the Switchboard onto the tracks above you. The geyser erupts at regular intervals, so try to match its timing. After you grab the Star Medal, drop back down to the lower tracks and continue through the level. After you reach the Checkpoint Flag, continue onto the next |
Star Medal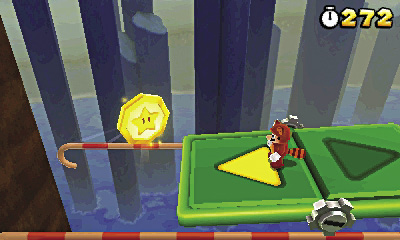 Switchboard and look for the Star Medal below you. Follow the coins down to the lower tracks, then move back to the left. Watch out for the Paragoomba guarding the area, and make sure you reverse direction before the Switchboard drops off the edge of the tracks. |
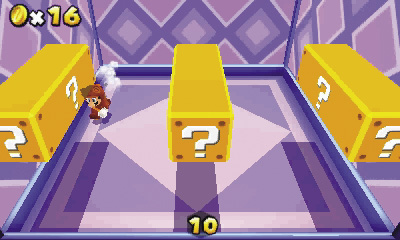
Hop off of the Switchboard to enter the Mystery Box at Point 4. Hit the ? Block on the left to reveal a Super Leaf, then use the remaining time to collect as many coins as possible.
Star Medal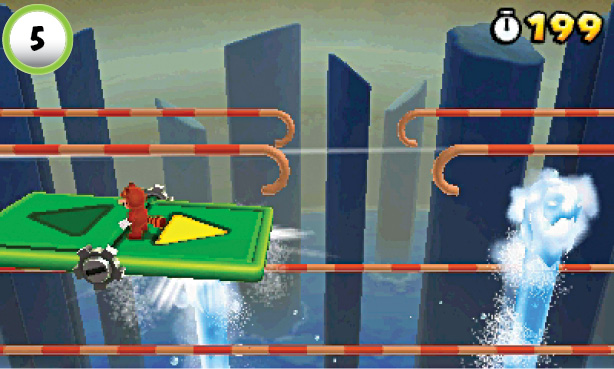 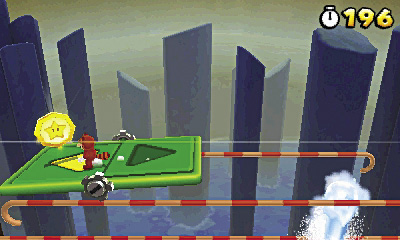 When you reach the geysers at Point 5, jump in place to slow down the Switchboard. When the water drops down, move over the first geyser. Alternate directions to keep the Switchboard in place until the geyser launches you to the upper tracks. Collect the Star Medal to the left, then turn around and drop back down to the lower tracks. When the geysers die down, continue to the right and grab the green + Clock at the end of the tracks. When you’re ready to continue, use the geyser to return to the upper tracks. |
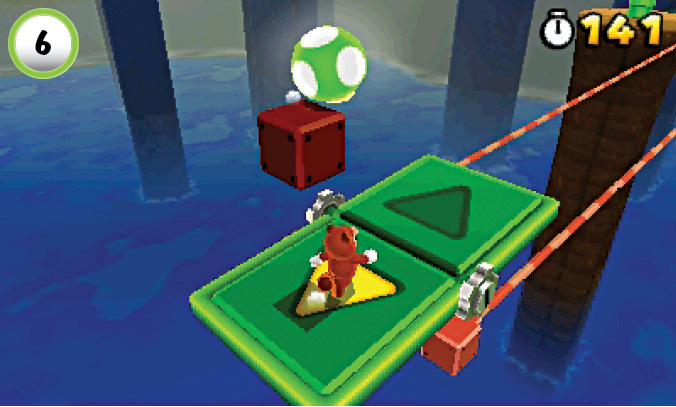
Before you head into the Pipe, move the Switchboard back to the left, and hit the ? Block at the end of the tracks. When the 1-Up Mushroom appears, move quickly to grab it before it slides off the Switchboard.
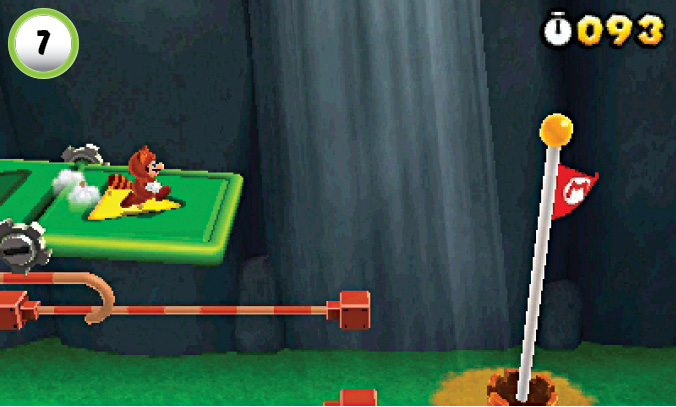
To reach the top of this level’s Goal Pole, make a running jump from the Switchboard as it reaches the end of the upper tracks. Normally, a successful jump requires precision timing, but the Tanooki Suit can be used to make the task much easier.
World 1—Toad House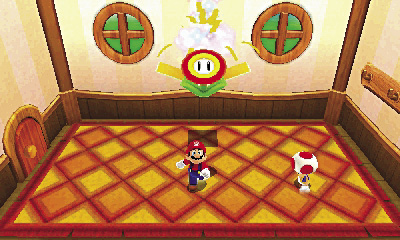 After you complete World 1-4, a Toad House appears on the level-selection screen. When you find yourself in need of a power-up, unwrap the Gift Box inside the house to collect a Fire Flower. Remember, you can only get the power-up from a Toad House once, so make sure you save it for when you need it. |
World 1—Castle
Star Medal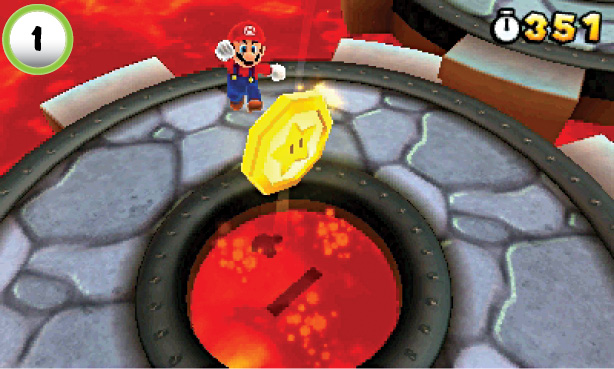 This level’s first Star Medal is floating above a pool of lava. A Lava Bubble surfaces from the pool at regular intervals. To safely collect the Star Medal, time your jump to avoid this fiery obstacle. |
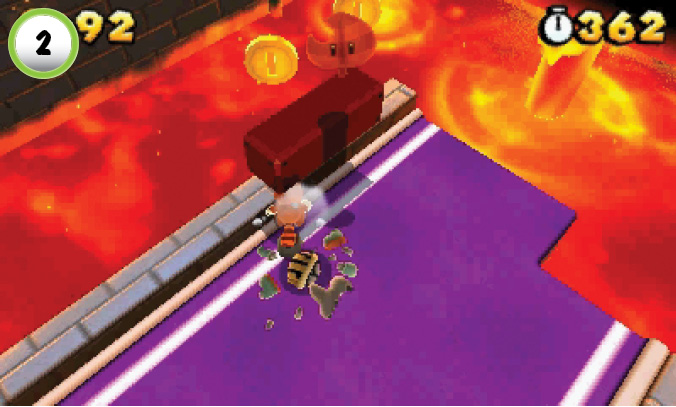
When you reach the first Dry Bones, hit the nearby ? Block and collect a Super Leaf. The Tanooki Suit can be a great help in navigating the castle’s many obstacles.
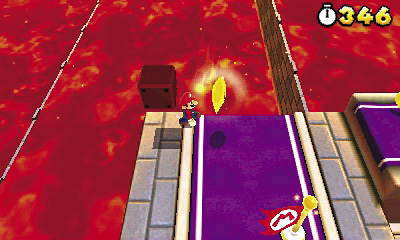
Star Medal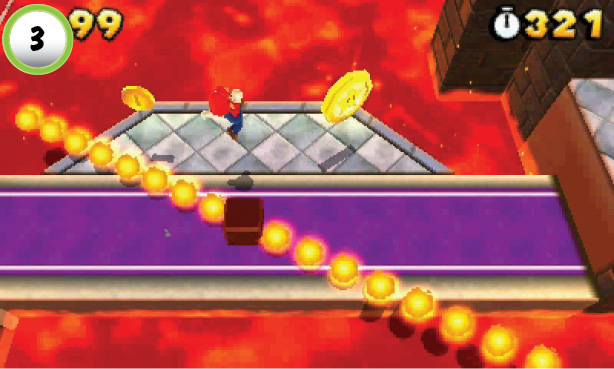 The Star Medal at Point 3 is on a small platform attached to the main path. Jump over the rotating fireballs and grab the Star Medal as you continue through the castle. |
Star Medal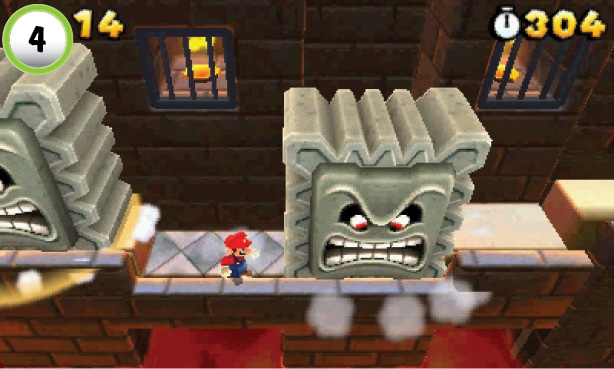 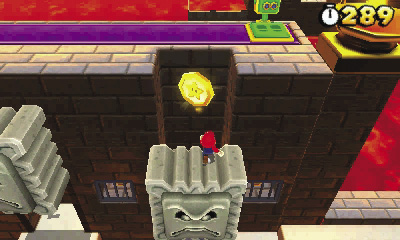 Don’t rush past the two Thwomps at Point 4! Wall-jump onto the second Thwomp, or slip into the space behind it and wall-jump all the way to the Star Medal. Bowser guards the path ahead, so consider using the nearby Binoculars to get a look at the area. When you’re ready to move on, drop back down to the main path. |
Boss Battle: Tail Bowser
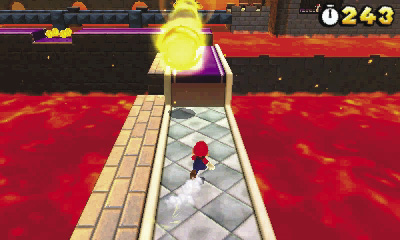
When Bowser appears, he begins spitting fireballs at you. The walkway provides some cover from the attacks, but you’ll need to dodge a few fireballs on your way to face Bowser. Move quickly when you’re exposed, and keep an eye out for the Dry Bones along the path.
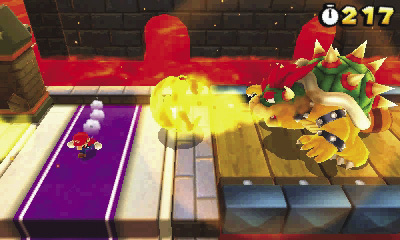
As you approach the bridge, Bowser moves in to block your path. Continue to dodge his fireballs until you see a chance to move past him. His attacks destroy the nearby columns on impact, so draw his fire to these targets if you’d like to collect some coins and a Super Mushroom.
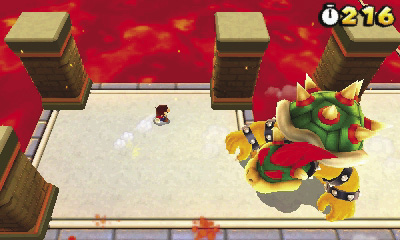
Occasionally, Bowser jumps into the air. If you’re close enough, you may be able to dash underneath him before he lands. For a safer alternative, wait for Bowser to move out of the center of the path, then use the opening to slip past him. If you suffer any damage during the encounter, be sure to take advantage of your momentary invincibility—dash along the edge of the bridge before he has a chance to land another attack.
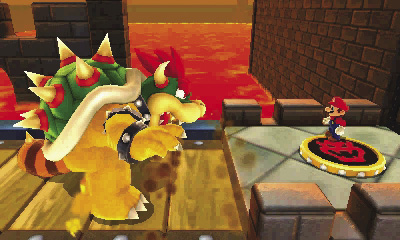
When you slip past Bowser, he uses a long jump to move ahead of you. Keep running until you see Bowser’s shadow closing in, then hang back to stay clear of his landing. Repeat the process until you reach the switch at the end of the bridge. Jump onto the switch to complete the encounter, then continue to the end of the level.