
Super Mario 3D Land Guide Walkthrough Worlds
World Three
World 3-1
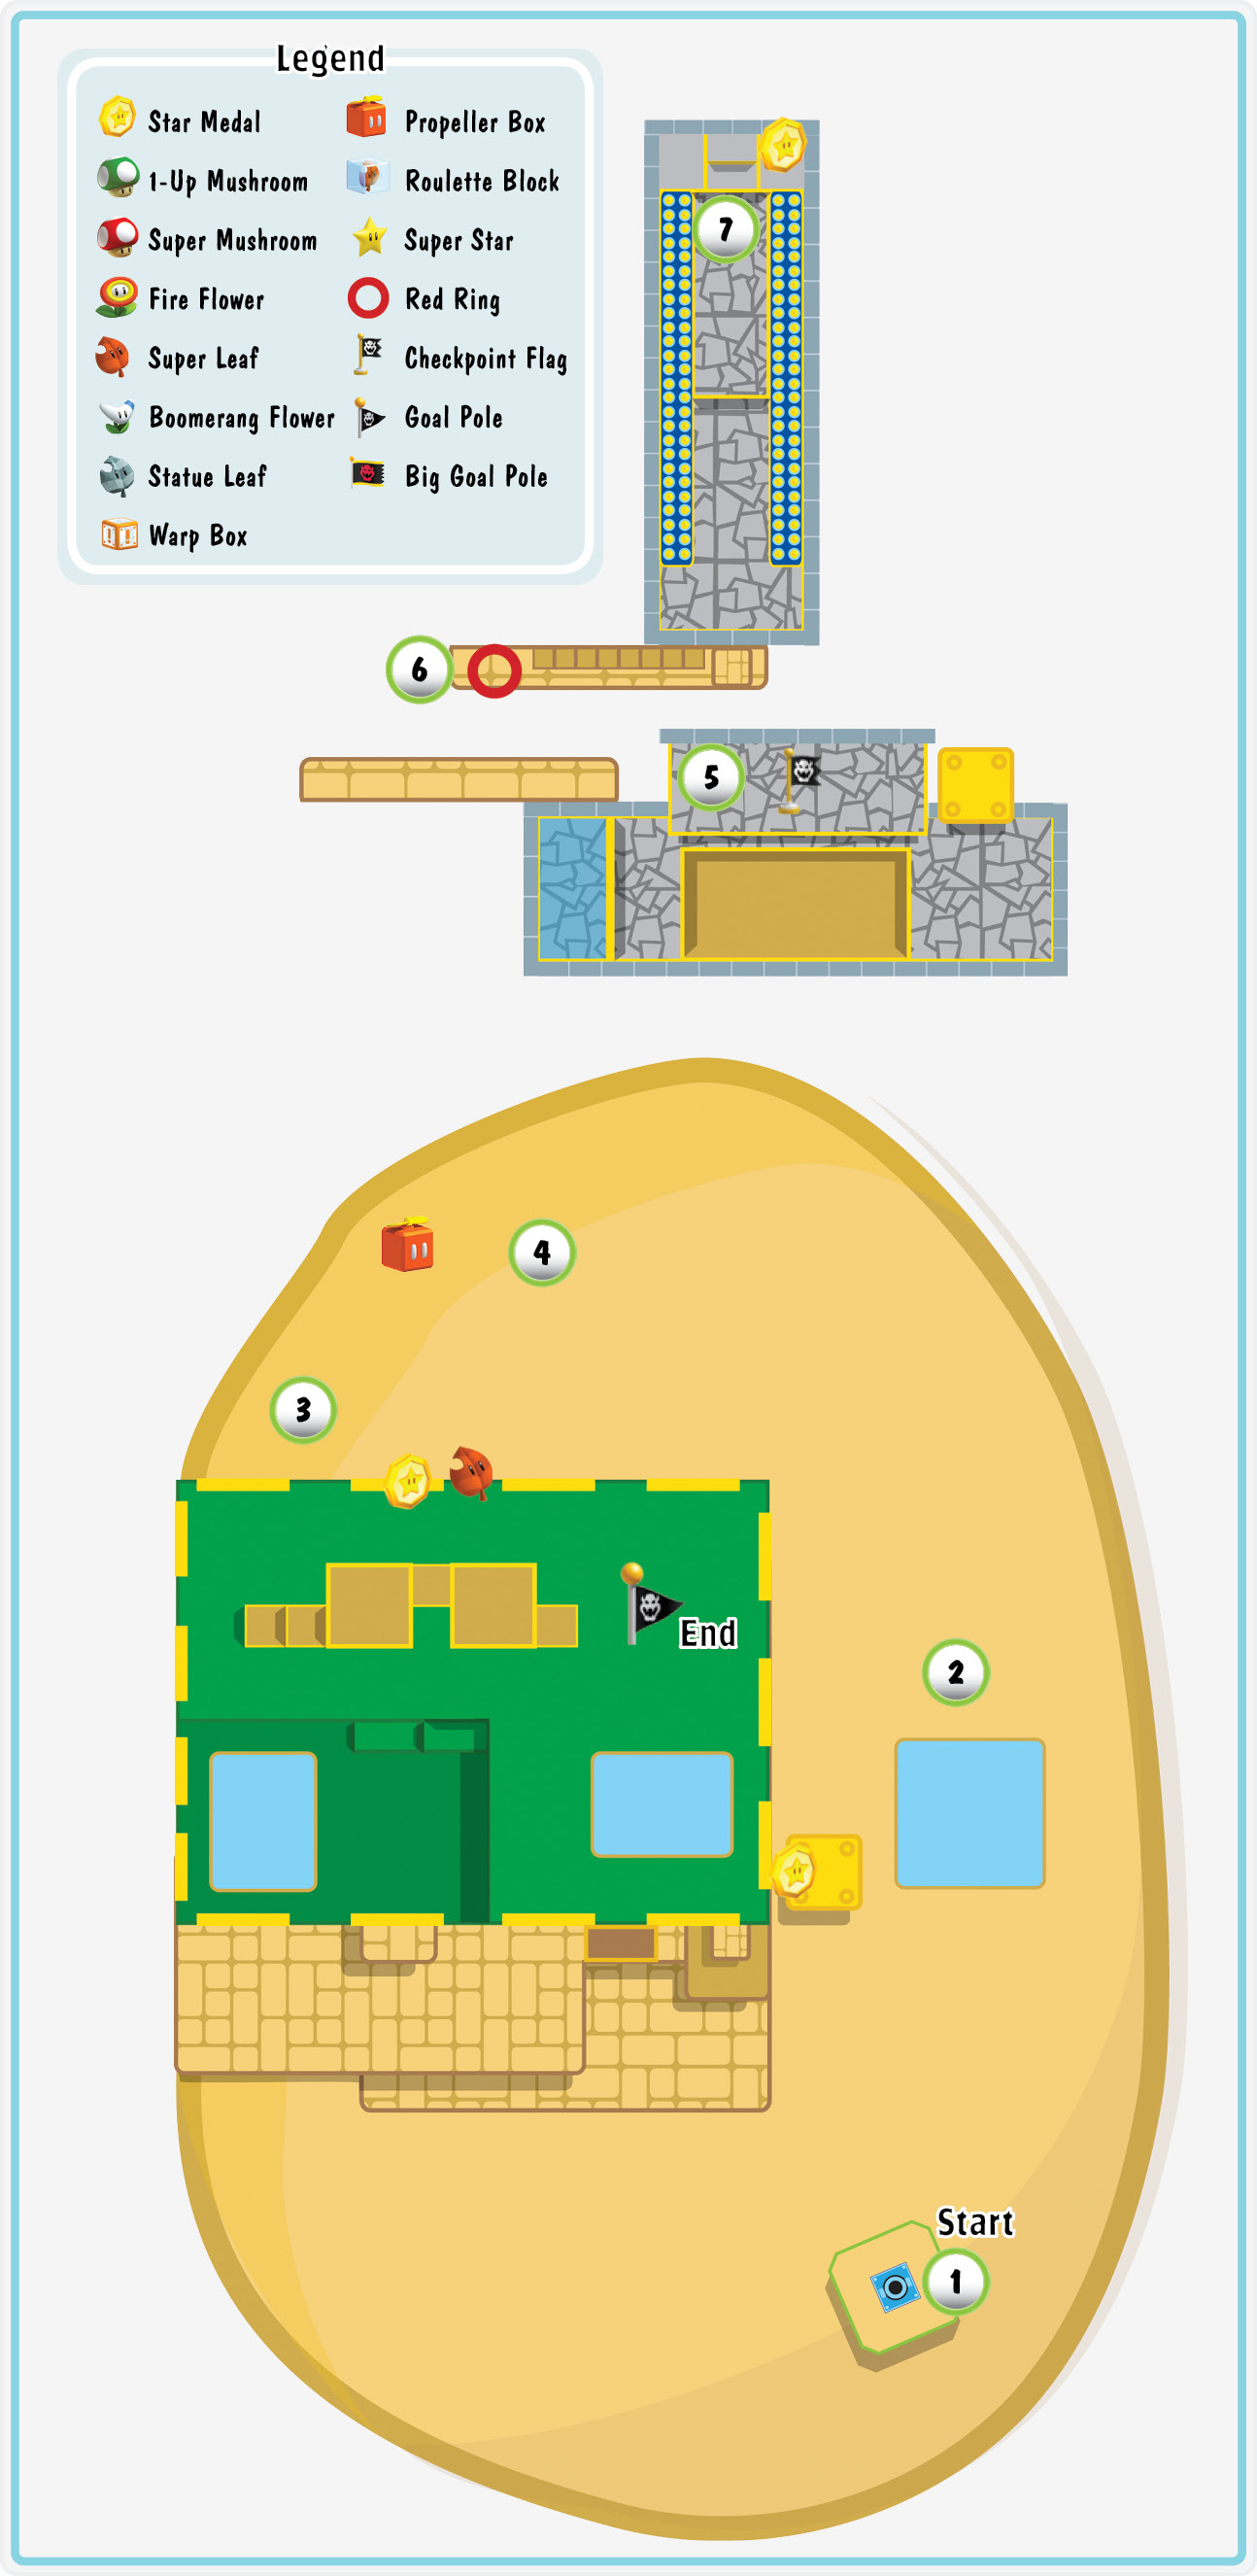
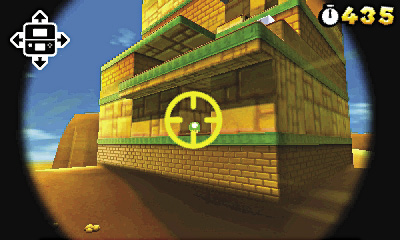
Star Medal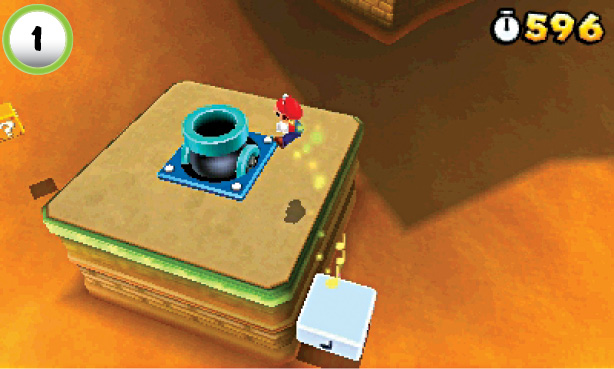 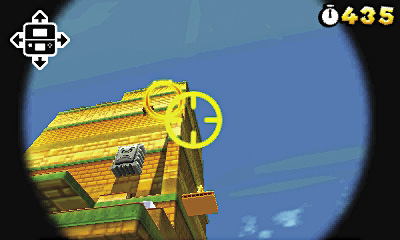 The first Star Medal is on a moving platform beside the tower. Bounce up to the Cannon at Point 1, then climb inside and search for the Star Medal. Aim the Cannon at the coin ring, and watch the platform as it moves along the side of the tower. When it reaches the bottom of its path, fire the Cannon to land safely near the Star Medal. |
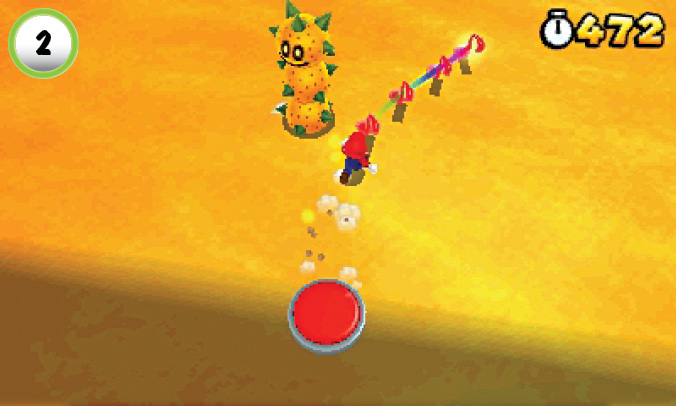
Hit the P Switch at Point 2 to reveal a trail of notes. Collect all of the notes before they disappear to obtain a Super Leaf. You don’t have much time to reach the end of the trail, but make sure you stay clear of any Pokeys that cross your path. Your presence will attract the Sandmaargh in the area, but you can safely ignore them as long as you keep moving.
Star Medal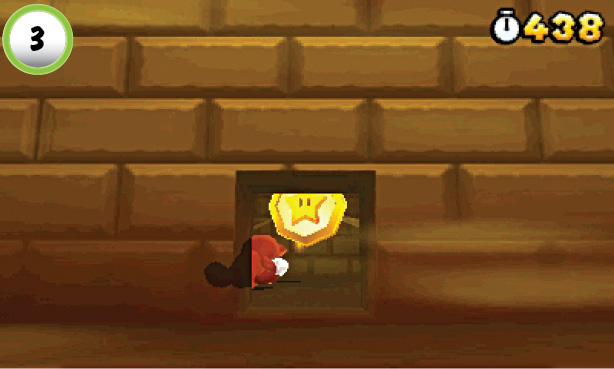 Search the wall at Point 3 to find the Block at the base of the tower. Somersault through the Block to collect the hidden Star Medal. After you crawl back outside, make sure you grab the green + Clock to the right. |
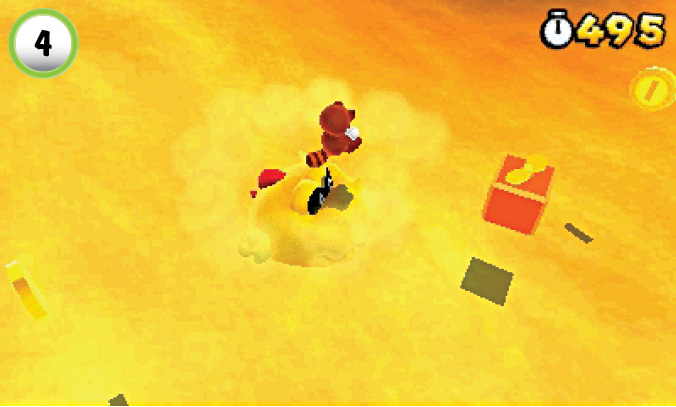
Hit the ? Block at Point 4 to reveal a Propeller Box. This power-up is needed to collect many of the coins outside the tower. Defeat attacking Sandmaargh to give yourself a little breathing room, but remember that new Sandmaargh will soon move into the area.
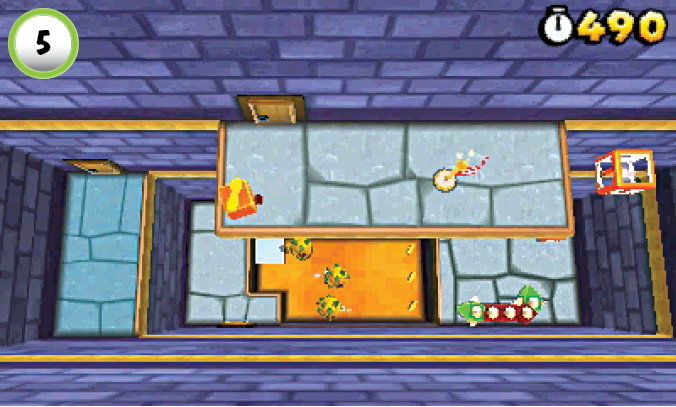
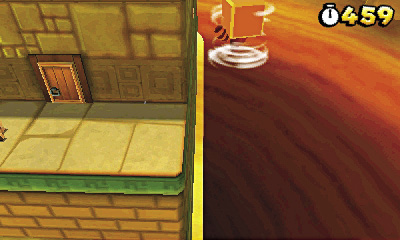
After you reach the Checkpoint Flag, drop down to the ledge on the tower’s left side. Hit the ? Blocks through the door to find a Super Leaf and some coins, but watch out for the Fake Block hidden along the wall. If you have a Propeller Box, you can collect three secret 1-Up Mushrooms! Stand to the right of the door, and launch yourself into the air. Steer around the corner of the tower, and look for the small tunnel in the wall. Float down and enter the tunnel to collect these hidden power-ups.
Red Ring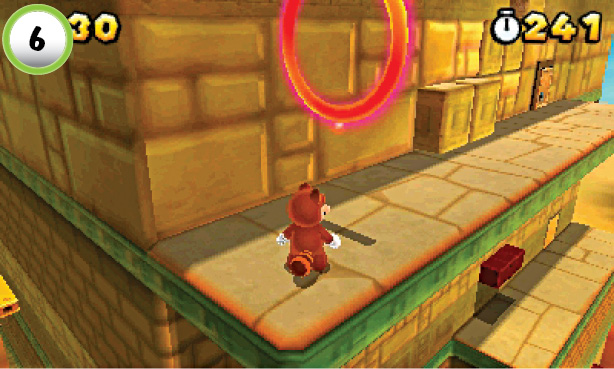 When you reach the Red Ring at Point 6, stand at the end of the ledge and watch the nearby steps emerge from the wall. When the closest step appears, jump through the Red Ring and follow the steps up to the door above the ledge. Collect all five Red Coins before they vanish to receive a Super Leaf. |
Star Medal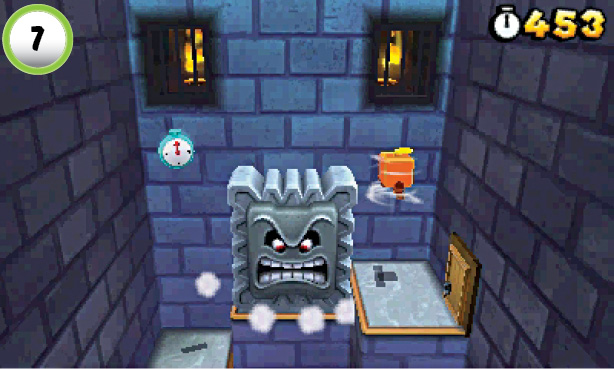 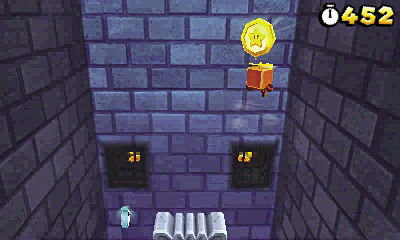 The last Star Medal is near the Thwomp at Point 7. If you have a Propeller Box, stand on the Star Medal’s shadow and fly straight up to collect your prize. If you’re not currently using this power-up, wait for the Thwomp to slam down, then hop on and go for a ride. When the Thwomp reaches the top of its path, perform a wall jump to reach the Star Medal. |
World 3-2
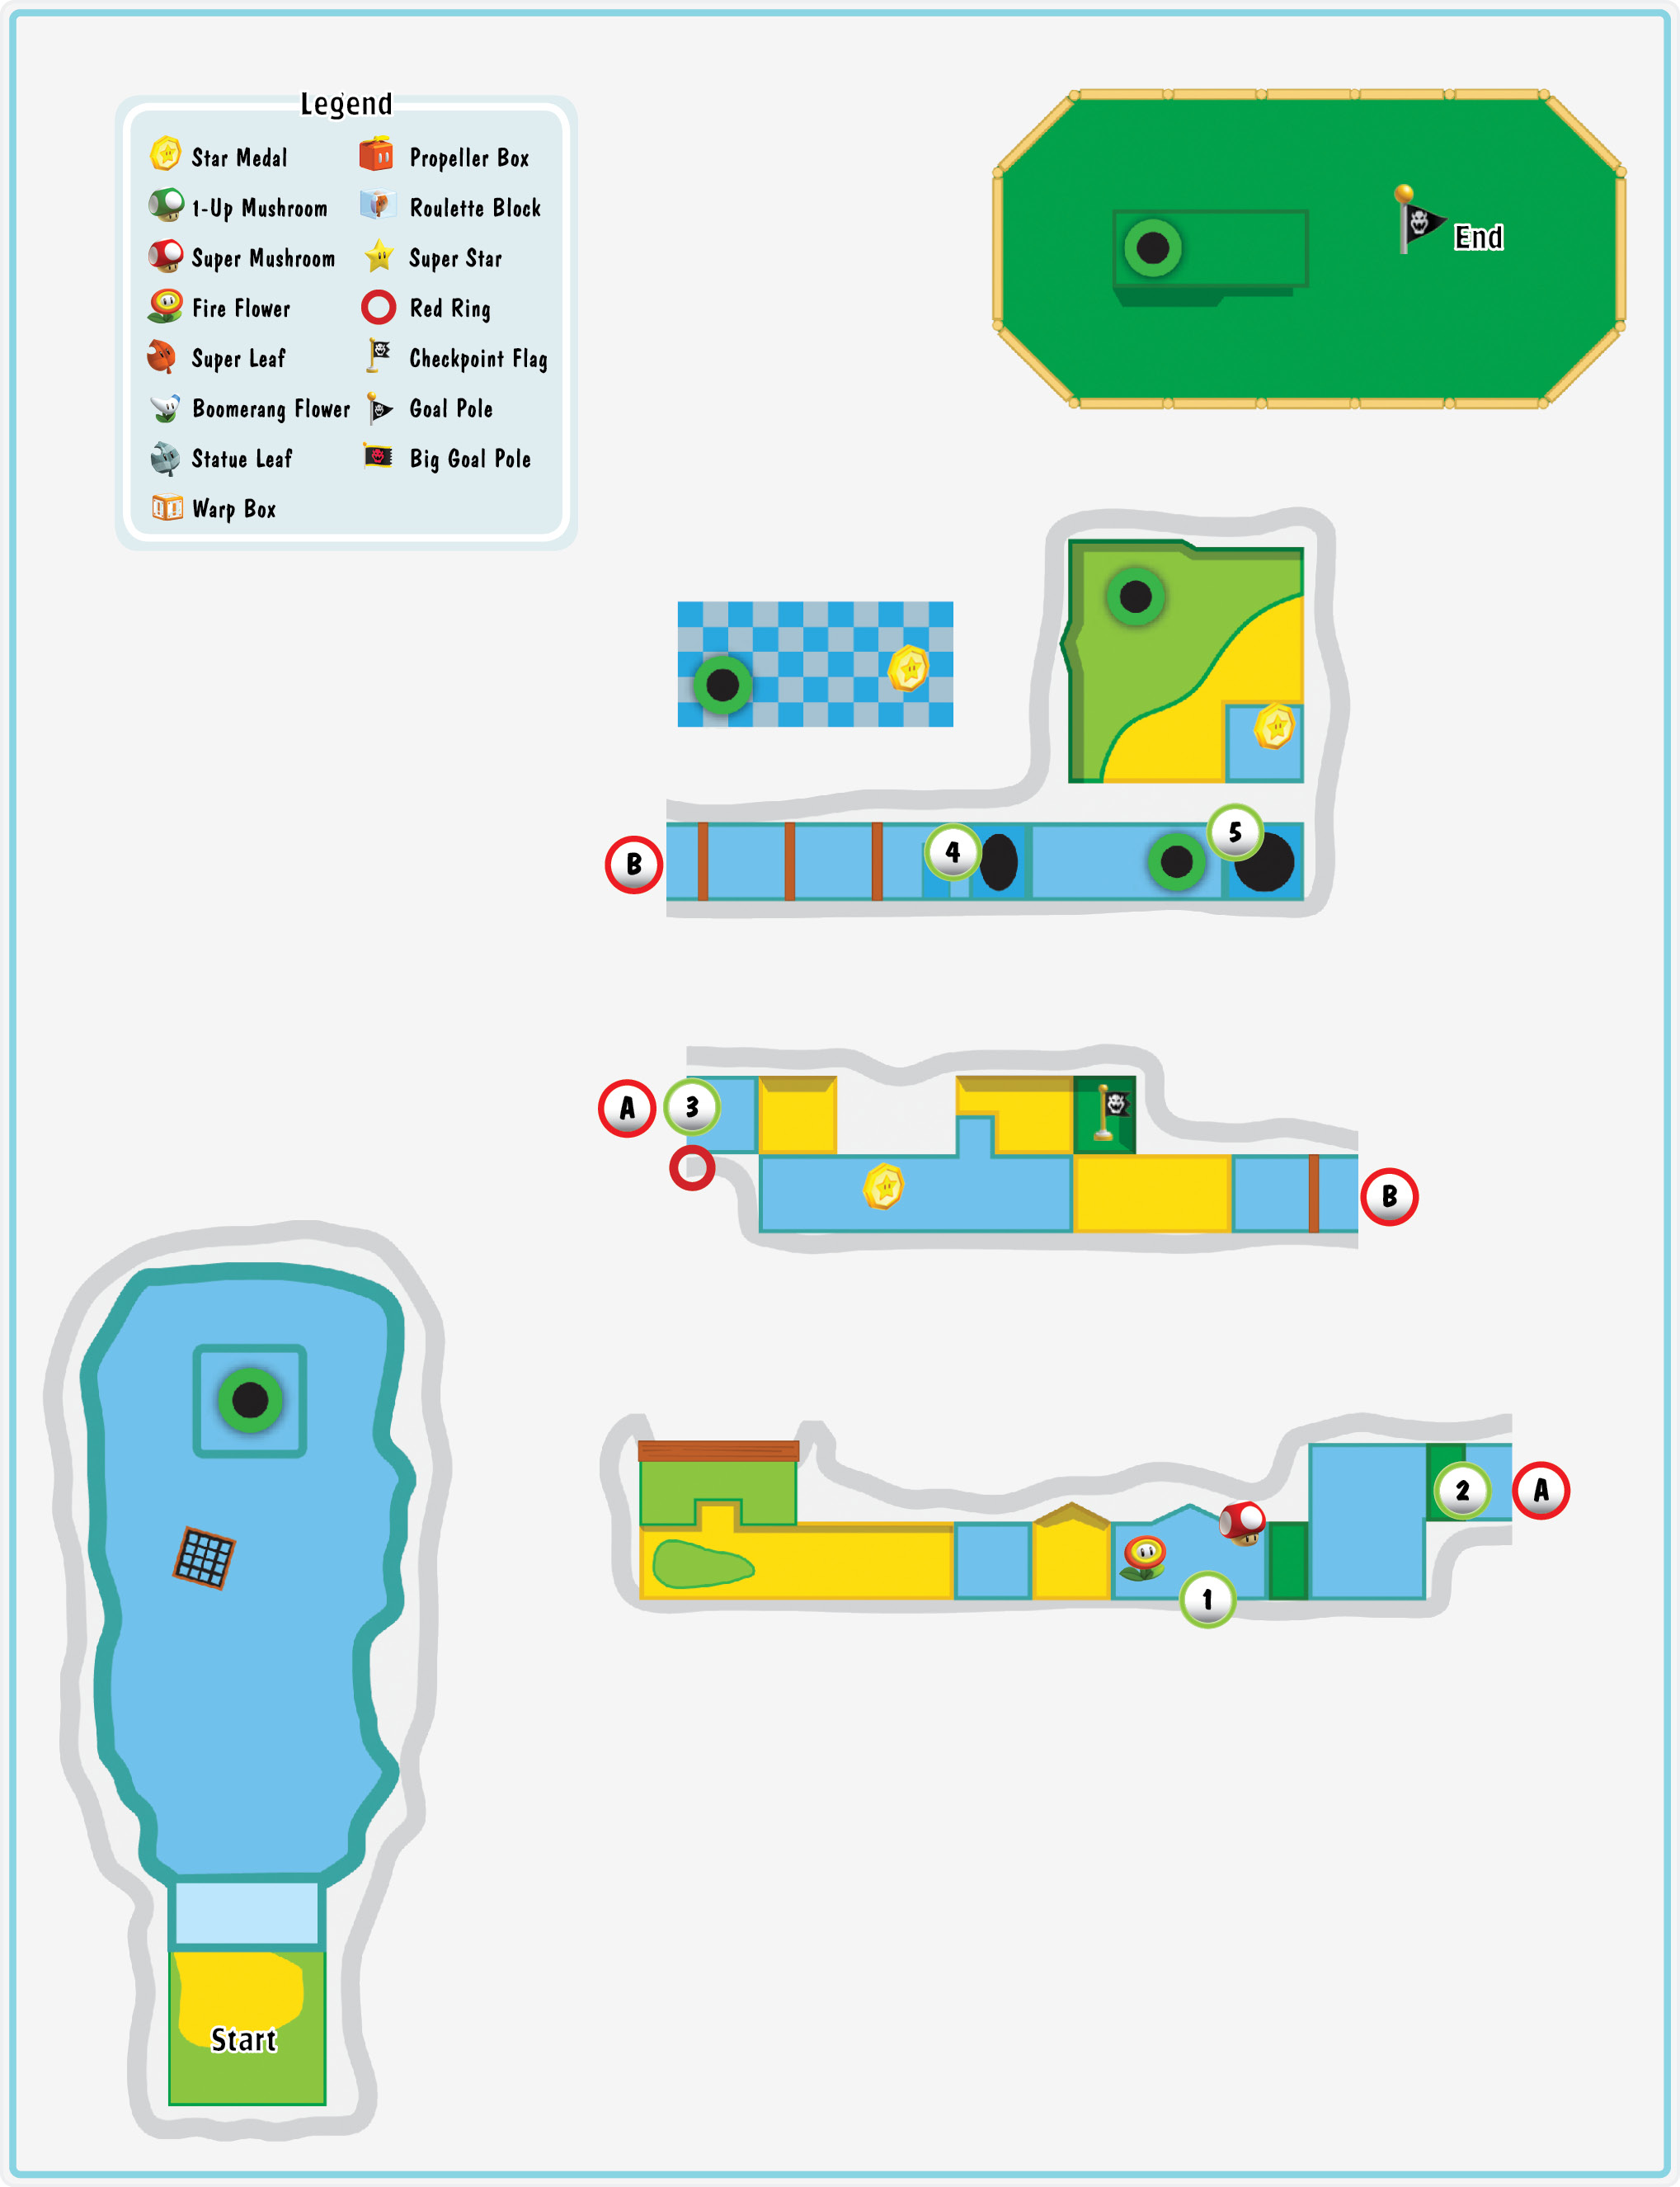
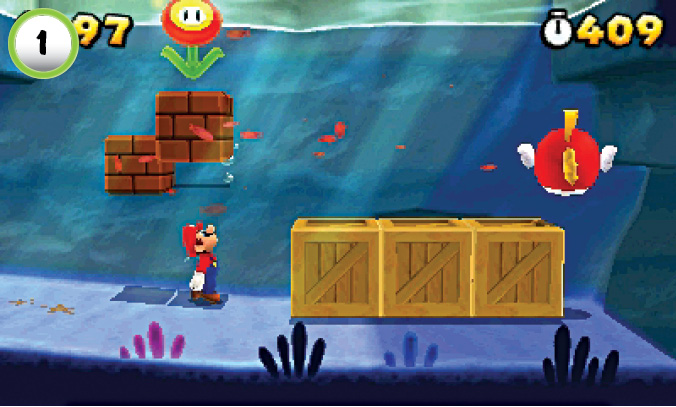
After you hit the P Switch, follow the trail of coins to the Blocks at Point 1. Hit one of the Blocks to collect a Fire Flower, then blast through the nearby crates to find a hidden Super Mushroom.
Red Ring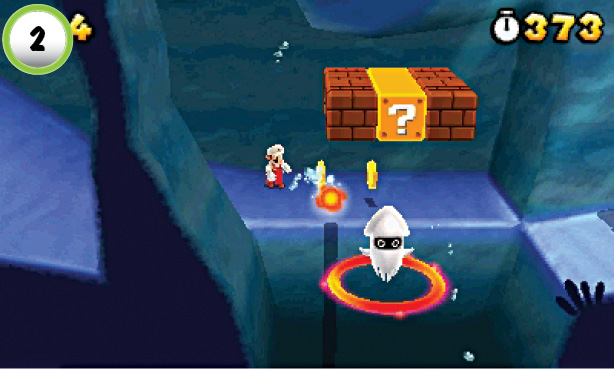 Make sure you hang on to that Fire Flower! Use a fireball to clear away the Blooper, then swim through the Red Ring. Collect all of the Red Coins before they disappear to earn another power-up. |
Star Medal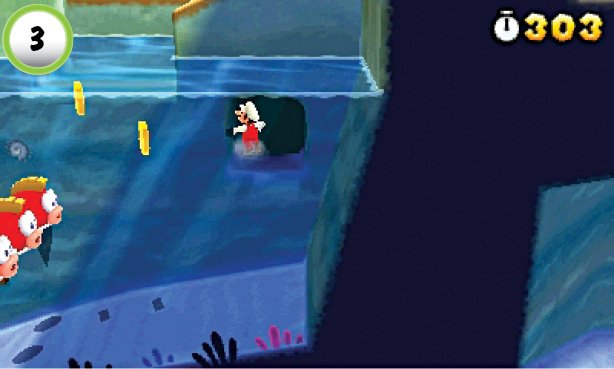 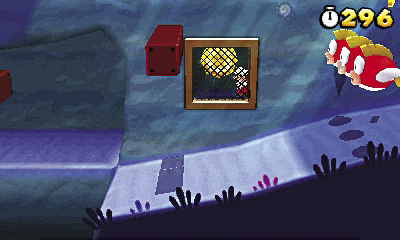 Watch out for the three Cheep Cheeps patrolling the water at Point 3! Dodge around them, or take them out with a few fireballs. Swim into the small hole in the wall, then drop down into the hidden passage. Move left to collect a Star Medal behind another brown grate. |
Star Medal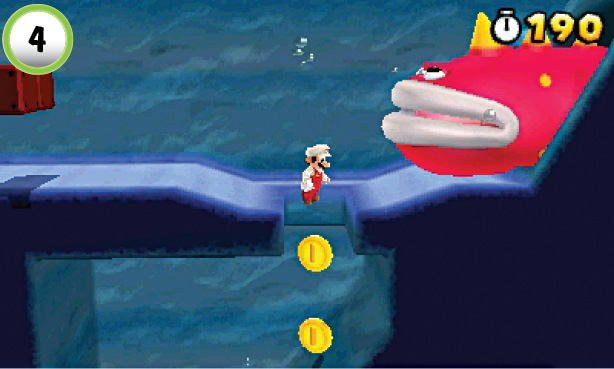 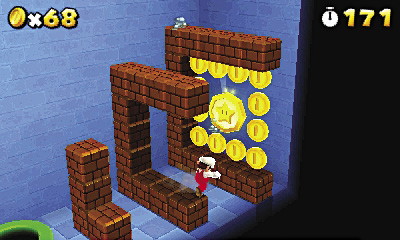 When you reach the first Spike Eel, wait for it to attack. When the Spike Eel pulls back into its den, it reveals a small opening in the ground. Use a few fireballs to keep the Spike Eel in place as you drop through the opening. If you’ve lost your power-up, you must move quickly to slip past the Spike Eel before it begins its next attack. Use the Pipe to enter a secret area, then collect the Star Medal at the far side of the room. |
Star Medal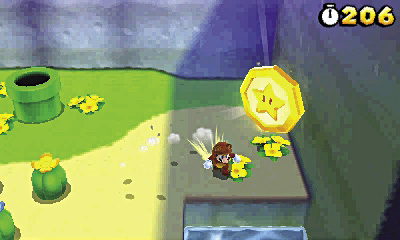 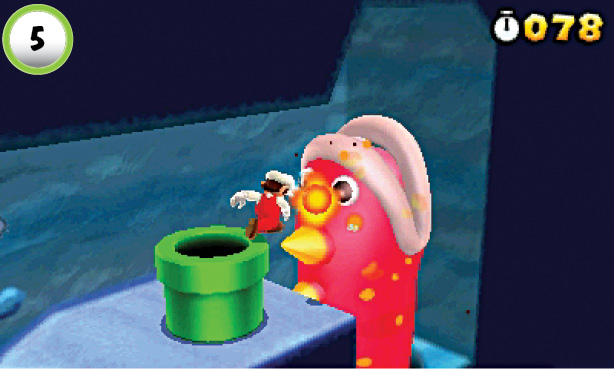 The Pipe at Point 5 takes you to the base of the Goal Pole, but there’s a much better route above the nearby Spike Eel. Wait for the Spike Eel to drop into its den, or hit it with a series of fireballs to speed up the process. When the path is clear, swim up to the surface. Collect the Star Medal floating above the water, then use the Pipe to travel to the Goal Pole. |
World 3—Toad House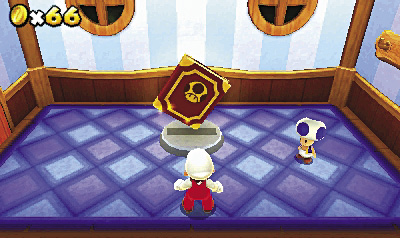 After you complete World 3-2, a Toad House appears on the level-selection screen. Instead of providing a power-up, this blue house allows you to review the photographs you collect at the beginning of each world. Unlike a red Toad House, this house doesn’t disappear when you leave. Return to World 3 whenever you want to review your album. |
World 3-3
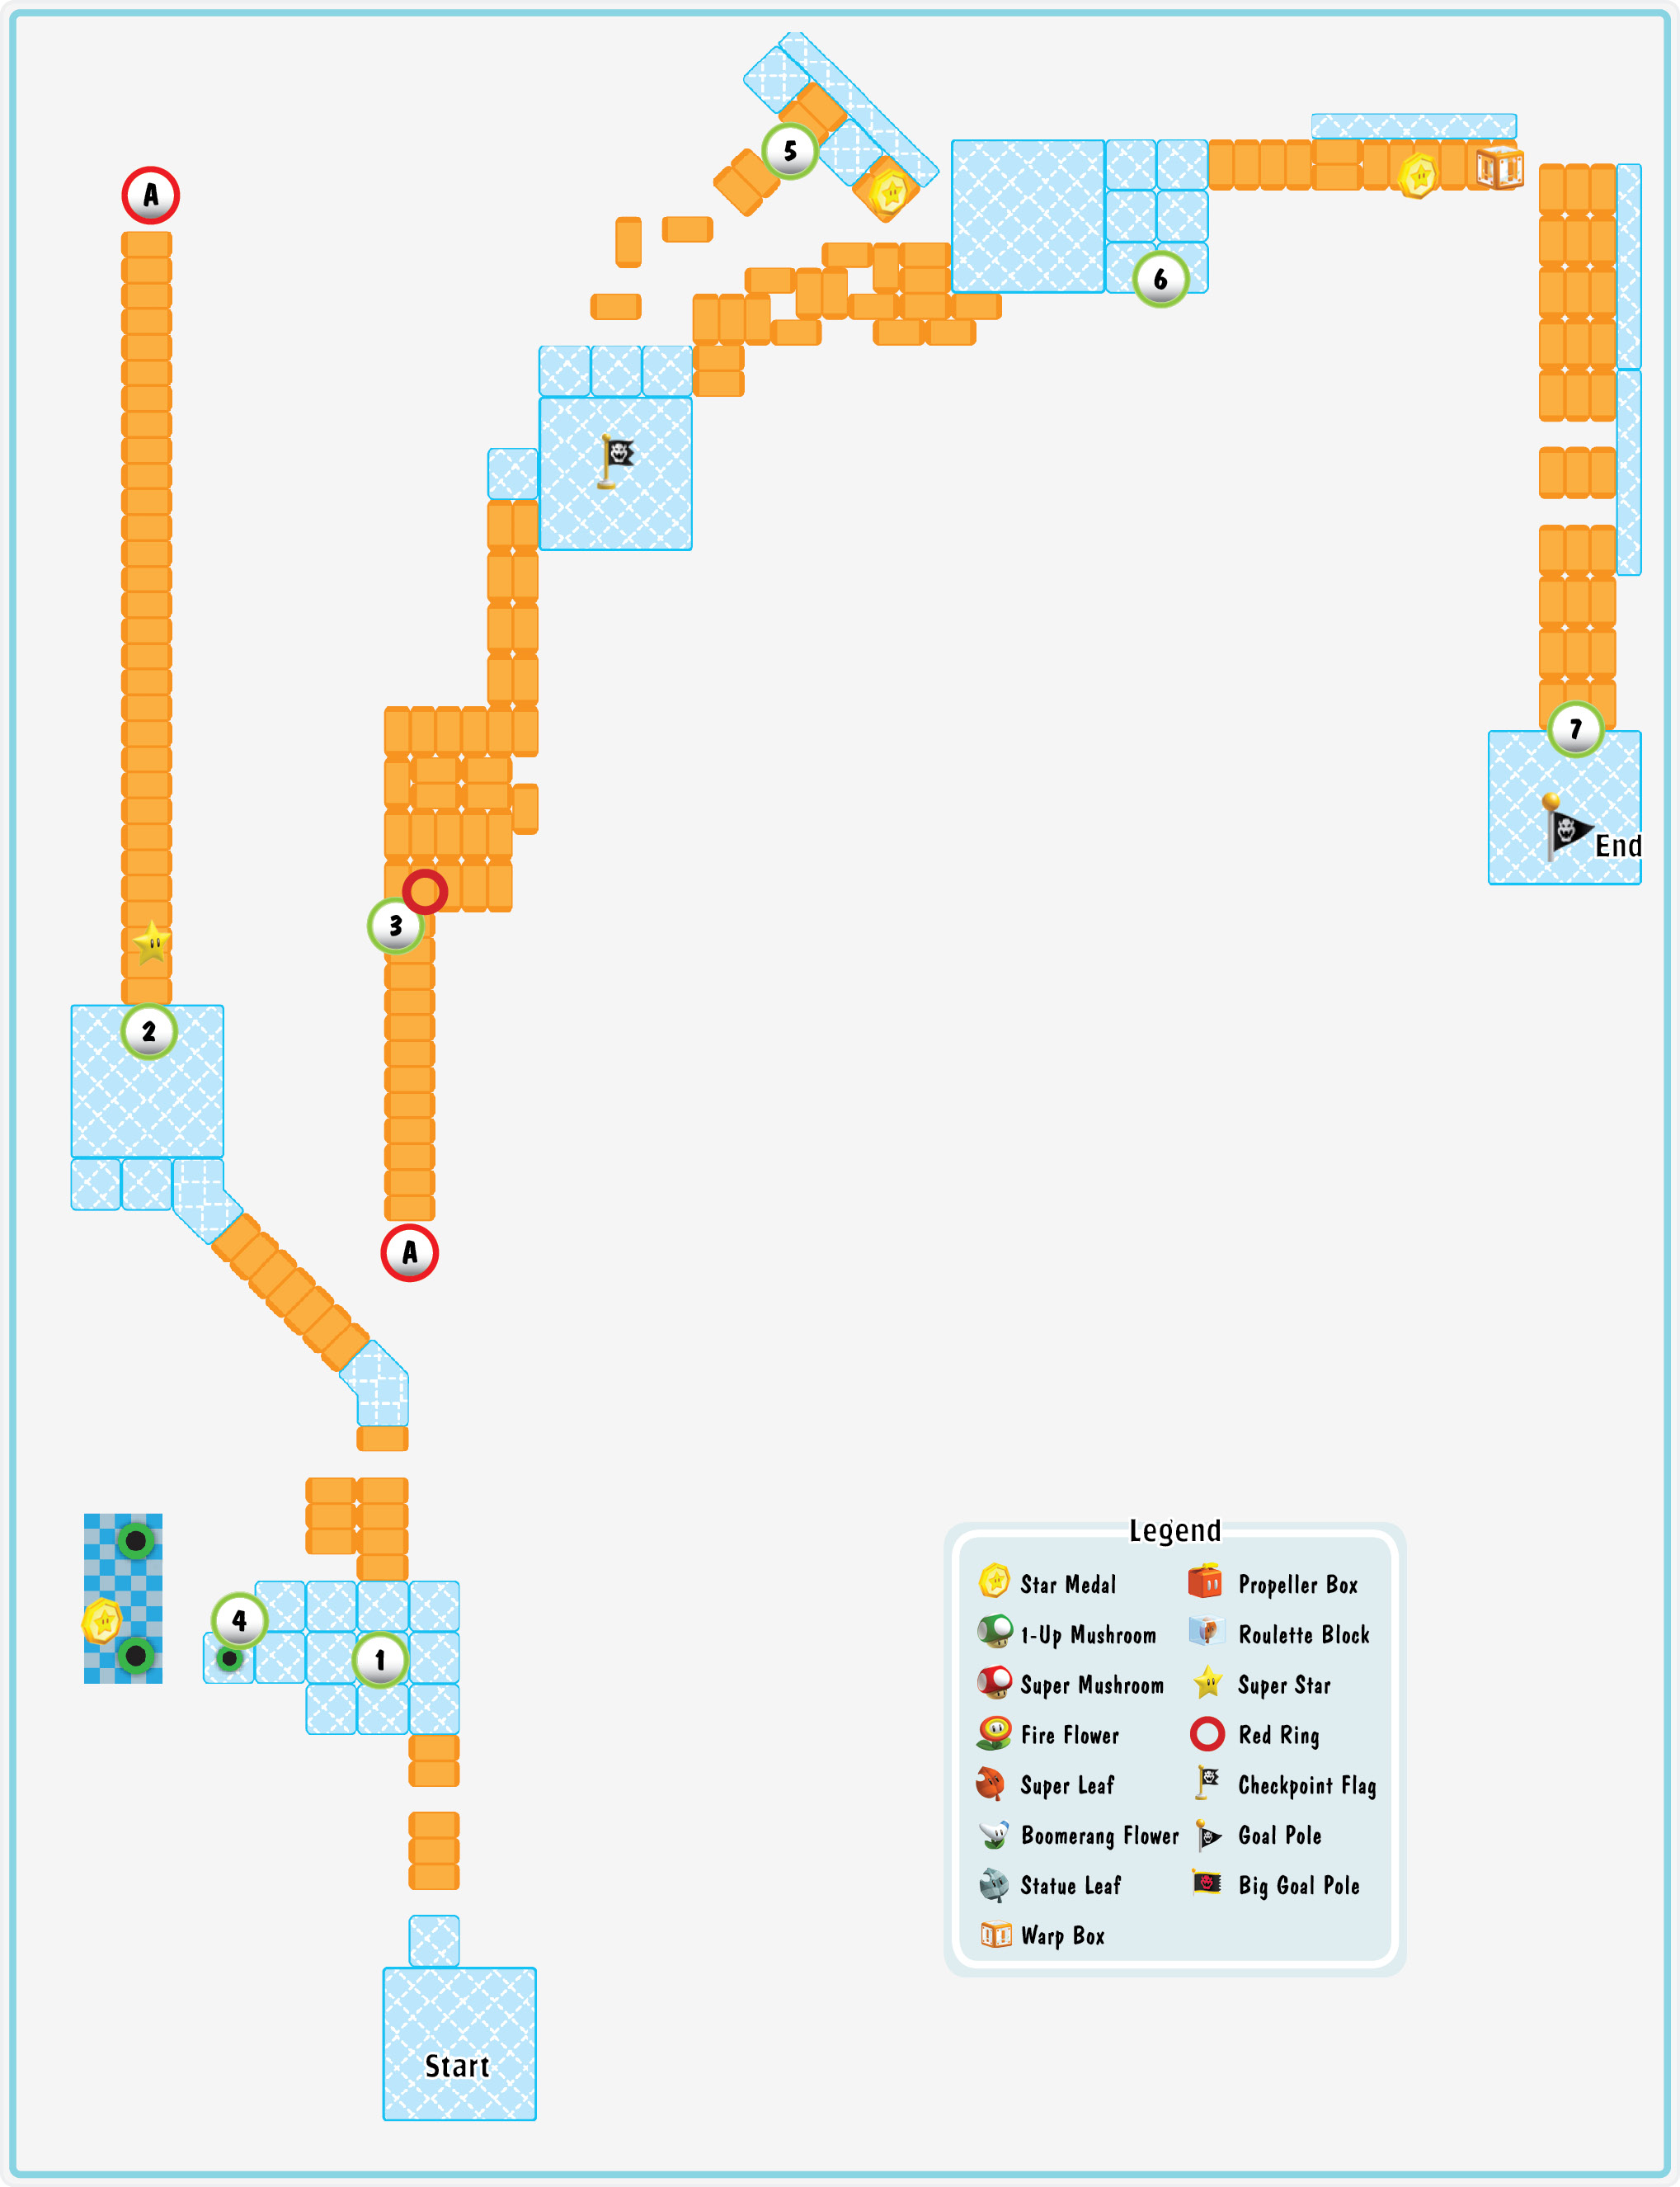
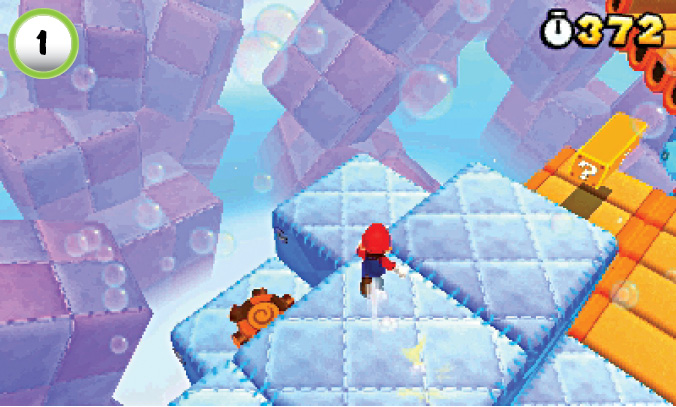
Move quickly across the narrow Donut Blocks—each platform drops away soon after you step on it. If a crossing gets off to a bad start, look for a patch of solid ground. Missing platforms are replaced after a few seconds, so you’ll be able to make a fresh attempt without losing much time. After you deal with the first Stingby, jump onto the nearby ? Block and look for the Tail Wheel near Point 1. If you have a Tanooki Suit handy, you can use the wheel right away; if not, you’ll need to return to this area after you find a Super Leaf.
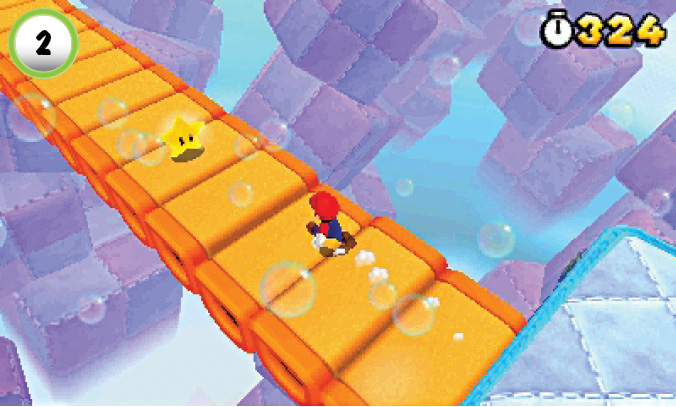
When you reach the Star at Point 2, run straight across the Donut Blocks to plow through the Stingbies along the path. You don’t have enough time to make it to solid ground, but the Super Star should allow you to clear the bulk of the path.
Red Ring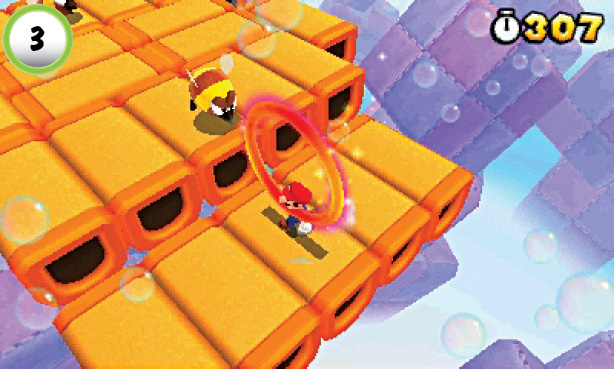 Pass through the Red Ring at Point 3 to reveal five Red Coins spread across the Donut Blocks. You have very little time to collect the coins, and the nearby Stingbies can make it particularly difficult to negotiate the falling platforms. Enemy attacks can force you out of position, so jump between coins to leave some of the Donut Blocks available for emergency landings. Collect all of the Red Coins before they vanish to collect a Super Leaf, then continue along the path to find a Checkpoint Flag. If you intend to return to the Tail Wheel, remember to give the platforms a few seconds to reappear. |
Star Medal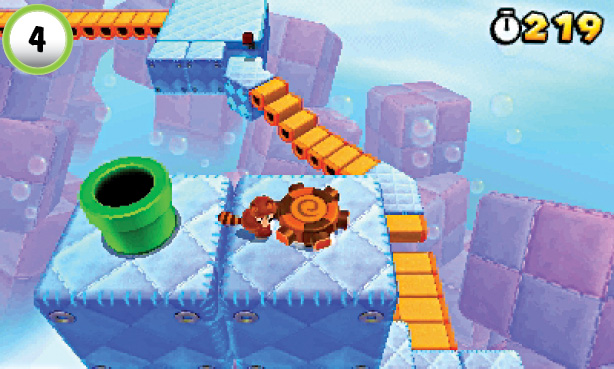 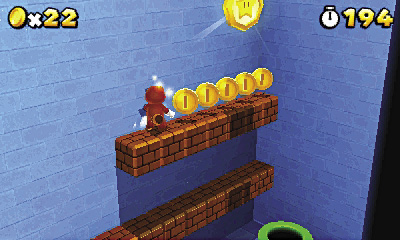 After you have a Super Leaf, use the Tail Wheel near the start of the level to reach a Pipe high above the main path. Enter the Pipe to find a secret area. Jump onto the first row of Blocks and smash at least one of the Blocks above you. Jump up to the second row and collect the Star Medal in the corner of the room. When you’re ready to leave, use the Pipe on the ground to return to the Checkpoint Flag. |
Star Medal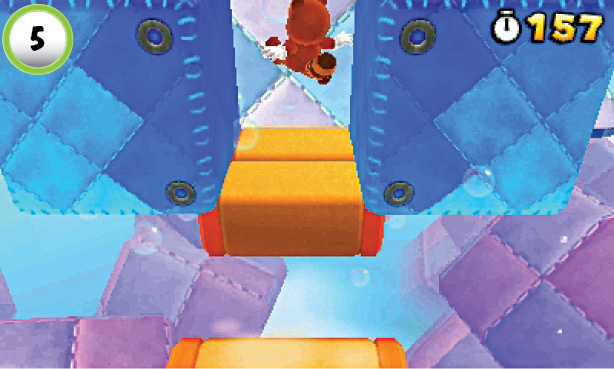 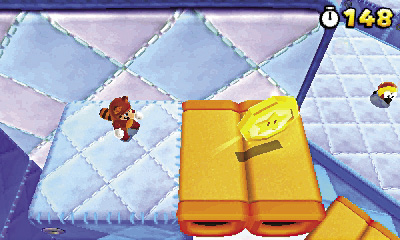 The path splits just past the Checkpoint Flag. To collect the Star Medal, follow the Donut Blocks to the left. When you reach the last of the platforms, use a series of wall jumps to climb up to the ledge above you. After you collect the Star Medal, jump down from the ledge to return to the main path. |
Star Medal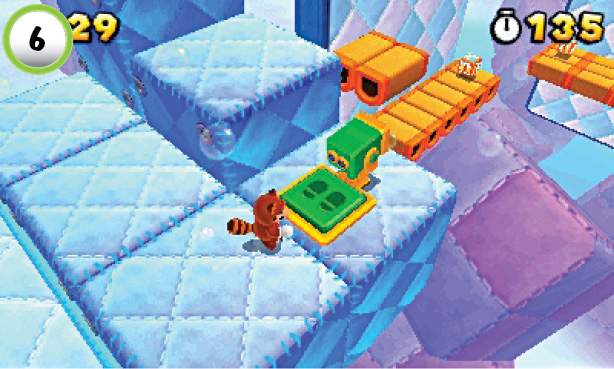 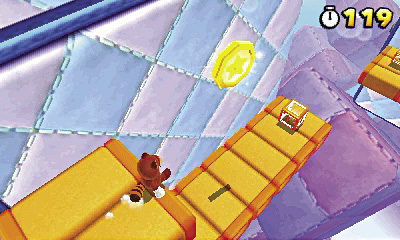 When you reach Point 6, use the Binoculars to locate Toad on a ledge just ahead of you. When you zoom in on him, Toad tosses the level’s last Star Medal into your path. Continue toward the end of the level, and collect the Star Medal on your way to the Warp Box. |
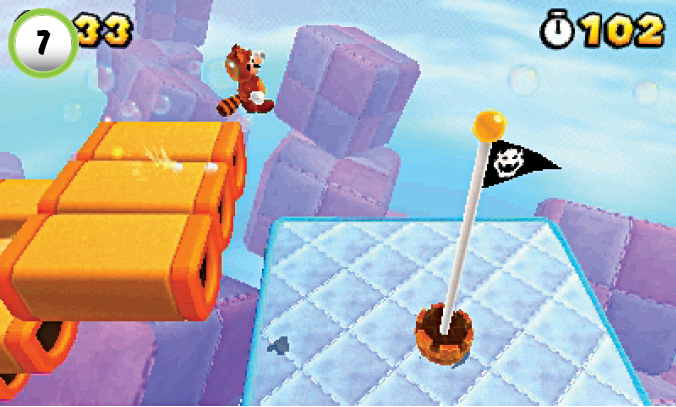
After you use the Warp Box, run to the end of the path. You must jump from the Donut Blocks to reach the top of the Goal Pole. This isn’t a problem if you have a Tanooki Suit, but if you’ve lost your power-up, make sure you stick to the center of the path. Keep your speed up, and jump from the edge of the platform before it drops away.
World 3-4
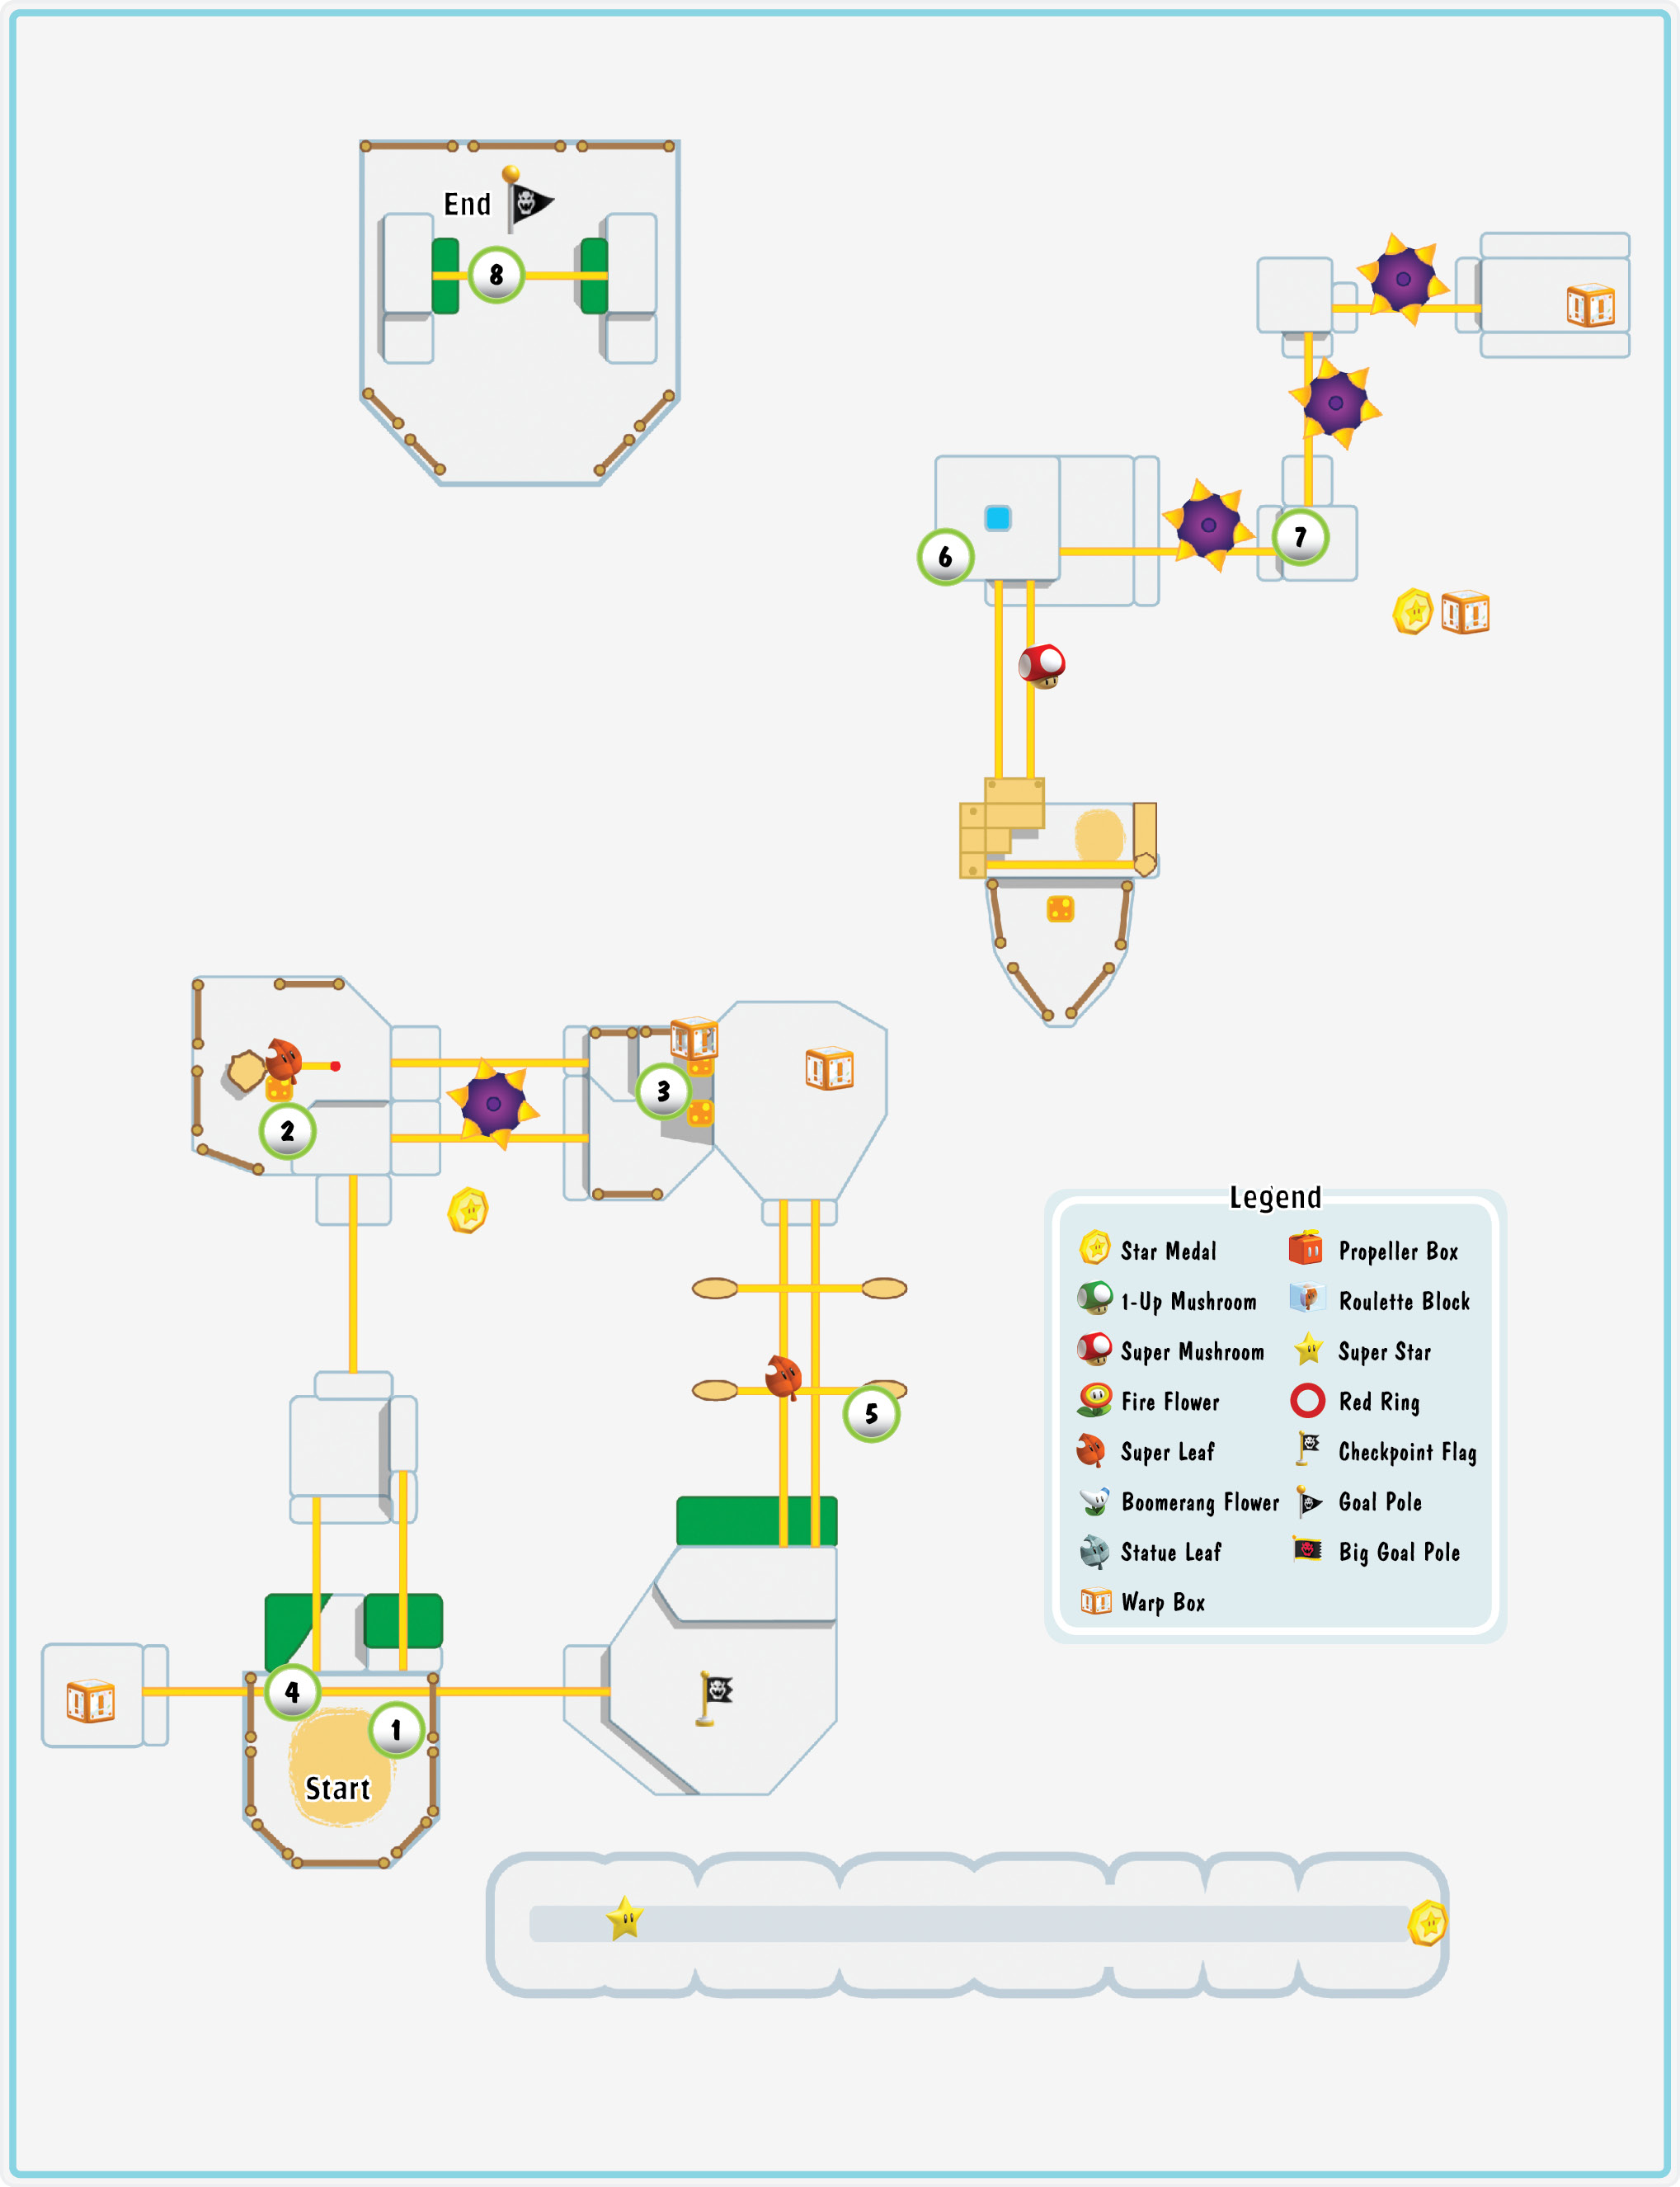
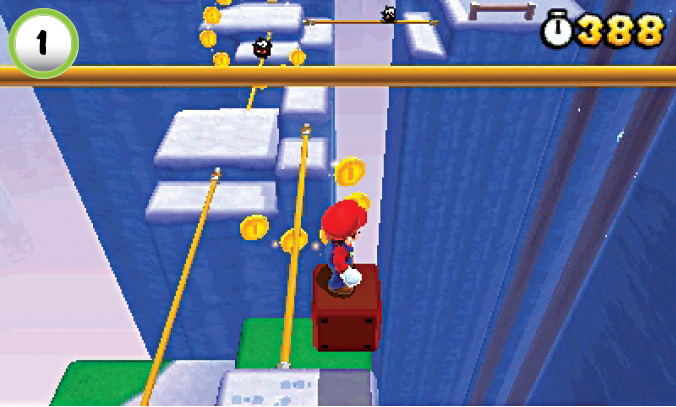
At the start of the level, there’s an Invisible Block you can use to reach the tightrope above you. You’ll miss some valuable items if you take this shortcut, but it allows you to complete the level very quickly.
Star Medal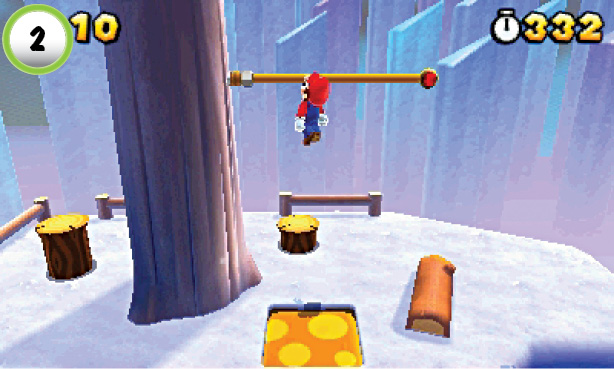 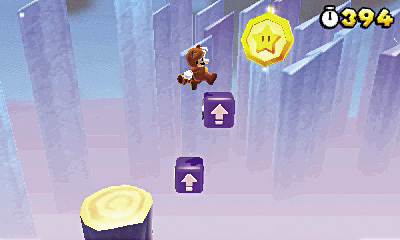 Use the rubber pad near the tree at Point 2 to reach the tightrope above you. Hit the ? Block to collect a Super Leaf, then continue up the side of the tree. When you reach the highest tightrope, use the Directional Blocks to create a path to the level’s first Star Medal. It takes several hits to move the Directional Blocks into place, but make sure you don’t knock them out of reach. Collect the green + Clock from the top of the tree, then jump across the Directional Blocks and grab the Star Medal. |
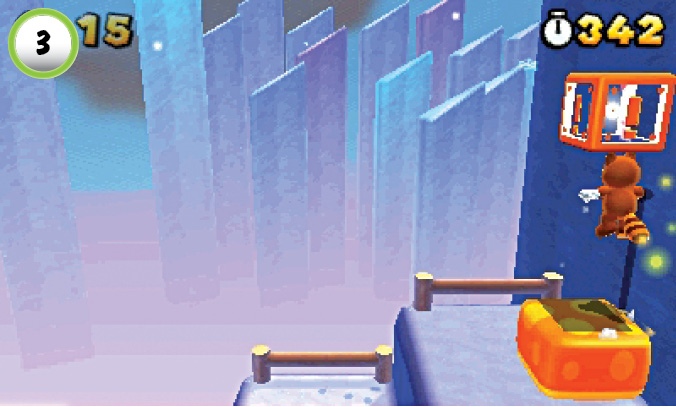
When you reach Point 3, hop onto the rubber pad to hit the Warp Box. After a moment, you appear near the tightrope above the level’s starting point.
Star Medal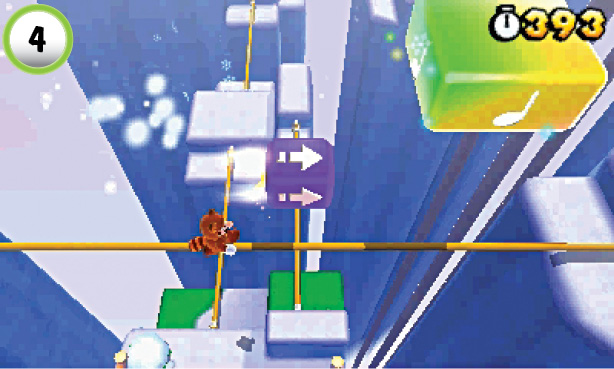 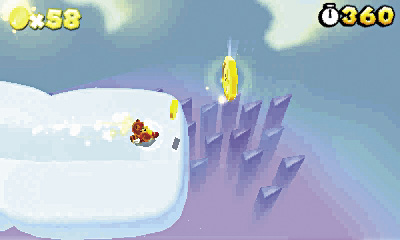 Hit the Directional Block at Point 4 to move it toward the Super Note Block. Bounce up and use the Super Note Block to reach a secret area. When you land, grab the Star and run through the area. When you reach the end of the path, make a running leap to collect the Star Medal before you drop down to the ground. |
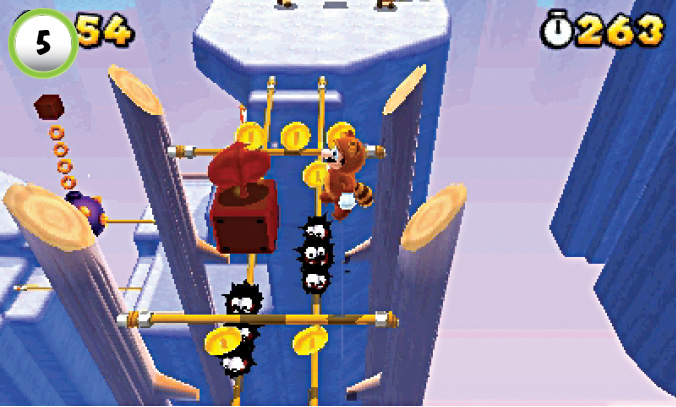
Avoid the Fuzzies along the tightropes at Point 5, then bounce up to collect another Super Leaf in the ? Block above you.
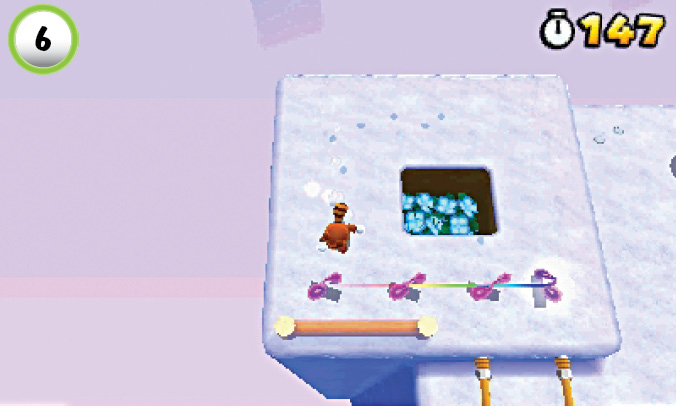
Drop down into the small pit at Point 6 to reveal a trail of musical notes. Collect all of the notes before they vanish to obtain another power-up.
Star Medal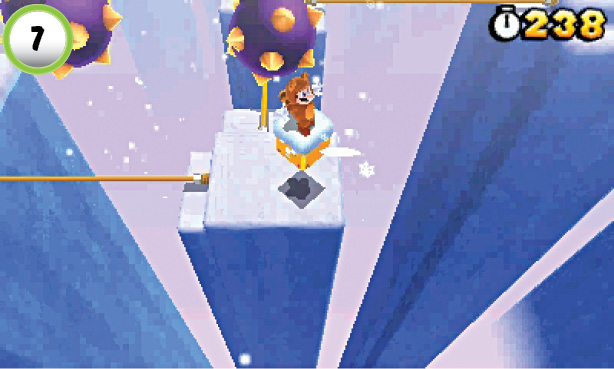 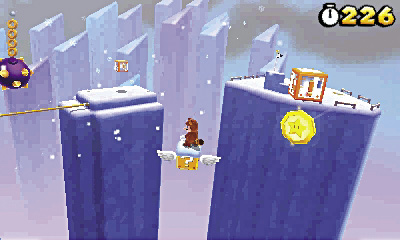 Don’t be too quick to hit the Flying ? Block at Point 7! You’ll need it to reach the level’s last Star Medal. Hop onto the Flying ? Block and ride along as it moves away from the main path. When you’re in position, jump up to grab the Star Medal and teleport to the end of the level. |
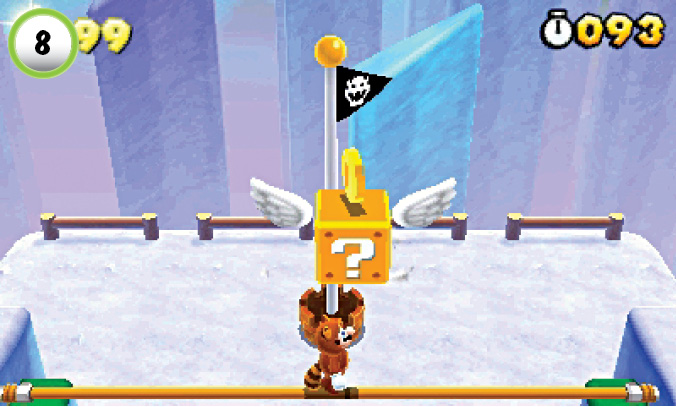
To reach the top of the Goal Pole, hit the Flying ? Block when it reaches the center of the tightrope. The used Block doesn’t give you much room to build up speed, but the jump is fairly easy if you’ve managed to hang on to your Tanooki Suit.
World 3-5
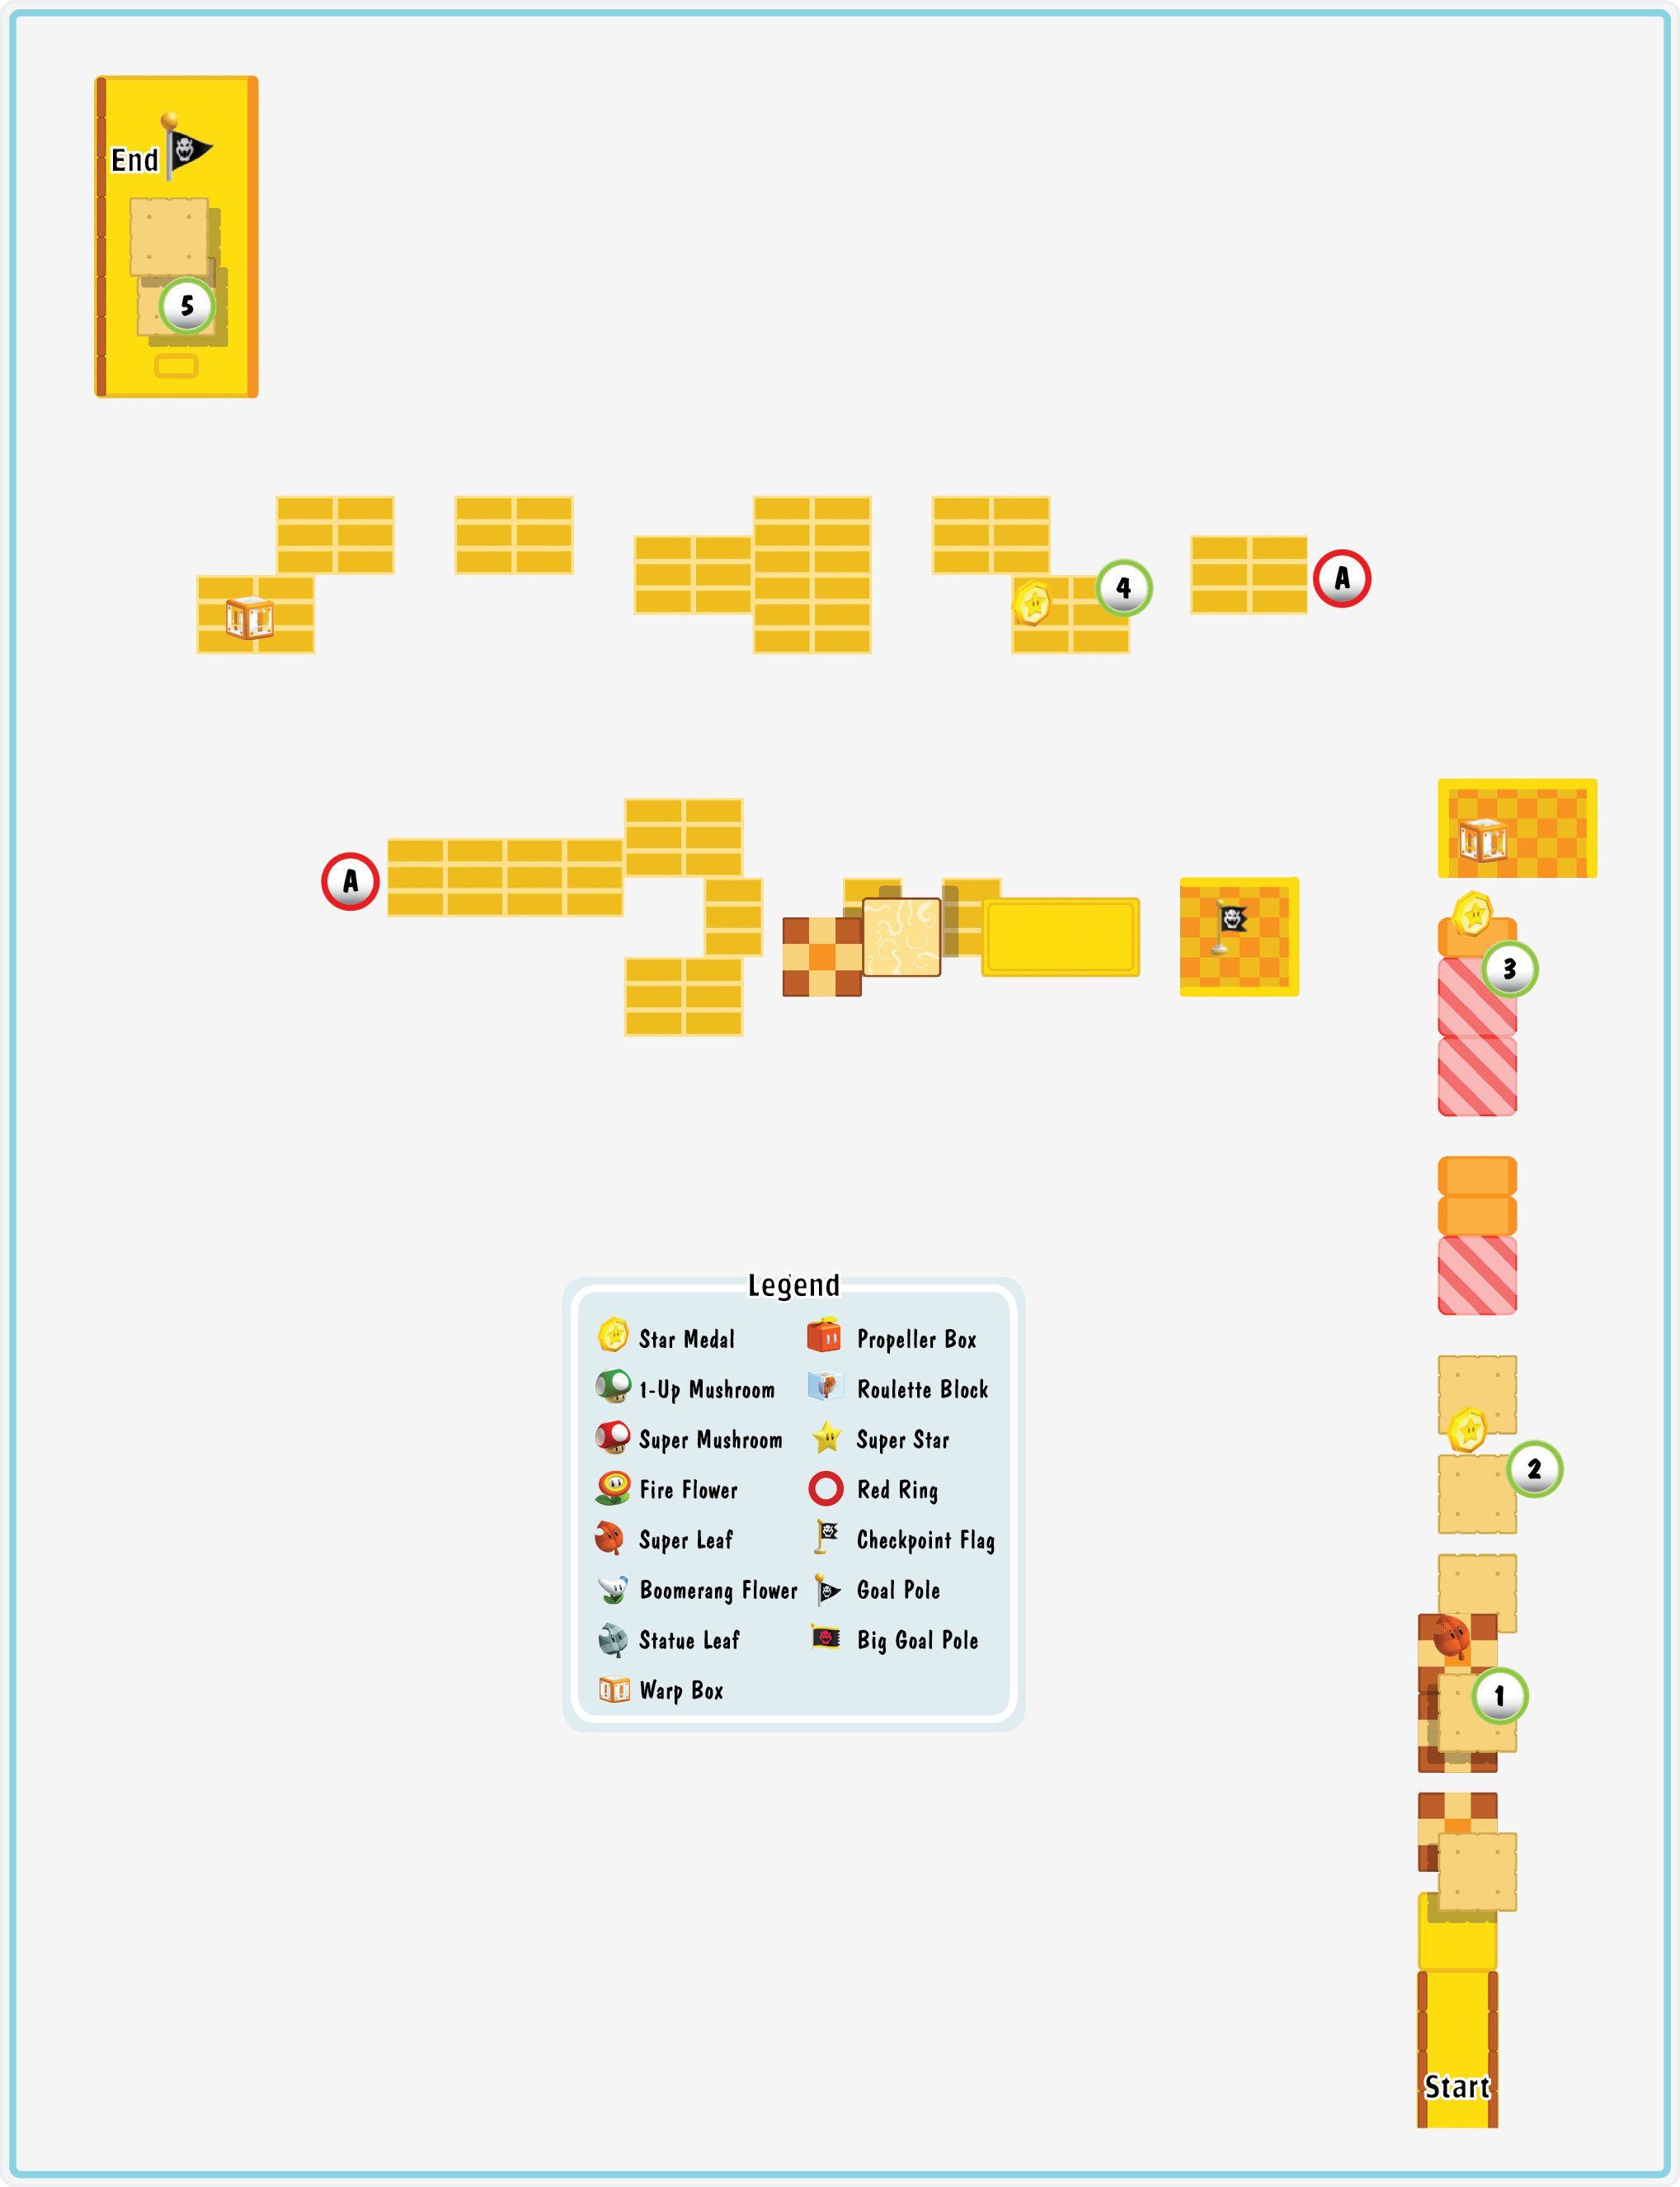
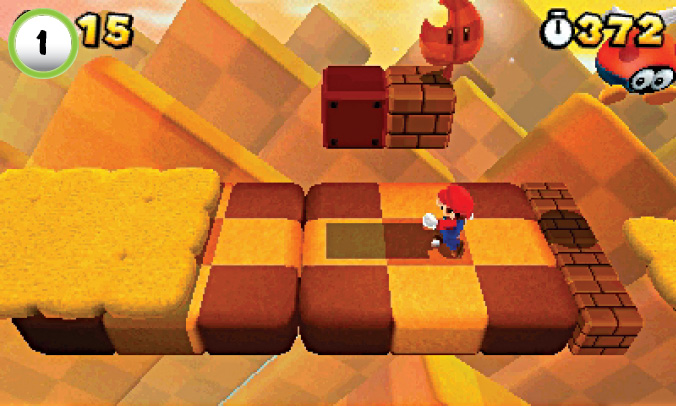
The scrolling level forces you to keep moving, but make sure you hit the Blocks at Point 1. The hidden Super Leaf will be a big help as you continue along the path.
Star Medal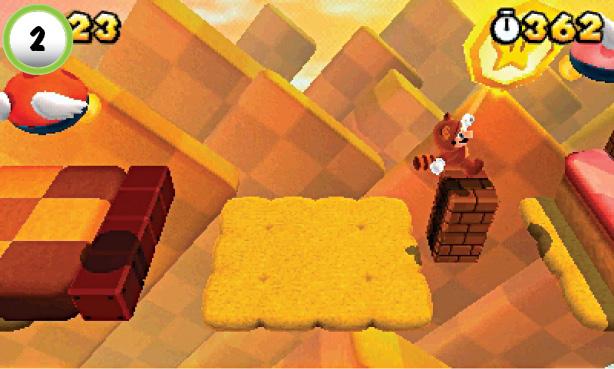 Use the stacked Blocks at Point 2 to reach the first Star Medal. Use a tail whip to clear the Para-Biddybud out of your path before you continue. |
Star Medal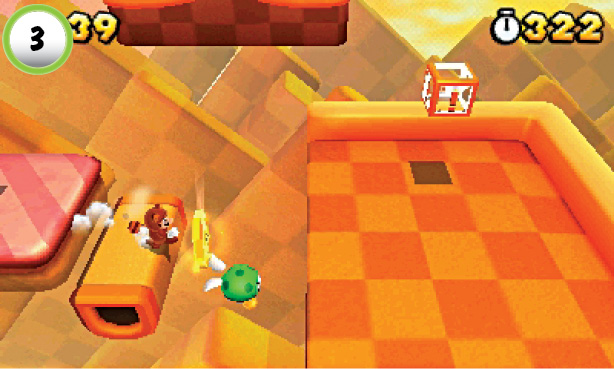 Collecting the Star Medal at Point 3 can be risky, and the scrolling background doesn’t give you much time to set up your approach. Step onto the Donut Block and wait for it to drop. If you have a Tanooki Suit, stand on the edge of the platform and flutter-jump to safety as soon as you collect the Star Medal. If you’ve lost your power-up, begin a running leap as the platform approaches the Star Medal to grab it as you jump up to the Warp Box. |
Star Medal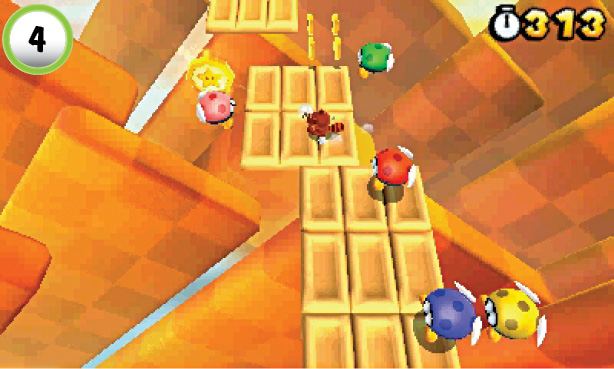 You need to move quickly if you hope to collect the level’s last Star Medal. The fast-moving platforms provide very few landing spots, and the patrolling Para-Biddybuds can be difficult to avoid. The Tanooki Suit makes things much easier, but speed is still your best tactic. Dodge the enemies along the path, and grab the Star Medal before the platforms move out of position. |
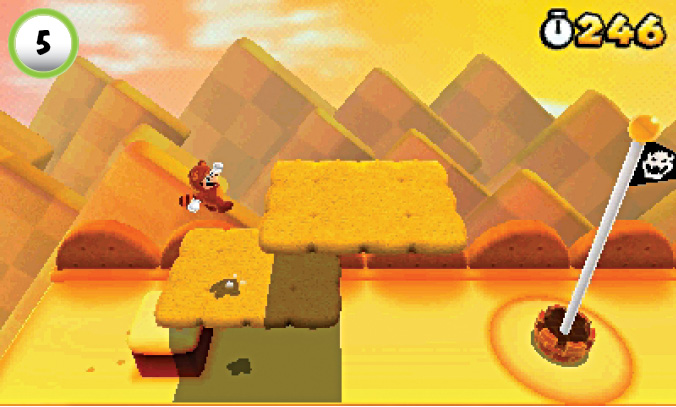
The two platforms at the end of the level drift out of position as soon as you approach, so you must move quickly if you hope to reach the top of the Goal Pole. As soon as you teleport to the area, dash to the right and hop up the platforms to attempt your jump.
World 3—Ship
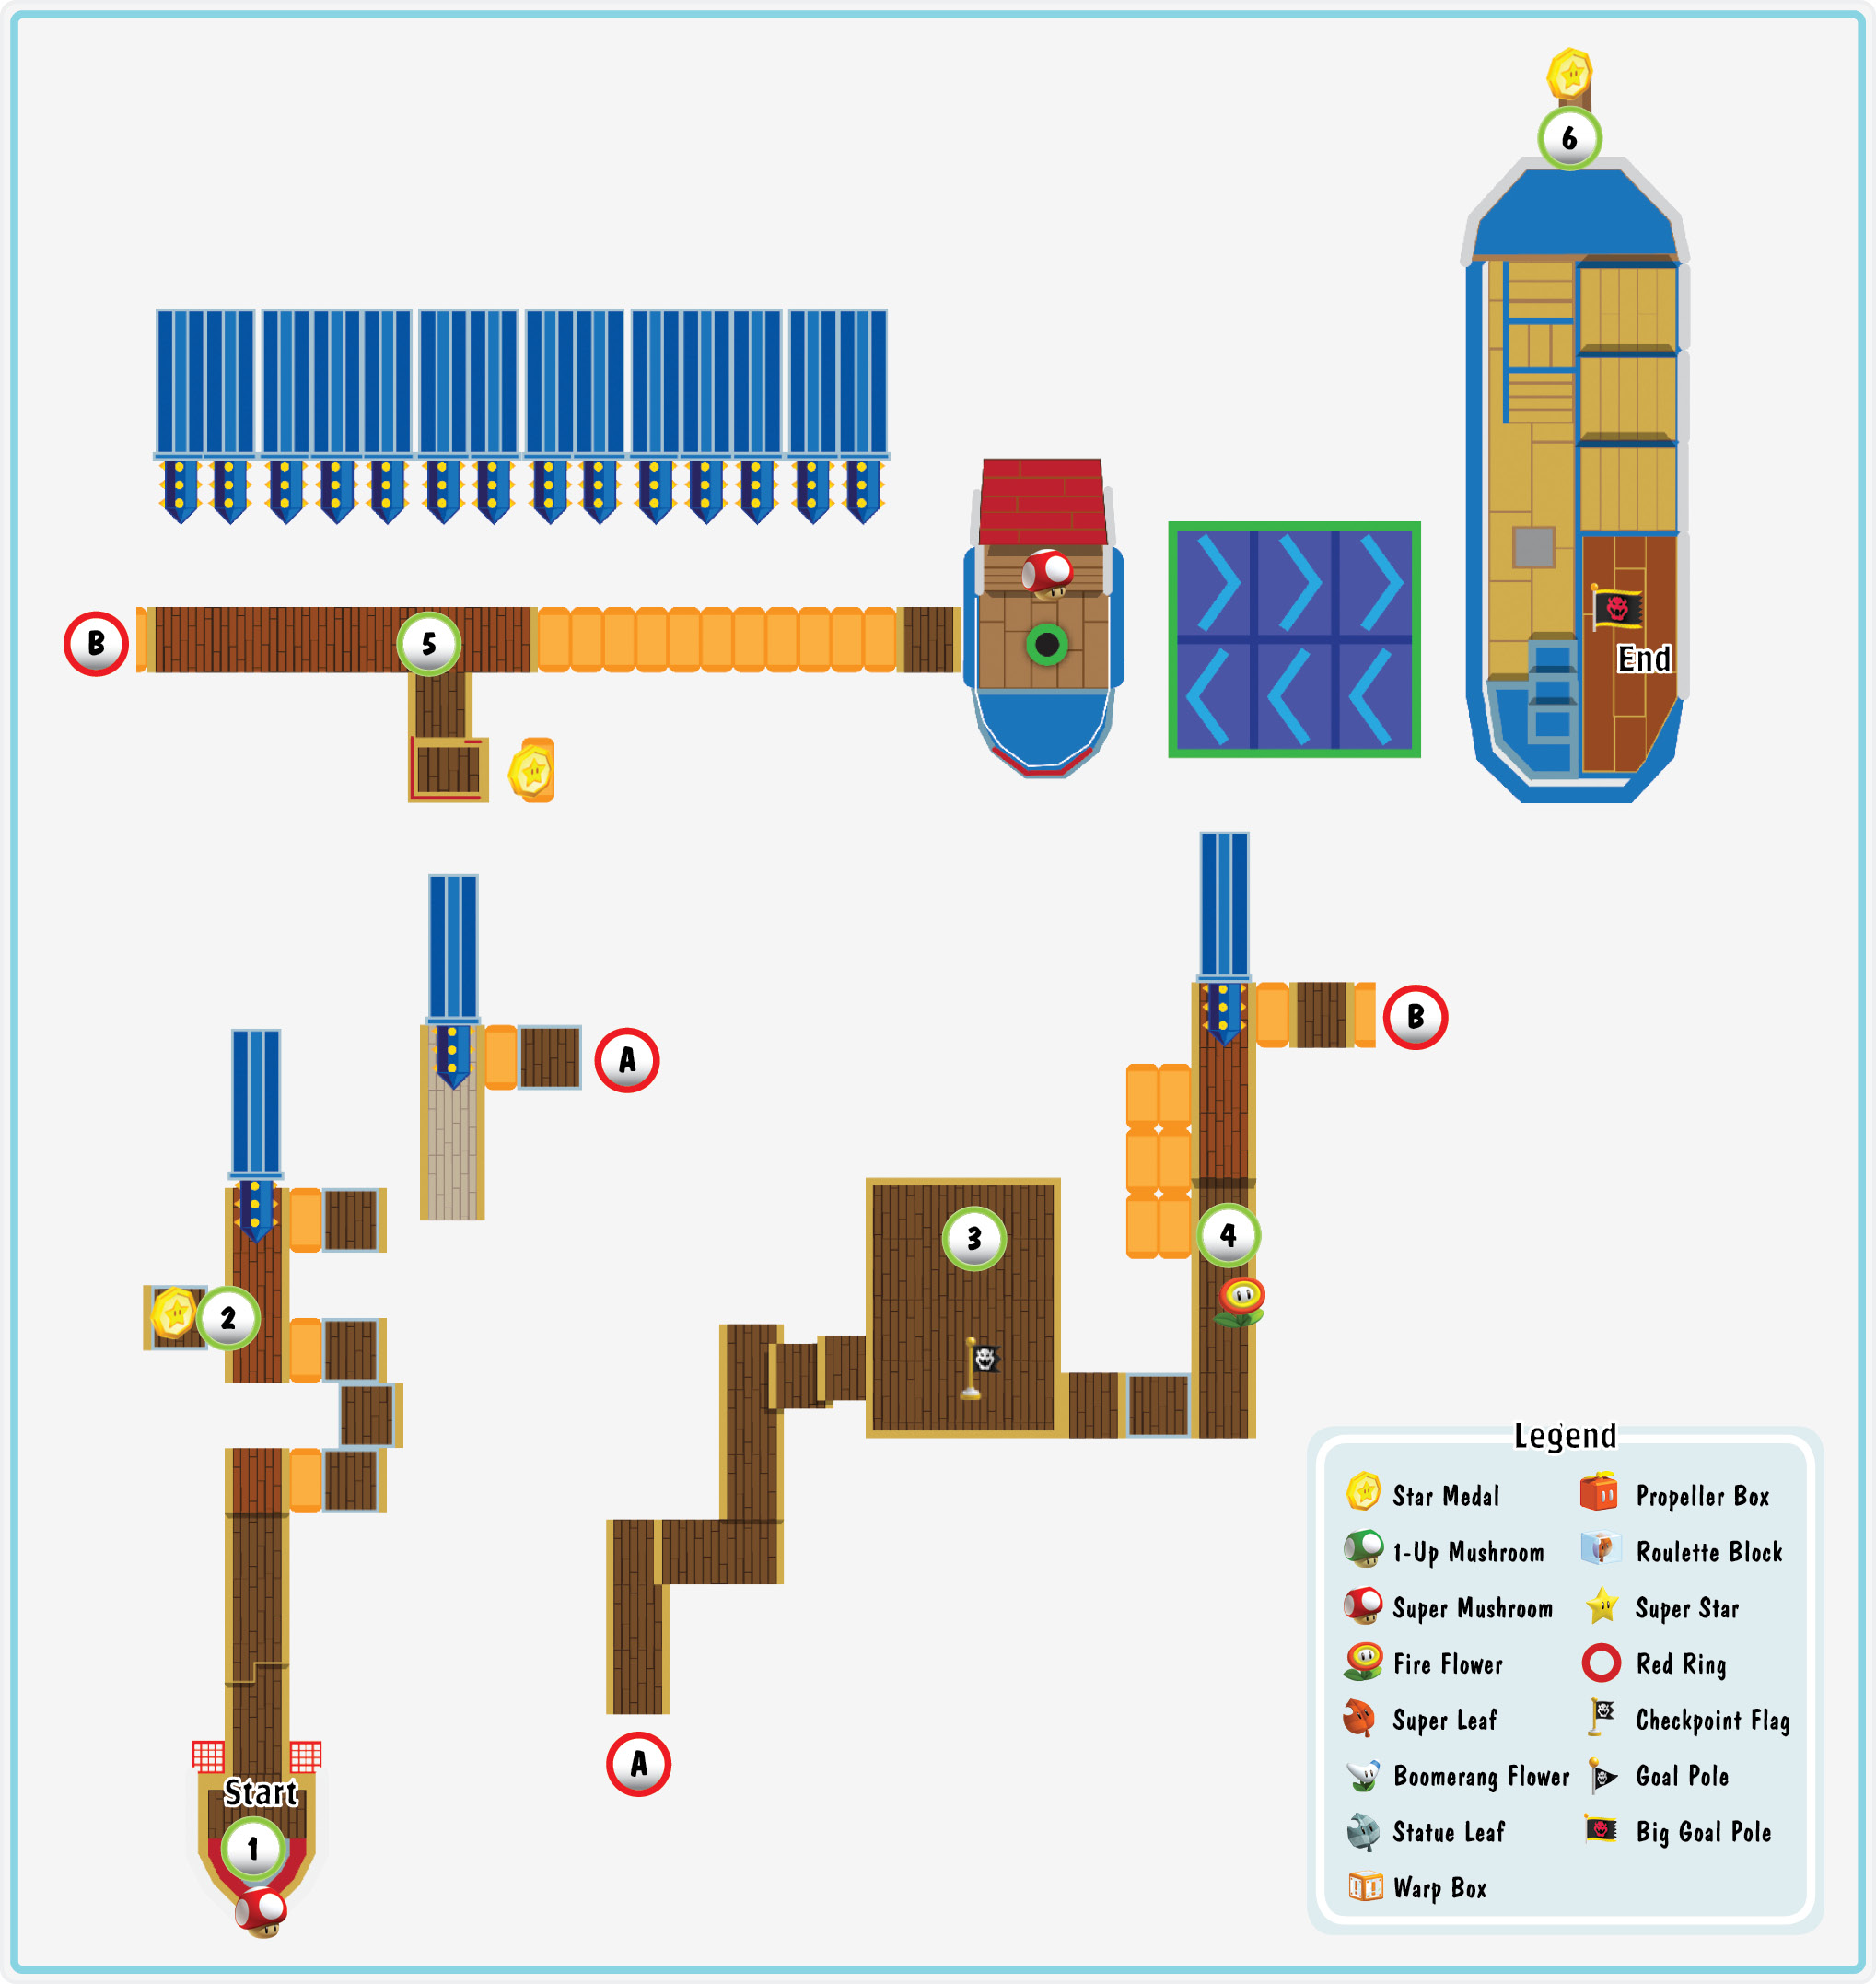
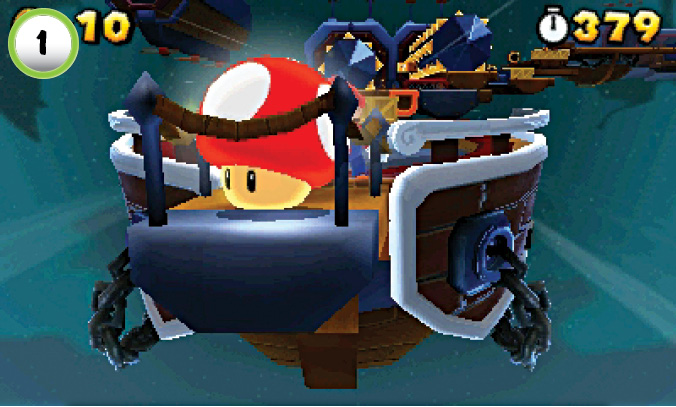
When you first land on the ship, run toward the bottom of the screen to collect a Super Mushroom.
Star Medal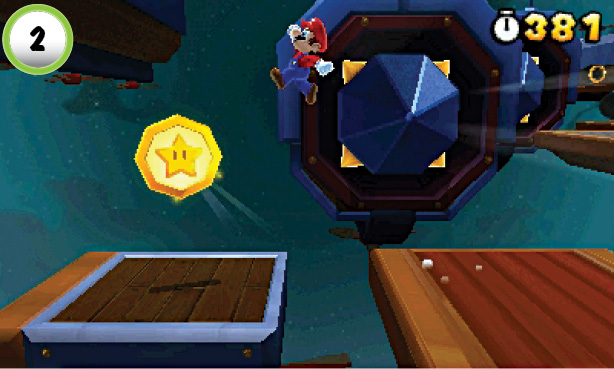 The first Star Medal is located on a small platform near the Spike Pillar at the start of the level. Wait for the piston to pull back into its chamber, then jump across to collect the Star Medal. |
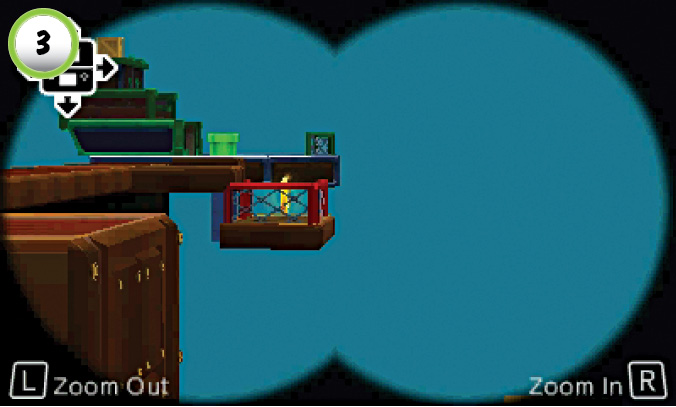
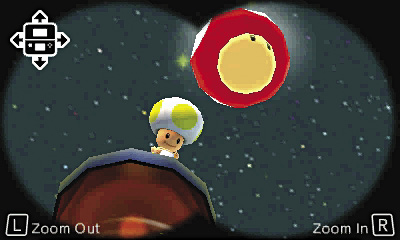
Use the Binoculars at Point 3 to locate the upcoming Star Medal, then search the area for Toad. Tilt the Binoculars up and slightly to the left to find Toad on a floating platform. When you zoom in on him, he tosses a Super Mushroom down to you.
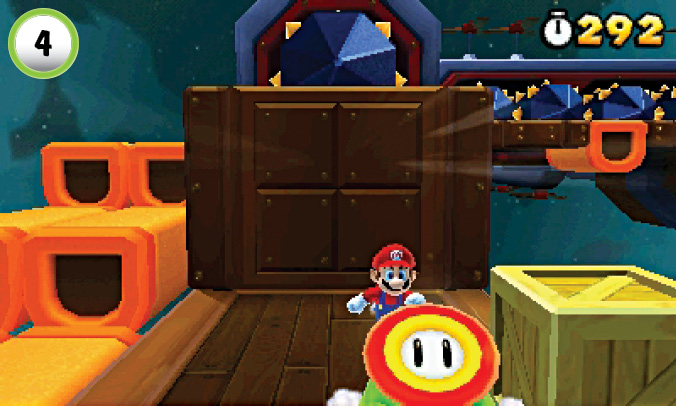
When you reach Point 4, wait for the Spike Pillar to pull back from the walkway, then drop down to trigger the Bob-ombs near the crates. Jump back up to the ledge before the piston returns, and wait for the Bob-ombs to detonate. When the coast is clear, drop down and somersault through the remaining crates until you find a Fire Flower power-up.
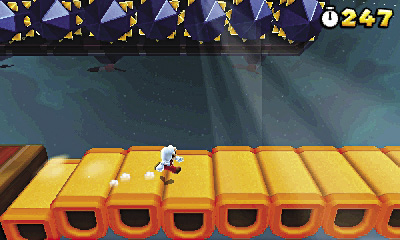
Star Medal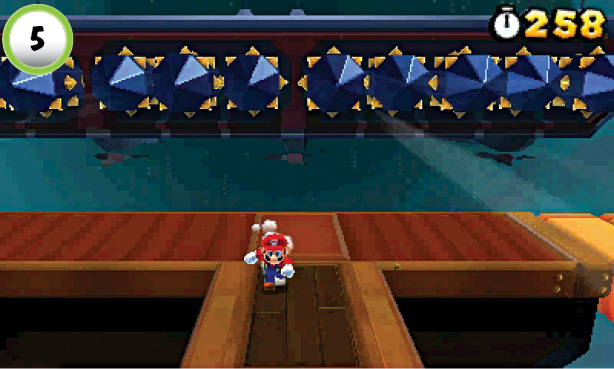 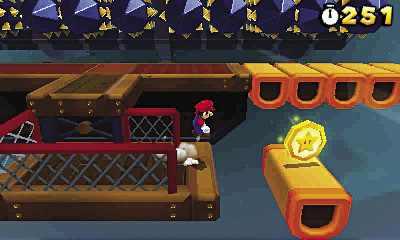 The walkway’s last stretch takes you through a long row of Spike Pillars. Look for coins floating over smoother sections of the walkway. These indicate small gaps between groups of Spike Pillars. Each time the pistons pull back into their chambers, move to the next gap and wait for the pistons to reemerge. When you reach the gap at Point 5, look for the small platform along the edge of the walkway. Drop down from the front of the platform, then move to the right. Jump over to collect the Star Medal from the Donut Block, then hop back to safety before it falls away. |
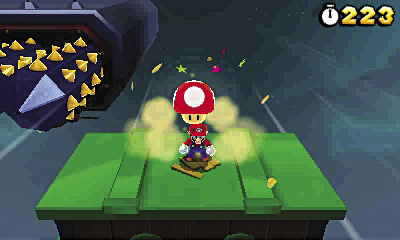
Boss Battle: Boom Boom
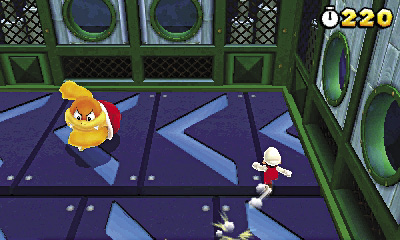
Boom Boom is back for another round, and he’s tipped the odds in his favor. His attacks remain unchanged, but the moving belts on the ground can make it a bit harder to dodge him. Each belt has arrows indicating its direction, so plan your route accordingly. Use the belts to increase your speed as you circle the room. Wait for Boom Boom to become dizzy, then jump on his head to deal a damaging blow.
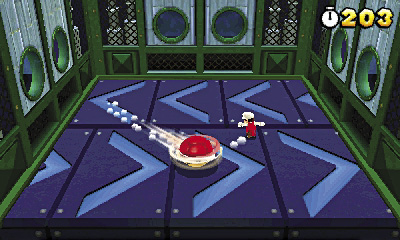
When Boom Boom tucks into his shell, alternate between the belts to stay near the center of the room. Dodge the shell until Boom Boom reemerges, then look for another chance to attack. Land three successful blows to end the encounter.
Star Medal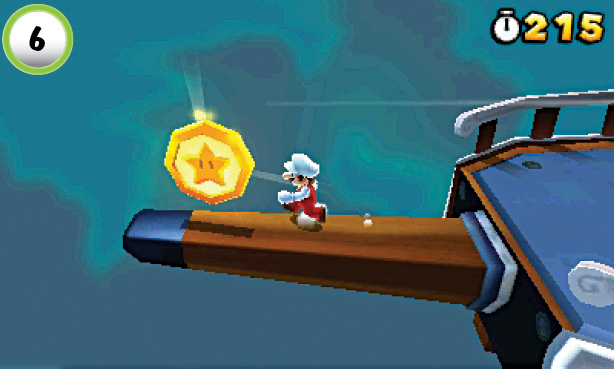 Before you jump onto the Goal Pole, check the left edge of the ship. Walk to the end of the bowsprit to collect the level’s last Star Medal. |