
Super Mario 3D Land Guide Walkthrough Specials
Special One
You’ve defeated Bowser and rescued the princess, but the adventure doesn’t end there! After you complete the main game, you can play through a series of Special Worlds. Many Special Worlds use new enemies, items, and features to create fresh challenges on familiar maps. As you play through each of these levels, keep an eye out for relocated platforms, power-ups, and Star Medals.
As you progress through the Special Worlds, Star Medals become much more important. Unlock requirements can jump by as much as 40 Star Medals between locked levels, so consider making Star Medals a priority. If you need to revisit completed levels, use the Pipes on the level-selection screen to move between the worlds and the Special Worlds.
Special 1-1
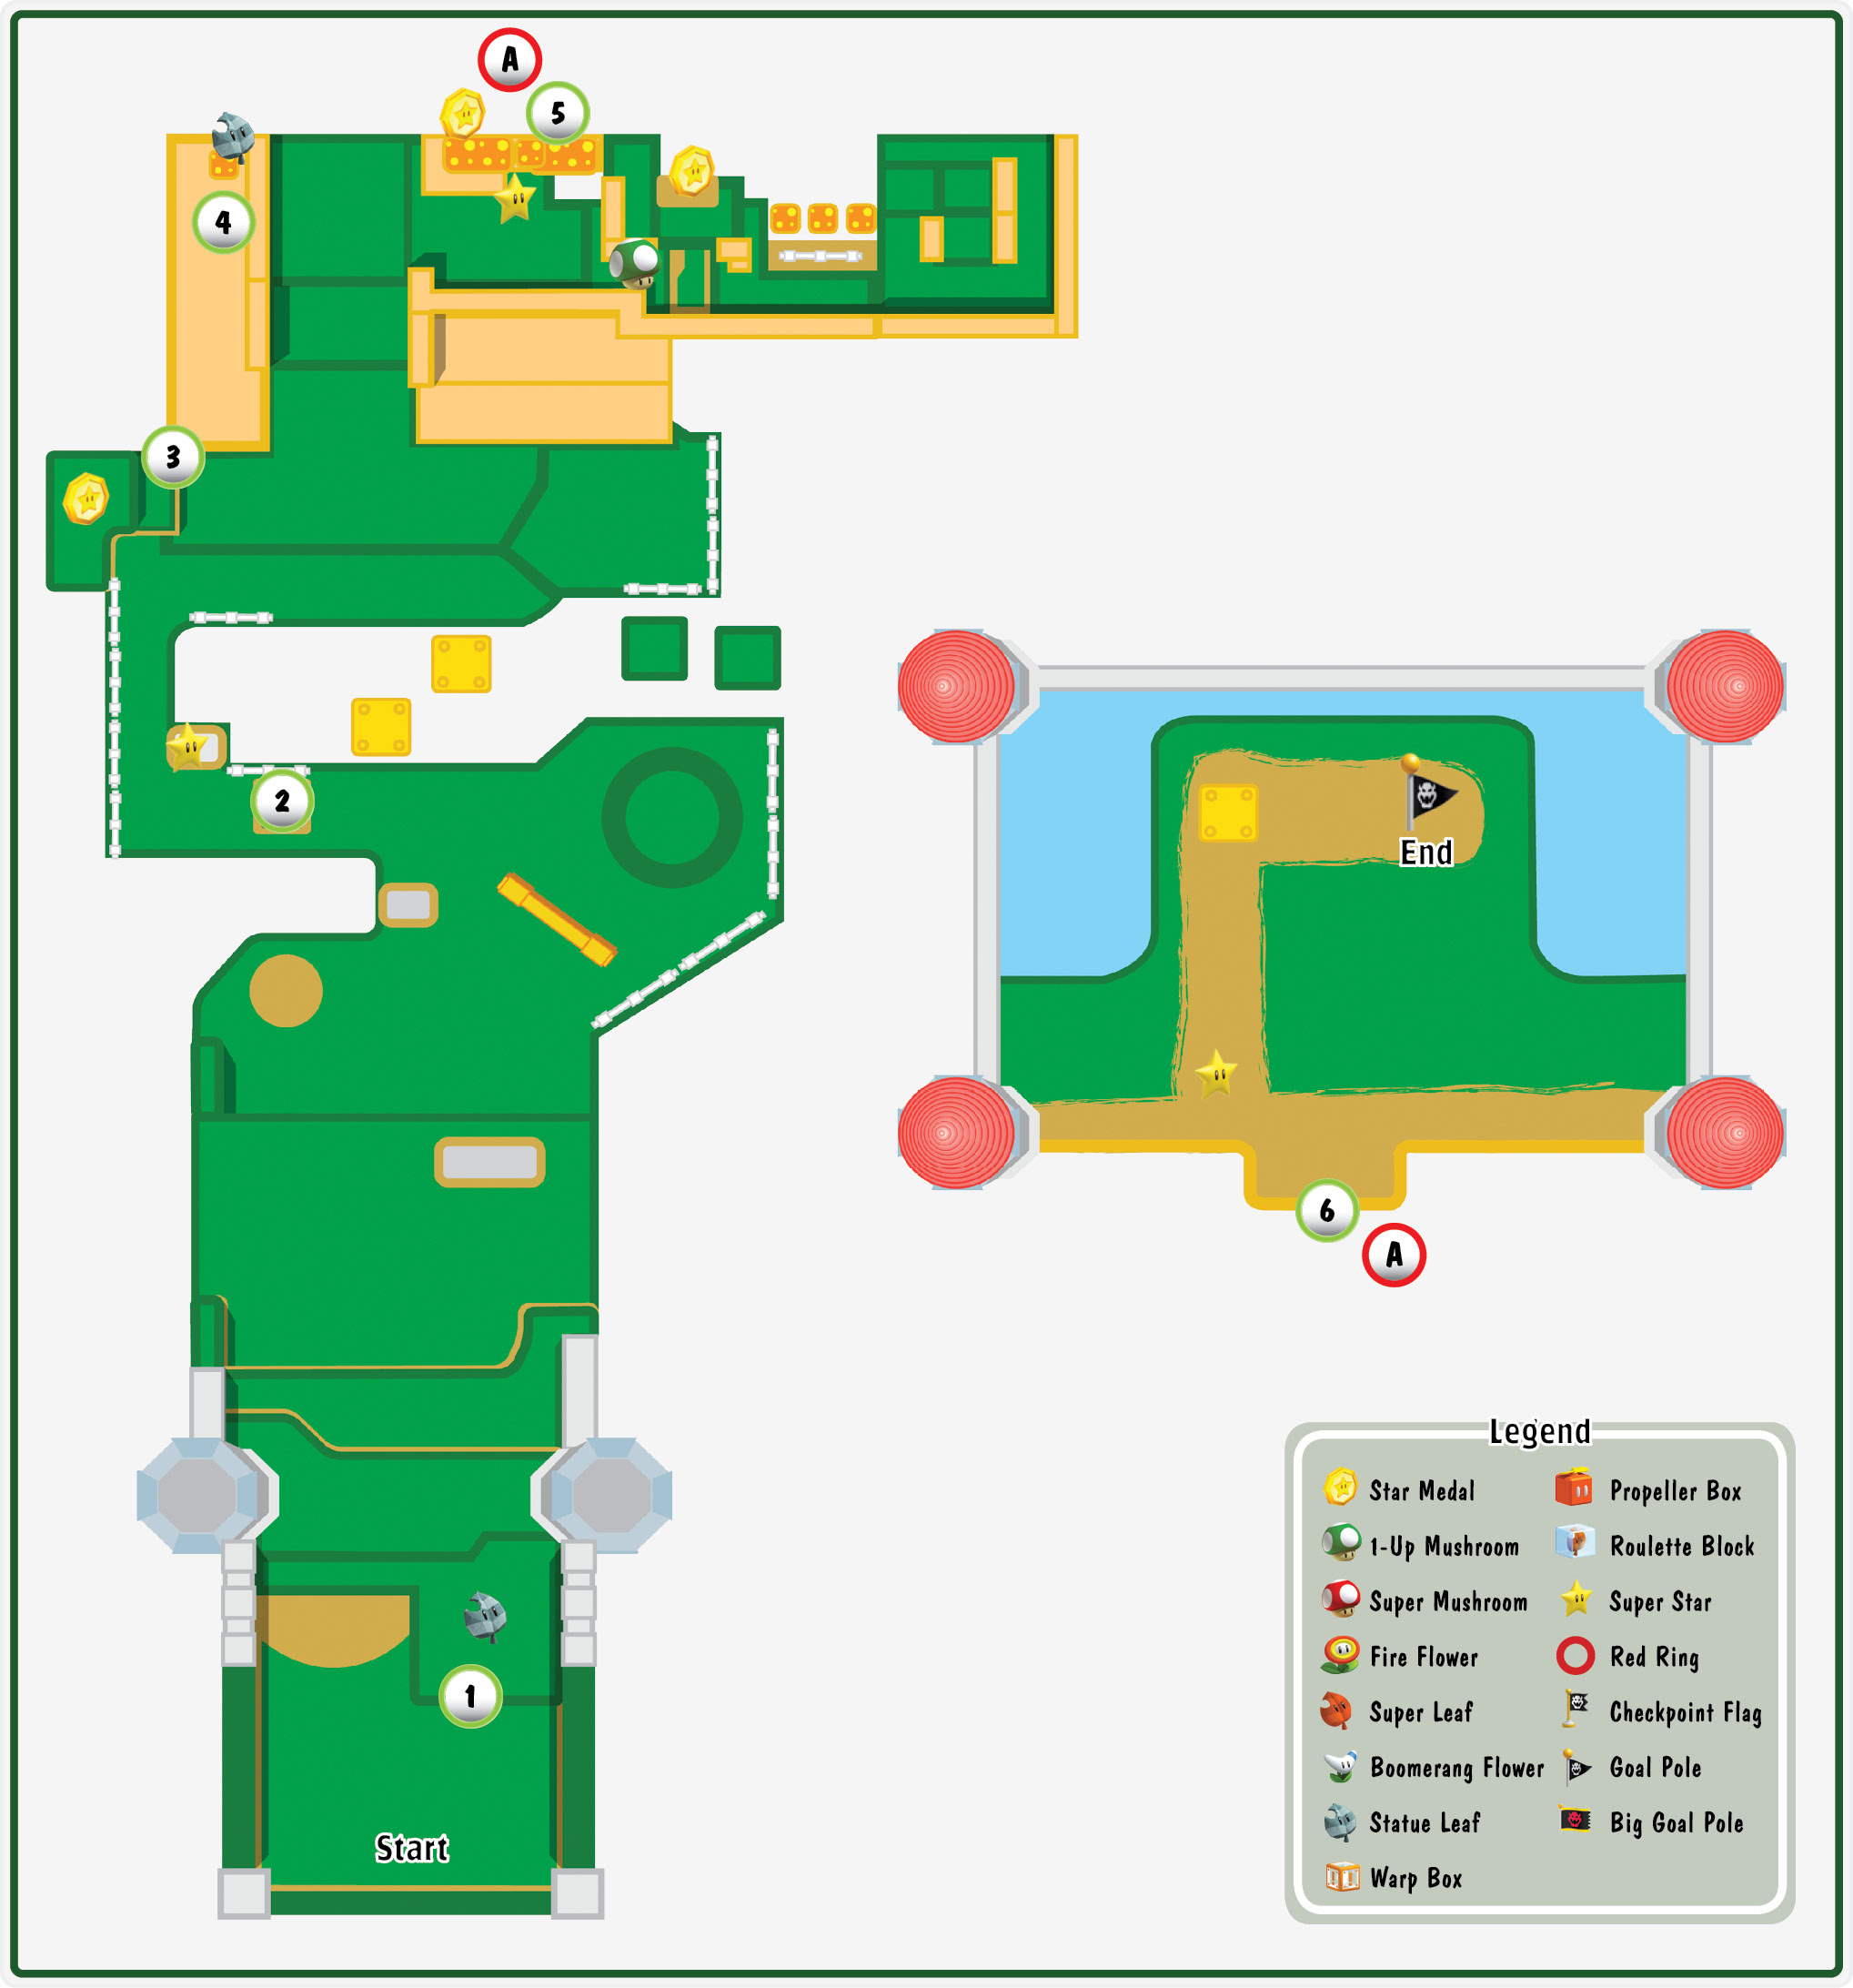
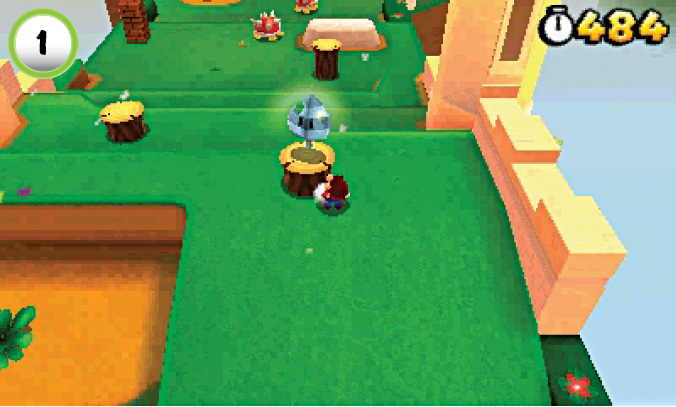
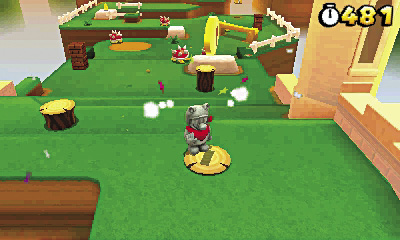
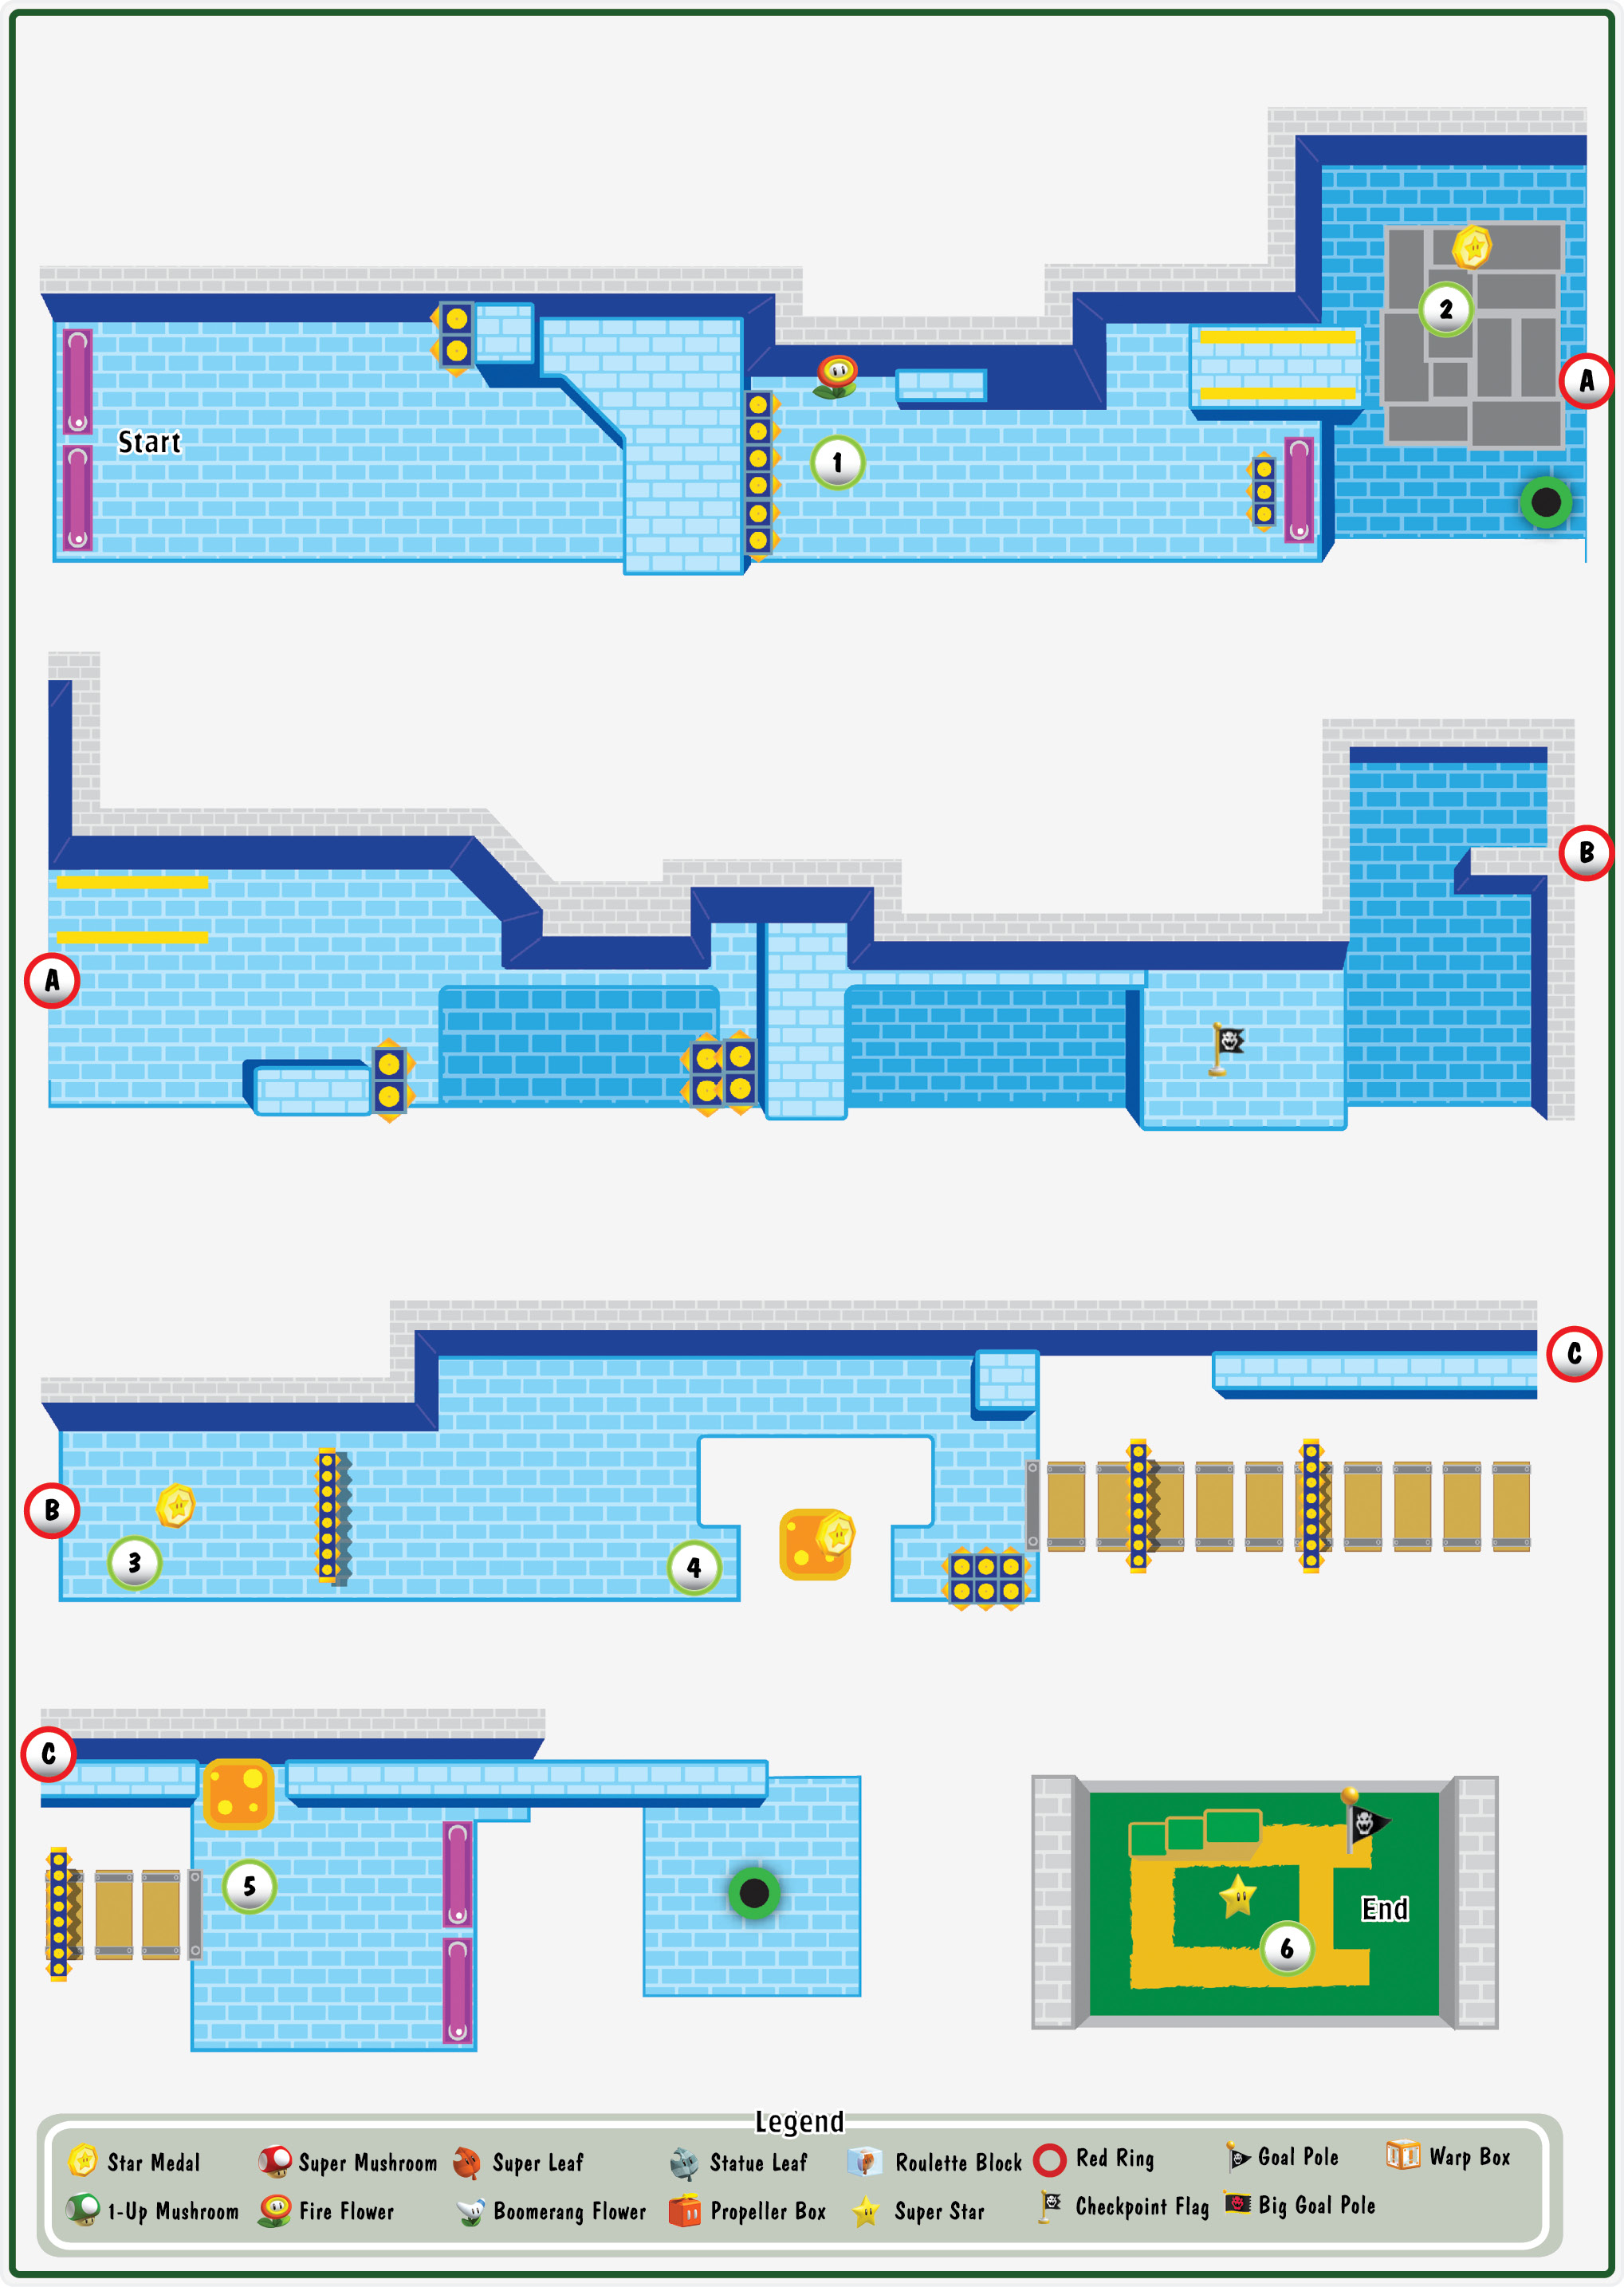
Grab the Statue Leaf from the tree stump at Point 1 to gain an enhanced Tanooki Suit. This level is filled with spike-covered enemies, and Mario’s statue form gives you one more way to defeat them.
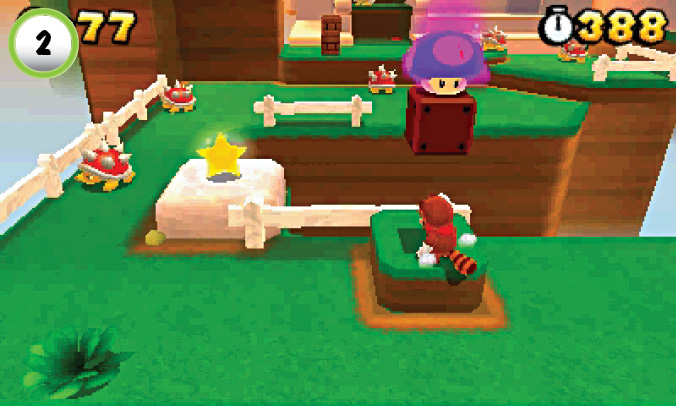
The ? Block at Point 2 contains a Poison Mushroom that will follow you around the area after it emerges. Avoid the ? Block or use the nearby Super Star to protect yourself from the Poison Mushroom’s effects.
Star Medal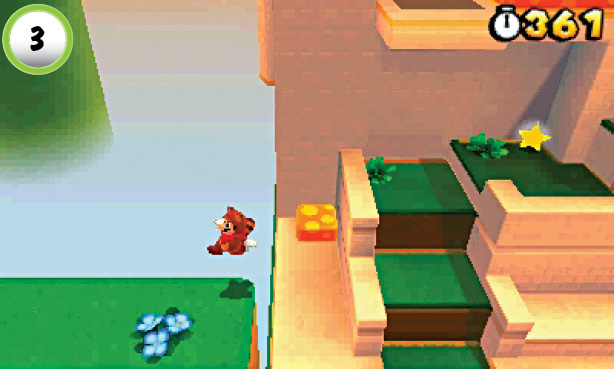 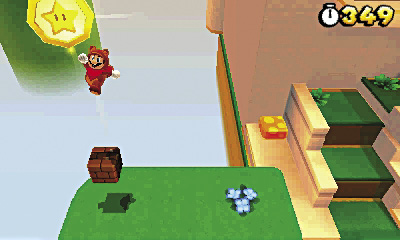 The level’s first Star Medal is floating above the platform at Point 2. There are several ways to reach it, but it’s easiest to flutter-jump from the nearby steps. When you land, hop onto the nearby Block and perform a Crouch-Jump to collect the Star Medal. |
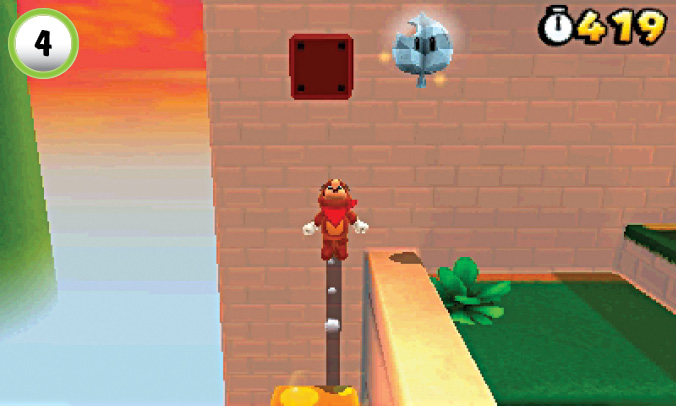
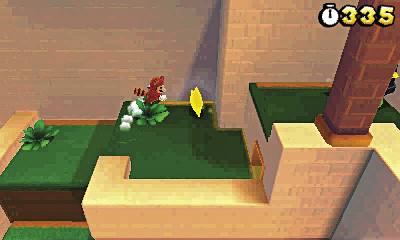
Jump onto the rubber platform at Point 4, and bounce up to find a Statue Leaf concealed in an Invisible Block. Hop over to grab it, and continue to the right to find a Super Star. Before you collect it, crouch down and search the narrow passage in the wall to find a hidden 1-Up Mushroom. When you’re ready, head back and grab the Super Star, then continue along the main path.
Star Medal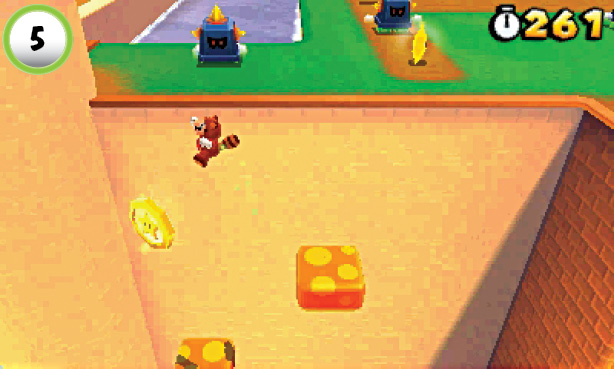 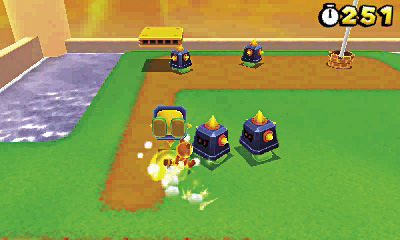 As you follow the rubber platforms along the castle wall, collect the Star Medal at Point 5. When you reach the top of the castle, grab the Super Star near the ledge and clear out all of the nearby Prongos. |
Star Medal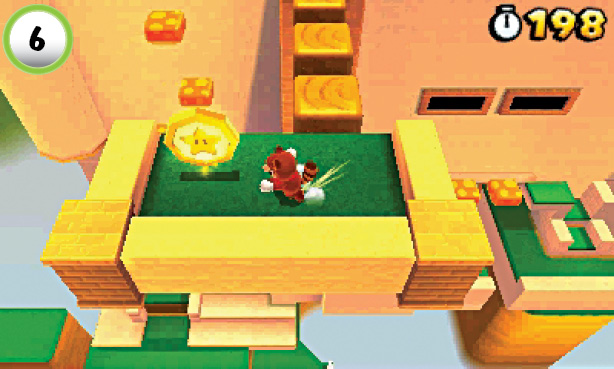 Before you jump for the Goal Pole, look for the platforms along the castle’s front edge. Follow the platforms to find the level’s last Star Medal. |
Special 1-2
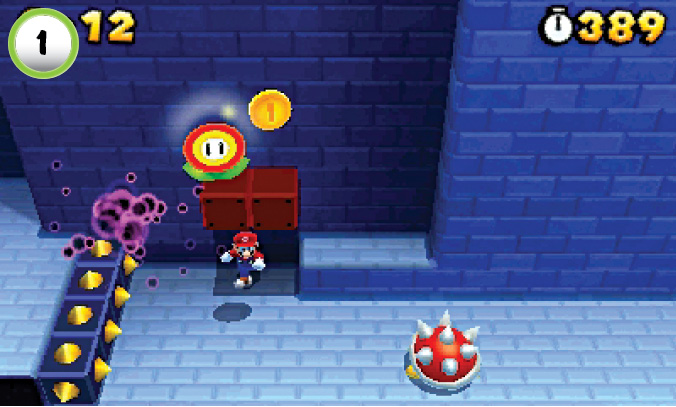
When the level starts, dash to the ? Blocks at Point 1 to collect a Fire Flower. If you move quickly, you should be able to grab the power-up before the Cosmic Clone materializes. Continue along the path and use your fireballs to clear out the Spinies ahead of you.
Star Medal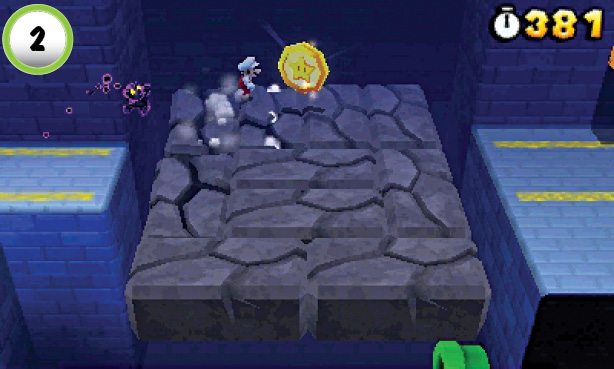 When you reach the crumbling platforms at Point 2, veer toward the back wall to collect the first Star Medal. Cross the platforms before they fall apart, or drop down and use the Pipe on the ground to return to the path. |
Star Medal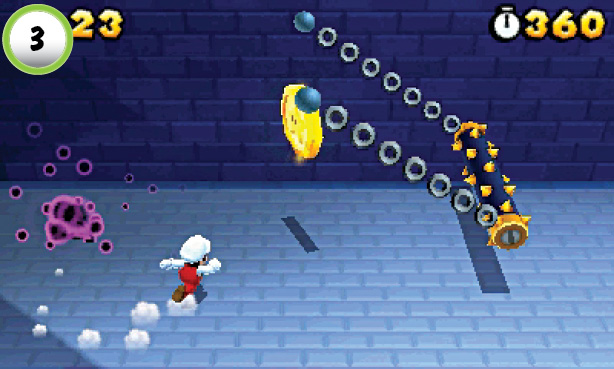 As you approach the Star Medal at Point 3, watch out for the spikes that swing through the area. Stay ahead of the Cosmic Clone, but make sure you clear the spikes when you jump up to collect the Star Medal. |
Star Medal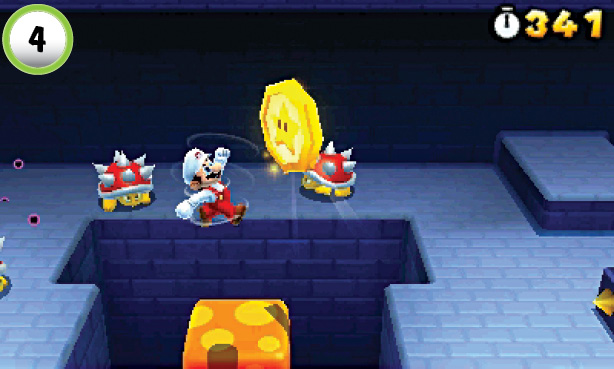 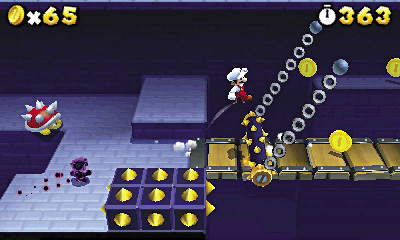 After you grab the second Star Medal, move toward the bottom of the screen and continue to the right. Jump onto the rubber platform at Point 4 and bounce through the level’s last Star Medal. Head across the bridge to the right, and dodge the spikes until you reach the other side. |
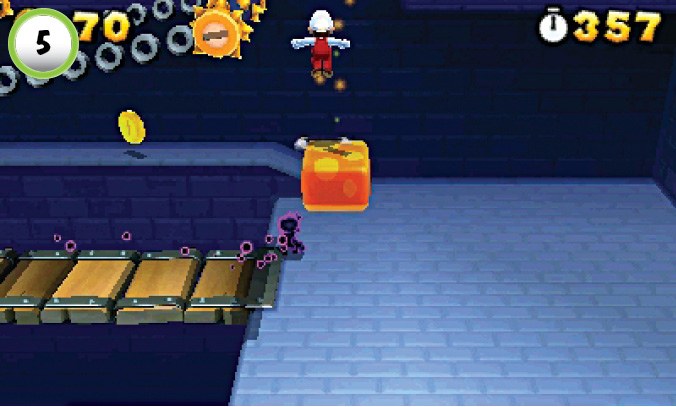
Jump onto the rubber pad at Point 5, then bounce up to the ledge above you. Follow the path to the left to grab a 1-Up Mushroom, or head to the right to find the exit Pipe.
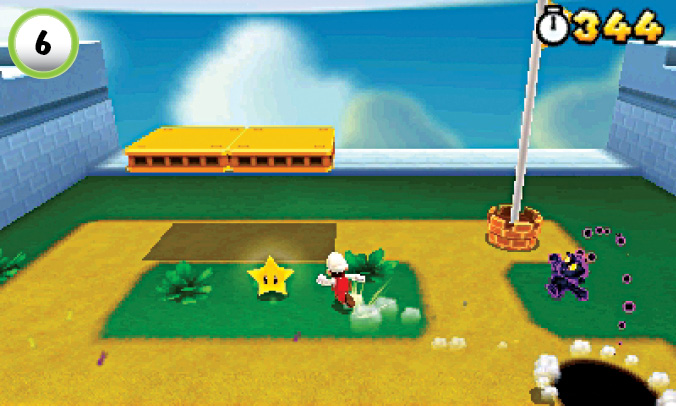
Use the Super Star at Point 6 to take care of the Cosmic Clone. Once you have a little breathing room, hop onto the moving platforms and make a running leap to the top of the Goal Pole.
Special 1-3
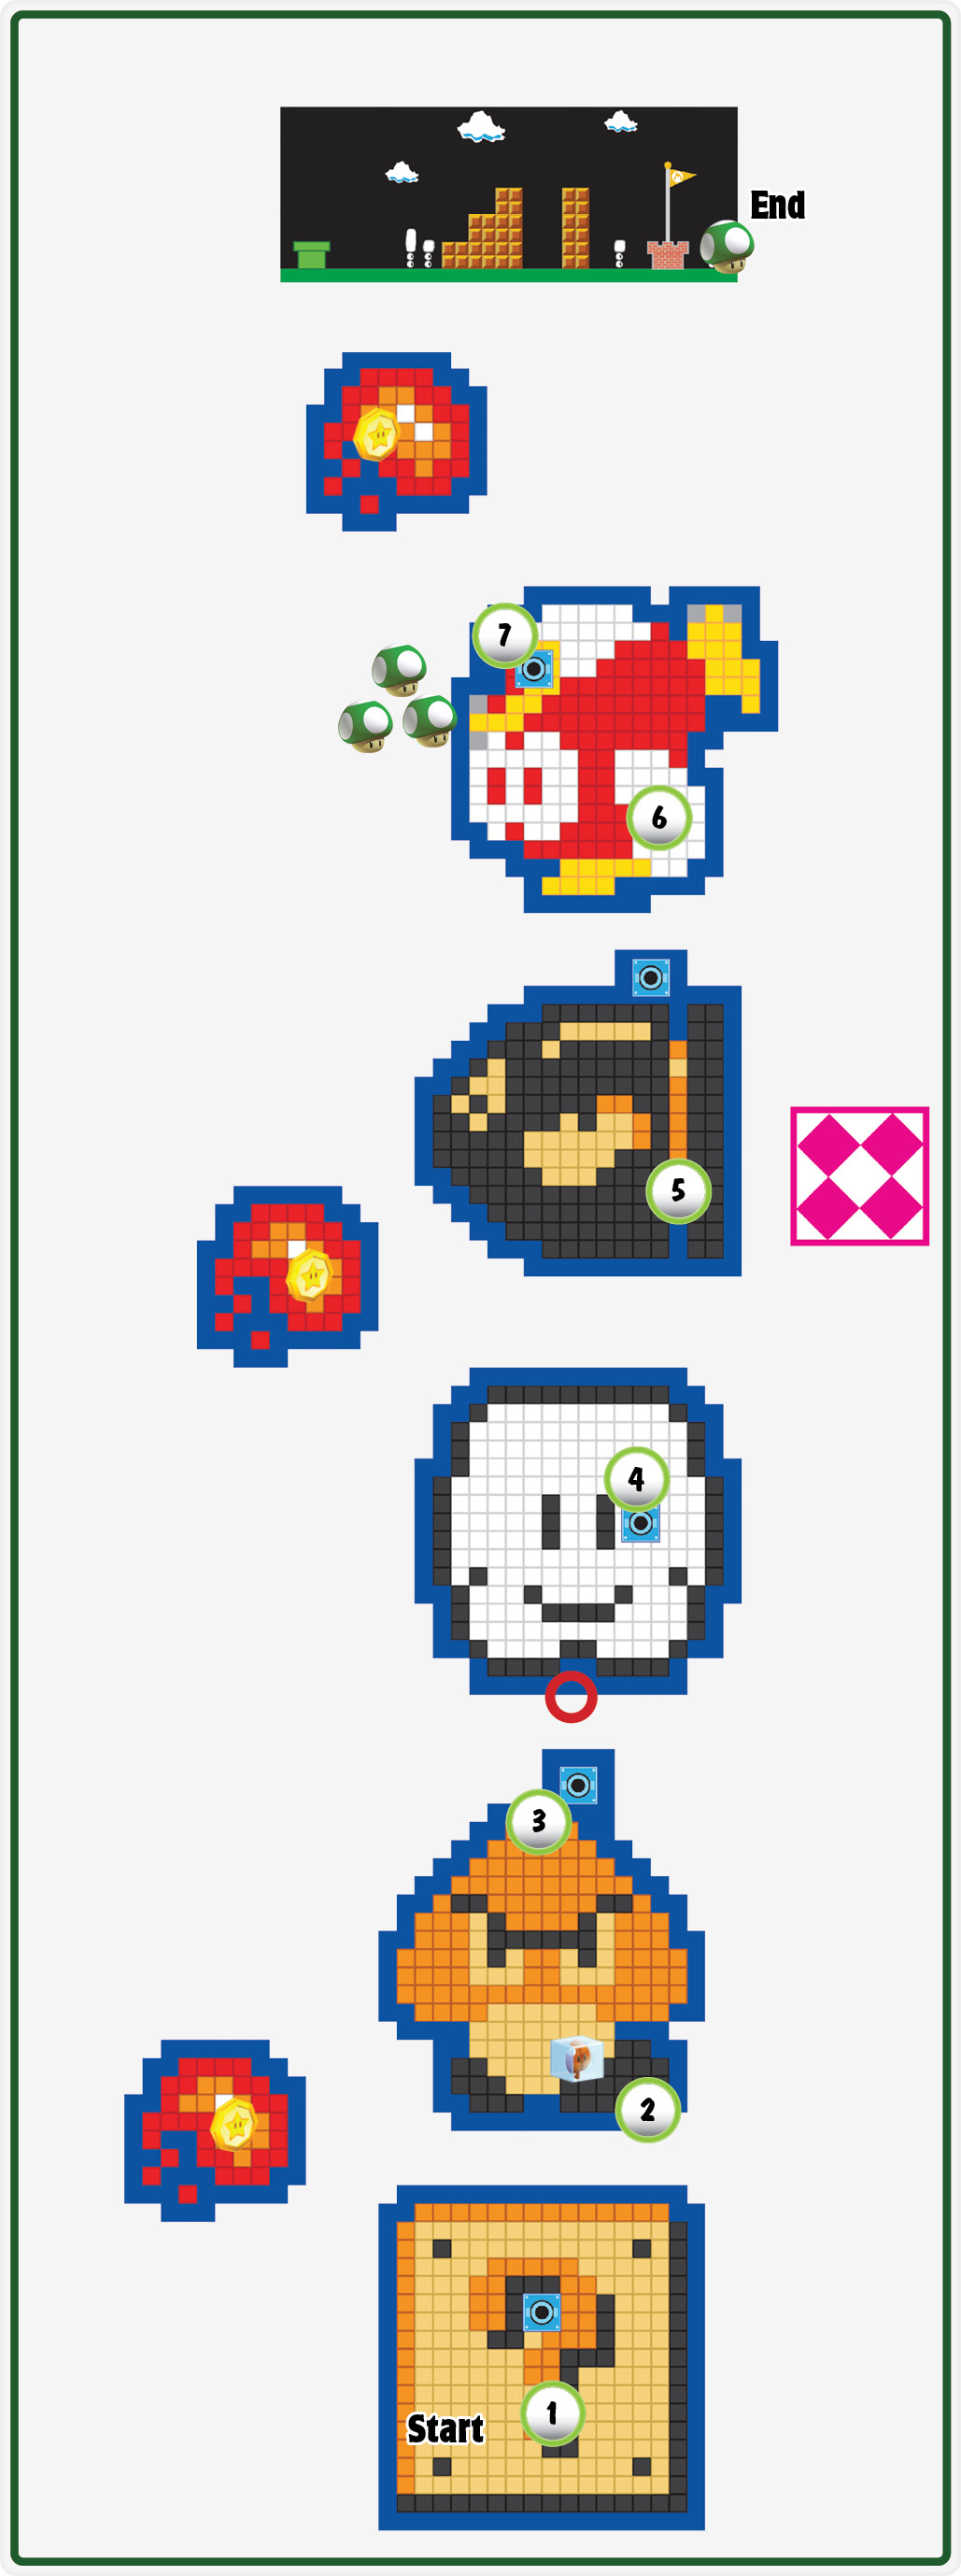
Star Medal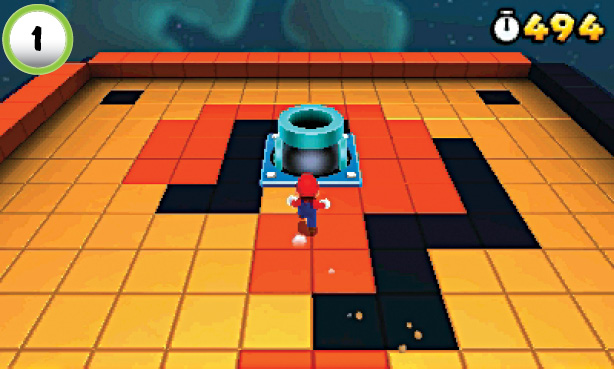 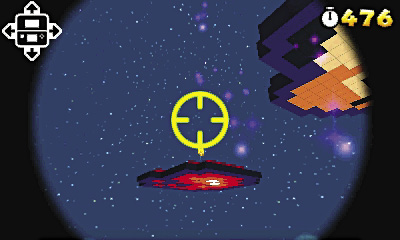 All three of this level’s Star Medals are located on small, fireball-shaped platforms located away from the main path. When you enter the first Cannon, look for the Star Medal to the left. Place the reticle’s lower edge just above the Star Medal, then fire yourself over to the platform. After you collect the Star Medal, use the Warp Box to return to the Cannon. |
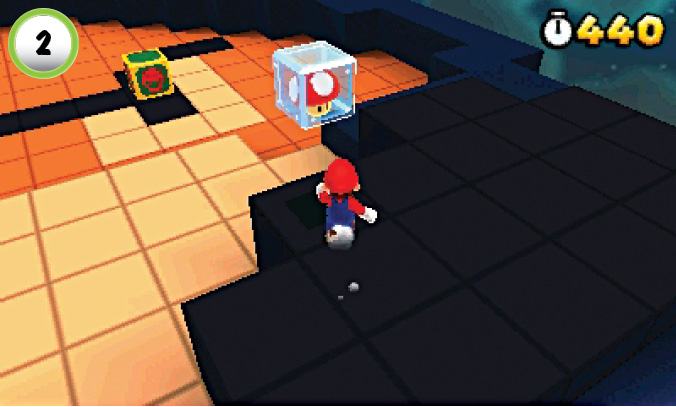
When you reach the Goomba-shaped platform, collect a power-up from the Roulette Block. The Baddie Boxes provide an endless supply of enemies, so it’s best to keep moving. When you’re ready to continue, head to the Cannon across the platform.
Red Ring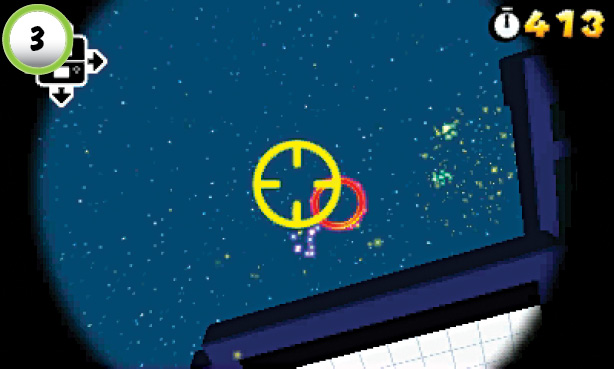 After you enter the Cannon at Point 3, shoot yourself through the Red Ring near the cloud-shaped platform. When you land, collect all of the Red Coins before they vanish to earn another power-up. |
Star Medal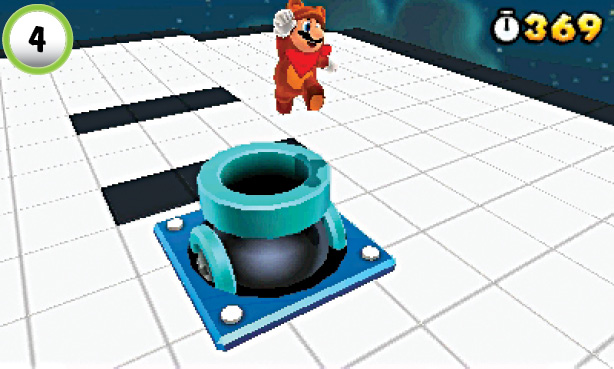 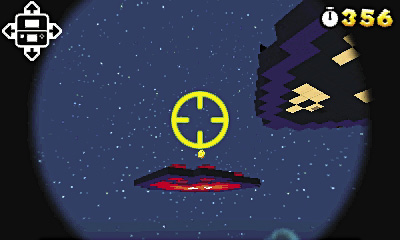 After you enter the Cannon at Point 4, look for the fireball-shaped platform to the left. Place the reticle just above the Star Medal to ensure a safe landing. After you collect the Star Medal, use the Warp Box to return to the Cannon. |
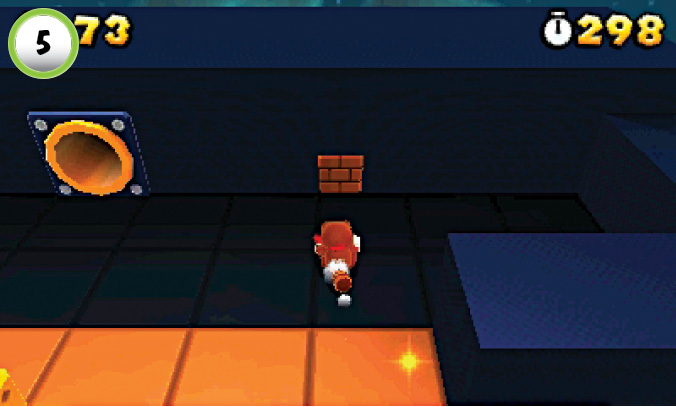
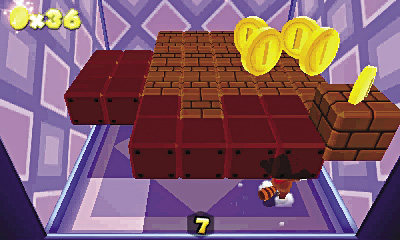
When you reach Point 5, look for the single Block placed along the back wall. Somersault through the Block, then follow the passage to enter a hidden Mystery Box. When you land, move around the room and search the Blocks above you. You have very little time to collect their contents, so try to hit at least two fresh Blocks during each jump.
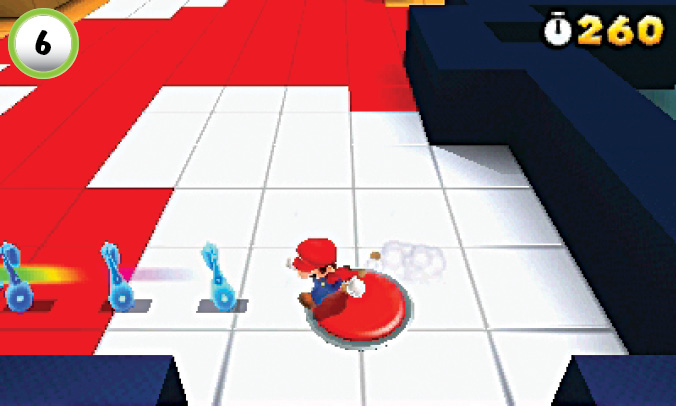
The P Switch at Point 6 reveals a trail of musical notes. Collect all of the notes before they vanish to earn another Statue Leaf. Before you continue, check the platform for ? Blocks, a green + Clock, and additional P Switches.
Star Medal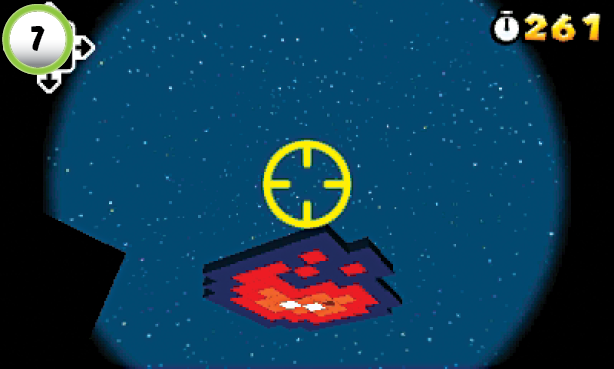 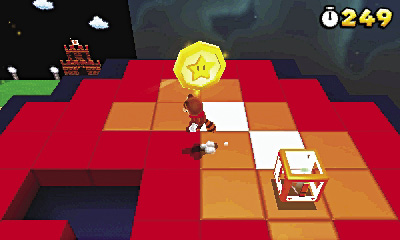 When you enter the Cannon at Point 7, look for the fireball-shaped platform to the right. Place the lower edge of the reticle along the front edge of the platform. After you collect the Star Medal, use the Warp Box and return to the Cannon. |
Special 1—Toad House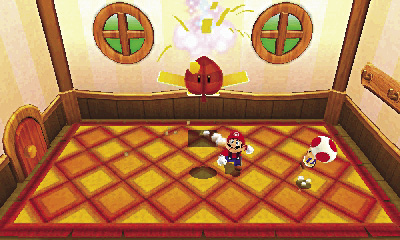 After you complete Special 1-3, a Toad House appears on the level-selection screen. When you find yourself in need of a power-up, unwrap the Gift Box inside the house to collect a Super Leaf. Remember, you can only get the power-up from a Toad House once, so make sure you save it for when you need it. |
Special 1-4
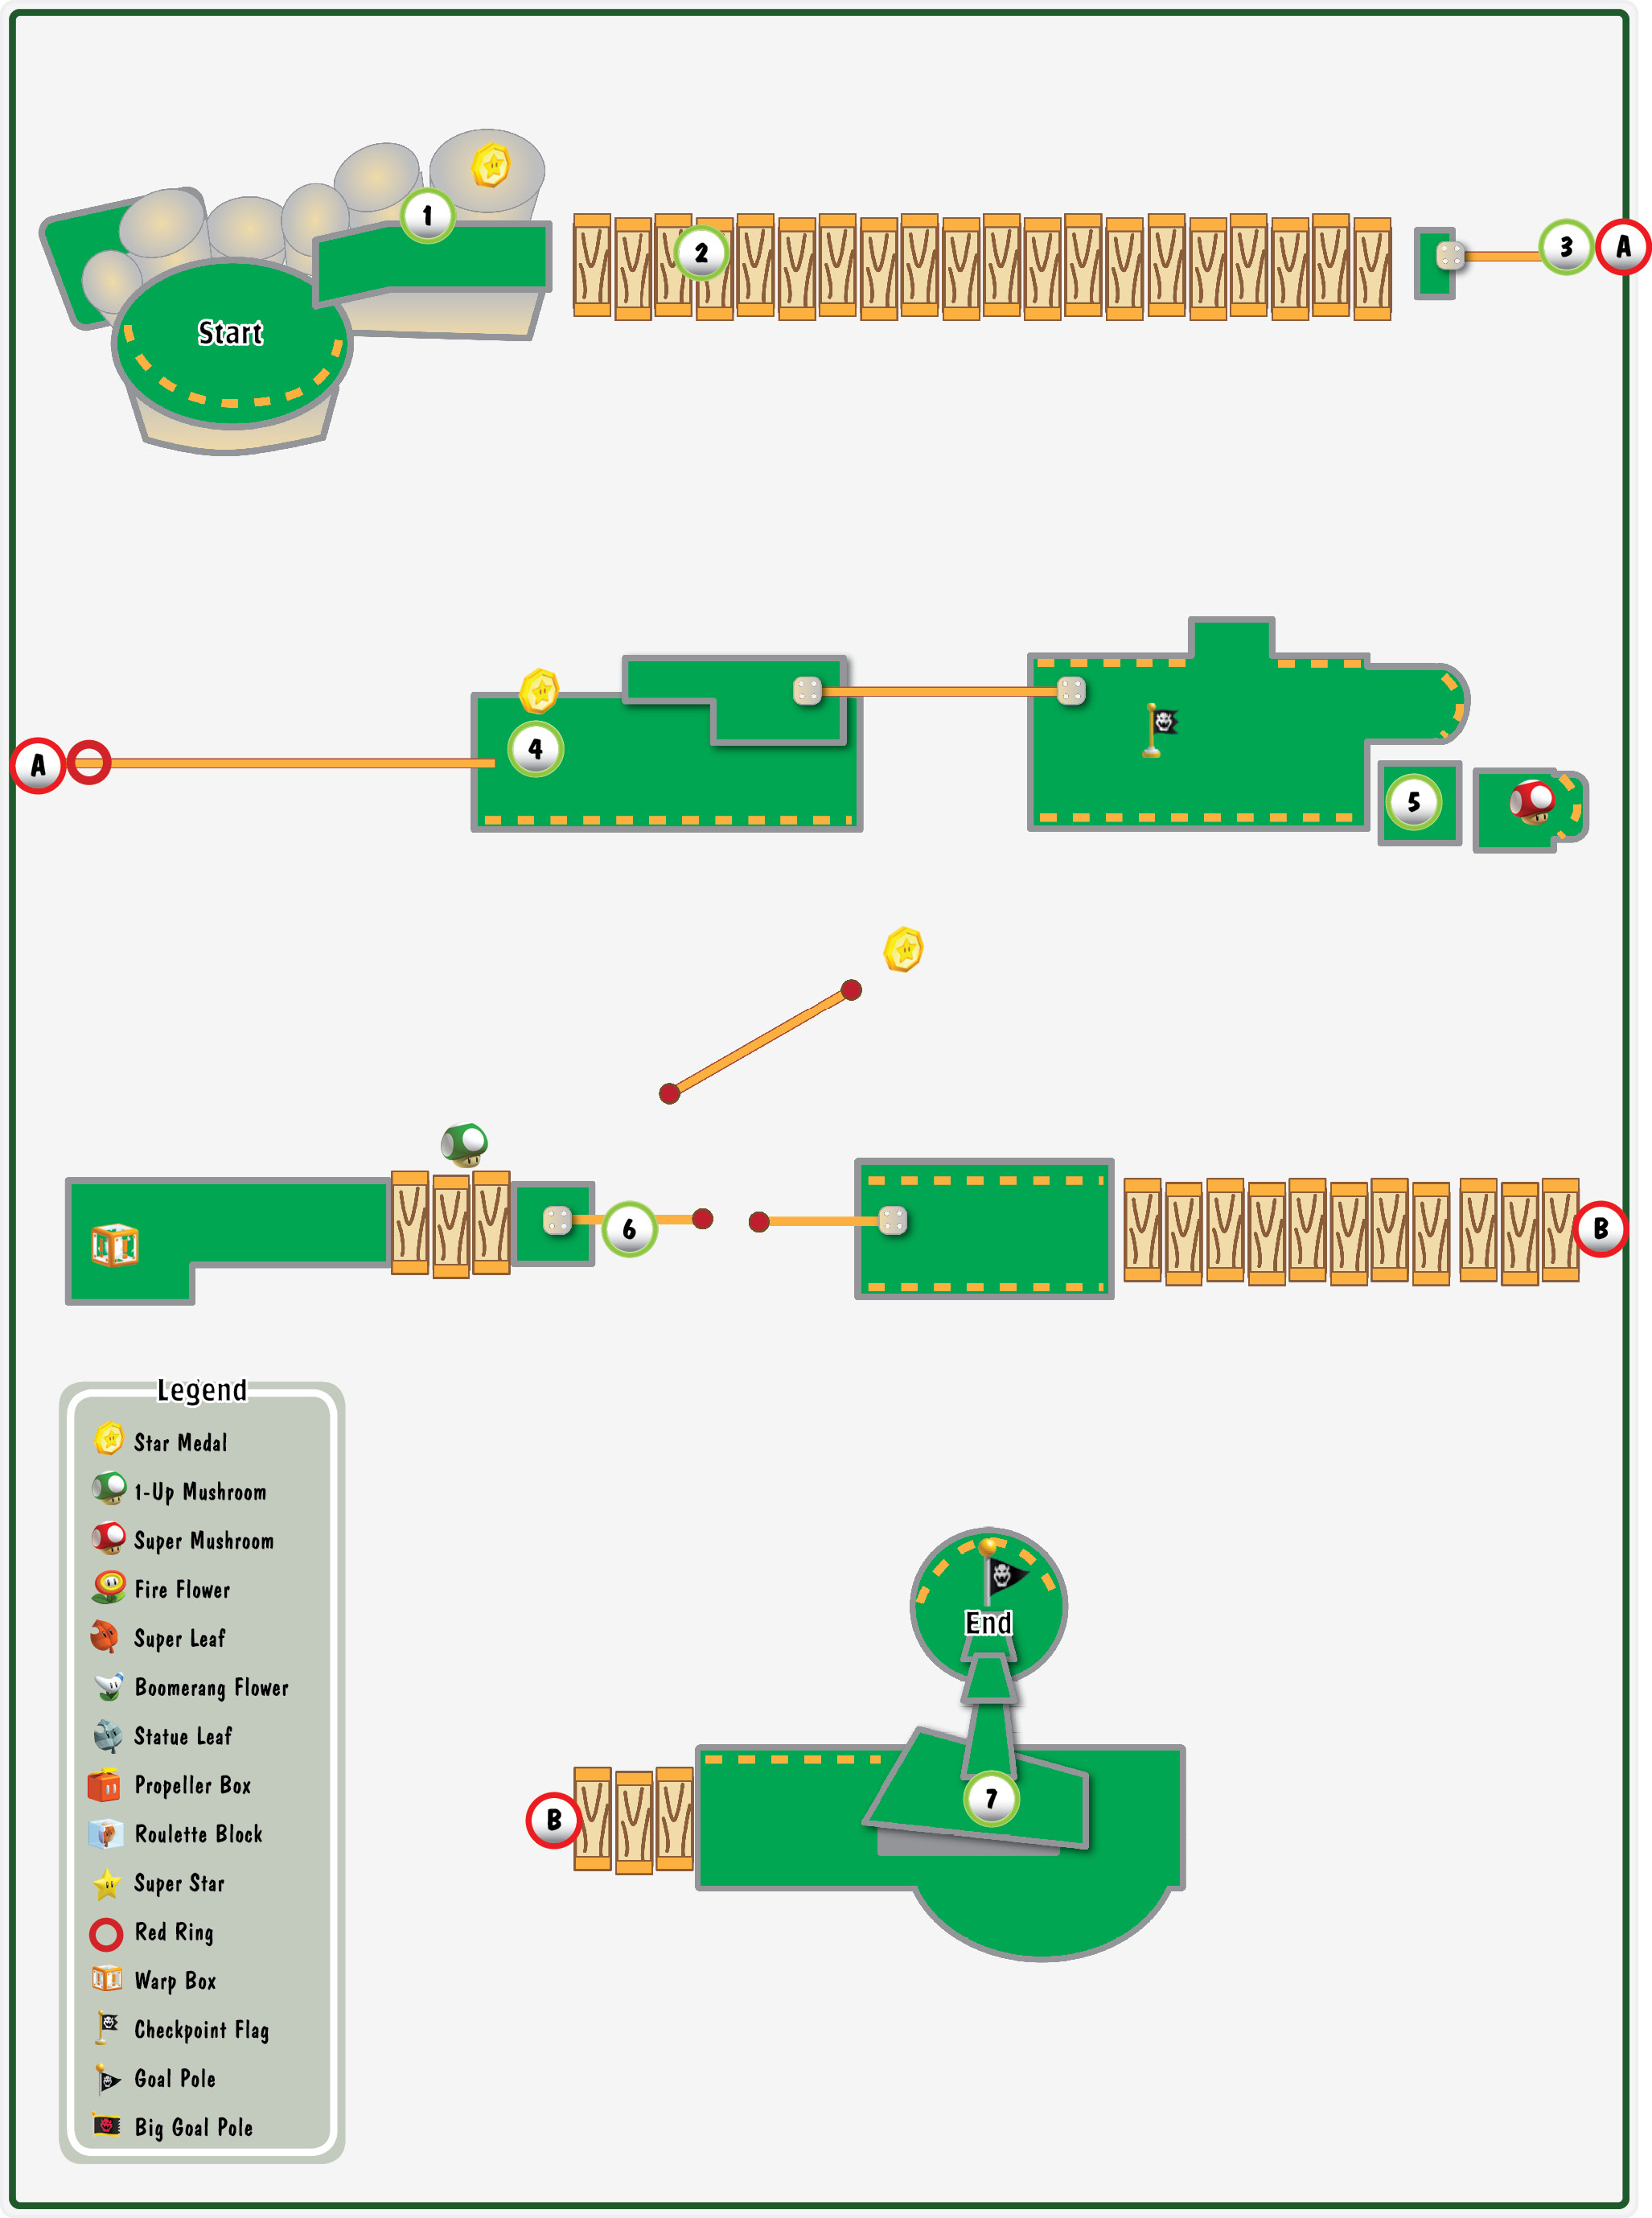
Star Medal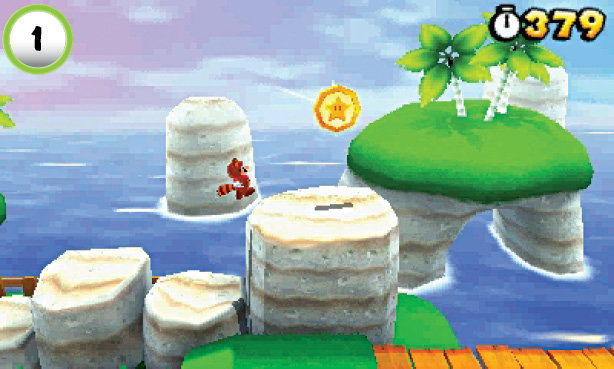 The level’s first Star Medal is located on the stone formations at Point 1. Hop onto the small formation to the left, then backflip up to the Star Medal. |
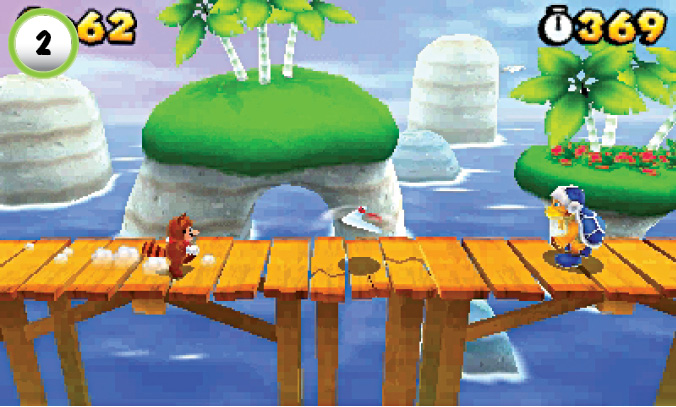
As you move along the path, watch out for incoming boomerangs. The narrow path doesn’t leave you much room to dodge. When you spot a Boomerang Bro, stay out of range and wait for the attack. When the second boomerang switches direction, follow it back to your attacker.
Red Ring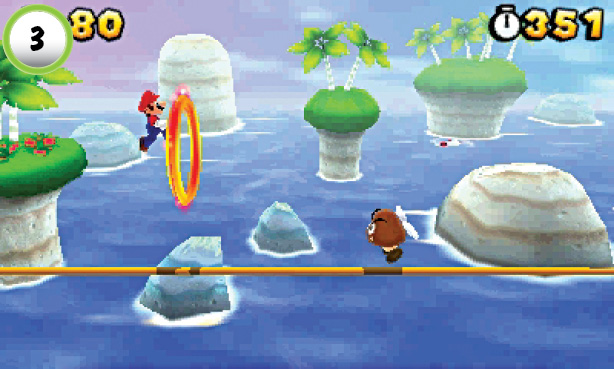 Pass through the Red Ring at Point 3, then bounce along the tightrope to collect the Red Coins. You must move quickly, so time each bounce to avoid the Paragoombas ahead of you. Collect all of the Red Coins before they vanish to earn a power-up. |
Star Medal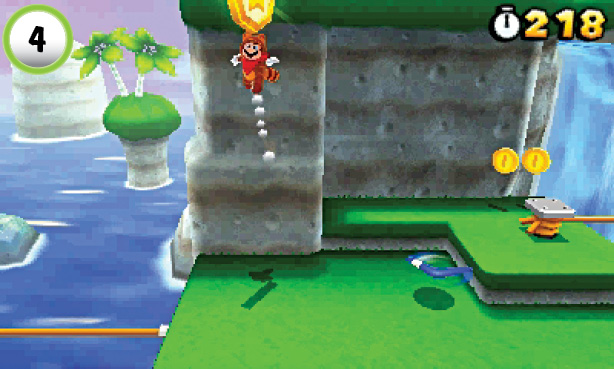 As you approach Point 4, jump onto the Boomerang Bro to collect a Boomerang Flower. The second Star Medal is floating high above the platform. Use the Star Medal’s shadow to determine its location, then perform a wall jump to collect it. |
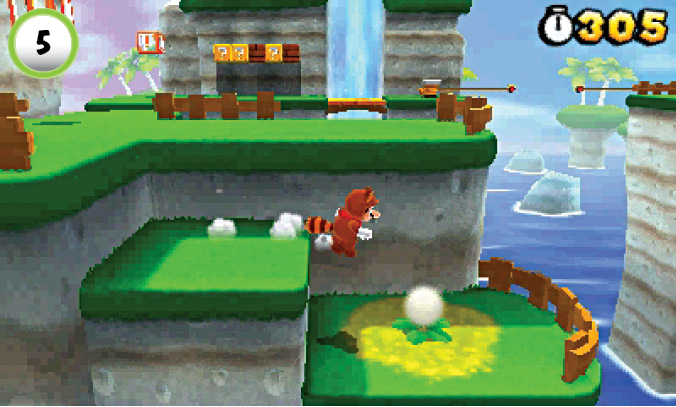
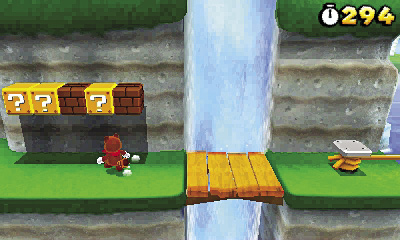
Run through the Fluff near the Checkpoint Flag to reveal a Super Mushroom, then use the Warp Box to travel across the gap. The leftmost ? Block across the gap contains a Poison Mushroom, so it’s best to avoid it. Search the remaining Blocks, then check behind the waterfall to collect a 1-Up Mushroom.
Star Medal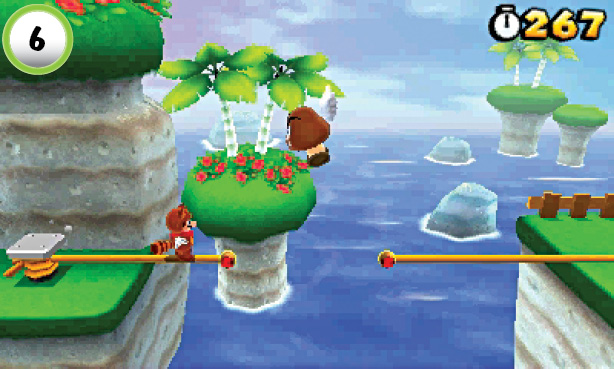 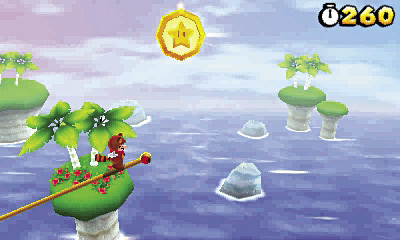 When you reach Point 6, look for the tightrope located high above the main path. Bounce up to the tightrope and follow it to the level’s last Star Medal. |
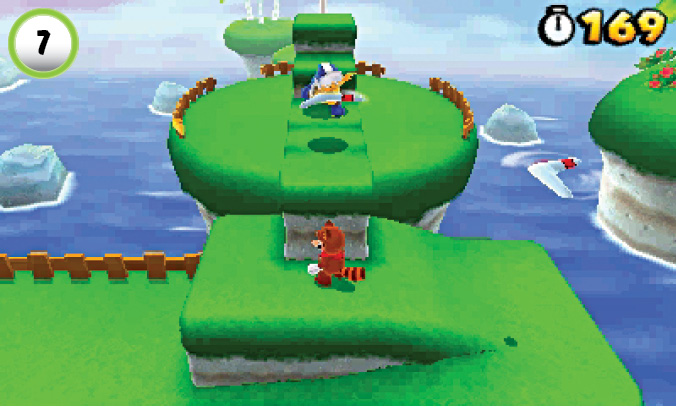
As you approach Point 7, a Boomerang Bro drops into your path. Wait by the ledge to allow the first attack to pass over you, then move quickly to defeat your opponent. When the path is clear, make a running leap to the top of the Goal Pole.
Special 1—Castle
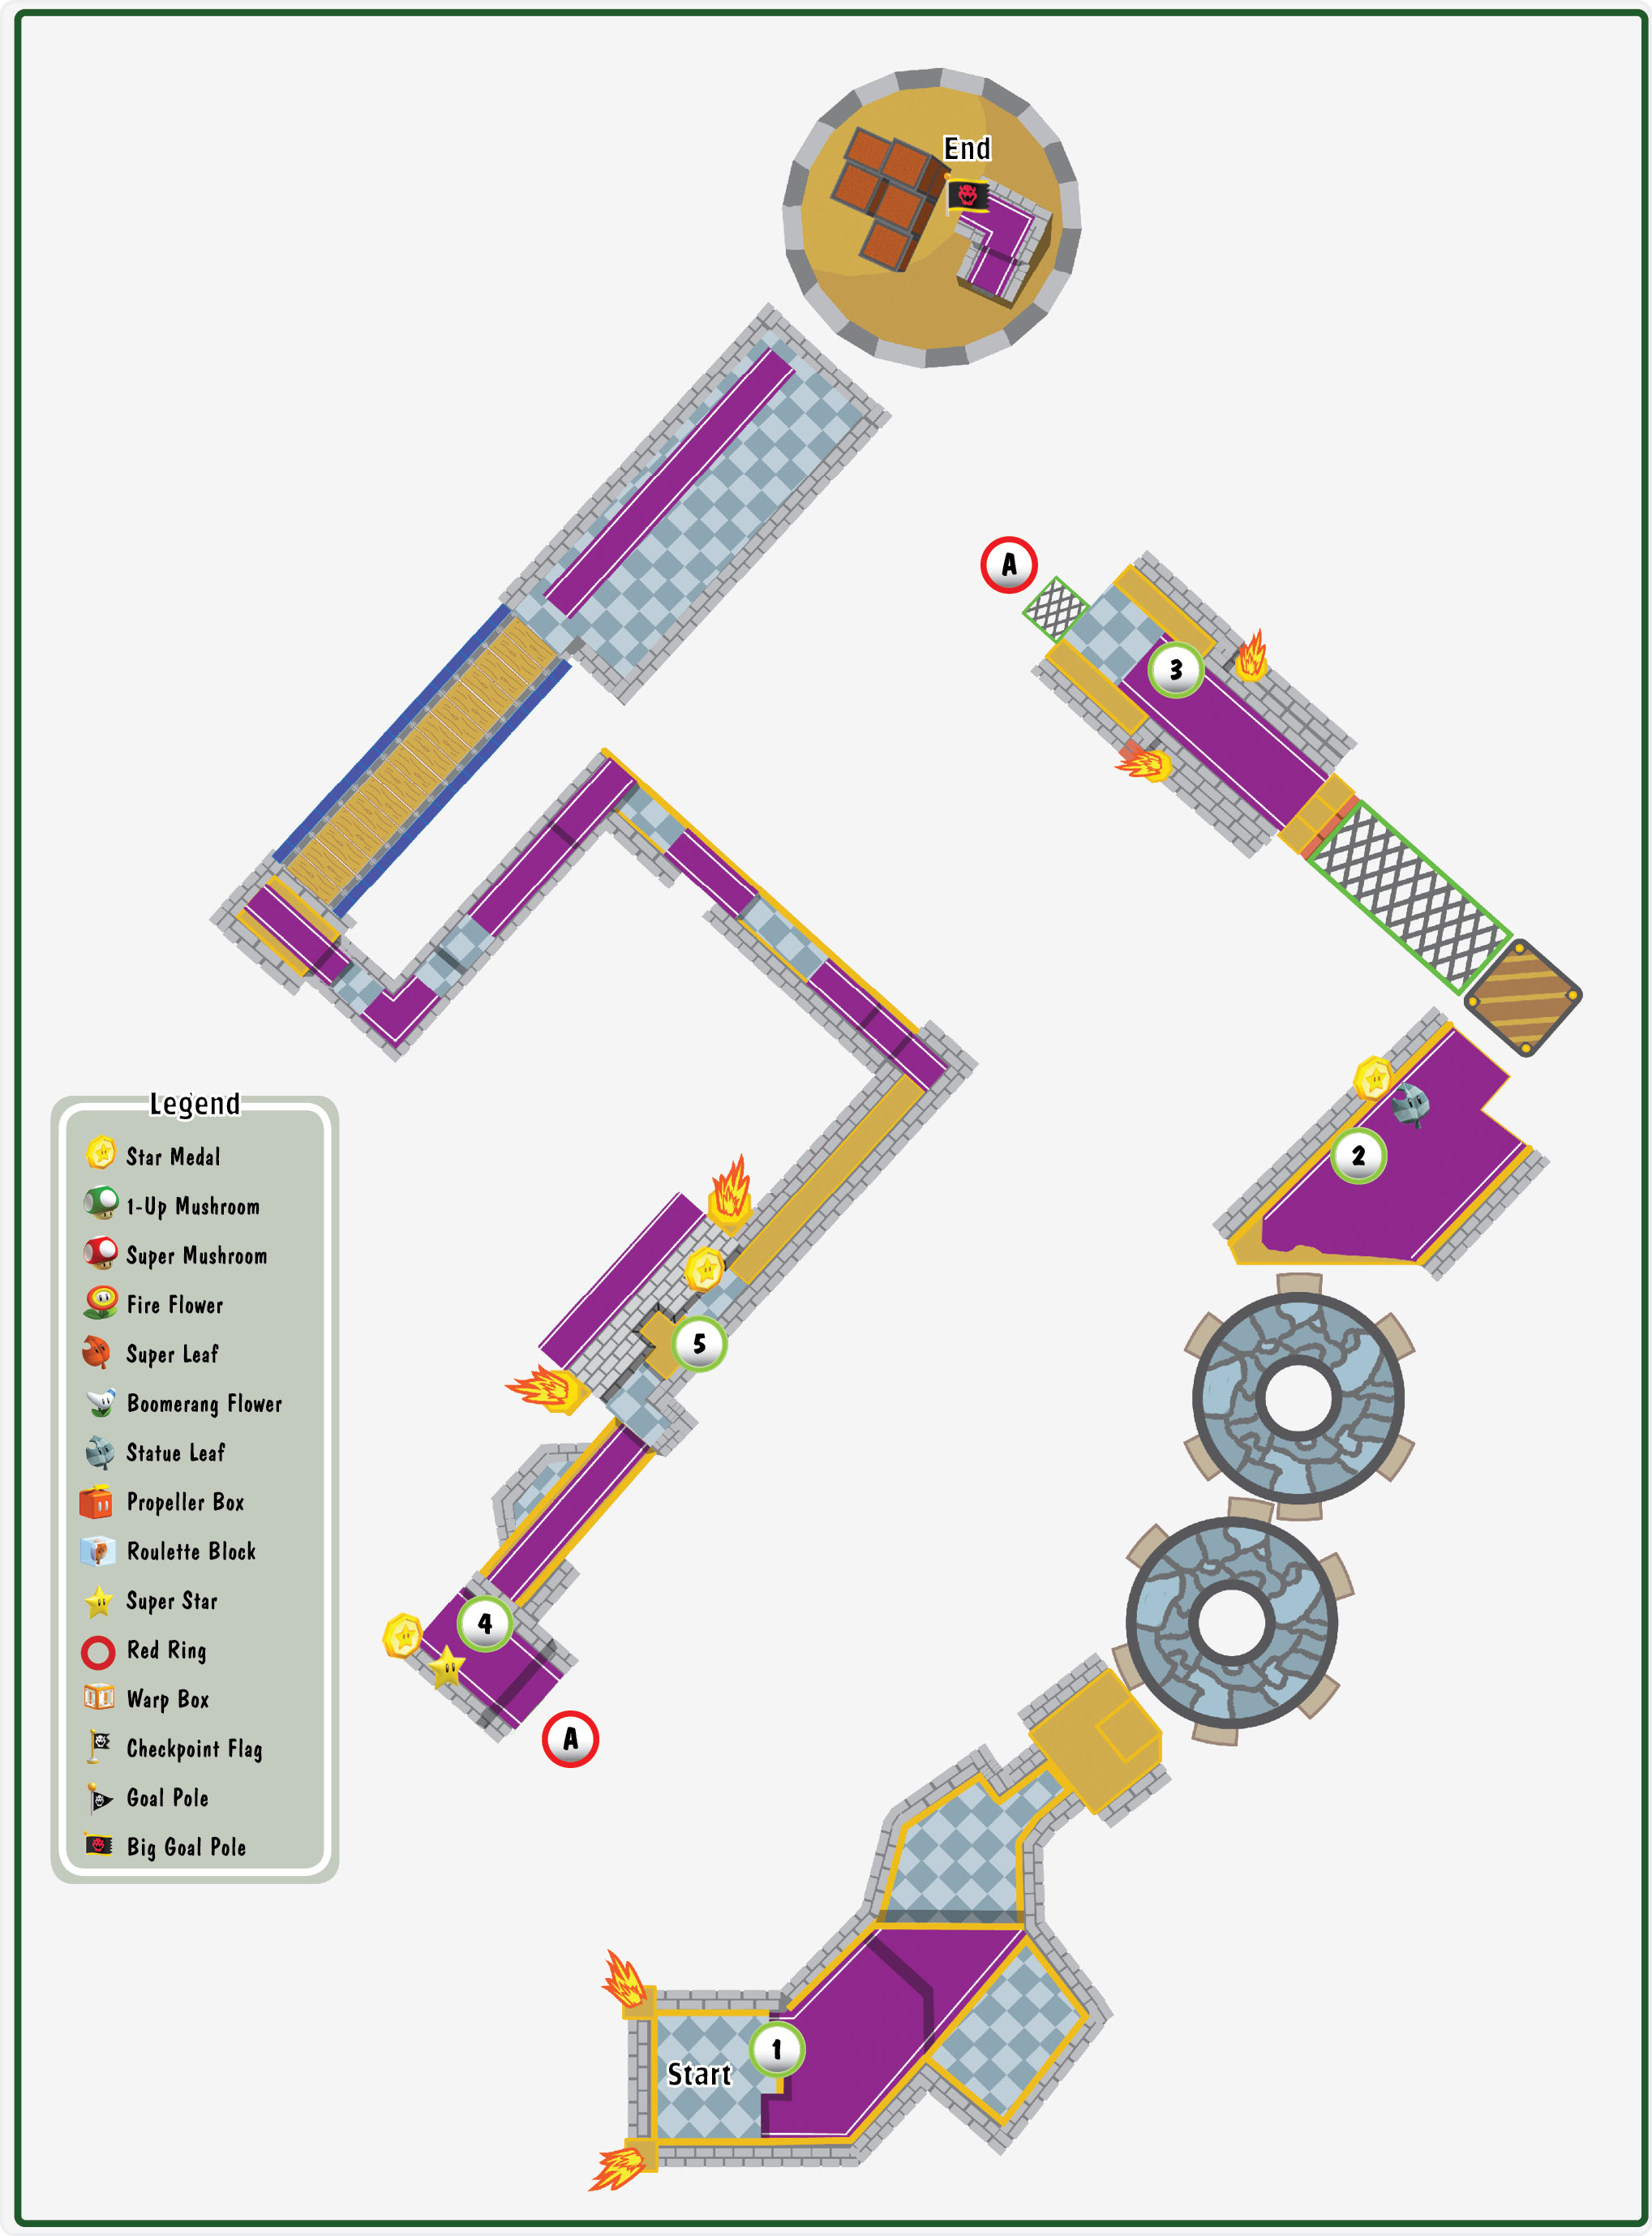
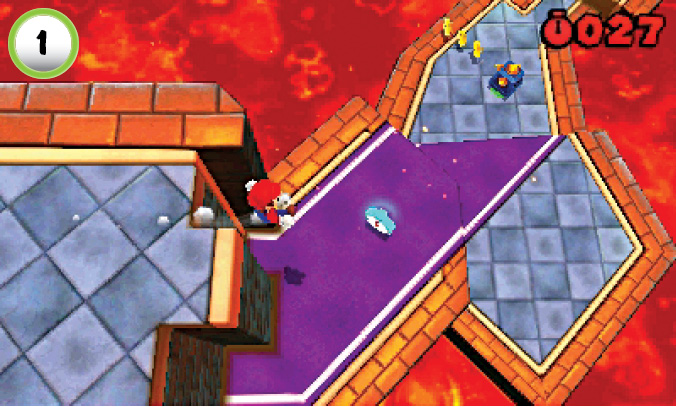
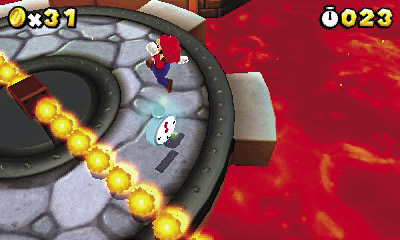
When the level starts, you have just 30 seconds on the clock. Drop down and grab the blue + Clock at Point 1 to add 10 seconds to the time limit. There aren’t many + Clocks along the main path, so it’s essential to keep moving. As you move across the gears, look for another blue + Clock near the rotating fireballs.
Star Medal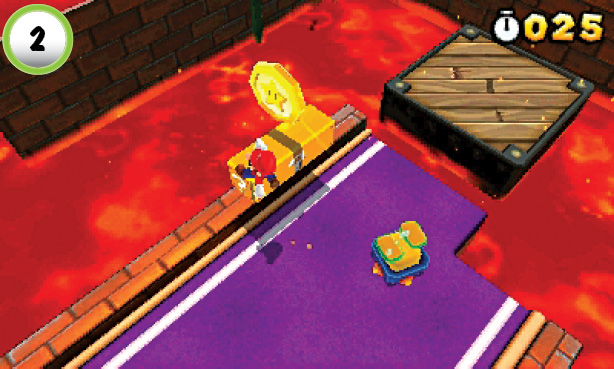 Jump onto the ? Block at Point 2 to collect the first Star Medal. Before you move on, ground-pound the ? Block to collect a Statue Leaf. |
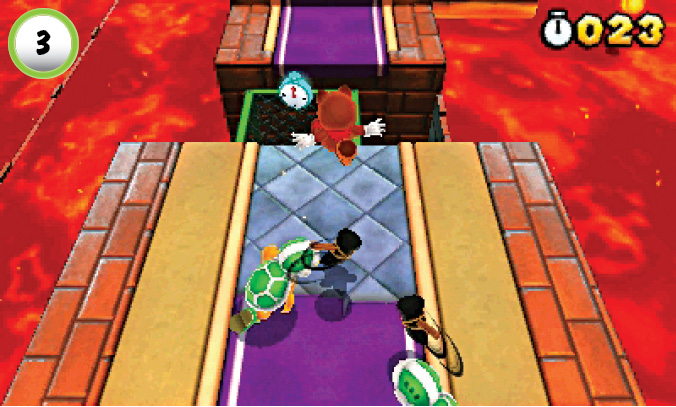
Don’t let the Hammer Bros at Point 3 slow you down. It takes them a moment to spot you, so just dash straight between them. Jump over their first attack and continue along the path.
Star Medal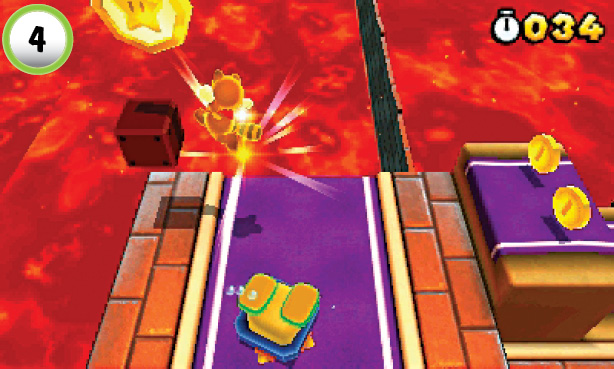 Dodge the Prongo at Point 4 and grab the blue + Clock at the corner of the platform. Jump straight up to reveal a Super Star hidden in an Invisible Block, then hop up and collect the Star Medal. |
Star Medal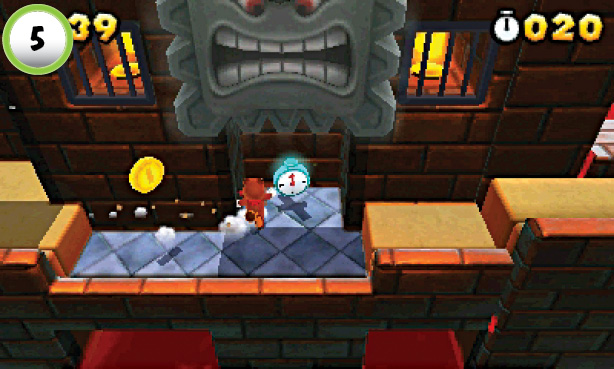 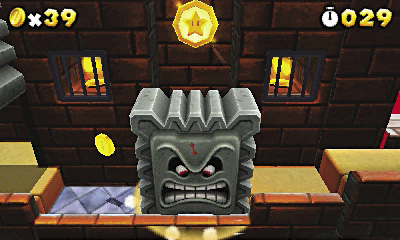 There’s a blue + Clock behind each of the Thwomps at Point 5, so make sure you grab them both. After you slip behind the second Thwomp, wall-jump up to the Star Medal above you. Continue wall-jumping until you reach the ledge. Collect the blue + Clock near the Binoculars, then run to the left to collect another one. Drop back down to the main path and continue through the level. |
Boss Battle: Dry Bowser
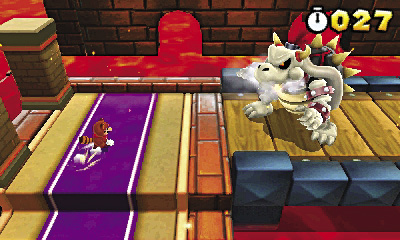
The encounter with Dry Bowser is almost identical to an earlier boss battle, so you shouldn’t have much trouble defeating him. Dodge his fireballs as you close the distance, then look for an opportunity to slip past him.
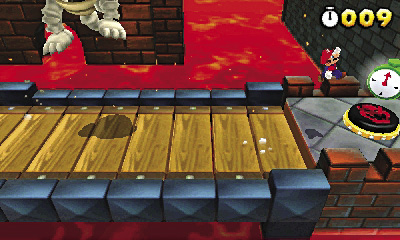
Depending on how many + Clocks you managed to collect, you may need to pick up the pace a bit. After you slip past Dry Bowser, he uses a massive jump to get back in front of you. If you can afford to take some damage, consider running straight through his landing spot. The impact will cost your active power-up, but you’ll save precious time. When you reach the end of the bridge, collect the green + Clock and step on the switch. With 100 extra seconds on the clock, you should have plenty of time to reach the end of the level.
It’s Luigi Time!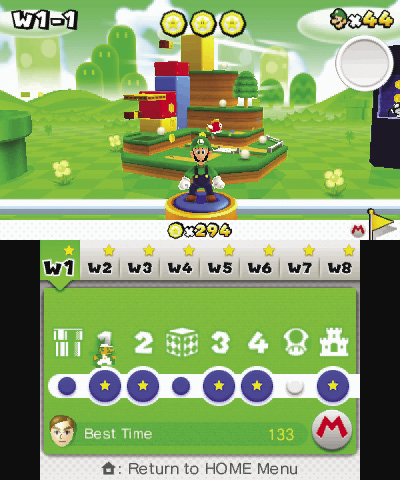 After you complete Special 1—Castle, Luigi is unlocked as a playable character! To switch between Mario and Luigi, tap the icon in the lower-right corner of the touch screen during level selection. Any power-ups you have will carry over to the new character, so you can switch as often as you like! 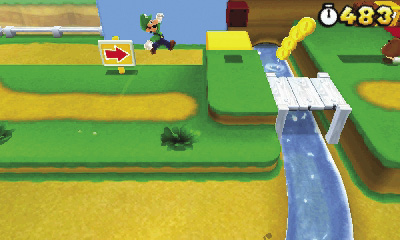 Luigi has all of Mario’s moves, but he’s able to jump much higher. Unfortunately, his longer legs make him less agile on the ground. Sudden stops cause Luigi to slide farther than his brother would, making it a bit more difficult to navigate small platforms. Each time you complete a level, the game records which character was used. To unlock the game’s final challenge, you must complete each level with both Mario and Luigi and reach the top of each Goal Pole at least once. |