
Super Mario 3D Land Guide Walkthrough Specials
Special Four
Special 4-1
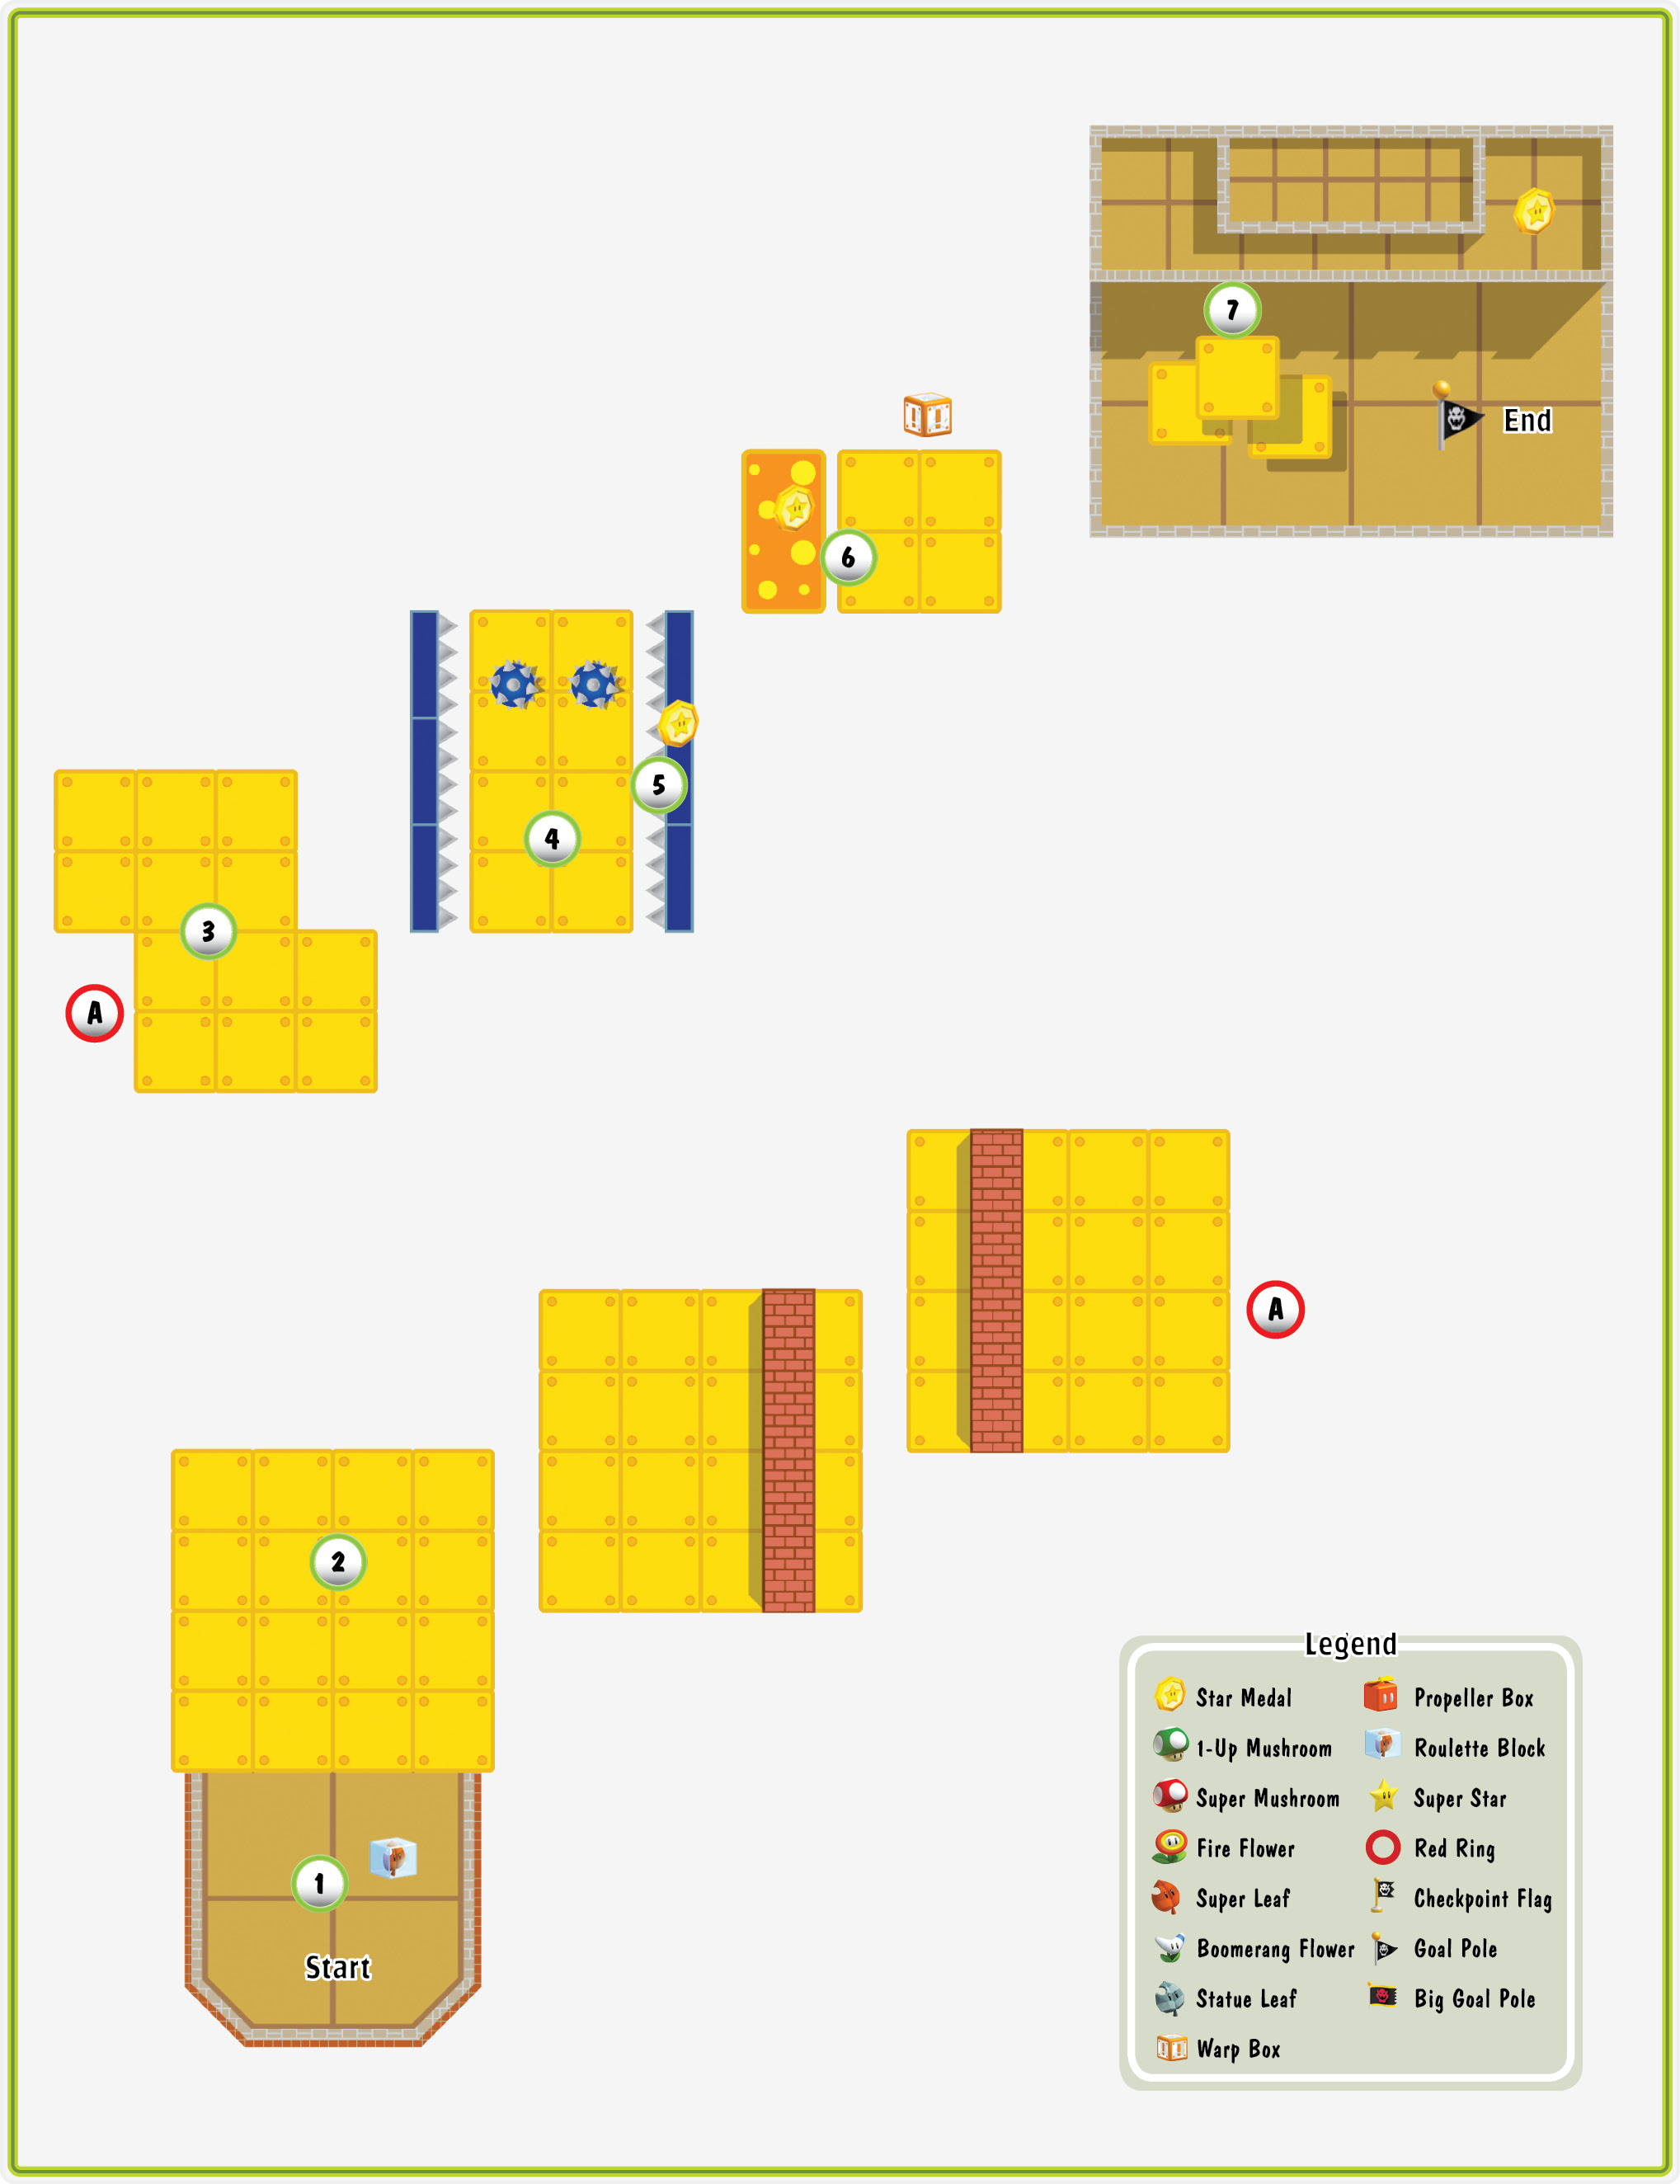
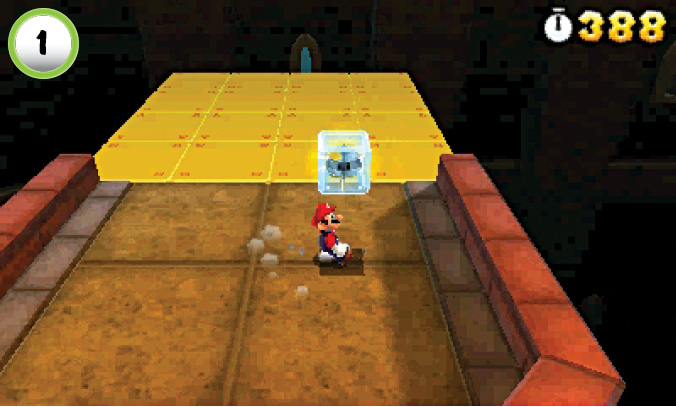
When the level starts, hit the Roulette Block to collect a random power-up. When you’re ready to continue, hop onto the large cluster of platforms.
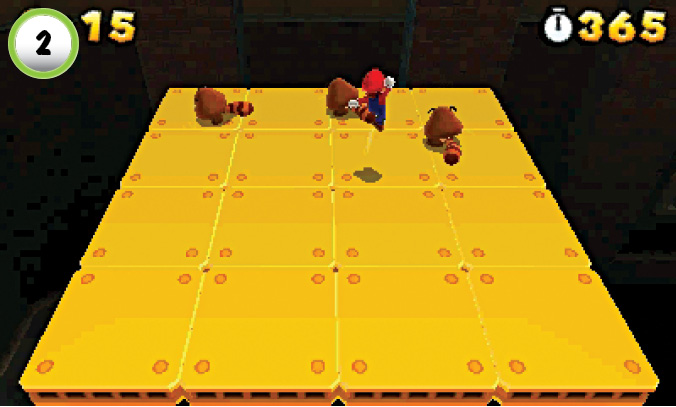
As you ride through the level, groups of enemies drop onto the platforms. Depending on the power-up you received from the Roulette Block, these encounters can vary in difficulty. Watch the platforms for the shadows of incoming enemies.
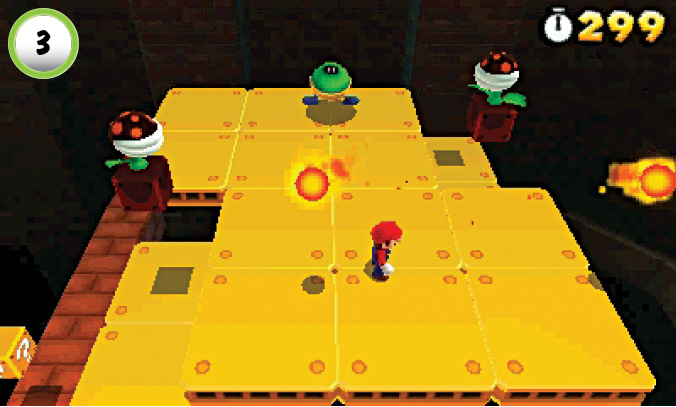
When you pass by the Fire Piranha Plants, some of the platforms begin to drop away. As you deal with incoming enemies, try to stay near the center of the platforms.
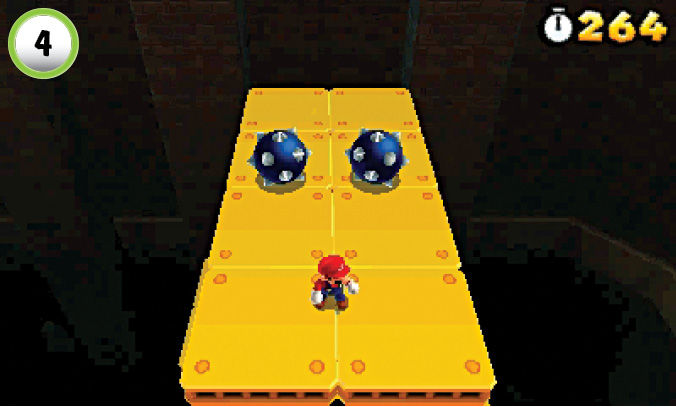
Soon after the Bob-ombs appear, spiked balls start rolling across the platform. Use a few tail whips to deal with the Bob-ombs as quickly as possible, then prepare for the spiked balls. Move toward the bottom of the screen and stand at the edge of the platforms. Make sure you position yourself on the line that divides the two sections. Stay put as the spiked balls bounce off of each other and roll safely past you.
Star Medal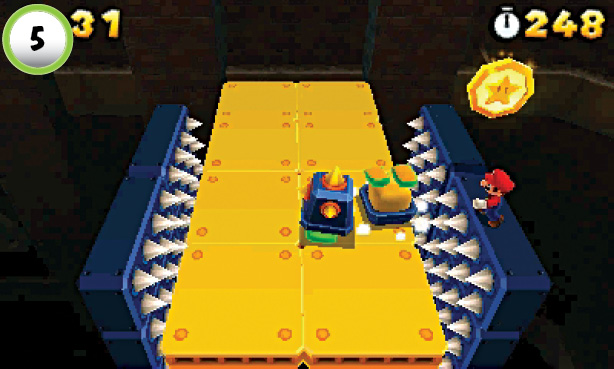 The level’s first Star Medal is located on the edge of the retractable spikes. As you pass between the spikes, watch for the Star Medal to appear on the right. When you’re close enough, jump over and grab it. Return to the platforms and deal with any remaining Prongos. The platforms near the bottom of the screen are about to drop away, so make sure you stay near the background. |
Star Medal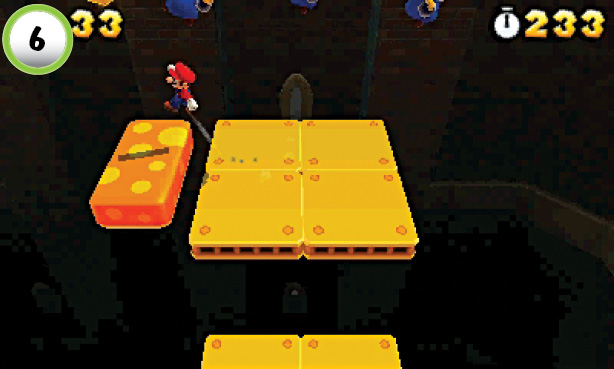 The second Star Medal is floating above a rubber platform that appears to the left. A group of Magikoopas is waiting nearby, so try to collect the Star Medal before they have a chance to attack. The Magikoopas follow you to the end of the path, and you have very little room to dodge their attacks. If possible, use a few tail whips to clear them out of the area. |
Star Medal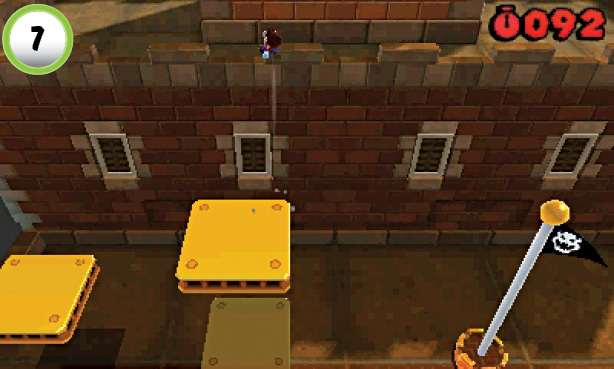 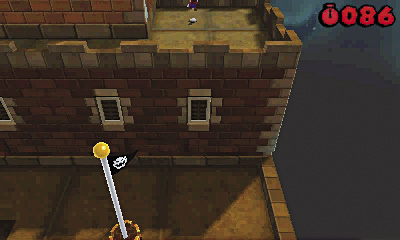 Before you jump to the Goal Pole, check the nearby building for the level’s last Star Medal. Jump up along the moving platforms, then make a running leap onto the building. Move to the right until you find the Star Medal’s shadow. Stand on the shadow and perform a backflip to collect the Star Medal. |
Special 4-2
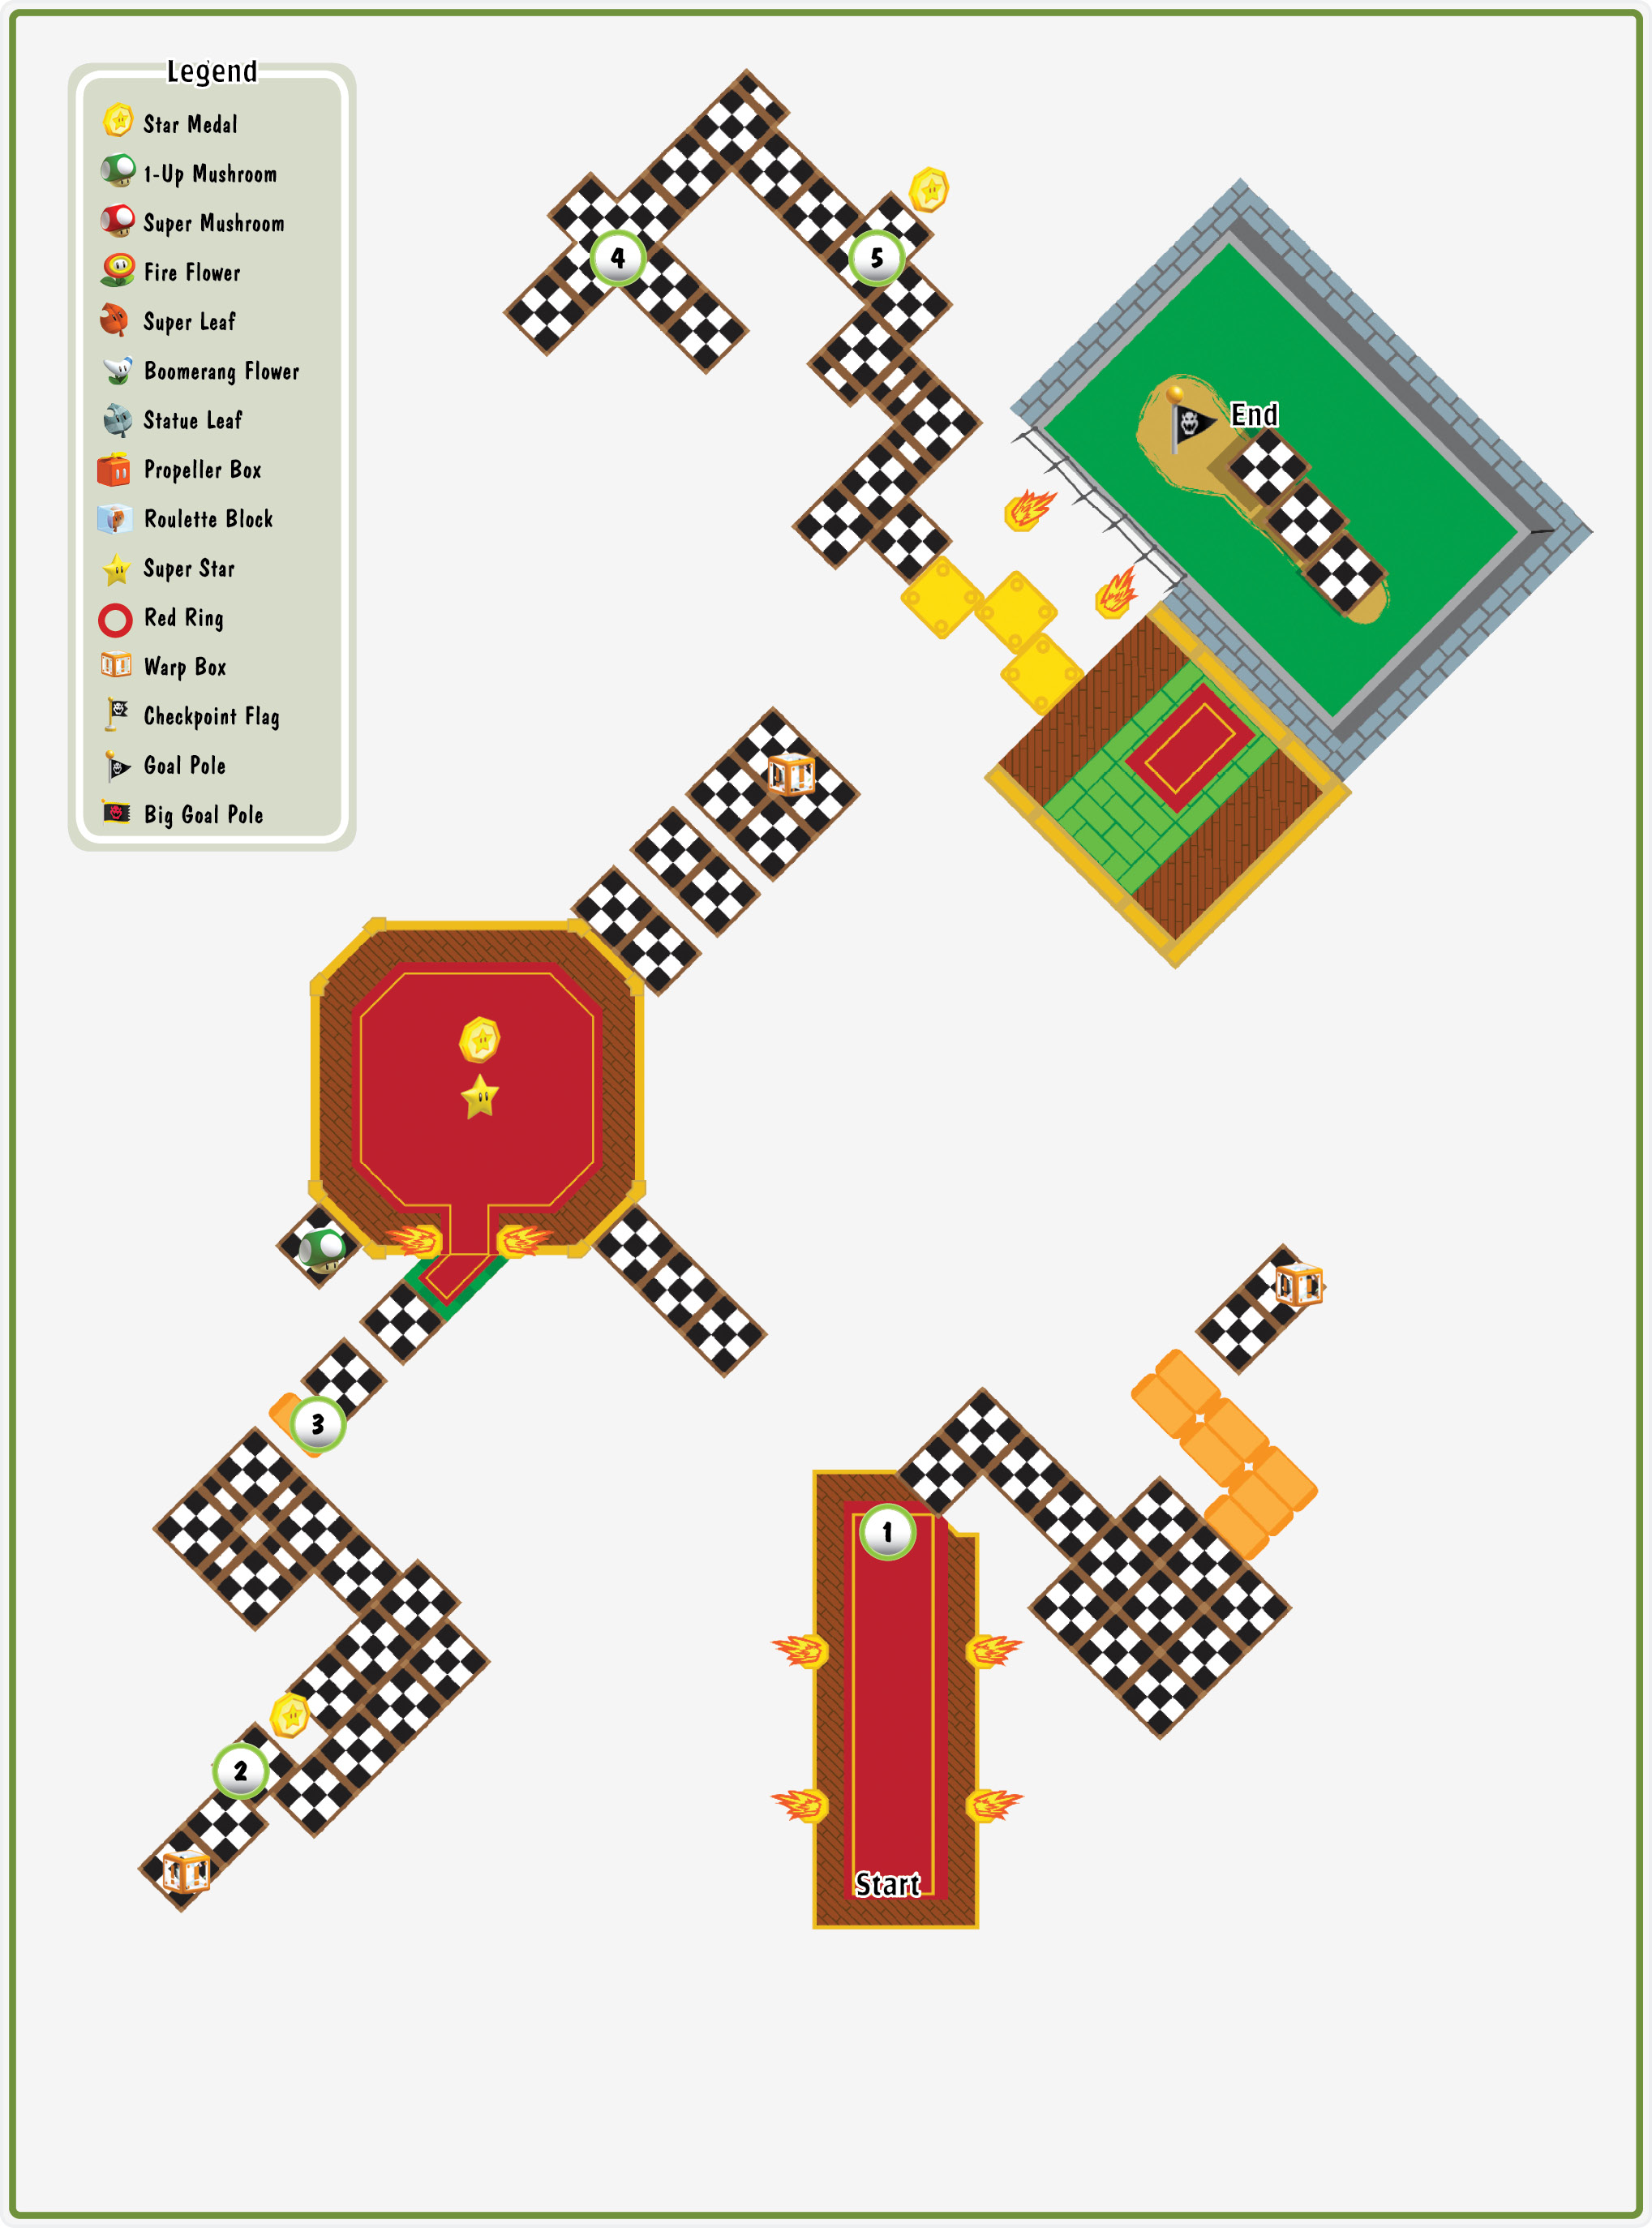
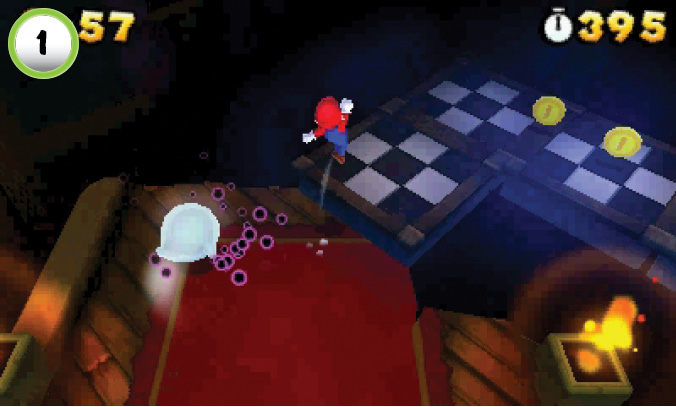
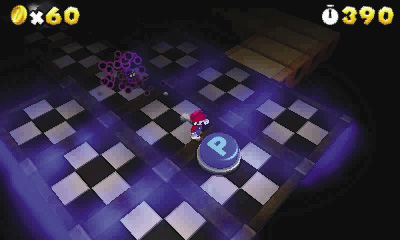
When the level starts, dash past the Boos to reveal the invisible platforms at Point 1. Hit the P Switch at the end of the path, then circle around and follow the Donut Blocks to the Warp Box.
Star Medal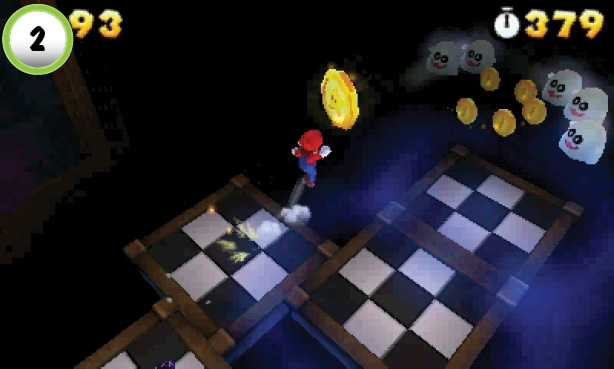  When you appear in the next area, look for the Star Medal to the right. As you approach it, the invisible platforms veer off to the right. Make a running leap straight through the Star Medal. As you pass over the gap, more platforms materialize to provide a safe landing. When you land, dodge past the Peepa and continue along the path. |
Star Medal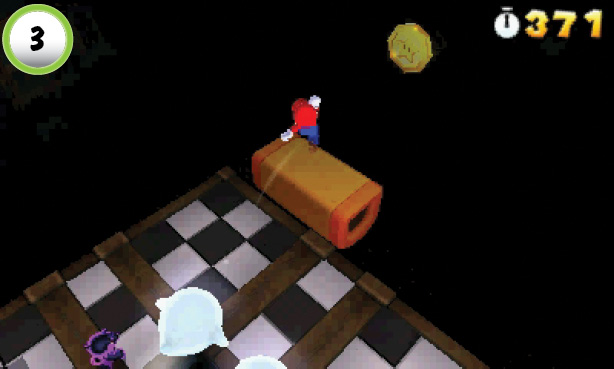 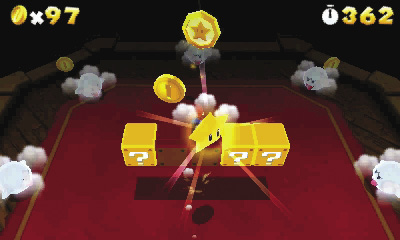 When you approach the Star Medal at Point 3, it flees down the path. Follow it onto the large platform to find a row of ? Blocks. As you approach them, you find yourself surrounded by Boos. Hit the ? Block in the center of the row to collect a Super Star. Dash through the Tail Boo to the right to collect a Statue Leaf, then run through the remaining enemies. When you’re ready to move on, grab the Star Medal and find the hidden platforms to the right. |
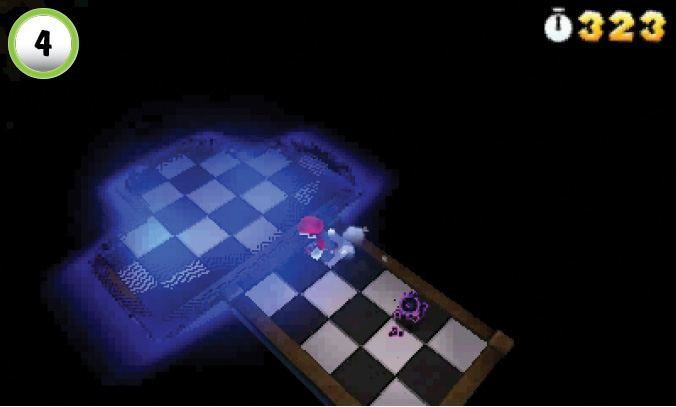
After the Warp Box drops you at Point 4, the Cosmic Clone can make it very hard to search for invisible platforms. When you’re not sure where to go, circle the edges of your current platform to keep the Cosmic Clone from catching you.
Star Medal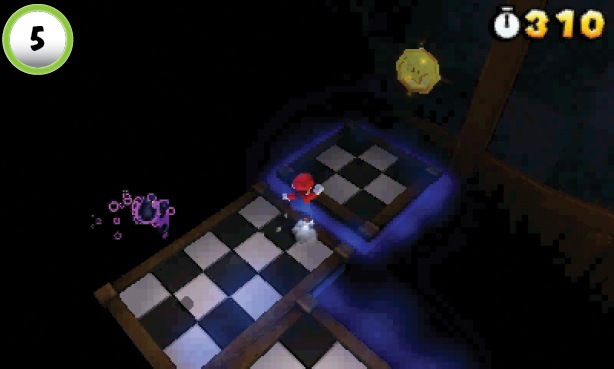 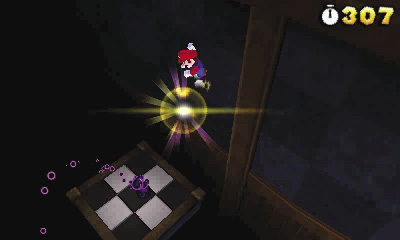 Follow the platforms to the Star Medal at Point 5. Make a running leap through the Star Medal, then wall-jump over the Cosmic Clone. When you land, follow the platforms to the exit. |
Special 4-3
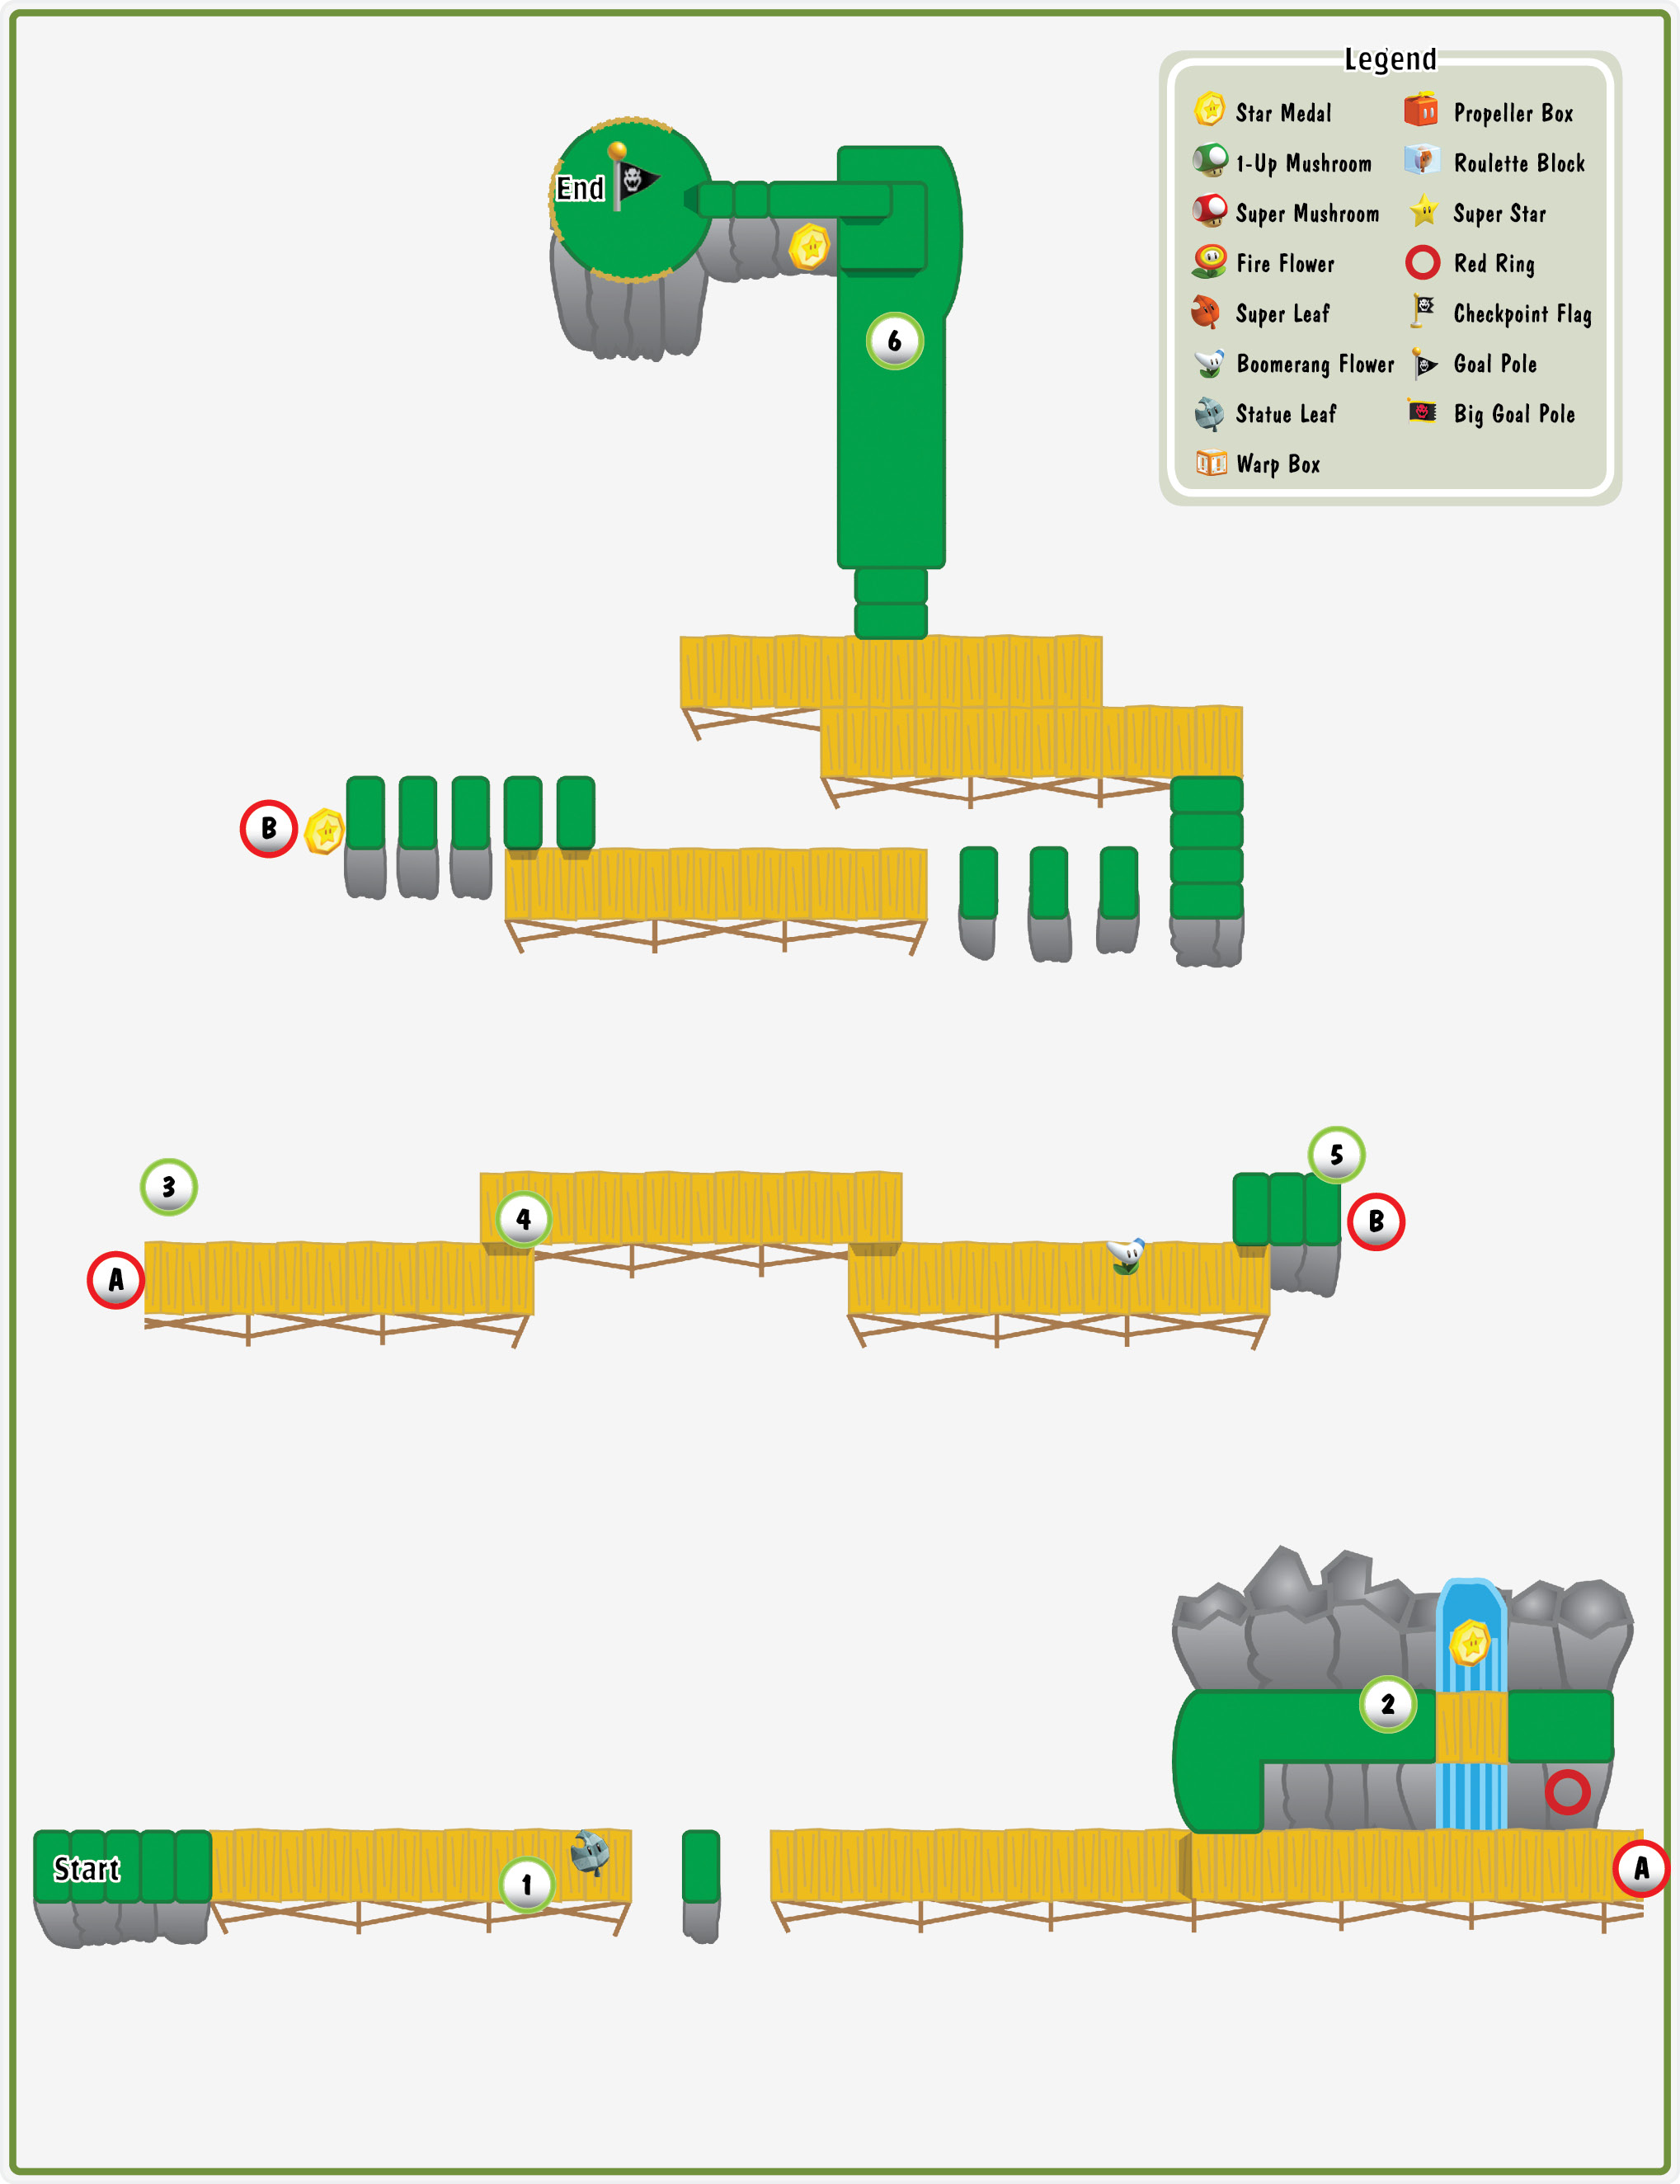
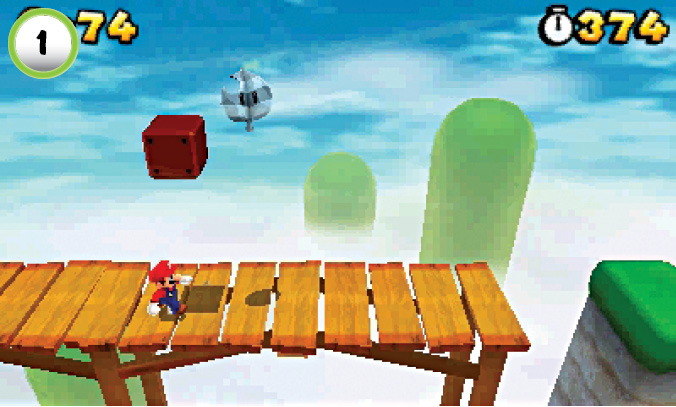
After you deal with the Flophopper at Point 1, search the nearby Blocks to collect a Statue Leaf.
Star Medal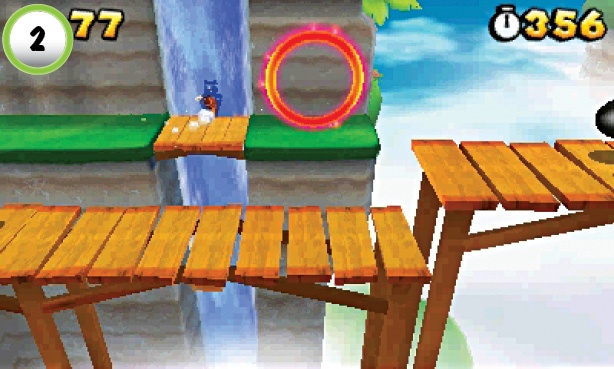 The level’s first Star Medal is hidden behind the waterfall at Point 2. Run through the water to collect it, then collect the coins from the nearby ? Block. When you return to the main path, watch out for the Bullet Bills approaching from the right. |
Red Ring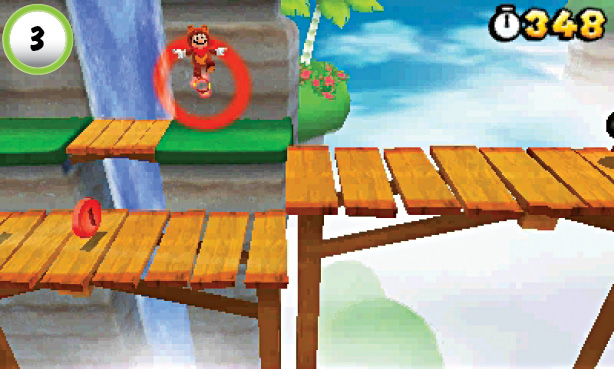 After you exit the waterfall, make a running leap through the Red Ring. When you land, dash to the left and collect all of the Red Coins to earn a power-up. |
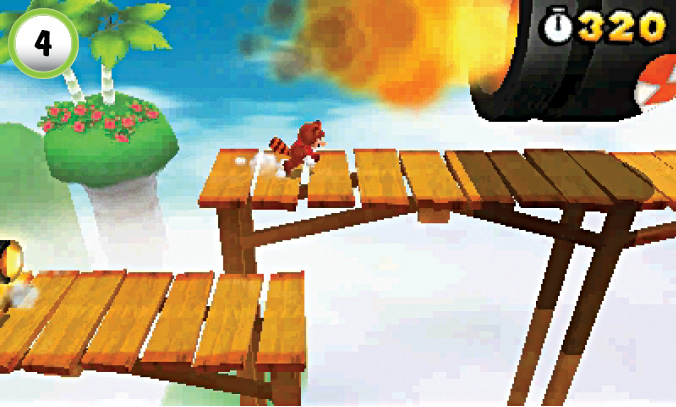
When you jump to the walkway at Point 4, a Banzai Bill comes flying in from the left. When you land, dash across the walkway to stay ahead of the massive enemy.
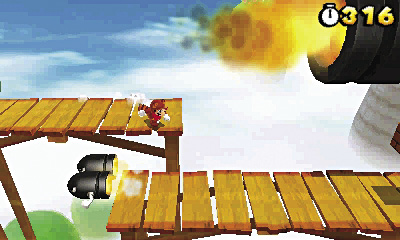
As you drop down to the next walkway, watch out for the Bullet Bills flying in from the right. Hop up and search the nearby ? Block to reveal a Boomerang Flower.
Star Medal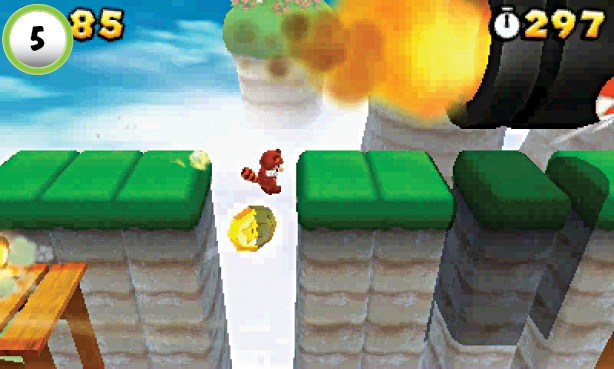 The second Star Medal is floating below the path at Point 5. Wait for a Banzai Bill to appear, then follow it toward the Star Medal. Drop down to grab the Star Medal, and wall-jump back up to the path before the next Banzai Bill arrives. Dash across the smaller gaps to the right and drop down to the next walkway. As you continue along the path, keep an eye out for more Bullet Bills. |
Star Medal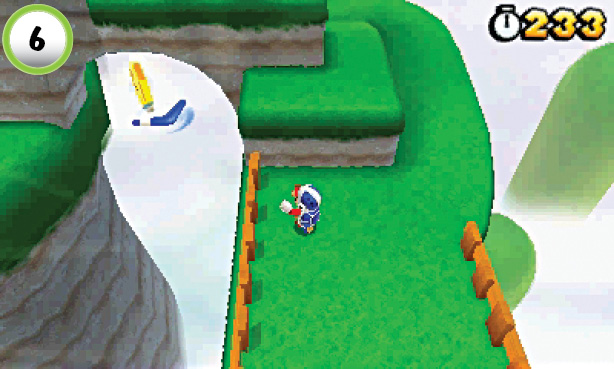 The last Star Medal is floating under the bridge at Point 6. Use a boomerang to collect it before you jump to the Goal Pole. |
Special 4—Mystery BoxAfter you complete Special 4-3, you gain access to a new Mystery Box. This Mystery Box contains a random encounter. Clear the area and collect your reward before time runs out. |
Special 4-4
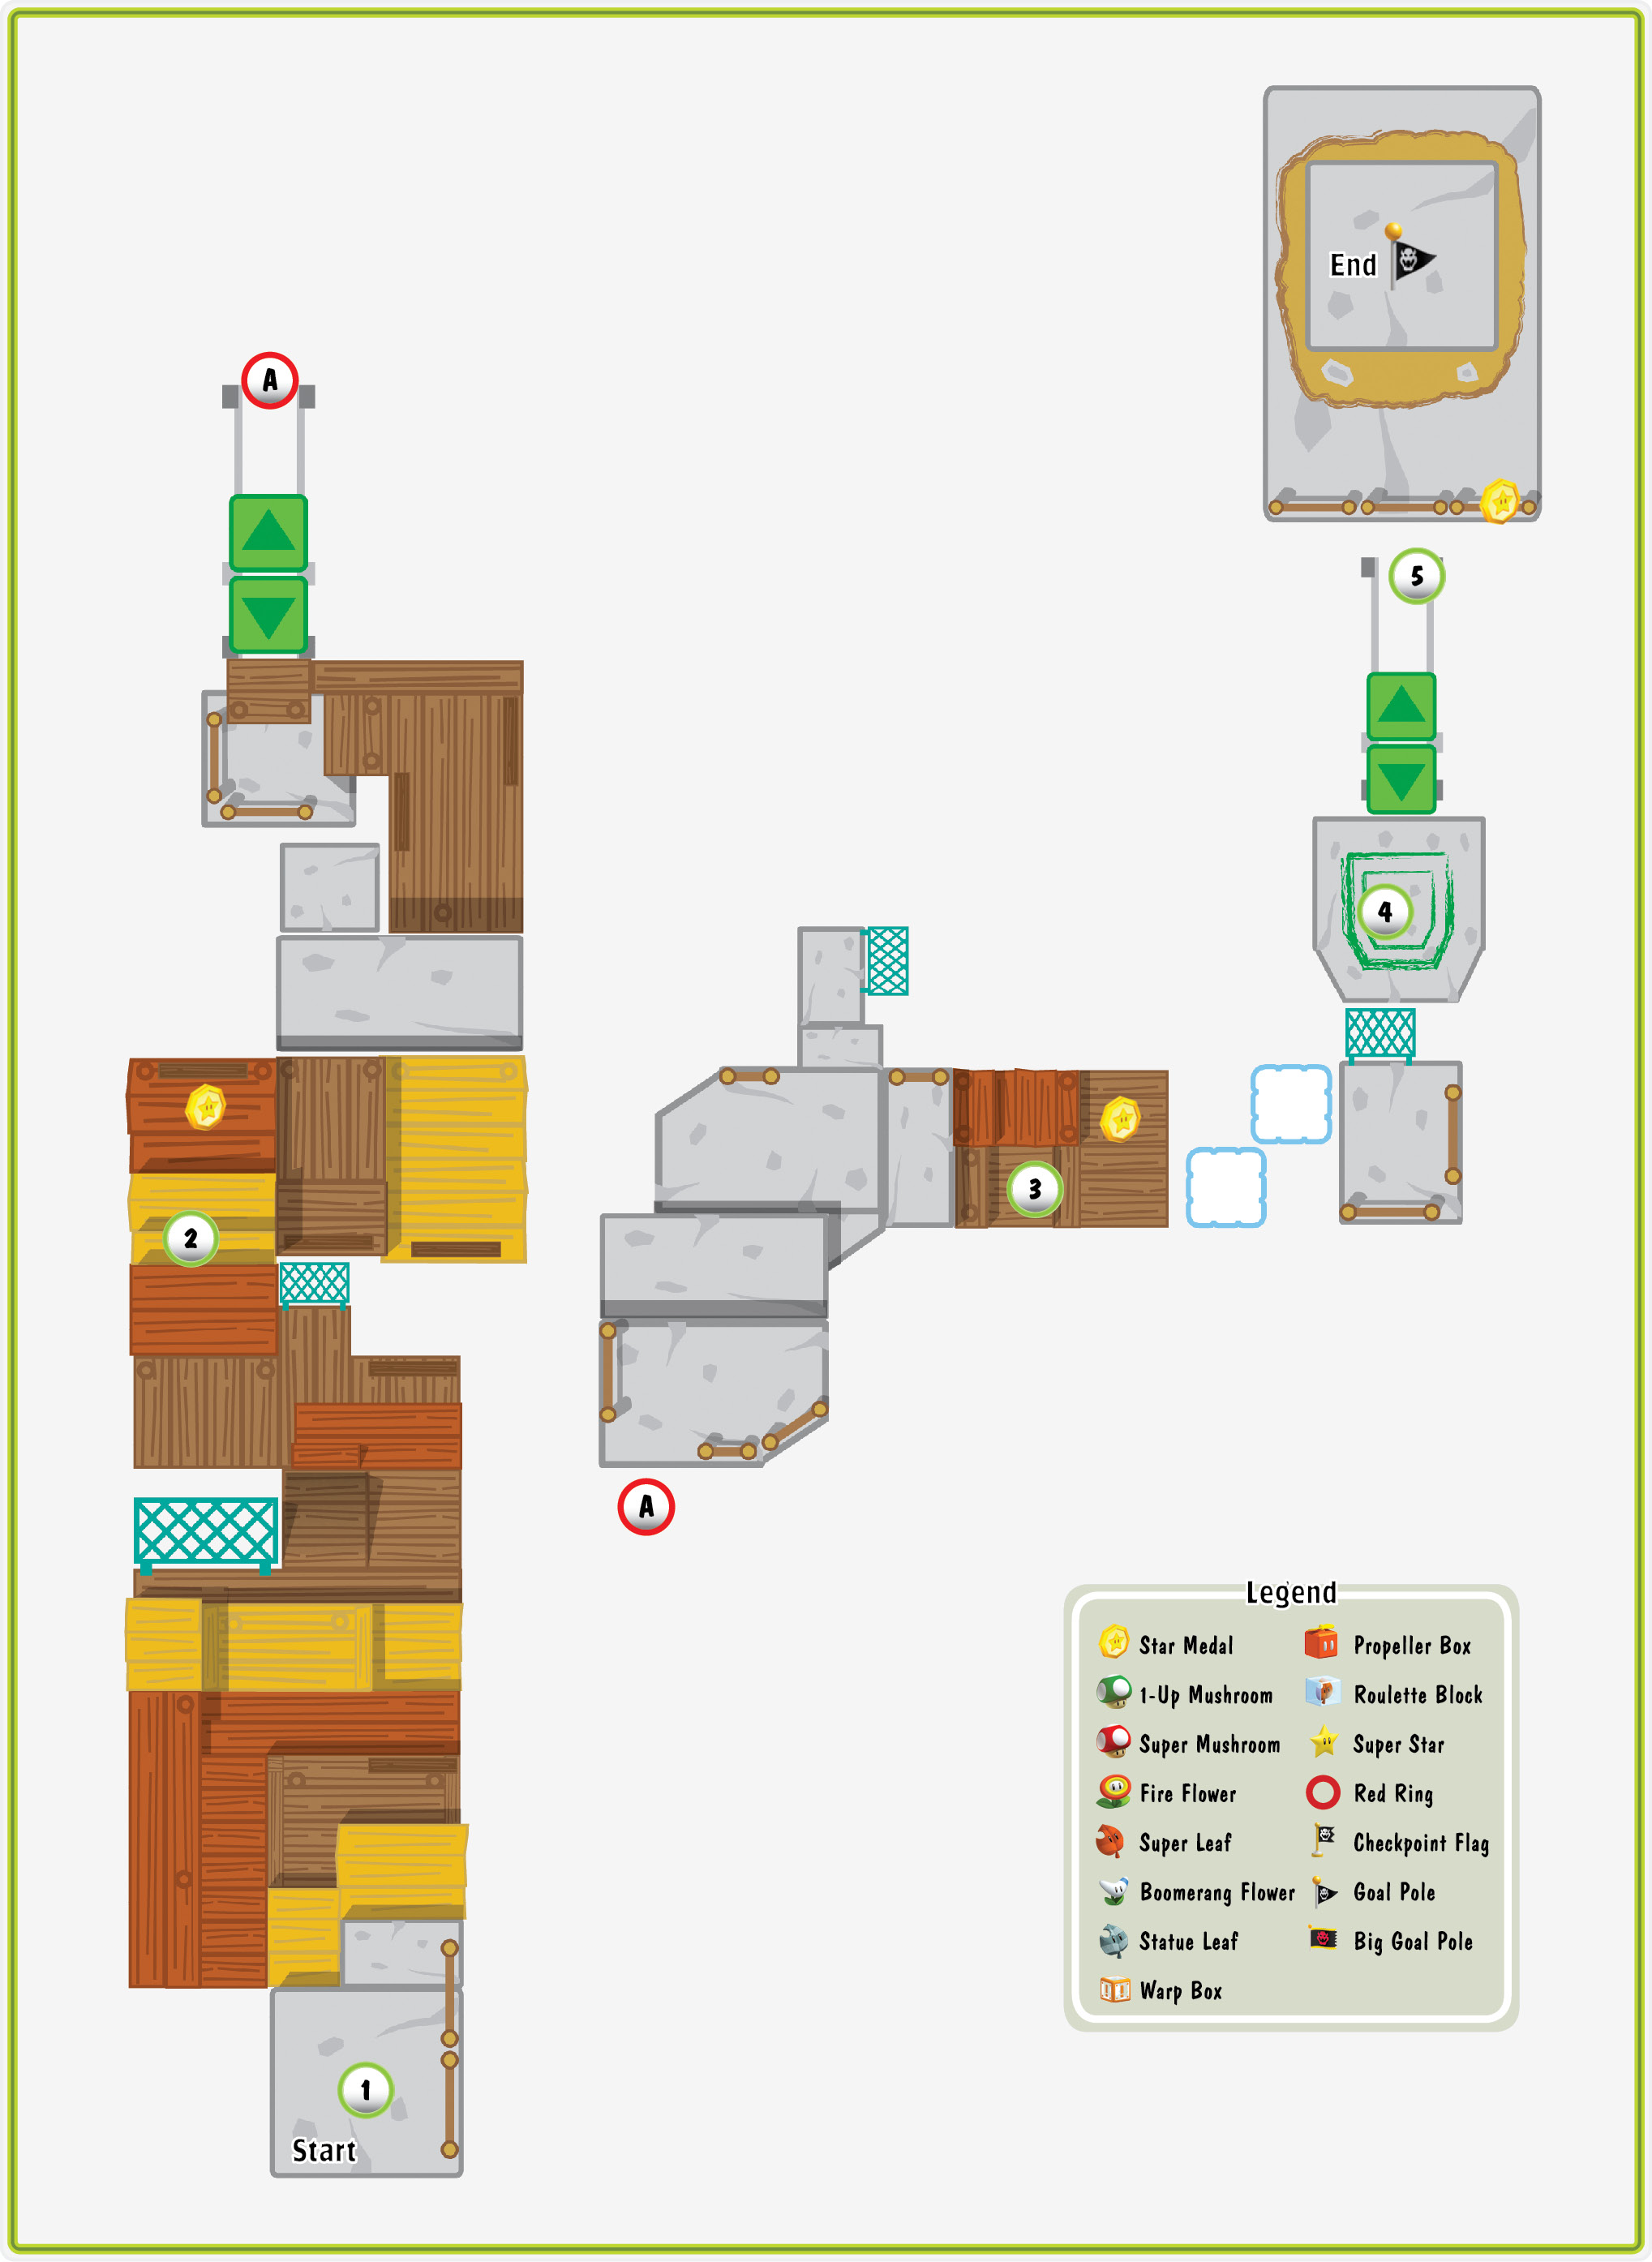
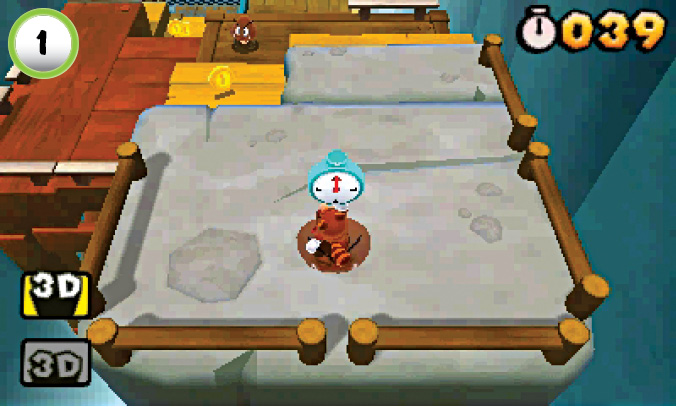
The level starts with just 30 seconds on the clock. Each time you defeat a Goomba you earn a blue + Clock. Hurry down the path and clear out every Goomba you find.
Star Medal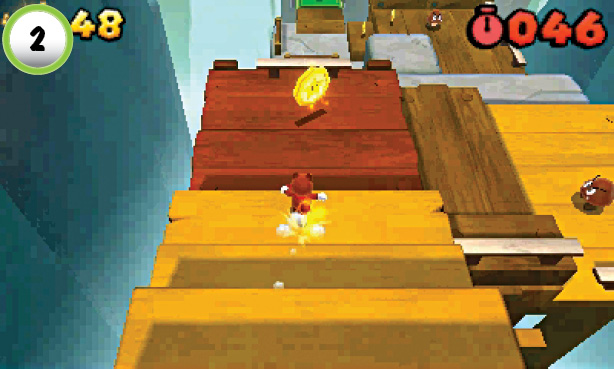 The first Star Medal is located on the main path. Follow the steps down to Point 2 to grab it on your way through the level. |
Star Medal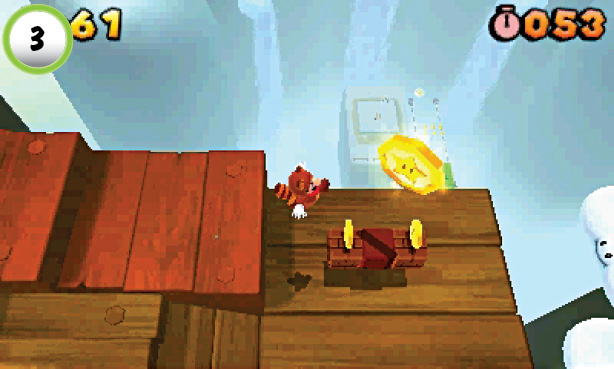 The second Star Medal is located above the ? Block at Point 3. If you’ve cleared out each enemy along the path, you should have a fair amount of time on the clock. Hurry across the cloud platforms and head into the final stretch. |
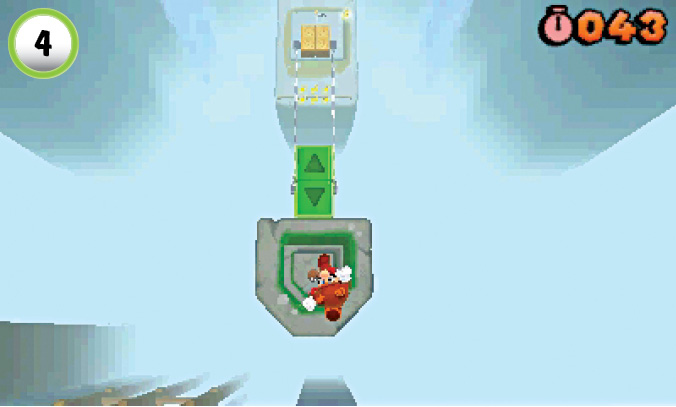
As you drop down to Point 4, look for the Goomba near the center of the platform. Try to land directly on its head, then hop onto the nearby Switchboard.
Star Medal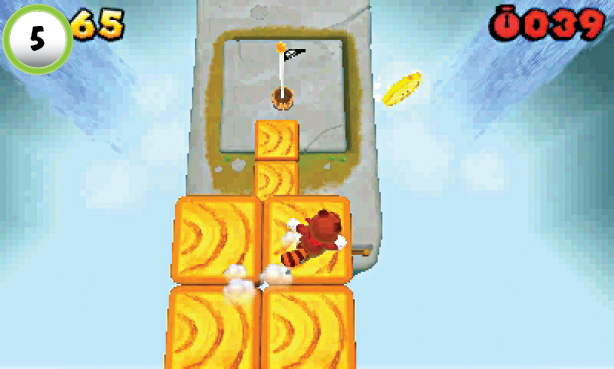 Ride the Switch-board to the end of the tracks, then drop down to the wooden platforms below you. The last Star Medal is off to the right, leap out to grab it. |
Special 4-5
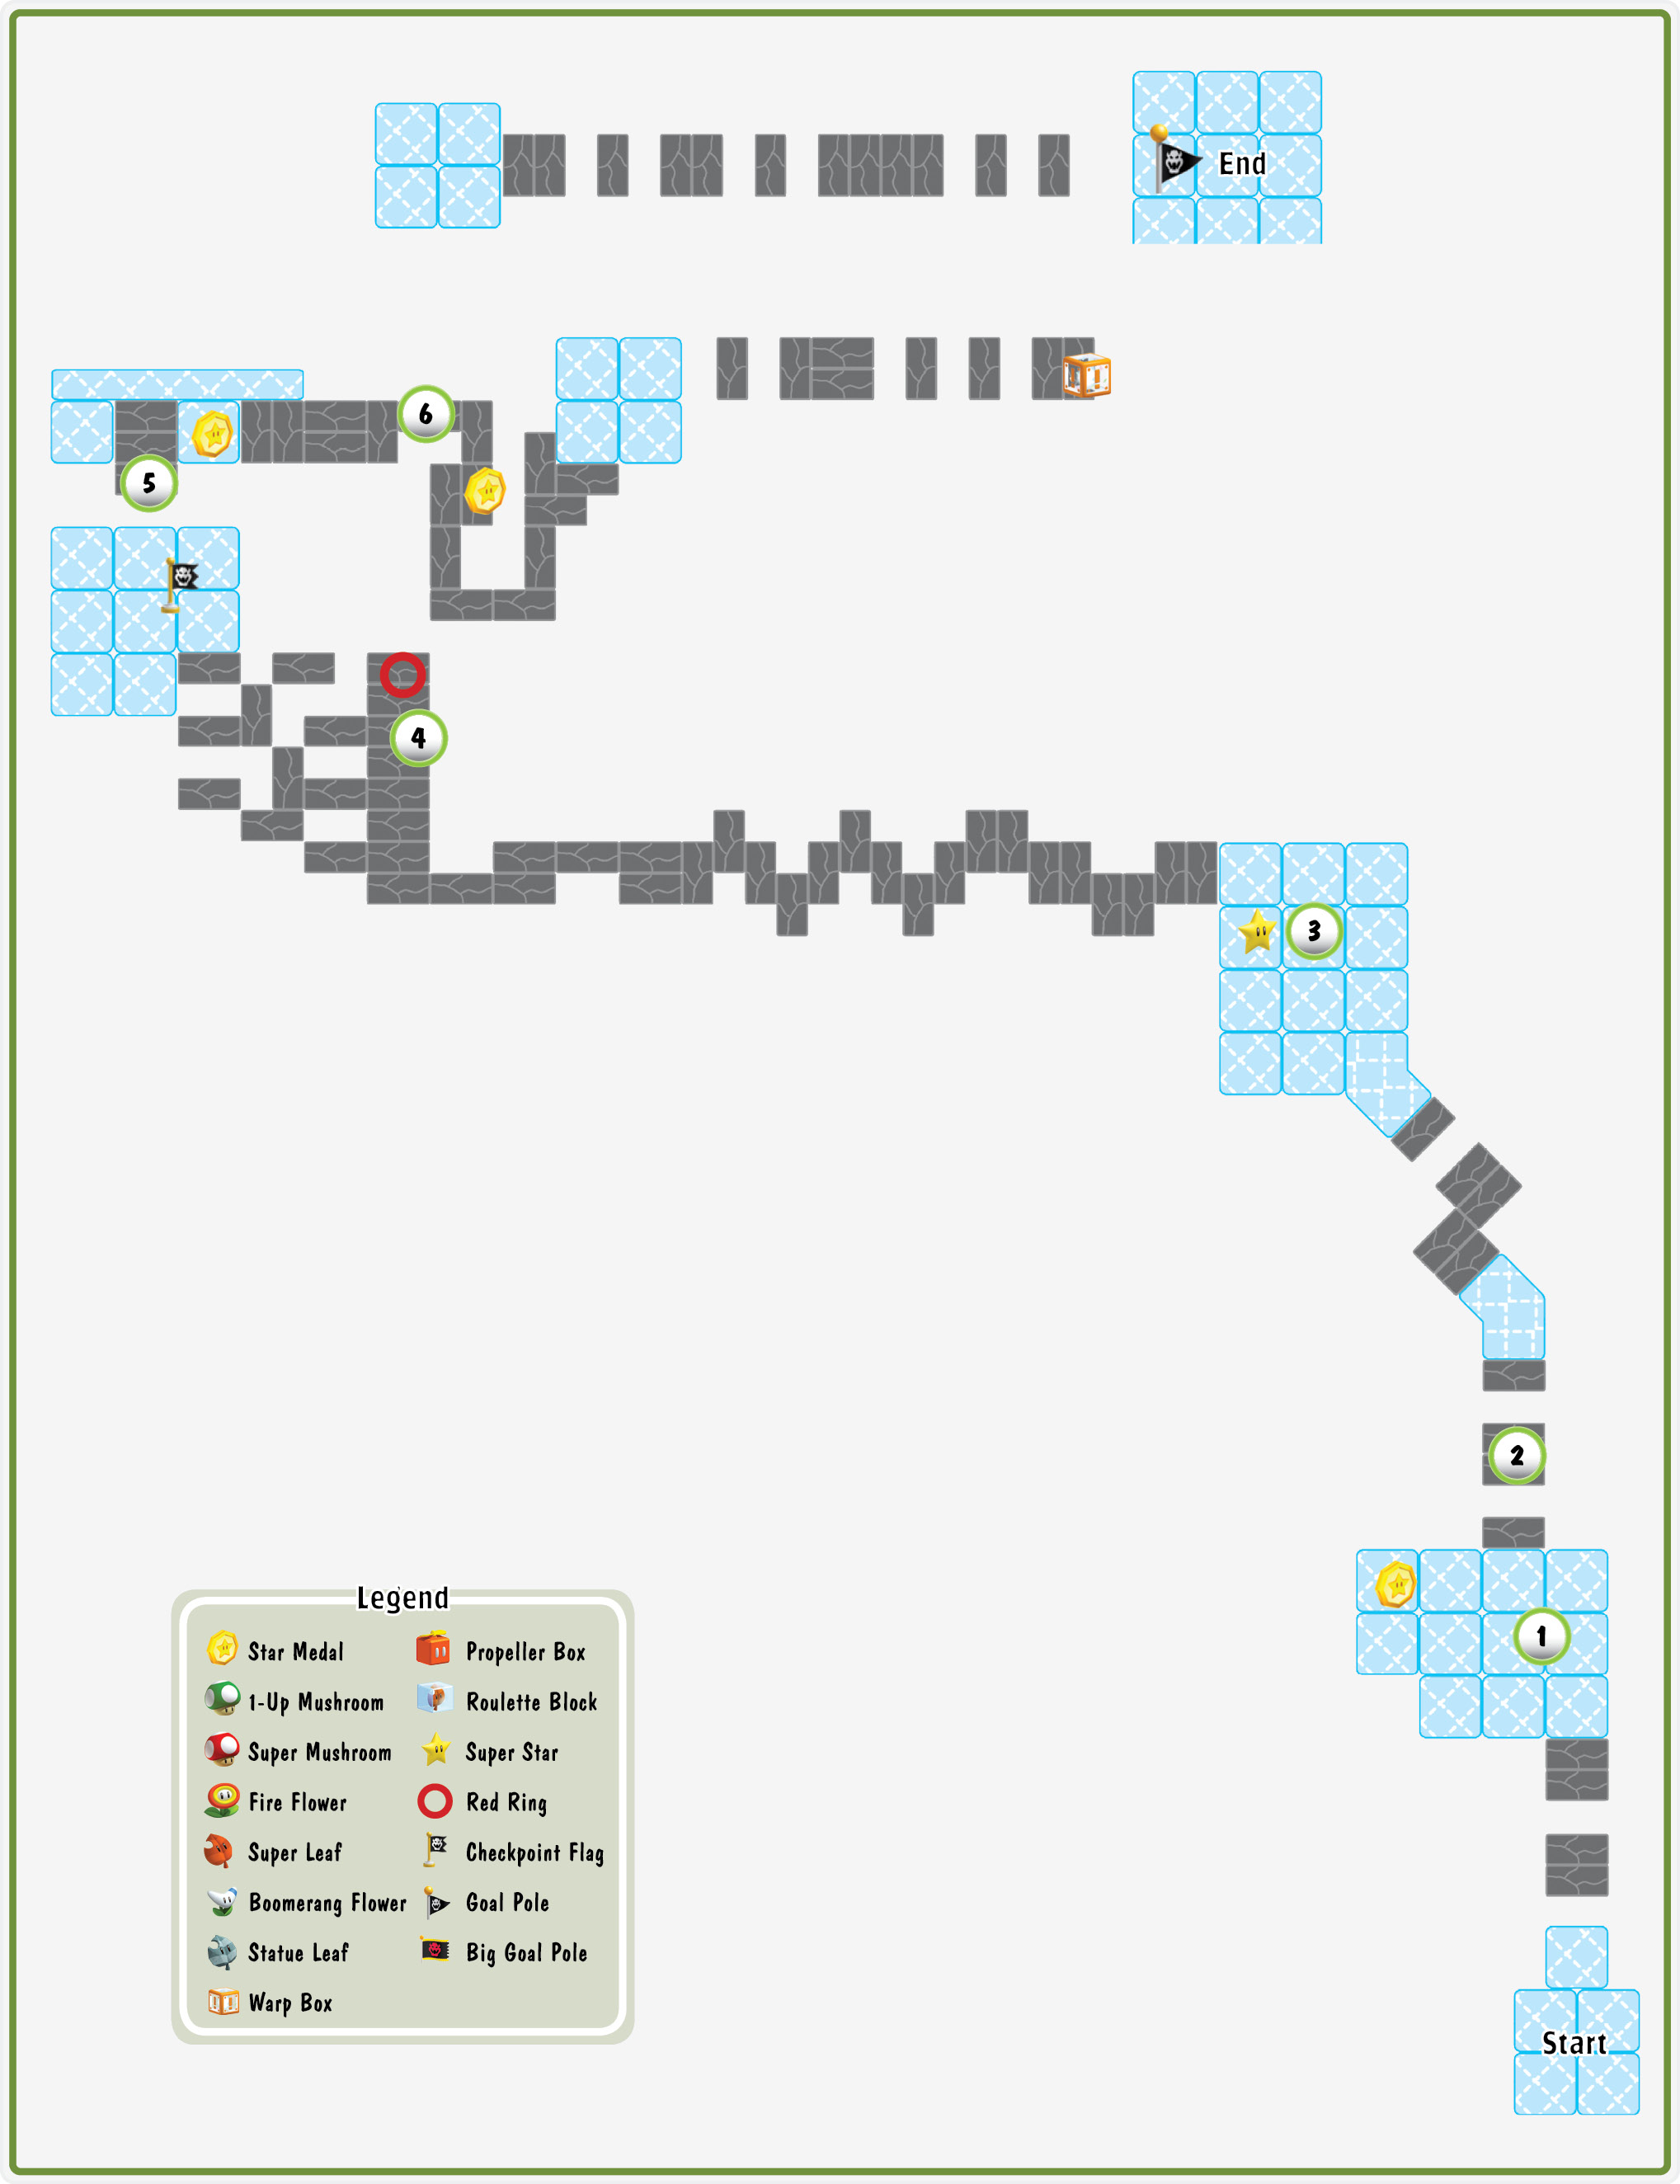
Star Medal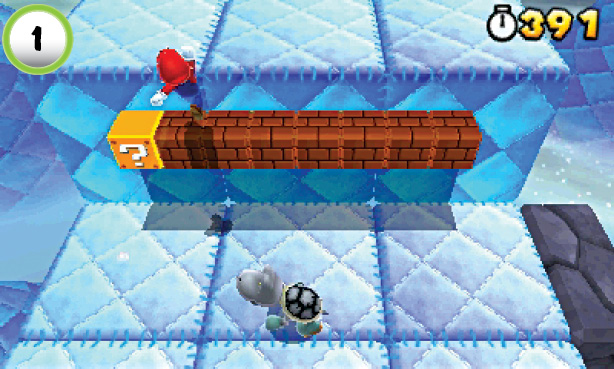 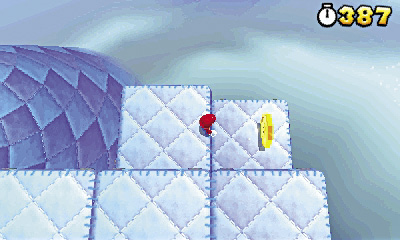 The ? Block at Point 1 contains a Poison Mushroom, so it’s best to avoid it. Hop onto the blocks and up to the ledge. The level’s first Star Medal is hidden on a small platform behind the wall. |
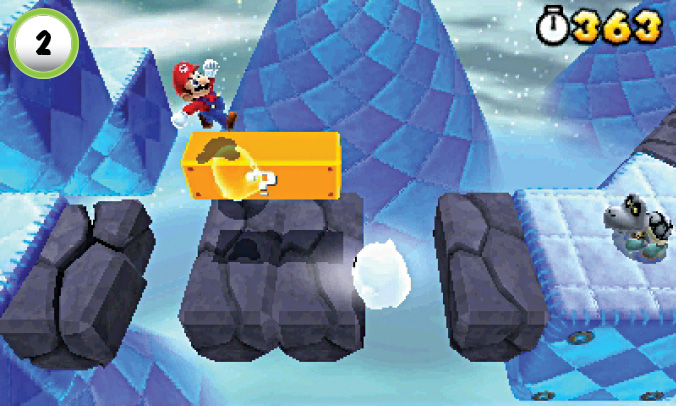
The Peepa at Point 2 can be difficult to dodge. Hop onto the ? Block and use the extra height to jump right over them.
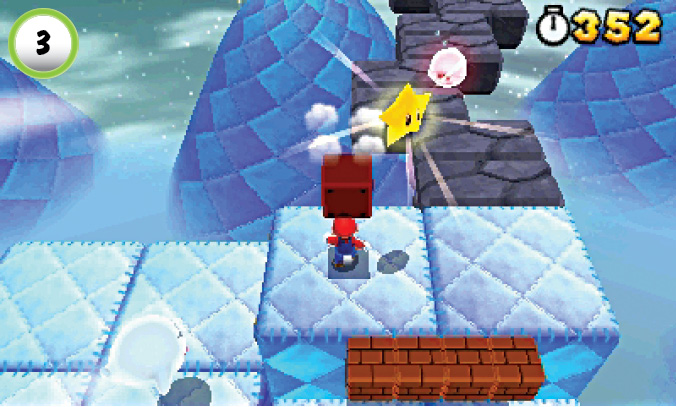
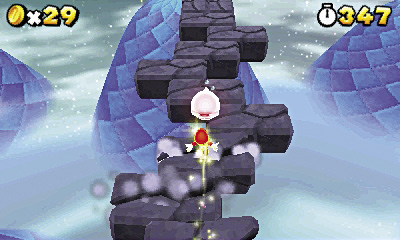
The ? Block at Point 3 contains a Super Star. After you collect it, dash across the crumbling platforms to continue to the next area. Jump over any gaps to maintain your speed, and clear out the enemies along the path until the Super Star wears off.
Red Ring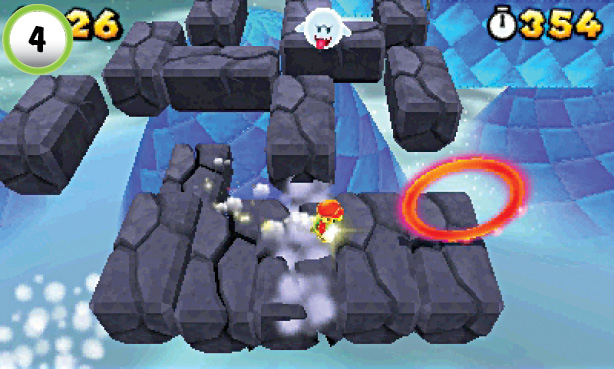 If you’re quick enough, you should be able to take out both of the Boos near the Red Ring. If the Super Star wears off before you reach Point 4, try to draw the Boos away from their platforms before you pass through the Red Ring. The Red Coins are scattered across the crumbling platforms, so you must plan each jump carefully. Collect all of the Red Coins before they vanish to earn a power-up. |
Star Medal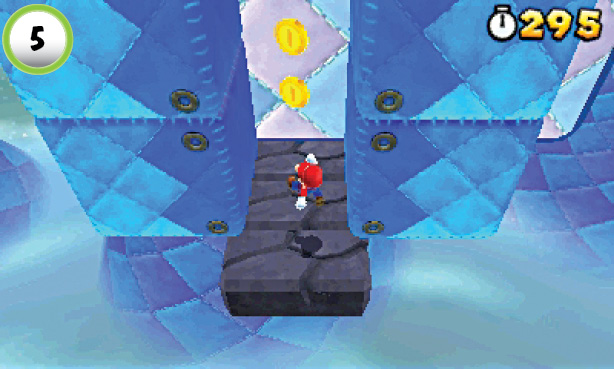 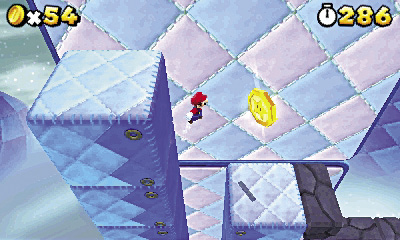 When you reach Point 5, you must perform a series of wall jumps to reach the next area. The second Star Medal is floating high above the ledge, so use an extra wall jump to grab it when you’re within range. When you’re ready to move on, drop back down to the main path. |
Star Medal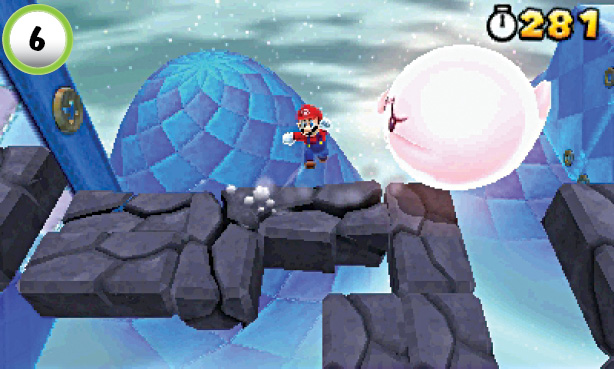 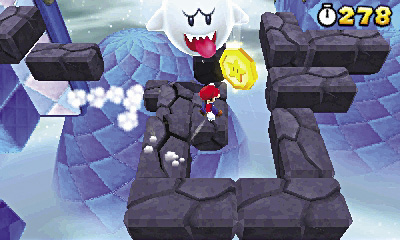 A Big Boo is blocking the path at Point 6. Jump across the gap to dodge it, then follow the crumbling platforms to find the last Star Medal. Make a running leap through the Star Medal, then follow the platforms to the next area. |
Special 4—Ship
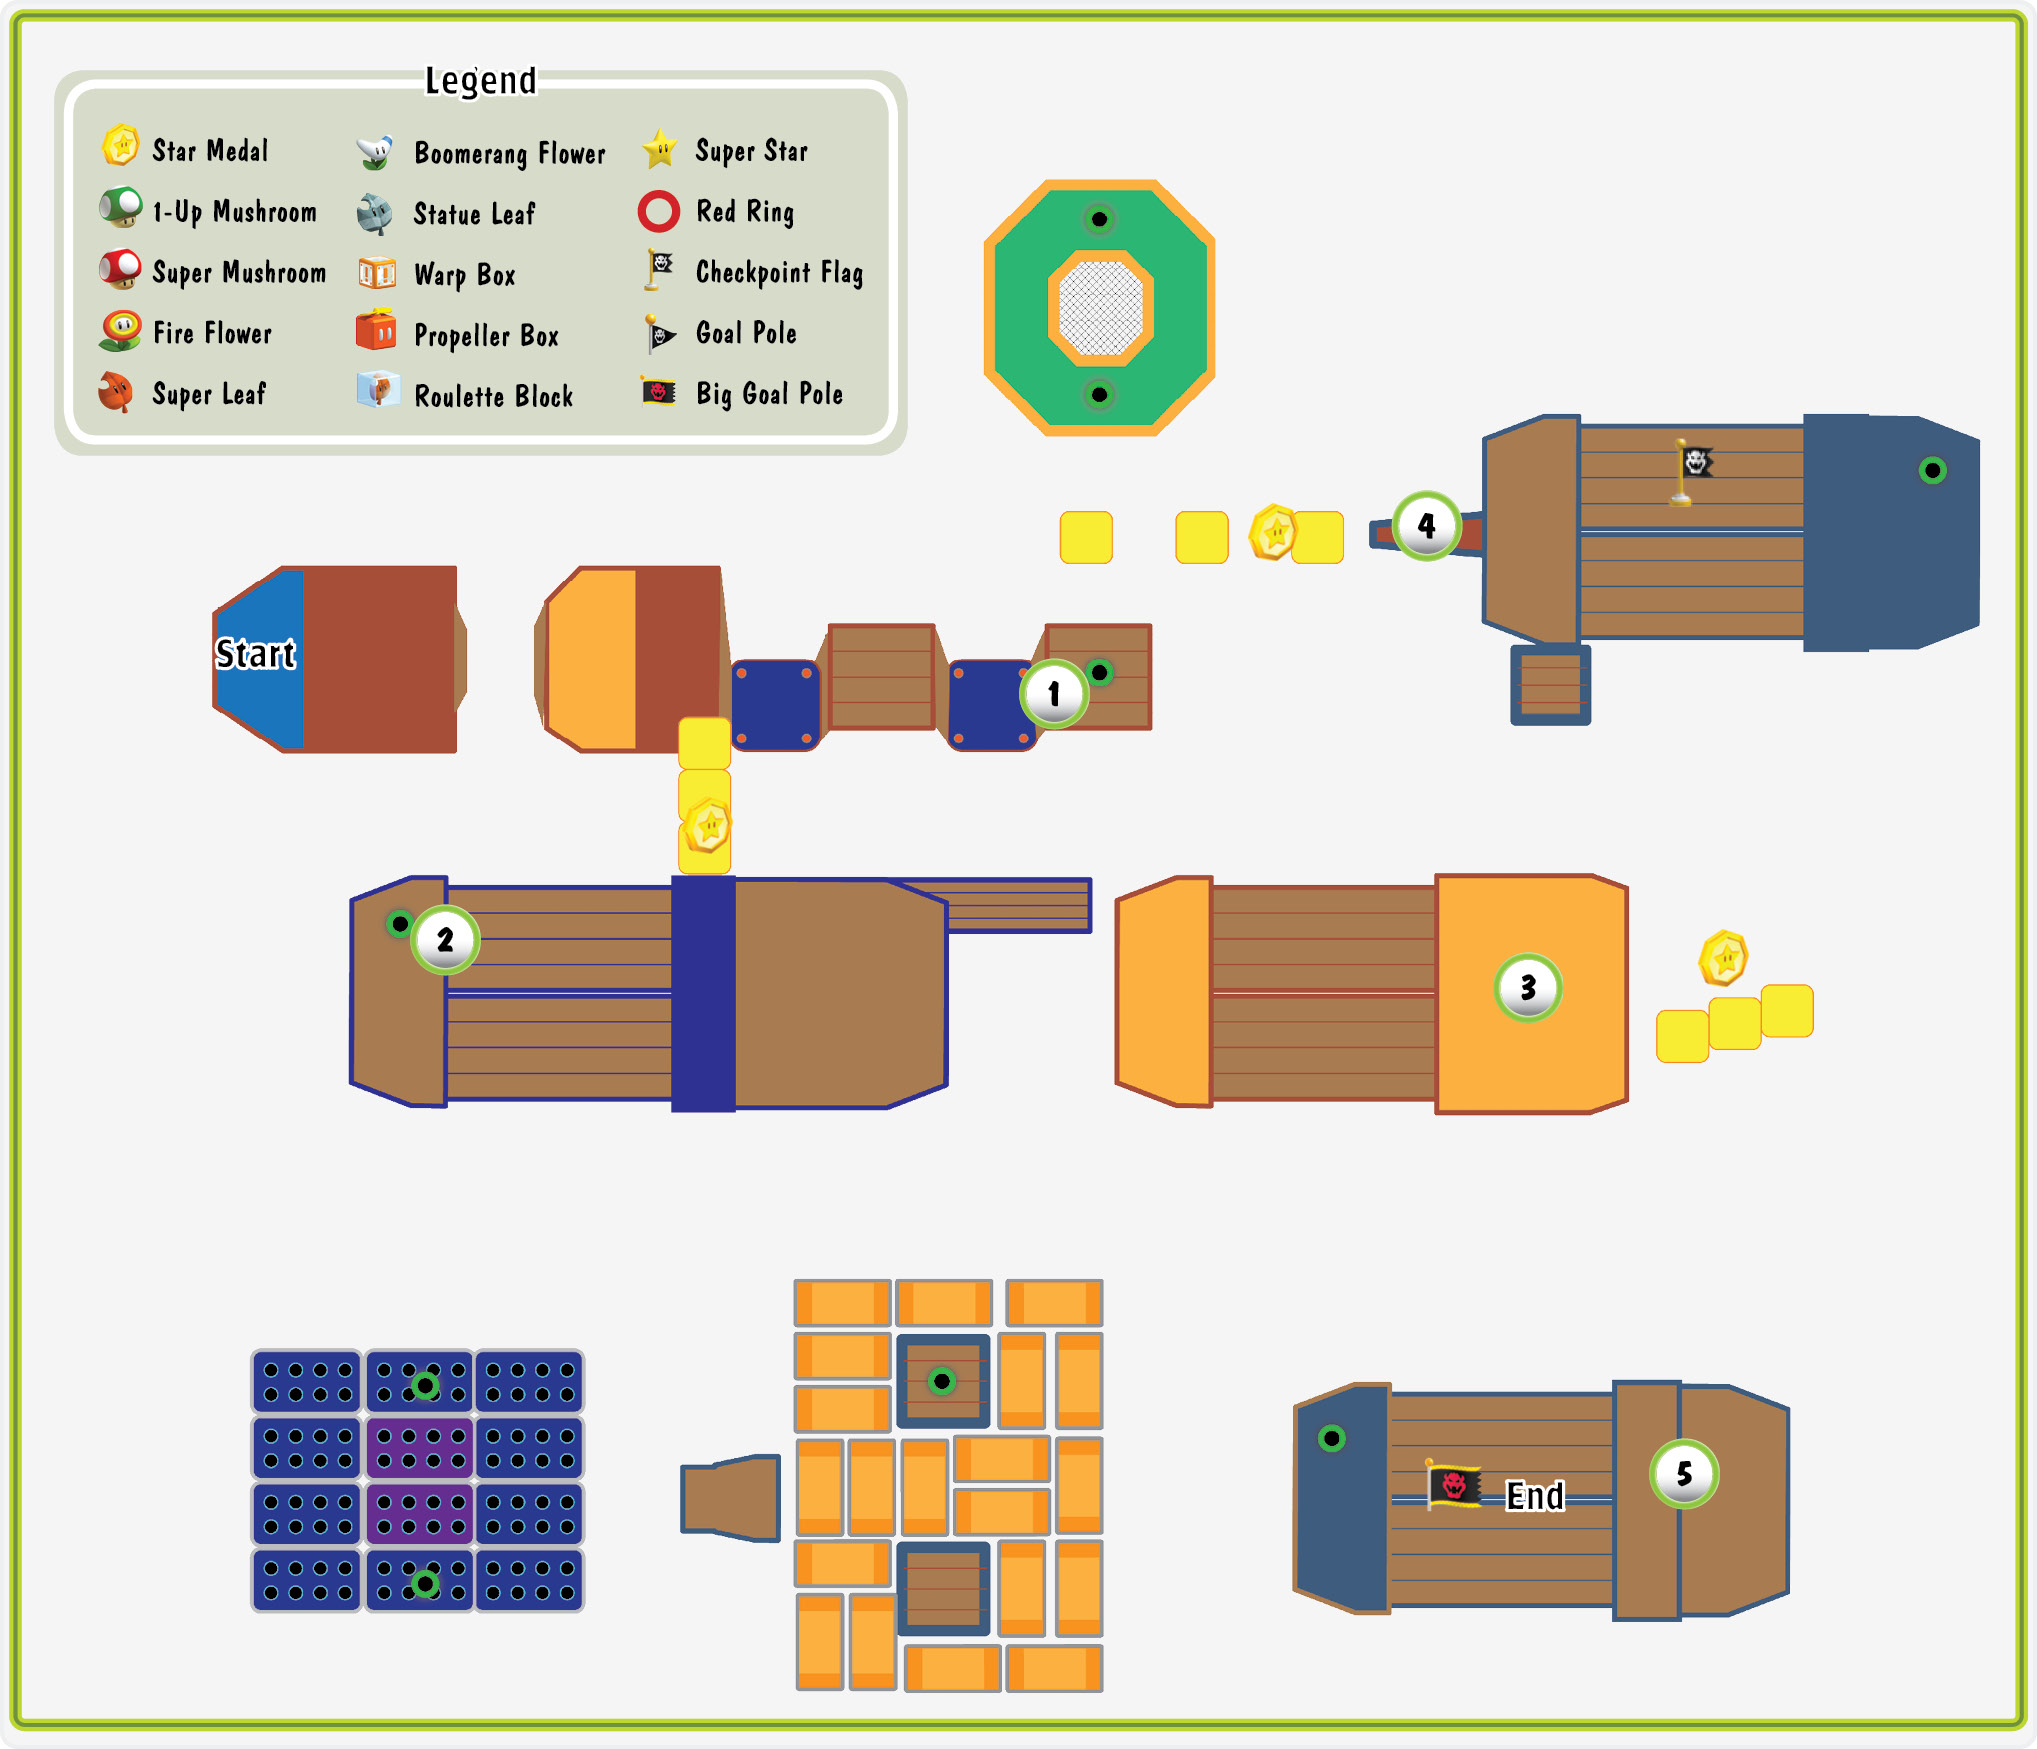
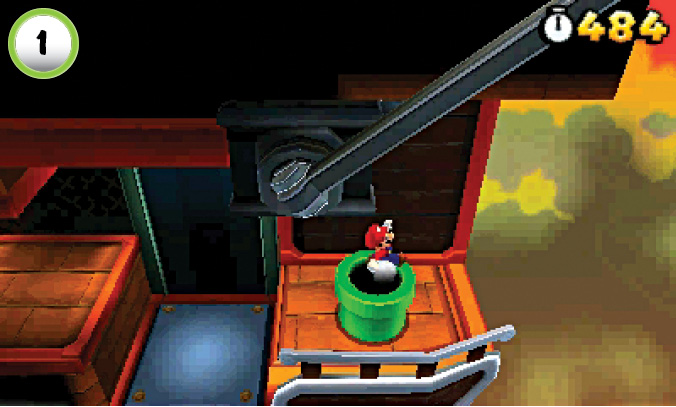
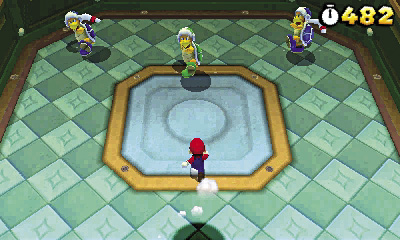
After you enter the Pipe at Point 1, you must face a Hammer Bro and two Boomerang Bros. Dash in and take out the Hammer Bro before he has a chance to attack, then dodge incoming boomerangs and choose your next target. Take out all three enemies to earn a Boomerang Flower, then use the Pipe to leave the room.
Star Medal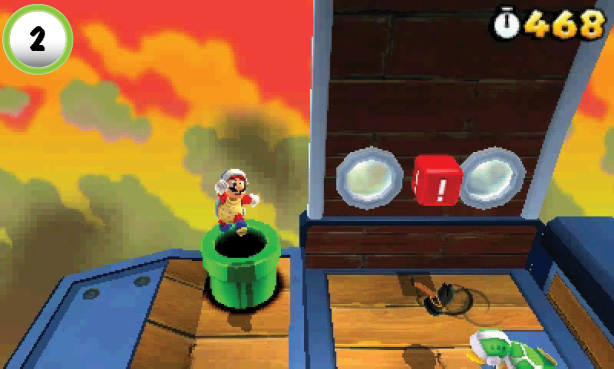 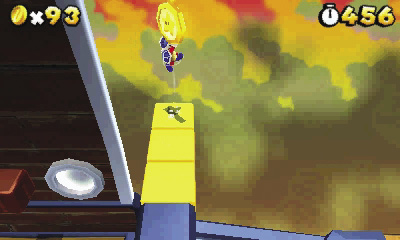 When you emerge at Point 2, watch out for attacks from the nearby Hammer Bro. A short Blokkablok is circling the area, so be especially careful when you dodge incoming hammers. Defeat the Hammer Bro, then hit the Blokkablok’s single ? Block to reveal a Super Mushroom. When the area is clear, hit the ! Block along the back wall to create a temporary path. Walk to the end of the face Blocks, then jump up to collect the level’s first Star Medal. |
Star Medal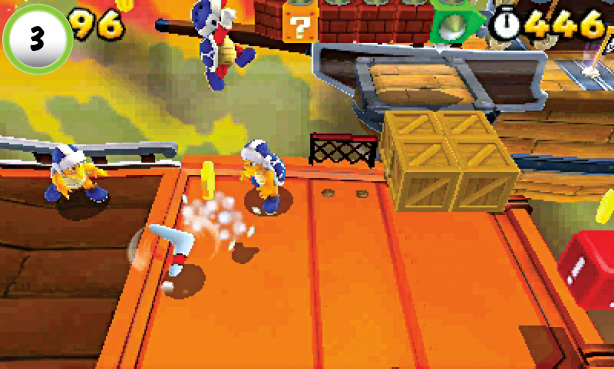 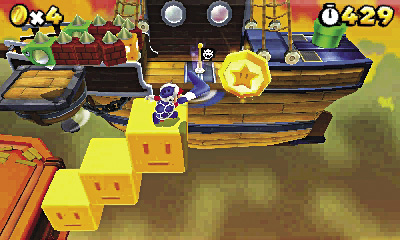 Clear out the two Boomerang Bros at Point 3, then use the ! Block to the right. When the face Blocks are in place, follow them to find the second Star Medal. |
Star Medal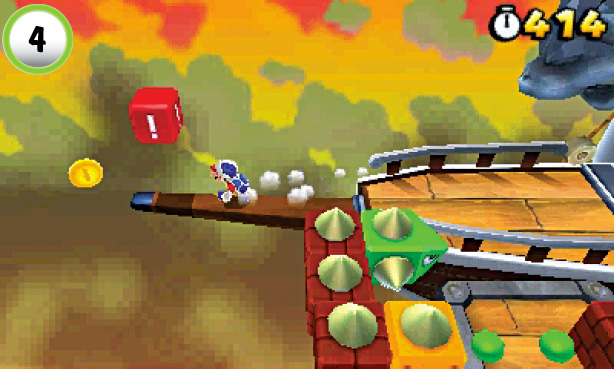 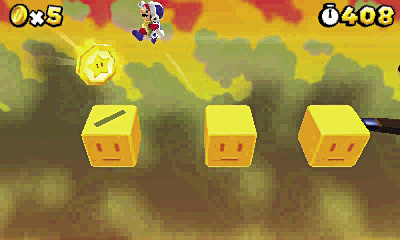 Walk onto the ship’s bowsprit to find the ! Block at Point 4. Use the ! Block to create a temporary path, then follow the face Blocks to the left. Grab the level’s last Star Medal, then hurry back to the ship before the ! Block resets. |
Boss Battle: Boom Boom
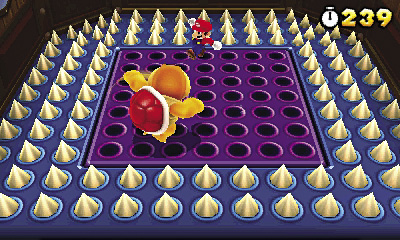
Boom Boom hasn’t learned any new moves, but the room’s retractable spikes make things a little more difficult this time around. When Boom Boom performs his spinning attack, the spikes appear along the room’s walls. This prevents you from running away from Boom Boom, so you’ll have to be a little more aggressive. Jump over his spinning arms and land on his head to deliver a damaging blow.
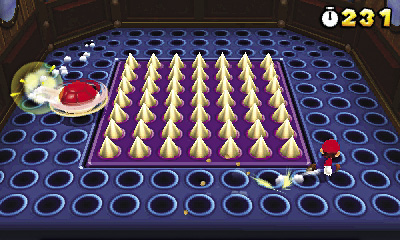
When Boom Boom tucks into his shell, the spikes at the center of the room emerge. If you stay across the room from Boom Boom, the spikes actually help protect you from his attacks. Wait for Boom Boom to emerge, then repeat the process. Jump on his head three times to defeat him, then exit through the Pipe.
Boss Battle: Pom Pom
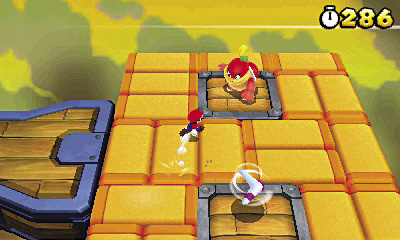
Run across the Donut Blocks and collect the green + Clock. When Pom Pom appears, dash along the Donut Blocks to flank her, then jump on her head to deal some damage. It takes some time for the Donut Blocks to reappear, so plan your route carefully.
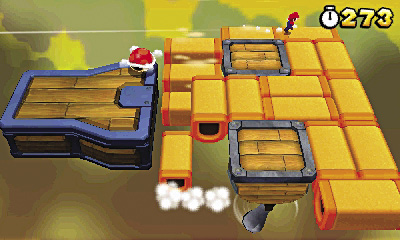
To dodge Pom Pom’s shell attack, circle along the outside of the Donut Blocks. As long as you keep moving, the shell won’t hit you. By the time you complete the circle, Pom Pom should emerge from her shell. Wait for her to choose a platform, then dodge her boomerangs and deliver another blow. Repeat the process until you defeat her and end the encounter.
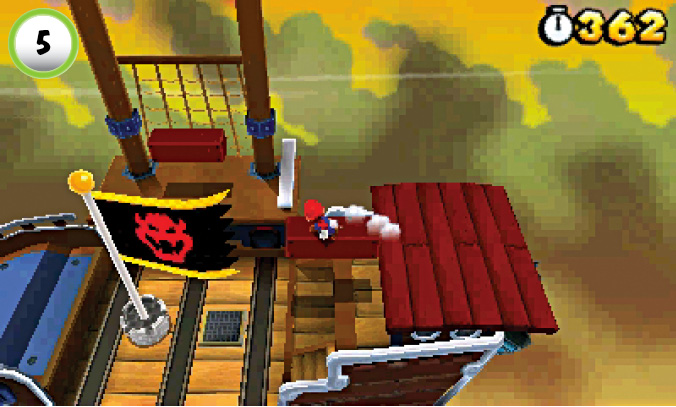
When you’re ready to end the level, jump onto the ? Block at Point 5 and make a running leap to the top of the Goal Pole.