
Super Mario 3D Land Guide Walkthrough Specials
Special 8-Crown
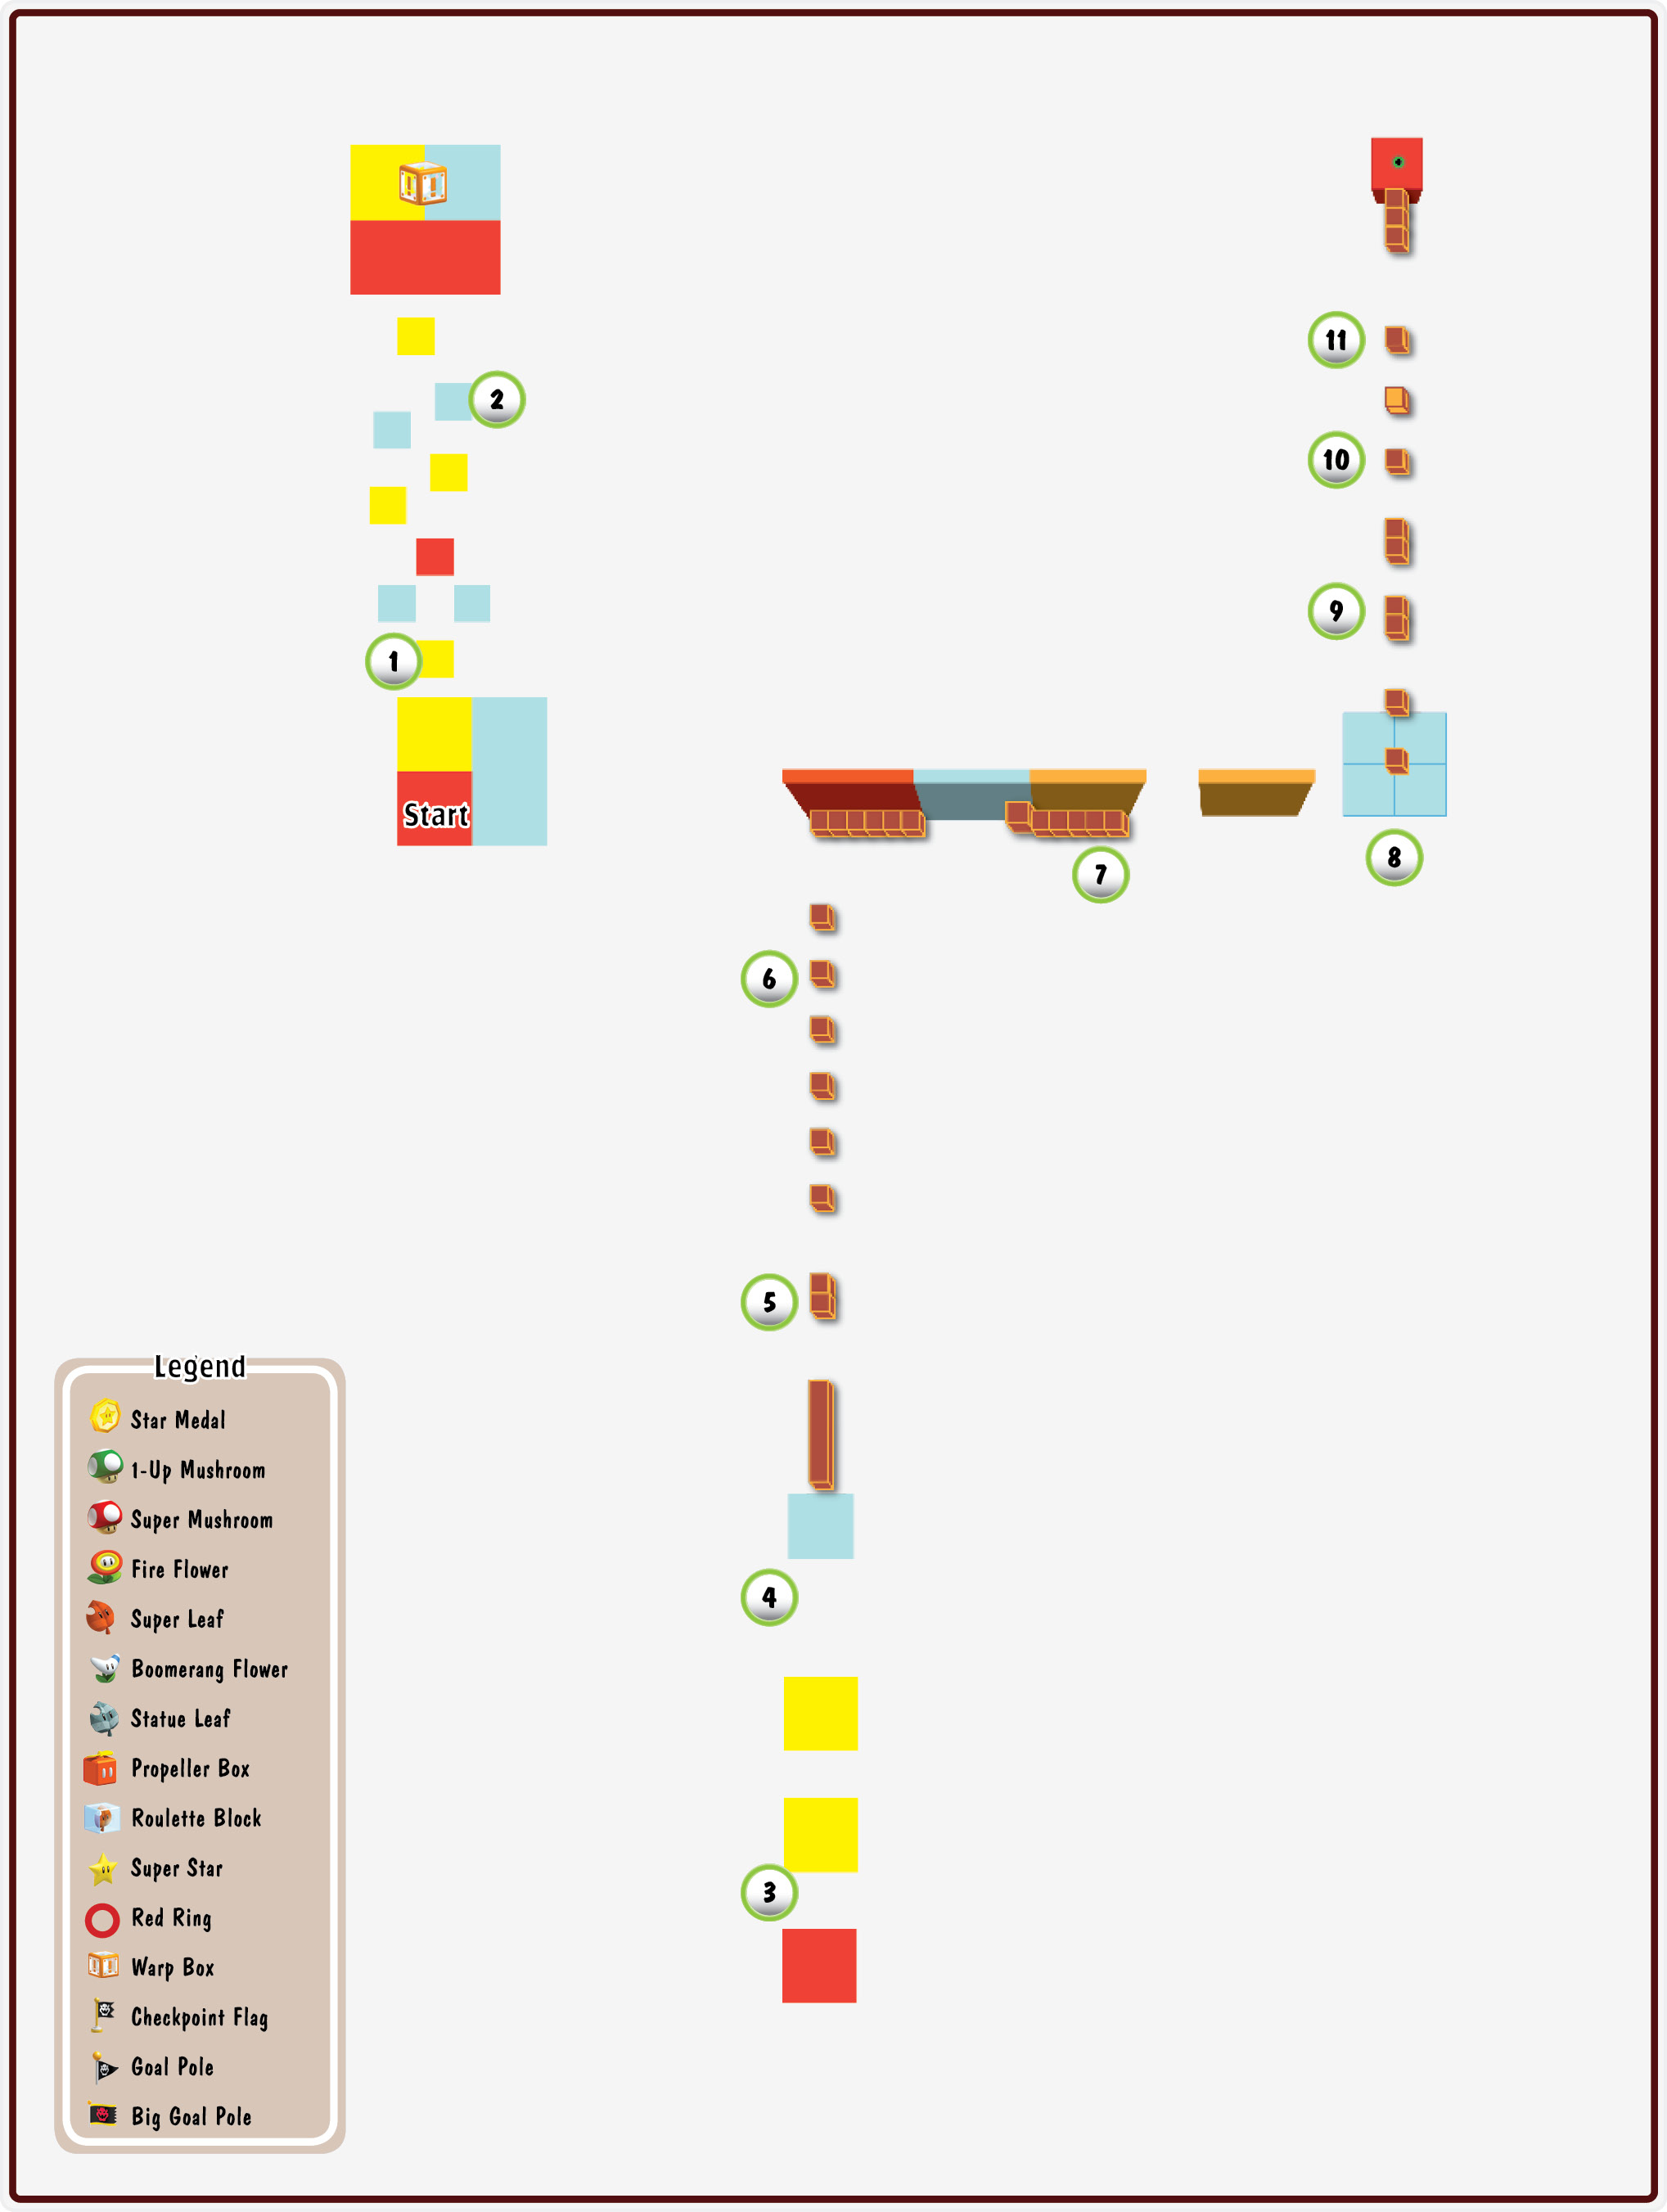
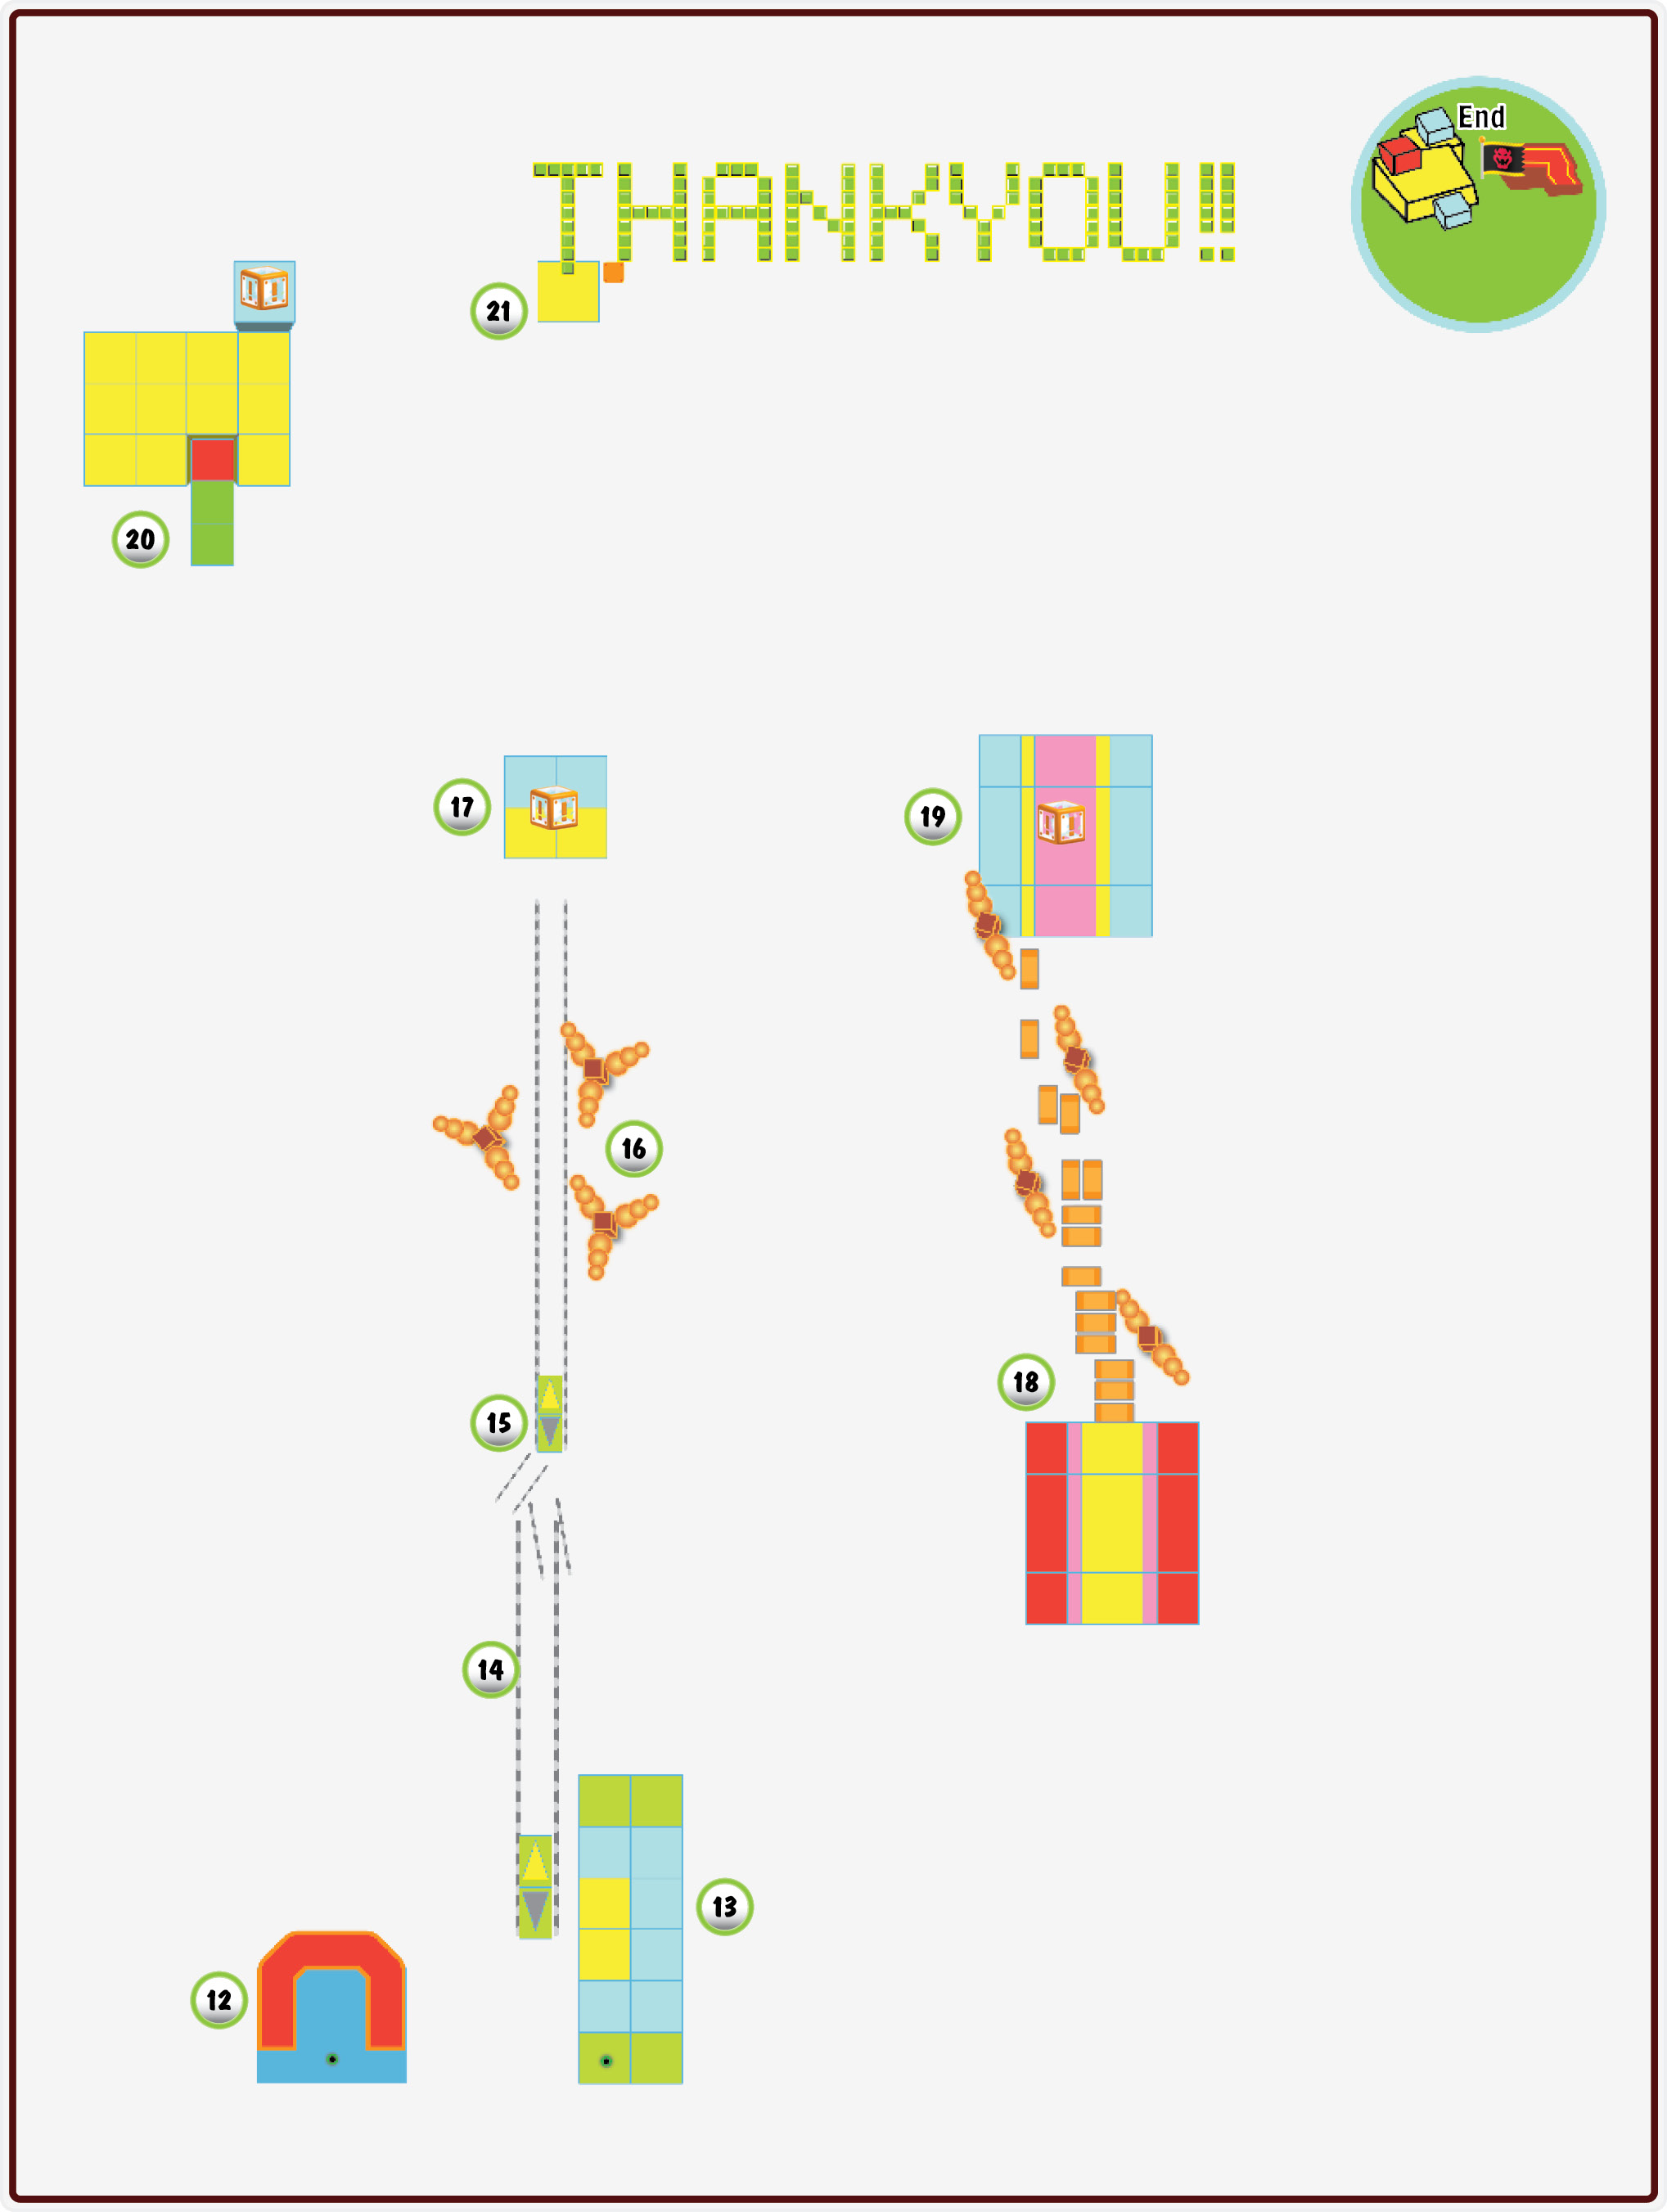
You’ve done it all: completed every level as Mario and Luigi, collected every Star Medal, and reached the very top of every Goal Pole. Surely with all of that playtime you can easily finish this new level you’ve unlocked, right? Well you are in for a surprise. This level is by far the most difficult in Super Mario 3D Land. It will take longer to complete than any other level and has no checkpoints or power-ups. In the following pages, we will assist you in conquering this truly challenging level by showing you what lies ahead, recommended jumps, and what not to do. Even with all of our tips, this level will take quite a few attempts; the timing for some of the jumps required has to be precise. Good luck, have fun, and remember that this level wasn’t meant to be conquered on the first try!
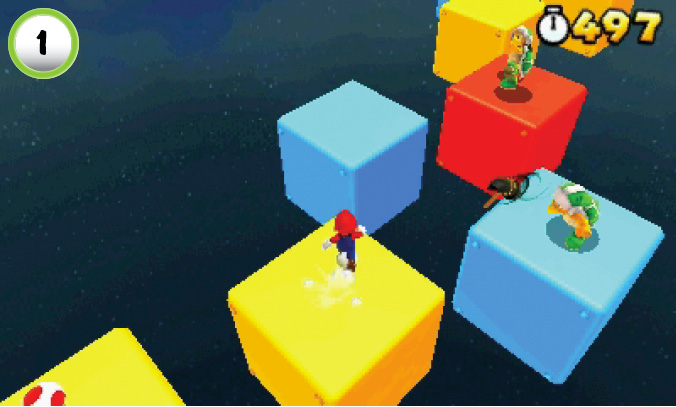
When the stage begins, run forward and jump onto the first yellow platform. While dodging the hammers from the Hammer Bros, jump to the blue platform that isn’t occupied by an enemy. From this platform, jump to the red platform. If you’re quick enough, you can jump right onto the head of the Hammer Bro residing on it. Ignore the other Hammer Bro—just focus on jumping along the platforms.
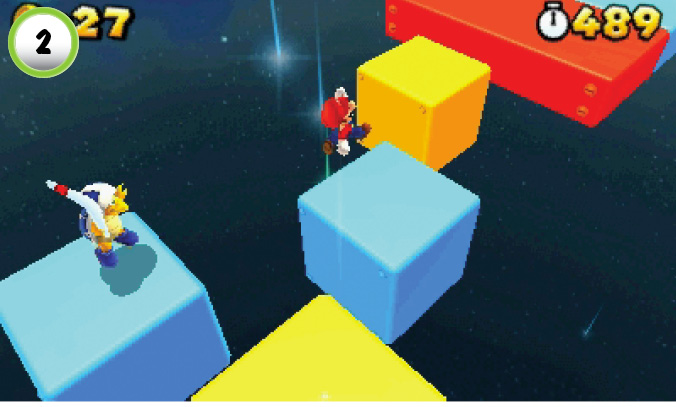
When the Boomerang Bro moves in to attack, just jump right by him. If you’re fast enough, you’ll be out of range before he throws his first boomerang. When you reach the large platform, take the Warp Box to the next area.
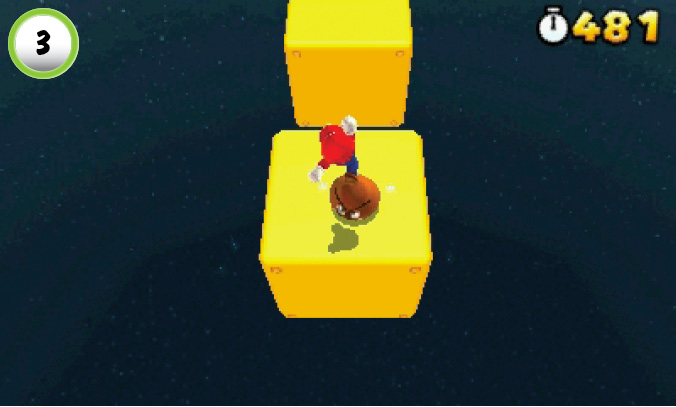
Now things really get tough! After you exit the Warp Box, run toward the Goomba ahead of you. Keep your speed up as you jump onto its head and bounce to the next platform. You don’t want to lose your momentum here—stopping increases your chances of failure!
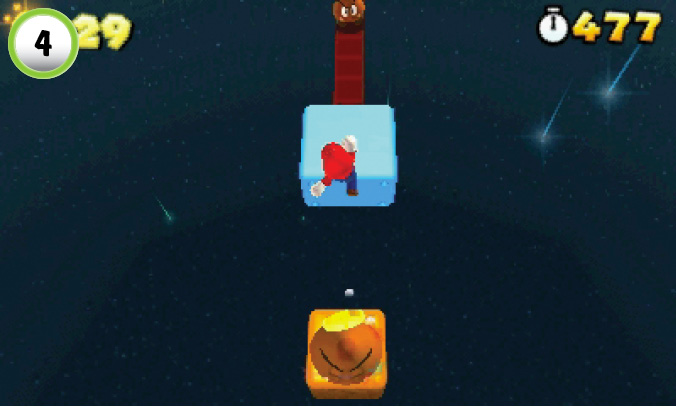
Leap to the Goomba on the wooden block, then bounce across to the blue platform. Jump to the Goomba on the used Blocks, then bounce clear across the next gap. The success of each jump depends on maintaining your speed. You don’t have much time to react, so keep watching the path ahead of you!
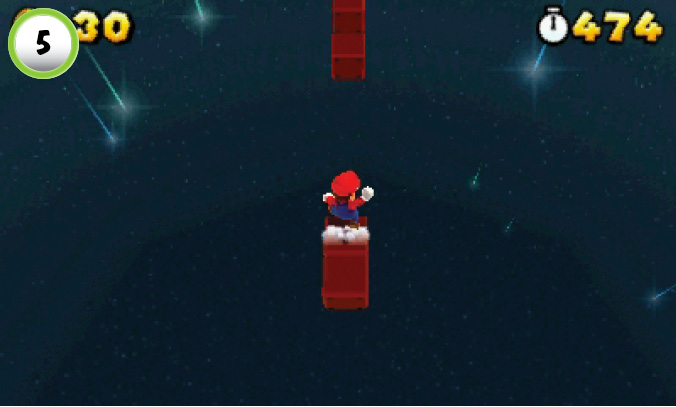
As soon as you land, leap across to the next used Block. The used Block makes a for very small target, and the slightest delay can send you sailing right past it.
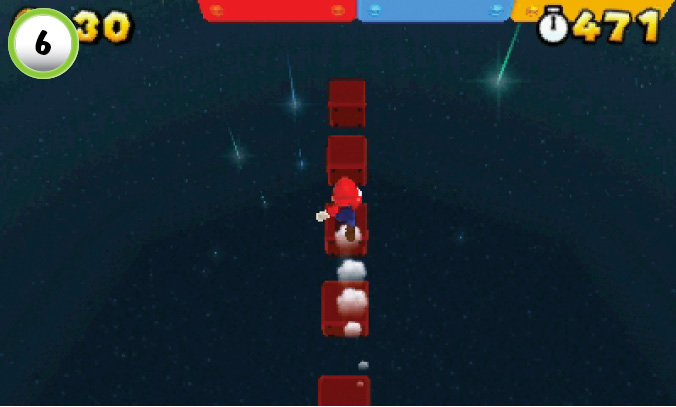
Maintain your speed as you land to dash right over the small gaps along the path. When you reach the very end of the path, jump up to the used Blocks along the wall in front of you.
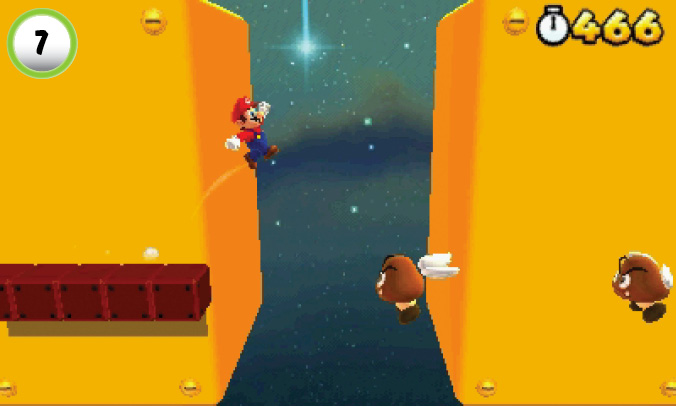
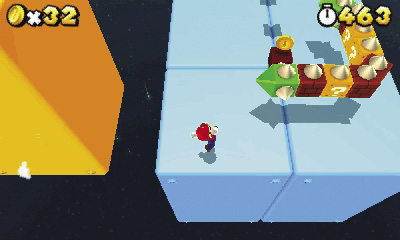
When you’re ready to continue, follow the used Blocks to the right. After you jump across the first gap, it’s essential that you keep moving. Leap from the used Blocks and bounce across the two Paragoombas. If you time each jump properly, you should land near the Blokkablock on the blue platform.
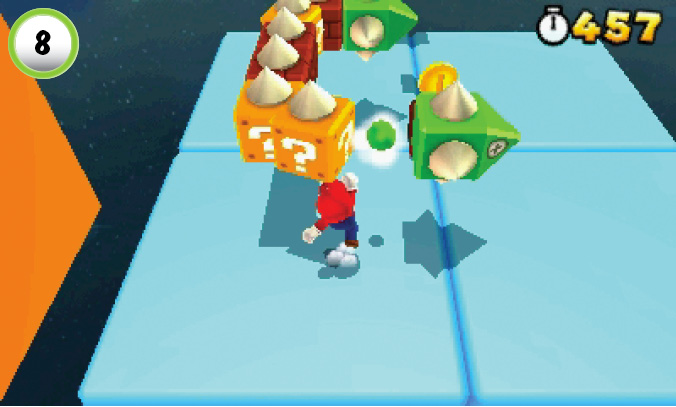
Next take out the Blokkablok before you press onward. After you have dispatched the Blokkablok, jump up onto the next three platforms and stop.
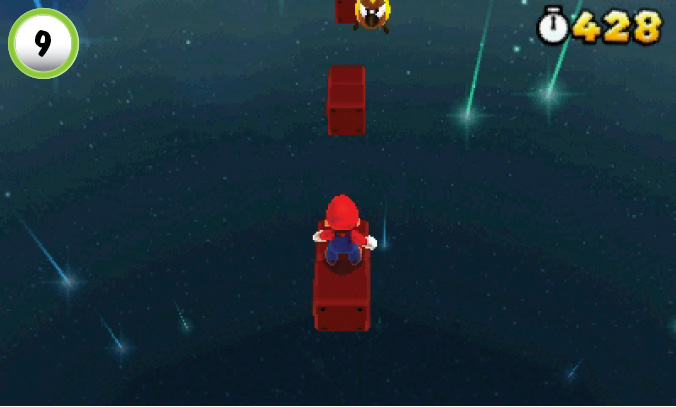
When you reach the third platform, move toward the front edge to gain the attention of a Stingby. Let the Stingby come to you and jump on it to remove an unnecessary hazard for the jumps ahead.
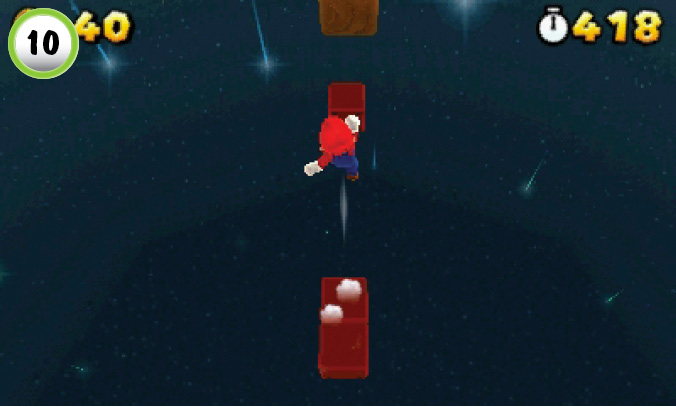
Once you have dispatched the Stingby, get a full running start and jump to the next platform. Like the last area, you’ll want to keep running forward without stopping between your jumps. From the next platform you land on, jump from the very edge towards the next wooden one.
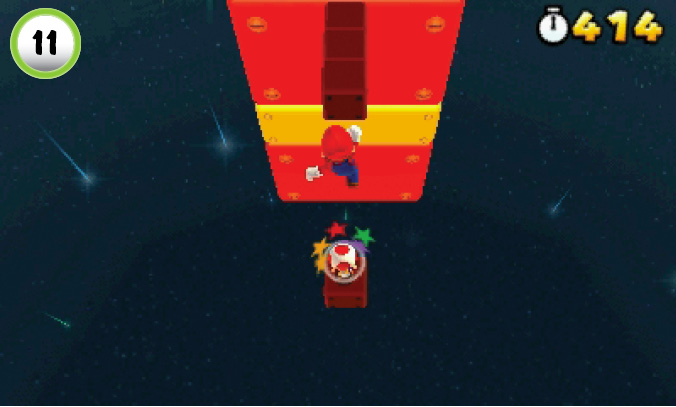
For the jump from the wooden platform, you’ll want to hold back a little in order to not overshoot Toad standing ahead of you. Land directly on Toad’s head and bounce toward the next platform while still holding forward the entire time. Go down the Pipe, and prepare to face Pom Pom and Boom Boom at the same time.
Boss Battle: Boom Boom and Pom Pom
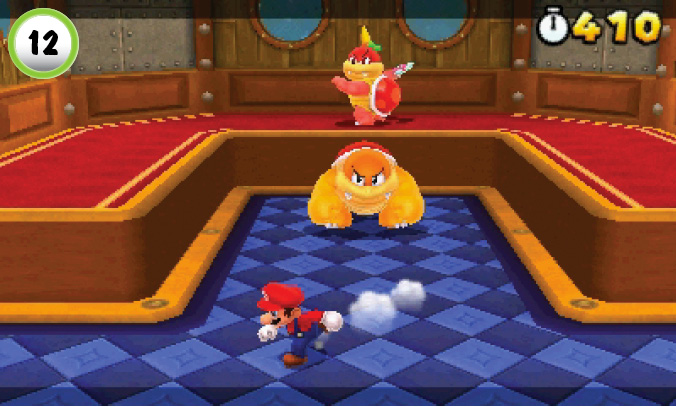
As soon as the encounter begins, jump to the higher ground and jump on Pom Pom’s head for the first hit. Shortly after, Boom Boom should be finishing spinning and fall over dizzy; jump on his head for the first hit.
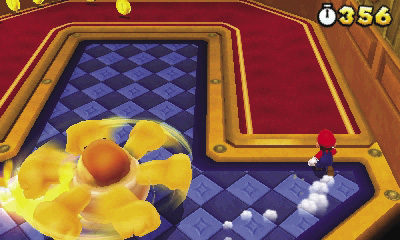
Repeat this pattern until you finish off Pom Pom, and get ready, because as soon as she’s finished, the second level drops, allowing Boom Boom to chase you with no safe spot to stand. For the final hit on Boom Boom, have him chase you while you run along the outside wall. Do not stop, and make sure not to loop back, because Boom Boom leaves behind a trail of fire while he is spinning. Once he stops, jump on him for the last time, and prepare to move on to the next area.
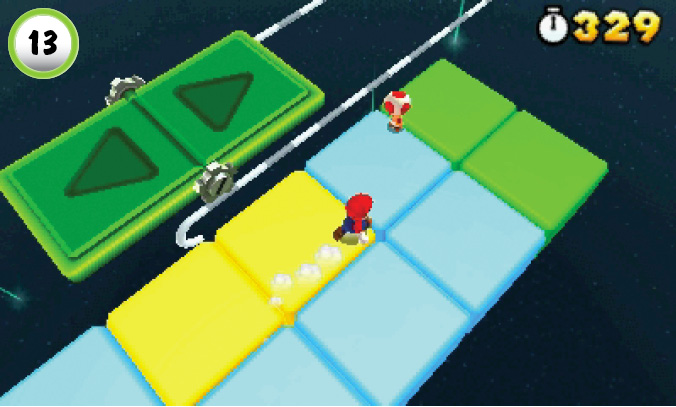
In this next area, you are greeted by Toad and a Switchboard. Hop on the Switchboard, and ride it forward, revealing Fuzzies that are in your way.
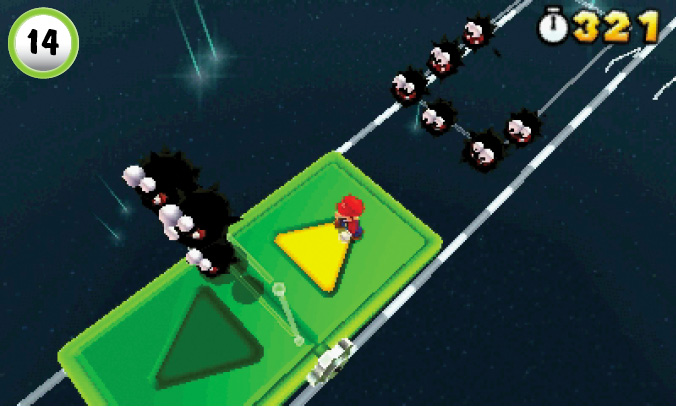
Use the Switchboard’s front and back arrows to time going through the Fuzzies. You will need to jump over the last set of Fuzzies since their path goes directly down the area you need to travel. The Switchboard will fall twice onto new tracks. Once it hits the bottom set of tracks, you’ll need to jump to the next Switchboard as soon as the one you are on starts falling into the starry night sky.
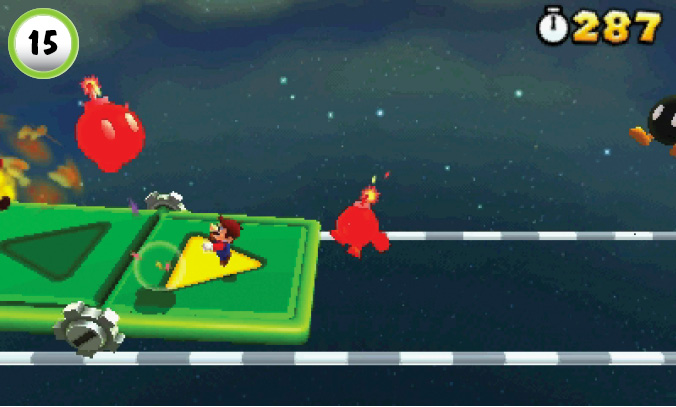
The next section isn’t so bad when compared to the last but can easily turn disastrous if you let your guard down. Ride the Switchboard near its center, but keep on the forward arrow while kicking away any Tail Bob-ombs that get near you.
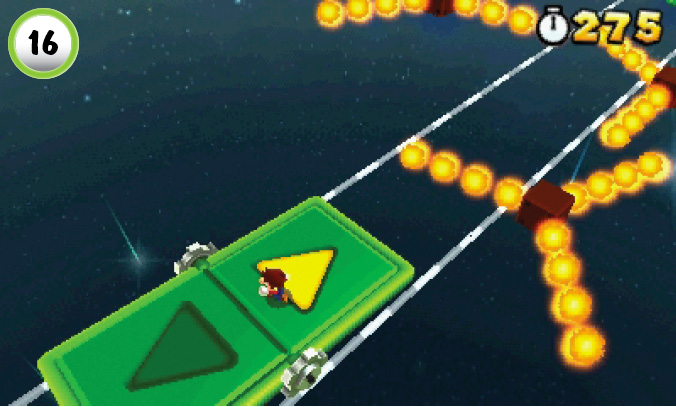
A soon as the Tail Bob-ombs are gone, you’ll notice some very nasty hazards ahead: multiple Fire Bars. Go ahead and step back and forth on the Switchboard while the Fire Bars are in your view before you approach them; learn their pattern some, and then proceed when you are ready.
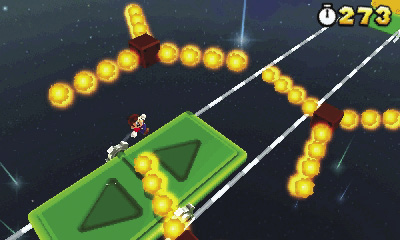
You’ll want to do very short little jumps here that clear the Fire Bars but keep your Switchboard moving forward. The longer you linger in the path of the Fire Bars, the higher your chance of not making it through.
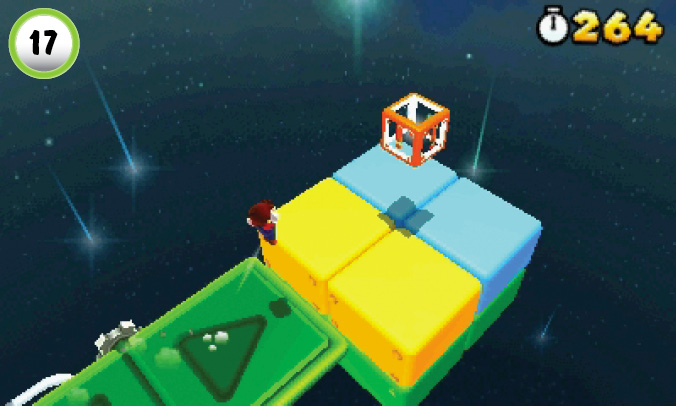
After you pass by the final Fire Bar, get ready to jump off your Switchboard onto a new platform that has a Warp Box. Take a quick breather, and jump into the Warp Box when you are ready.
If you brought along a Super Leaf, now is the time to use it! The Tanooki Suit is a great help on the Donut Blocks ahead of you.
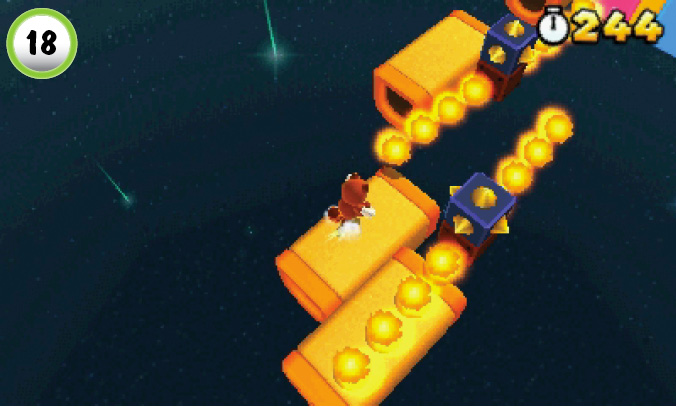
Now you’ll need to dodge Fire Bars and move very quickly or risk falling due to all of the Donut Blocks. Keep moving through the area quickly while dodging all of the Fire Bars. Try not to run across every Donut Block just in case you need to jump a step backward to avoid a Fire bar.
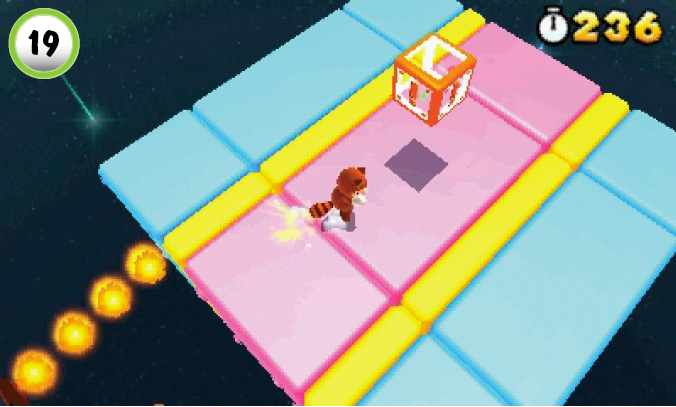
After clearing the final Fire Bar, take another quick breather, because once you jump into the next Warp Box, you can’t stop!
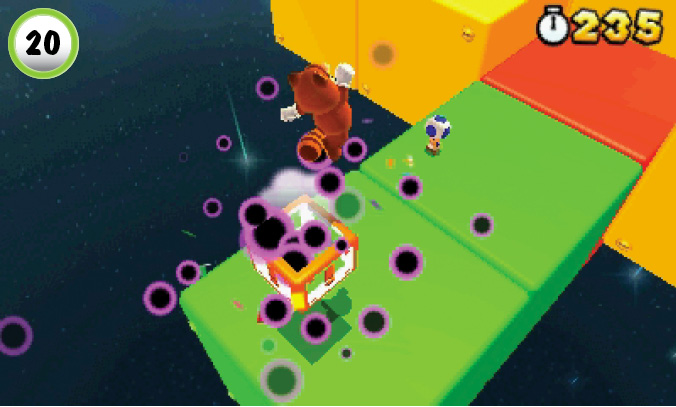
As soon as you emerge from the Warp Box, you’ll see those purple dots you’ve come to know quite well. Yep, its Big Cosmic Clone time! When you land from the Warp Box, run ahead and jump immediately to your left.
Take a good look at the area ahead; just circle a few times to keep the Big Cosmic Clone off you. At first glance you appear to be blocked in, but there is actually a way for you to get through: crouch!
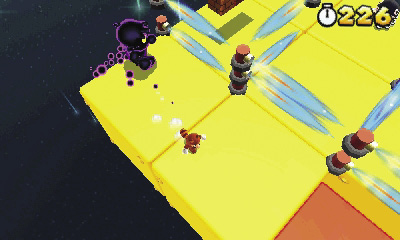
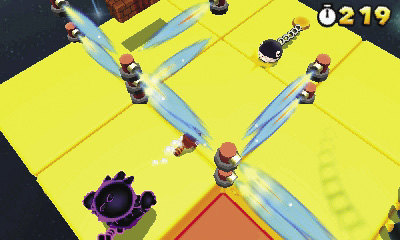
Crouch-walk under the set of engines that are the second set from the edge as shown in the screenshot.
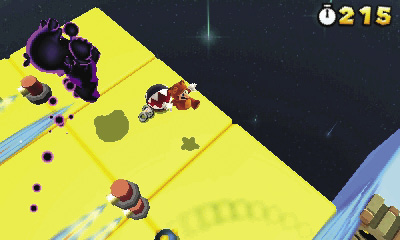
As soon as you are clear, start running and jump past the Chain Chomp. You will then need to jump over the spiked bar in your way.
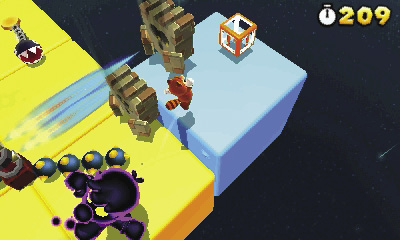
Just keep jumping at this point as you move forward in order to keep the Wallops in place that block your way. Don’t stop for anything, and jump into that Warp Box!
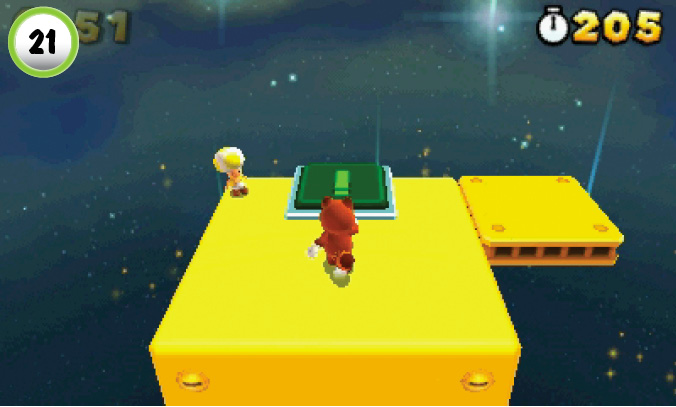
You emerge from the Warp Box to have Toad standing before you, and there’s a green switch. What challenges await you now after all you have just been through? Just one. Step onto the green switch, and then proceed onto the yellow lift platform to your right to face this challenge…
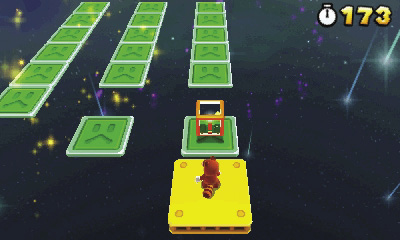
The only challenge left is to not fall off the platform from excitement! You’ve done it! The hardest level of Super Mario 3D Land has been defeated by you! Take pride in this moment; you’ve truly earned it.
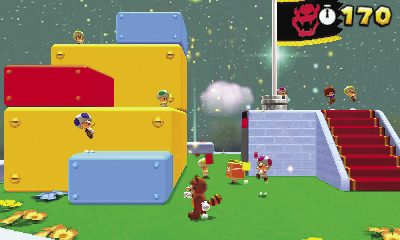
Proceed through the final Warp Box after seeing the special thank-you message. Time your jump perfectly, and get that final golden flag from the Big Goal Pole!