
Super Mario 3D Land Guide Walkthrough Worlds
World Eight
World 8-1
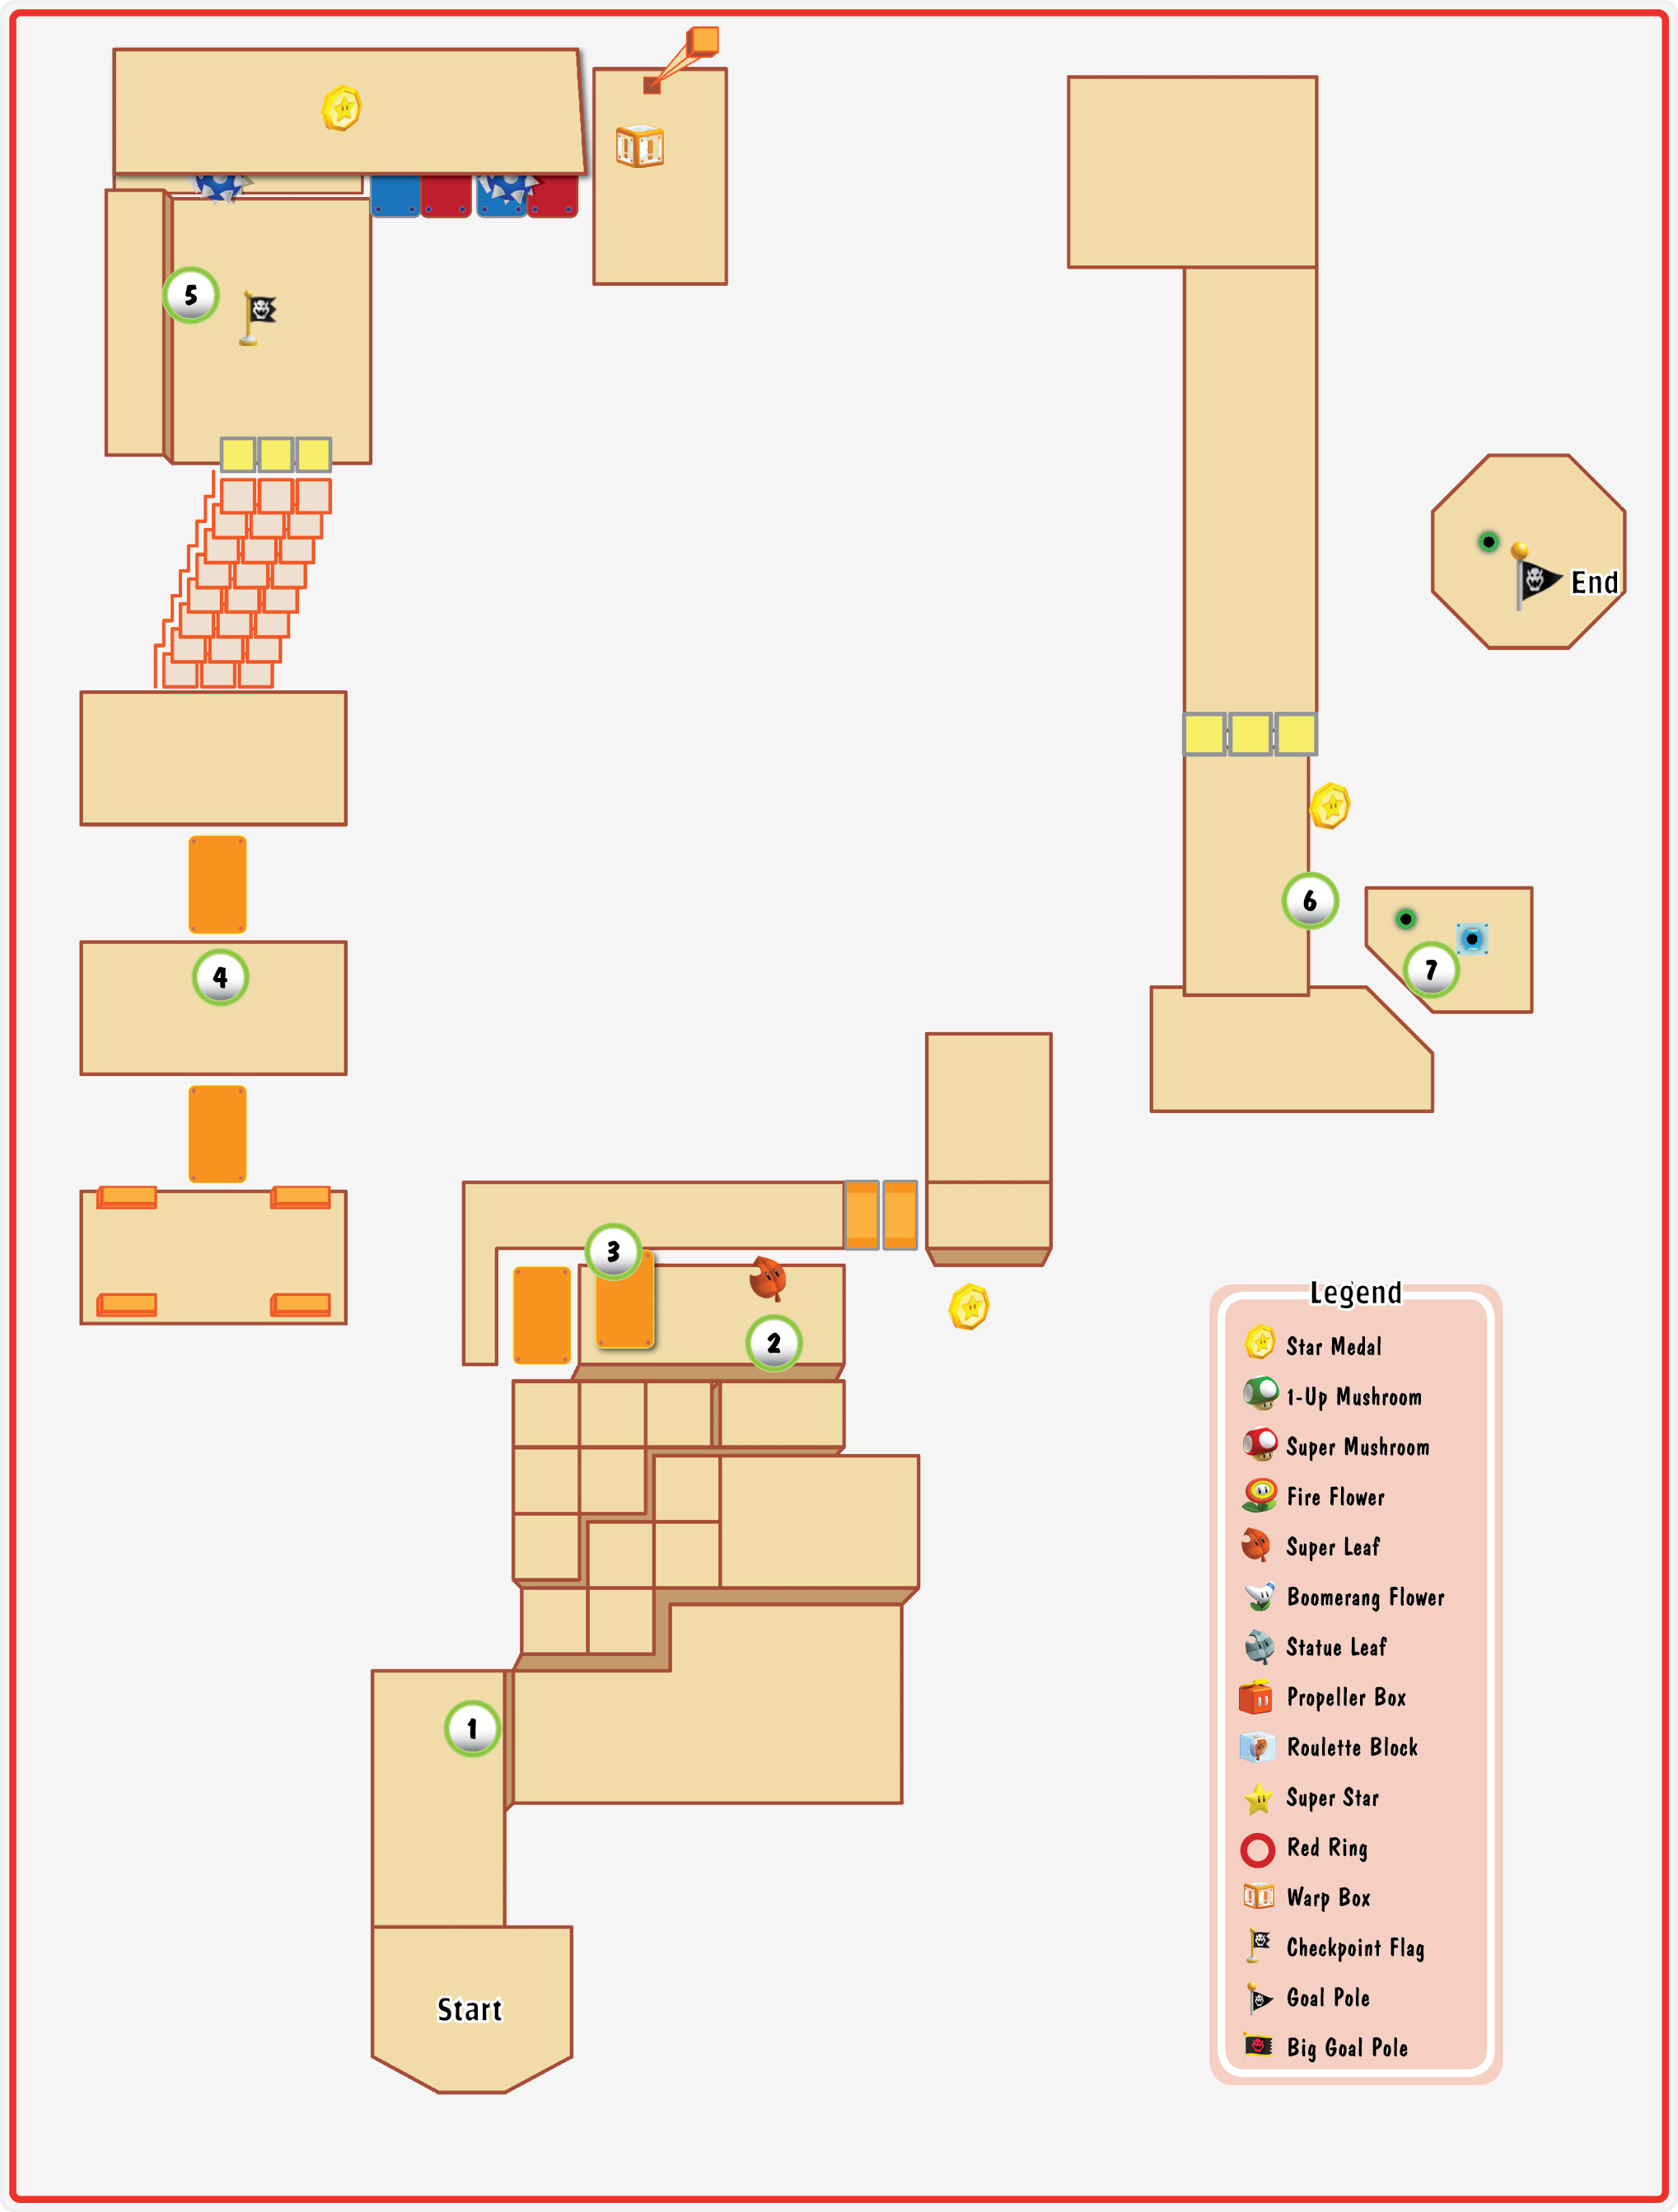
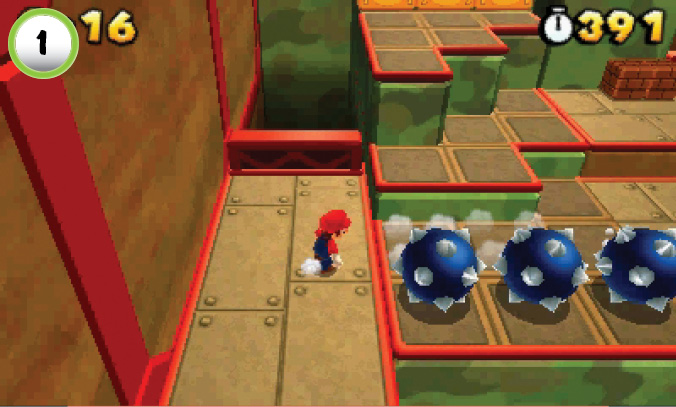
As you move through the level, look for the small panels with tan outlines. These panels mark the paths traveled by spiked balls, so use caution when you move across them.
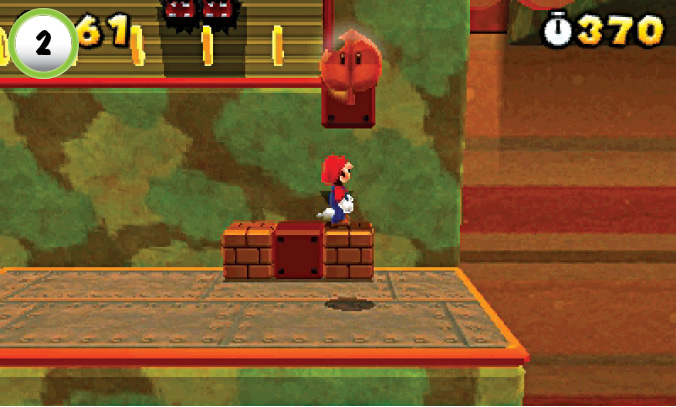
Find the Invisible Block at Point 2 to collect a Super Leaf, then use the moving platforms to reach the next area. When you collect the coins from the narrow ledge above you, crouch down to avoid the Fuzzies as they pass by.
Star Medal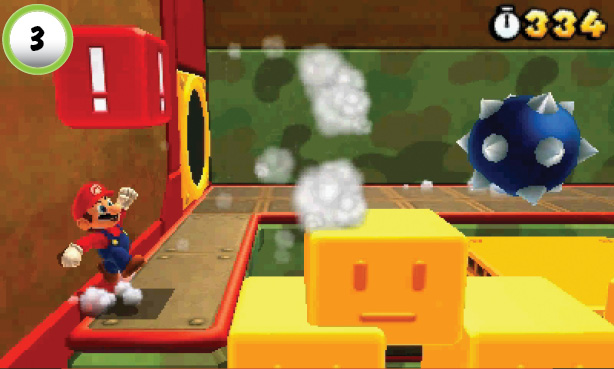 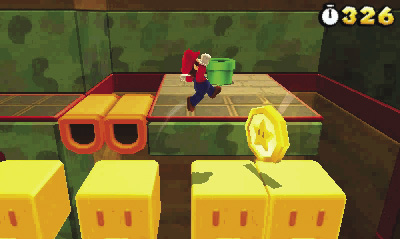 Climb up to the ! Block at Point 3, and use it to create a temporary path. Follow the face blocks to the level’s first Star Medal, then make a running leap toward the Pipe in the background. |
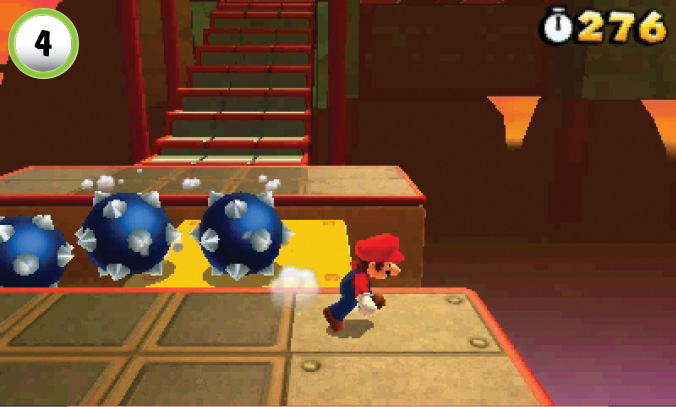
When you cross the moving platforms at Point 4, watch the stairs for approaching spiked balls.
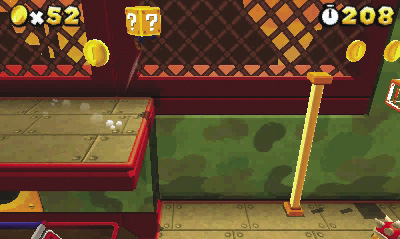
Star Medal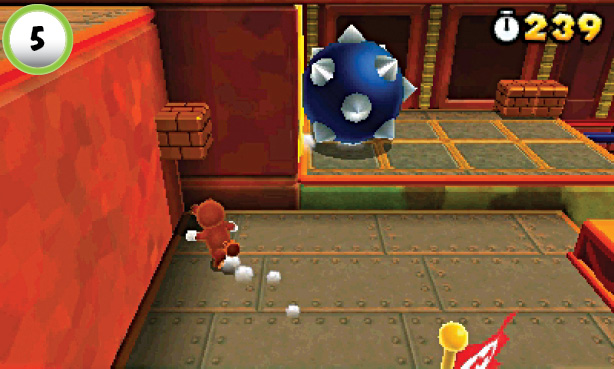 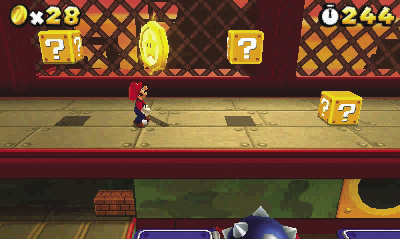 Jump onto the Block at Point 5, then follow the ledge to the second Star Medal. Check the surrounding ? Blocks for coins, then continue to the end of the ledge and return to the main path. |
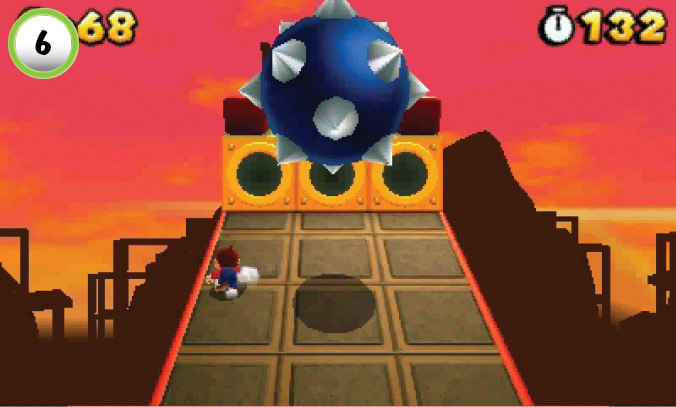
As you head down the ramp near the end of the level, you must dodge a series of spiked balls. Watch the background for giant spiked balls. Take extra care to dodge these oversized hazards!
Star Medal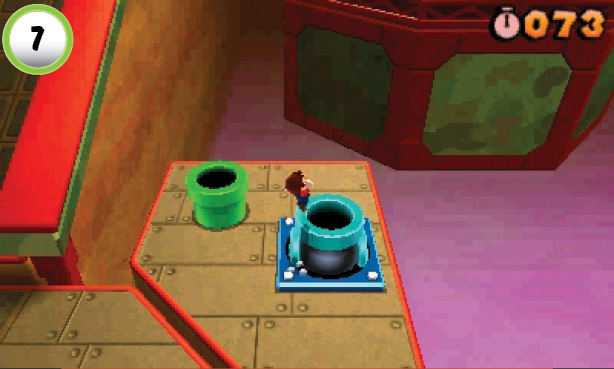 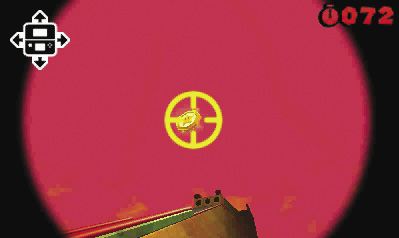 The level’s last Star Medal is located above the long ramp, but you must use the Cannon at Point 7 to reach it. Aim directly at the Star Medal, then fire yourself out of the Cannon to collect it. |
World 8-2
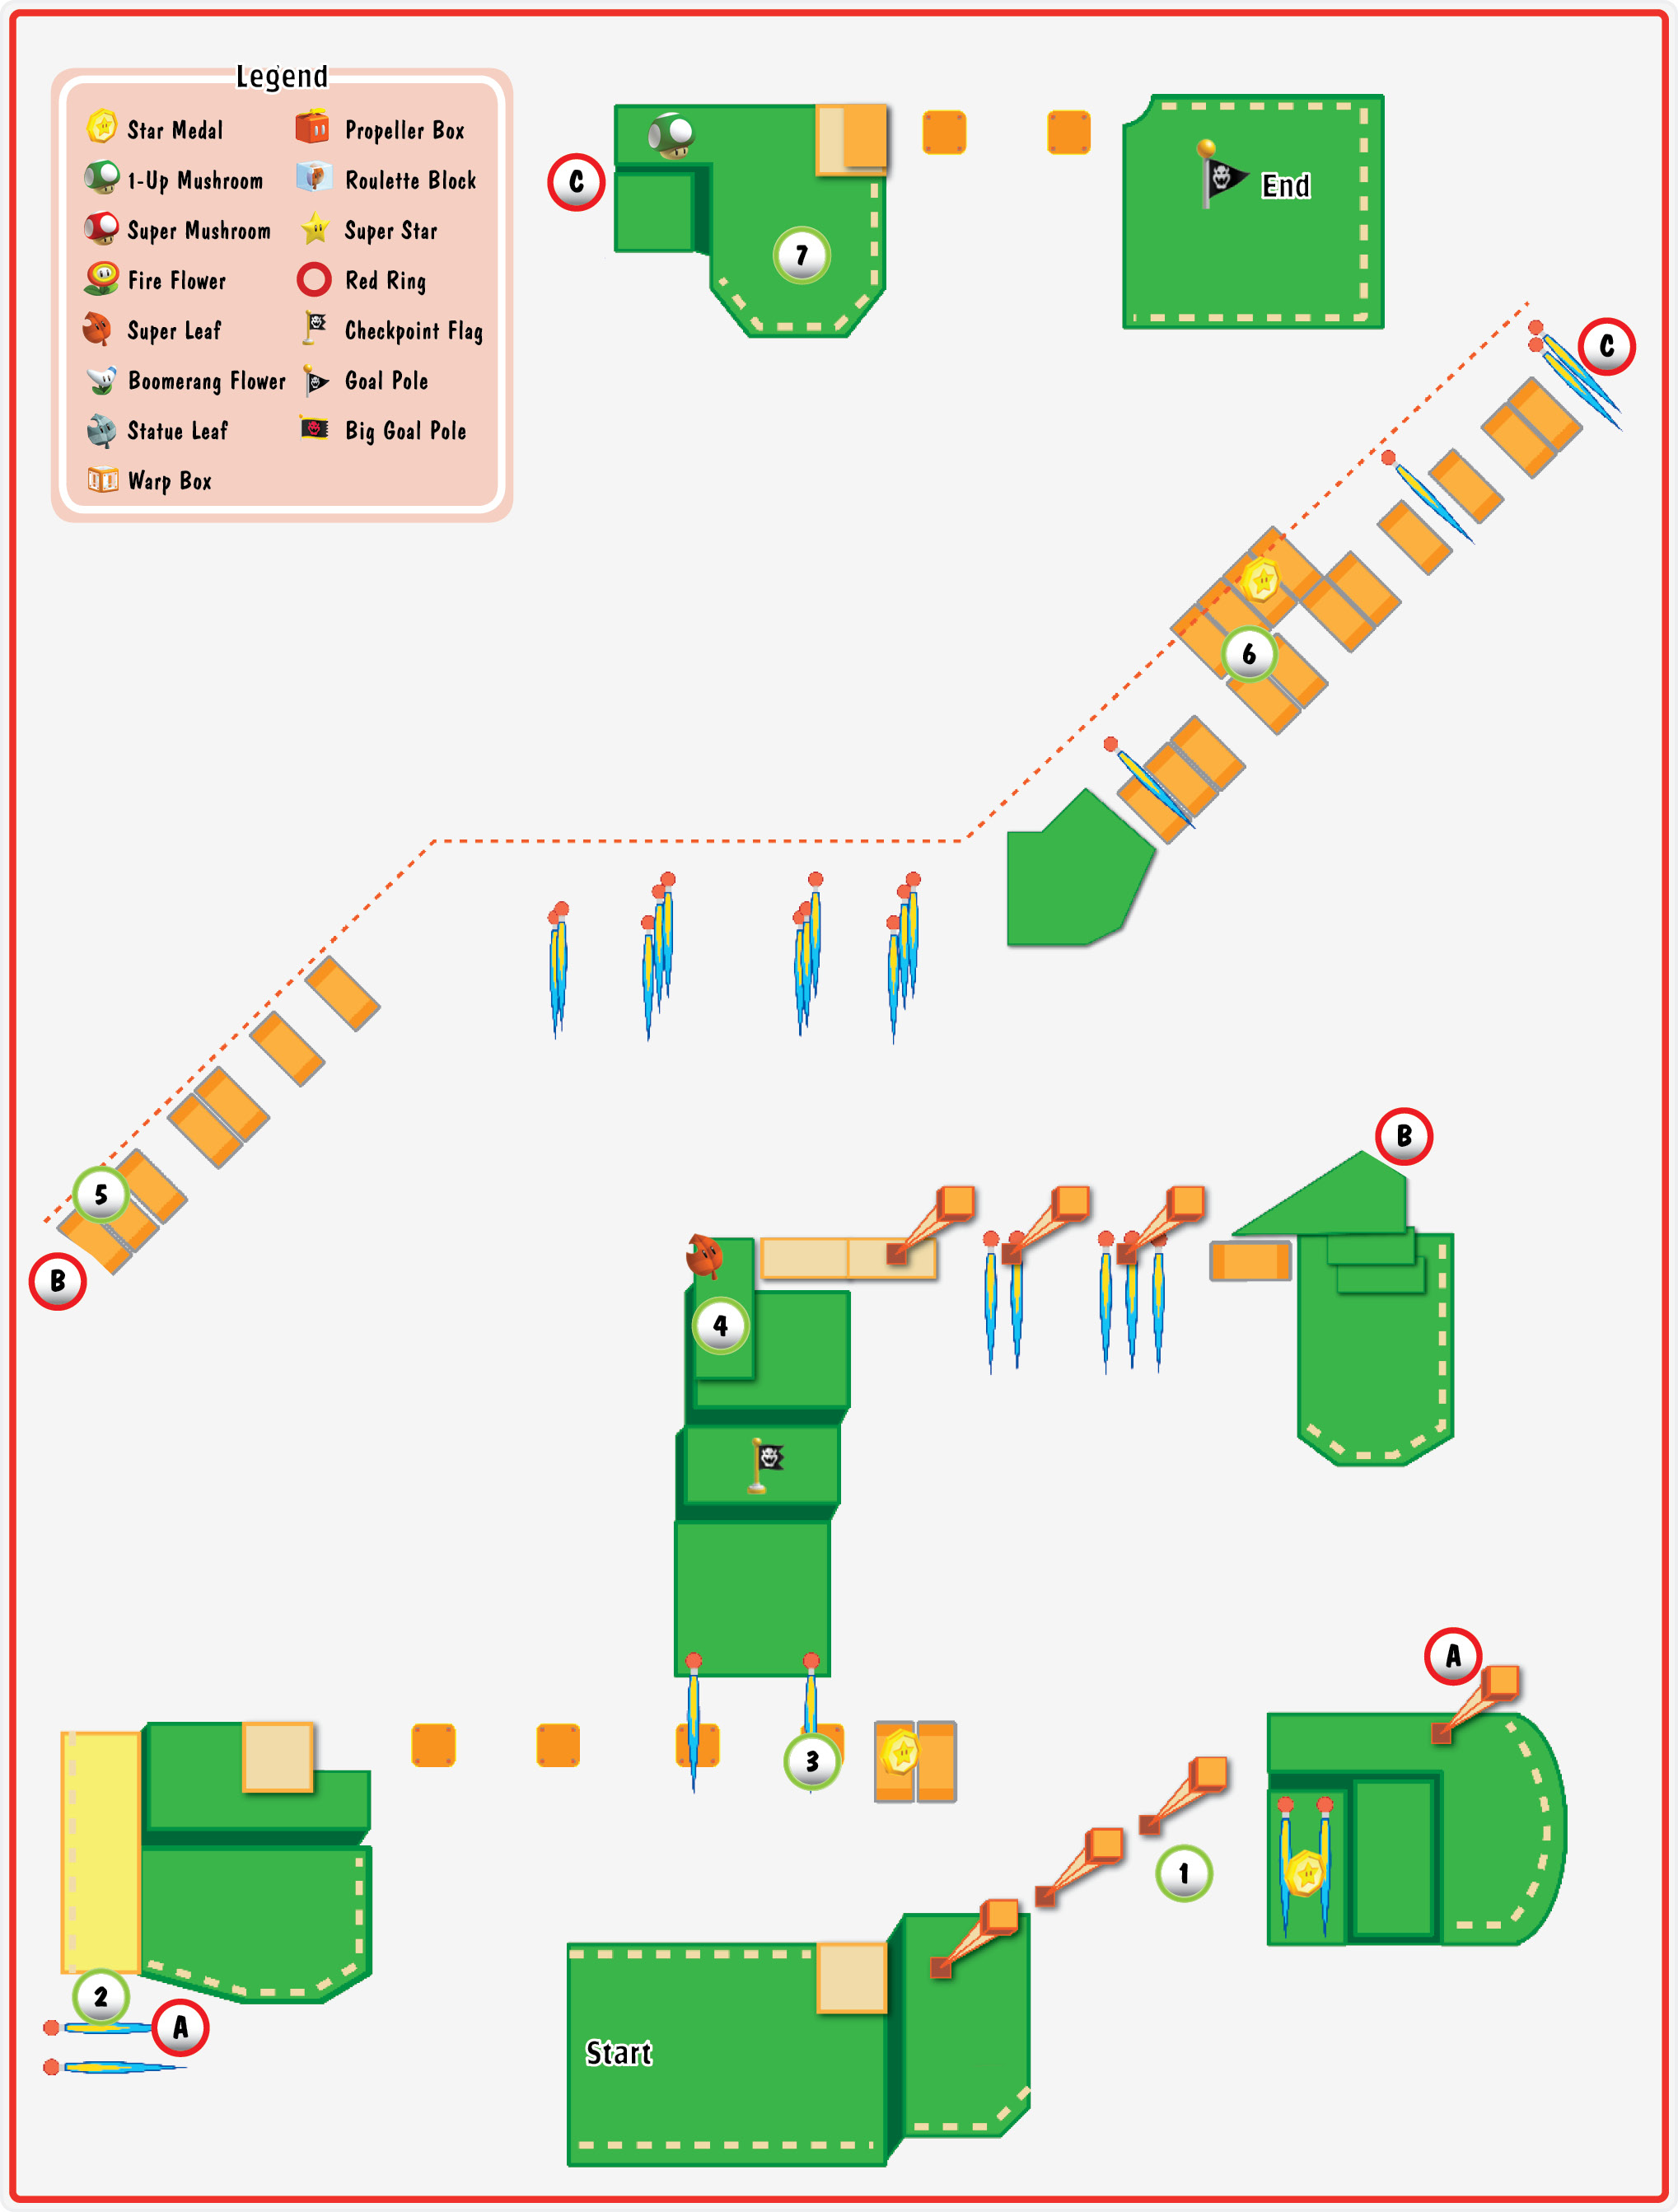
Star Medal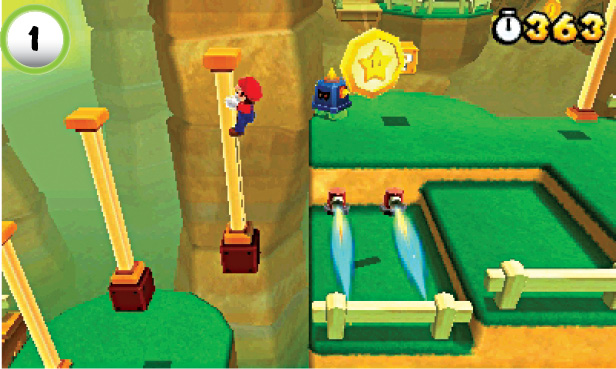 The level’s first Star Medal is floating near the poles at Point 1. Wait for the nearby jet engines to vent their exhaust, then jump from the pole to collect the Star Medal. It won’t take long for the engines to fire up again, so you must move quickly. When you’re ready to continue, jump onto the pole to the right and ride to the next platform. |
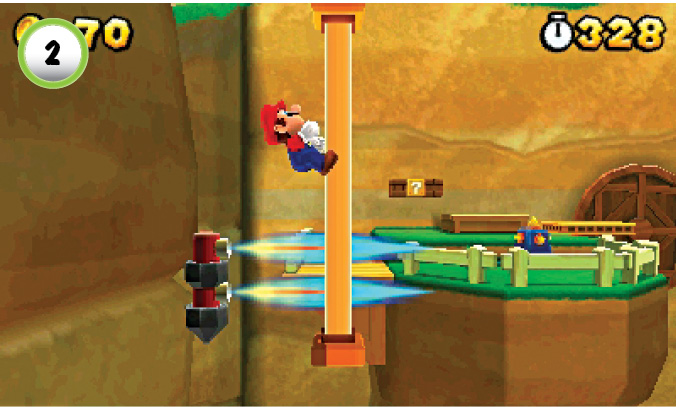
The jet engines at Point 2 are always active, and the pole passes right through their exhaust. Climb to the top of the pole to pass above the flames, and wait for the pole to reach the next platform.
Star Medal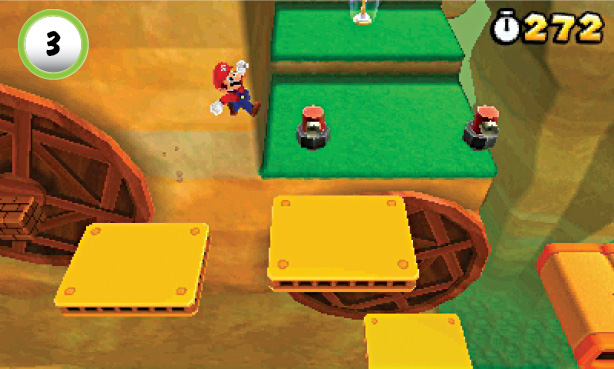 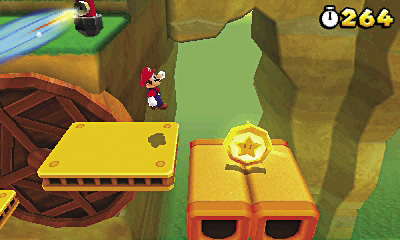 The second Star Medal is located just past the rotating platforms at Point 3. Ride down to the Star Medal, then hop onto the Donut Blocks to collect it. |
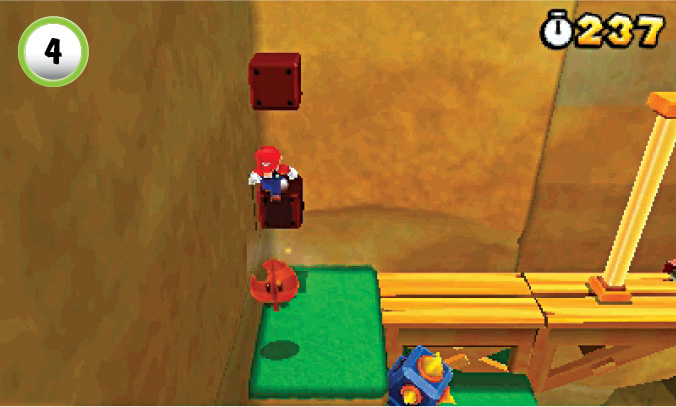
Smash the Blocks at Point 4, then hop onto the used Block in the corner. Jump straight up to find an Invisible Block, then collect the revealed Super Leaf.
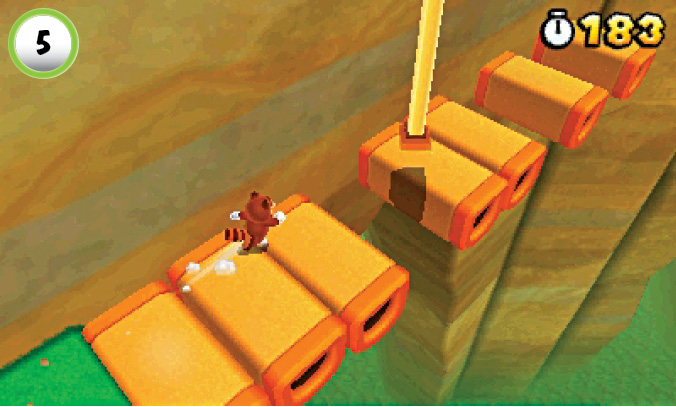
When you approach the pole at Point 5, it moves away from you. Dash to the pole and jump on before it reaches the end of the Donut Blocks.
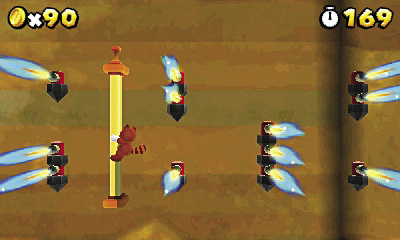
Star Medal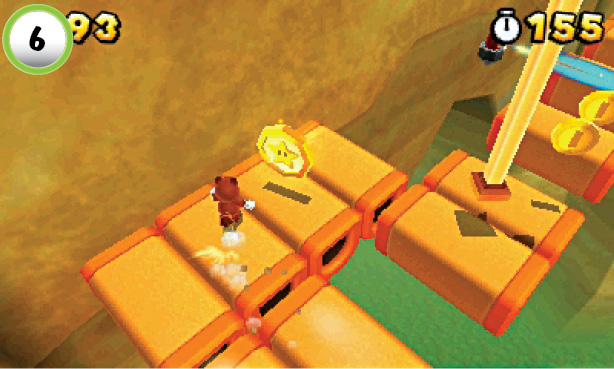 While you’re chasing the next moving pole, look for the Star Medal at Point 6. Veer over to grab it, then swerve back to the main path and catch up to the pole. |
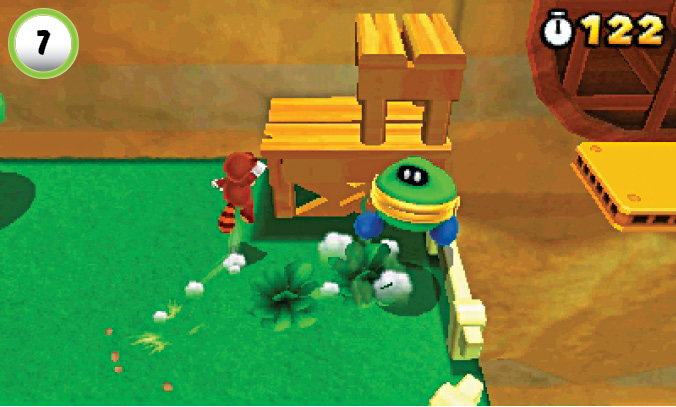
Before you jump to the Goal Pole, search the bushes at Point 7 to find a Coin Coffer. Wait for the Coin Coffer to move away from the edge of the platform, then attempt to collect your extra life.
World 8-3
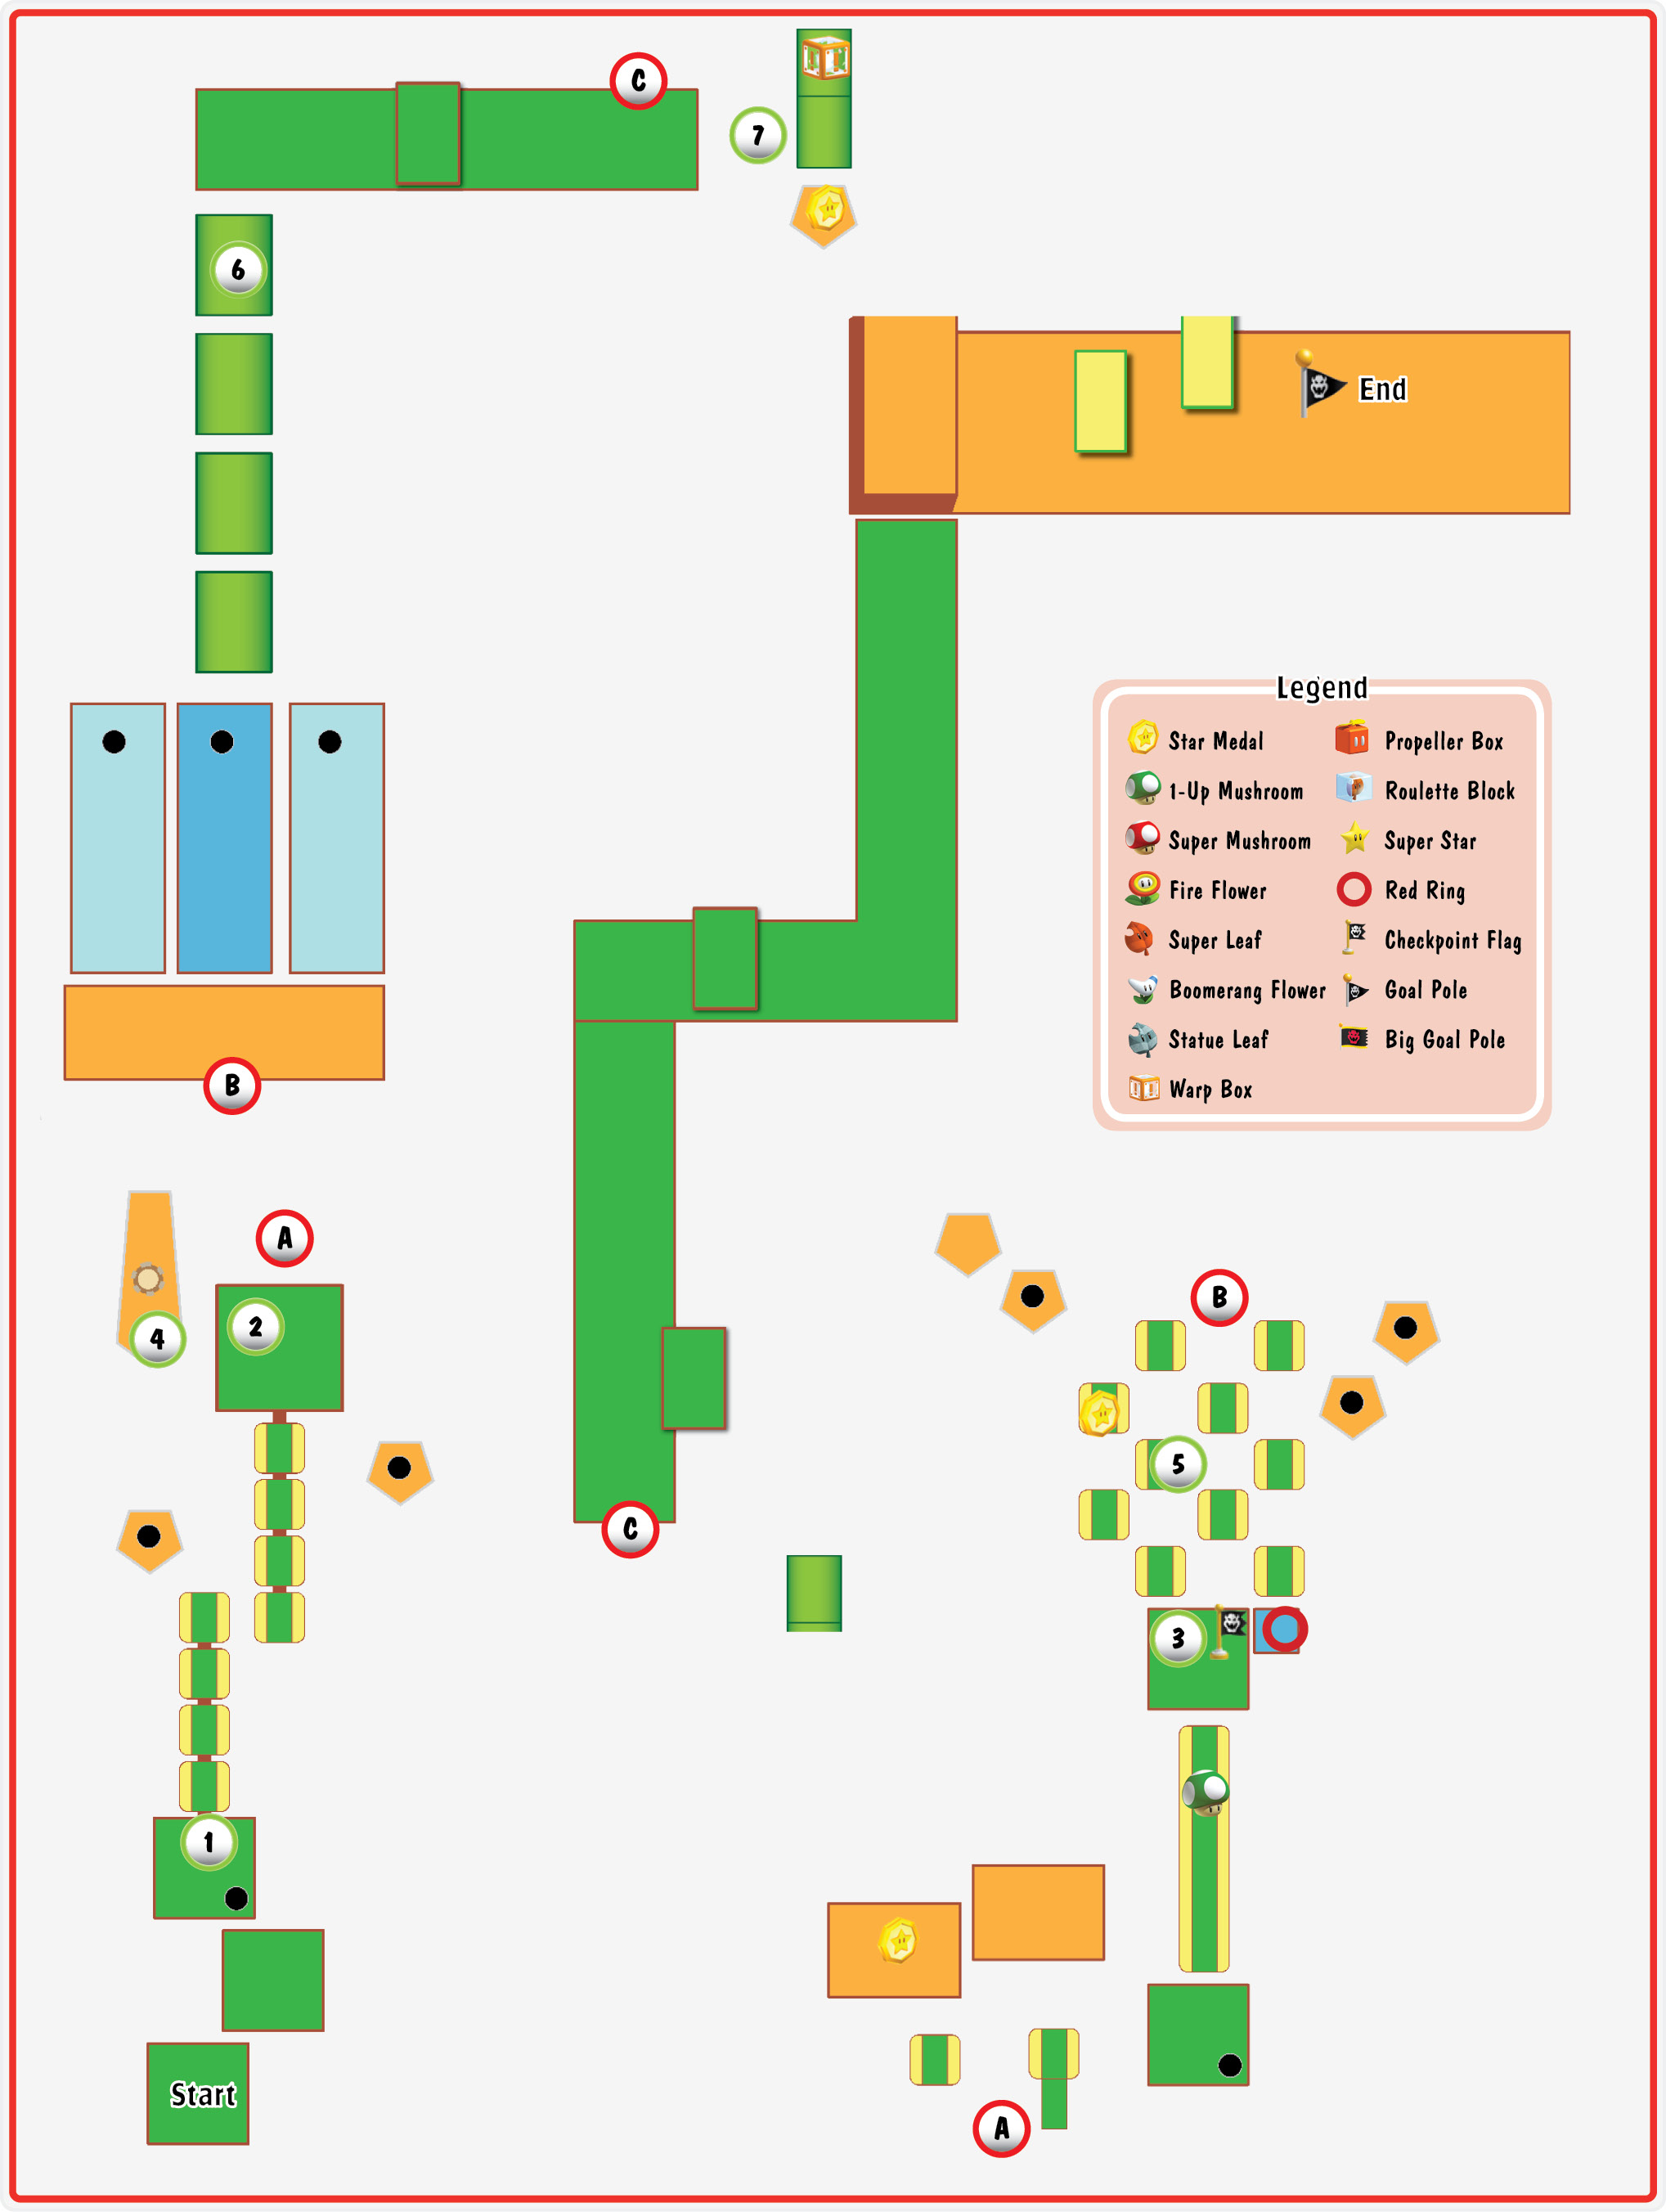
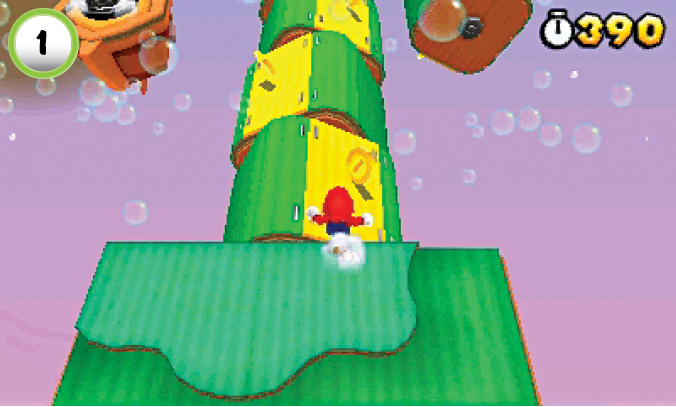
This level contains a wide variety of green-and-yellow platforms. Some of these platforms spin continuously, some rotate at regular intervals, and some swivel back and forth to create multiple paths. As you traverse the level, you must adjust to the size, shape, and motion of each platform. This level is packed with Rocky Wrenches, so time your jumps to avoid their attacks.
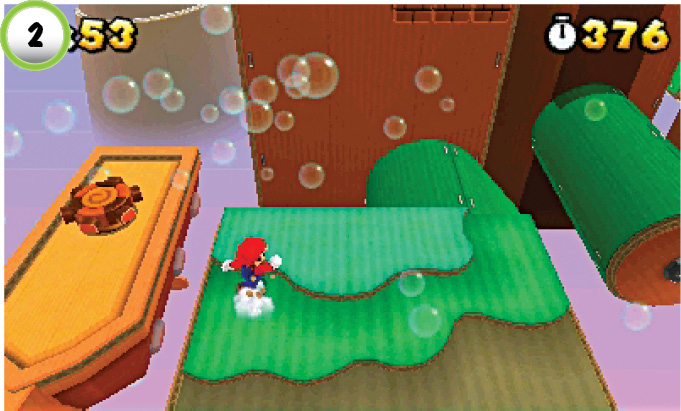
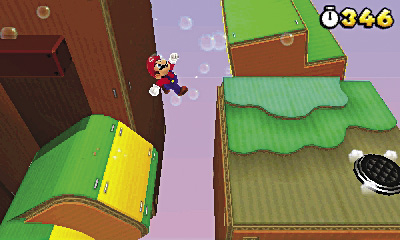
There’s a Tail Wheel on the small, floating ship at Point 2. If you brought a Tanooki Suit into the level, you can use the wheel right away. If not, you must return to this area after you collect a Super Leaf. Use the nearby spinning platforms to continue through the level. Jump onto the first platform, and walk along the top of it as it spins. When the platform’s wider section begins to tilt upward, it acts as a temporary ramp. Jump from the ramp to reach the next platform, then repeat the process to land near a Rocky Wrench.
Red Ring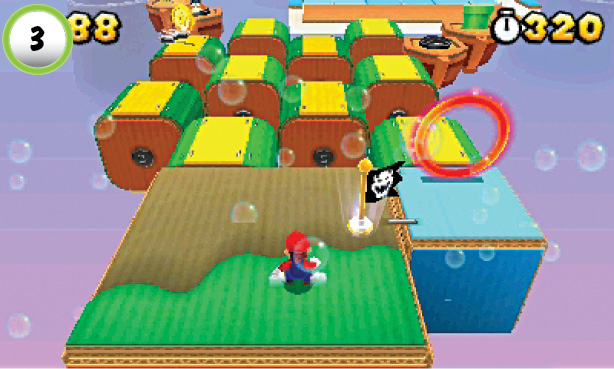 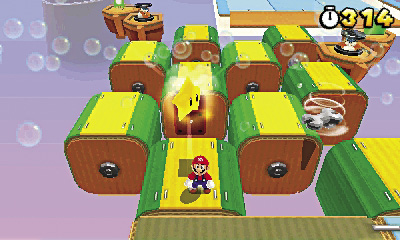 Before you pass through the Red Ring at Point 3, step onto the spinning platform to the left. Jump up to collect a Super Star from the Invisible Block above you. Hurry over to the Red Ring, then collect the Coins from the spinning platforms. While the Super Star is active, it protects you from the nearby Rocky Wrenches. Gather all of the Red Coins before they vanish to earn a Super Leaf. |
Star Medal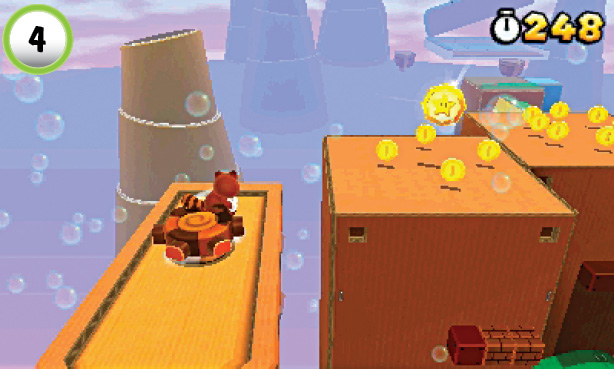 Once you have a Super Leaf, return to the Tail Wheel near the start of the level. Use the wheel to raise the ship up to the ledge, then jump over and collect the Star Medal. Jump down to the main path, and return to the spinning platforms near the Checkpoint Flag. |
Star Medal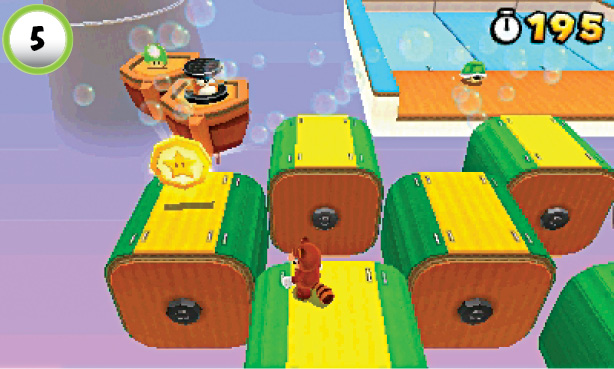 Jump along the spinning platforms to collect the Star Medal at Point 5. Before you move on, head over and deal with the nearby Rocky Wrench. Hop to the next platform and smash the 1-Up Mushroom Board to reveal a real 1-Up Mushroom. |
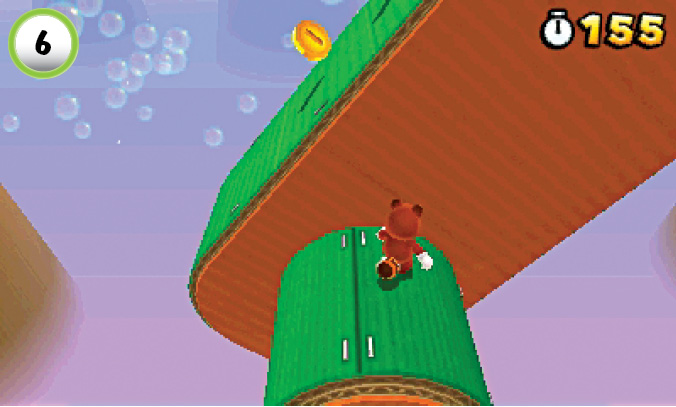
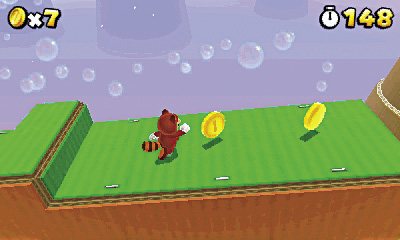
The long platform at Point 6 sweeps along a 90-degree arc. Wait for the platform to lie flat, then jump on and run to the right. Try to reach the end of the platform before it returns to its upright position. If you’re in danger of falling, look for the narrow ledge near the middle of the platform.
To find the Star
Star Medal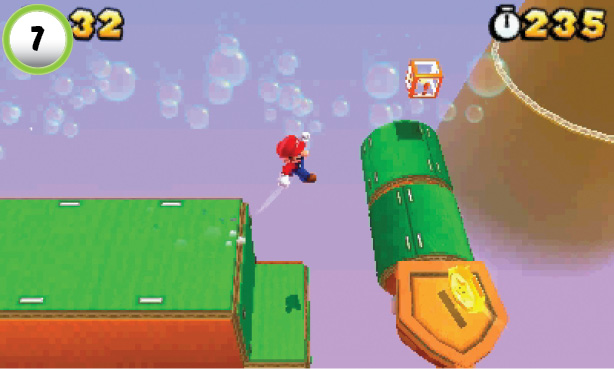 Medal at Point 7, stand at the edge of the long platform while it’s lying flat. Jump over to grab the Star Medal, then wait as the platform returns to its upright position. When the platform moves back into range, jump on and ride up to the next area. |
World 8-4
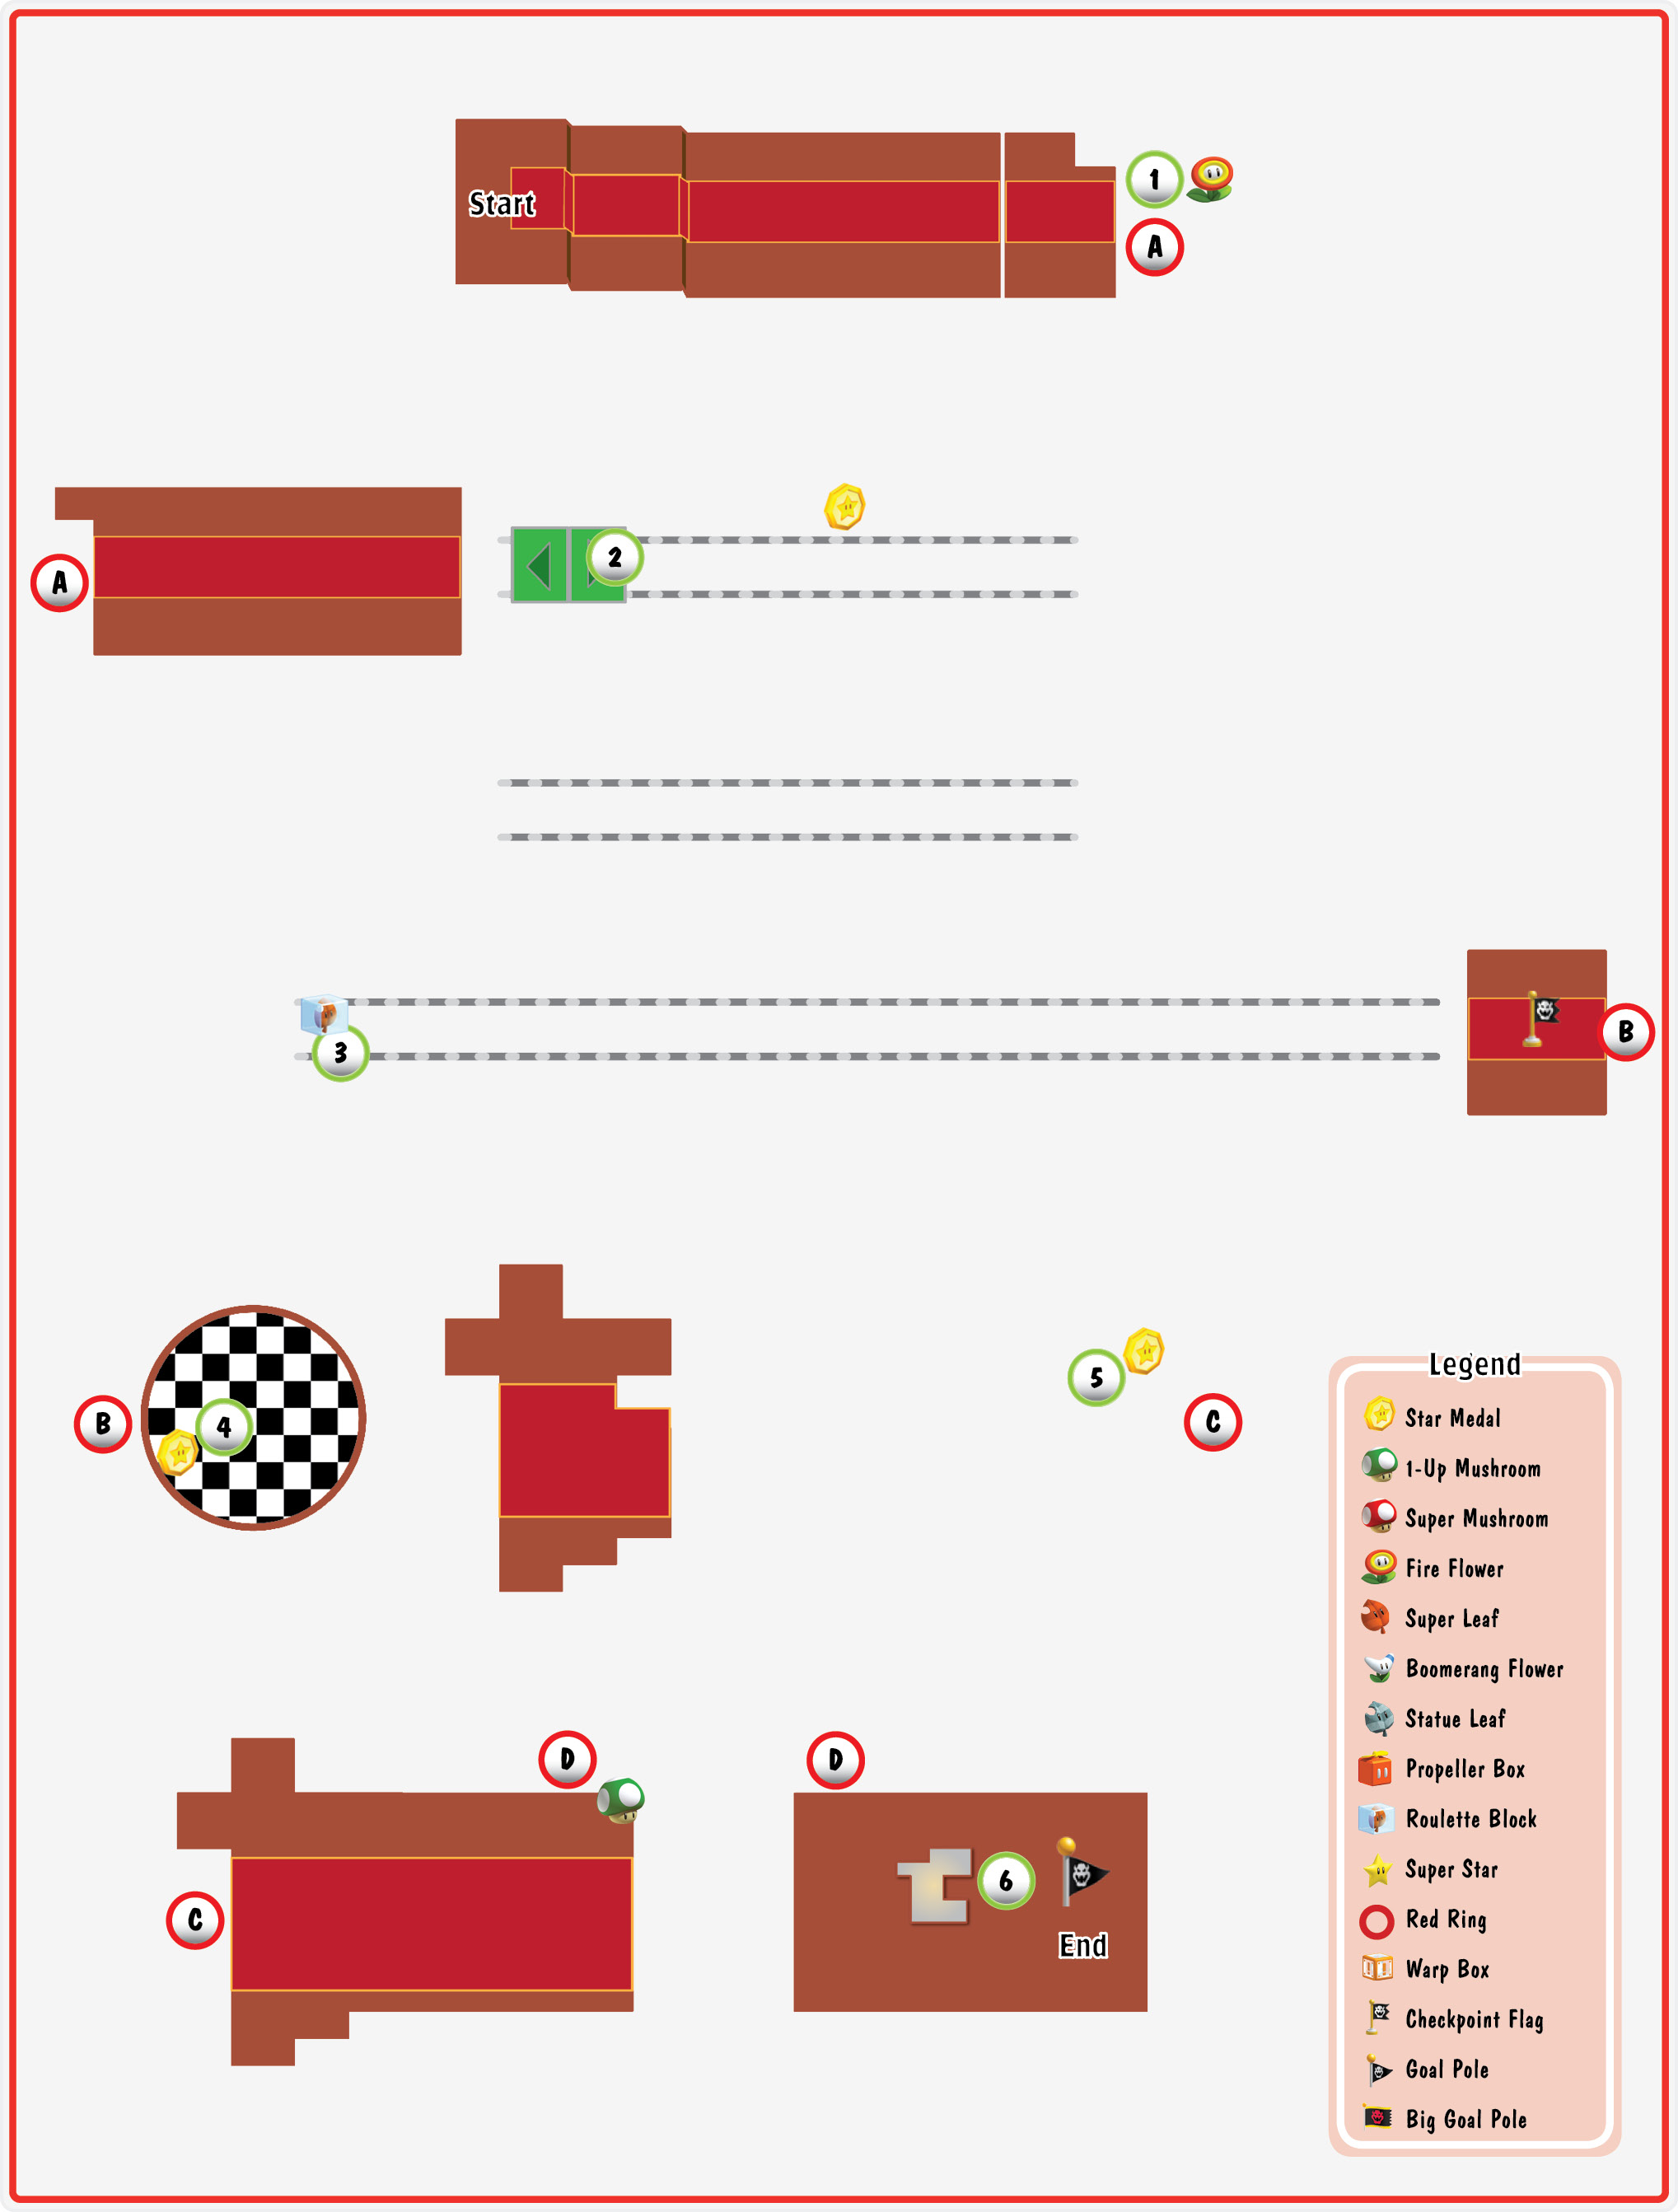
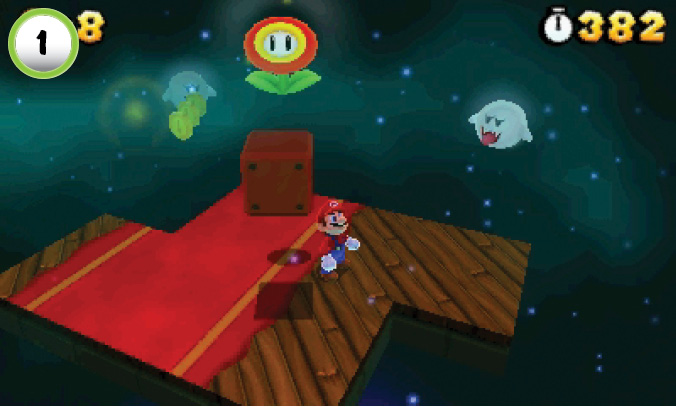
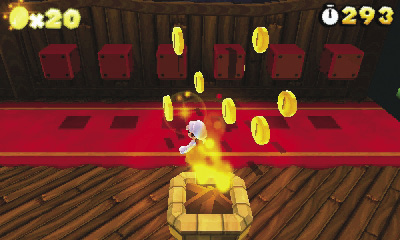
Hit the ? Block at Point 1 to collect a Fire Flower. As the platform continues through the area, use a few fireballs to slow down any Boos that get too close for comfort. This power-up also lets you light the torch in the next area, so try to hang onto it!
Star Medal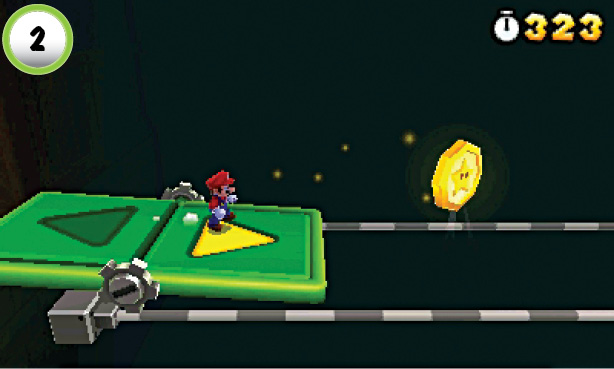 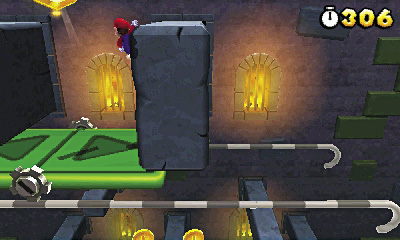 Use the Switch-board at Point 2 to chase the Star Medal along the tracks. When the Star Medal stops, keep the Switchboard below it and wait for the stone barriers to emerge from the background. Wall-jump up to the Star Medal, then wait for the barriers to pull away from the tracks. |
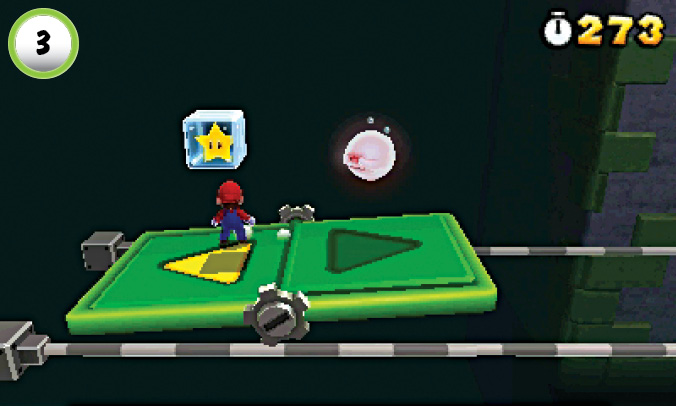
Use the Switchboard to reach the Roulette Block at Point 3. Before you collect your power-up, face the nearby Boo to keep it from moving toward you.
Star Medal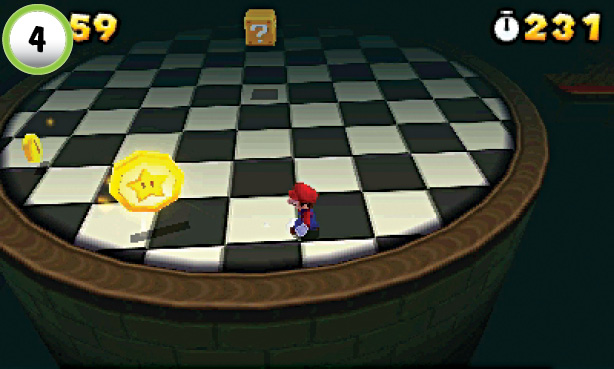 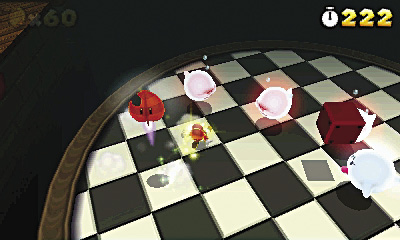 When you reach the revolving platform at Point 4, walk along its edge to collect the second Star Medal. Before you move on, search the ? Block at the center of the platform to collect a Super Star. When the Boos appear, run to the left and take out the first enemy to collect a Super Leaf. Clear out the remaining Boos before the Super Star wears off to earn an extra life. |
Star Medal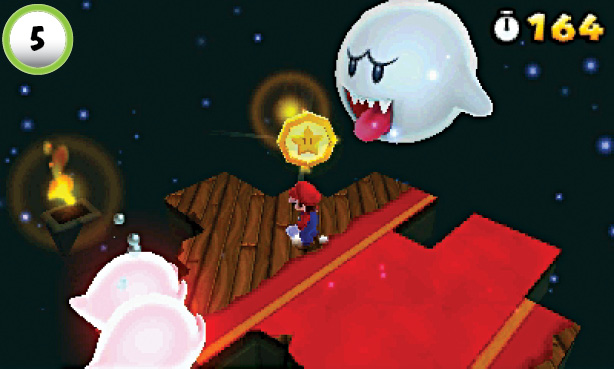 Avoid the Boos and Peepa as you ride the moving platform to Point 5. When you approach the Star Medal, a Big Boo appears to the right. Run up to grab the Star Medal, then dash to the opposite edge of the platform. The Big Boo starts chasing you as soon as you turn your back, so spin around to face it as the platform continues along its path. |
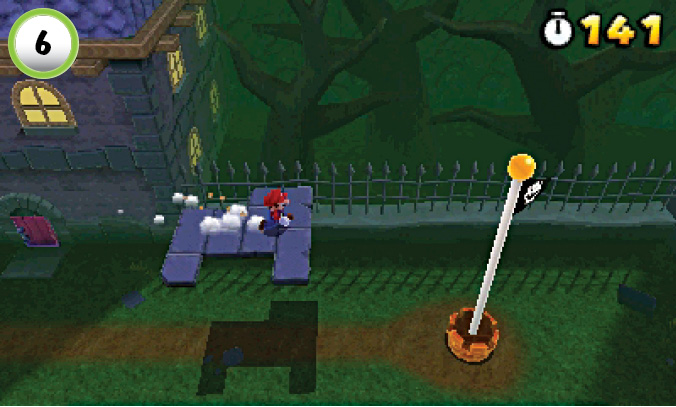
When you reach the end of the level, hop onto the platform and ride up toward the top of the Goal Pole. As the platform moves into position, make a running leap from its edge.
World 8-5
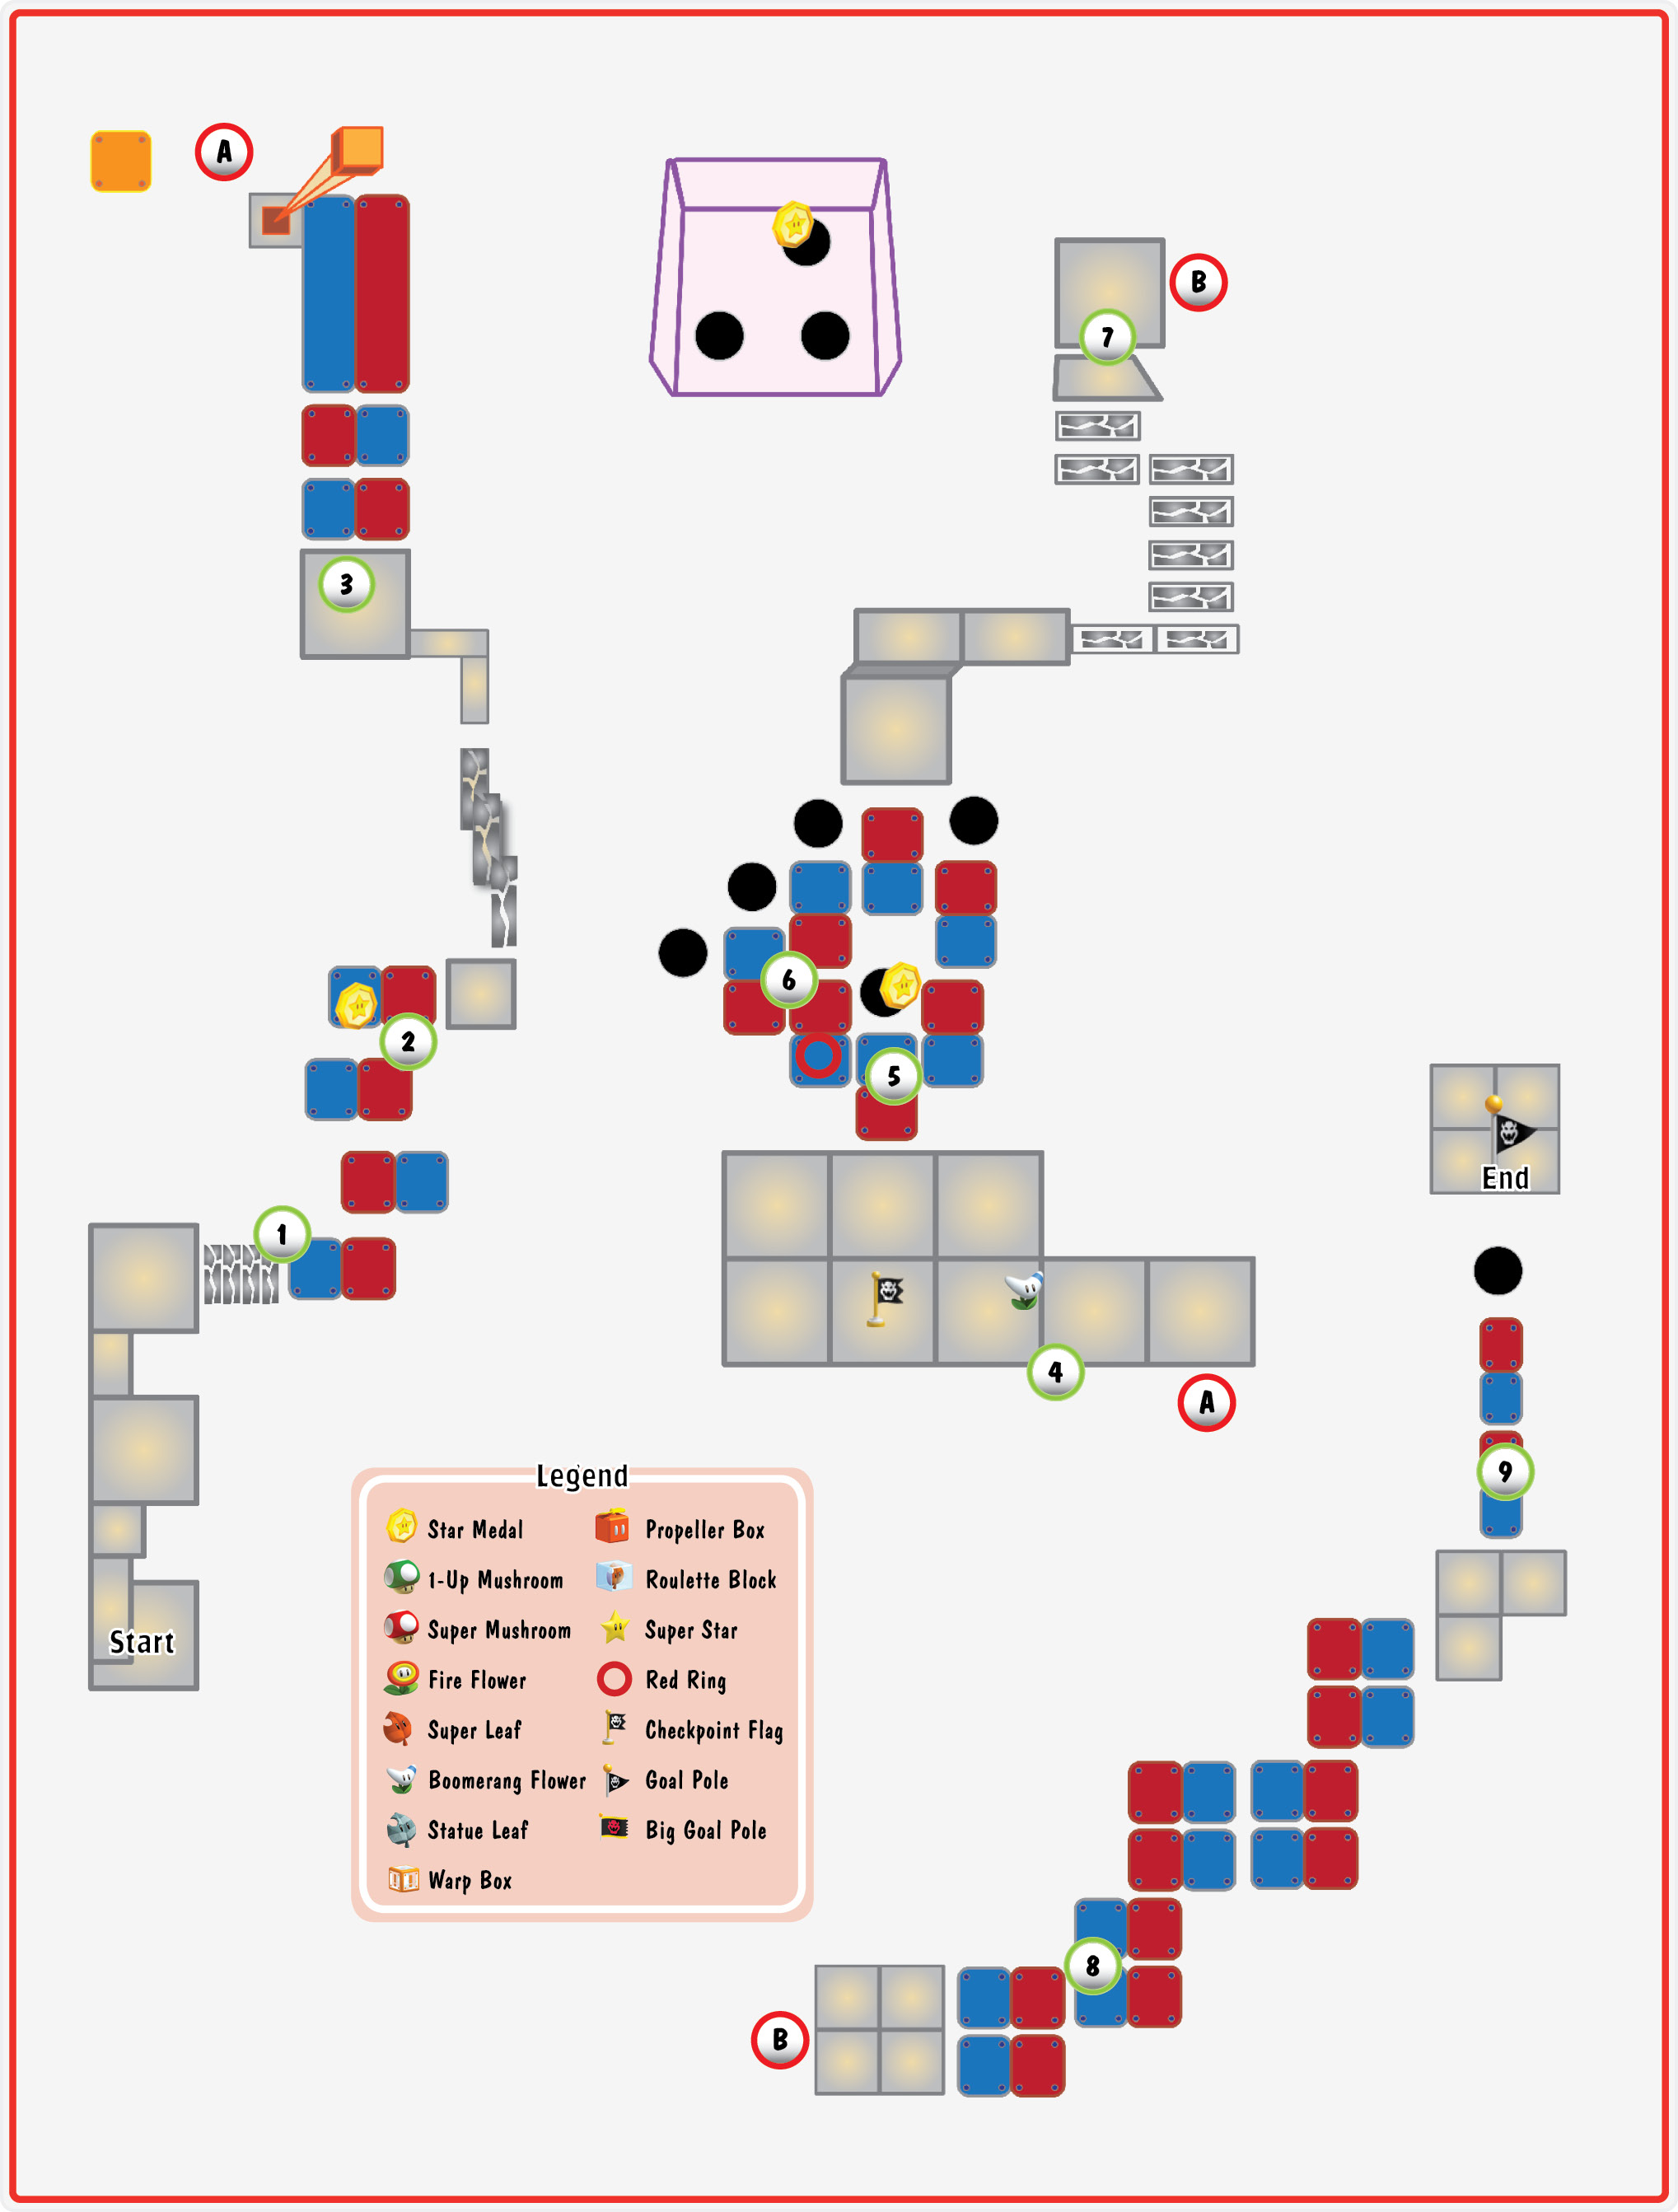
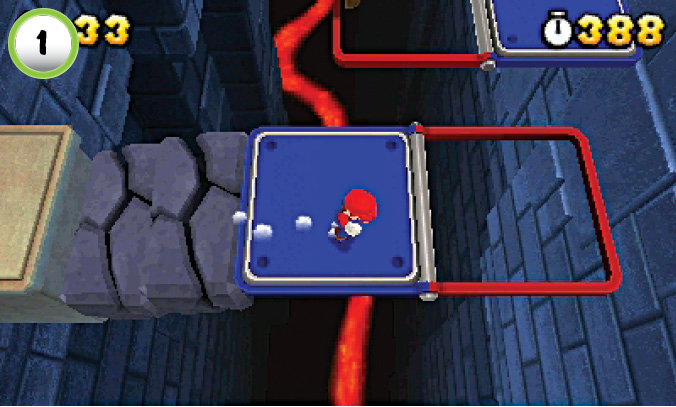
This level contains several Red-Blue Panels, so you must plan your jumps accordingly. The crumbling platforms at Point 1 don’t give you much time to react—make sure the Red-Blue Panel’s blue side is showing by the time you reach it.
Star Medal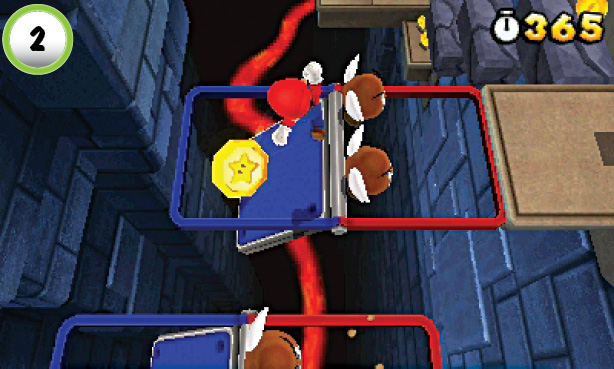 The Star Medal at Point 2 is located on the blue side of a flipping panel. To collect it, you must jump to the platform while its red panel is showing. When you jump toward the gap, the blue panel swings up to present the Star Medal and a safe landing spot. |
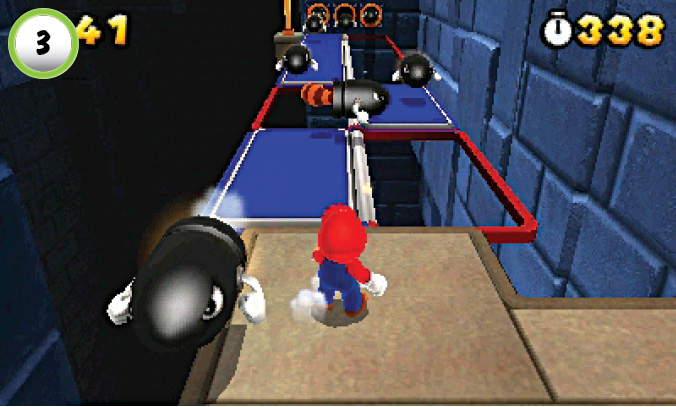
Before you cross the flipping platforms at Point 3, watch the Bullet Bills moving toward you. When the first Tail Bullet Bill appears, defeat it to collect a Super Leaf.
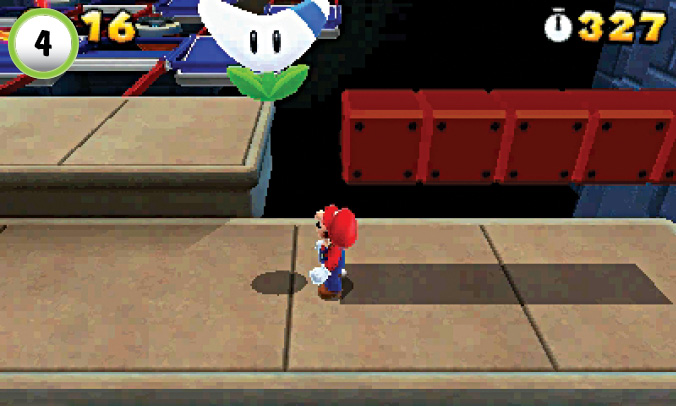
One of the Blocks at Point 4 contains a Boomerang Flower. This power-up is particularly useful in dealing with troublesome Rocky Wrenches, so make sure you grab it on the way to the Checkpoint Flag.
Star Medal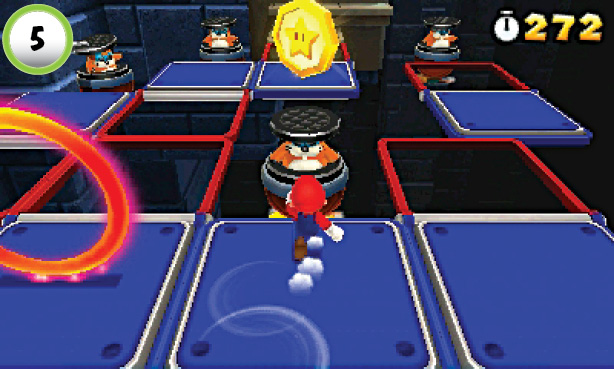 The level’s second Star Medal is located near the Red Ring at Point 5. There’s a Rocky Wrench just below the Star Medal, so be careful when you attempt to collect it. Use a well-aimed boomerang to smash through incoming wrenches and defeat this enemy from a distance. If you’ve lost your power-up, time your jumps to dodge the Rocky Wrench’s attacks, then jump on its head to collect the Star Medal. |
Red Ring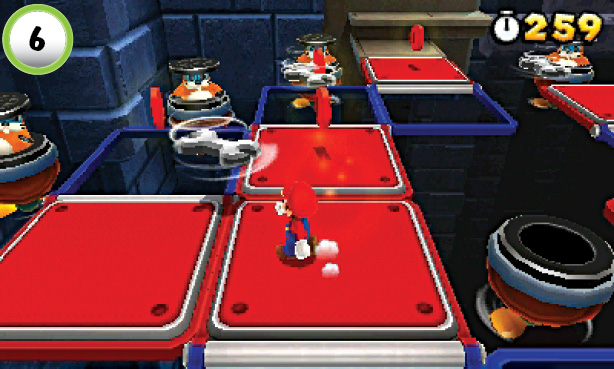 After you pass through the Red Ring, jump along the platforms to collect the Red Coins. The nearby Rocky Wrenches can make your task fairly difficult, so time each of your jumps to dodge their attacks. Collect all of the Red Coins before they vanish to earn a Super Leaf. |
Star Medal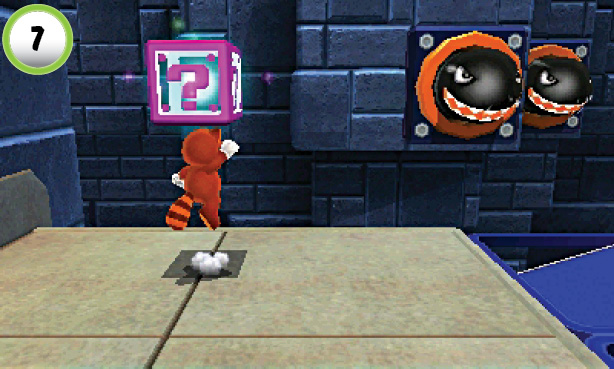 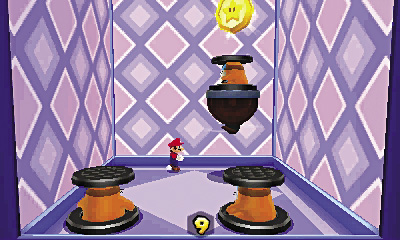 The level’s last Star Medal is inside the Mystery Box at Point 7. Clear out the Rocky Wrenches inside the Mystery Box, then wall-jump up to the Star Medal before the time runs out. |
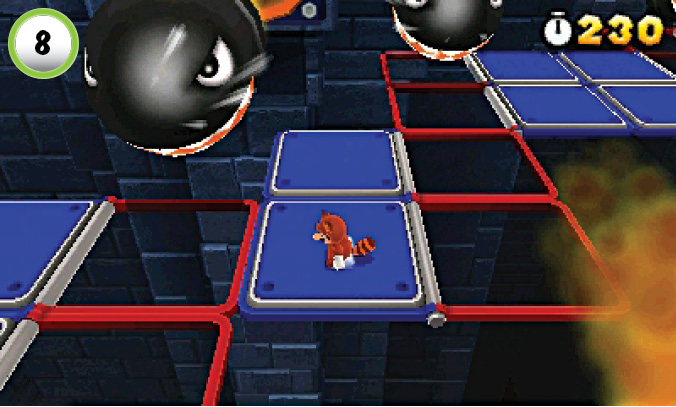
The Banzai Bills around Point 8 travel over the red halves of the flipping platforms. Time your jumps to avoid these massive enemies as you make your way through the area.
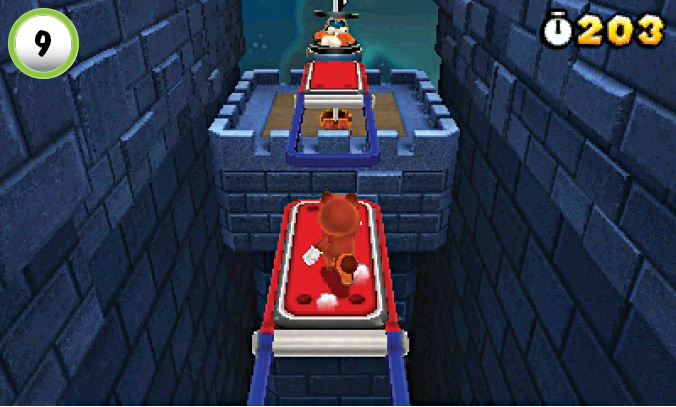
As you move along the flipping platforms at Point 9, time your jumps to dodge the attacks from the Rocky Wrench at the end of the path. When you’re close enough, jump onto the enemy and make a running leap to the top of the Goal Pole.
World 8—Bowser: Part 1
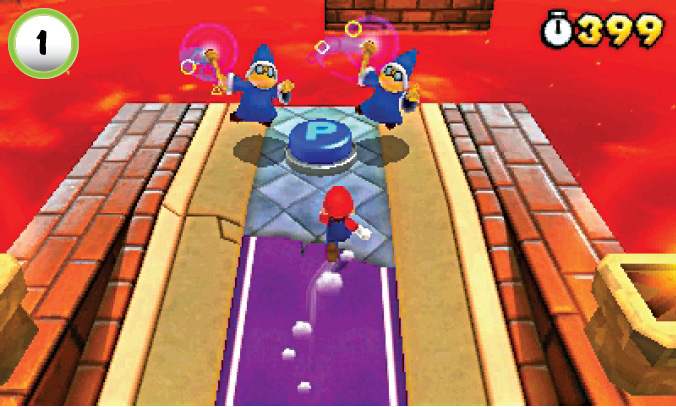
When the level starts, run toward the two Magikoopas at the end of the walkway. If you move quickly, you can defeat both opponents before they have a chance to attack. When you jump on the P Switch, a large platform emerges from the lava.
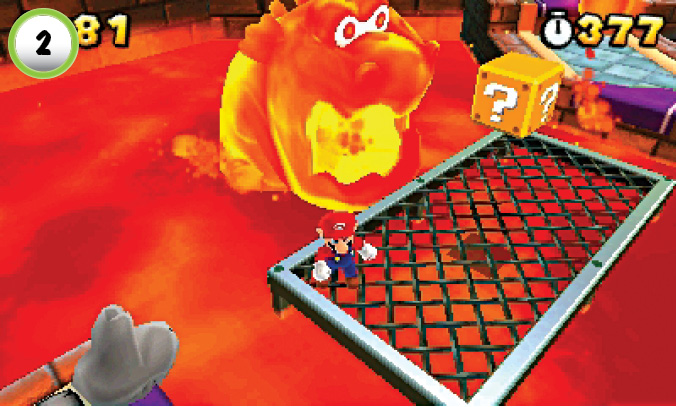
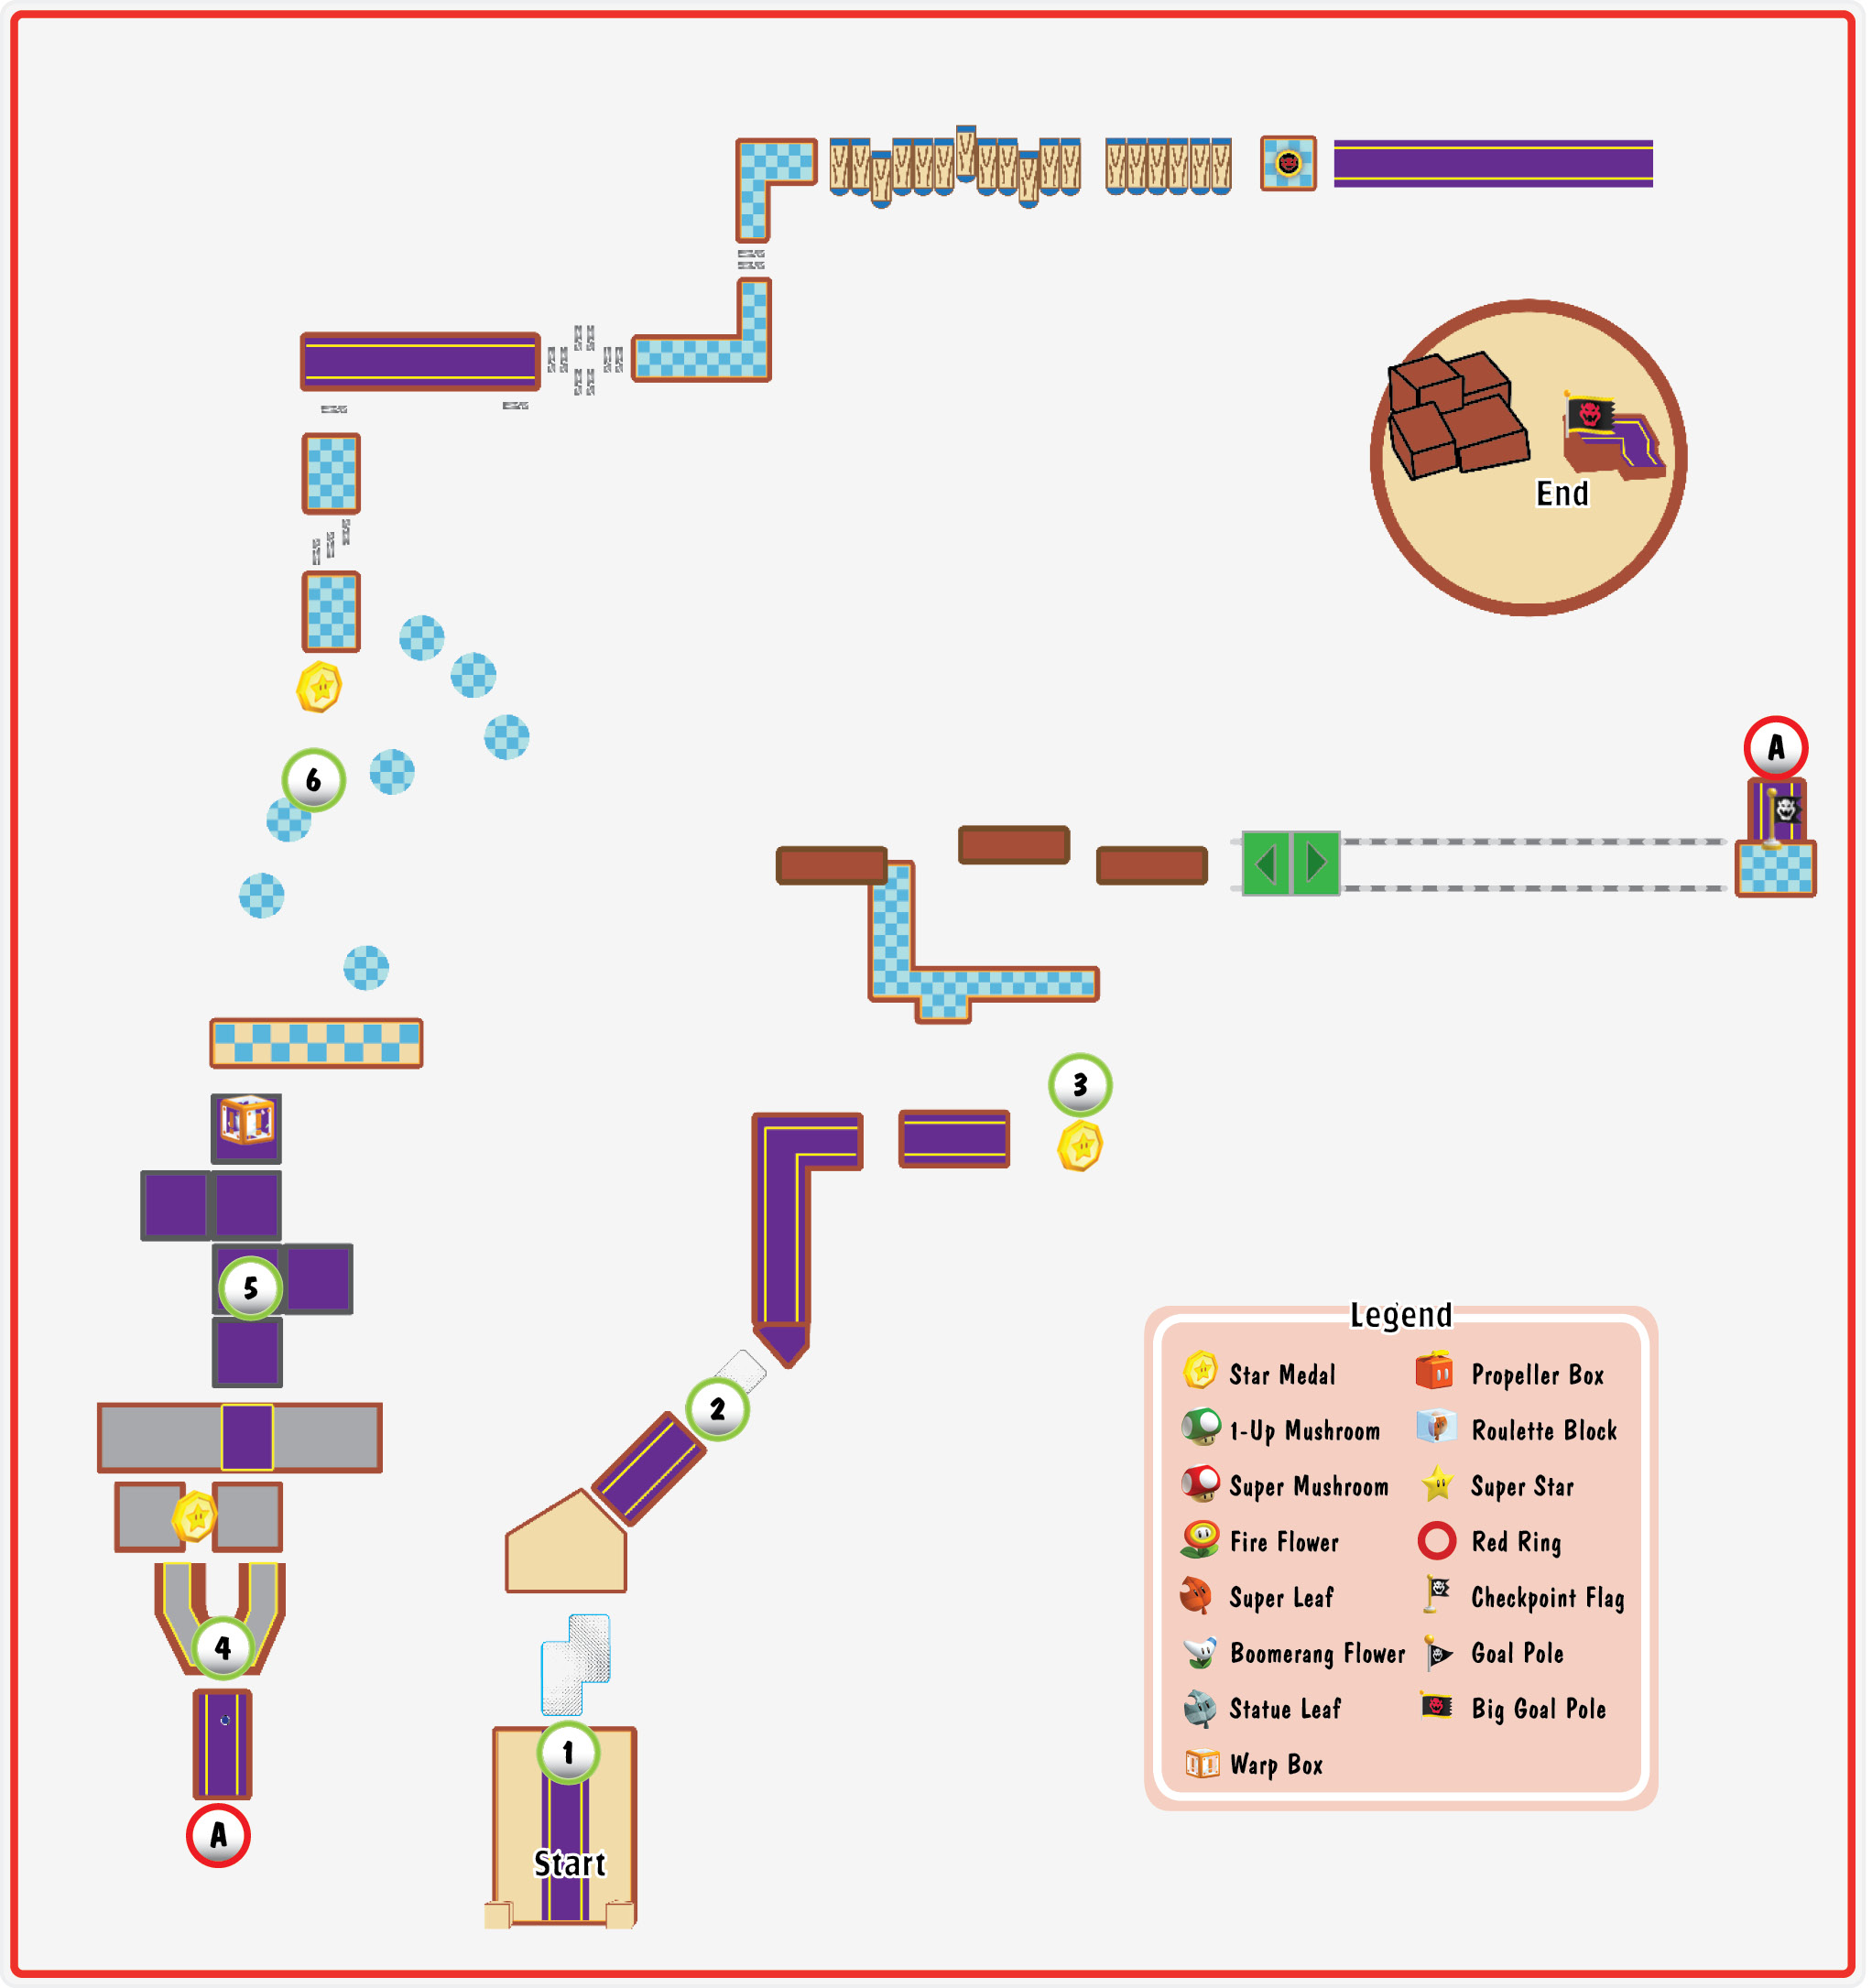
Before you hit the ? Block at Point 2, wait for the Magmaargh to emerge from the lava. After it passes through the platform, collect the coins from the ? Block before the next Magmaargh appears. There’s a Lava Bubble near the edge of the platform, so make sure you avoid it when you jump to the walkway.
Star Medal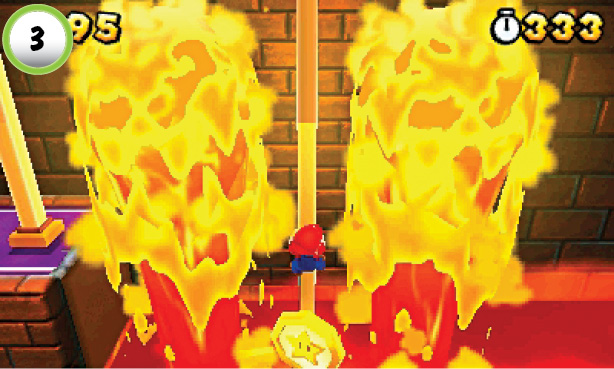 When you reach Point 3, wait for the geysers to die down, then jump over to the pole. Move around to the front of the pole before the geysers start up again, then slide down to collect the Star Medal near the lava. There’s a Magikoopa waiting on the ledge above you, so be ready to defend yourself as you climb up the pole. |
Star Medal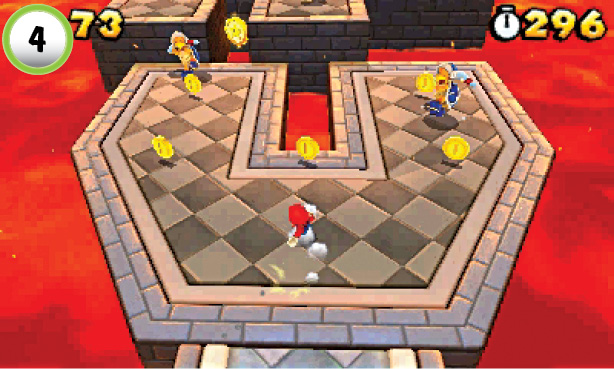 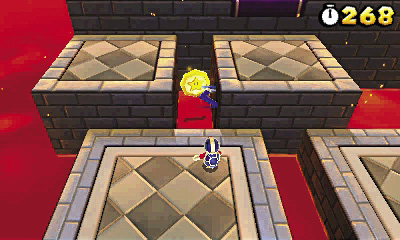 There are three Boomerang Bros waiting for you at Point 4. Their combined attacks can be difficult to dodge, so move quickly to thin out their ranks. Dash to the Boomerang Bro on the right. After you dodge his first attack, jump on his head to defeat him. After a moment, the Boomerang Bro to the left jumps toward you. Wait for him to do so, then jump on his head before he attacks. After you even the odds, defeat the last Boomerang Bro to reveal a Boomerang Flower. Collect the power-up, then use a boomerang to collect the nearby Star Medal. |
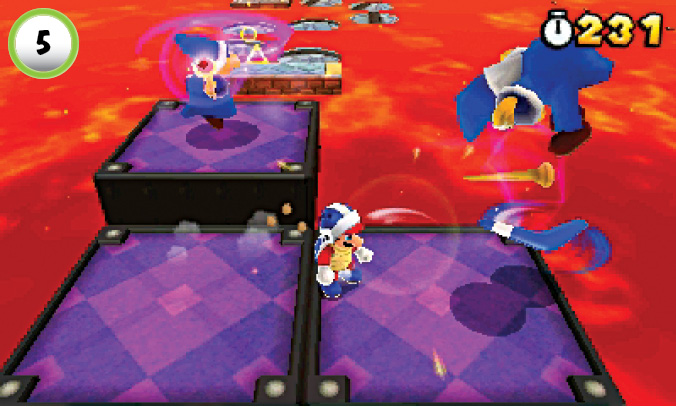
The Magikoopas at Point 5 can be a real nuisance, so take them out as soon as they appear. Throw a boomerang at the enemy to the right, then jump on the remaining enemy before it has a chance to attack.
Star Medal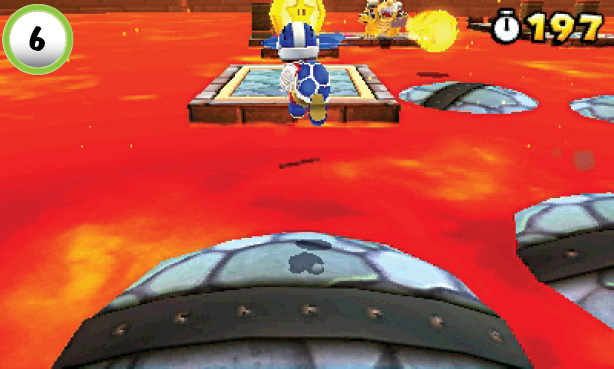 On your way to face Bowser, jump up and throw a boomerang through the Star Medal at Point 6. |
Boss Battle: Bowser
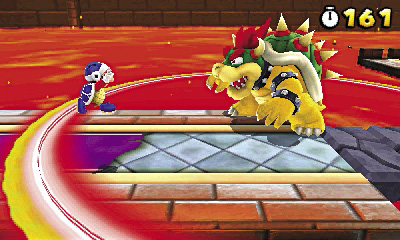
Bowser’s fireball and tail whip attacks are similar to those used by the imposters you faced in other castles, but his jump attack is far more dangerous. Each time Bowser lands, it sends a shock wave through the area. To avoid taking damage, you must jump over each shock wave as it moves toward you.
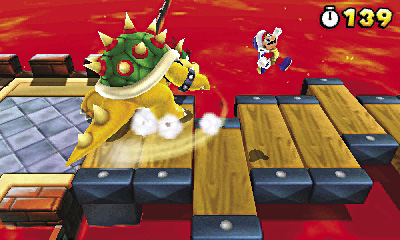
As you dodge Bowser’s attacks, look for opportunities to slip past him. When Bowser jumps to the edge of the path, hop over the shock wave and run through the opening. Keep an eye on Bowser each time you pass him. If he winds up for a tail whip, be prepared to jump over the incoming attack. Keep running until Bowser jumps past you, then hop over the shock wave and look for your next opportunity.
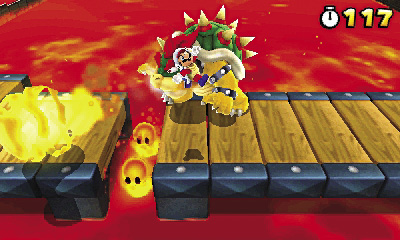
Watch out for the Lava Bubbles near the end of the bridge. To safely cross the last two gaps, you must time your jumps to avoid these troublesome obstacles in addition to dodging Bowser’s attacks. When you see an opening, head for the switch at the end of the bridge. Dodge past the second group of Lava Bubbles, then jump on the switch to end the encounter.
World 8-6
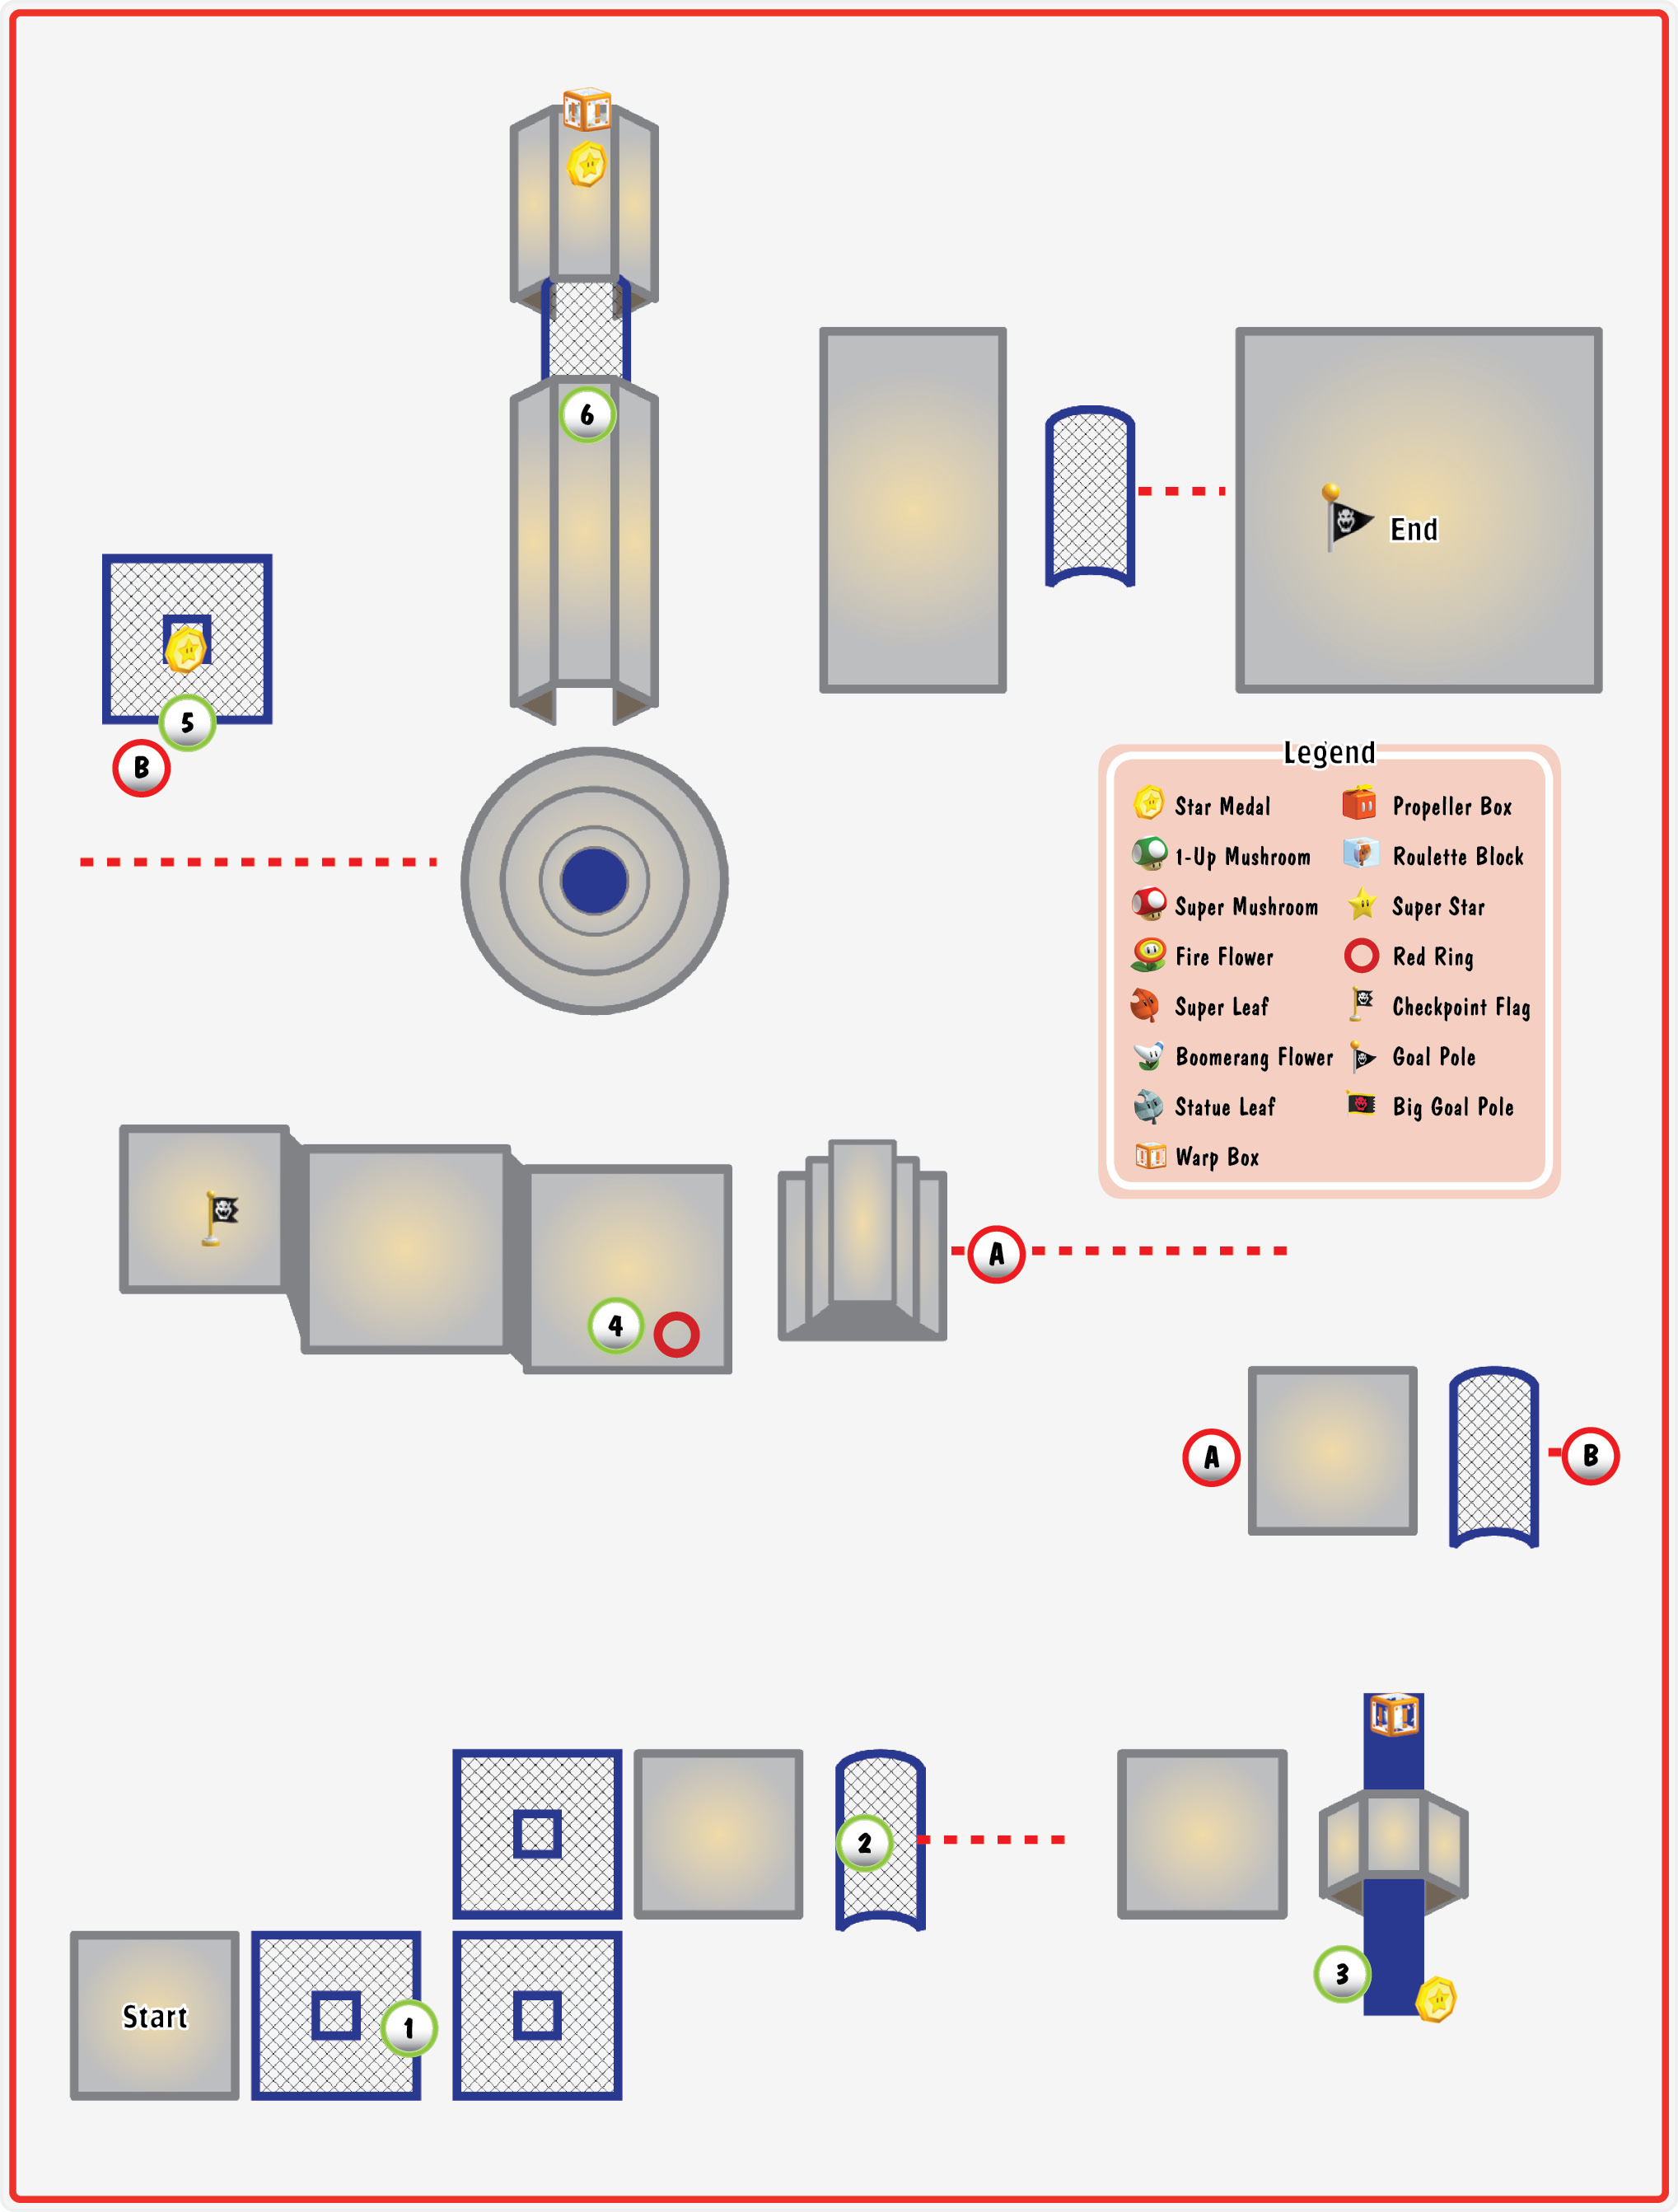
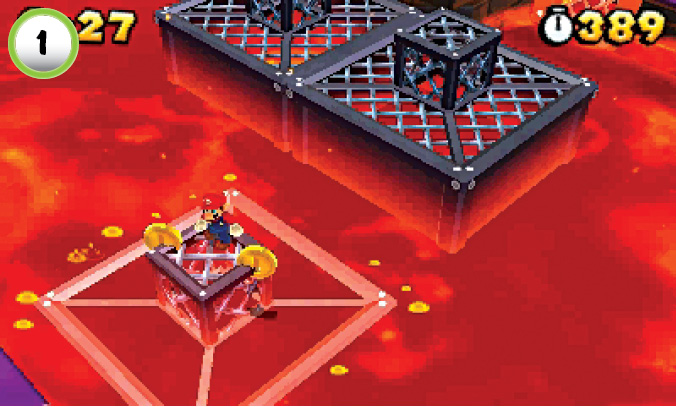
When you stand on the cage-like platforms at Point 1, they sink into the lava. Cross each platform before it sinks too low, or jump in place to allow it to rise back up. You’ll find several of these cage-like platforms on your way through the level. Some of them contain valuable objects, but many of them are placed above dangerous geysers. Be sure you check for items and hazards each time you encounter one of these platforms.
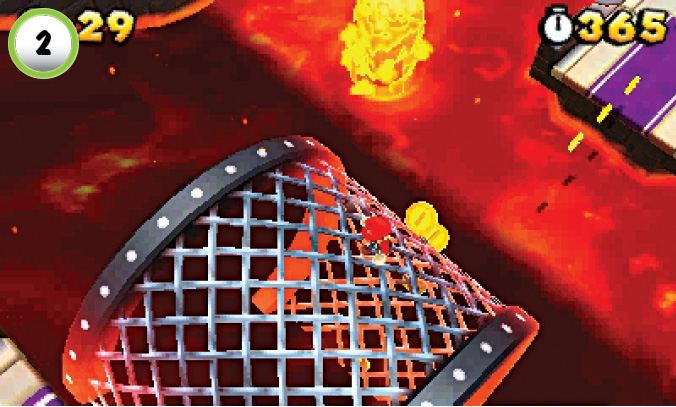
When you reach the cylindrical cage at Point 2, hop on and move forward until it begins to roll. As the cage picks up speed, walk in the opposite direction to keep from falling off. The cage reacts to your weight, so your position affects the speed and direction of the roll.
Star MedalLike the cylindrical cage, the platform at Point 3 reacts to your weight. As the platform rolls, it moves along a length of a giant bolt. Roll the platform counterclockwise, and dodge the attacks of the nearby Magikoopa until you reach the end of the bolt. Jump up and grab the Star Medal, then roll the platform the other direction to reach the Warp Box. 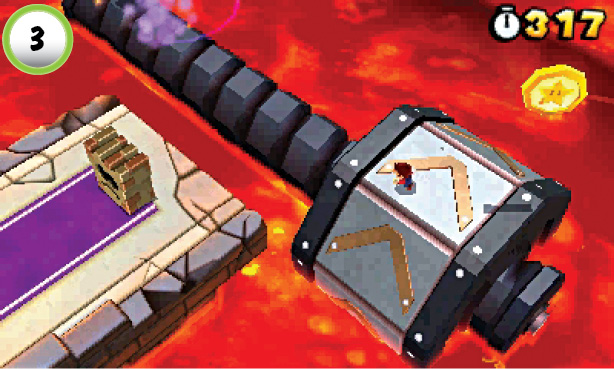 |
Red Ring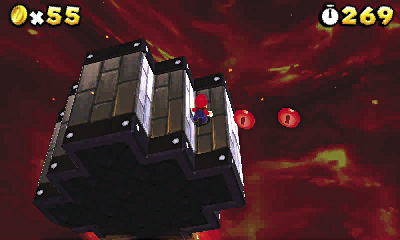 When you reach Point 4, draw the Wallop toward the bottom of the screen, then jump through the Red Ring. As the Wallop slams down, follow the Red Coins to the next platform. As you move across the platform, it begins to roll. Stay near the edge of the platform to gain as much speed as possible. Collect the remaining Red Coins before they vanish to earn a Super Leaf. 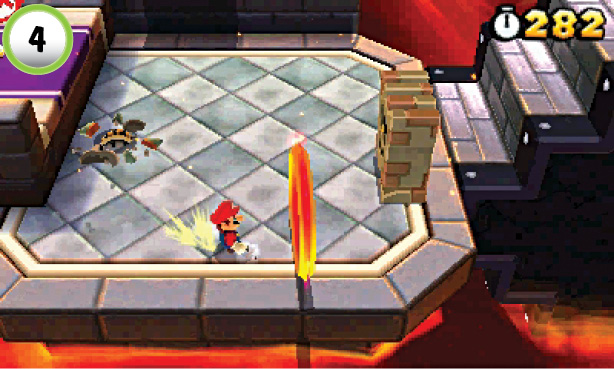 |
Star Medal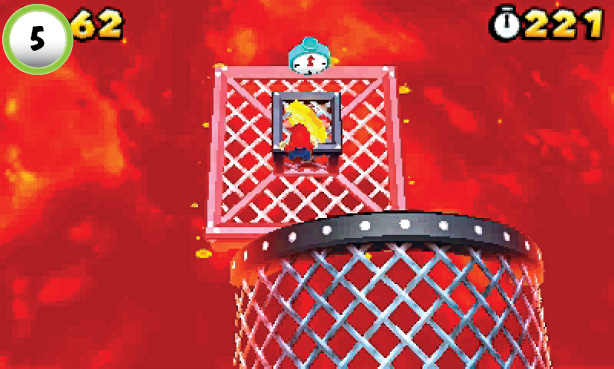 The level’s second Star Medal is located inside the platform at Point 5. Stop the cylindrical cage next to the platform, then wait for the geyser below the Star Medal to subside. Jump to the center of the platform to push it down through the Star Medal, then hop back to the cylindrical cage. |
Star Medal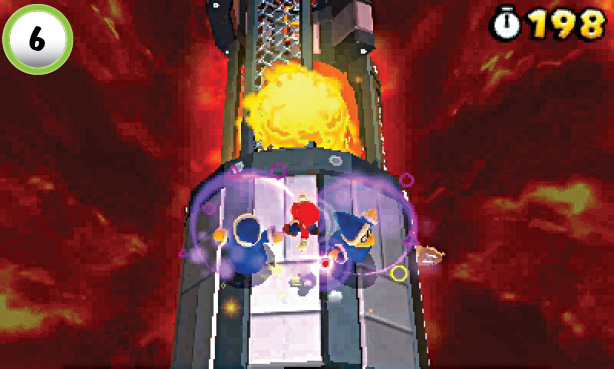 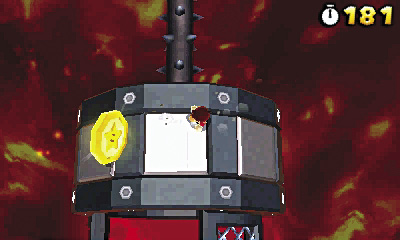 The last Star Medal is on the large, spinning platform at Point 6. The platform reacts to your weight, so it only spins if you stray from the center of the path. Each time you reach a gap, carefully spin the platform to move a walkway into the top position. The path takes you through geysers and Magikoopas, so stay on your toes. When you reach the end of the path, carefully spin the platform to bring the Star Medal to you. When you’re ready to continue, spin the platform until you drop through the gap to find a Warp Box. |
World 8—Bowser: Part 2
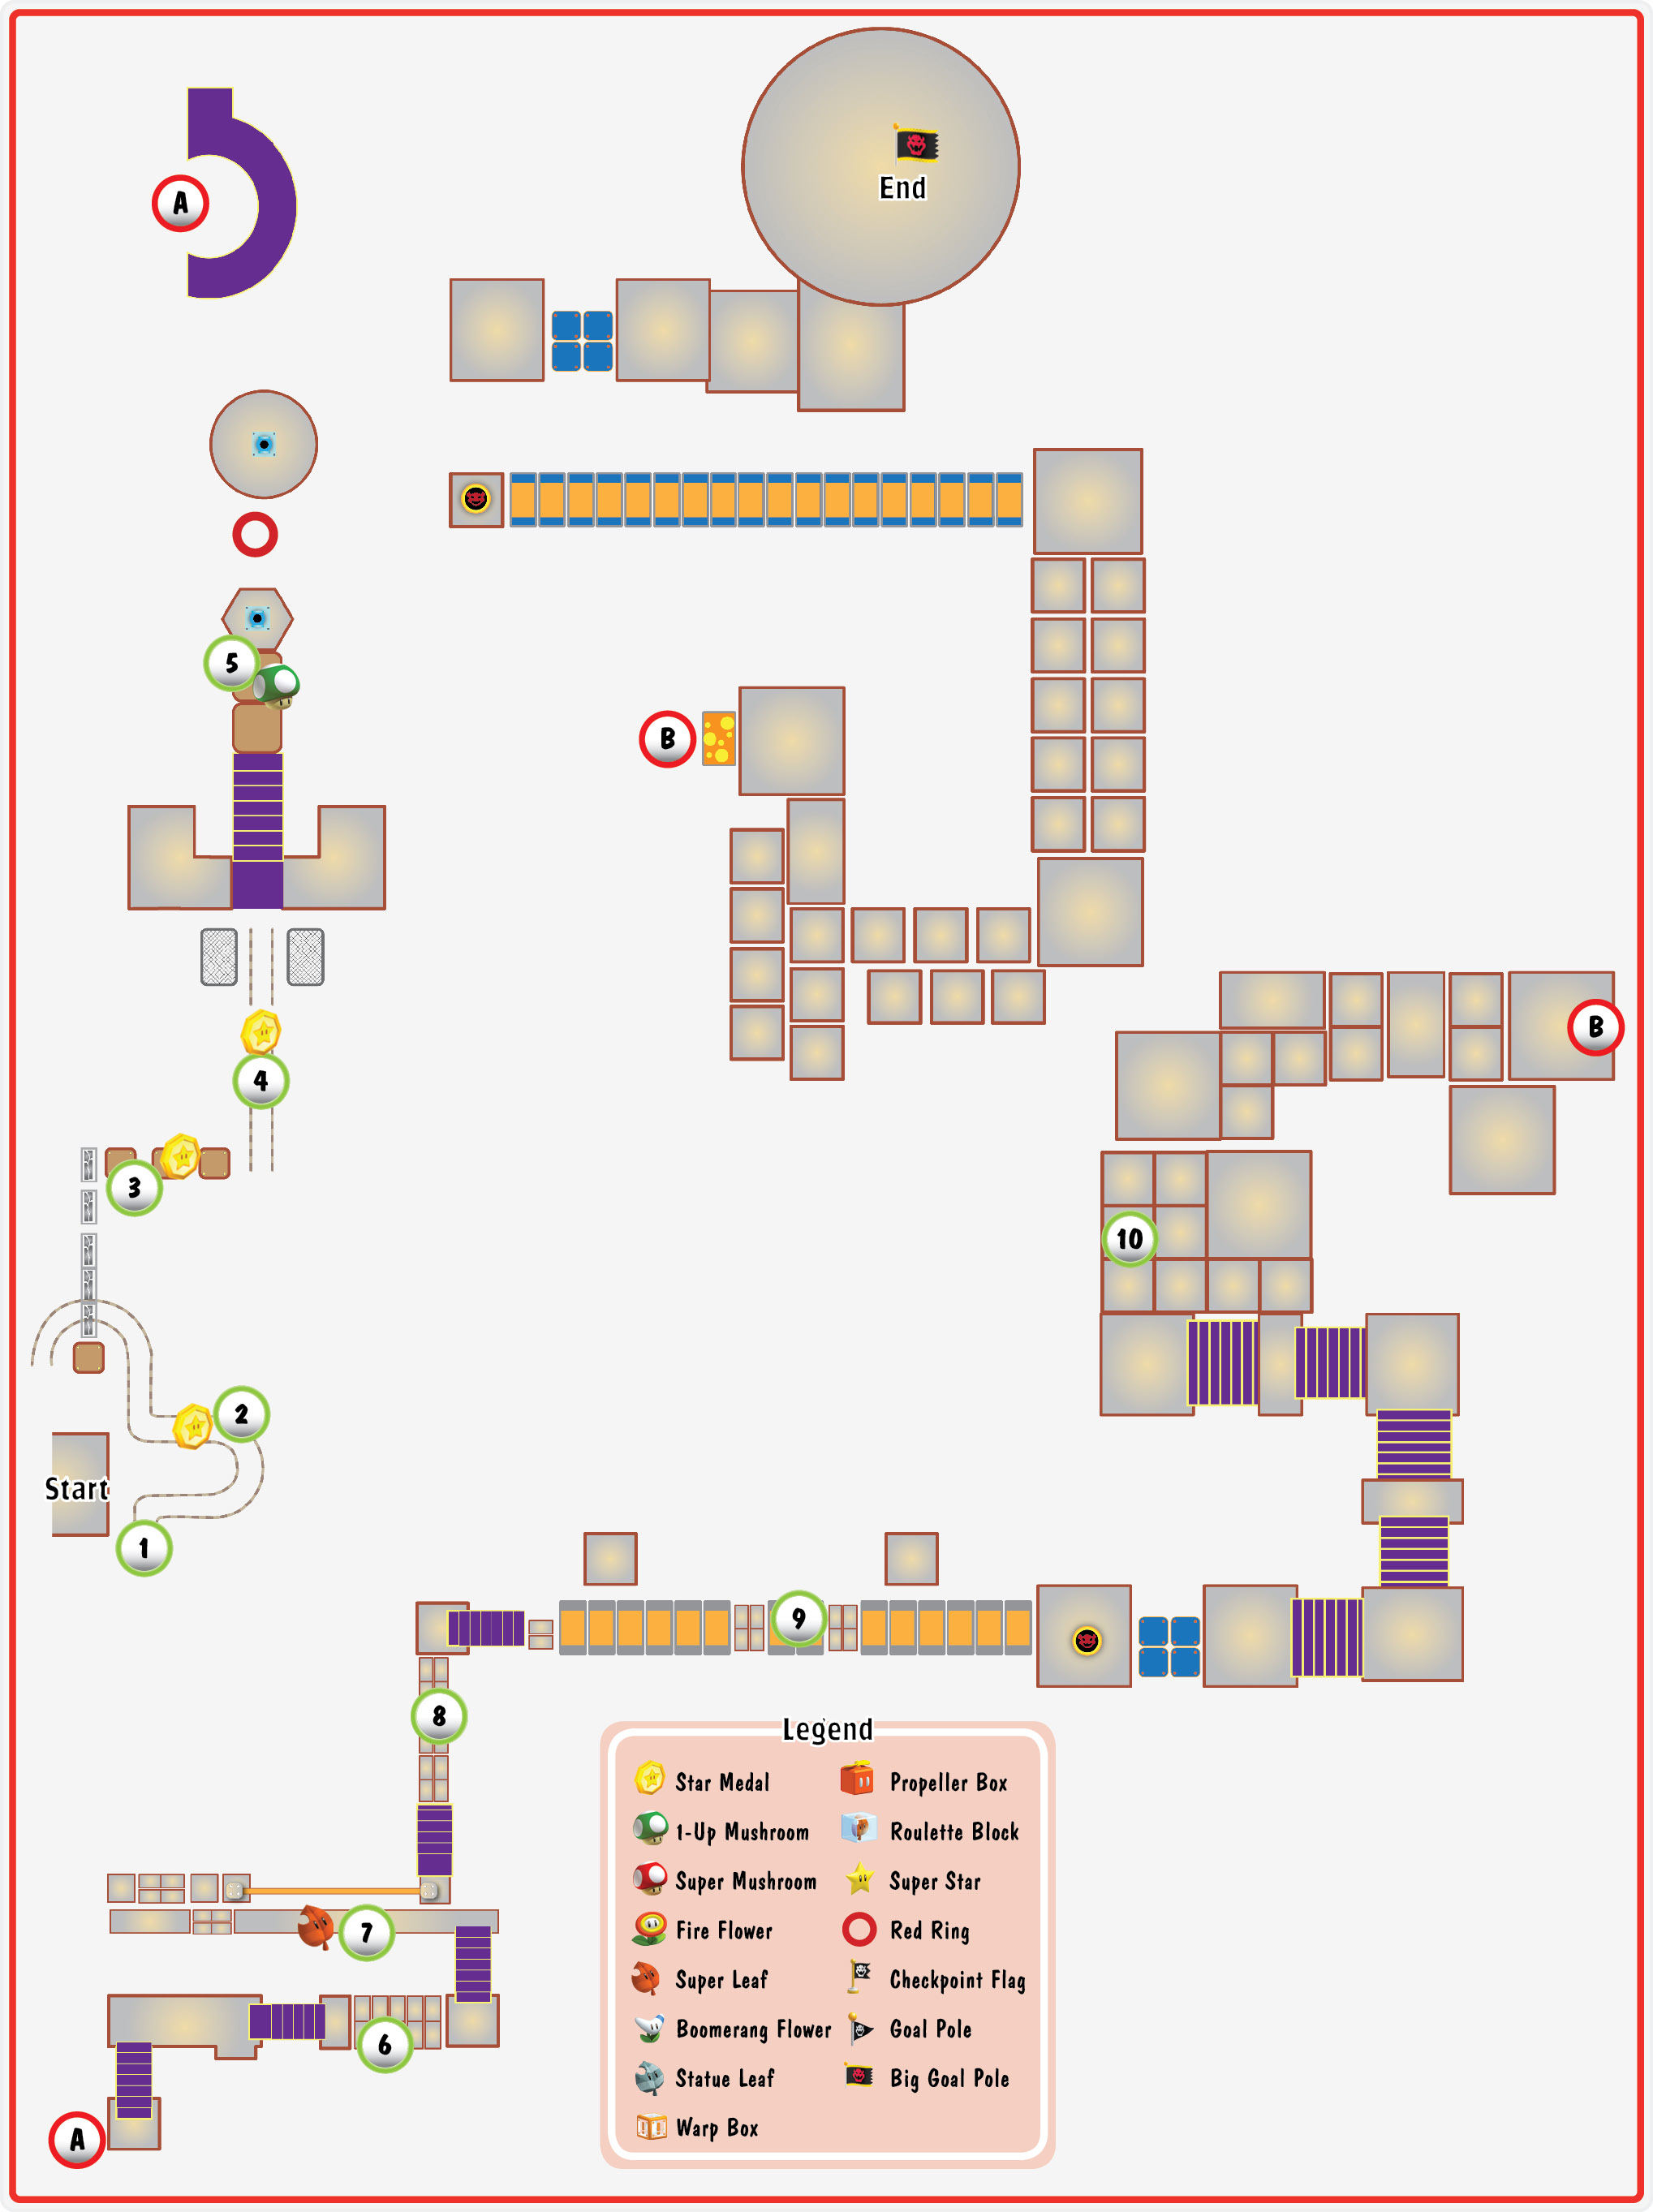
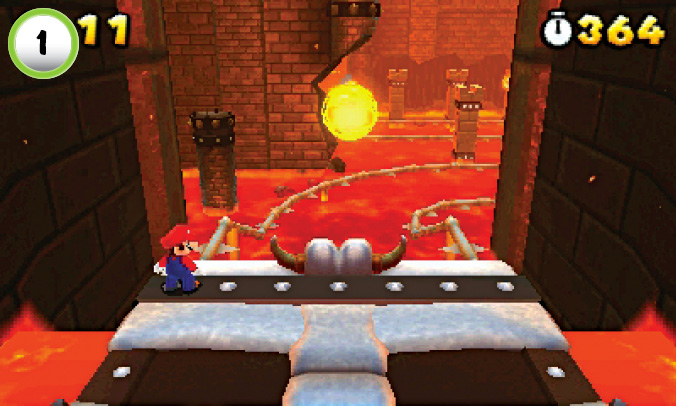
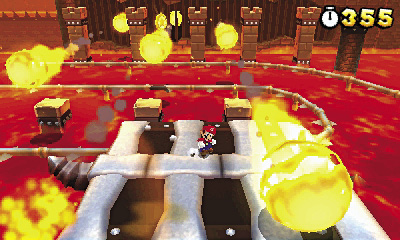
When the level starts, you find yourself riding a large cart into Bowser’s lair. After the tracks dip down to the lava, the cart takes you through a series of fireballs. Stand at the corner of the cart to avoid the first fireball. After you turn the corner, watch the back wall for more approaching fireballs, and move around the cart to dodge them.
Star Medal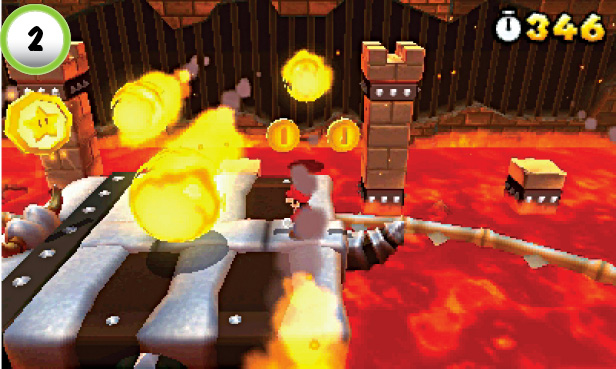 As you approach Point 2, move to the back of the cart. If you stay near the edge, the cart should carry you safely through the next few fireballs. When you reach the Star Medal, jump up to grab it, then dodge the remaining fireballs. |
Star Medal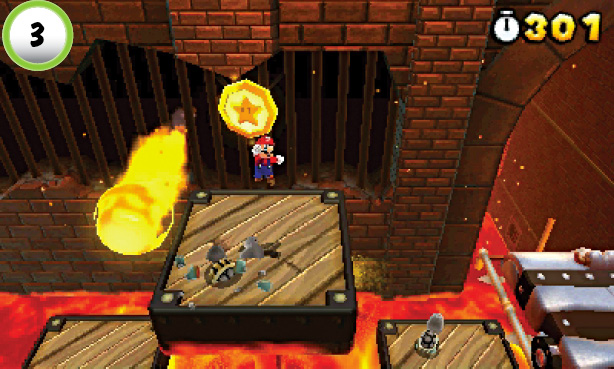 The level’s second Star Medal is high above the wooden platforms at Point 3. There’s a geyser beneath each of the platforms, so use caution as you move across them. Jump on the Dry Bones guarding the second platform, then crouch down and wait for the geyser to erupt. When the geyser launches the platform into the air, perform a backflip to collect the Star Medal above you. |
Star Medal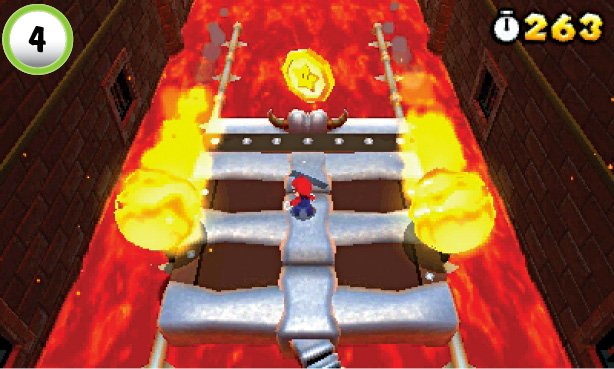 After you reach the second cart, you must dodge another series of fireballs. As you move along the tracks, watch for the shadows of incoming fireballs. Adjust your position to avoid each of the fireballs as they pass by, then jump up to grab the Star Medal at Point 4. |
Red Ring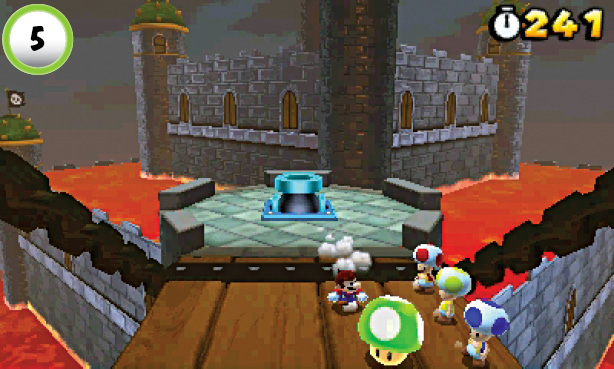 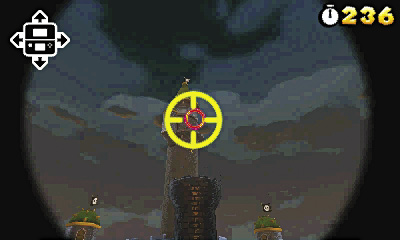 Run to the Toads at Point 5 to collect a 1-Up Mushroom, then hop into the nearby Cannon. Aim for the center of the Red Ring, then fire yourself to the next platform. When you land, collect the Red Coins to earn a Super Leaf. Use the second Cannon to fire yourself through the stack, then follow the path to the tower’s entrance. |
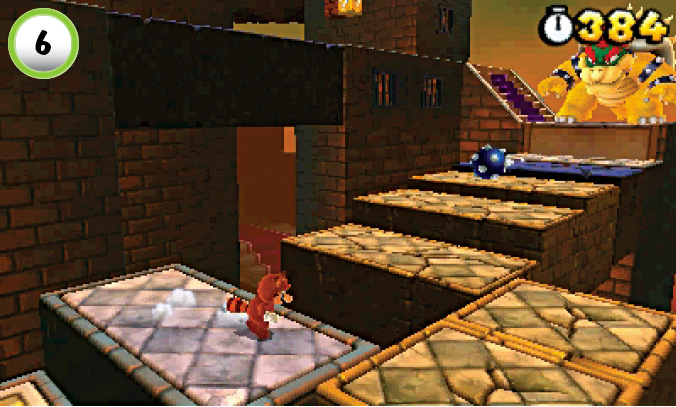
When you enter the tower, Bowser appears on a nearby platform. This encounter is significantly different from your previous battles. Rather than block your path, Bowser uses a variety of long-range attacks to hinder your progress. You must dodge his attacks as you traverse the level, but watch the path for additional enemies, unstable platforms, and other common hazards.
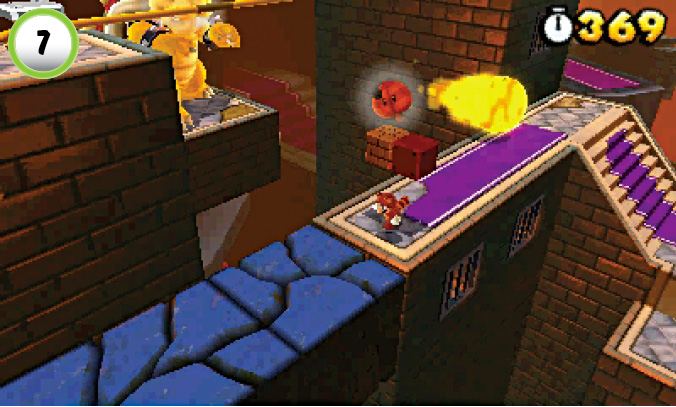
Hit the ? Block at Point 7 to collect a Super Leaf. The Tanooki Suit’s flutter jump makes it much easier to avoid enemies and cross unstable platforms.
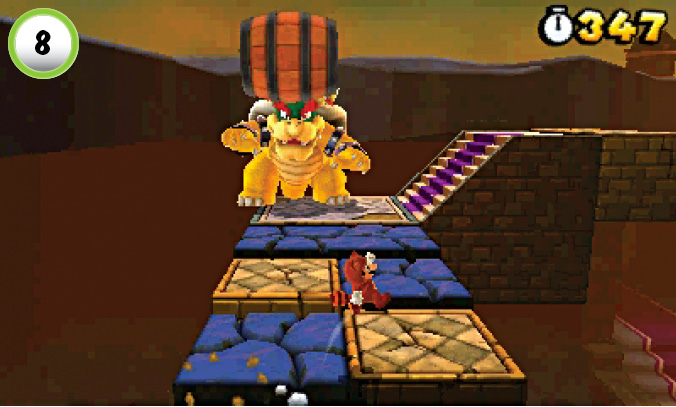
When Bowser moves to Point 8, he throws a series of large barrels at you. Move along the edges of the path, and dodge around each barrel as it rolls toward you. Each time you step on a blue platform, it drops away. Move quickly, and avoid running along the center of the path.
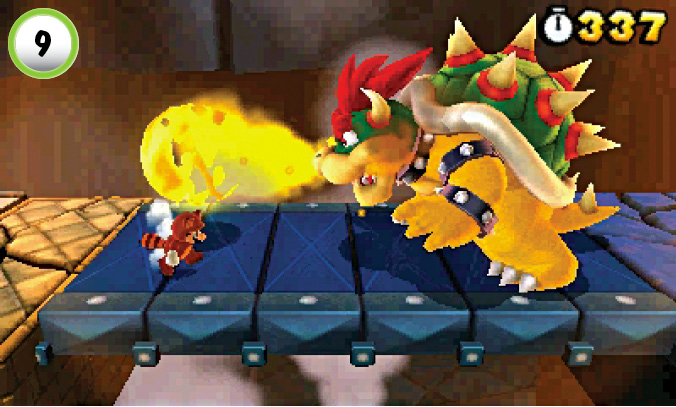
As you approach Point 9, Bowser uses more familiar tactics. Dodge his fireballs, jumps, and tail whips until you see a chance to slip past him. The switch at the end of the bridge is blocked by four columns.
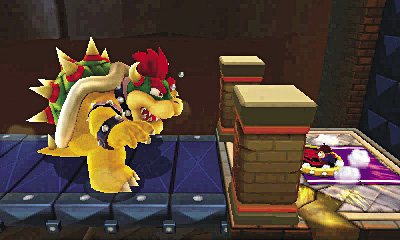
Stay near the columns until one of Bowser’s attacks destroys them, then jump onto the switch and continue along the path.
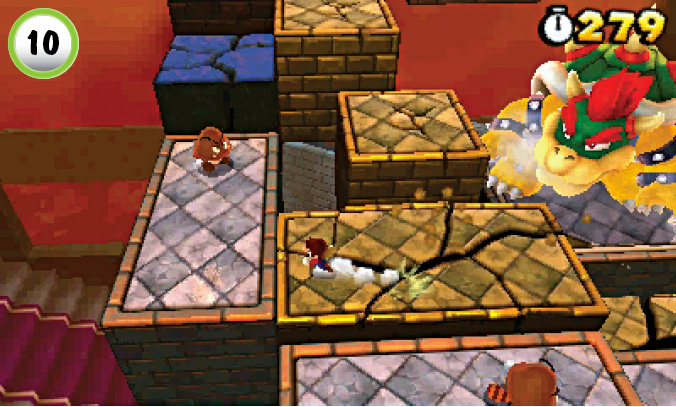
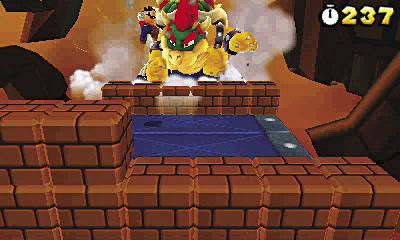
When Bowser returns, he resumes his long-range attacks. Dodge Bowser’s fireballs, and watch out for the additional enemies and unstable platforms as you continue along the path. When you reach the top of the tower, Bowser chases you across a Block-covered bridge. Keep running, and jump over any Blocks in your path. Stay ahead of Bowser until you reach the end of the bridge. Jump on the switch to end the chase, then follow the path to the end of the level.