
Super Mario 3D Land Guide Walkthrough Specials
Special Five
Special 5-1
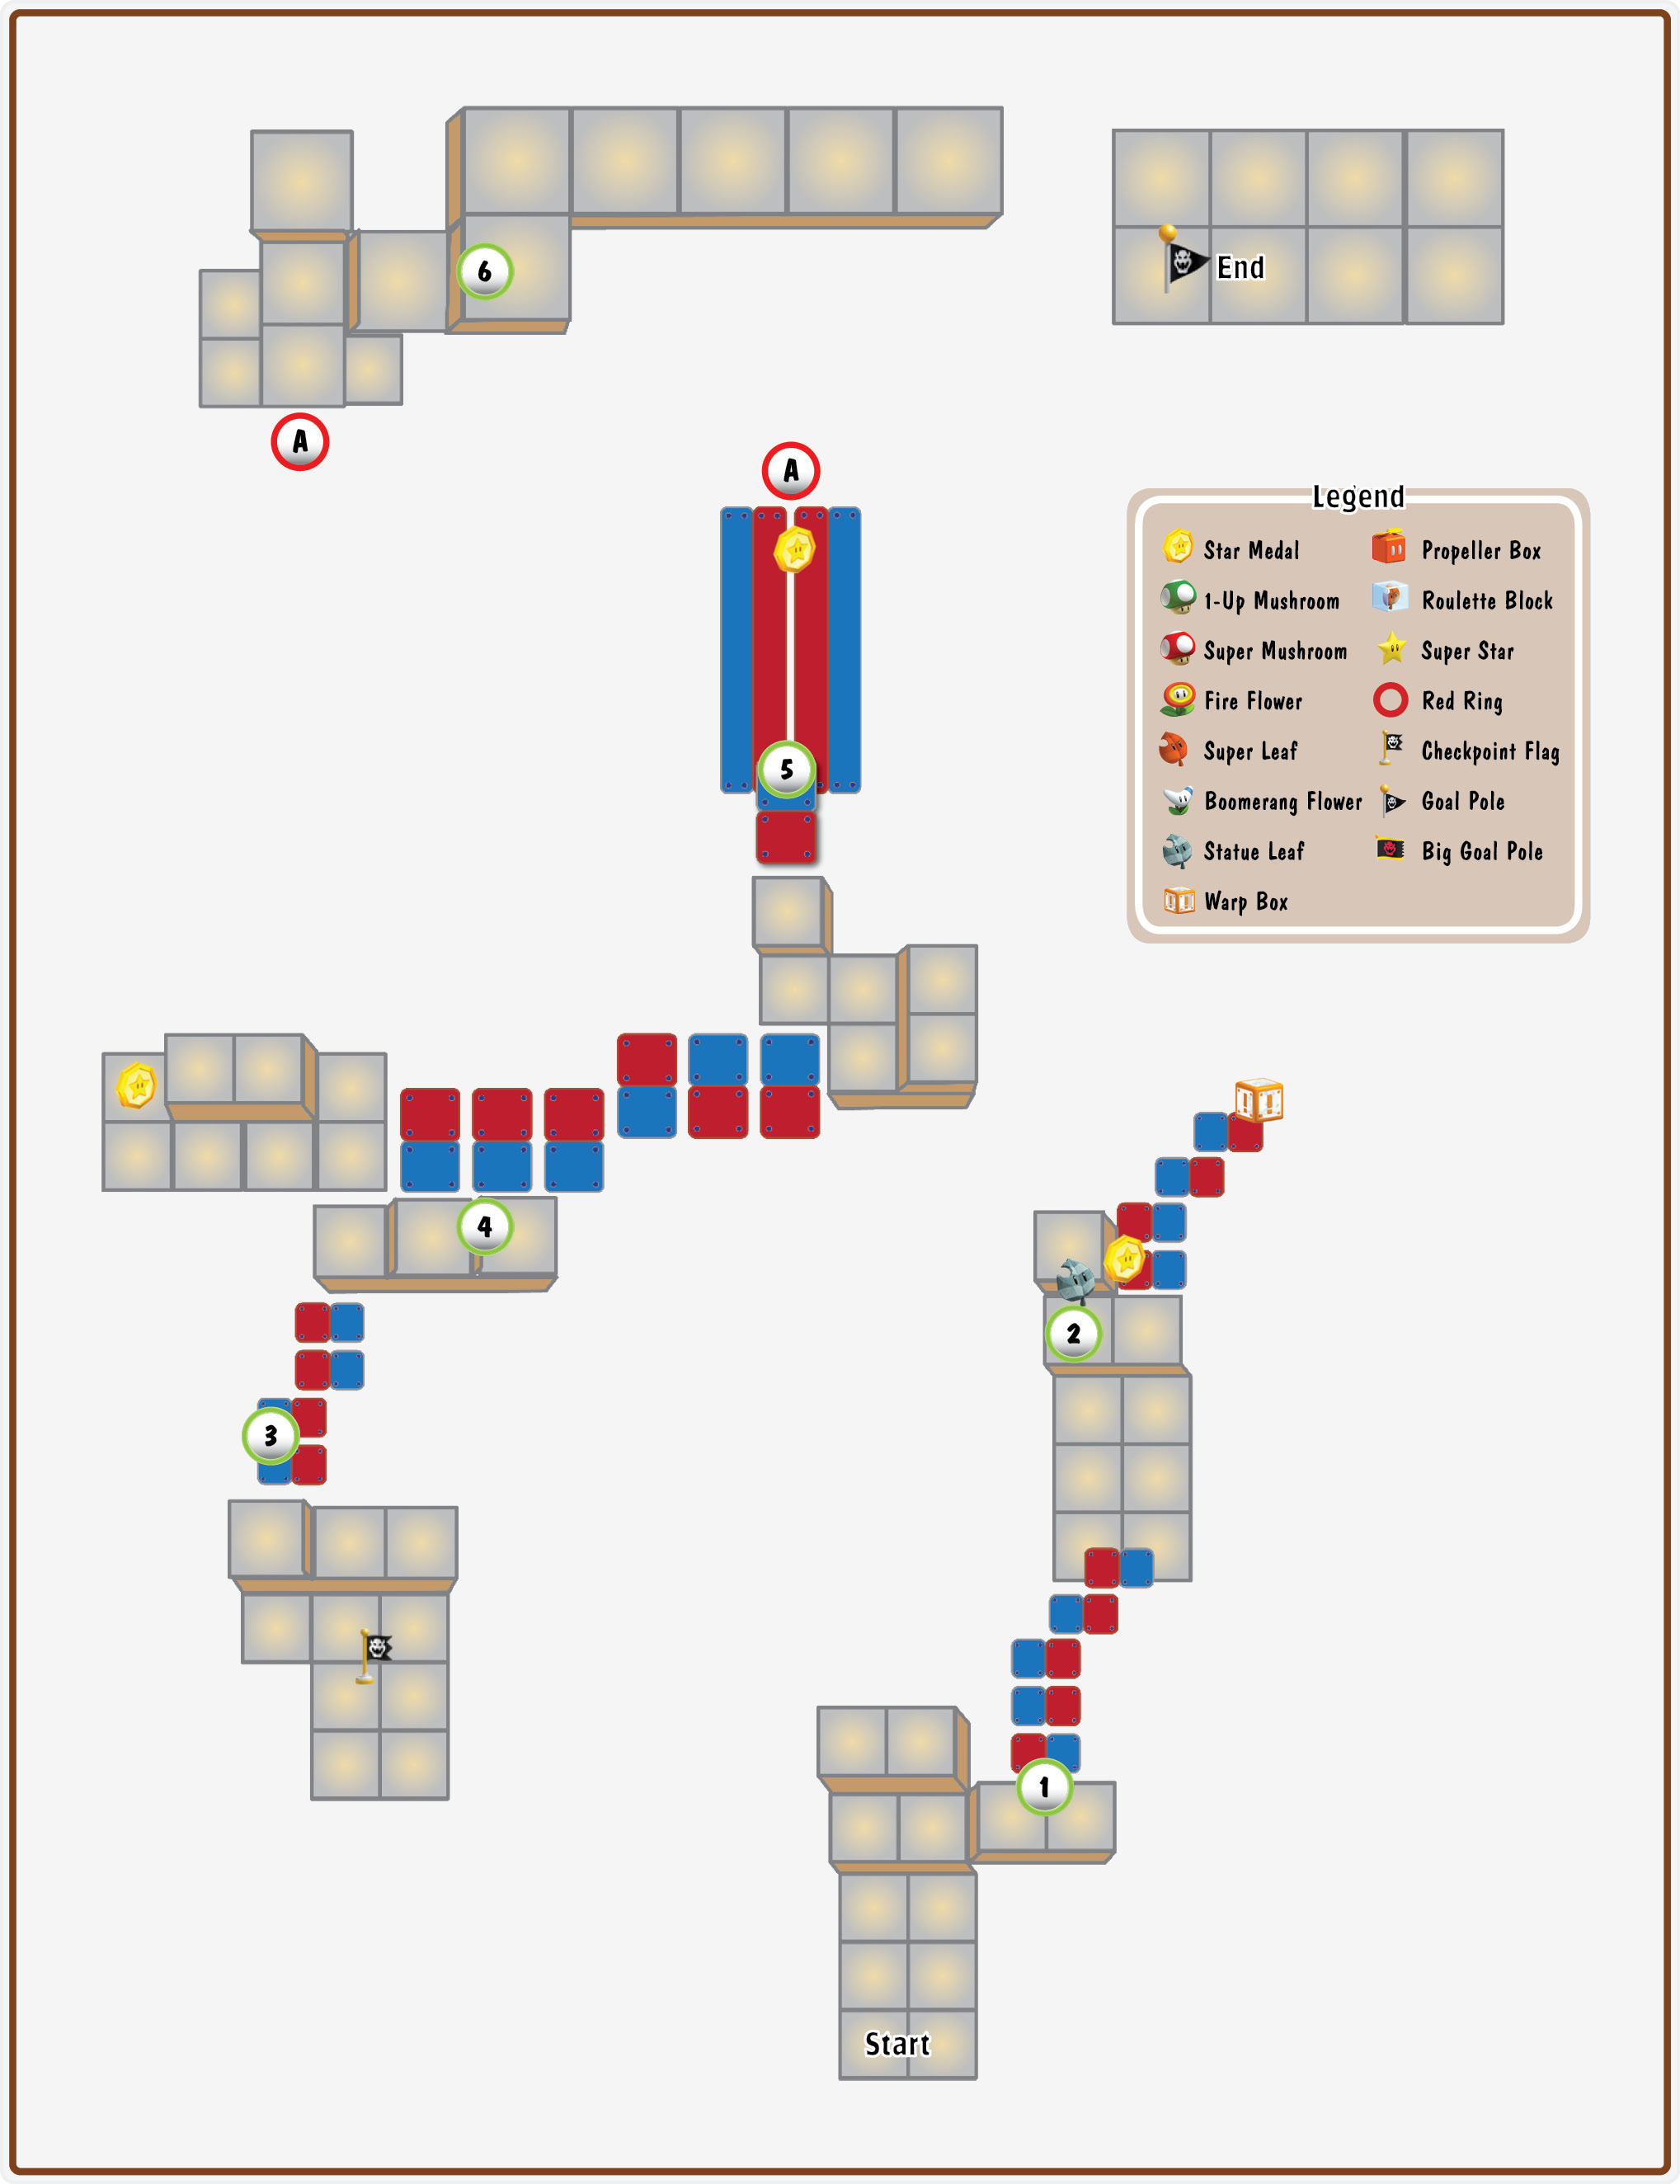
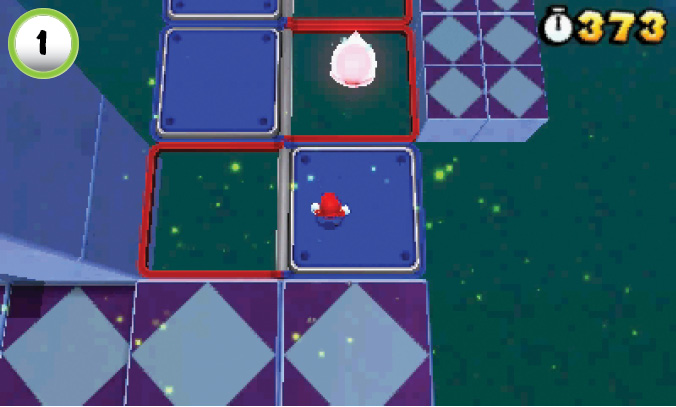
This level contains several Red-Blue Panels, so you must plan each of your jumps to safely cross them. As you plan your route, keep an eye on any nearby Boos.
Star Medal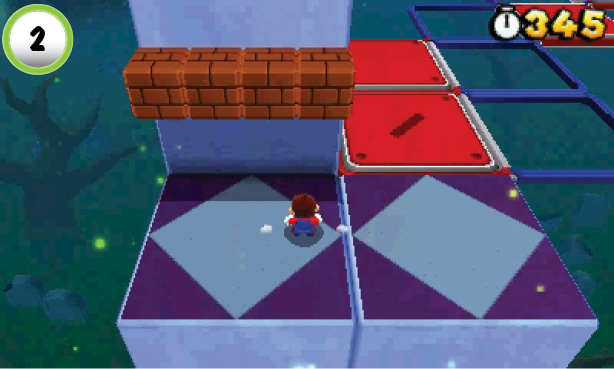 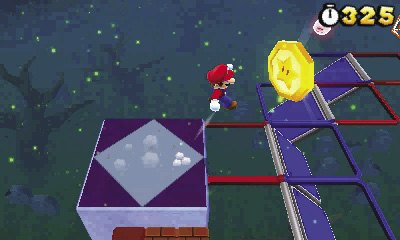 One of the Blocks at Point 2 contains a Statue Leaf. While you collect it, face the nearby Boo to keep it from sneaking up on you. Jump onto the Blocks and hop on the platform, then look for the Star Medal floating to the right. Before you collect it, make sure that the Red-Blue Panels are showing their blue sides. Jump out to the Star Medal and drop down on the red panel as it moves into place. |
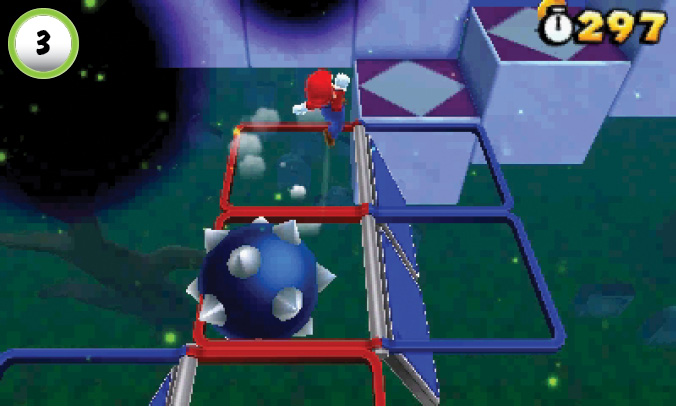
When you reach Point 3, watch out for the spiked balls rolling across the Red-Blue Panels. Each time a spiked ball appears in front of you, use a jump to flip the Red-Blue Panels out from under it. As the spiked ball falls harmlessly through the path, continue along the repositioned Red-Blue Panels until you spot the next hazard.
Star Medal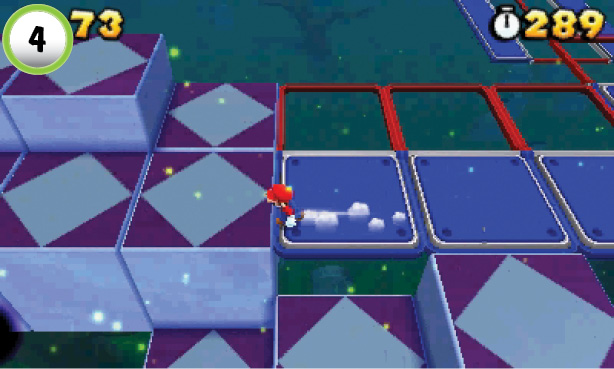 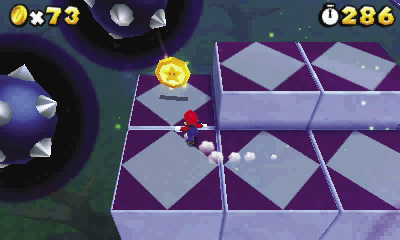 When you reach Point 4, follow the path to the left to find the second Star Medal. More spiked balls appear in front of you. Grab the Star Medal, and stay put until the spiked balls drop down to the platforms. Follow them out to the right and continue along the main path. |
Star Medal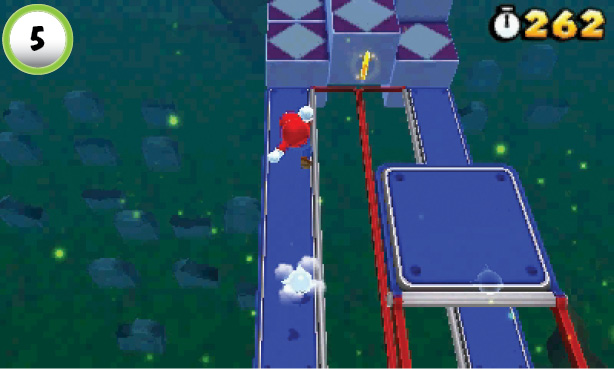 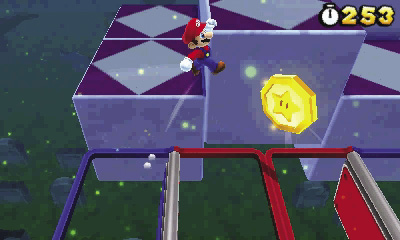 When you reach Point 5, look for the Star Medal on the path below you. There are a few sneaky Boos hiding in the area, so be careful! Drop down to one of the blue panels, and run toward the Star Medal until the Boos appear. Dodge around them and time your jumps to make sure you always have a panel to land on. After you grab the Star Medal, continue along the platforms. |
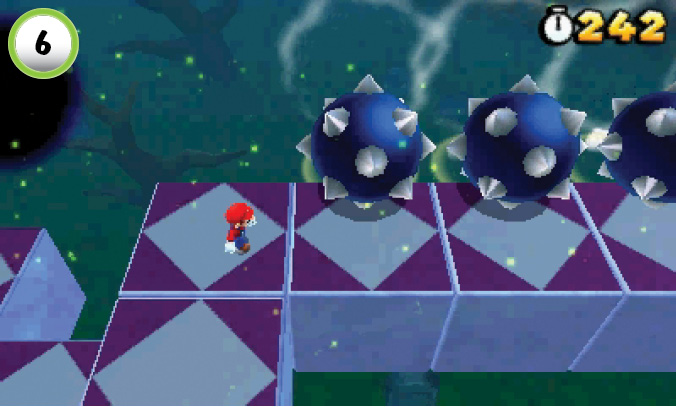
When you reach Point 6, wait for the row of spiked balls to roll across the path. When it’s clear, dash to the right and make a running leap to the Goal Pole.
Special 5-2
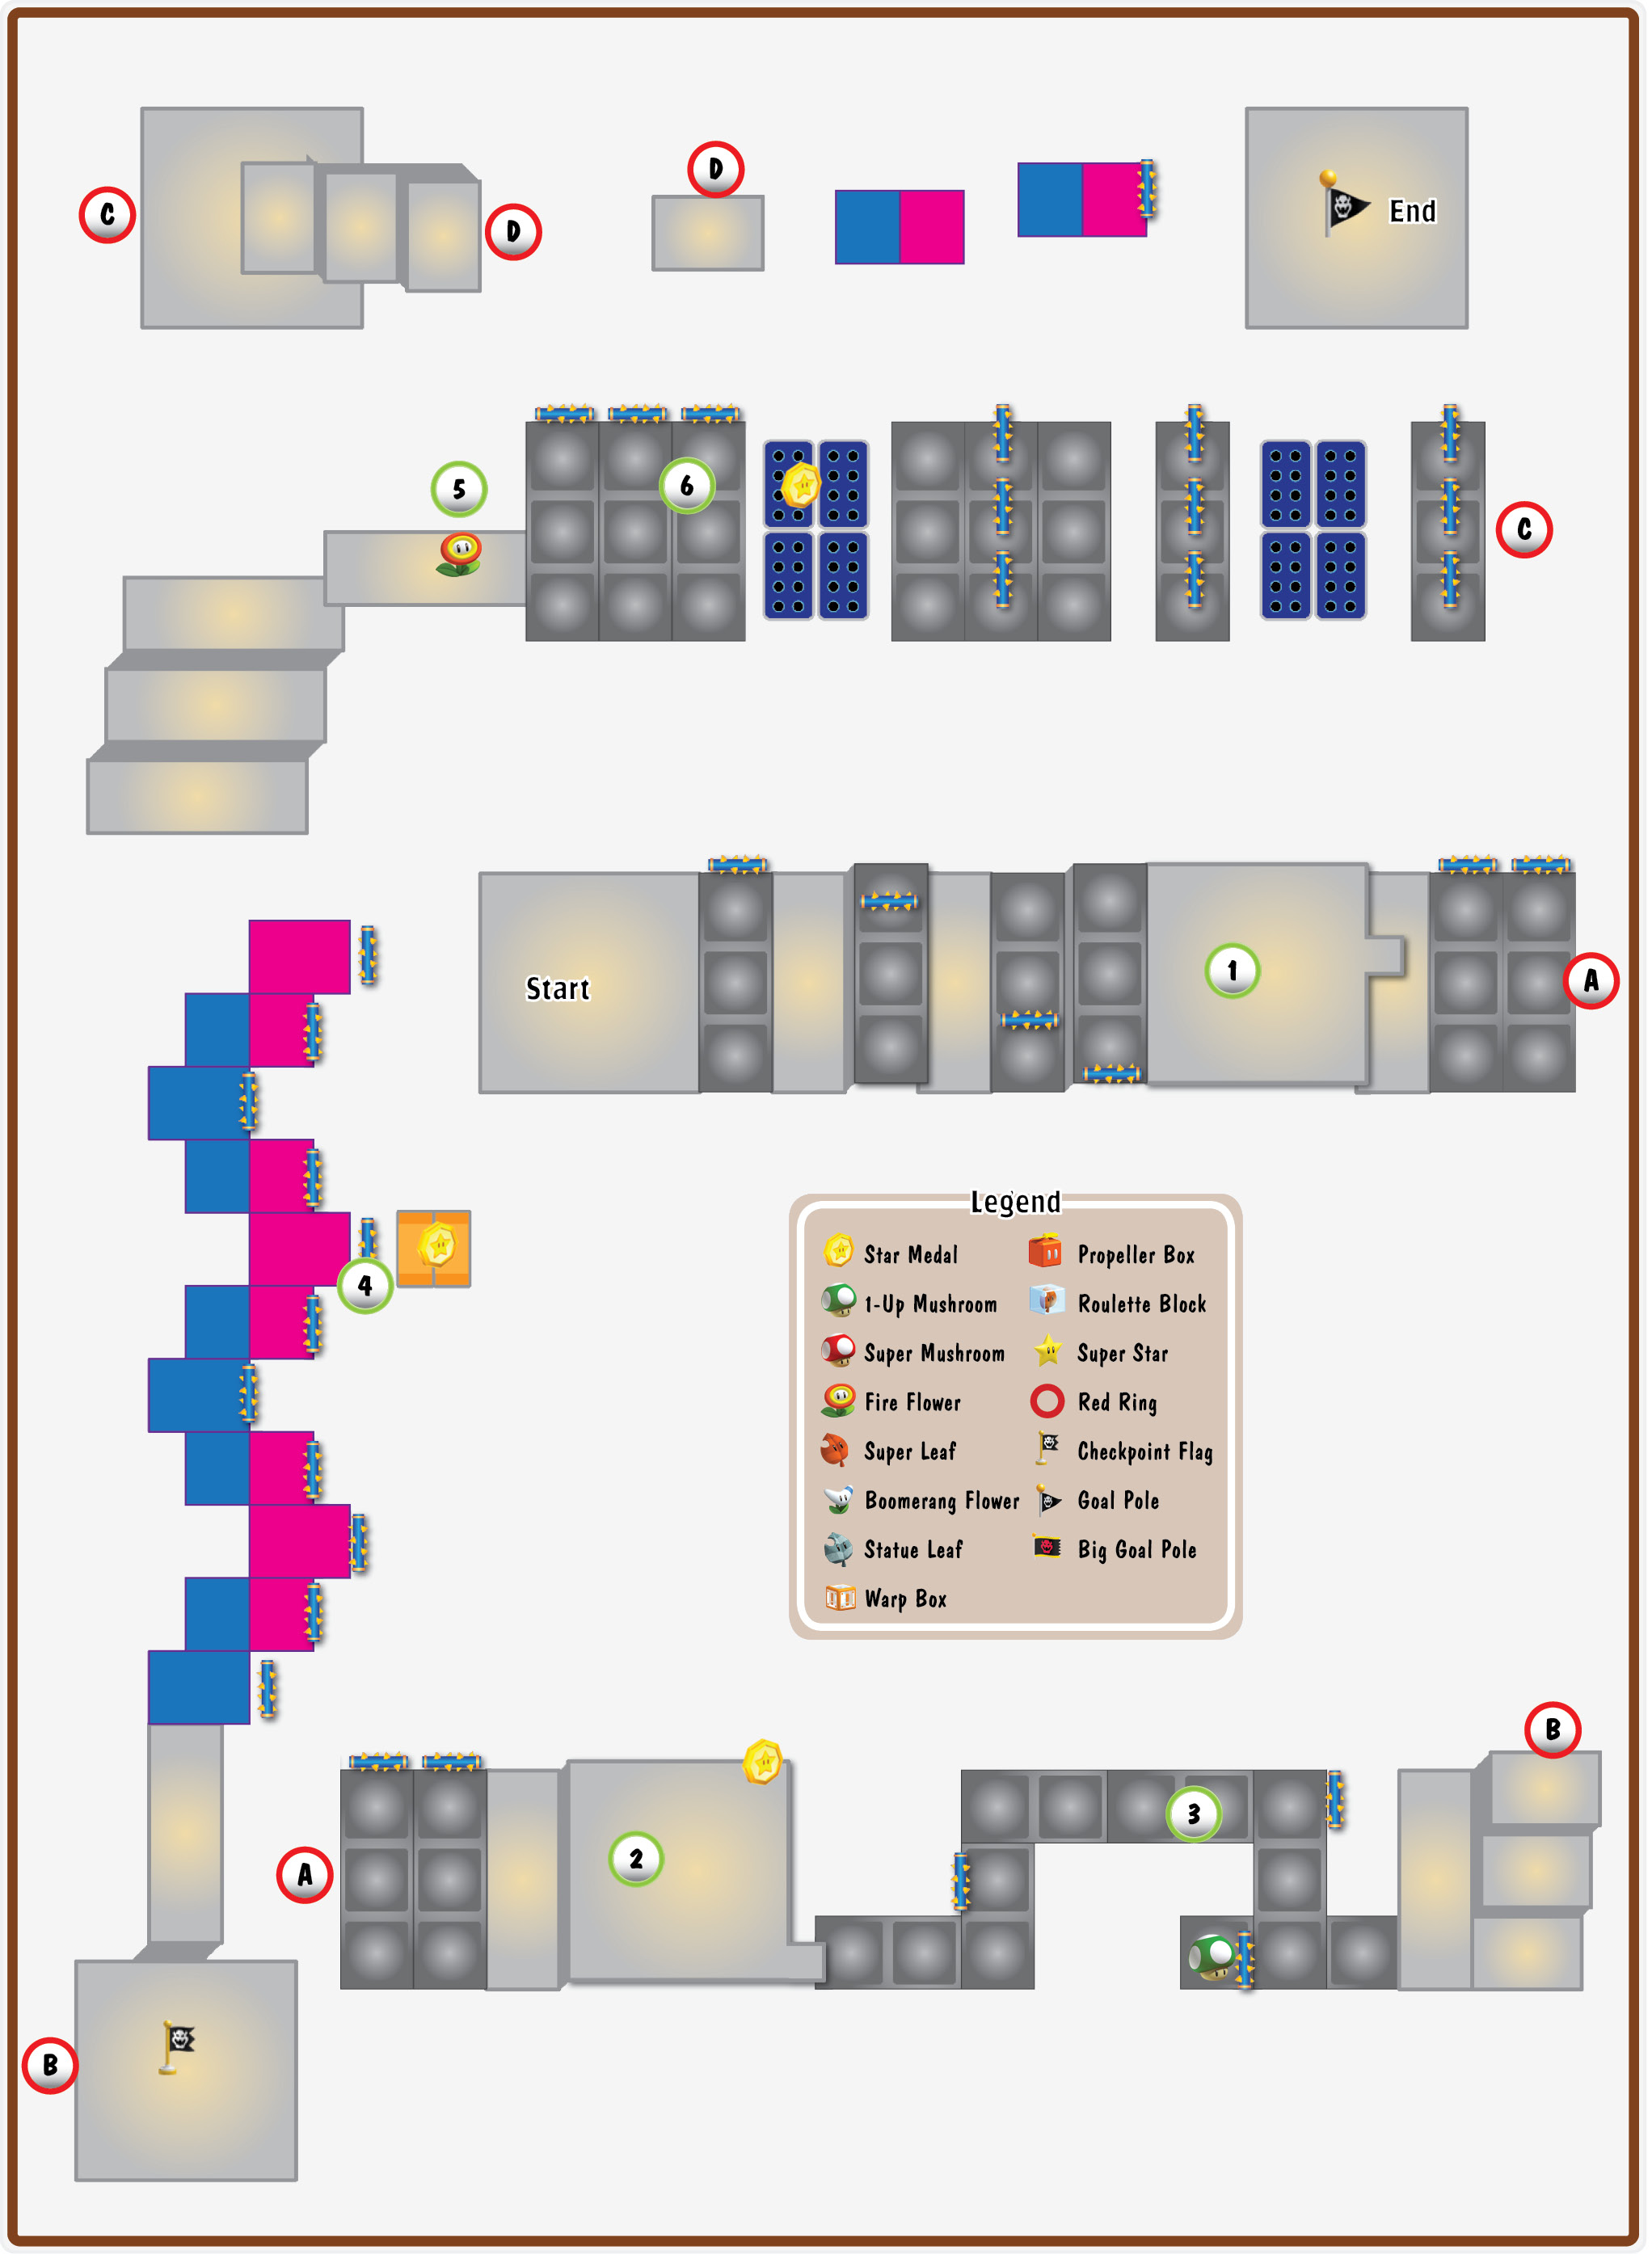
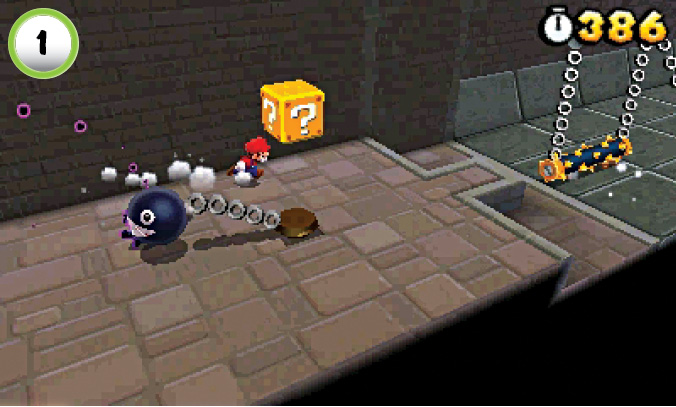
Dodge the spikes as you make your way to the Chain Chomp at Point 1. If you move quickly, the Cosmic Clone shouldn’t materialize until you make it past the spikes.
Star Medal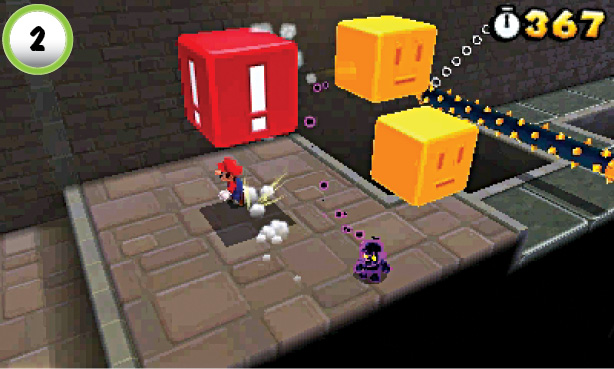 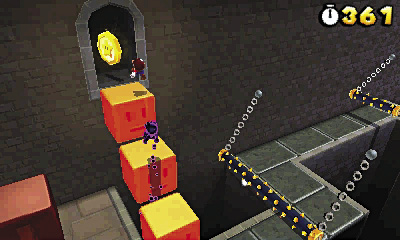 Use the ! Block to create a temporary path to the right. When at least two face blocks are in place, follow them up to the nearby Star Medal. The ledge is very small, and the Cosmic Clone is right behind you. Step on one side of the ledge, then circle through the Star Medal to avoid the Cosmic Clone as you jump back down to the main path. |
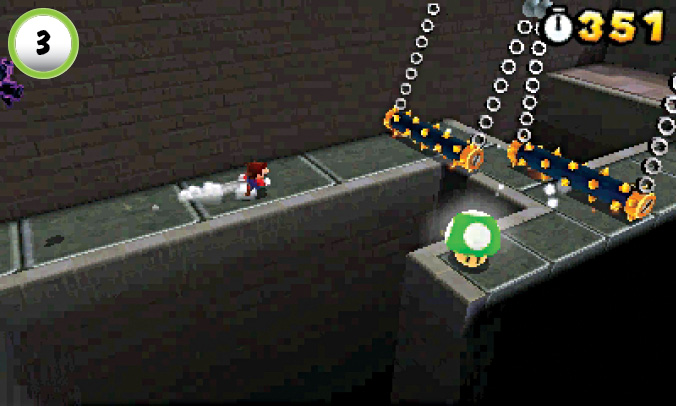
When you reach Point 3, jump across the gap and grab the 1-Up Mushroom. If the swinging spikes are in the way, follow the path to the 1-Up Mushroom, then jump across the gap to circle around the Cosmic Clone.
Star Medal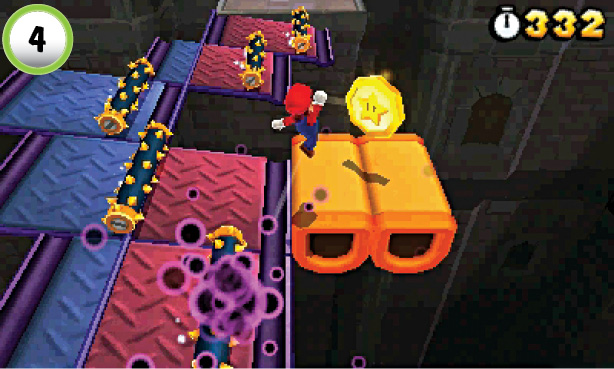 As you dodge the spikes along the tilting walkway, hop over and grab the Star Medal at Point 4. If you move quickly, the Cosmic Clone shouldn’t materialize until you leave the Donut Blocks. |
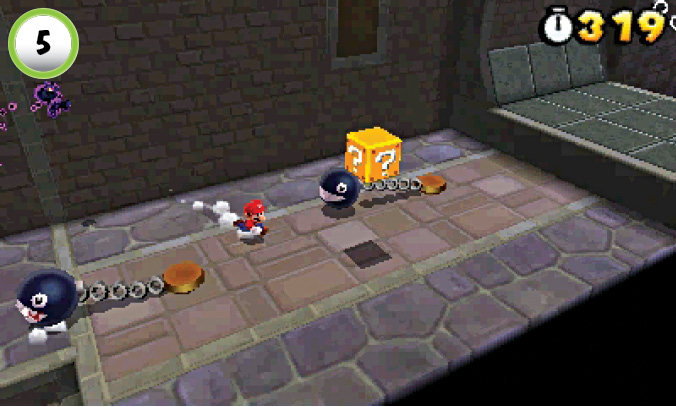
Run between the Chain Chomps and hit the ? Block at Point 5 to reveal a Fire Flower. Jump up to collect the power-up before it lands, or circle around one of the Chain Chomps and grab it on your second pass.
Star Medal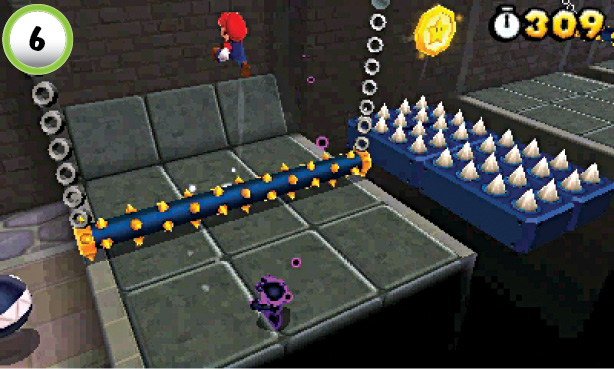 The last Star Medal is floating above the retractable spikes at Point 6. If the spikes are up when you arrive, lead the Cosmic Clone in a circle until you can continue. Dodge the swinging spikes until the retractable spikes drop down, then hop over to grab the Star Medal and continue along the path. |
Special 5-3
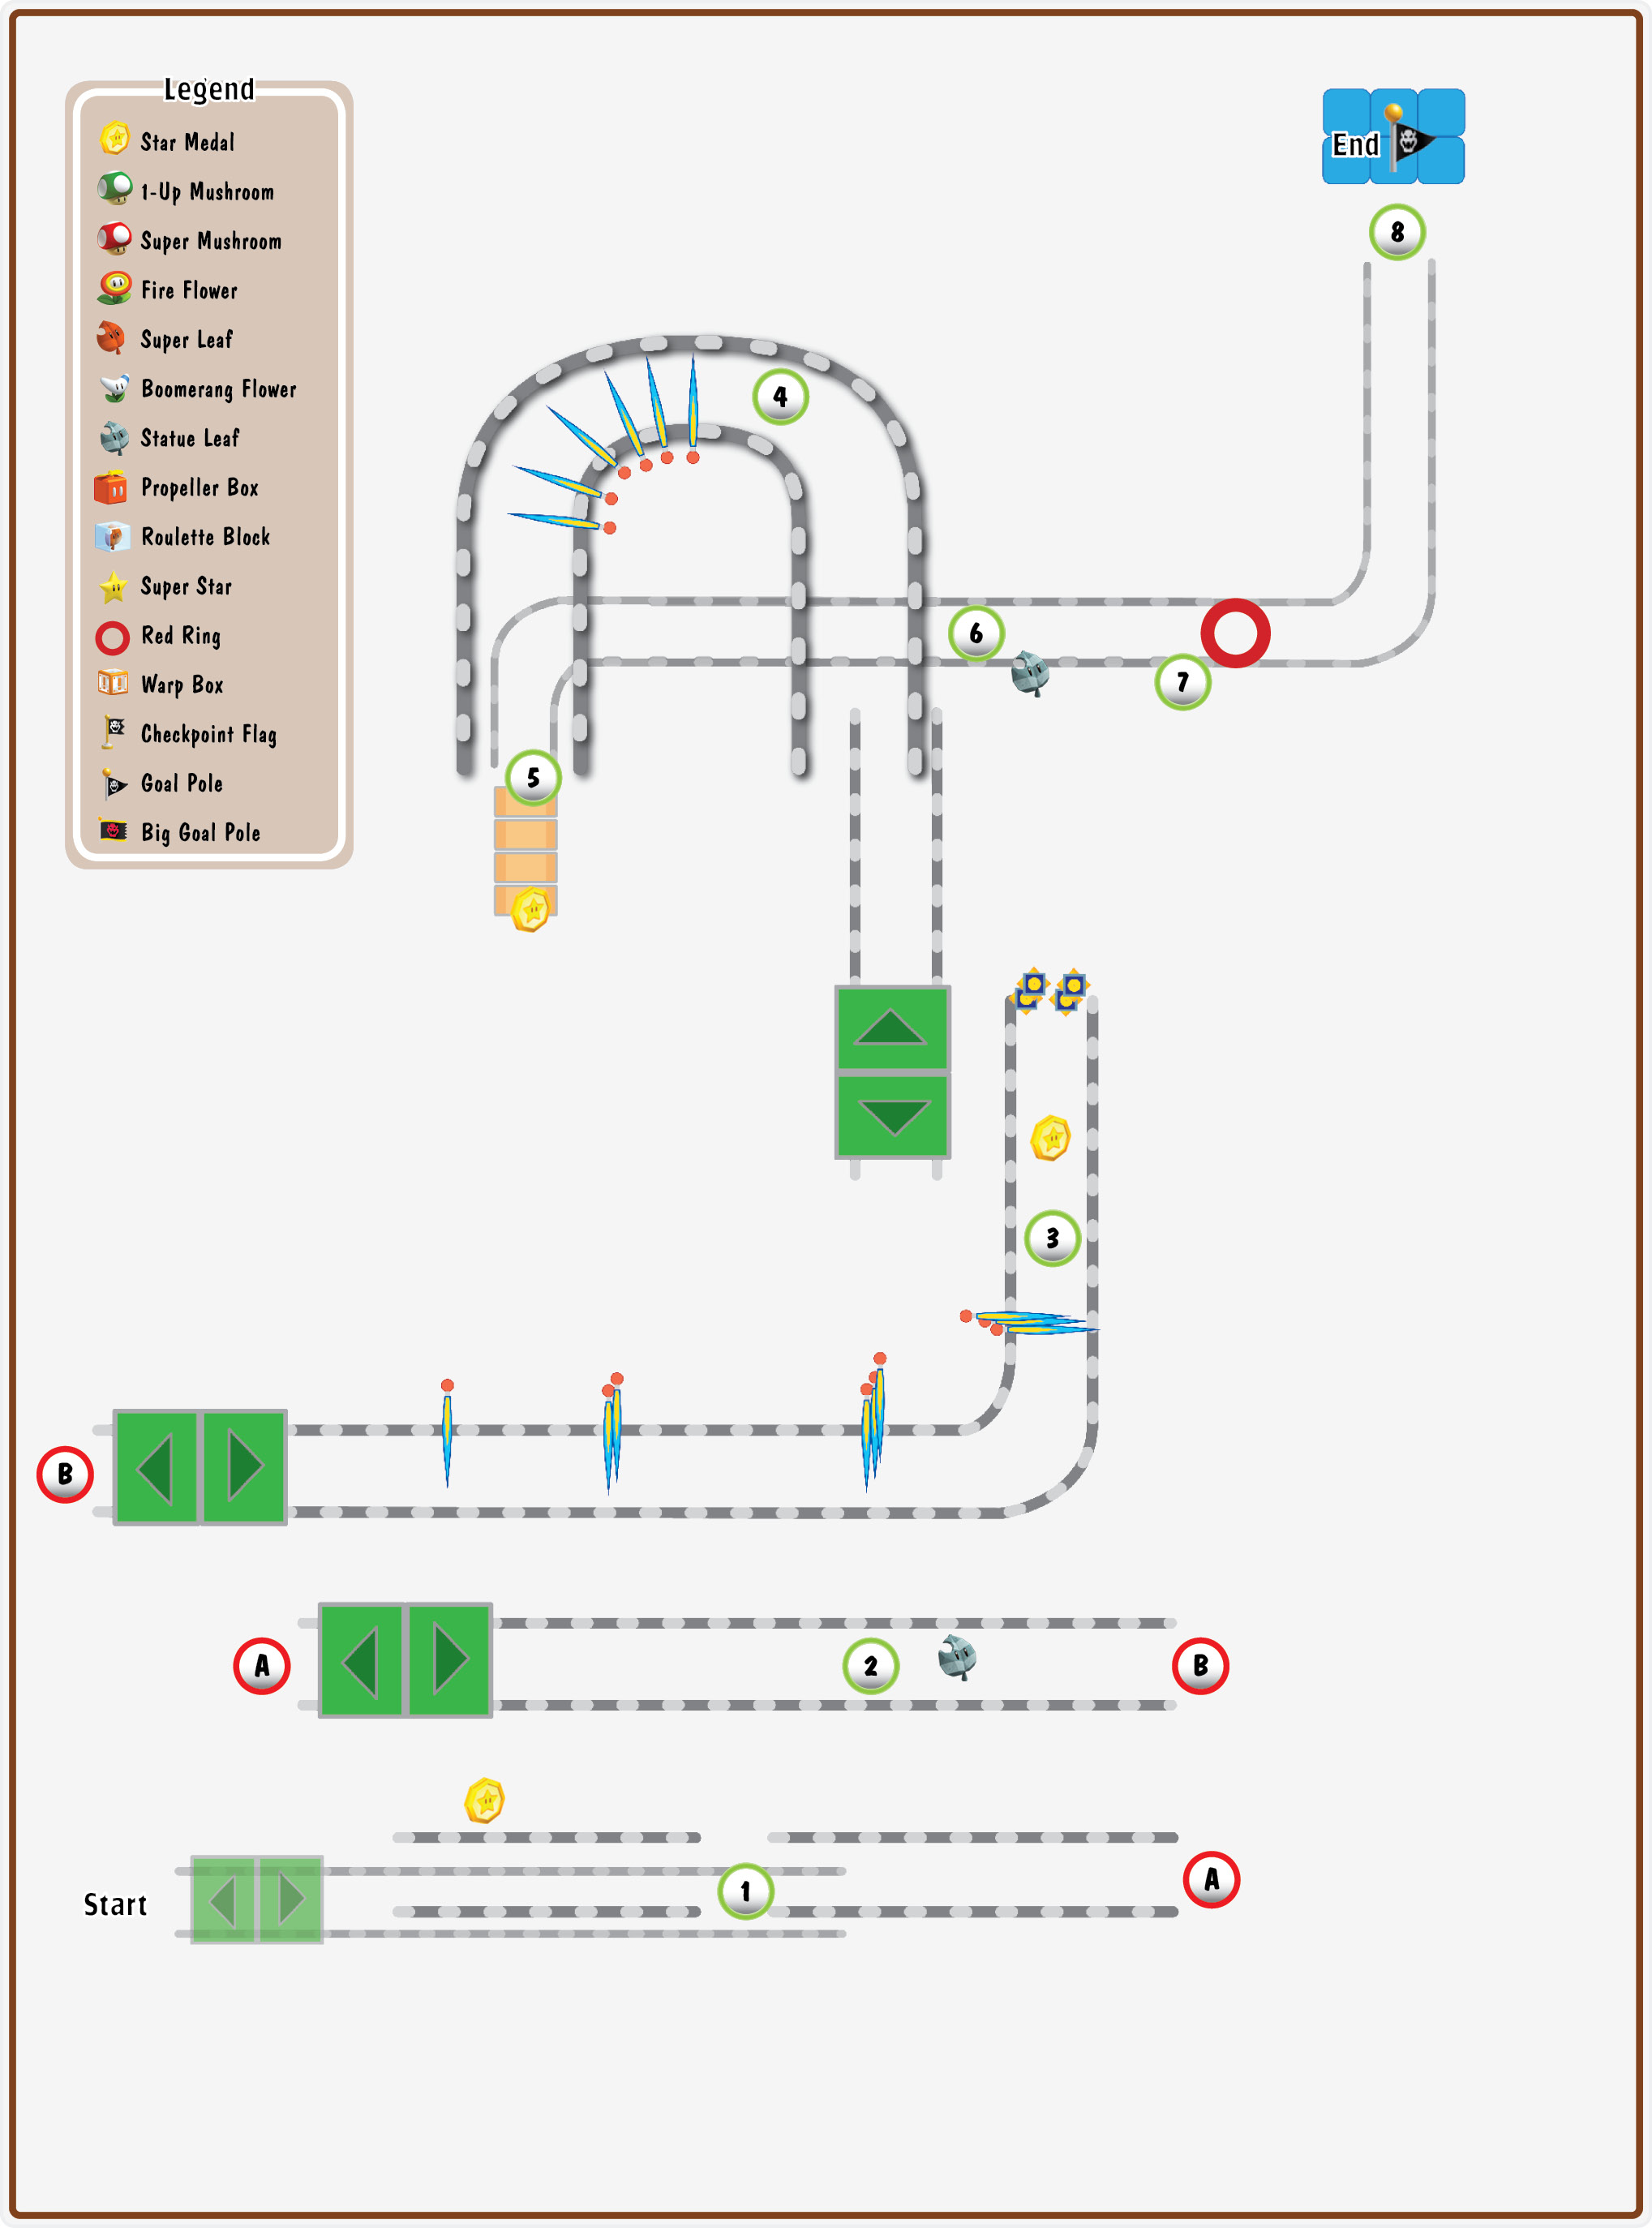
Star Medal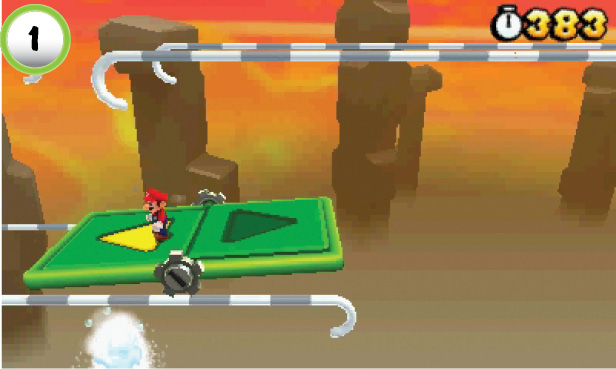 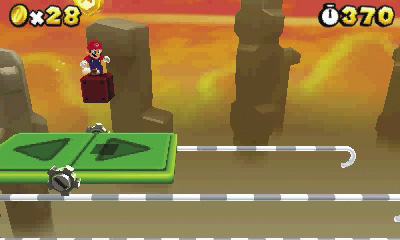 Wait for the geyser at Point 1 to die down, then move the Switchboard to the end of the tracks. When the geyser erupts, head back over it to reach the ? Block on the upper tracks. Jump onto the ? Block, then hop up to collect the first Star Medal. |
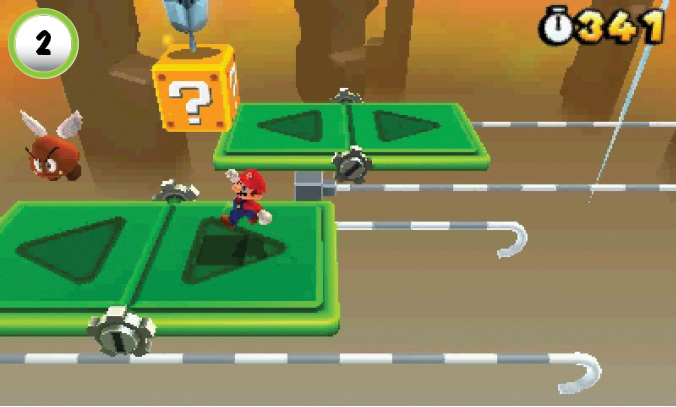
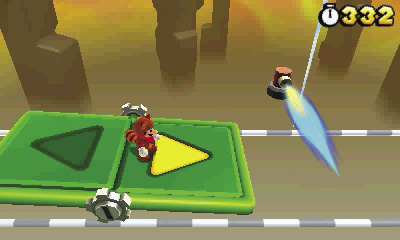
Stop the Switchboard at Point 2, and hit the ? Block to collect a Statue Leaf. Make sure you’re in position to catch it, then jump across to the next Switchboard. Watch out for the jet engines along the tracks. Wait for the flames to die down before you attempt to move the Switchboard past them.
Star Medal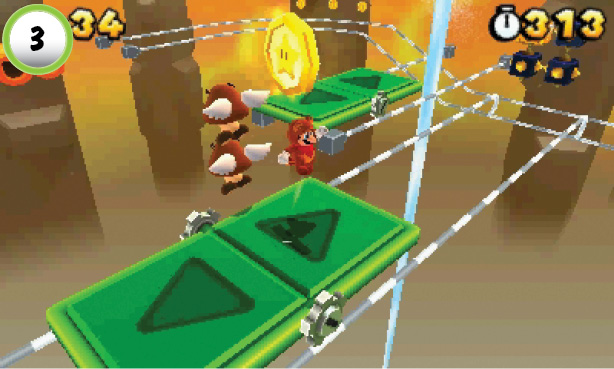 The second Star Medal is located at Point 3. Watch out for patrolling Paragoombas, and jump up to grab it as you pass by. |
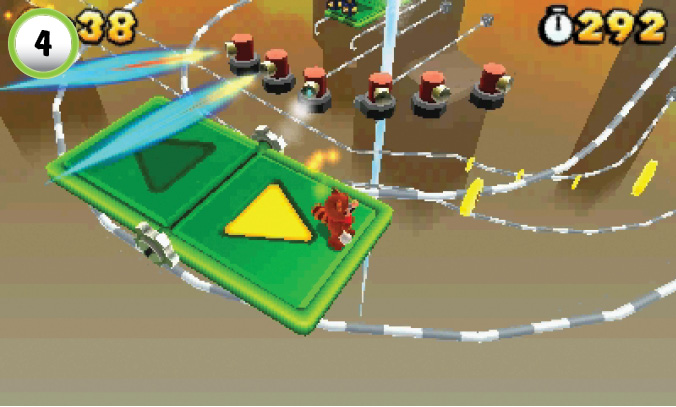
The jet engines at Point 4 are placed very close to each other, but they have a convenient firing pattern. Stop near the first engine and wait for it to vent its exhaust. As the remaining engines begin to shut down, continue along the tracks.
Star Medal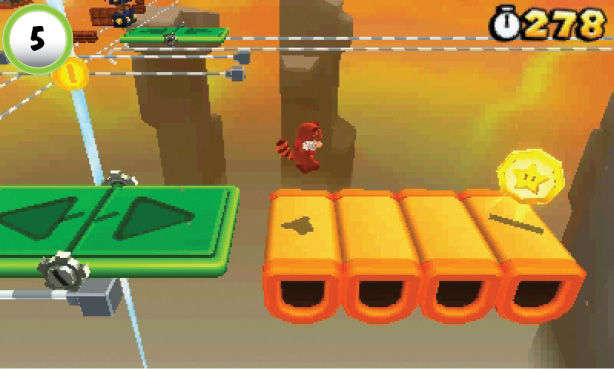 When you drop down to Point 5, jump across the Donut Blocks to keep at least two of them in place. After you collect the Star Medal, use the remaining platforms to return to the Switchboard. |
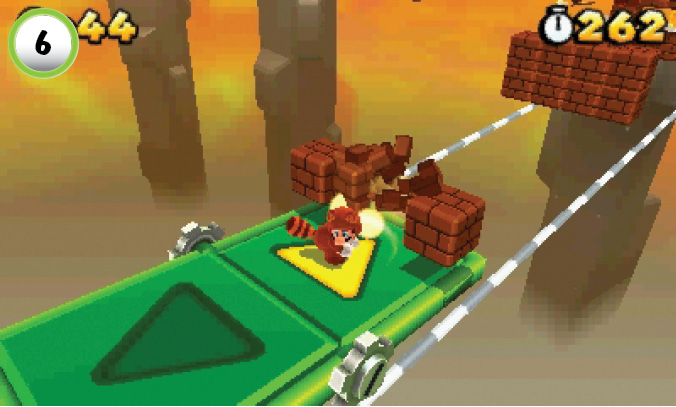
Make sure you smash the Blocks at Point 6! The one on the left contains a Statue Leaf. As you continue along the tracks, watch out for the Fake Block hiding in the Blocks ahead of you.
Red Ring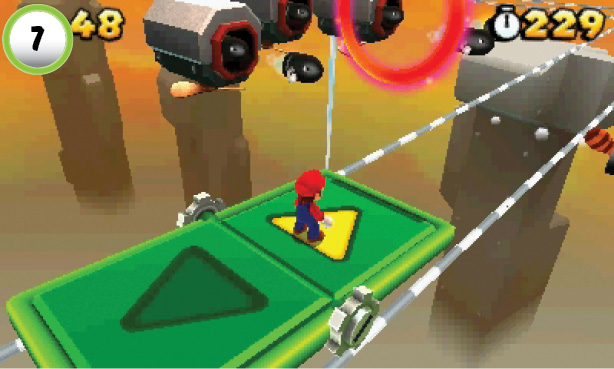 Jump through the Red Ring at Point 7, then dodge the Bullet Bills as you continue along the tracks. Collect all of the Red Coins before they vanish to earn another power-up. |
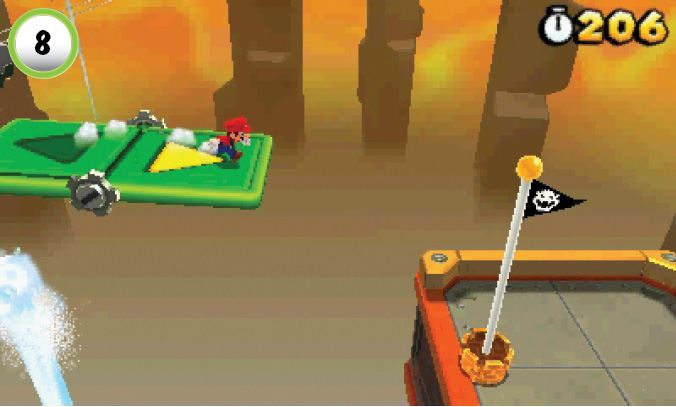
Make sure the Switchboard is moving at top speed when you reach the geyser at Point 8. As you’re launched into the air, make a running leap for the top of the Goal Pole.
Special 5-4
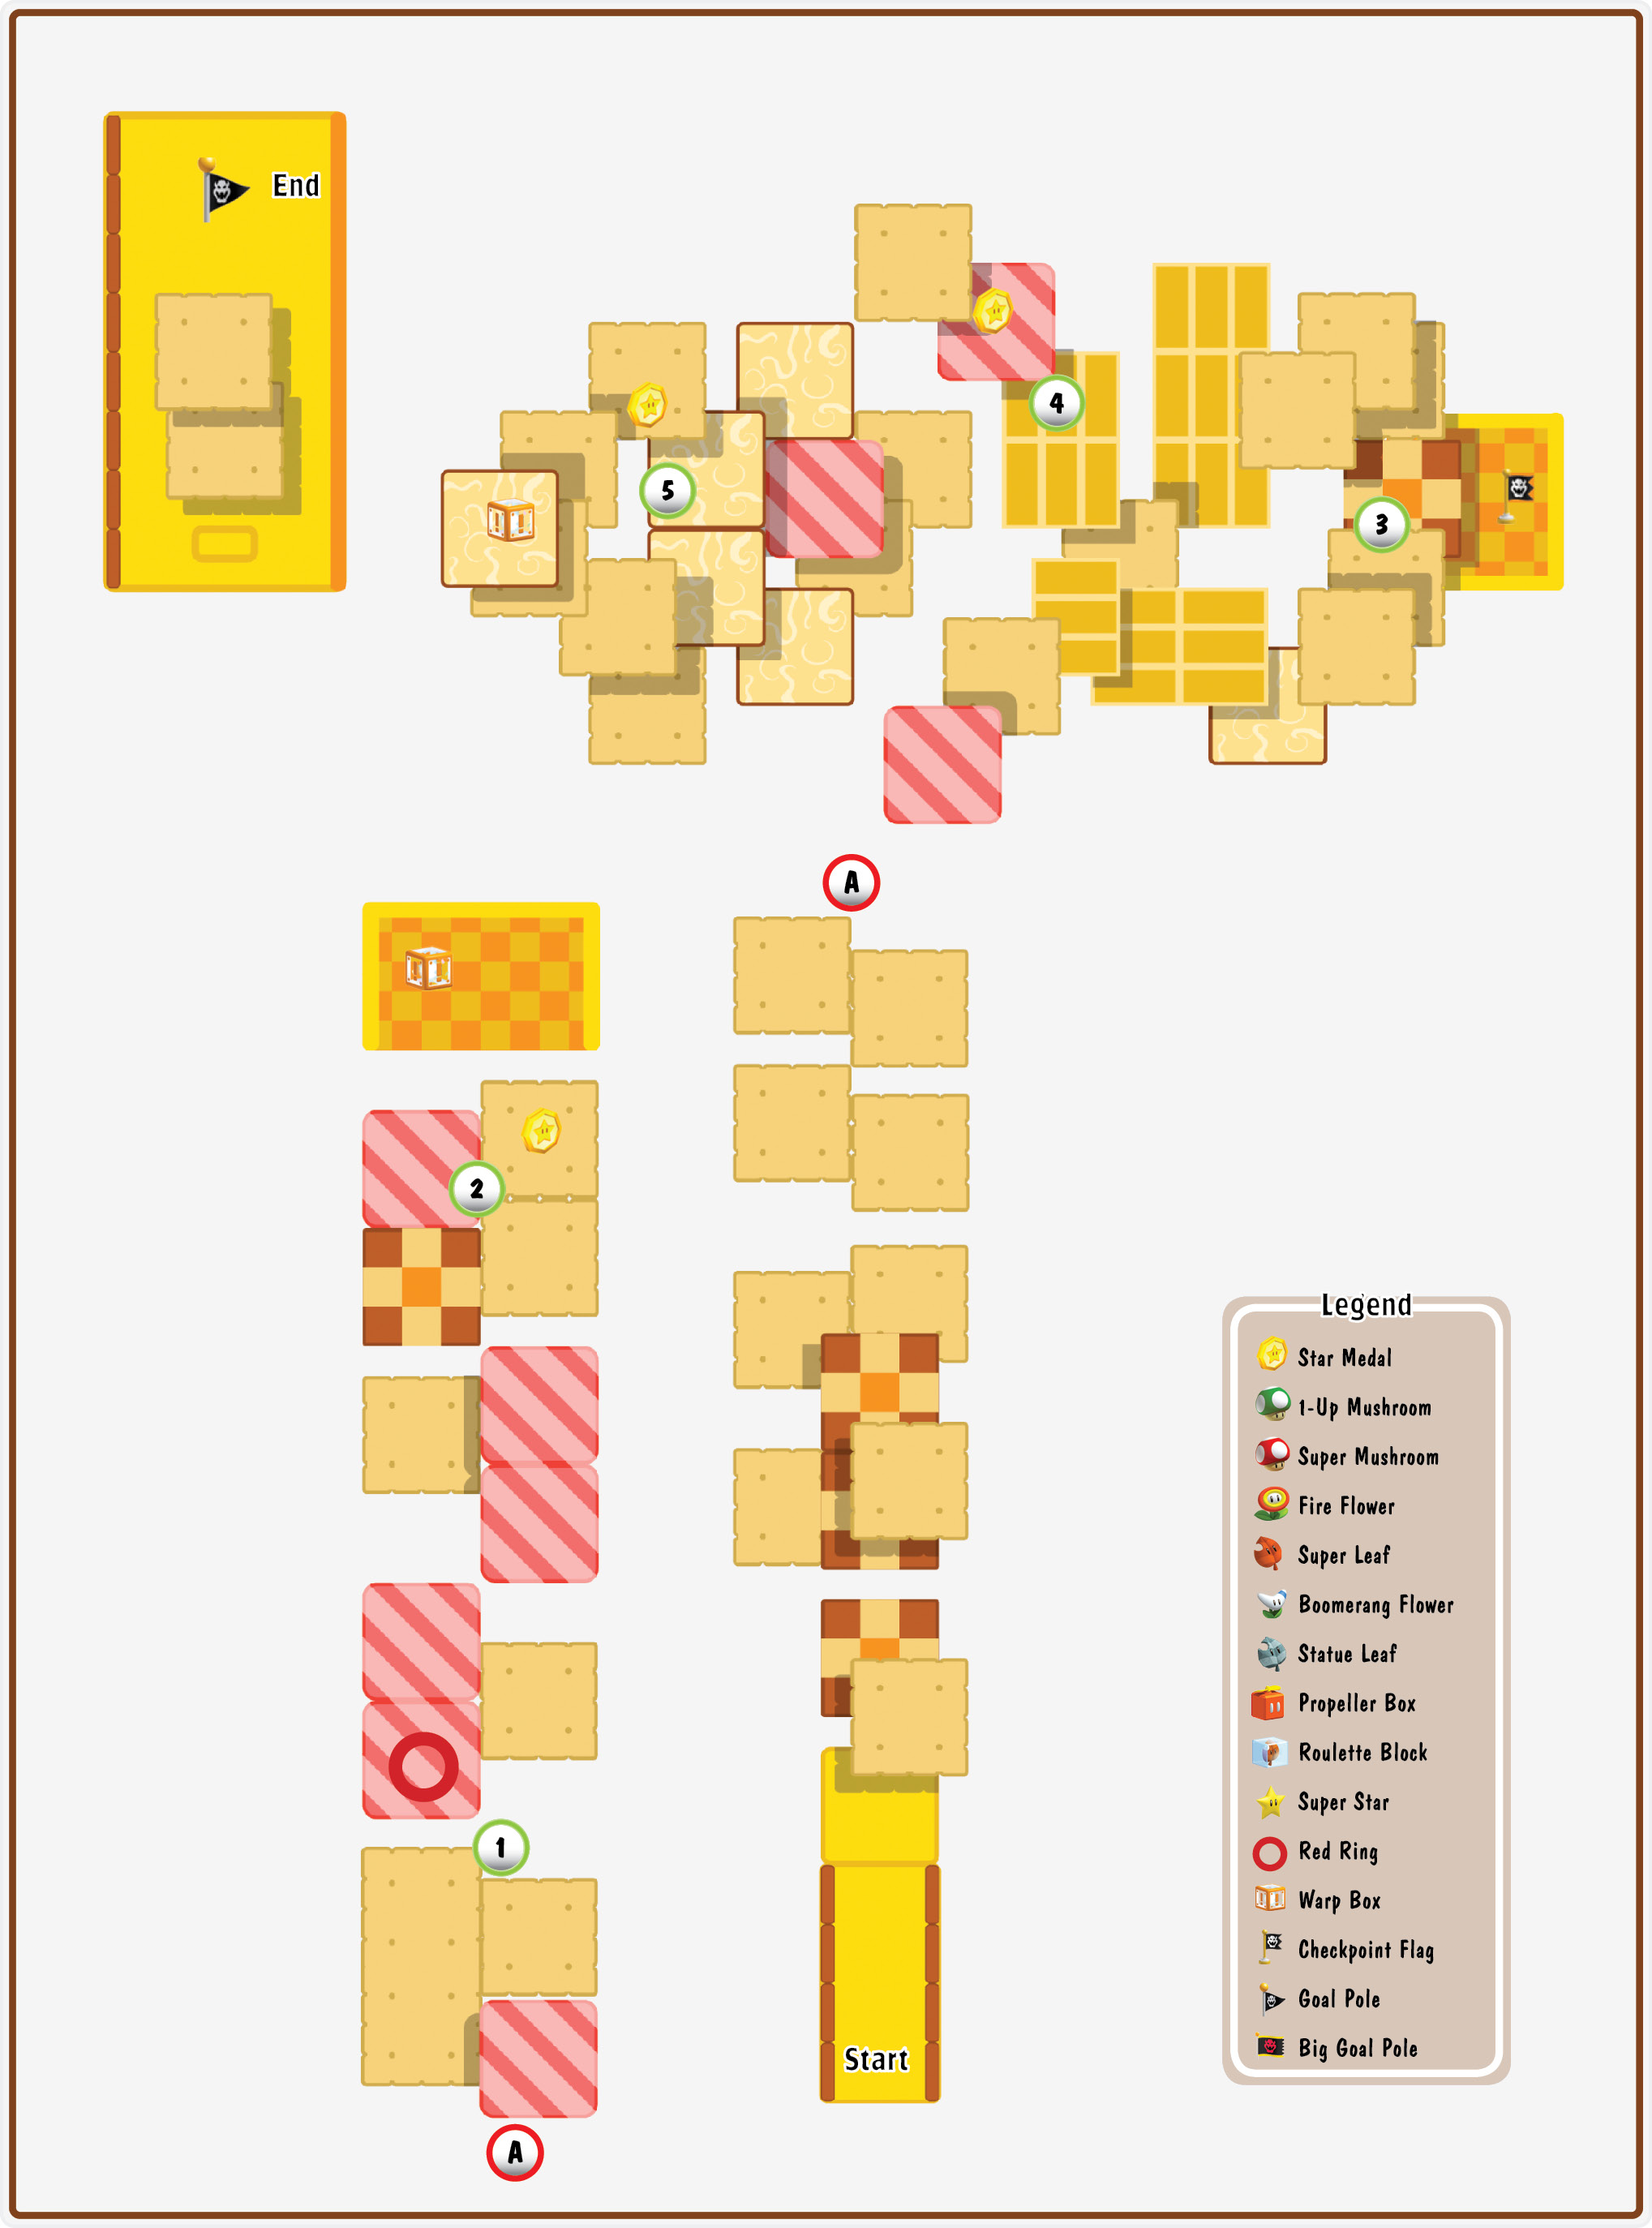
Red Ring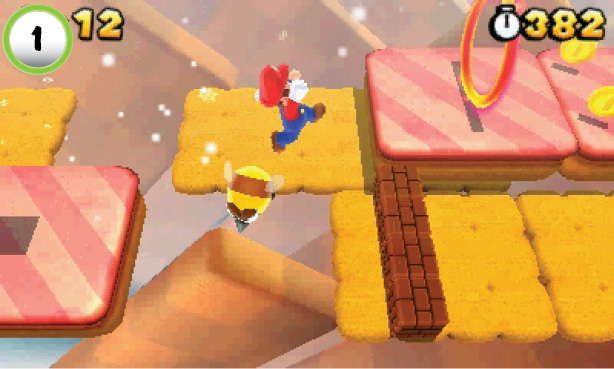 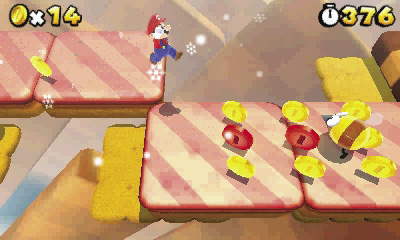 Due to the scrolling level and moving platforms, you must move very quickly to stay on the screen. Pass through the Red Ring at Point 1, then jump along the platforms to collect the Red Coins. Watch out for attacking enemies, and collect all of the Red Coins to earn a Statue Leaf. |
Star Medal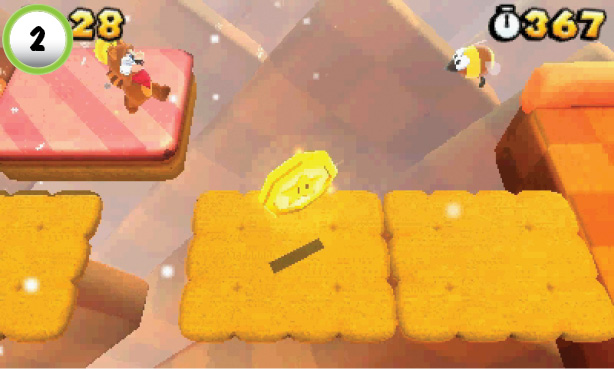 The first Star Medal is placed right in your path. Pass through Point 2 to collect it, then continue to the Warp Box. |
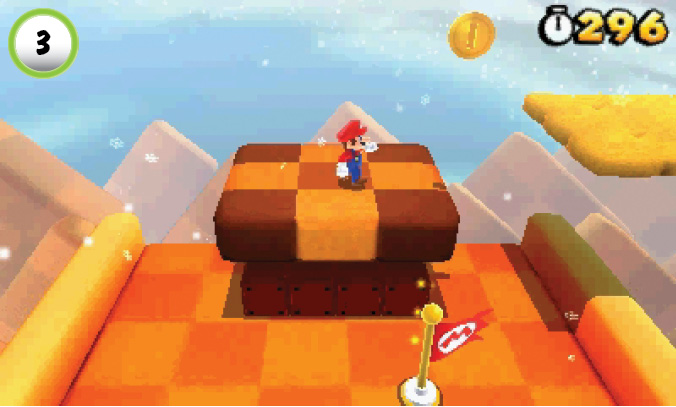
After you pass through the Warp Box, the level starts scrolling upward. Platforms move in from either side of the screen, so you have plenty of options as you make your way up the path. Try to reach the coins along the way, but make sure you aren’t left behind.
Star Medal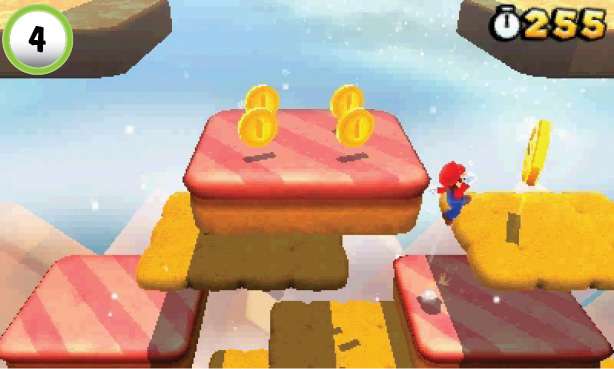 As you approach Point 4, look for the Star Medal along the screen’s right edge. Stand on the pink platform below the Star Medal, and wait for a moving platform to enter the area. Jump onto the platform before it blocks your path, and grab the Star Medal as you continue through the level. |
Star Medal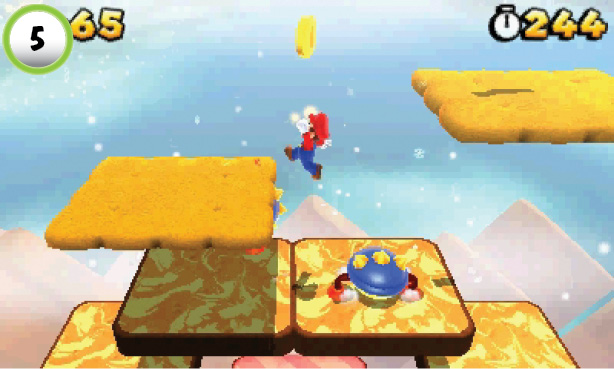 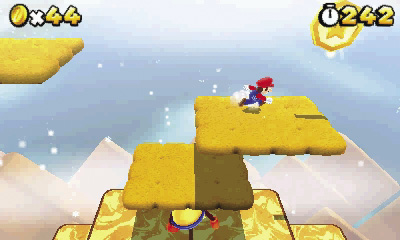 When you reach the Flophoppers at Point 5, move quickly to reach the next platform. The last Star Medal is off to the right, so you must grab it before the platforms move out of position. |
Special 5-5
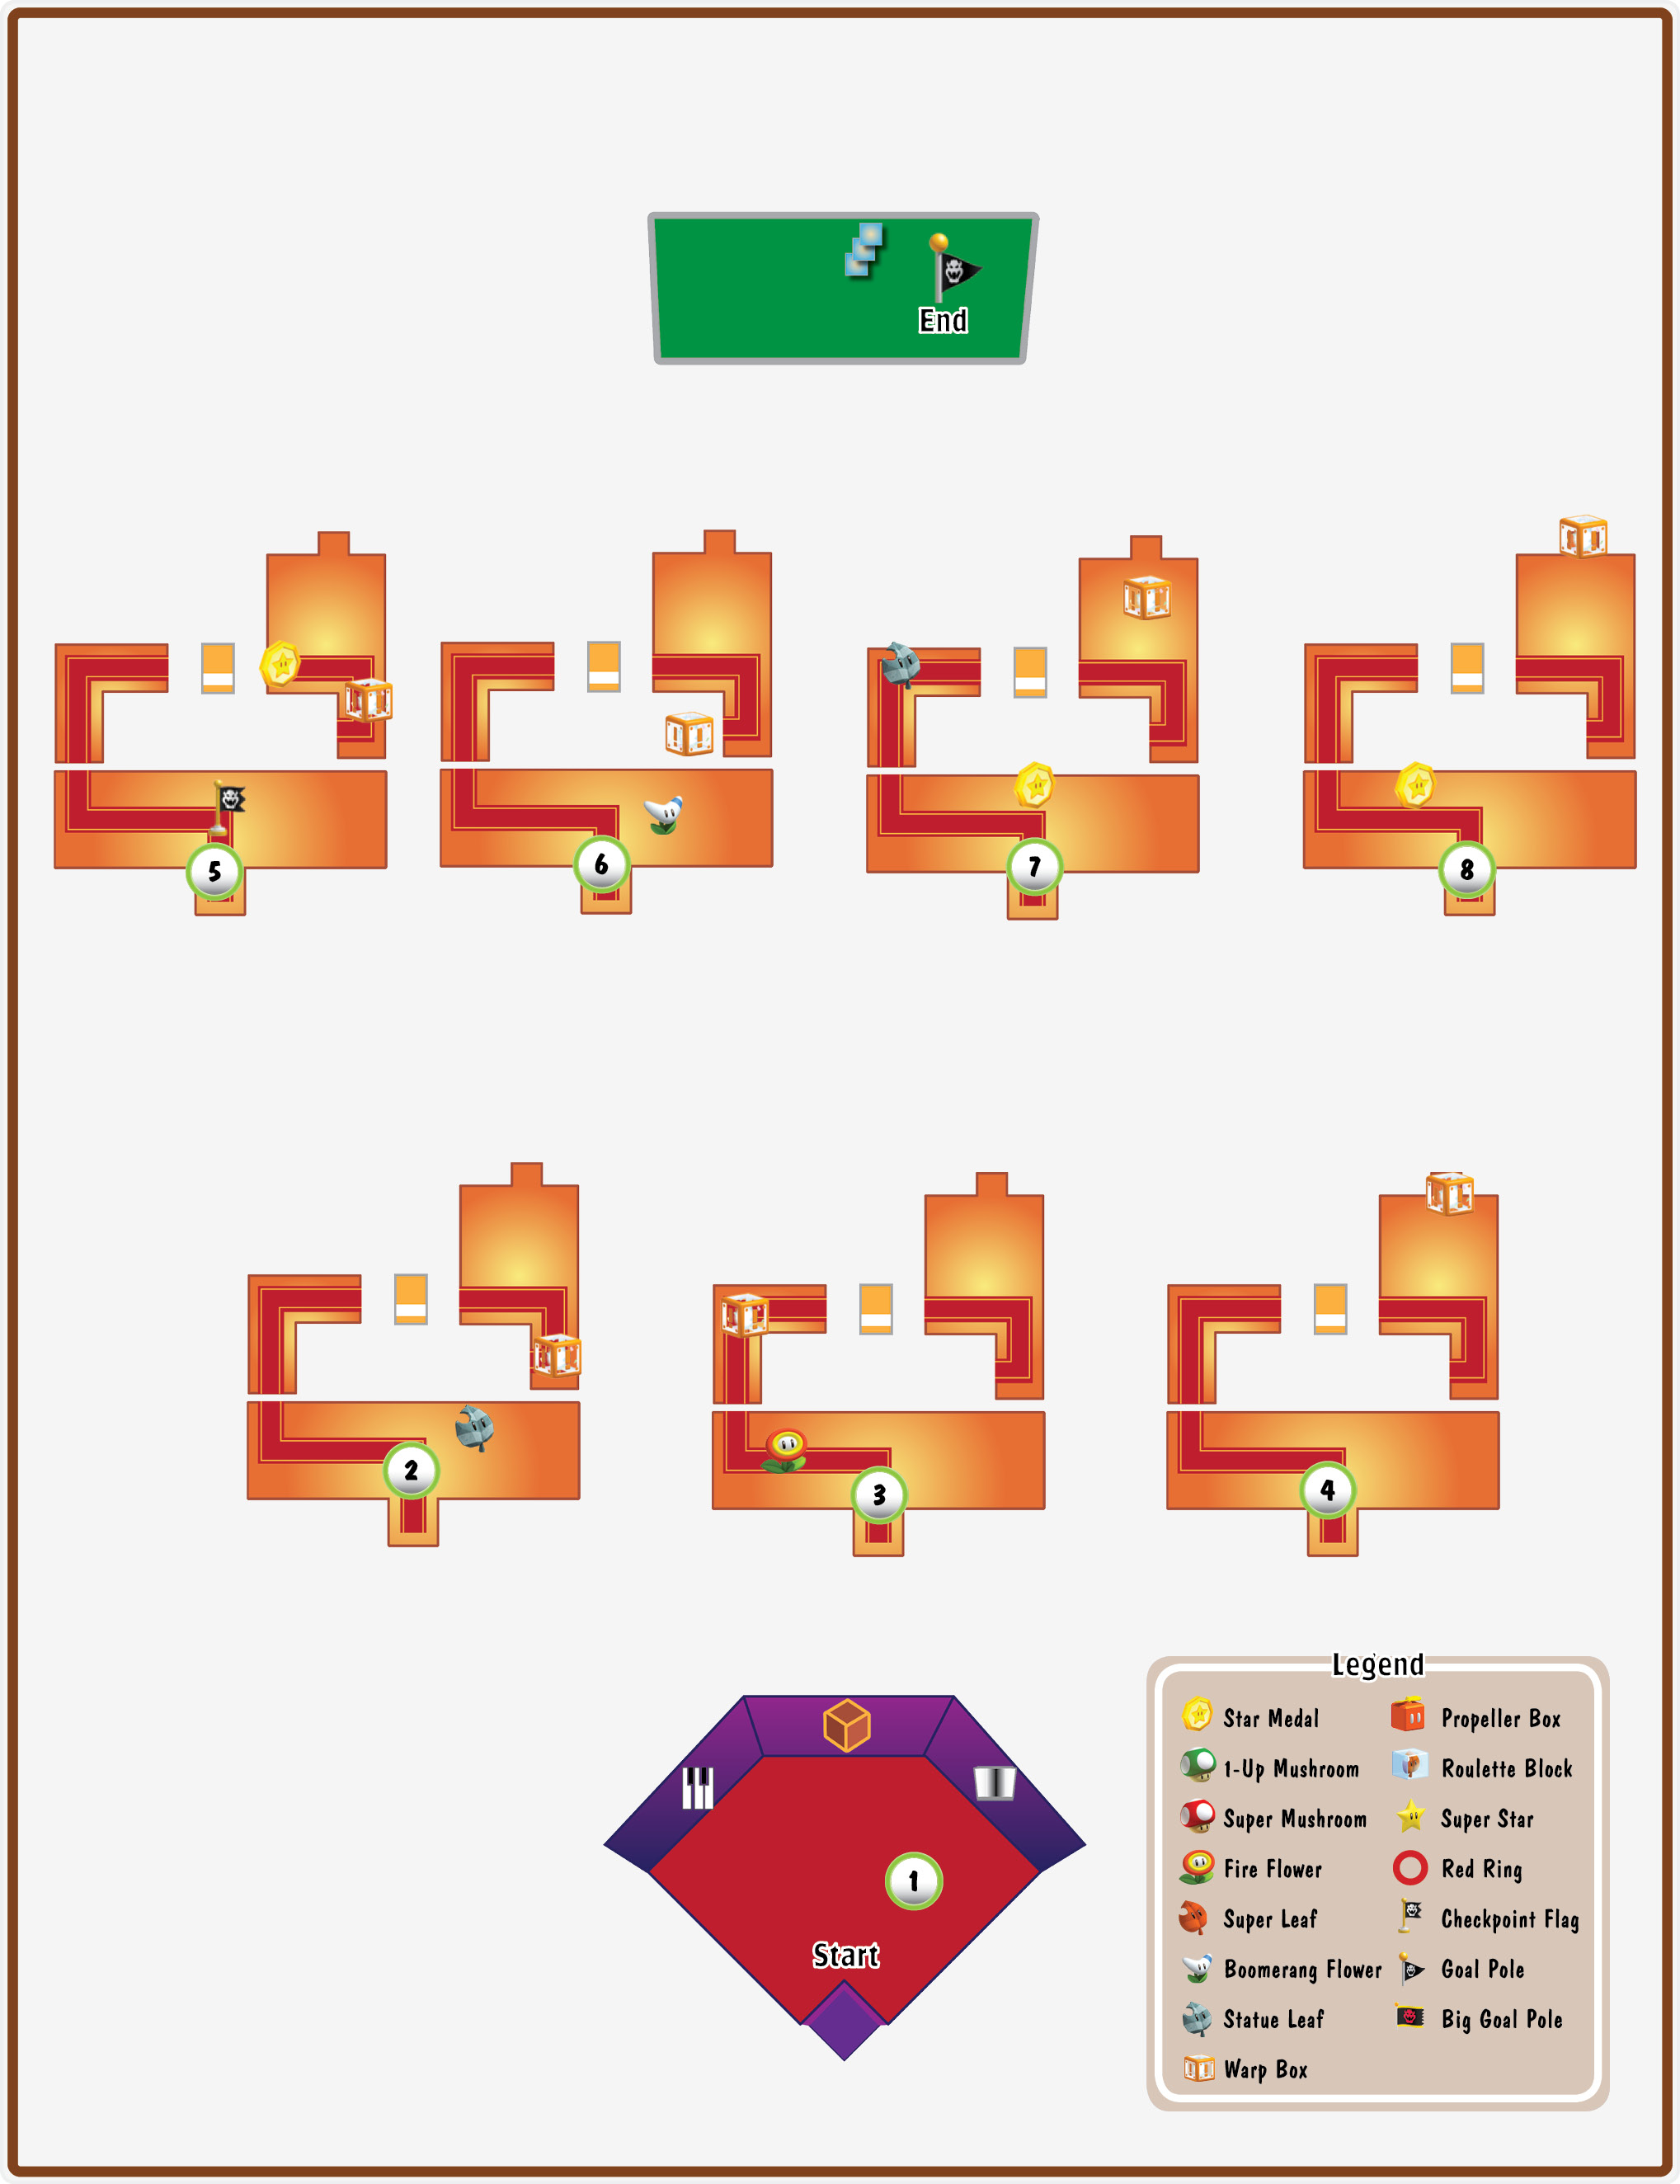
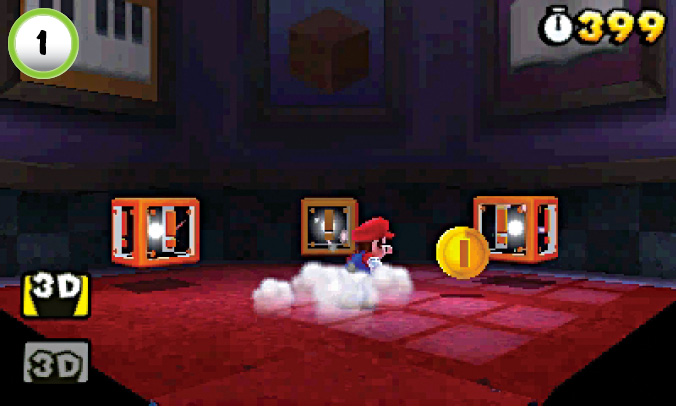
To reach the end of this level, you must use Warp Boxes to move through a series of rooms. Each room contains multiple Warp Boxes, only one of which leads to the next area. When you enter a new area, look for a single coin located near one of the Warp Boxes—this coin always marks the correct path. To leave the first room, run through the coin and enter the Warp Box near the right wall.
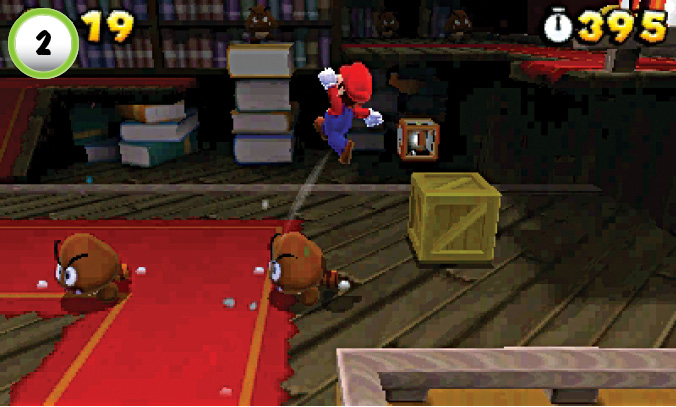
The second room is filled with Tail Goombas. Smash the crate on the floor to collect a Statue Leaf. The Warp Box on the ledge to the right is marked with a coin. When you’re ready to move on, make your way up to the second floor.
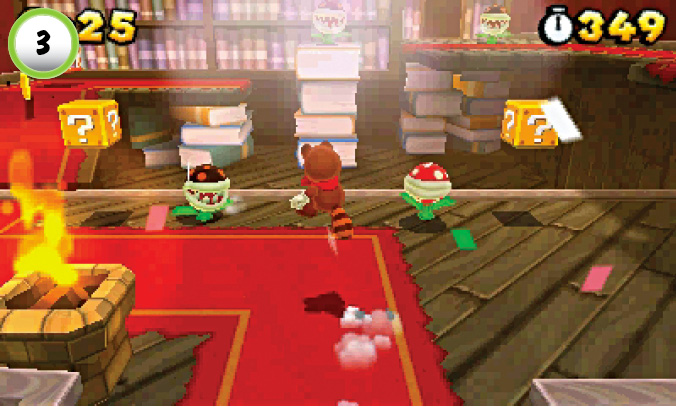
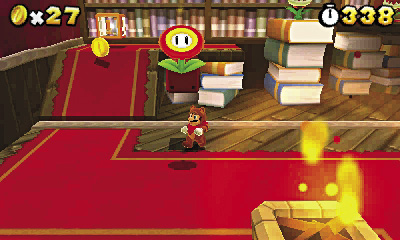
The third room is filled with Piranha Plants. When you arrive, clear out the enemies in front of you, then search the ? Block on the left to collect a Fire Flower. The ? Block on the right contains a Poison Mushroom, so it’s best to avoid it. Move up the ramp to the left to find a single coin near a Warp Box.
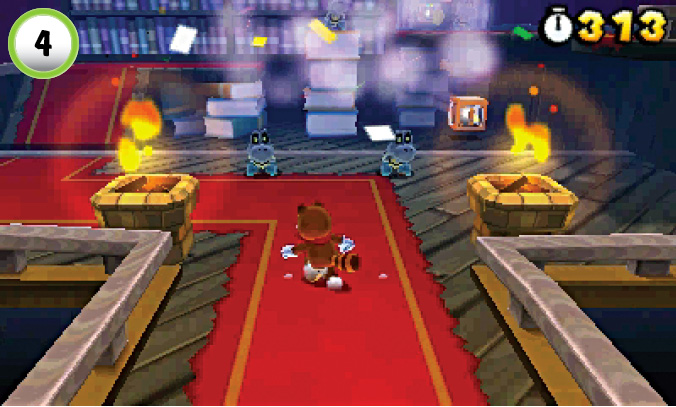
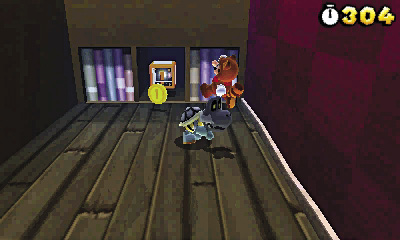
The fourth room is filled with Dry Bones. Dodge around these persistent enemies and head up to the second floor. To move on to the next area, find the Warp Box in the small bookcase on the back wall.
Star Medal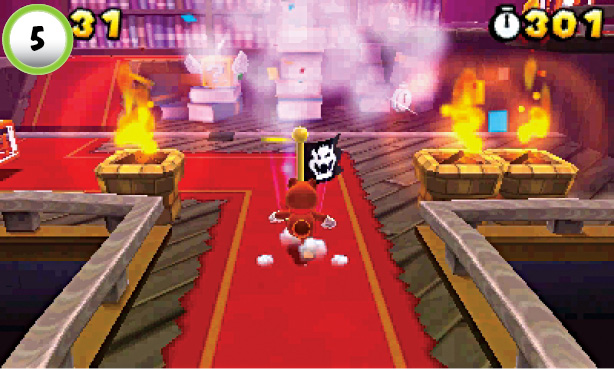 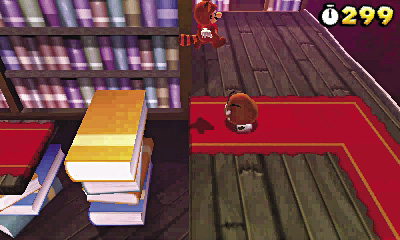 The fifth room has a single Goomba patrolling the second floor. After you search the first floor, head up and defeat the Goomba to collect the level’s first Star Medal. The nearby Warp Box is marked with a single coin. When you’re ready, use it to move on to the next room. |
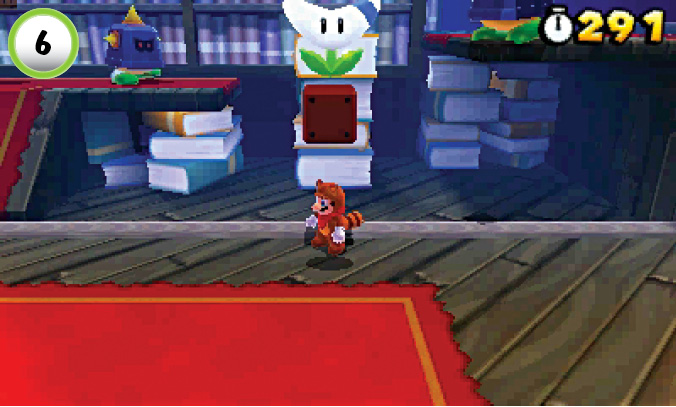
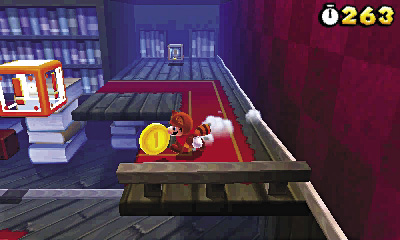
The sixth room is filled with Prongos. Hit the ? Block to collect a Boomerang Flower, then make your way up to the second floor. Find the coin located at the edge of the walkway, then jump to the nearby Warp Box.
Star Medal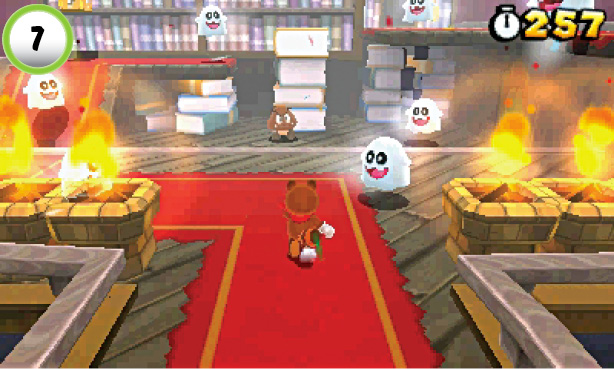 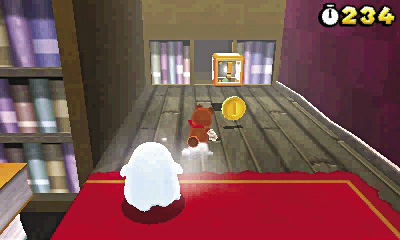 The seventh room is filled with Peepa, but there’s a single Goomba on the first floor. Defeat the Goomba to collect the second Star Medal, then head up the ramp to the left. The ? Block at the top of the ramp contains a Statue Leaf, so make sure you search it on your way to the second floor. When you’re ready to continue, use the Warp Box located near the back wall. |
Star Medal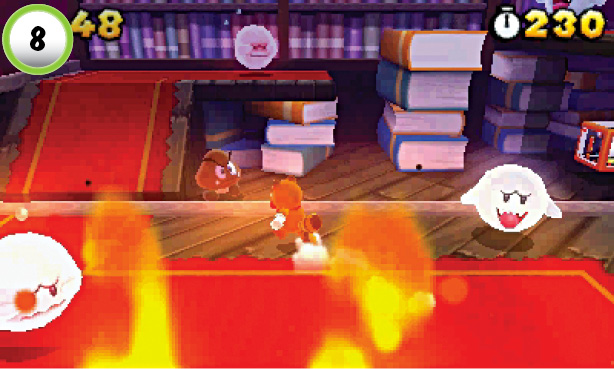 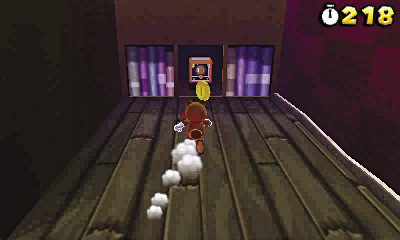 The eighth room is filled with Boos, but there’s a single Goomba on the lower floor. Dodge past the Boos and defeat the Goomba to collect the level’s last Star Medal. When you’re ready to leave this room, head up to the second floor and enter the Warp Box near the back wall. |
Special 5—Castle
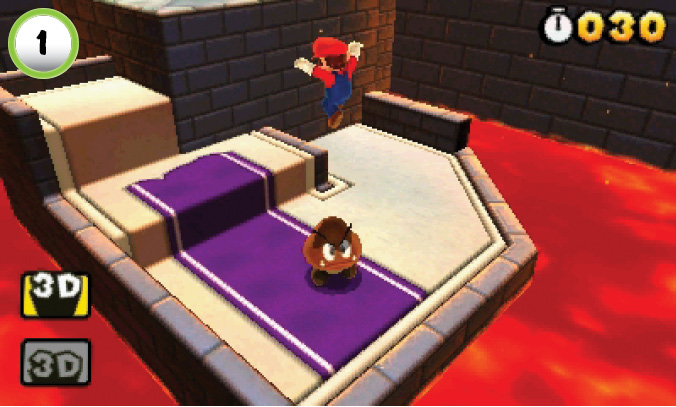
The level starts with just 30 seconds on the clock. You land on a Goomba when you enter the castle, but there are many more along the path. There’s a boss battle toward the end of the level, so defeat every Goomba you see to ensure you have enough time to complete it.
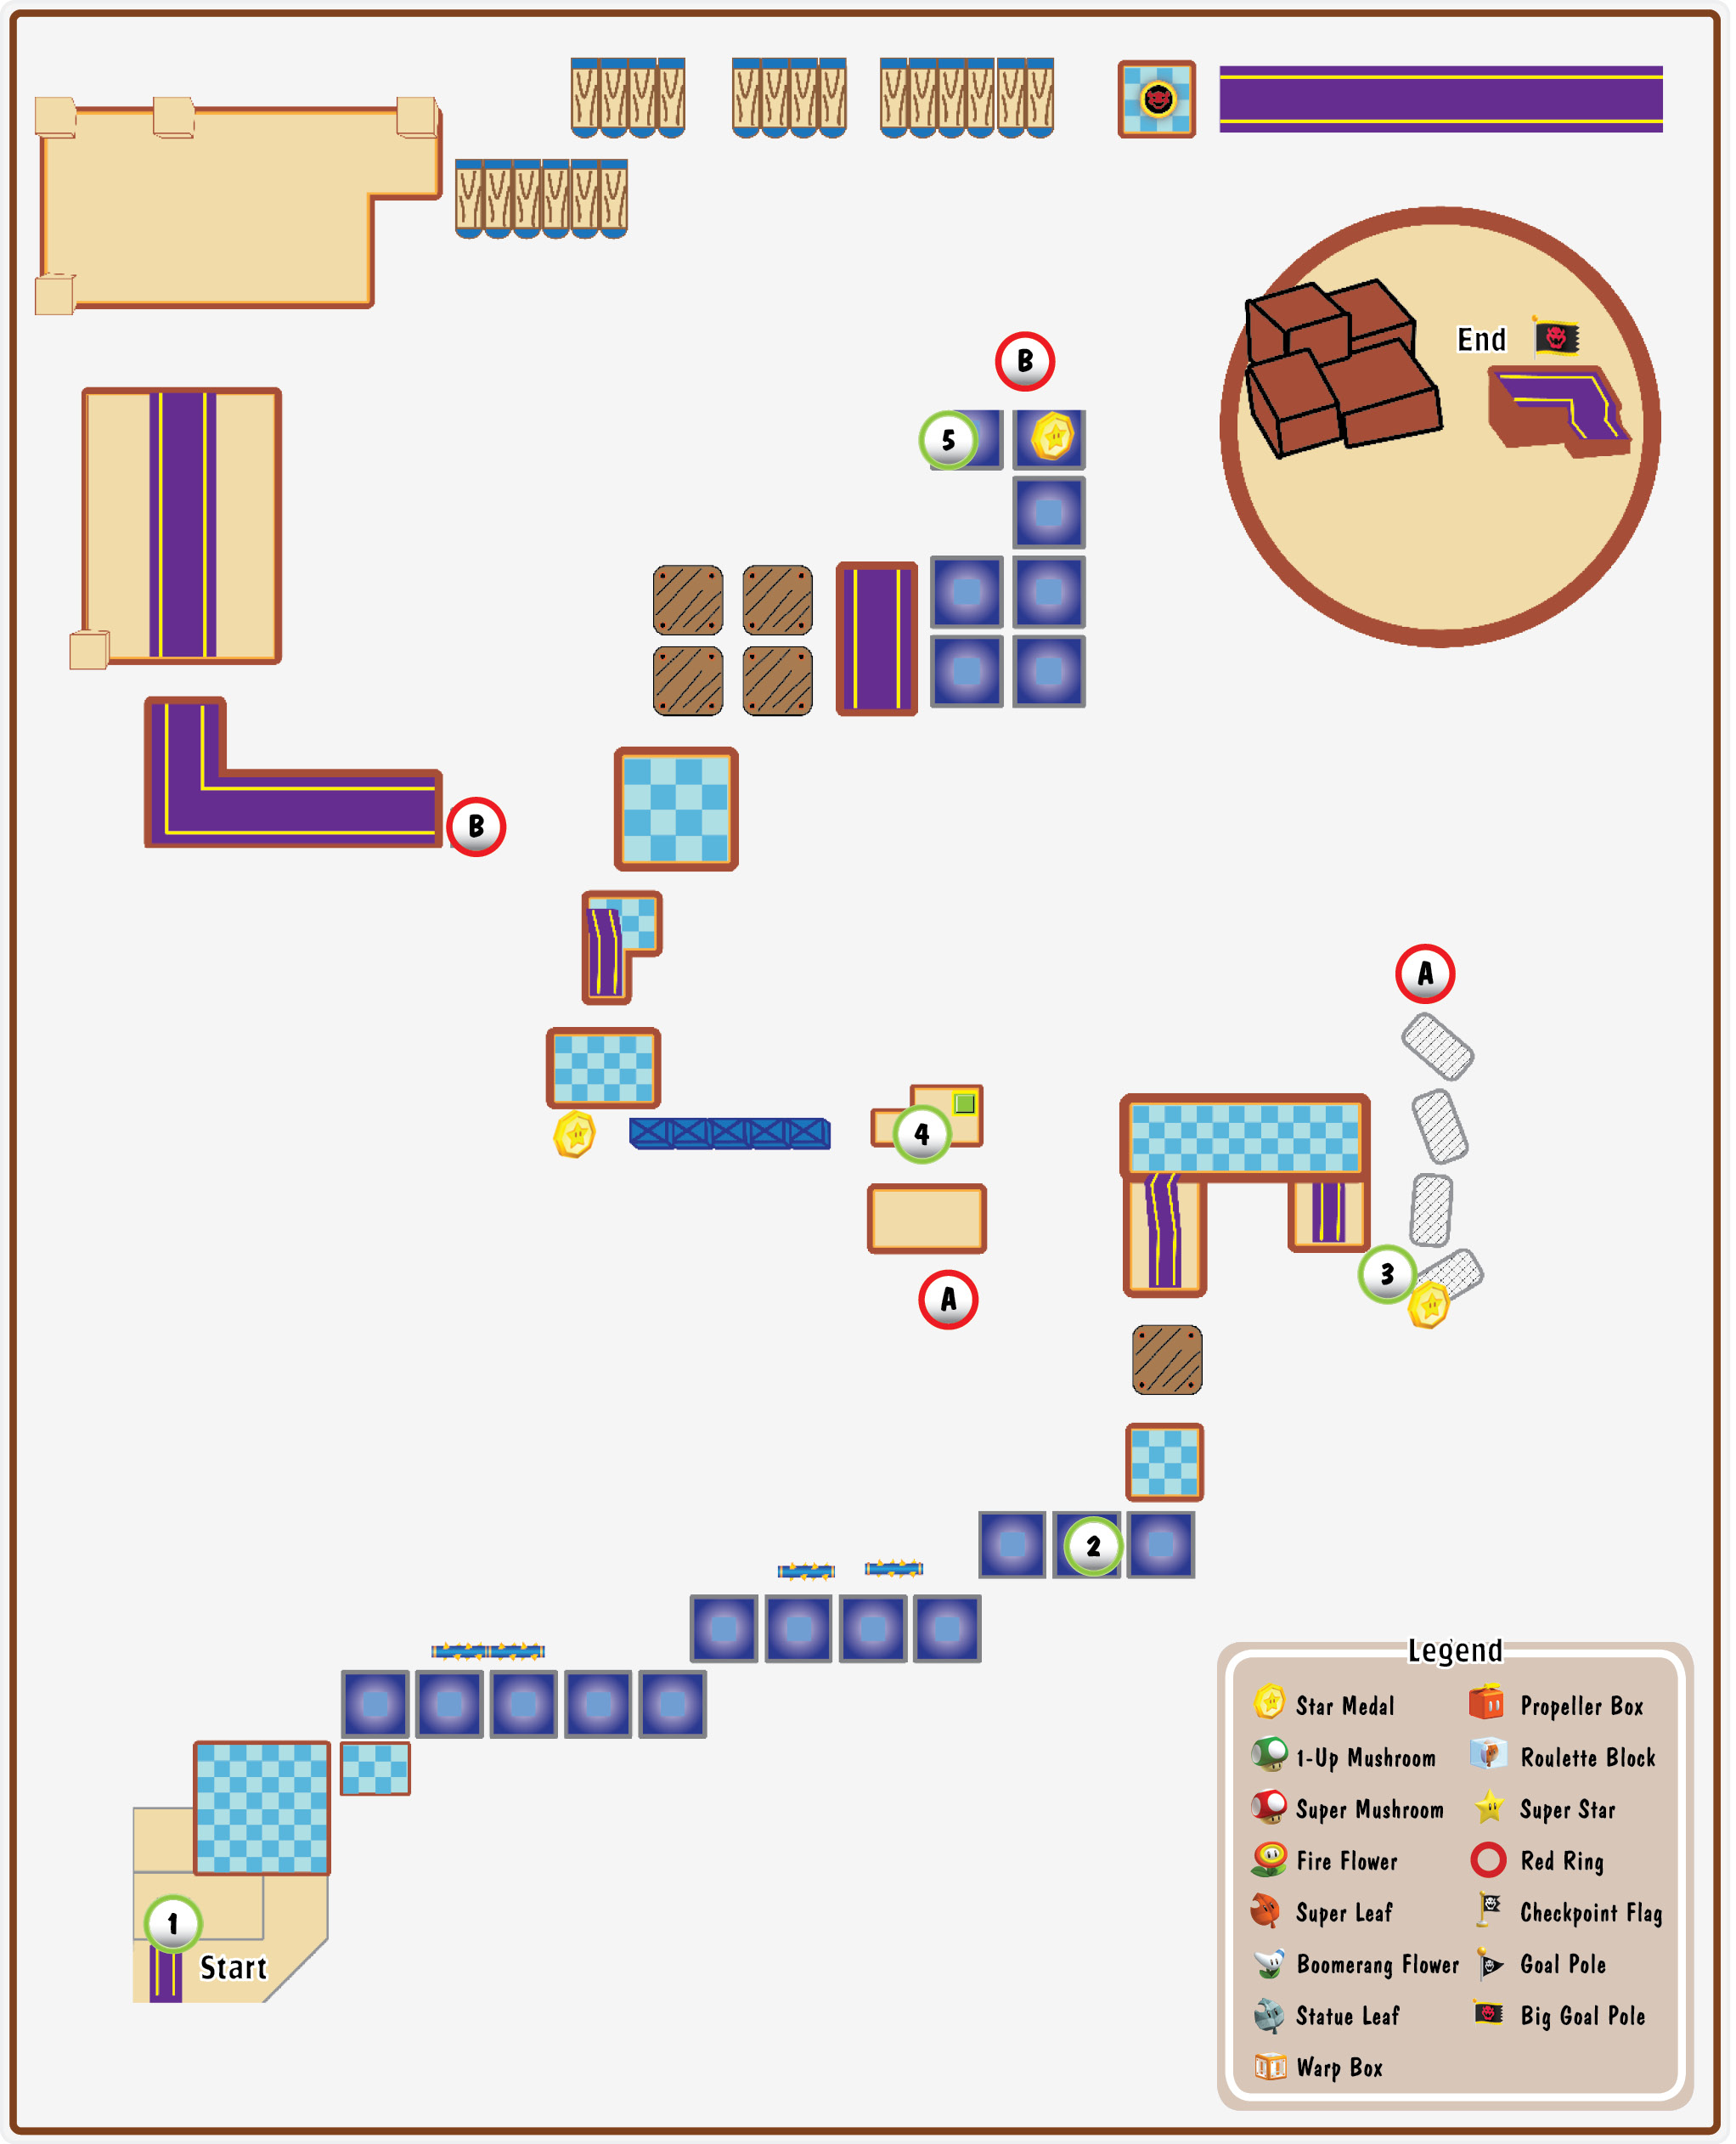
Star Medal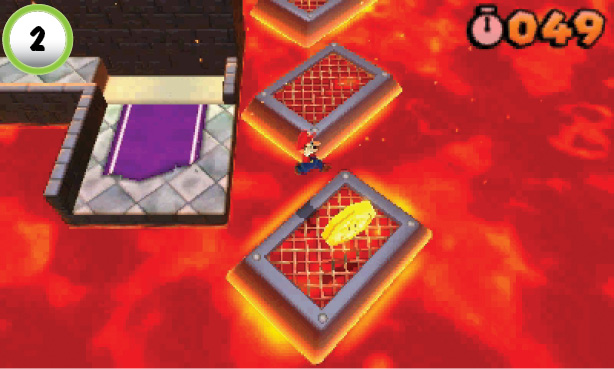 The first Star Medal is located above the moving platforms at Point 2. When a platform appears from the lava, jump over and grab the Star Medal. |
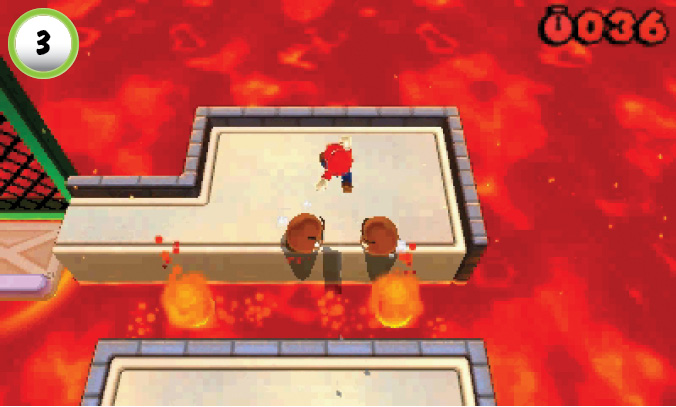
The moving platforms will eventually carry you to the next area, but the ride will waste precious time. Leap across the moving platforms to speed up the trip. When you reach the next area, find a gap in the Lava Bubbles and take out the Goombas at Point 3.
Star Medal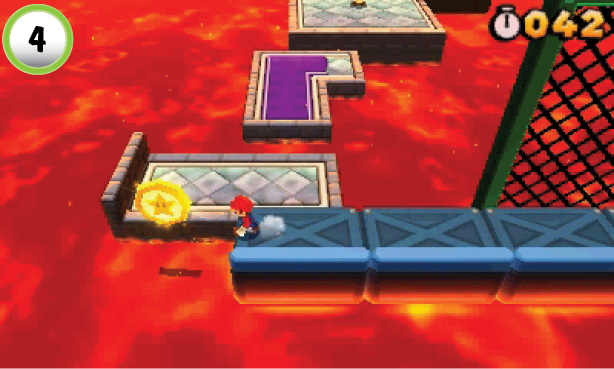 When you reach Point 4, stand on the edge of a metal platform as it approaches the Star Medal. Grab the Star Medal and jump to safety before the platform sinks into the lava. |
Star Medal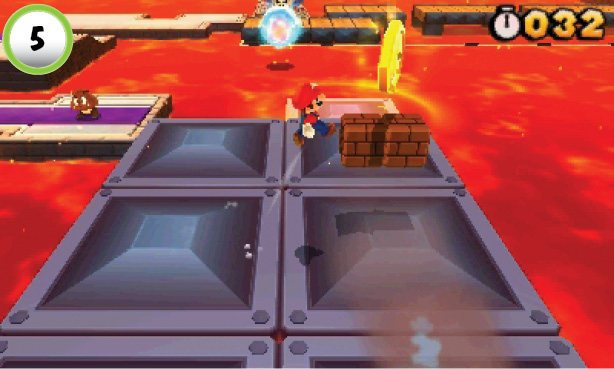 On your way to Dry Bowser, make sure you collect the Star Medal at Point 5. Stay clear of Dry Bowser’s fireballs, and watch out for gaps in the moving platforms. When you’re within range, make a running leap up to the Star Medal, then continue along the path. |
Boss Battle: Dry Bowser
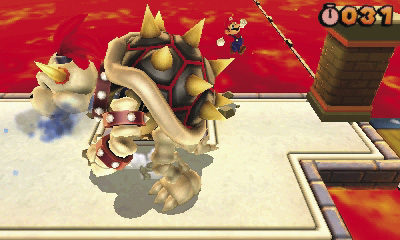
This time around, Dry Bowser attacks with fireballs, jumps, and tail whips. This battle is very similar to previous encounters, but keep an eye on the clock. Make sure you take out any remaining Goombas to extend the time limit, and move up the path as soon as you find an opening.
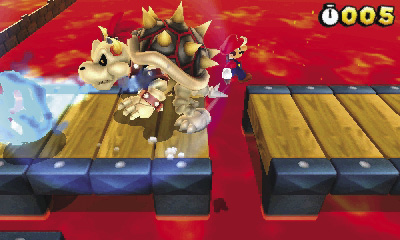
The bridge is divided into some fairly small sections. This doesn’t leave you much room to dodge incoming attacks, but make sure you stay close to Dry Bowser. If you retreat to a distant platform, you’ll miss your chance to slip past him unharmed. Dodge his attacks until he jumps into the air, then dash to the end of the bridge. Hit the switch to end the encounter, then make your way up to the Goal Pole.