
Super Mario 3D Land Guide Walkthrough Worlds
World Four
World 4-1
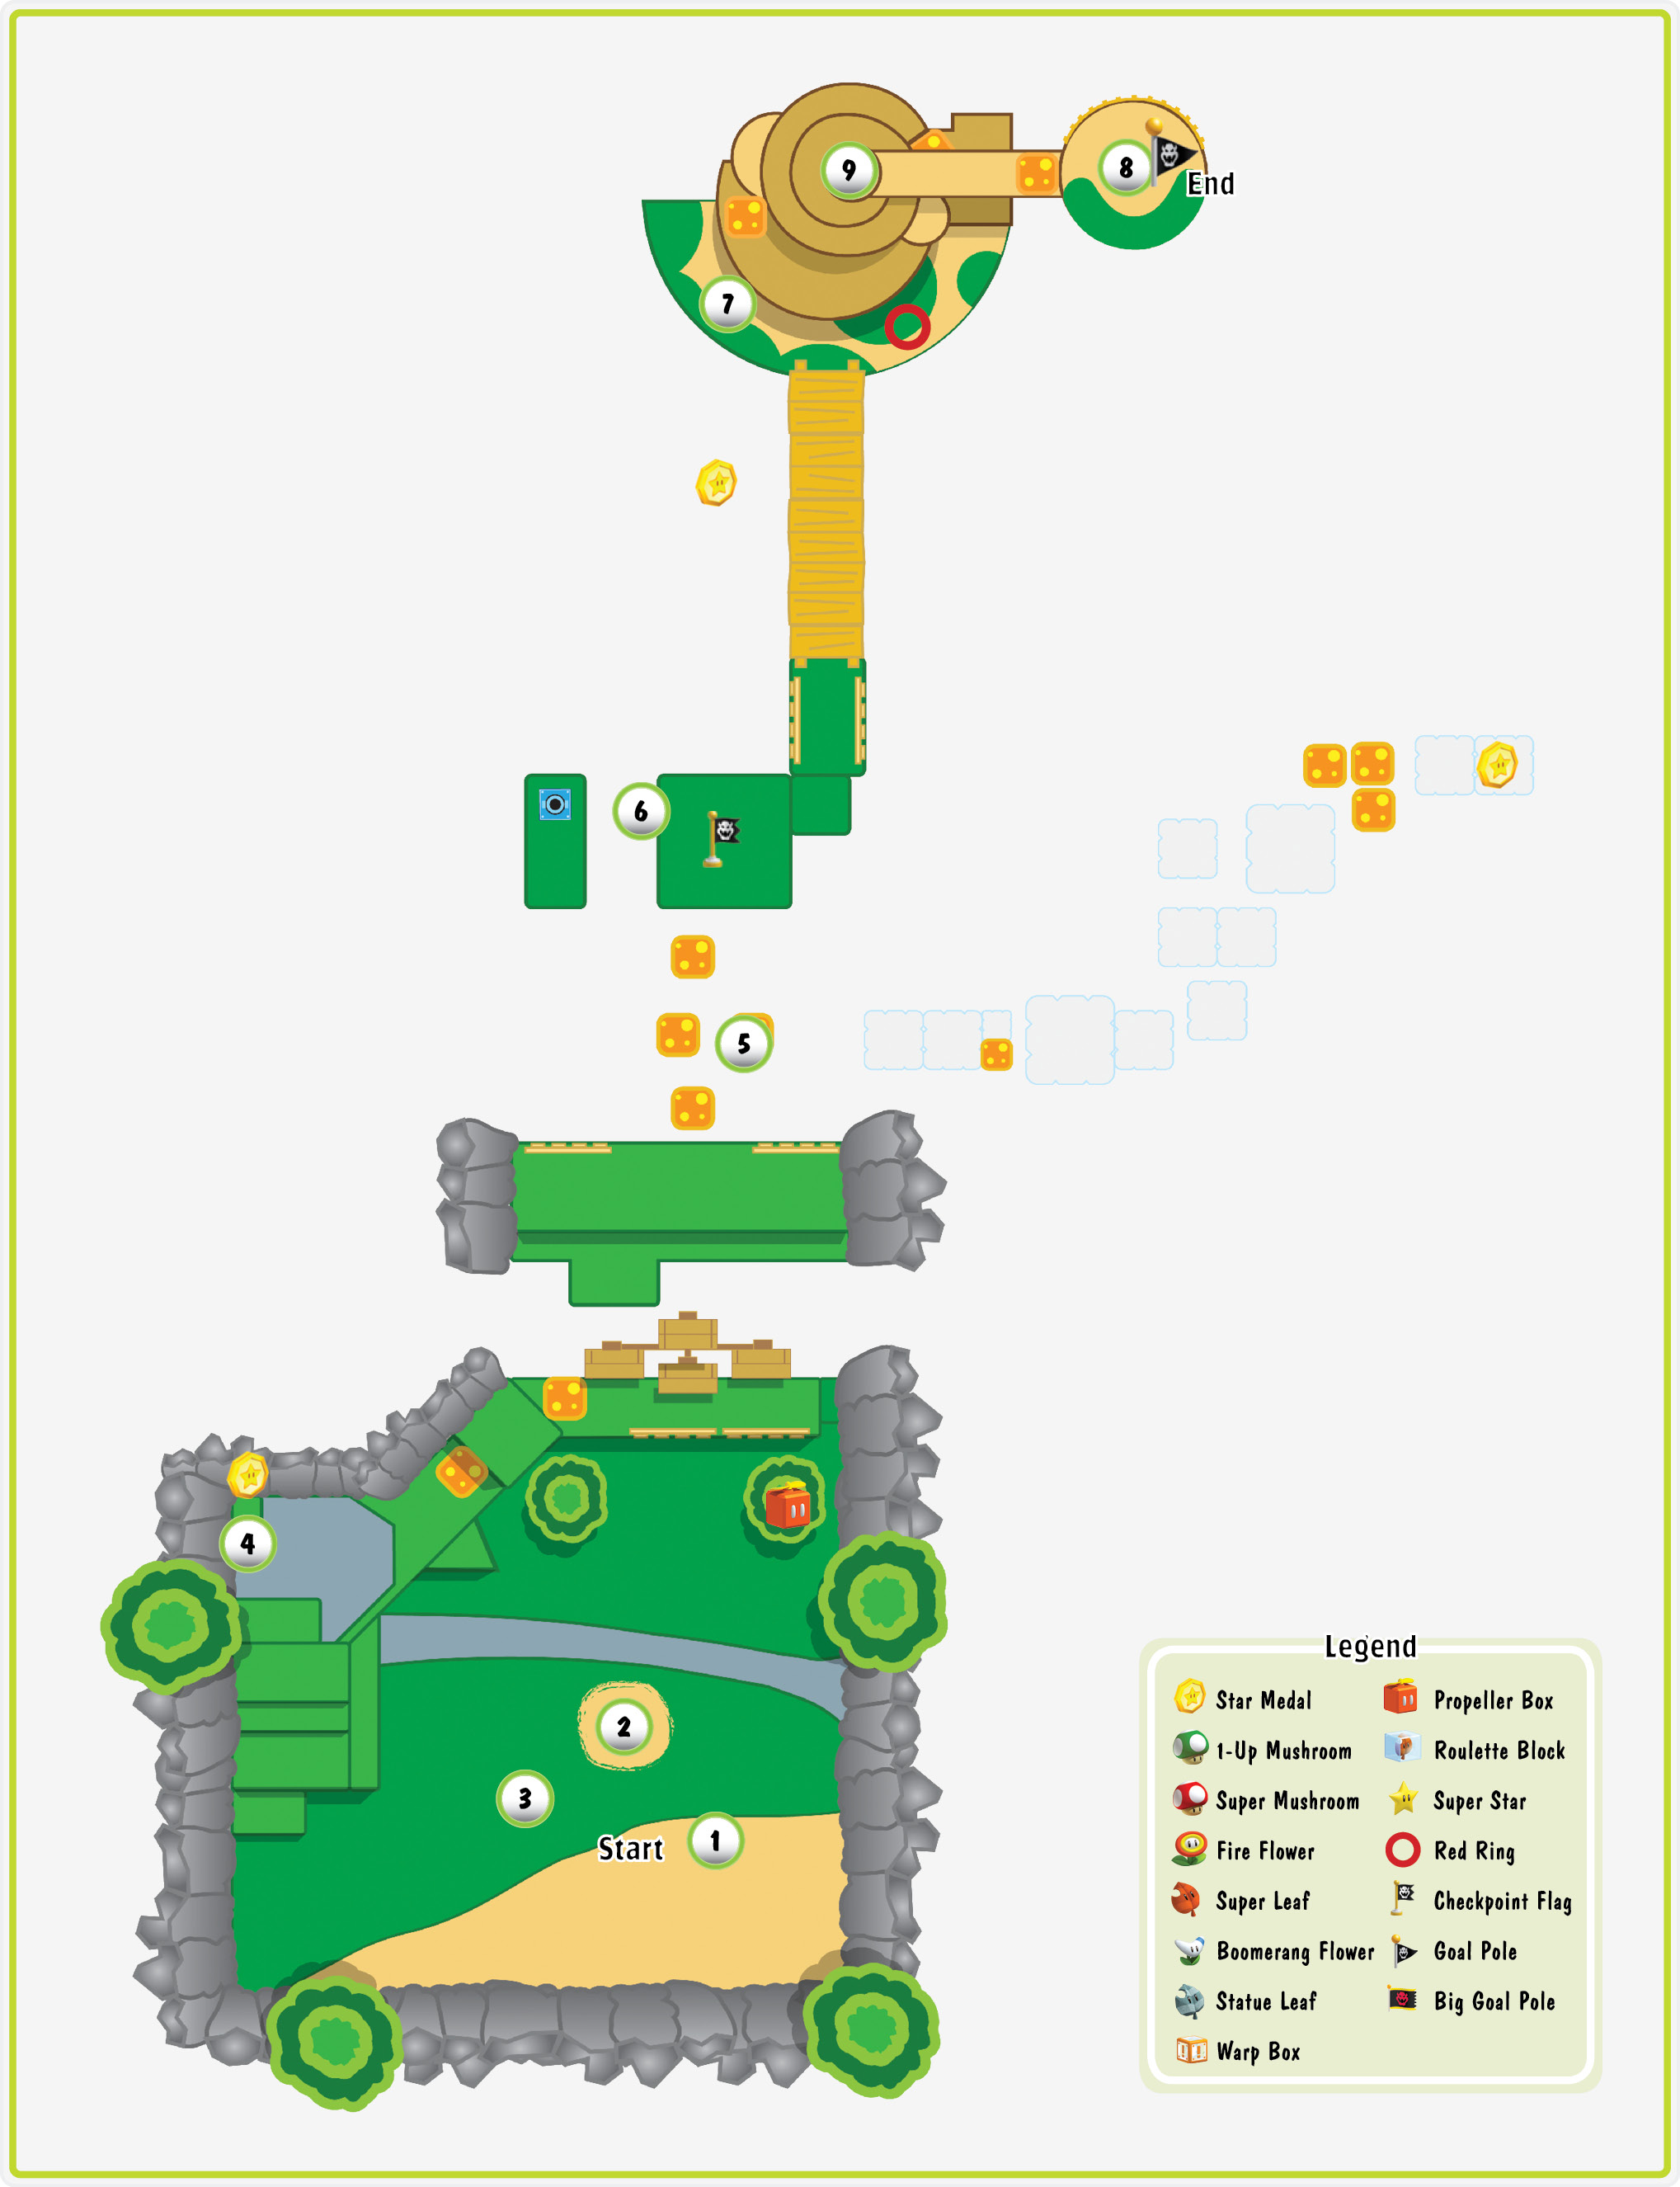
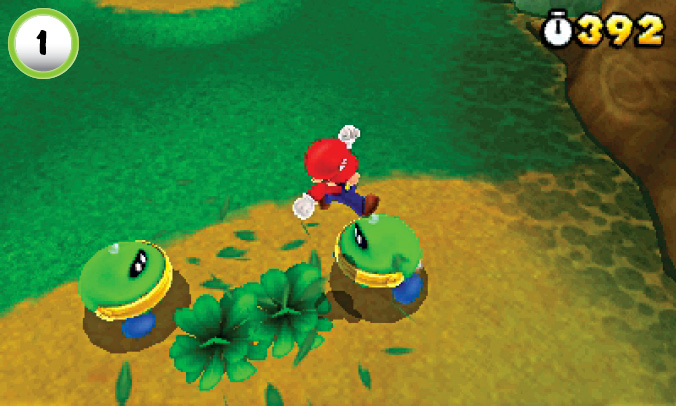
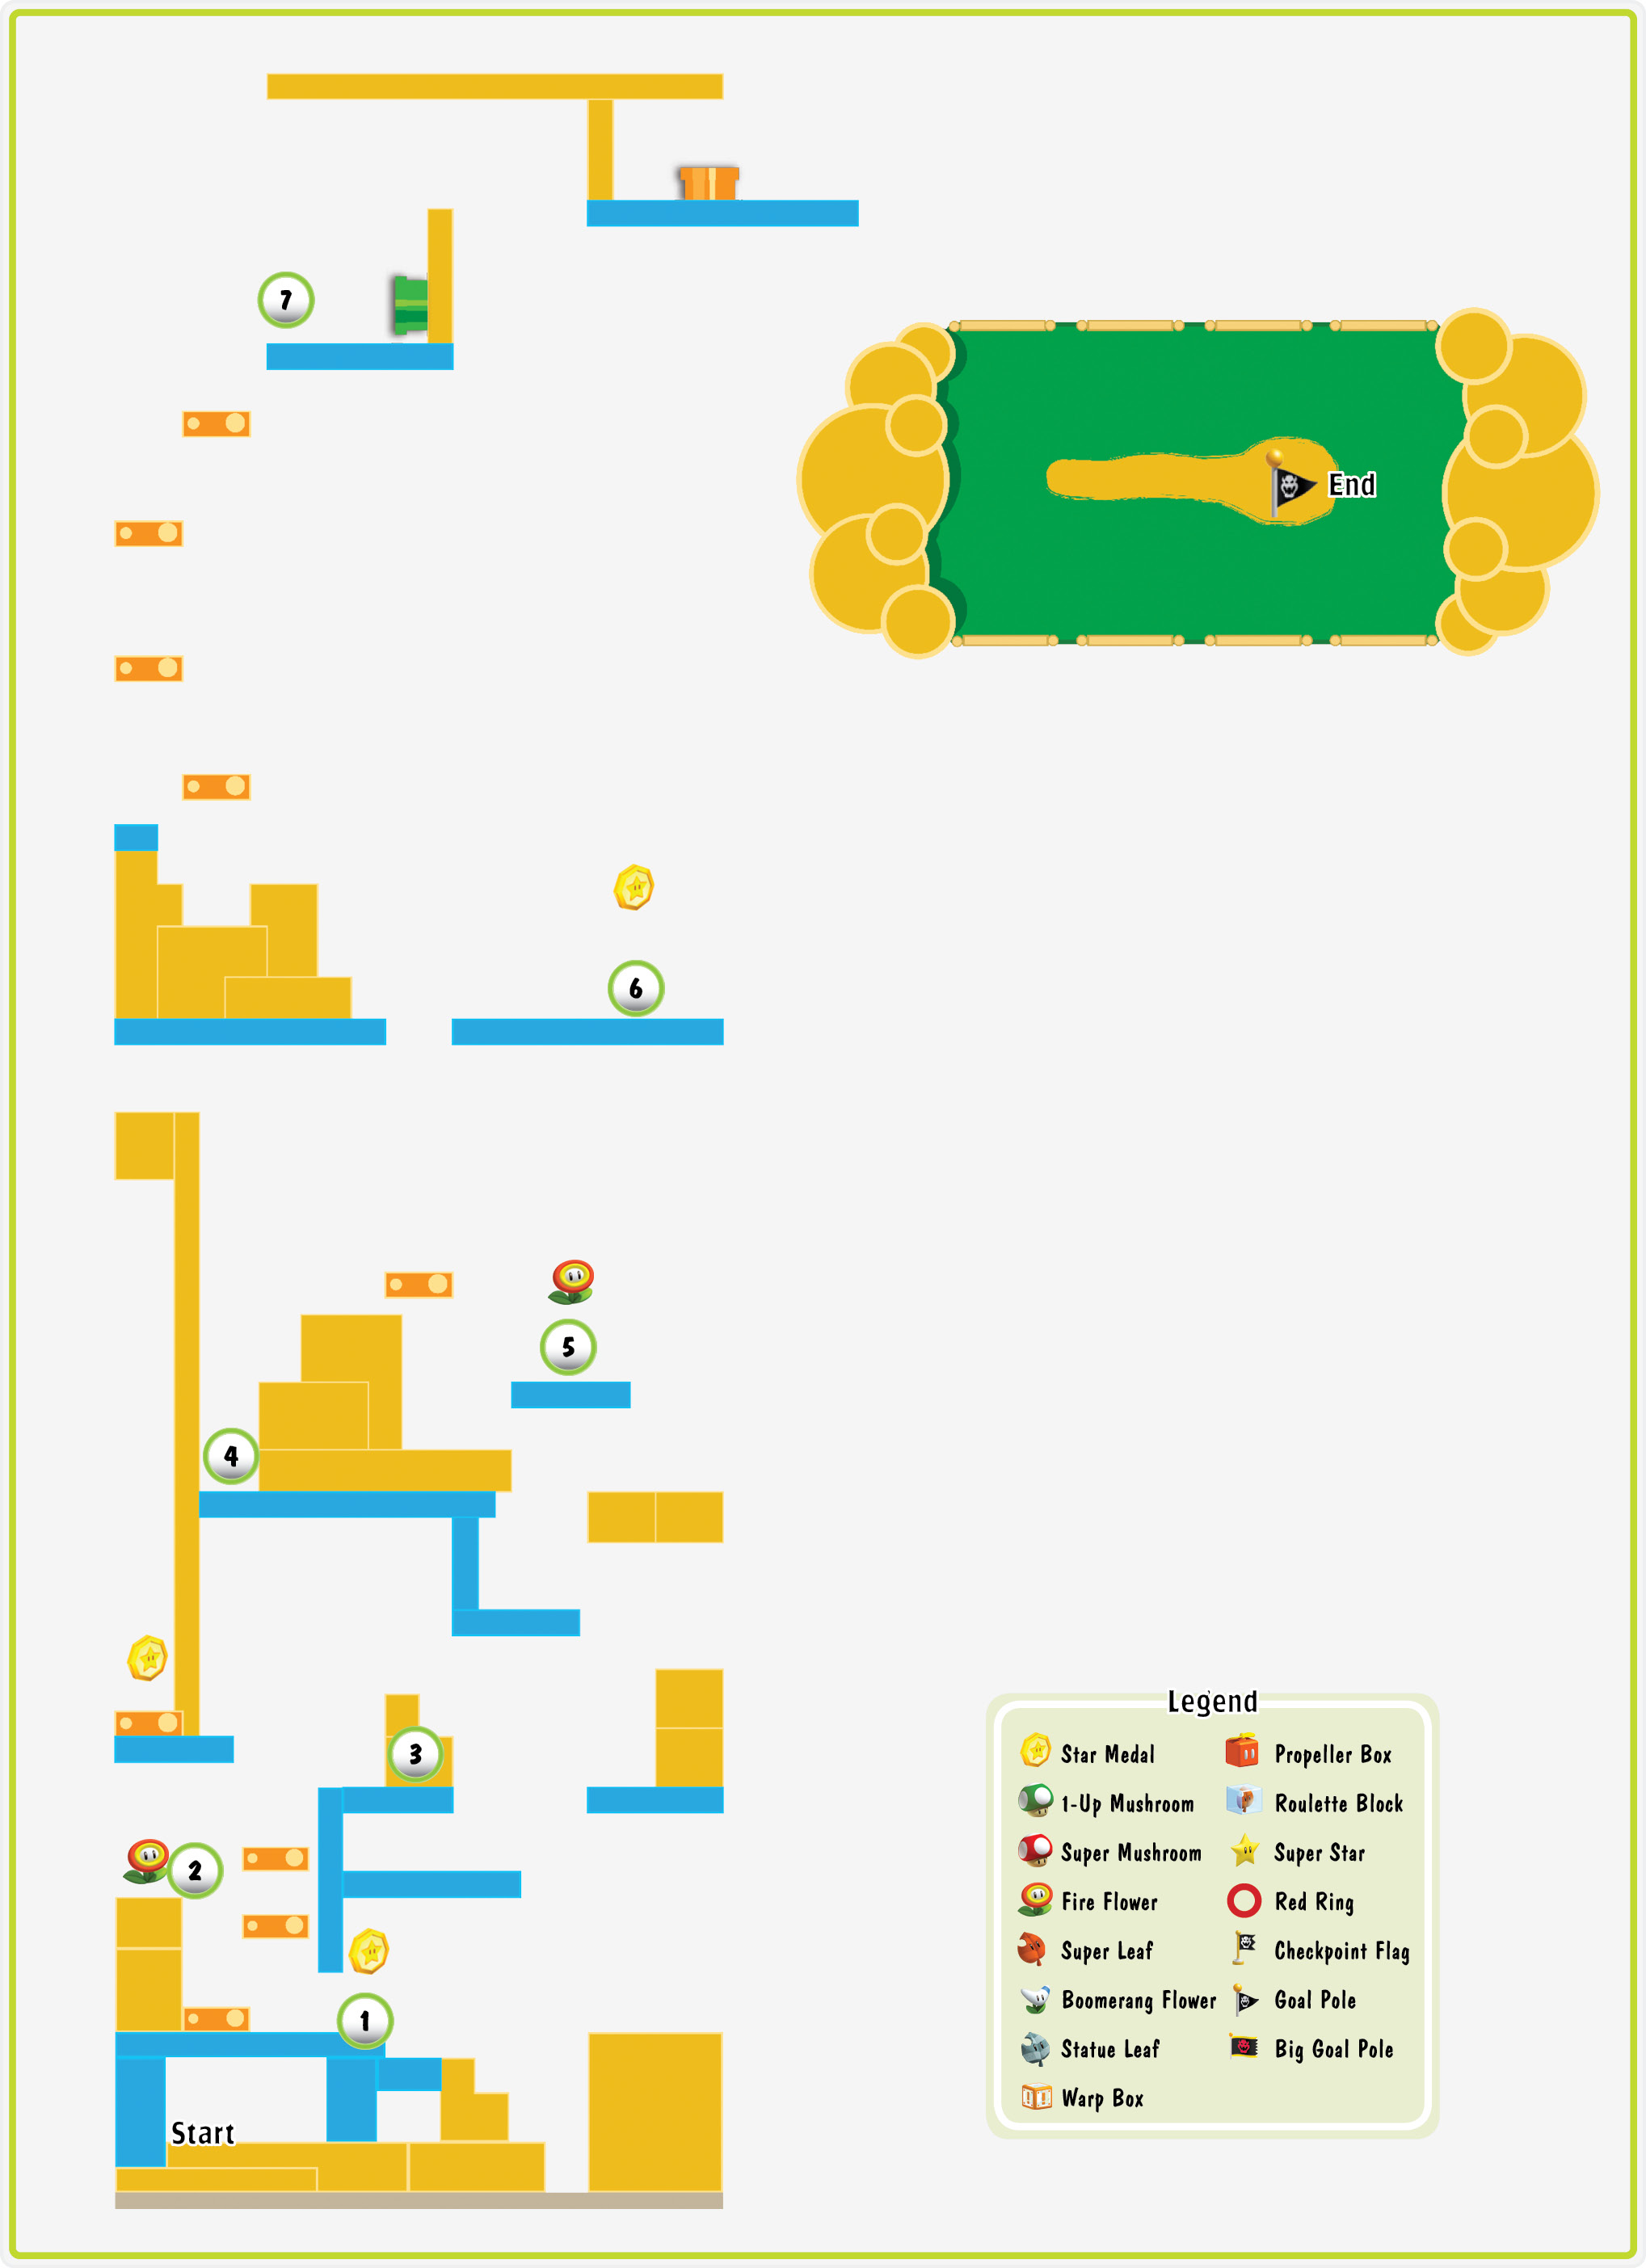
Run through the bushes at Point 1 to reveal two Coin Coffers. If you want to claim your extra lives, try to deal with the Coin Coffers before they flee to more hazardous areas.
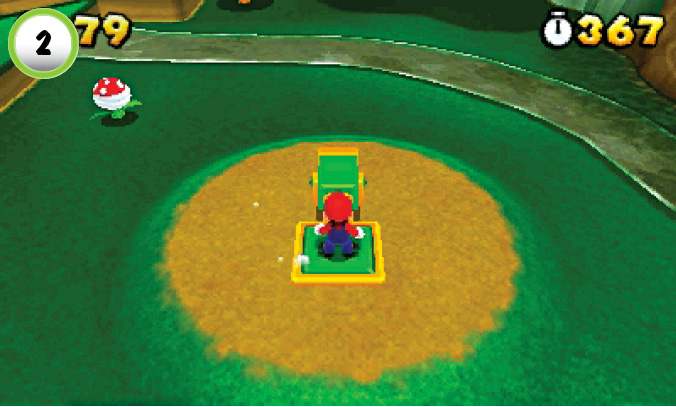
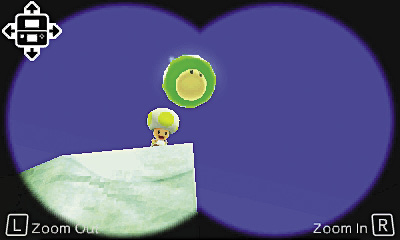
Use the Binoculars at Point 2 to search the area. Toad is perched high up on one of the stone spires. When you zoom in on him, he throws a 1-Up Mushroom down to you.
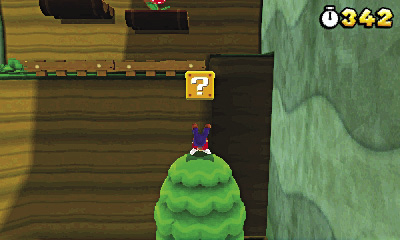
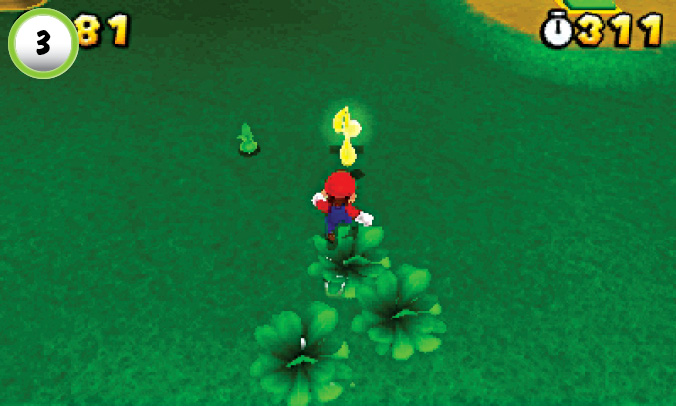
Run through the three bushes at Point 3 to reveal a trail of musical notes. Collect all of the notes before they vanish to earn a Fire Flower. The trail takes you past a Piranha Plant and two Koopa Troopas, so consider clearing the area of enemies before you trigger the musical notes.
Star Medal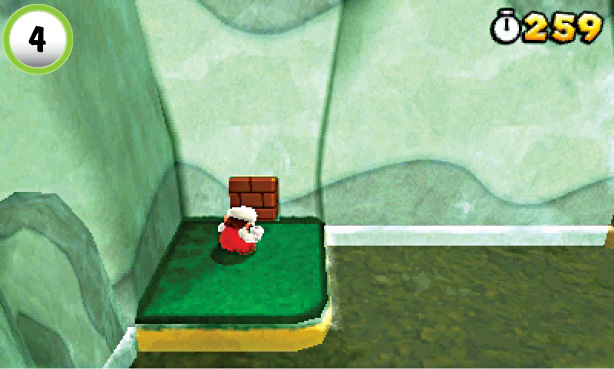 Somer-sault through the Block at Point 4 to find the level’s first Star Medal. |
Star Medal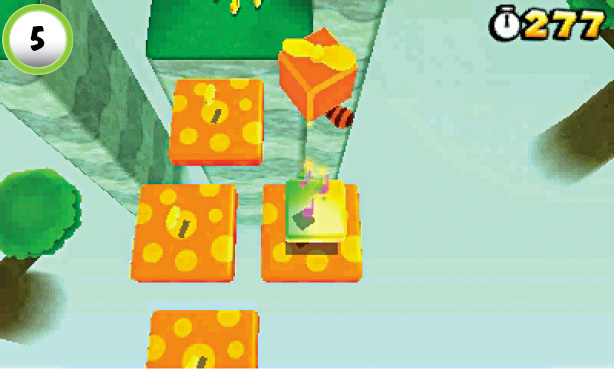 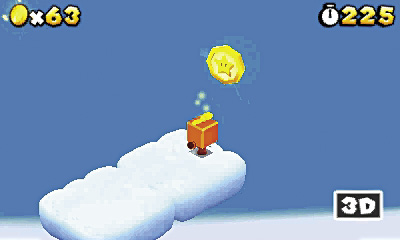 Bounce between the rubber platforms at Point 5, then use the Super Note Block to reach a secret area. The cloud platforms can be difficult to navigate, so plan your jumps carefully. Use your shadow to help guide your landings, and make your way to the end of the clouds. Bounce from the rubber platform at the edge of the area to collect the Star Medal. If you fall from the platforms, you must revisit the level to make another attempt. |
Star Medal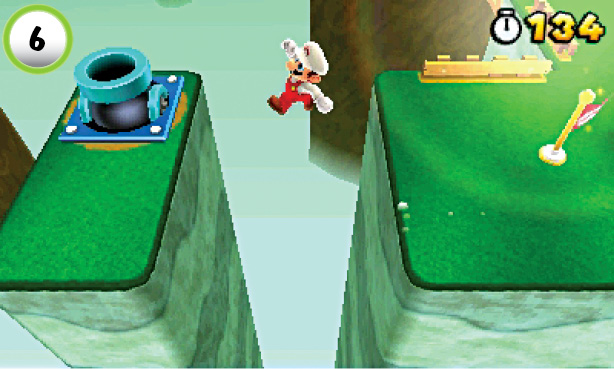 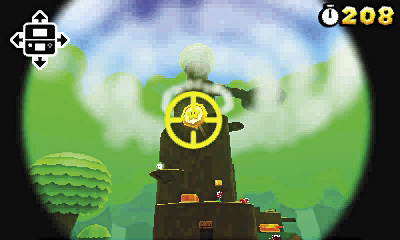 After you reach the Checkpoint Flag, the main path continues to the right. However, if you want to collect the level’s last Star Medal, you’ll need to head in the other direction. Make a running leap from the platform’s left edge and enter the Cannon. Place the reticle directly over the Star Medal, then fire the Cannon to collect it. |
Red Ring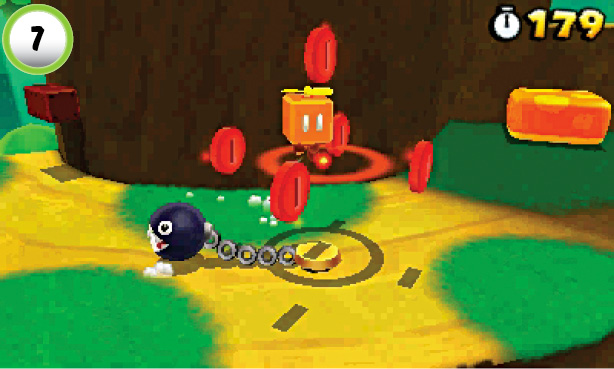 At Point 7, a ferocious Chain Chomp is guarding the Red Ring at the base of a large tree. Bait the Chain Chomp into attacking, then leap over the enemy and pass through the Red Ring. Grab at least two of the Red Coins, then dodge the Chain Chomp as it recovers. Collect all of the Red Coins before they vanish to receive another Fire Flower. |
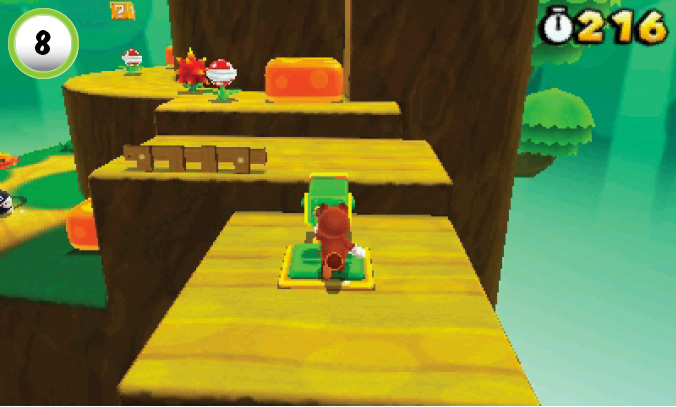
Use the Binoculars at Point 8 to search the tree for Toad. When you zoom in on him, he tosses a Super Star down to you. After you collect it, clear a path to the top of the tree, or use your temporary invincibility to defeat the nearby Chain Chomps.
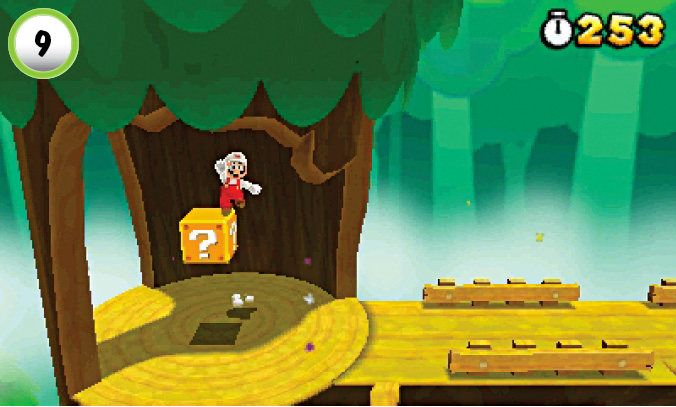
When you reach the top of the tree, jump onto the ? Block at Point 9. When you’re in position, jump straight up to hit a hidden Block and reveal another 1-Up Mushroom.
World 4—Mystery Box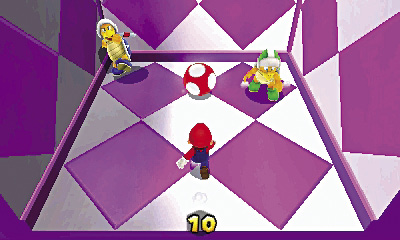 After you complete World 4-1, you gain access to a new Mystery Box. This Mystery Box contains a random encounter. Clear the area and collect your reward before time runs out. |
World 4-2
Star Medal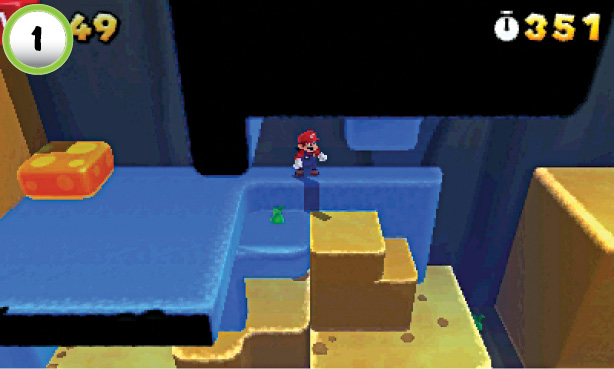 The level’s first Star Medal is hidden in a small opening above Point 1. Stand on the rotating shadow, then jump straight up to collect the Star Medal. |
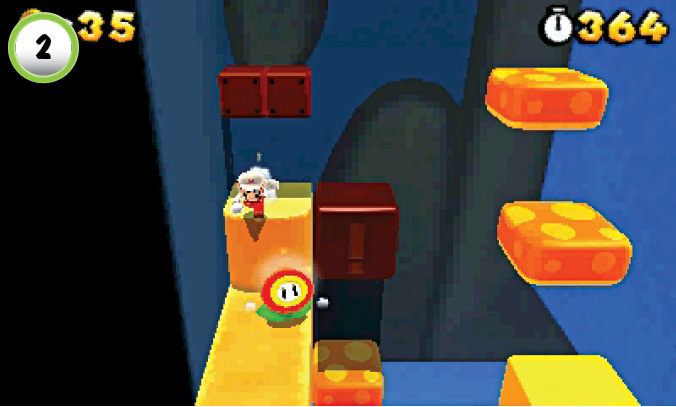
One of the ? Blocks at Point 2 contains a Fire Flower. Make sure you grab it before you continue up to the next floor.
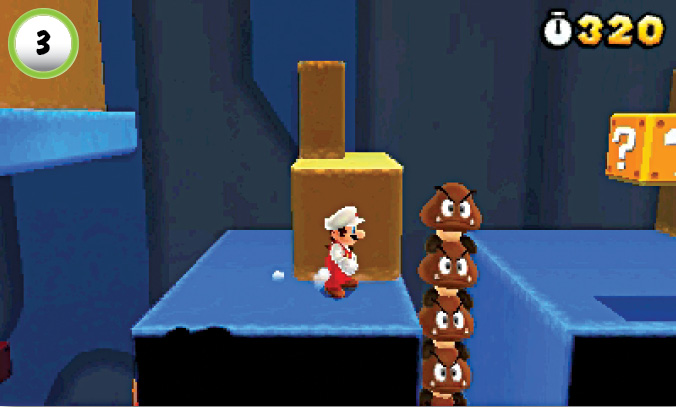
Goomba Towers can be a great source of extra lives. When you find a stack of at least five Goombas, try to defeat them all without touching the ground. Aim your first jump carefully, then bounce in place as you clear out each of the Goombas.
Star Medal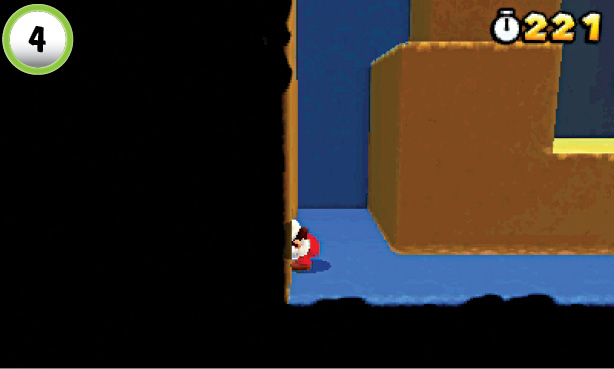 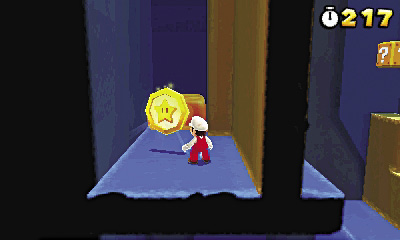 After you defeat the Goomba Tower at Point 4, crouch down and enter the small passage in the wall. Drop down and collect the Star Medal from the room below you. Jump onto the rubber pad to bounce up to a green + Clock, then drop down from the ledge to return to the main path. |
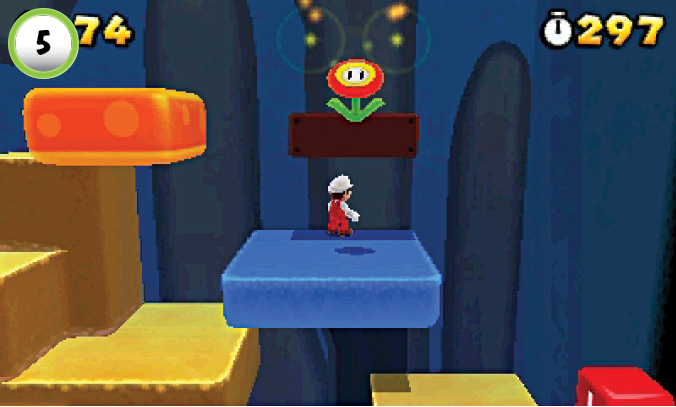
There’s another Fire Flower in the ? Block at Point 5. Drop down to grab it, then use the rubber pad to continue up to the next floor.
Star Medal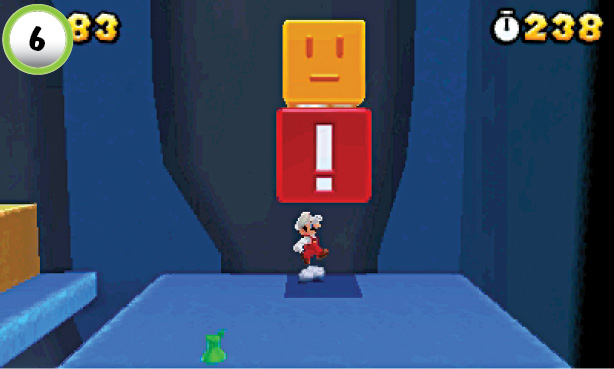 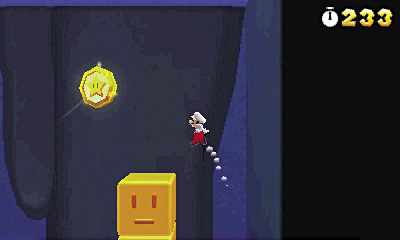 Use the giant ! Block to create a stack of face blocks. Use a series of wall jumps to move up the stack’s right side. When you reach the top, jump up to collect the Star Medal and drop back to the floor. |
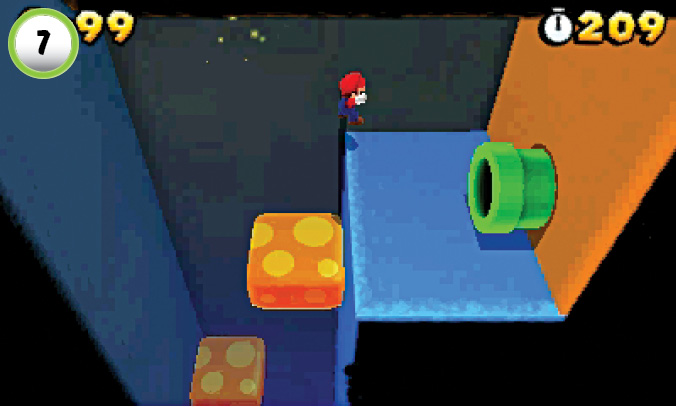
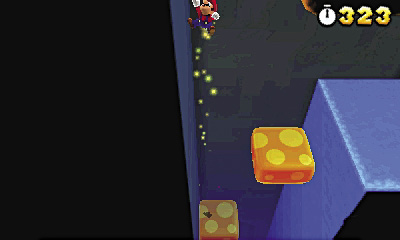
The Pipe at Point 7 leads to the Goal Pole, but there’s a World Warp Pipe hidden nearby. If you’d rather skip straight to World 5, jump back to the left and drop down to the rubber pad near the wall. Use a well-timed bounce to gain some extra height, then perform a series of wall jumps to reach a hidden ledge. When you land, continue to the right and drop down to find the World Warp Pipe.
World 4-3
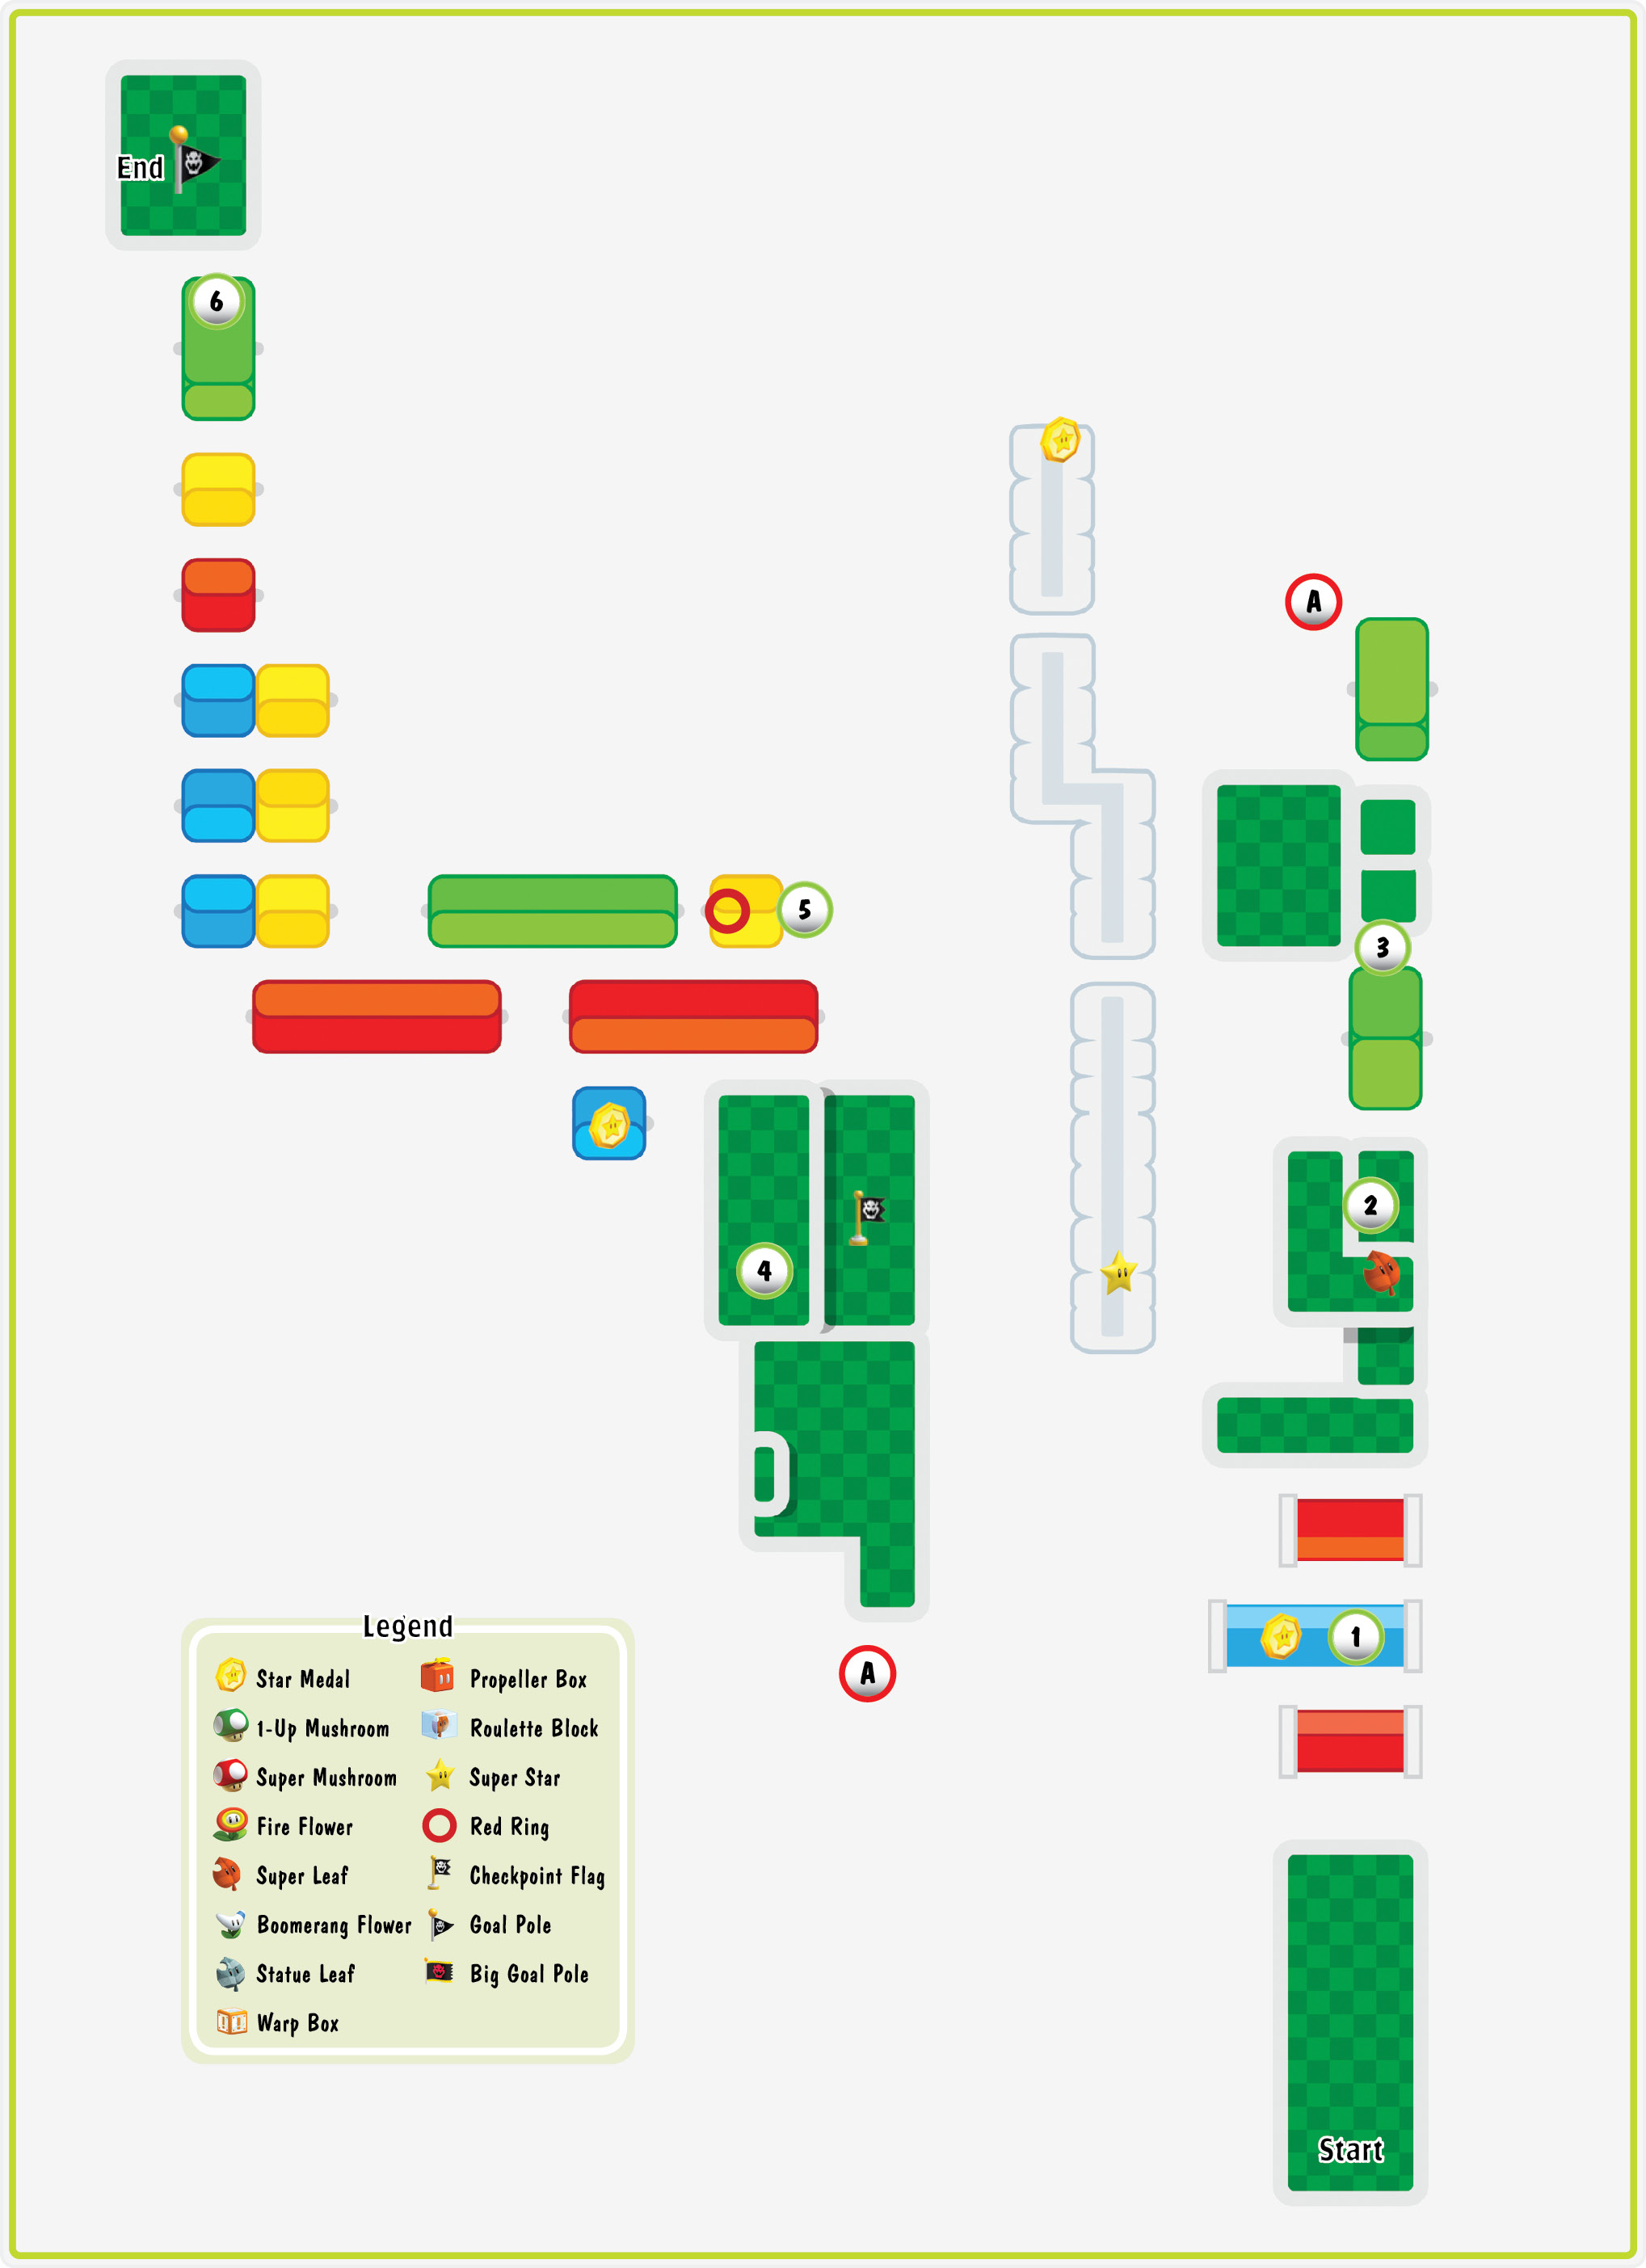
Star Medal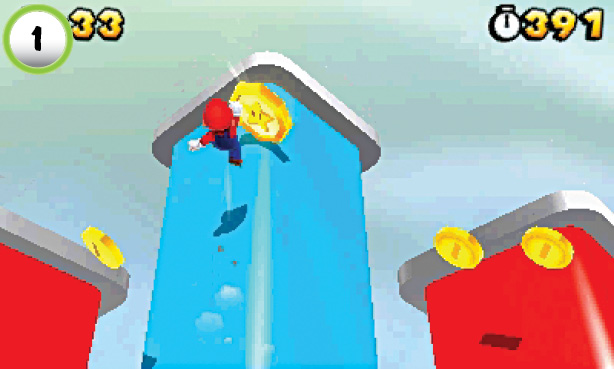 The first Star Medal is floating above the long blue platform near the start of the level. Use small adjustments to stay on top of the platform as it spins. Move toward the background to grab the Star Medal, then return to the foreground and continue along the main path. |
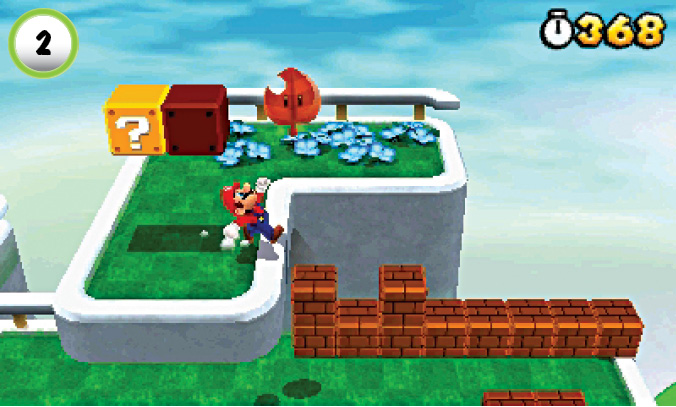
Search the ? Blocks at Point 2 to collect a Super Leaf. The Tanooki Suit makes it much easier to negotiate the spinning platforms, so don’t continue along the path without collecting this valuable power-up.
Star Medal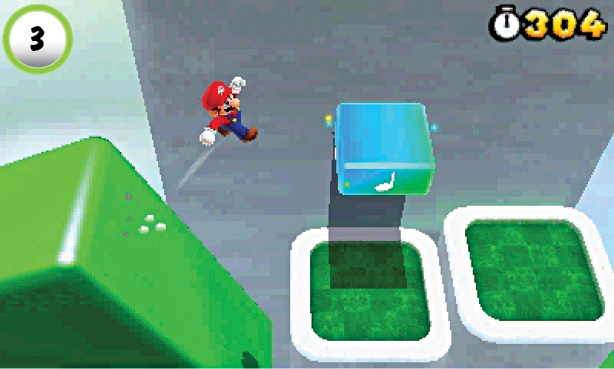 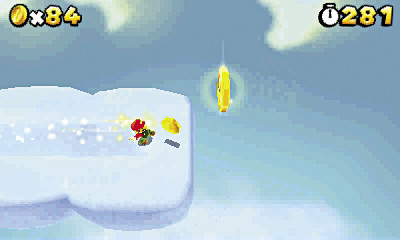 When you reach Point 3, wait for the green platform to tilt up toward the Super Note Block. Make a running leap onto the the Super Note Block, then bounce up to a hidden area in the clouds. Hit the ? Block to collect a Super Star, then follow the path to the right. When you reach the edge of the clouds, jump through the Star Medal and drop back down to the main path. |
Star Medal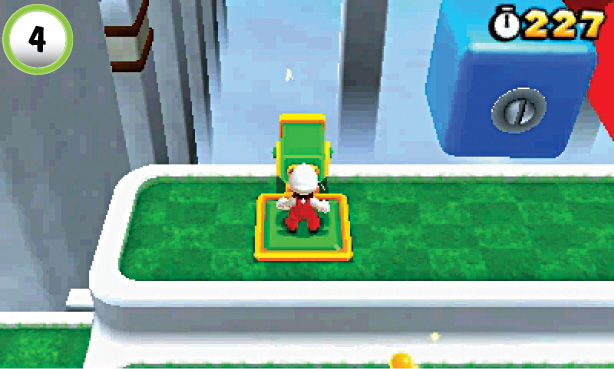 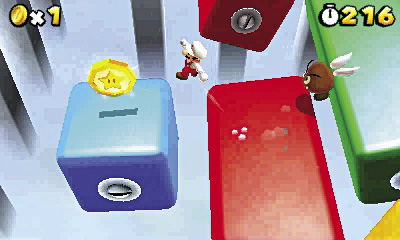 Toad is standing on the large wall near the Goal Pole. Use the Binoculars at Point 4 to locate him. When you zoom in on Toad, he throws the level’s last Star Medal down to you. Continue along the spinning platforms to collect it, but watch out for the Paragoomba patrolling the area! |
Red Ring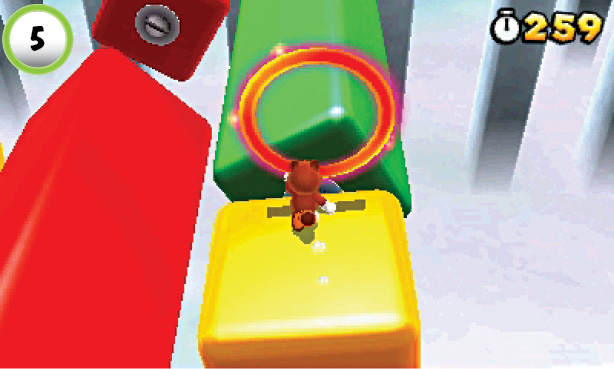 Jump through the Red Ring at Point 5 and collect the Red Coins from the green platform. Collect all of the Red Coins before they vanish to claim a power-up. |
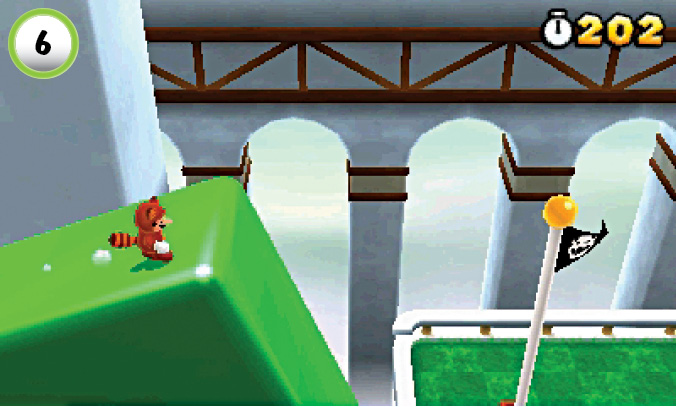
To reach the top of the Goal Pole, you must perform a well-timed jump from the nearby spinning platform. Dash along the platform as one of its corners moves toward the Goal Pole, then leap from the edge before it drops too low. It can be a fairly challenging jump, but if you’ve managed to hang on to your Tanooki Suit, you shouldn’t have much trouble.
World 4-4
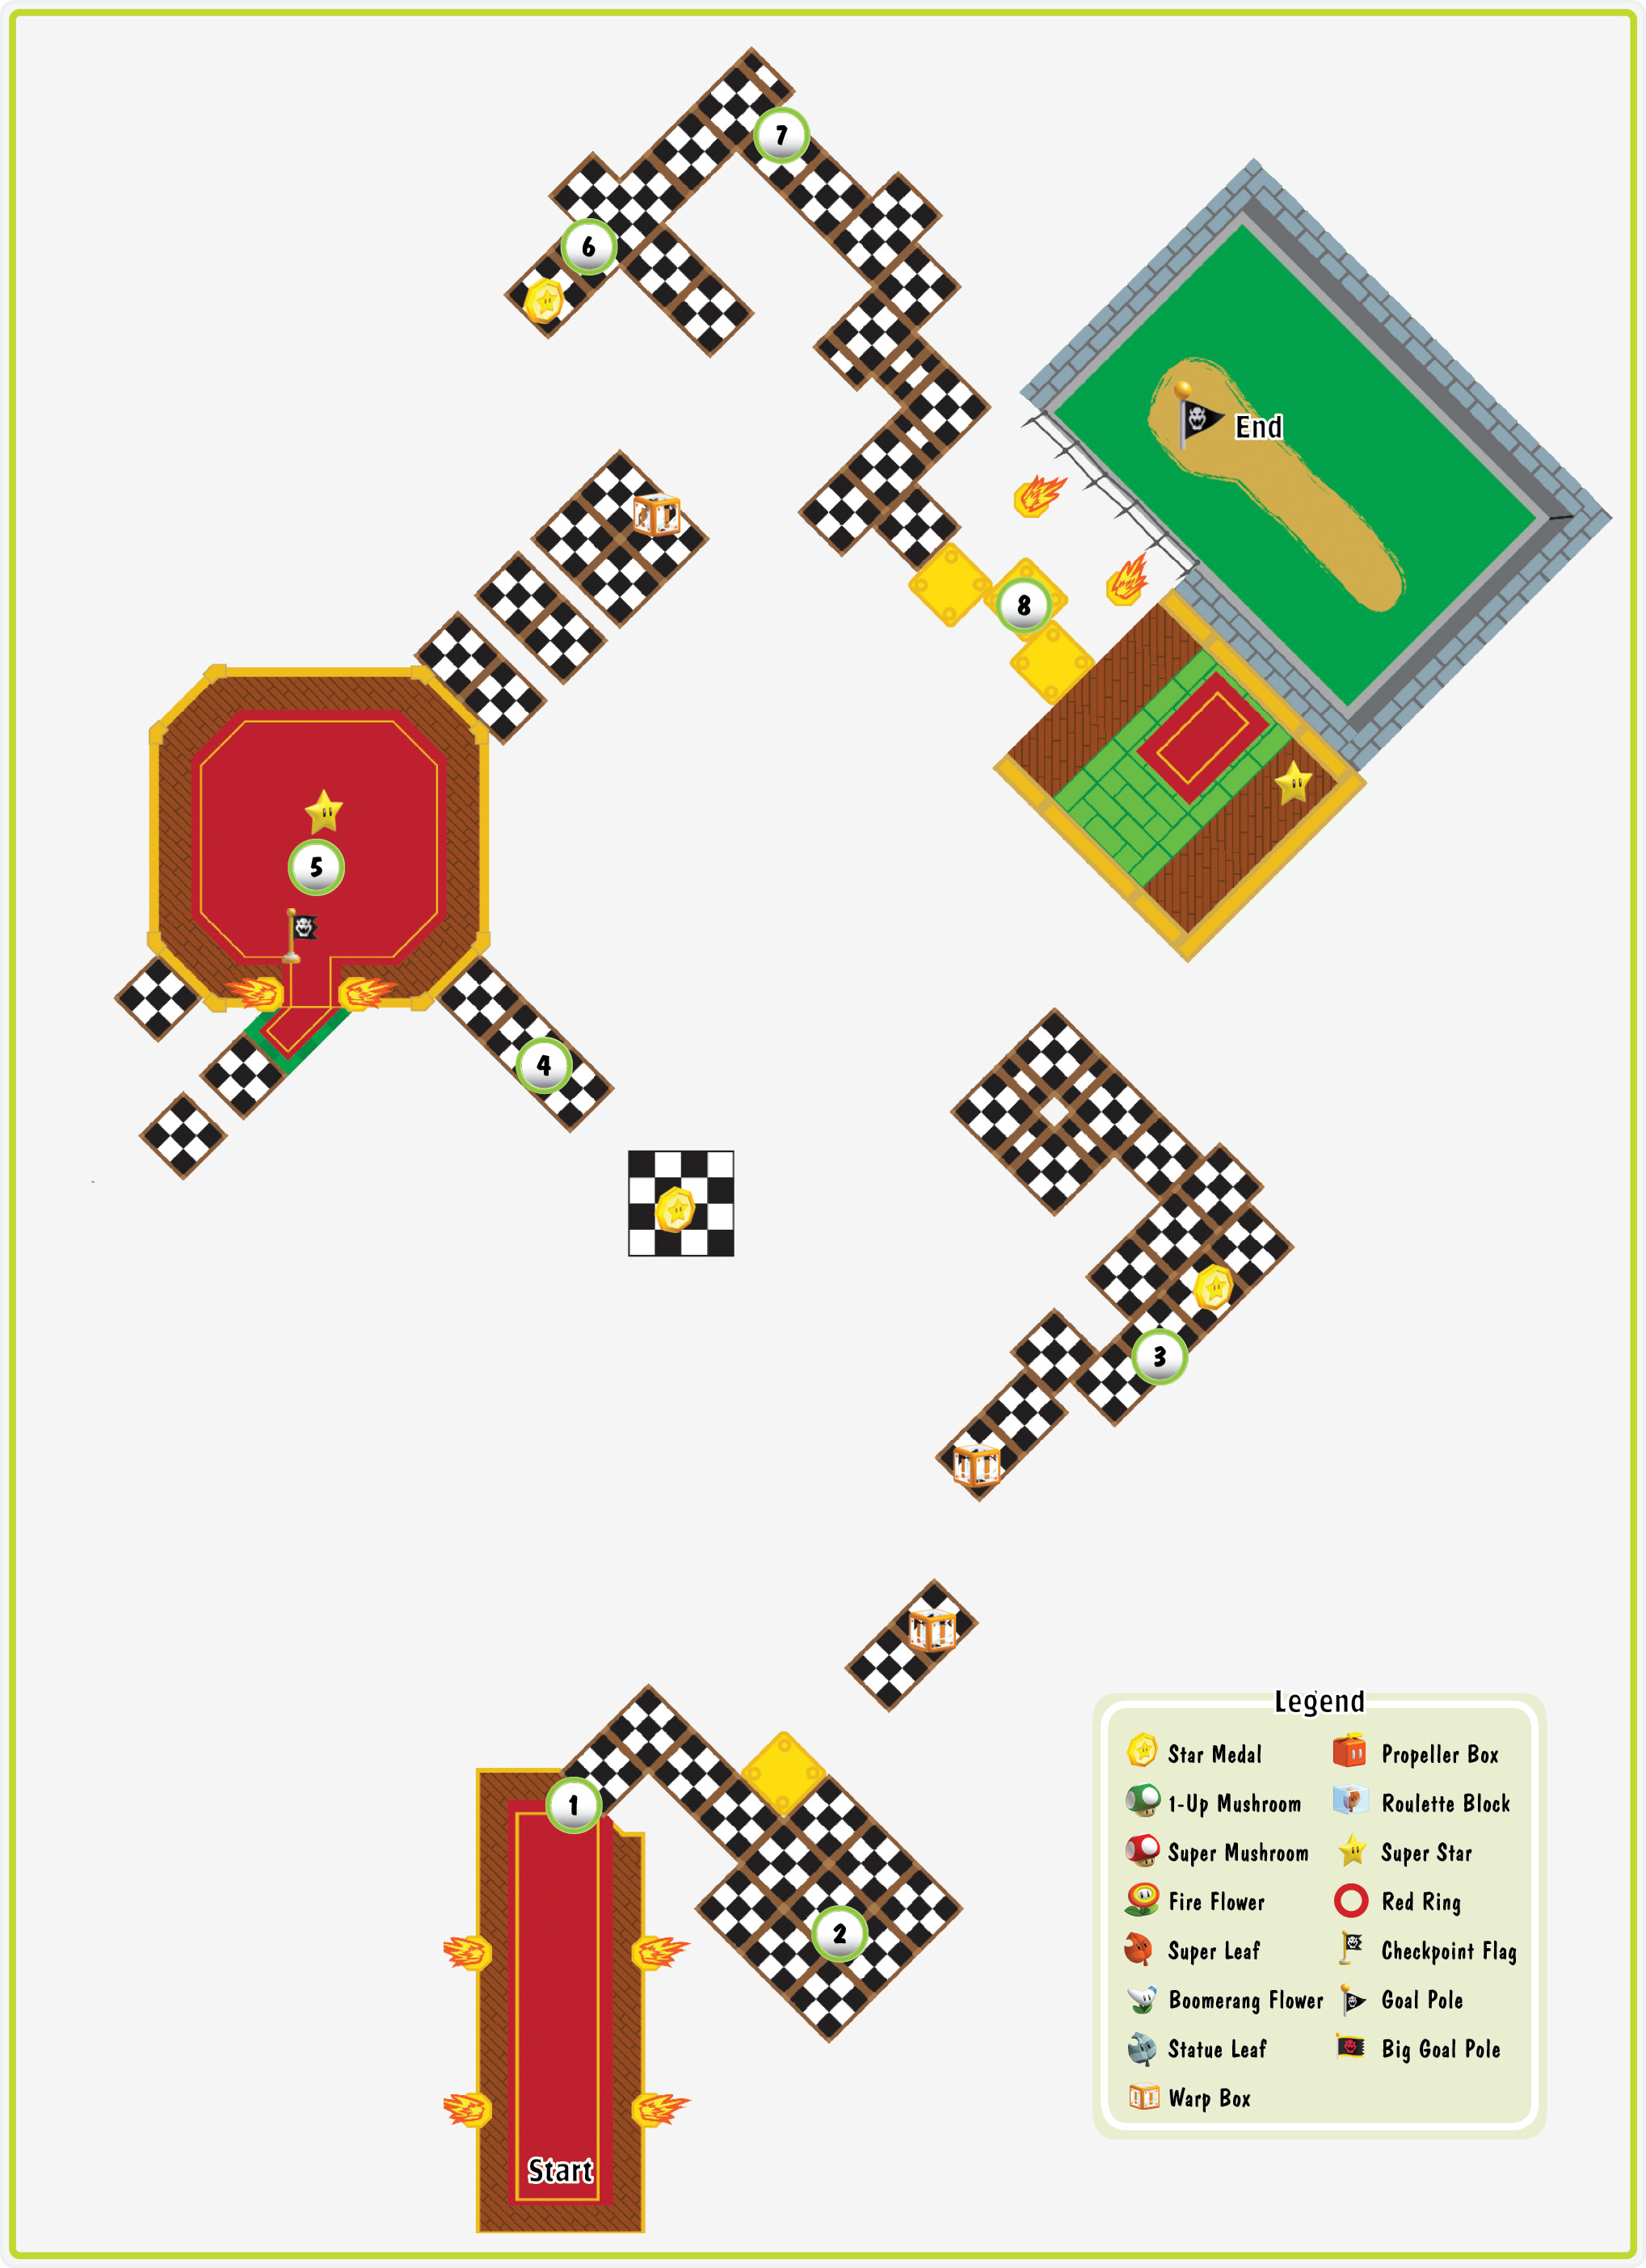
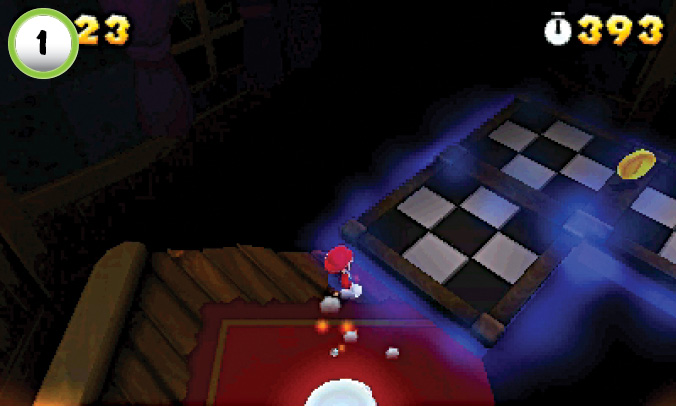
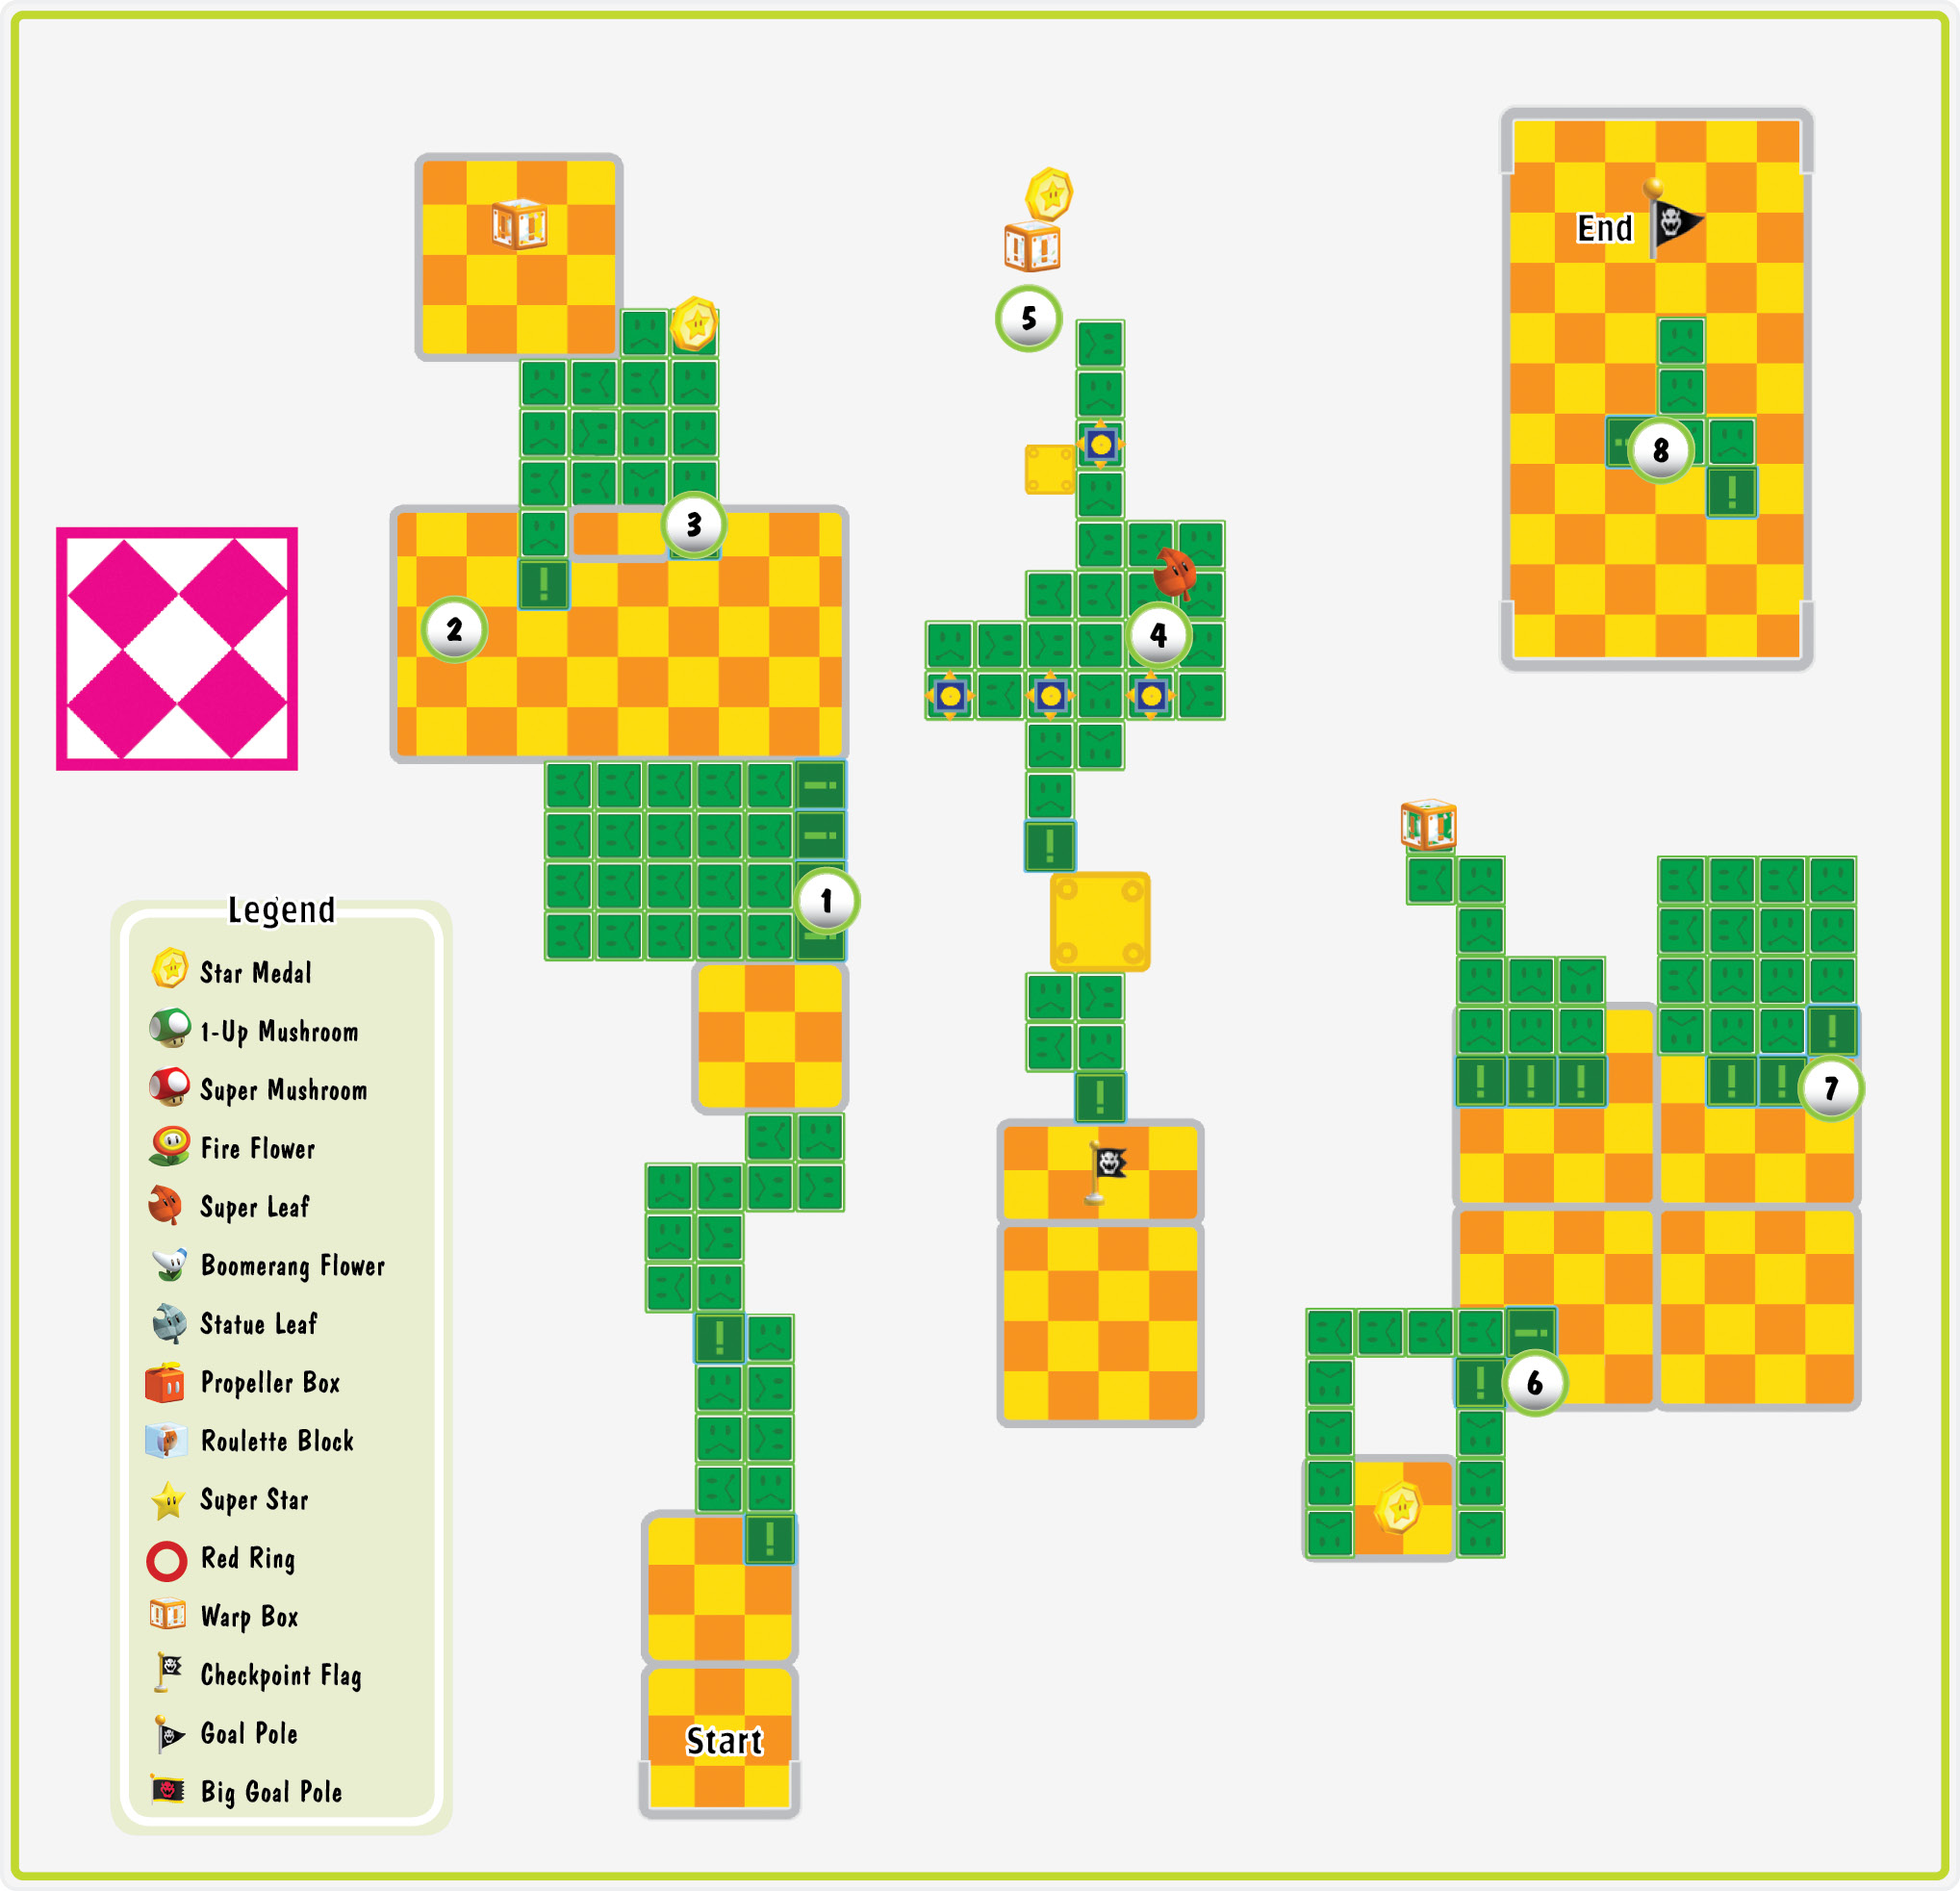
The invisible platforms spread around this level are always present, but you must get very close to them before they can be seen. When you aren’t sure which direction to head, walk along the edges of your current platform. Look before you leap, but remember that steep drops aren’t your only concern—watch out for any Boos that might be sneaking up on you as you search each area for hidden paths.
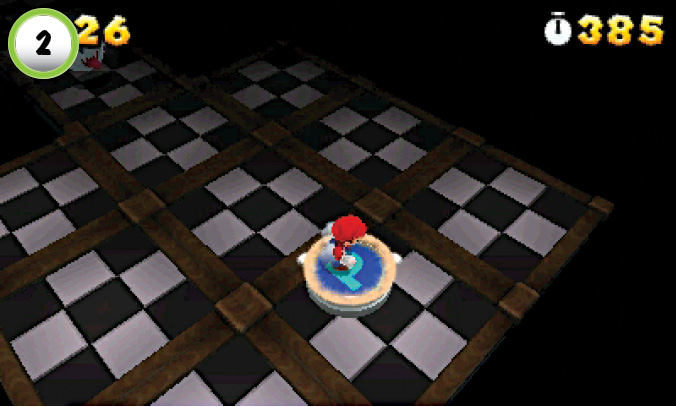
Use the P Switch at Point 2 to reveal nearby coins. Collect the six coins from the platform, then head for the coins near the top of the screen. These coins mark the path to the next area, but make sure you wait for the moving platform to arrive before you try to collect them!
Star Medal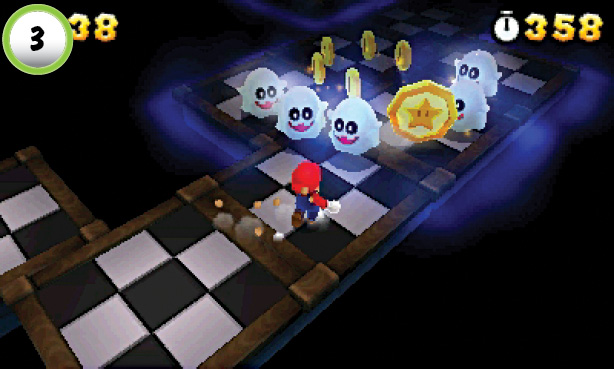 The level’s first Star Medal is in a small gap between the Peepa at Point 3. Approach the Peepa, then slip through the Star Medal as it circles into position. |
Star Medal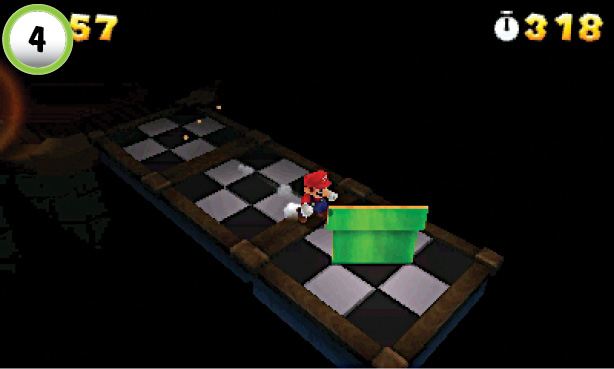 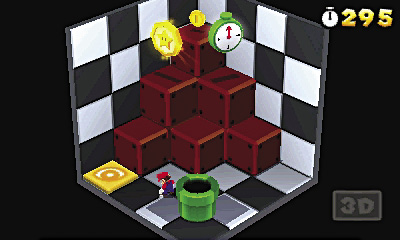 When you reach the Checkpoint Flag, move to the right to reveal the hidden path at the corner of the platform. Smash the Pipe Board at the end of the walkway. When a real Pipe appears in its spot, use it to enter a secret area. Step on the view plate in the corner of the room to reveal the optical illusion, then jump up along the used Blocks to reach the top of the stack. Jump across the room to collect the green + Clock and the Star Medal, then drop down and head back through the Pipe. |
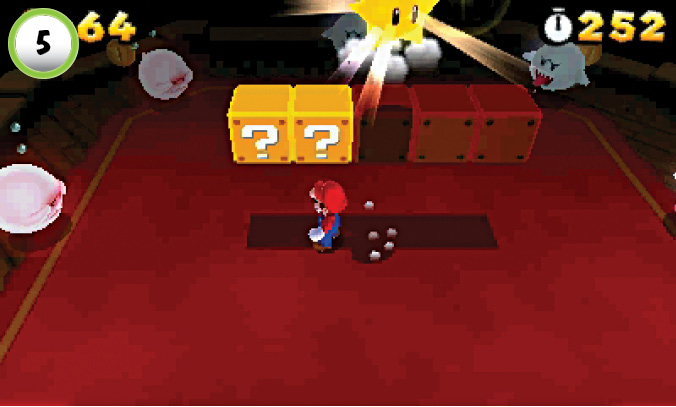
When you approach the ? Blocks near the Checkpoint Flag, several Boos appear around you. Hit the ? Block in the center of the row to collect a Super Star, then circle the platform to clear out all of the enemies. When you run through the Tail Boo, it drops a Super Leaf. There are two more Boos hiding near the platform’s back-left corner, so try to find them before the Super Star wears off. When you’re ready to continue, move to the platform’s back-right corner to reveal the path out.
Star Medal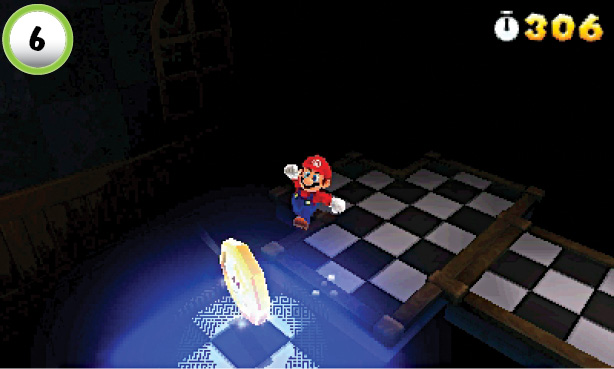 To collect the Star Medal at Point 6, you have to make a leap of faith—the invisible platform doesn’t appear until you’re above it! Hop over to the Star Medal to reveal the platform, then cross back to the main path. |
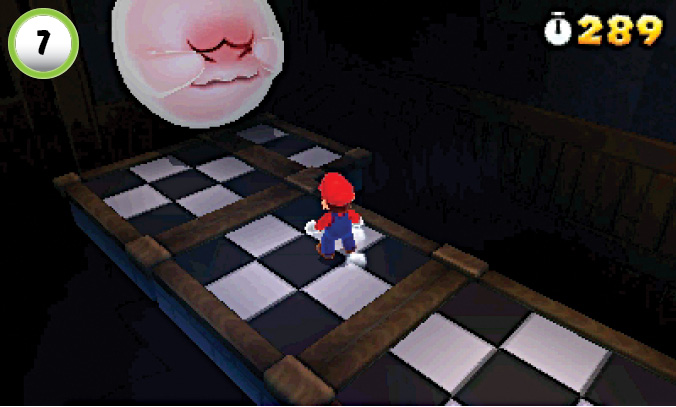
When you reach Point 7, a Big Boo appears behind you. This enemy is too large to dodge along narrow platforms, so you must prevent it from catching up with you. Face the Big Boo to keep it from moving, then quickly search for the next invisible platform. You only have a moment before the Big Boo resumes its chase, but the delay should give you enough time to reveal the path.
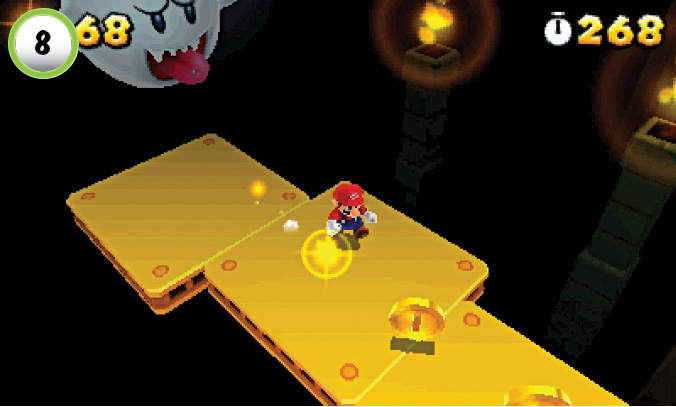
When you attempt to cross the moving platforms at Point 8, they slide out of alignment. Turn around to keep the Big Boo from moving, and wait for the platforms to move back together. Continue to the end of the path to find the exit. If you want to turn the tables on the Big Boo, ground-pound the Block near the door to collect a Super Star, then head back to confront your pursuer.
World 4-5
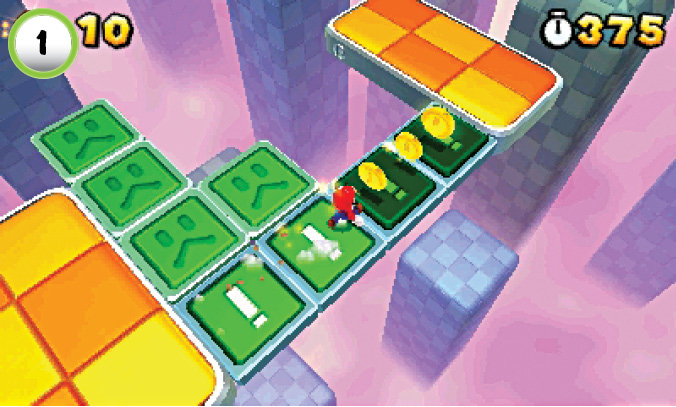
Follow the trail of coins across the Flip Panels at Point 1. The Flip Panels always provide temporary paths, but when used together, they create elaborate structures. When you spot a cluster of Flip Panels, it’s usually best to trigger them all.
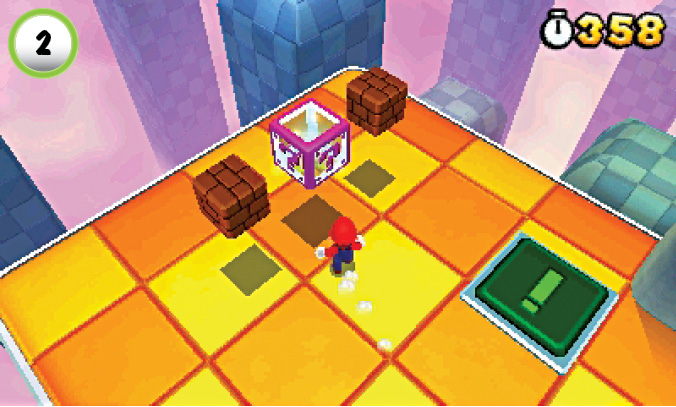
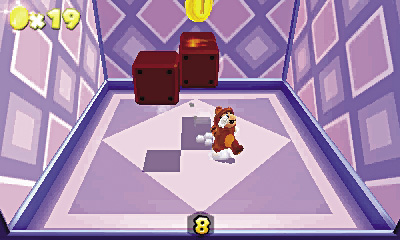
The Mystery Box at Point 2 is filled with Invisible Blocks. When you enter the Mystery Box, jump around the room to collect as many coins as possible before time runs out.
Star Medal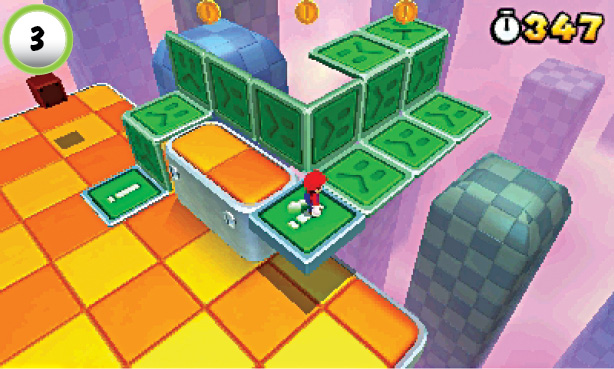 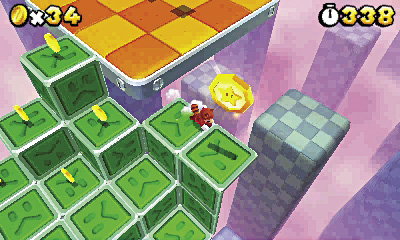 Trigger both of the Flip Panels at Point 3 to create a temporary structure. Jump up along the structure’s right side to collect a Star Medal, then hop over to the nearby platform before the Flip Panels reset. |
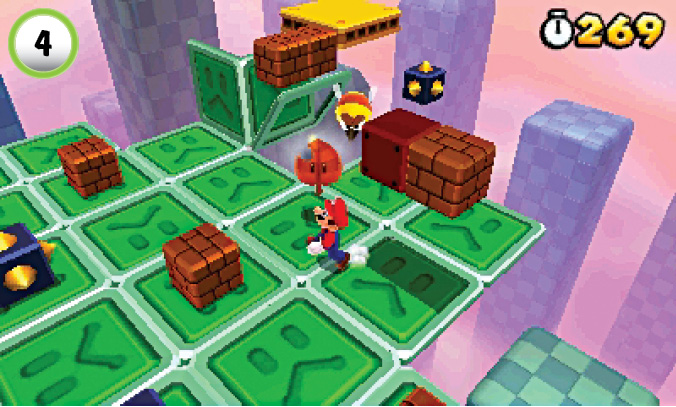
One of the Blocks at Point 4 contains a Super Leaf, so make sure you grab it before you leave the area. When you approach the Blocks, the nearby Stingby moves in to attack. Defeat the Stingby, then get to the moving platform before the green tiles disappear. If the moving platform is out of position, jump onto one of the Blocks at the end of its path and wait for it to return.
Star Medal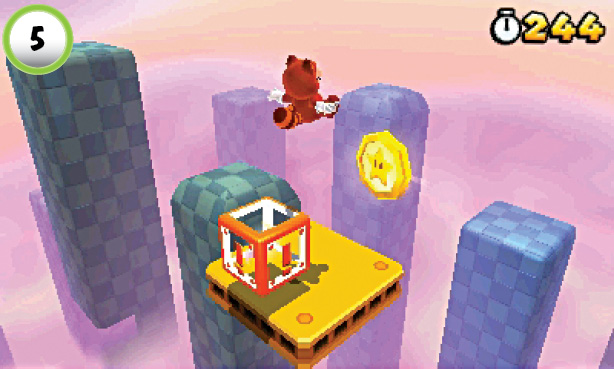 As the moving platform reaches Point 5, flutter-jump over the Warp Box. If you touch the Warp Box before you collect the Star Medal, you’ll need to revisit the level to make another attempt to collect the Star Medal. |
Star Medal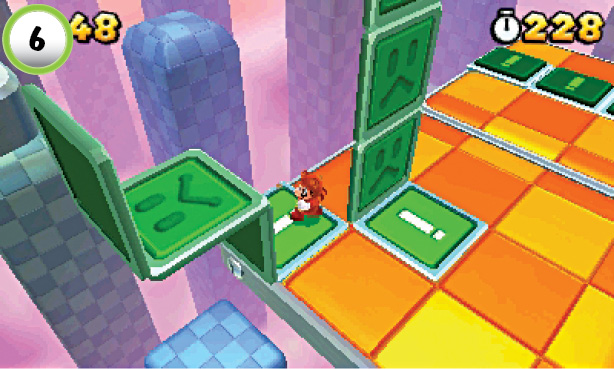 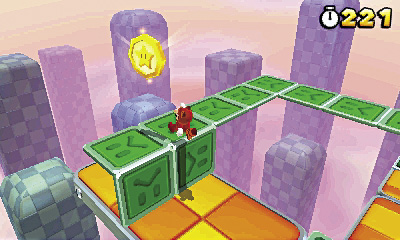 Step on both Flip Panels at Point 6, then jump up along the path to the left. When you reach the platform, hop onto the temporary walkway to collect the Star Medal. |
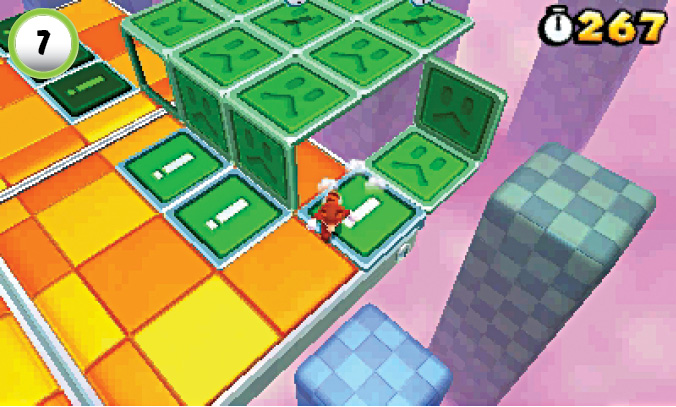
Run across the three Flip Panels at Point 7, then use the temporary platform to collect five blue + Clocks.
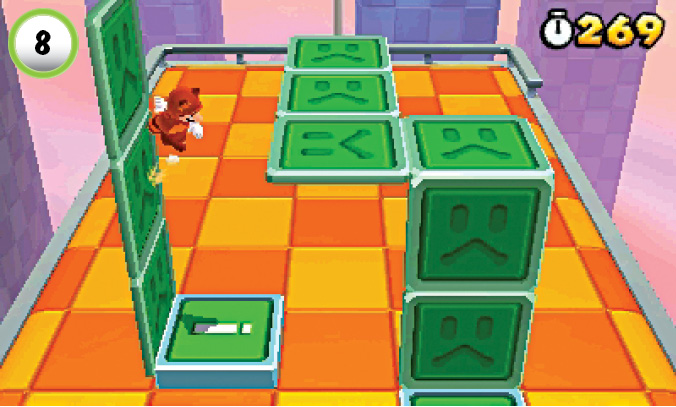
When you reach the end of the level, trigger both of the Flip Panels. Wall-jump up to the temporary platform, then make a running leap to the top of the Goal Pole.
World 4—Ship
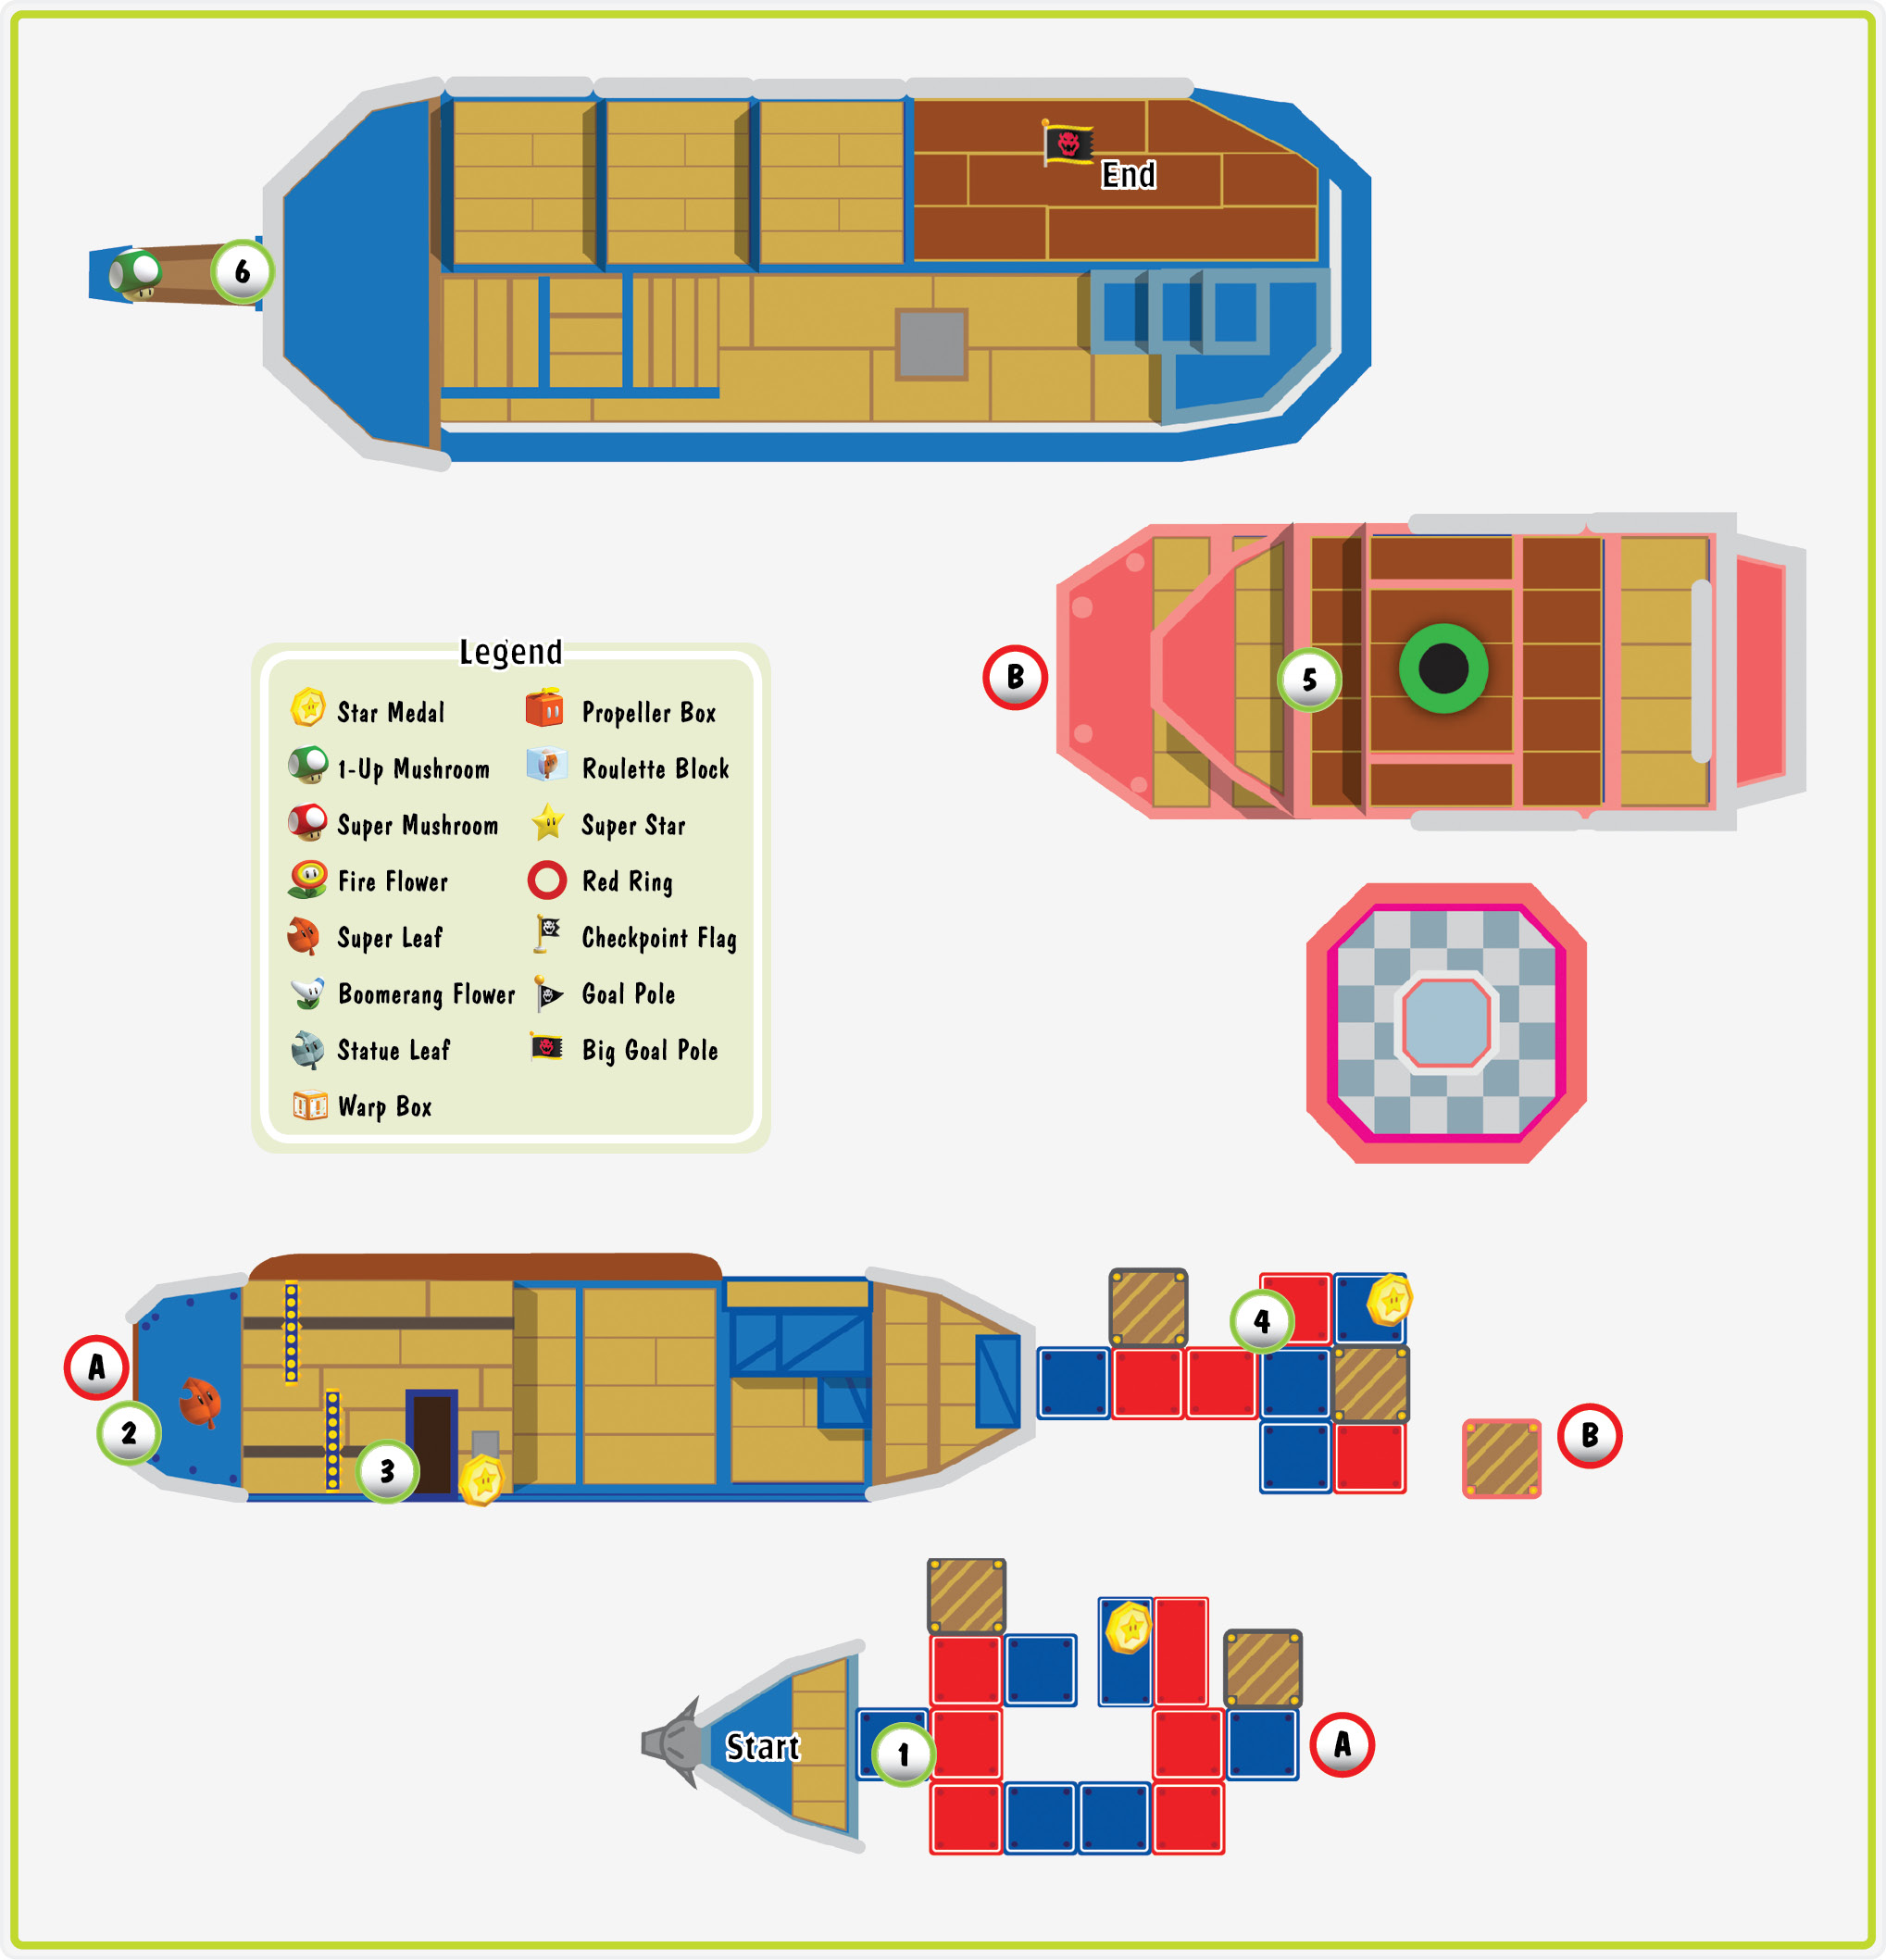
Star Medal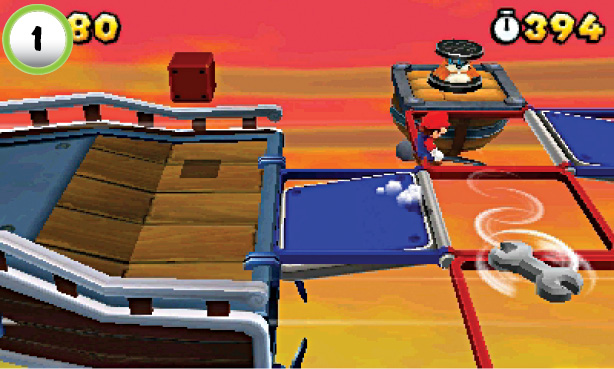 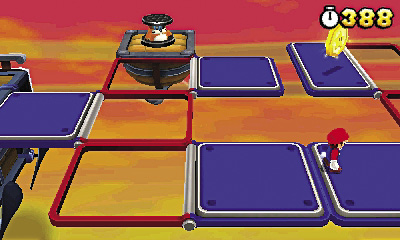 Between the scrolling level, the Red-Blue Panels, and the attacks of troublesome Rocky Wrenches, collecting the first Star Medal takes a bit of planning. Jump up to hit the ? Block at the start of the level and the Red-Blue Panels switch positions to show their blue sides. Walk onto the nearby platform and wait for the first wrench to fly past you. Jump to the red half of the frame to flip the platforms, then follow the wrench toward the bottom of the screen. Make your way across the Red-Blue Panels to collect the Star Medal before it moves off the screen. |
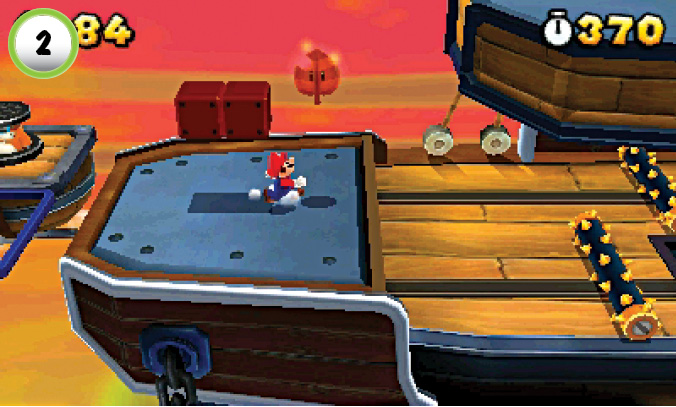
Make sure you hit the ? Blocks at Point 2—one of them contains a Super Leaf!
Star Medal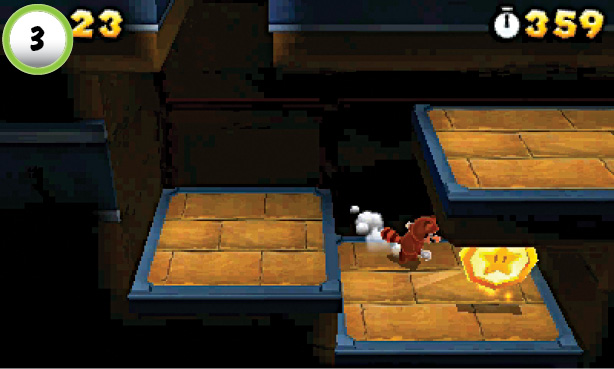 When the path takes you into the lower decks, drop down to collect the Star Medal. The nearby Fake Block attacks as you approach, so be ready to defend yourself. Take care of the enemy, grab the Star Medal, and return to the main path before you’re pushed off of the screen. |
Star Medal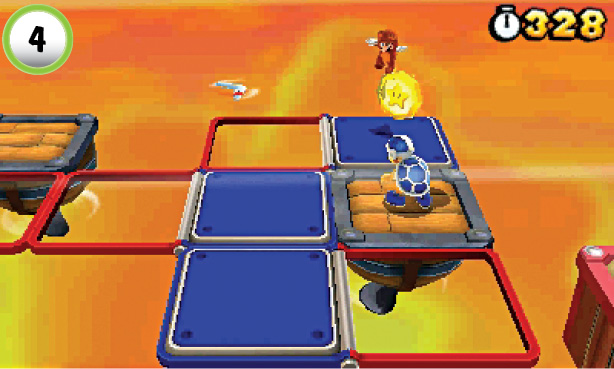 The Boom- erang Bro at Point 4 can make it tough to collect the nearby Star Medal. Dodge his attacks as you make your way across the Red-Blue Panels, and plan each of your jumps to ensure a safe landing. Take out the Boomerang Bro, then collect the Star Medal before it moves off the screen. |
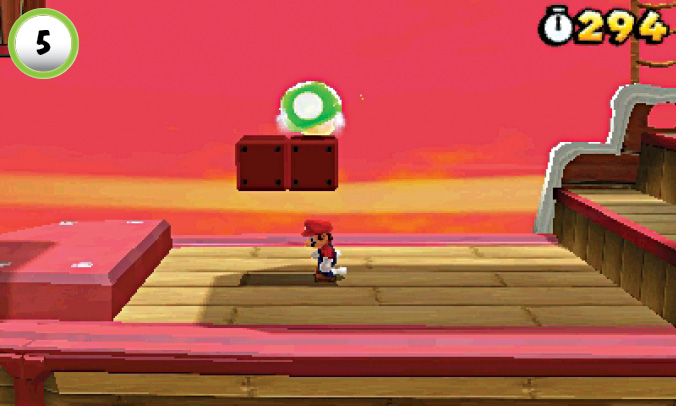
When you reach the Pipe on the last ship, drop down from the upper deck. Search the Blocks at Point 5 to reveal a 1-Up Mushroom, then use the steps to the right to return to the upper deck.
Boss Battle: Pom Pom
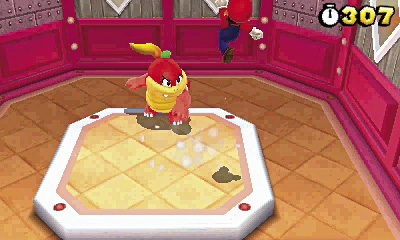
Pom Pom has two basic attacks, and you’ll need to move quickly if you hope to dodge them. When she arrives, Pom Pom begins throwing boomerangs at you. Dodge her attacks as you close the distance, and jump on her head when you get into range.
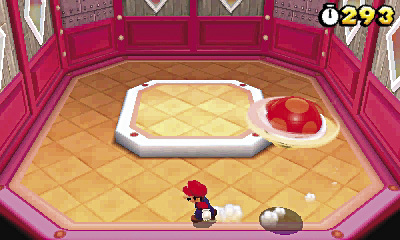
Like Boom Boom, Pom Pom tucks into her shell after you damage her. Instead of bouncing off the walls, she launches into the air and attempts to drop down on you. Use her shadow to pinpoint her location. She pauses for a moment before she slams to the ground, so just keep moving to stay clear of her landing spot. After four attempts, Pom Pom emerges from her shell and resumes her boomerang attacks.
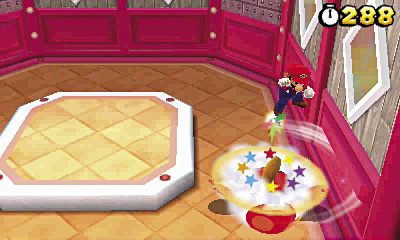
Continue to dodge her attacks, and look for opportunities to deal damage. Jump on Pom Pom’s head a total of three times to end the encounter.
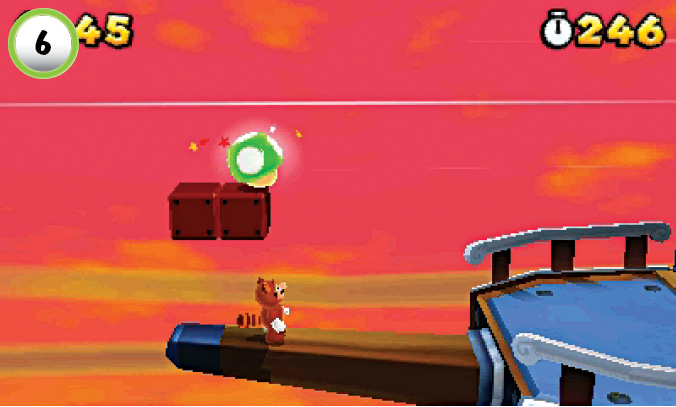
Before you jump to the Goal Pole, walk onto the ship’s bowsprit. The Block at the end of the bowsprit holds a coin, but the nearby Invisible Block contains a 1-Up Mushroom!