
Super Mario 3D Land Guide Walkthrough Worlds
World Five
World 5-1
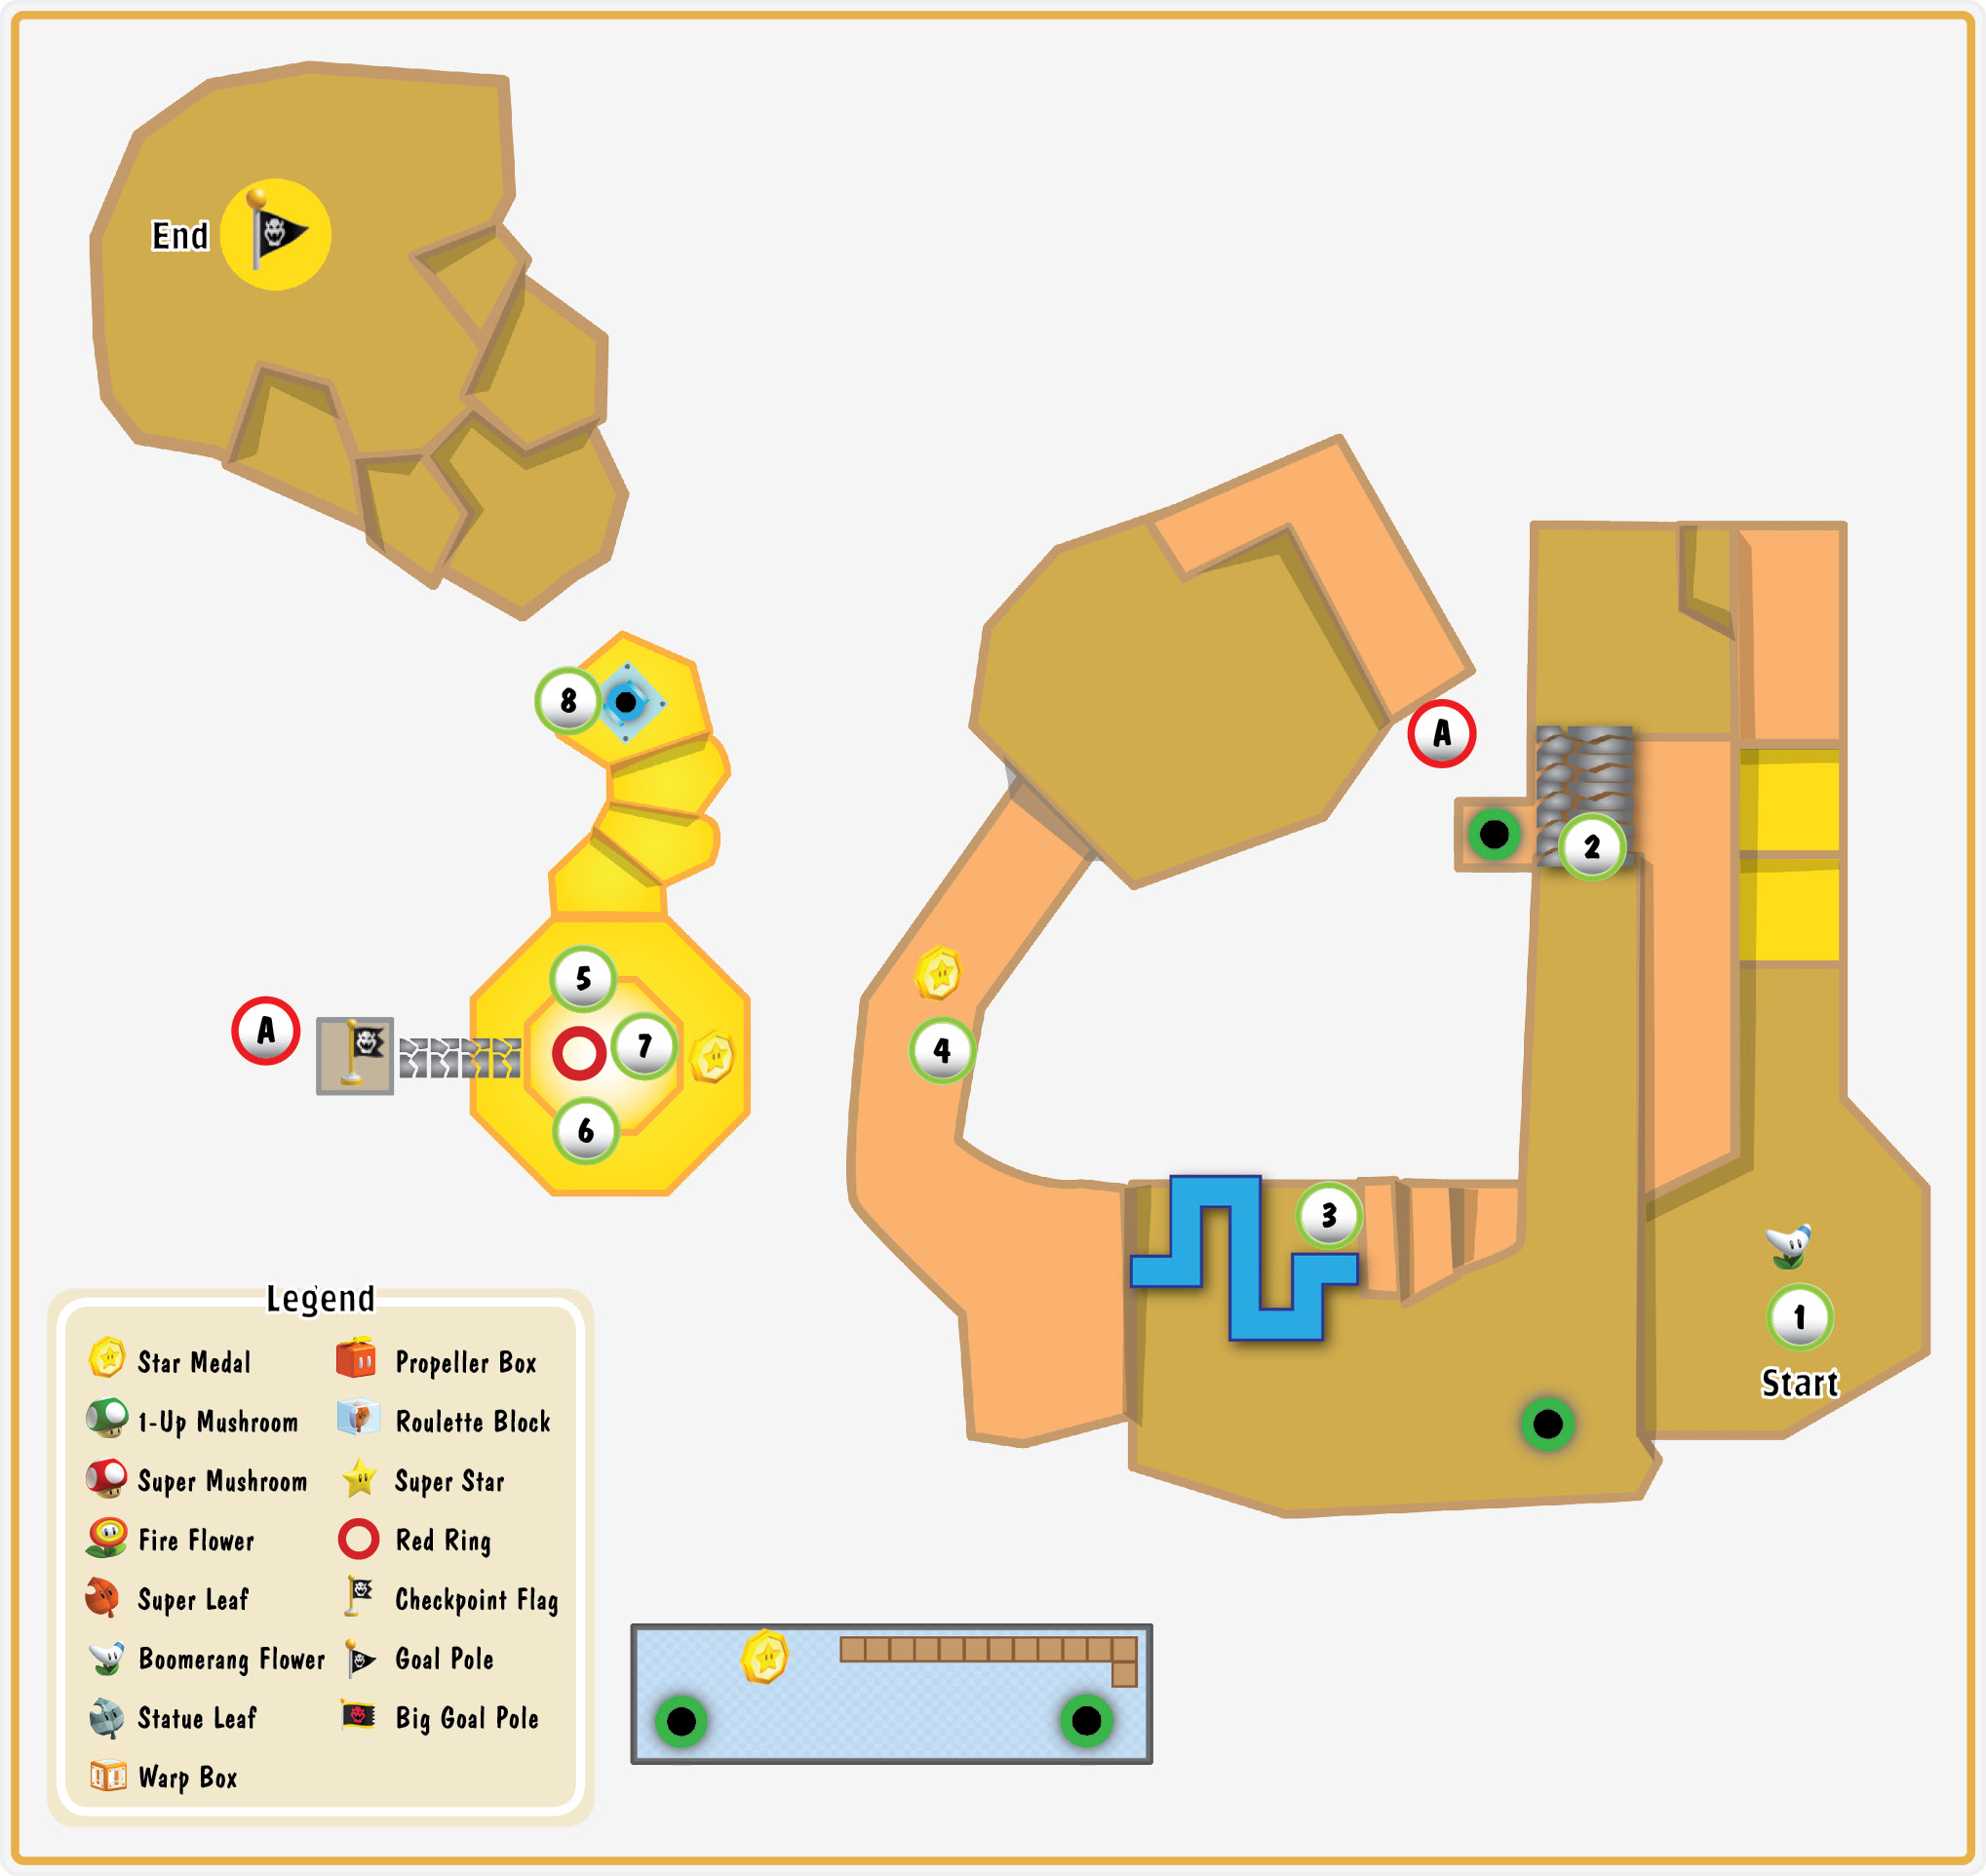
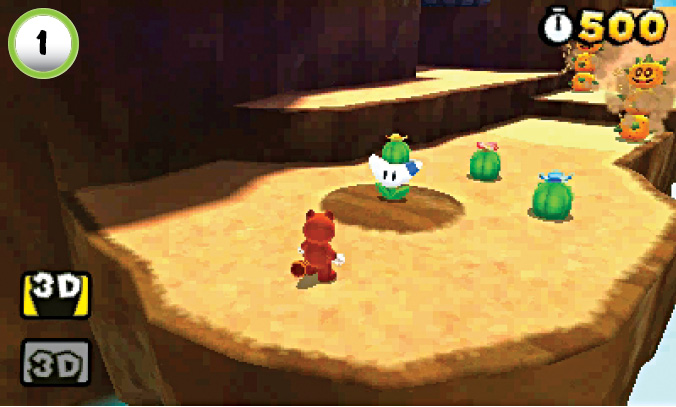
When the level starts, grab the Boomerang Flower. The Boomerang Bros you encounter in this level provide additional Boomerang Flowers, so try to ensure you have at least one of these power-ups at all times.
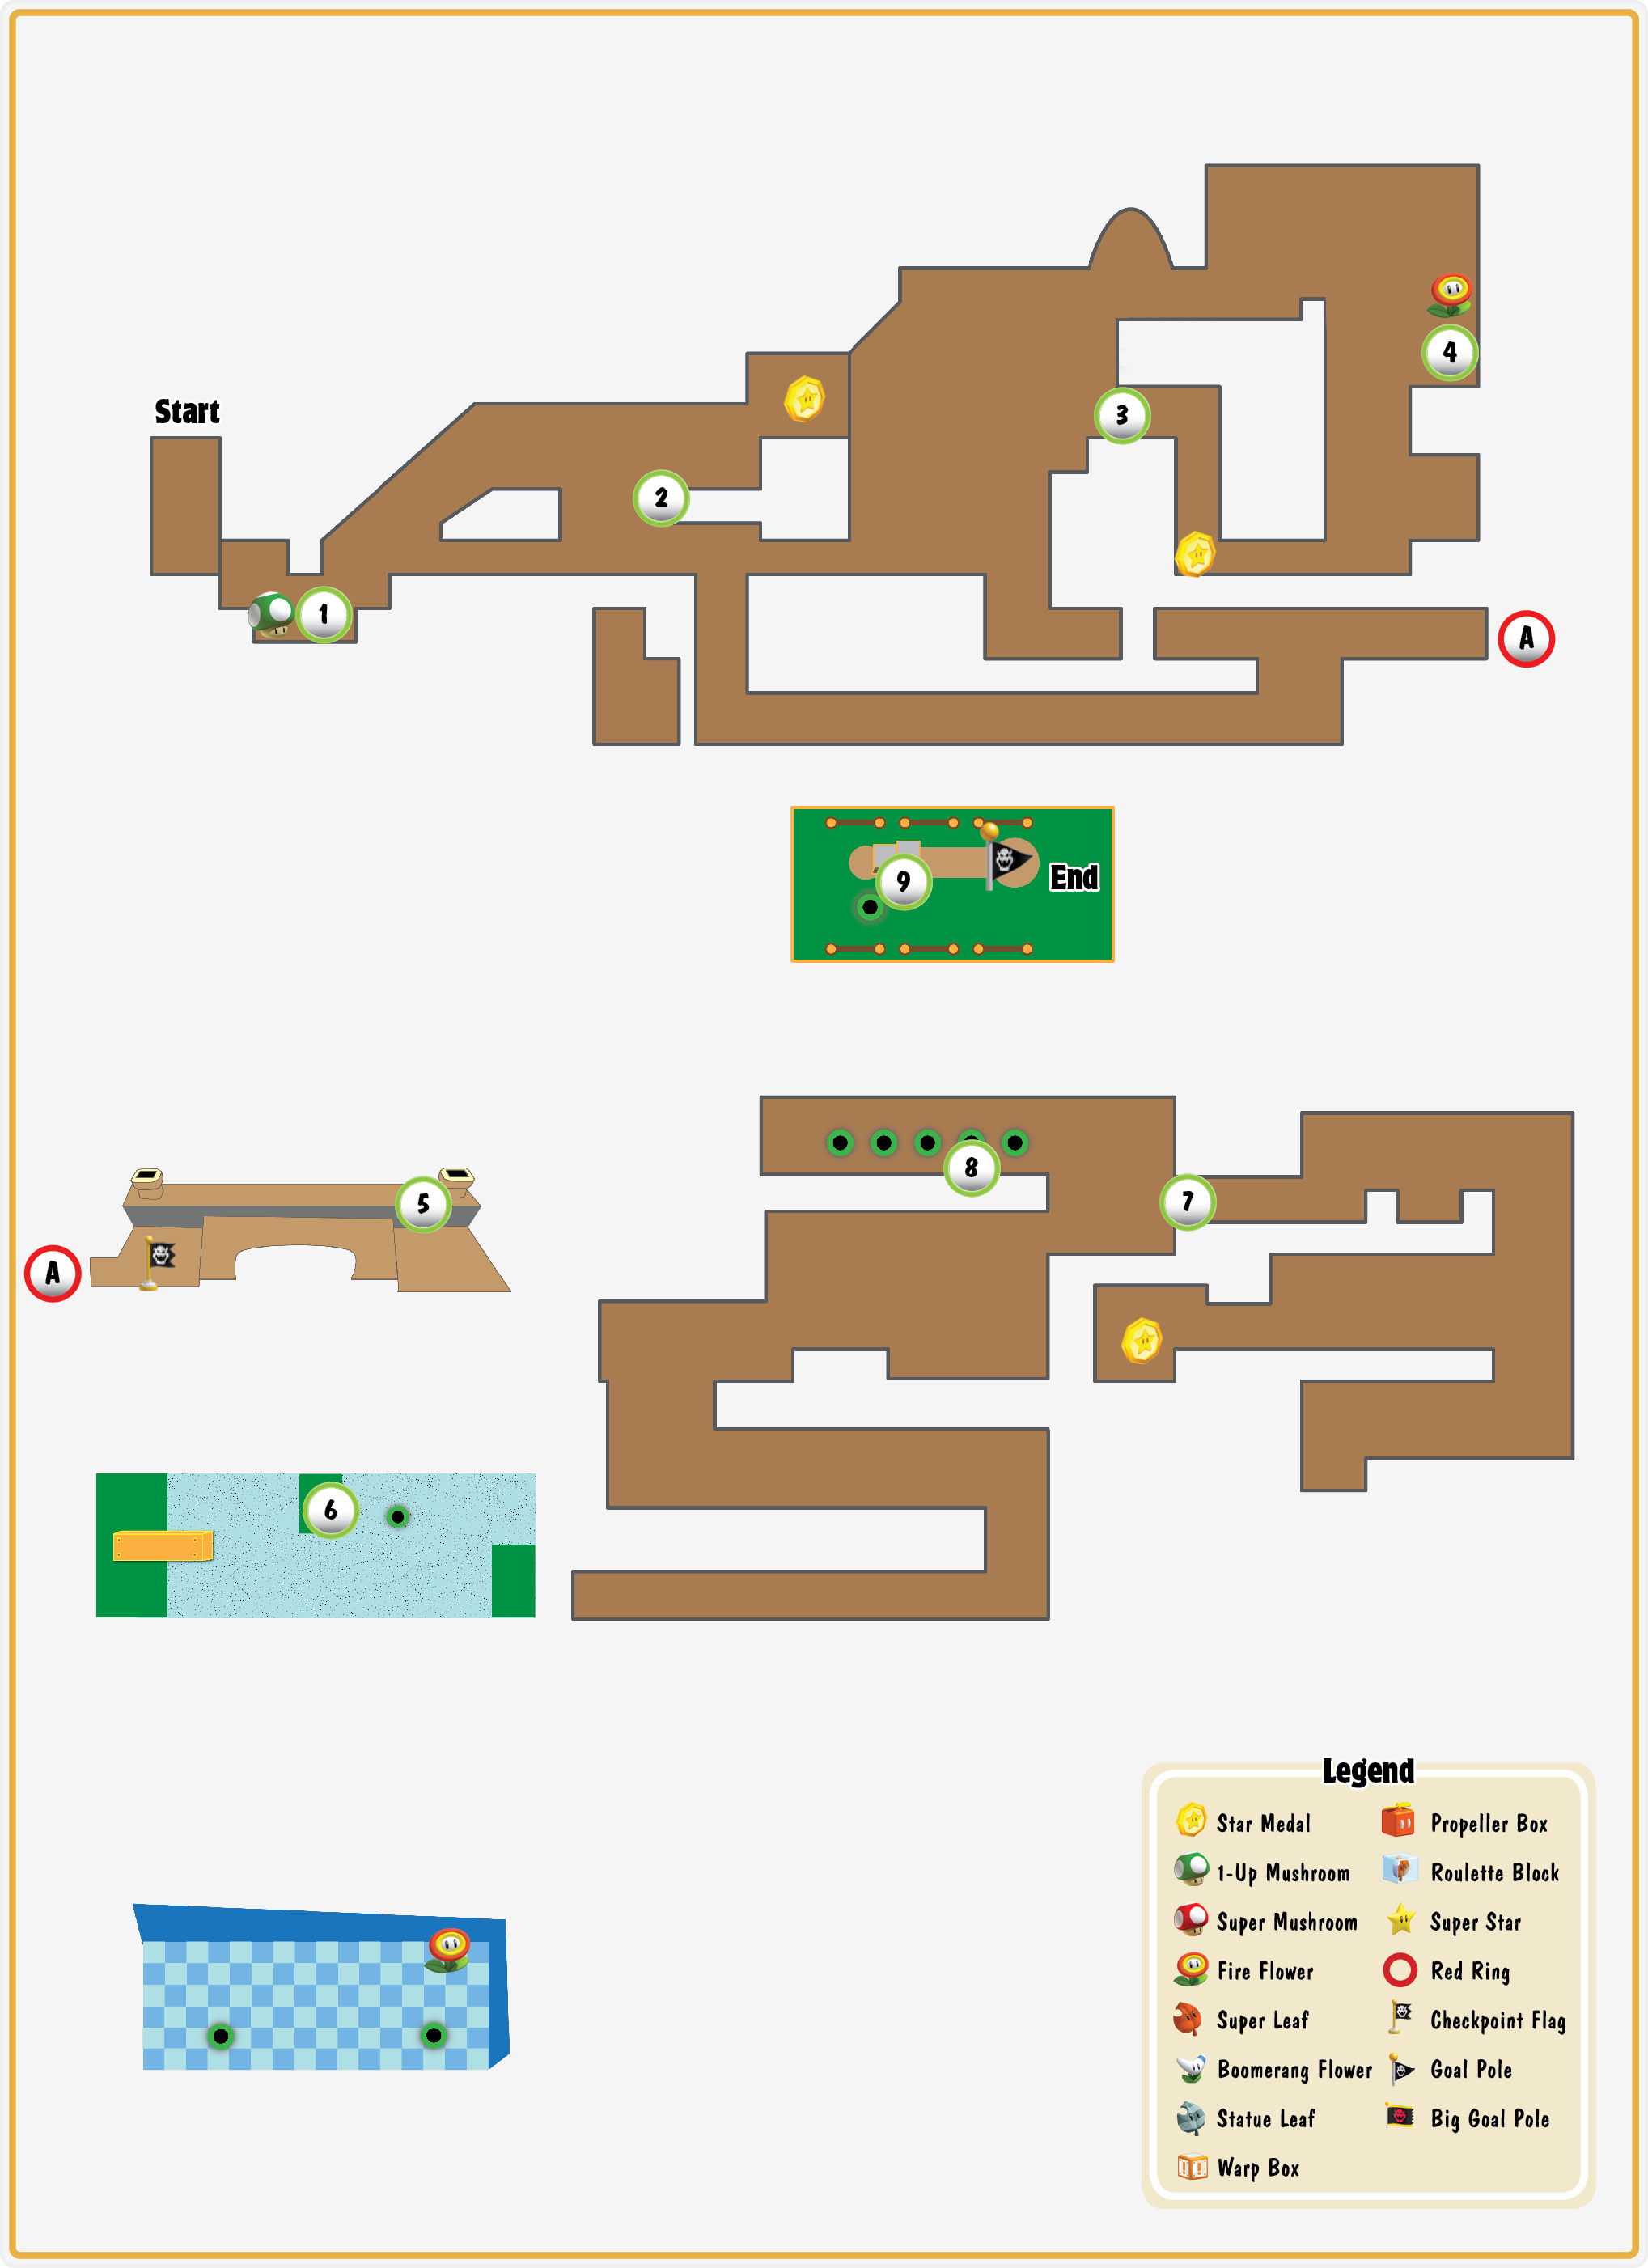
Star Medal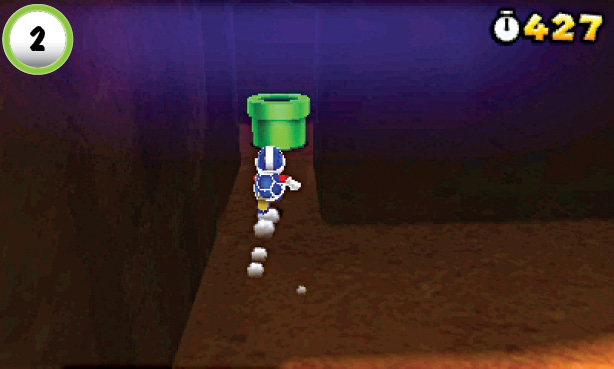 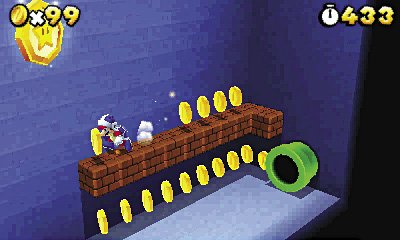 After you take care of the Pokeys along the main path, use the Pipe at Point 2 to enter a secret area. Hop onto the Blocks and make a running leap to collect the Star Medal high above the ground. When you’re ready to leave, head through the Pipe in the corner. |
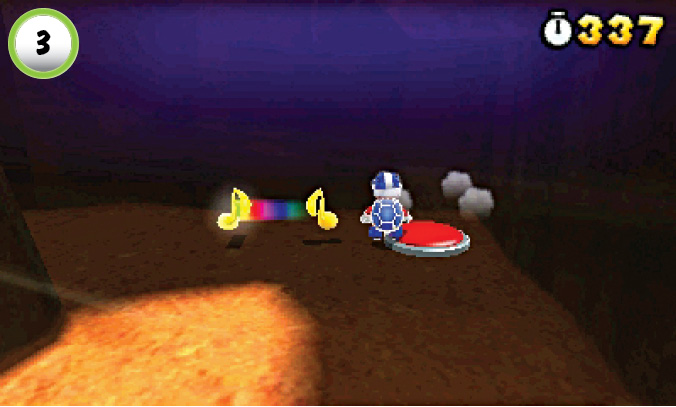
Use the P Switch at Point 3 to reveal a trail of musical notes. Collect all of the notes before they vanish to earn another Boomerang Flower.
Star Medal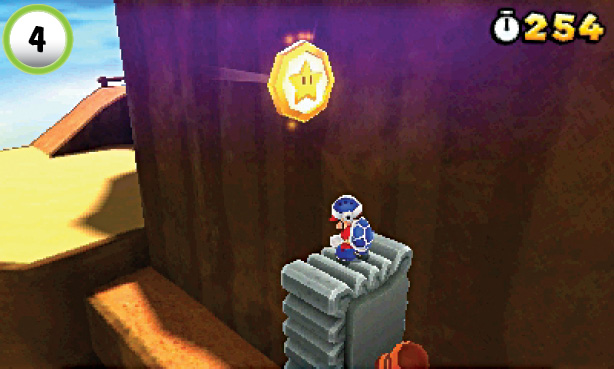 Don’t rush past the Tail Thwomps at Point 4! Slip past the first Thwomp, then jump onto the second one. Ride along on top of the Thwomp as it patrols the ledge. When the Star Medal is in range, jump from the Thwomp to collect it. |
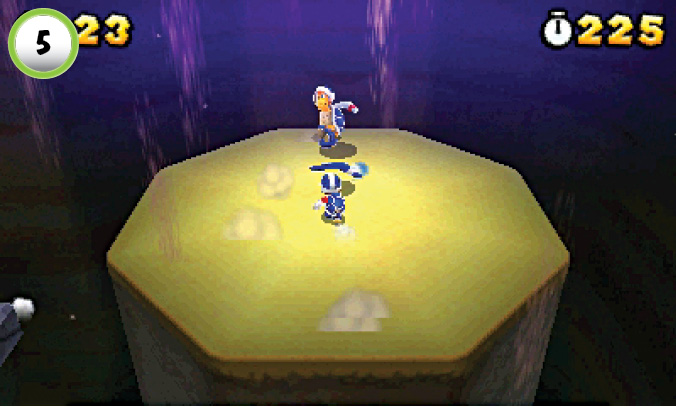
When you jump onto the platform at Point 5, it begins rising. The ride to the surface is a long one, and there are plenty of hazards along the way. When the platform begins to move, a Boomerang Bro appears. Defeat him to collect another Boomerang Flower, then prepare for the next threat. Sandmaargh and spiked balls will keep you on your toes, but there are some valuable items along the way.
Red Ring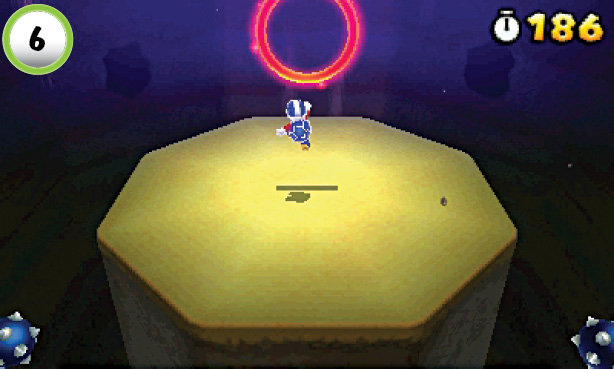 Jump up to hit the Red Ring as soon as it is within range. More spiked balls are on the way, so the sooner you reveal the Red Coins, the better your chances of collecting them without taking damage. Collect all of the Red Coins before they vanish to earn another Boomerang Flower. |
Star Medal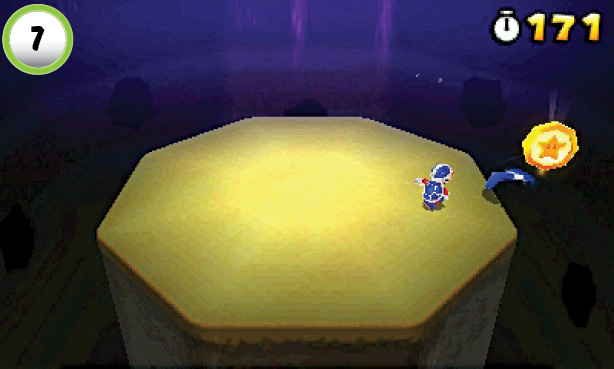 Watch the top screen’s right side for the Star Medal at Point 7. The safest way to collect this Star Medal is to throw a boomerang at it. If you don’t have a Boomerang Suit handy, make a steered jump to grab the Star Medal without falling from the platform. |
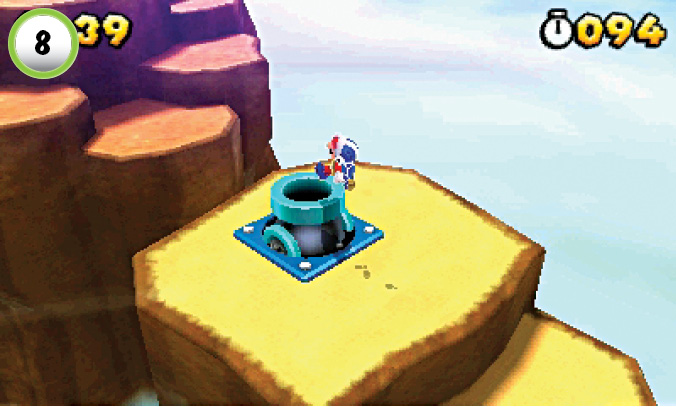
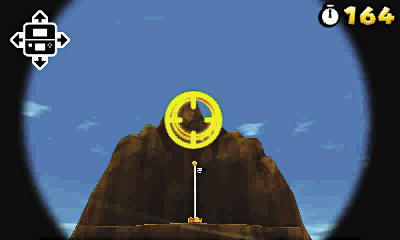
Use the Cannon at Point 8 to reach the top of the Goal Pole. Place the reticle in the center of the coin ring, then fire the Cannon to make a perfect landing.
World 5-2
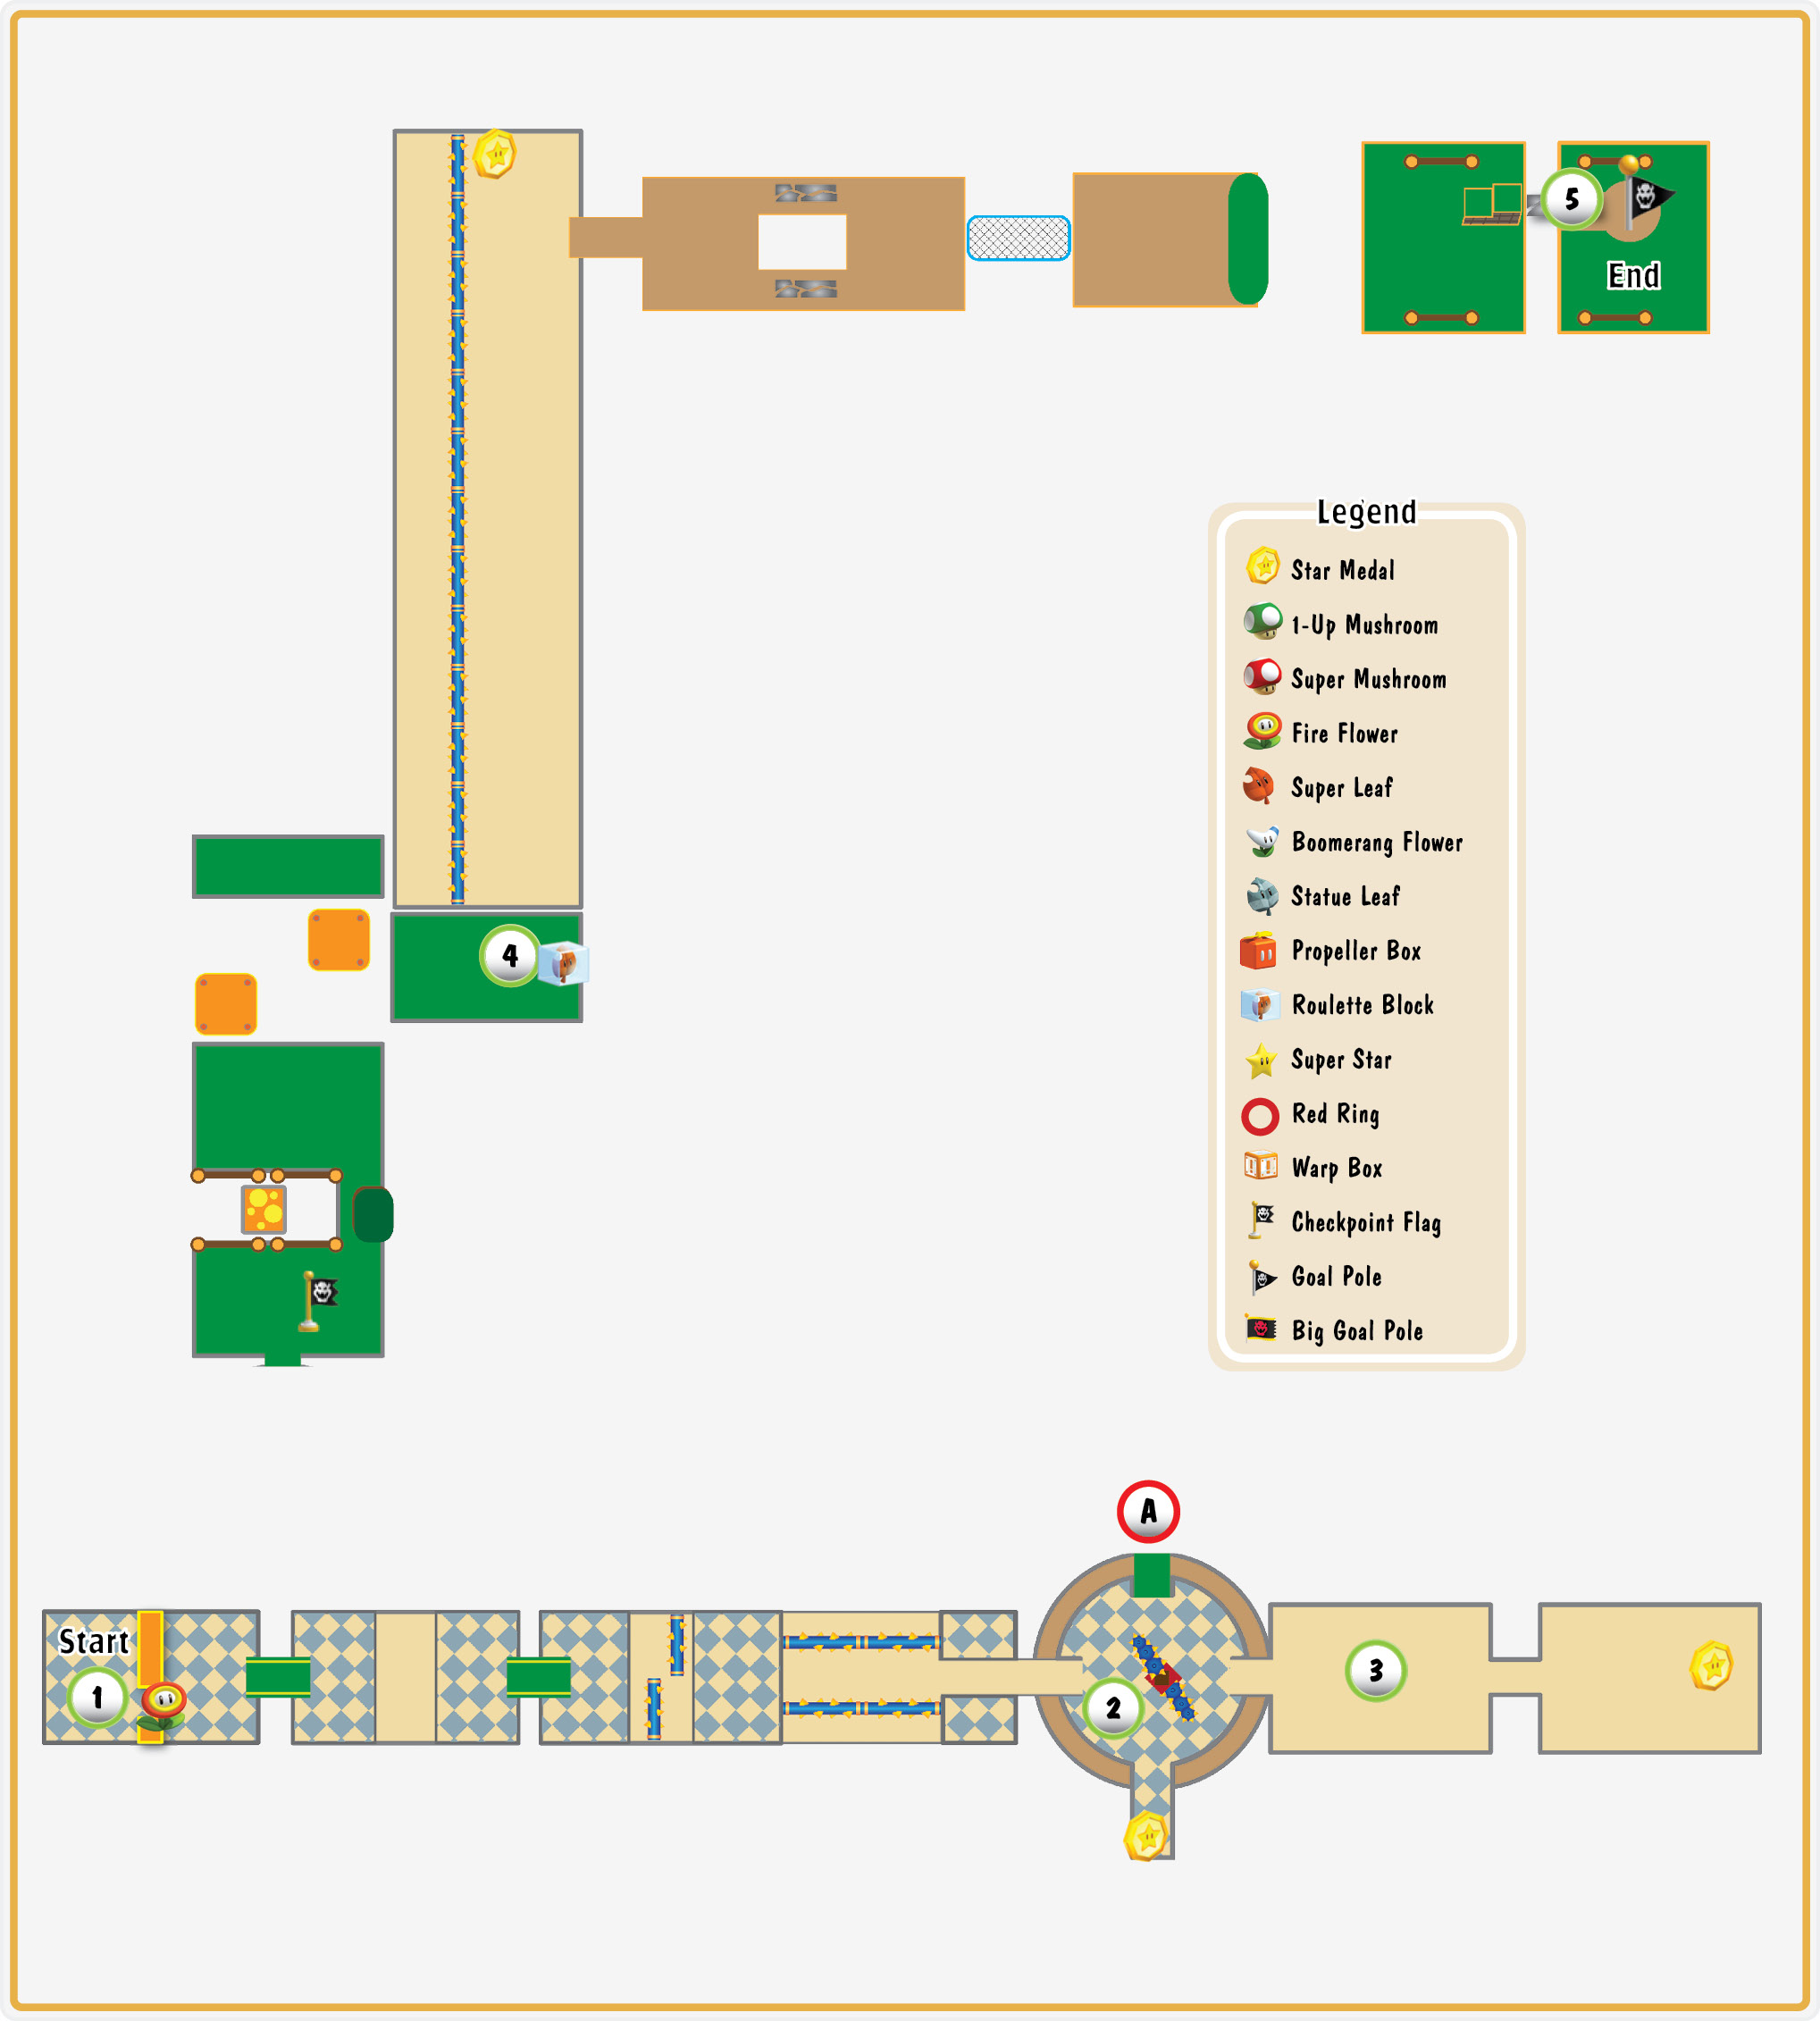
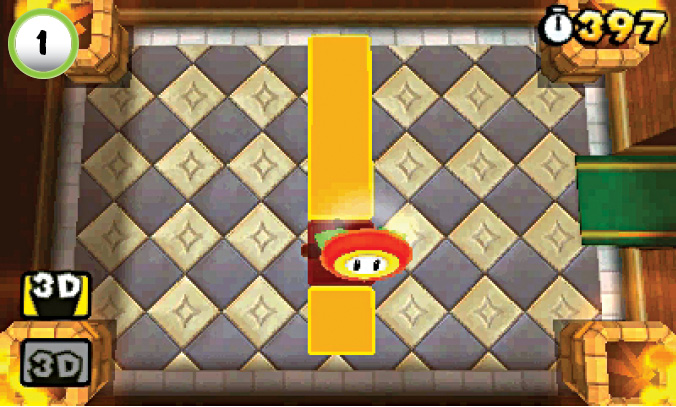
The ? Blocks in the first room are arranged in the shape of an exclamation mark. Stand under the gap between the ? Blocks, then jump straight up to collect a Fire Flower from an Invisible Block. You’ll need this power-up to access a secret area, so make sure you grab it before you move on.
Star Medal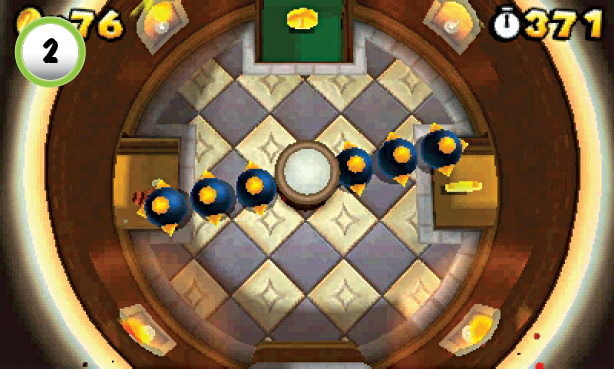 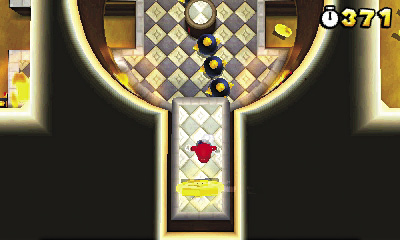 When you reach the room at Point 2, wait for the spiked balls to pass above you, then jump up and follow them toward the bottom of the screen. The level’s first Star Medal is located on a hidden platform at the edge of the room. Jump up to the platform and continue toward the bottom of the screen to collect the Star Medal. Drop down from the platform and head into the passage on the room’s right side. |
Star Medal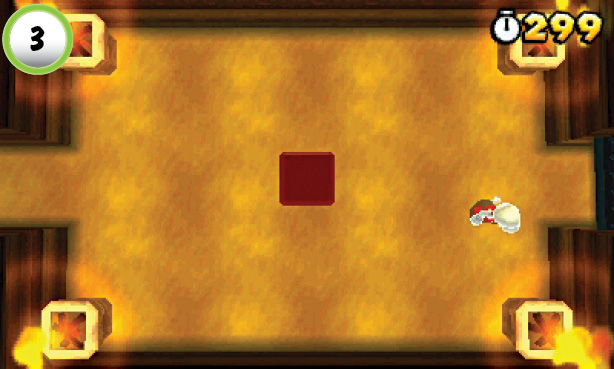 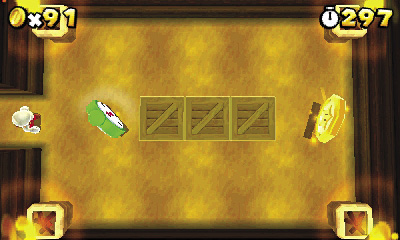 There are four pedestals in the room at Point 3. Circle the room and use your fireballs to light each of the pedestals. When the path to the right opens up, head into the next room. Grab the green + Clock near the door, then cross the room to collect the Star Medal. |
Star Medal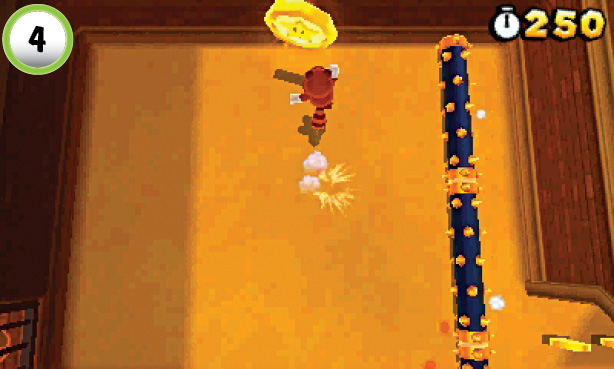 If you’ve lost at least two lives since reaching the Checkpoint Flag, a Roulette Block appears at Point 4. Grab a power-up if one is available, then move toward the top of the screen. Jump over the spikes as they roll back and forth across the room, and keep moving until you find the level’s last Star Medal. Time your jump to avoid the spikes as you grab the Star Medal, then head through the opening in the wall to the right. |
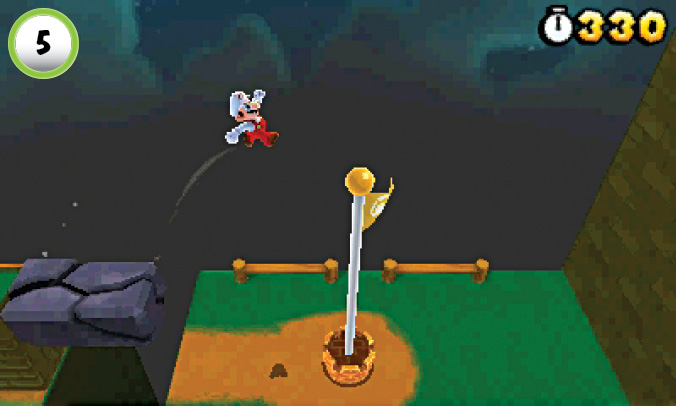
To reach the top of the Goal Pole, you must make a running leap from the crumbling platform. The platform begins to crack as soon as you step on it, so you must move quickly!
World 5-3
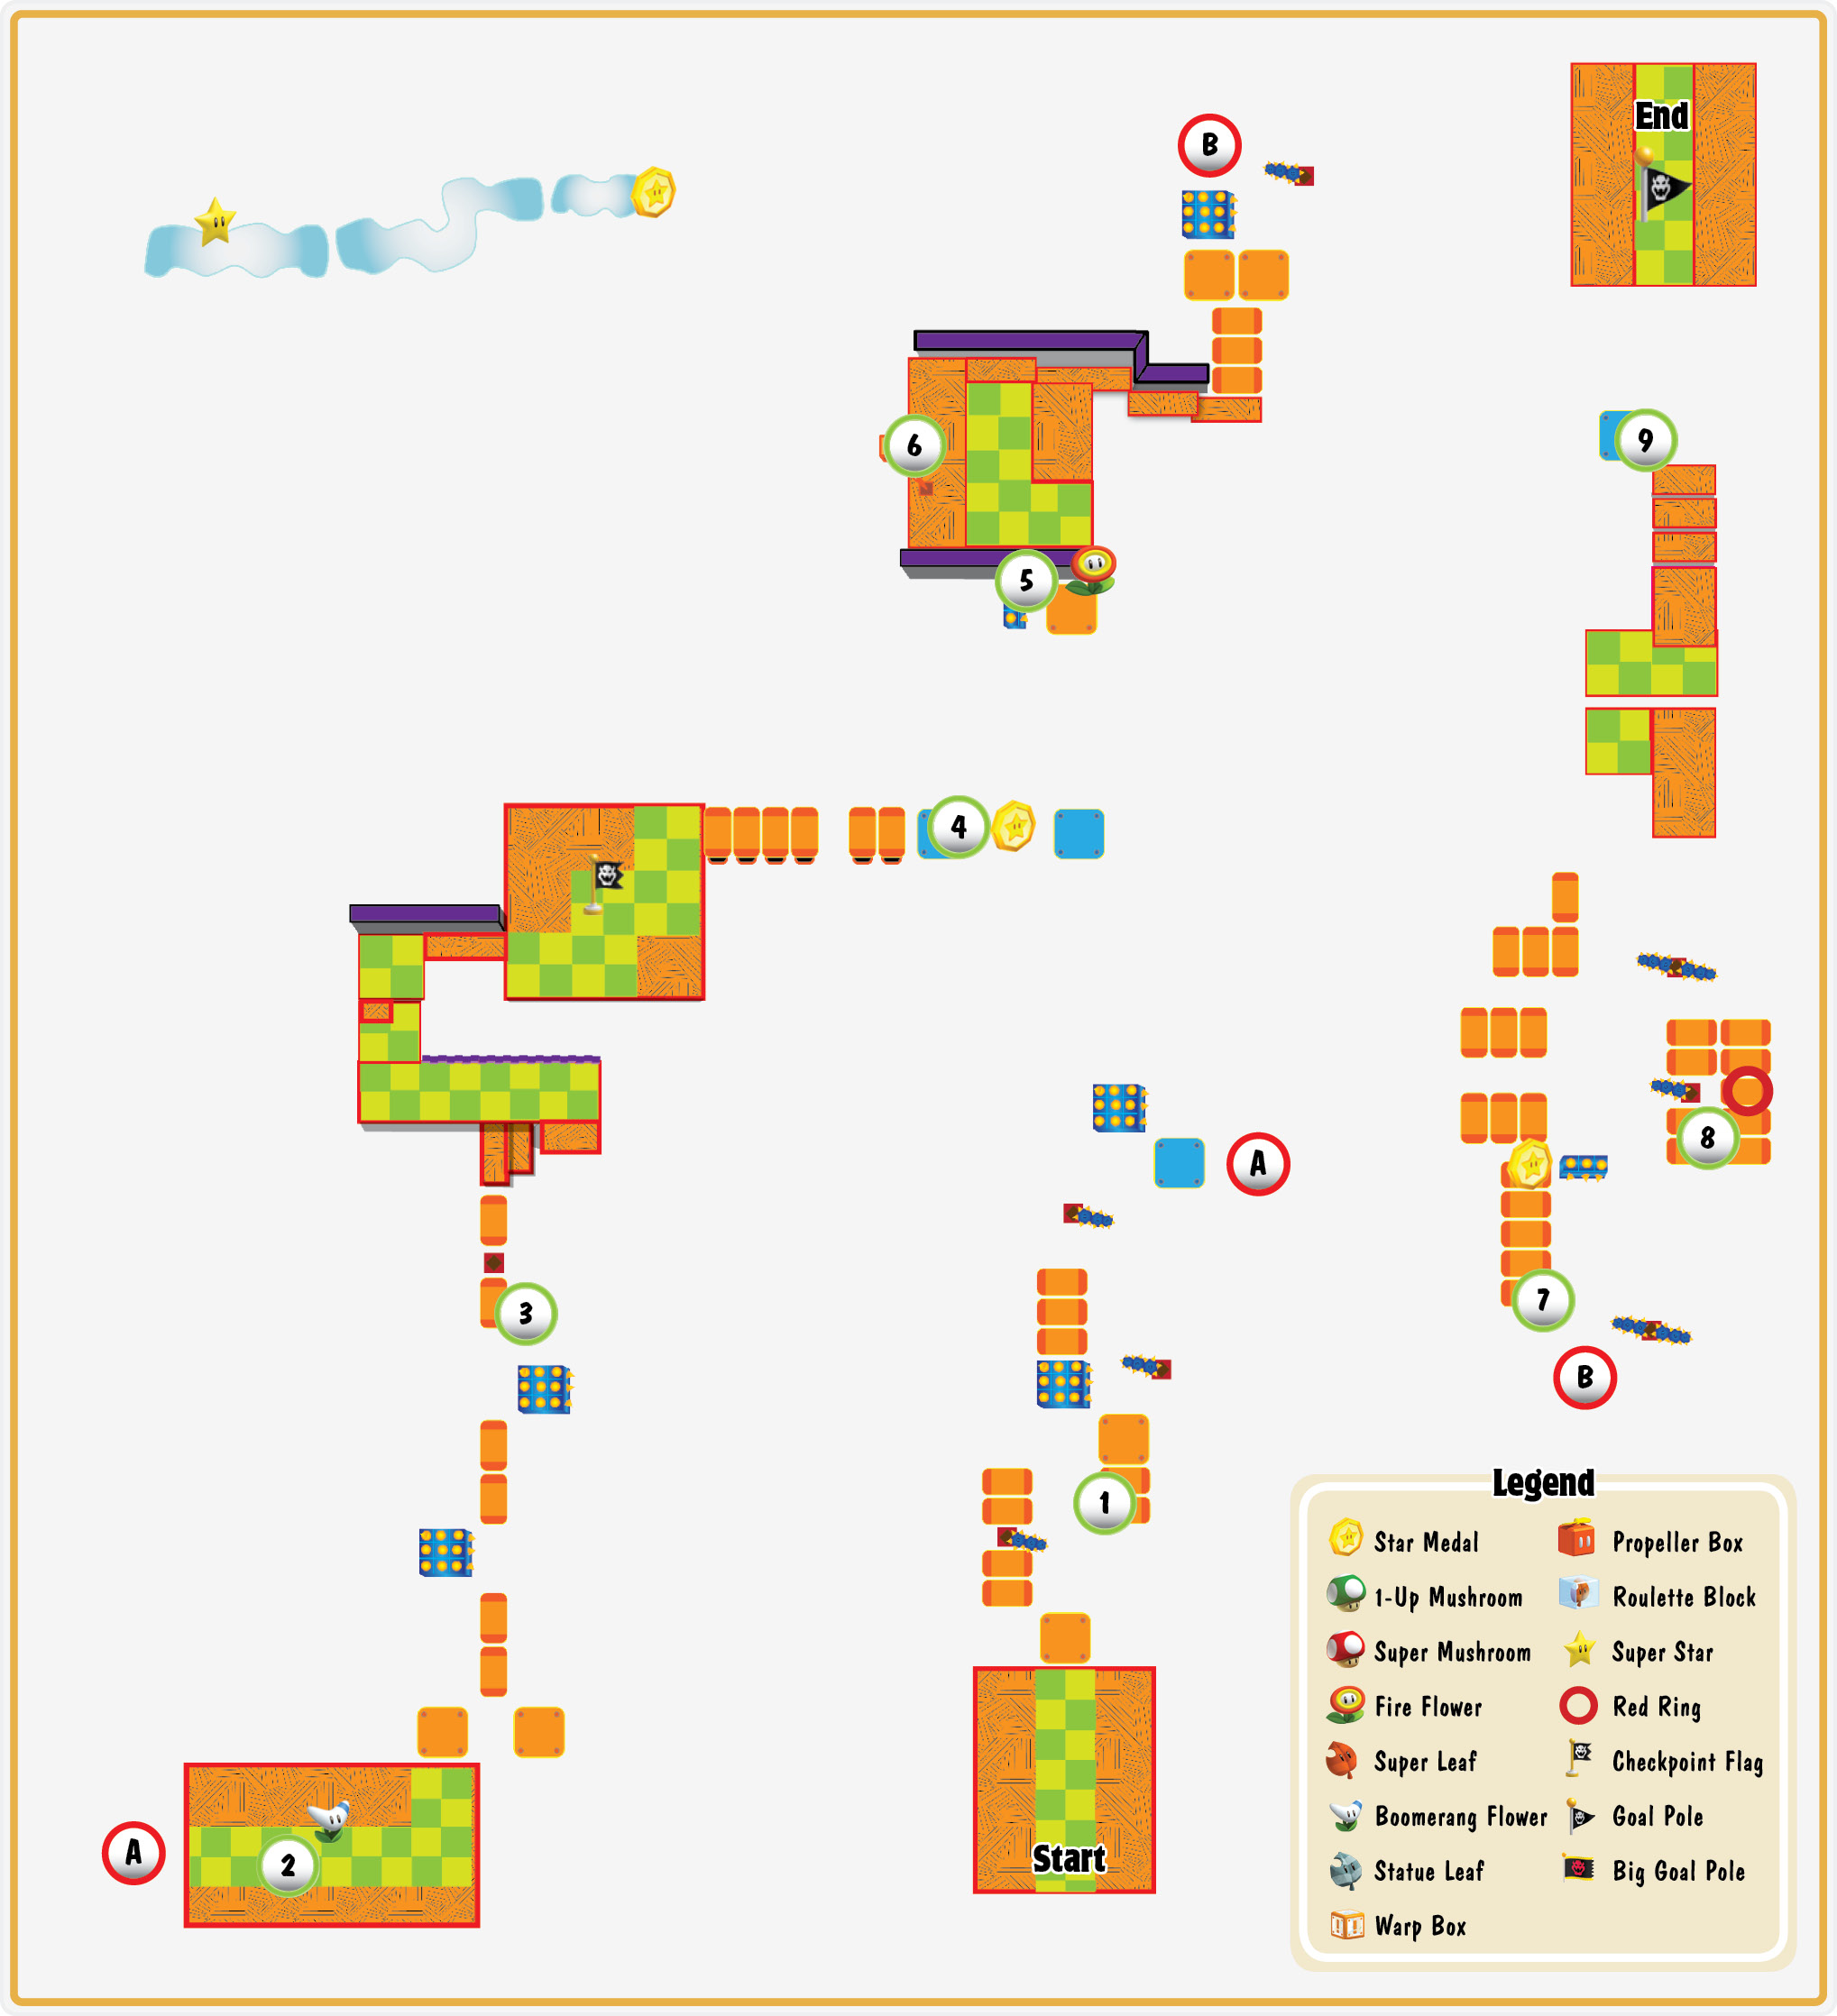
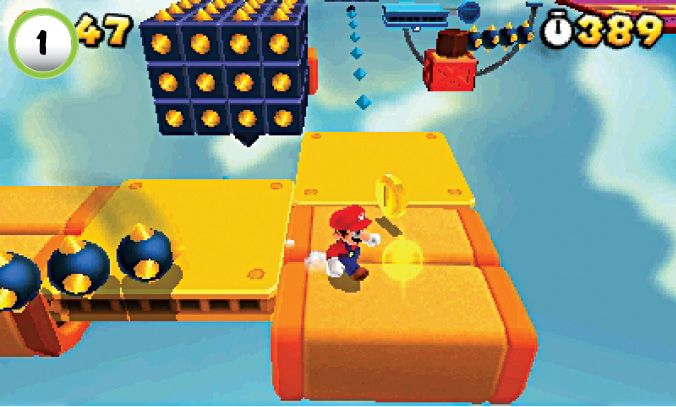
Due to moving platforms and hazardous obstacles, this level requires both careful planning and quick thinking. Watch the path ahead of you, and jump between moving platforms to pick the safest route. Many obstacles and enemies are on the move, however, so always keep one eye on your immediate surroundings.
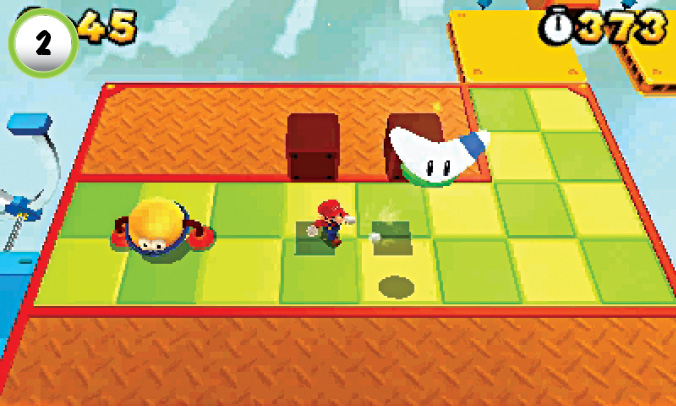
Hit the ? Blocks at Point 2 to find a Boomerang Flower. This handy power-up makes it much easier to clear enemies from your path as you ride along the moving platforms.
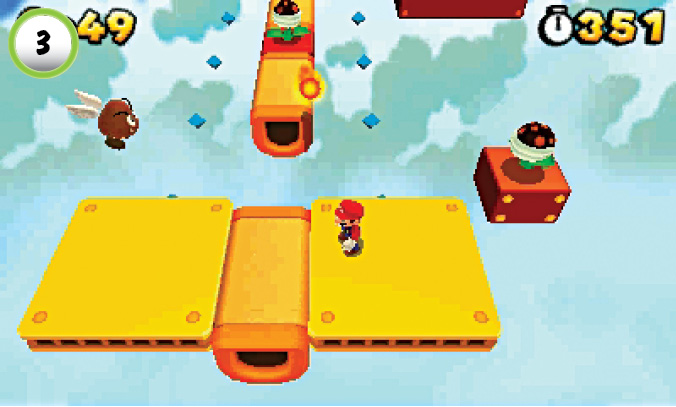
Take out both of the Fire Piranha Plants at Point 3 to collect a Fire Flower. If you’ve managed to hang on to your Boomerang Suit, you can defeat both foes without leaving the safety of the moving platform.
Star Medal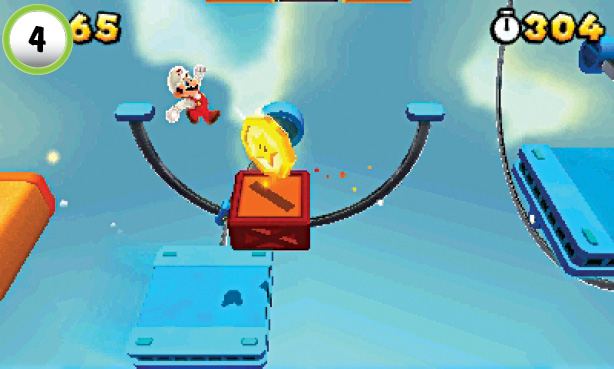 To collect the Star Medal at Point 4, jump from the blue platform as it drops down along its track. If you time the jump properly, you’ll land on the blue platform as it swings back up. For a safer alternative, land on the small platform below the Star Medal, then wait for the blue platform to make another pass along its track. |
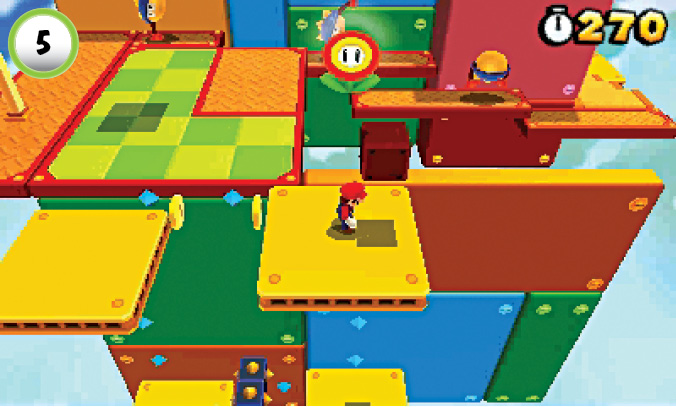
Hit the ? Block at Point 5 to collect another Fire Flower, then hop off of the platform before it moves away from the ledge. There’s a Super Note Block floating out of view, so look for its shadow on the nearby checkered tiles.
Star Medal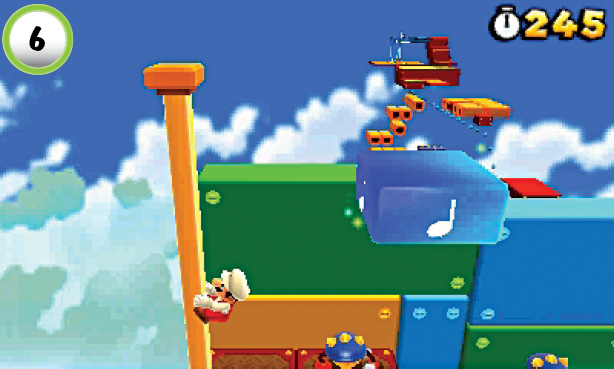 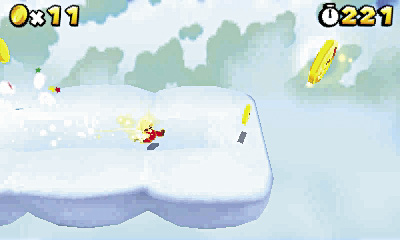 Climb the pole at Point 6, and use the Super Note Block to bounce up to a secret area. When you land, hit the ? Block to collect a Super Star, then follow the path to the right. When you reach the end of the clouds, jump through the Star Medal and drop back down to the main path. |
Star Medal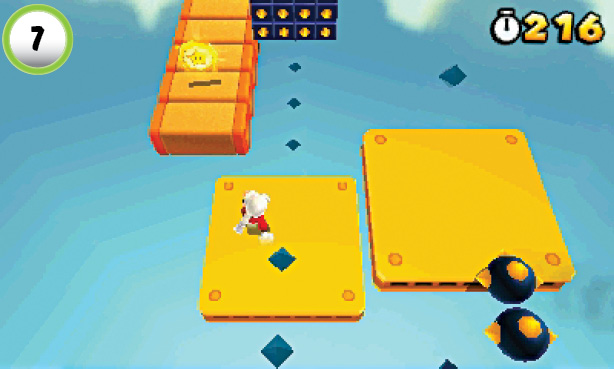 To collect the level’s last Star Medal, ride the moving platforms to Point 7. The platforms split to follow two different paths, so make sure you’re standing on the left platform when they do. Jump over to collect the Star Medal, then follow the Donut Blocks up to the main path. By the time you arrive, the moving platform that split off to the right should be there to meet you. |
Red Ring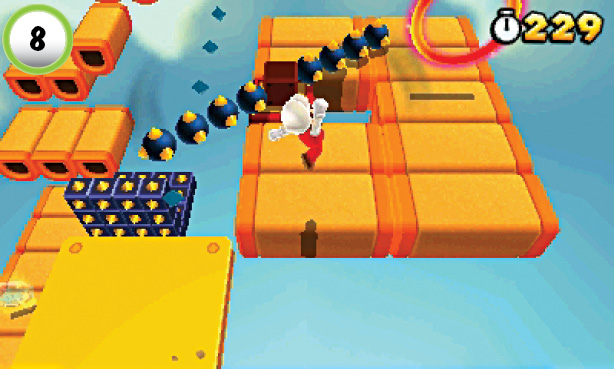 If you’ve already collected the Star Medal on a previous visit, stick to the main path to find a Red Ring. When the moving platforms split, use the one on the right to reach Point 8. Hop over to the Donut Blocks and run through the Red Ring. Hop back onto the moving platform and collect the Red Coins before they vanish. The spiked balls can make it difficult to complete your task, but your effort will be rewarded with a Super Leaf. |
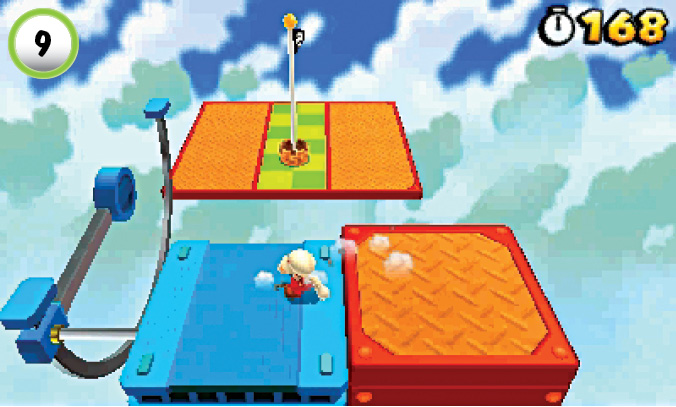
To reach the top of the Goal Pole, make a running leap from the blue platform. The timing can be difficult, and you only get one attempt each time you visit the level. Start running as the platform reaches the Goal Pole’s base, then jump from the edge when it reaches the end of its track.
World 5-4
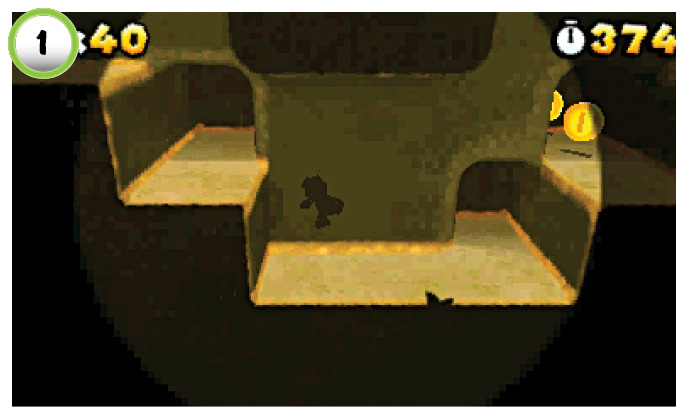
Don’t miss the secret passages at Point 1. Clear out the Morty Moles as they emerge from the wall, then slip behind the main path to find some valuable items. Run through the upper passage to collect some unseen coins, then head into the lower passage to find a hidden 1-Up Mushroom.
Star Medal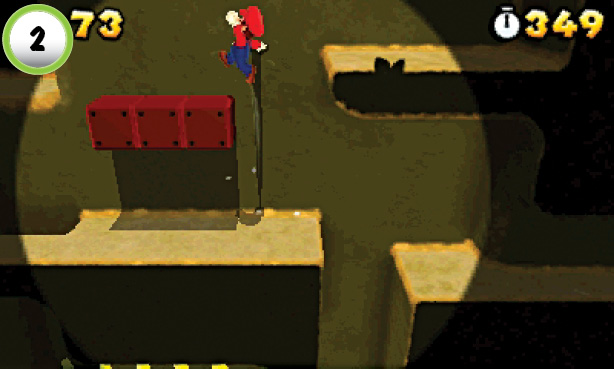 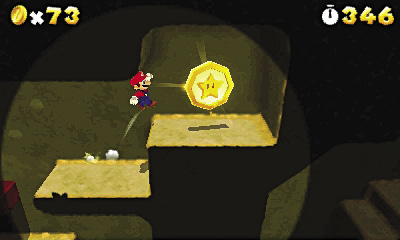 To collect this level’s first Star Medal, locate the Invisible Blocks at Point 2. Jump onto the used Blocks, then hop over to the ledge on the right. Continue to the right until you find the Star Medal. |
Star Medal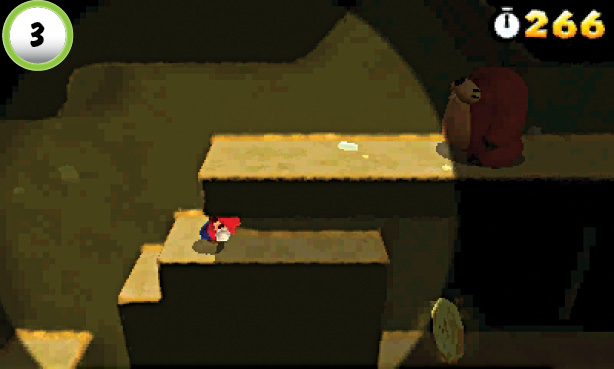 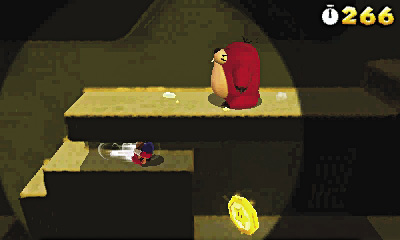 Crouch down to enter the narrow passage at Point 3. When the path opens up, drop down to collect the Star Medal below you. |
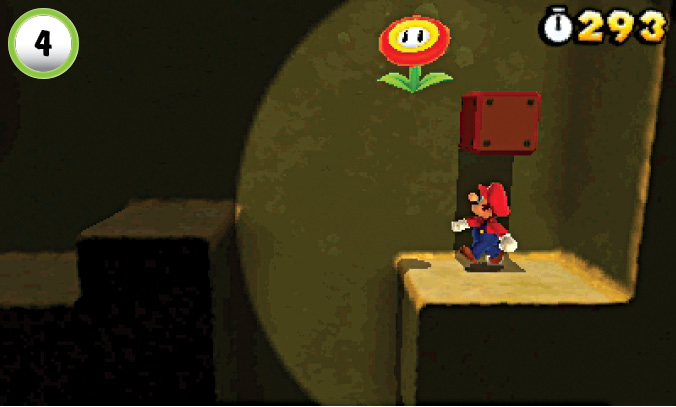
Before you continue to the Checkpoint Flag, wall-jump up to the ledge at Point 4. Search the Blocks to grab a Fire Flower. This power-up allows you to clear out remaining enemies with ease, so consider heading back to search any tunnels you may have skipped.
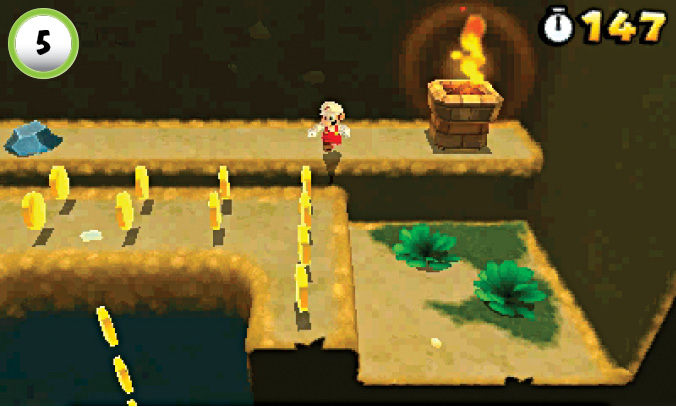
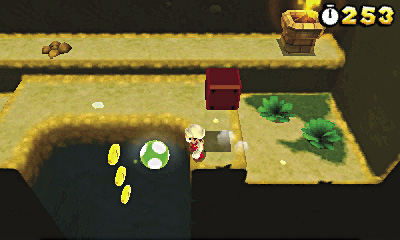
Before you drop down the large hole near the Checkpoint Flag, use a fireball to ignite the pedestal to the right. As you collect the revealed coins, find the Invisible Blocks on either side of the hole—the one on the right contains a 1-Up Mushroom.
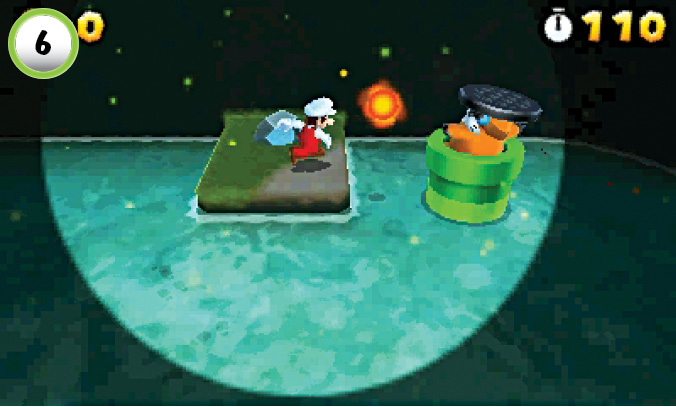
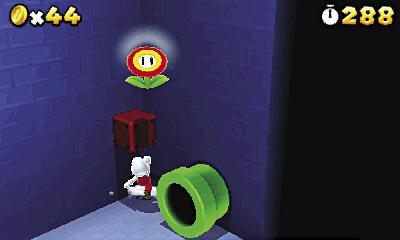
Take out the Rocky Wrench at Point 6, then kick the nearby Rock into the Pipe to earn an extra life. Enter the Pipe to find a secret area containing several coins and a green + Clock. Before you leave, smash the Block in the corner of the room to collect another Fire Flower. The upcoming tunnels are packed with enemies, and this valuable power-up makes it much easier to safely navigate them.
Star Medal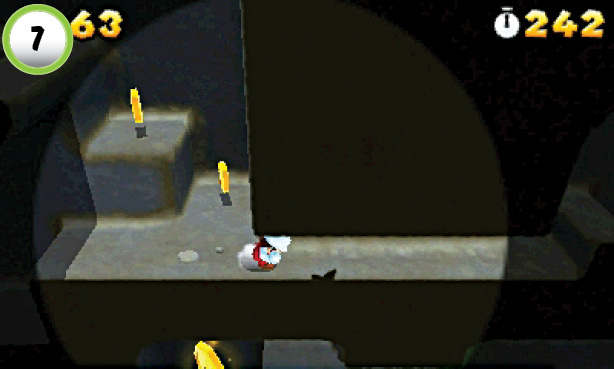 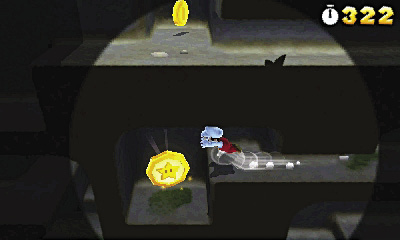 Before you head up to the surface, crouch down and enter the narrow passage at Point 7. When the path opens back up, take out the Morty Mole and drop down from the ledge. Search the area to collect a Star Medal and a green + Clock, then wall-jump back up to the narrow passage. |
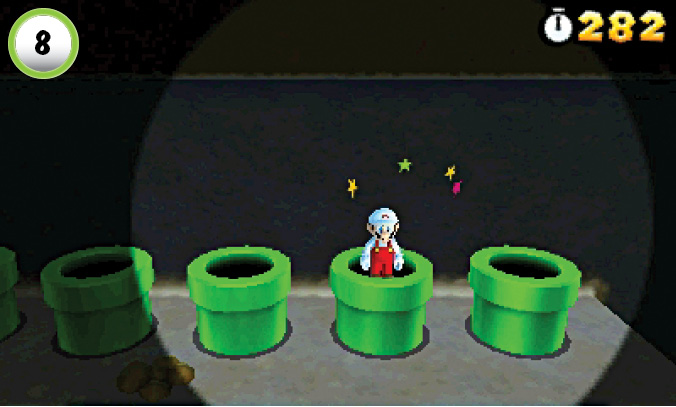
There are five Pipes at Point 8, but only one of them leads to the exit. Kick the nearby Rock into any of the Pipes to earn an extra life, then enter the second Pipe from the right to travel to the surface.
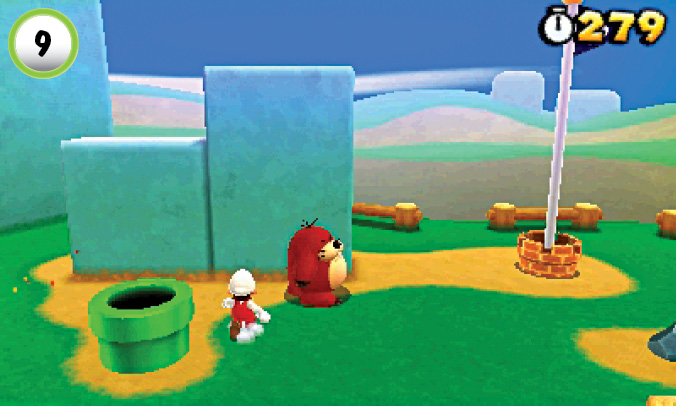
Before you can reach the top of the Goal Pole, you must find a way onto the nearby platforms. When the patrolling Morty Mole moves into position, hop on its head and use a well-timed jump to bounce up to the lower platform. If you prefer, you can also make a running leap from the top of the Pipe for a more direct route to the platforms.
World 5—Toad House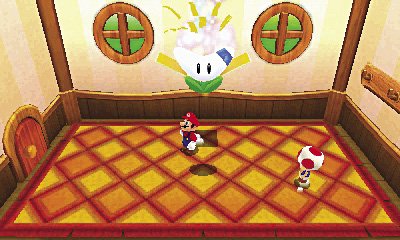 After you complete World 5-4, a Toad House appears on the level-selection screen. When you find yourself in need of a power-up, unwrap the Gift Box inside the house to collect a Boomerang Flower. Remember, you can only get the power-up from a Toad House once, so make sure you save it for when you need it. |
World 5-5
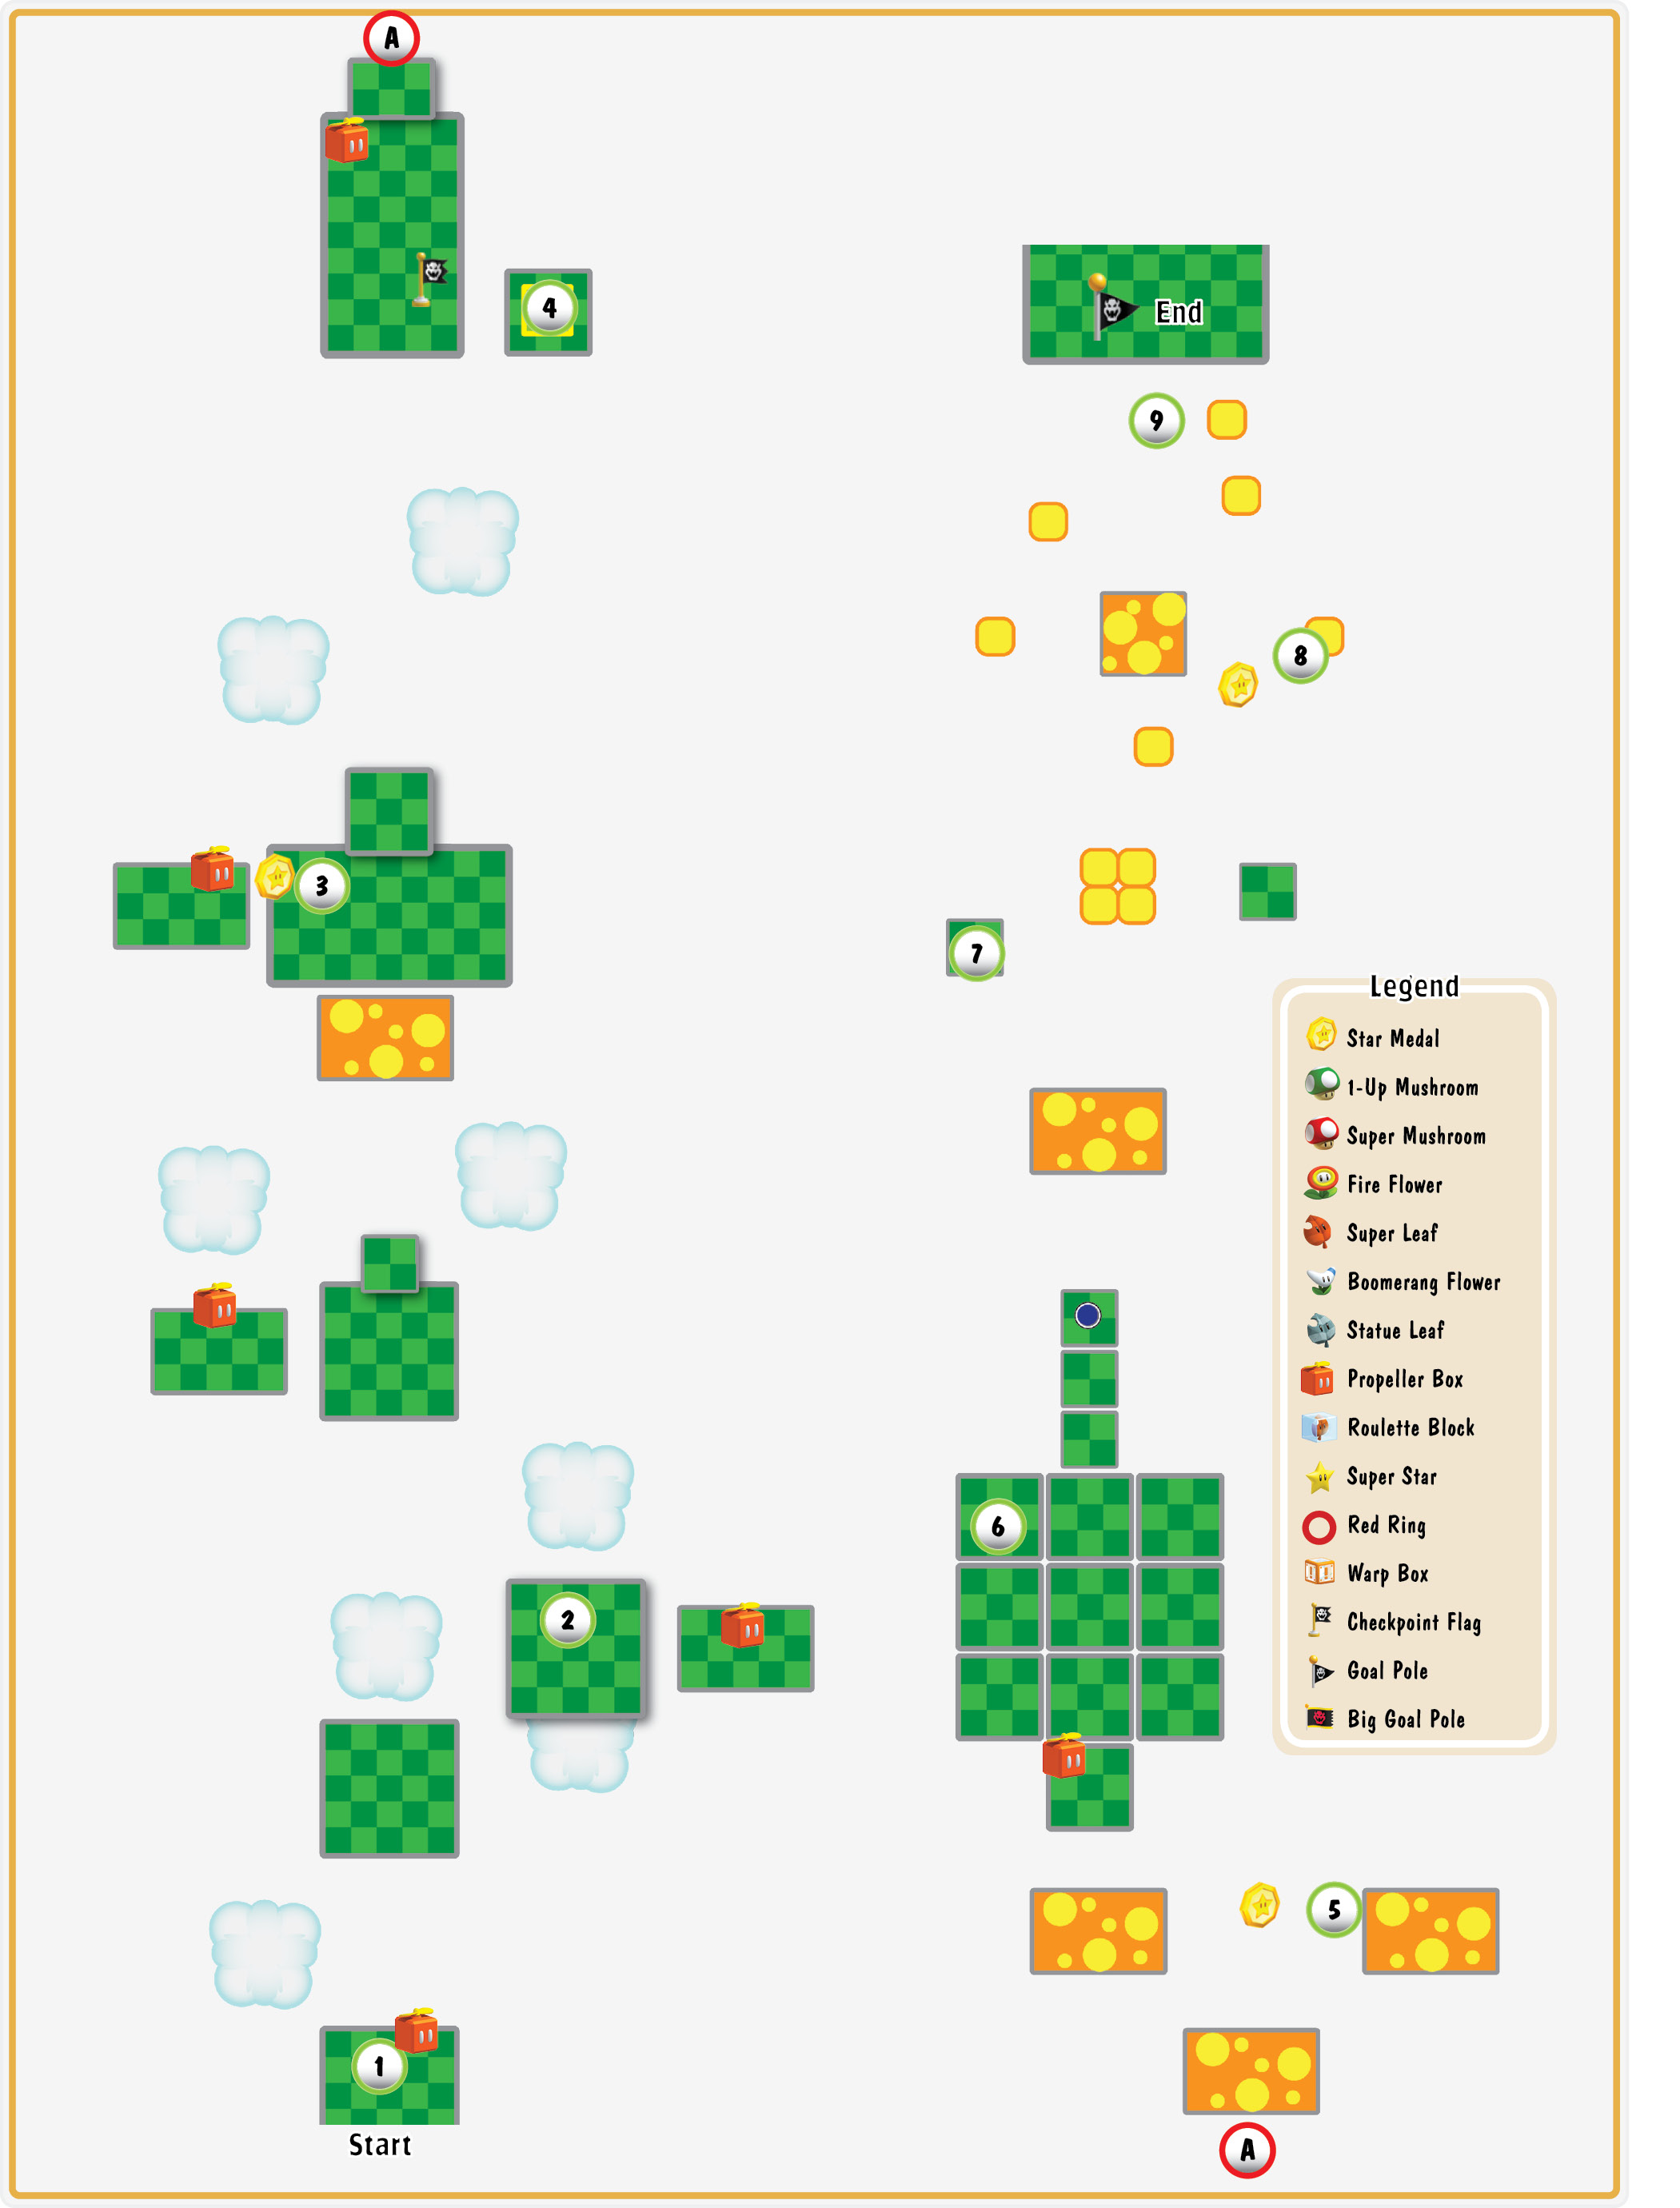
To progress through the level, you’ll need to get your hands on a Propeller Box. Check the ? Blocks at the start of the level to reveal one of these essential power-ups.
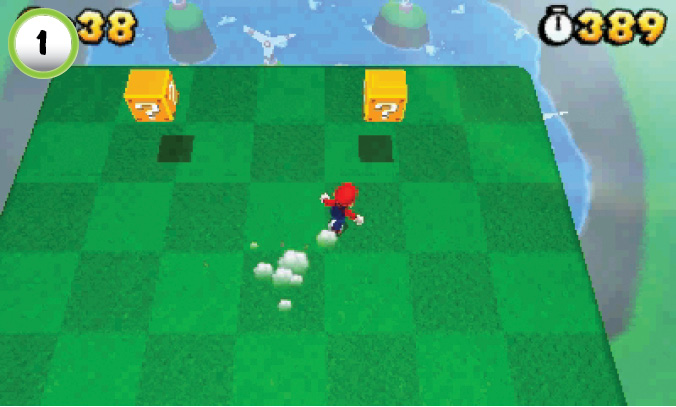
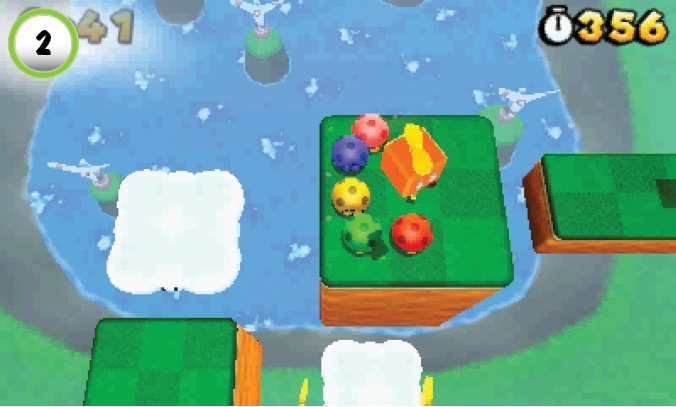
The Propeller Box makes it much easier to defeat groups of enemies without touching the ground. Look for marching Biddybuds and Goomba Towers for opportunities to earn extra lives.
Star Medal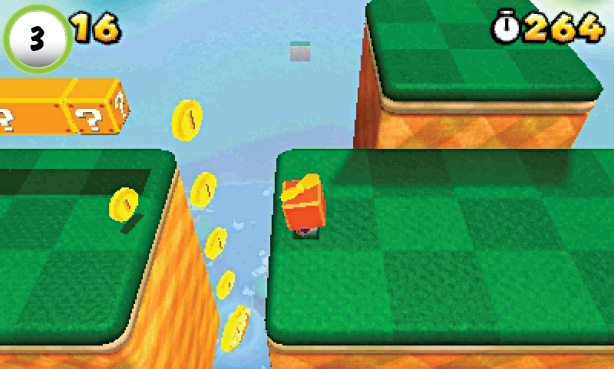 When you reach Point 3, walk off the platform and drop through the coins. When you reach the Star Medal, use the Propeller Box to reach the next platform. |
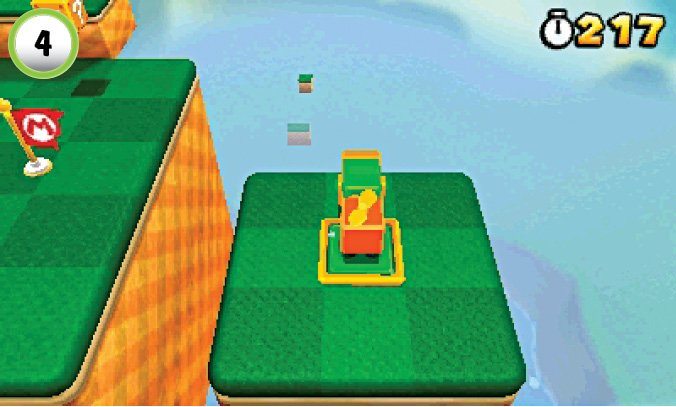
Use the Binoculars at Point 4 to scout the area ahead of you. Toad is standing on the level’s highest platform, so tilt the Binoculars up to find him. If you zoom in on Toad, he heads off to the end of the level and places a Super Mushroom near the base of the Goal Pole.
Star Medal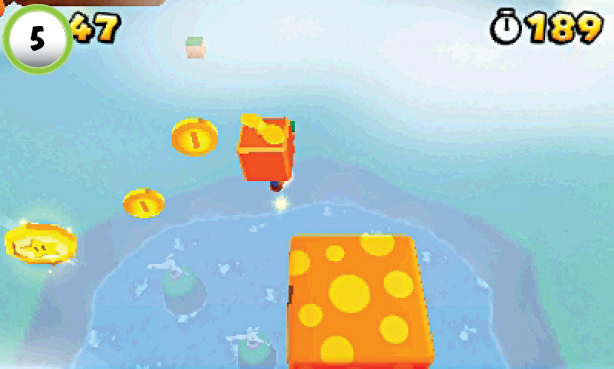 To collect the Star Medal at Point 5, bounce from the nearby rubber platform and follow the trail of coins. Grab the Star Medal, then use the Propeller Box to reach the next platform. |
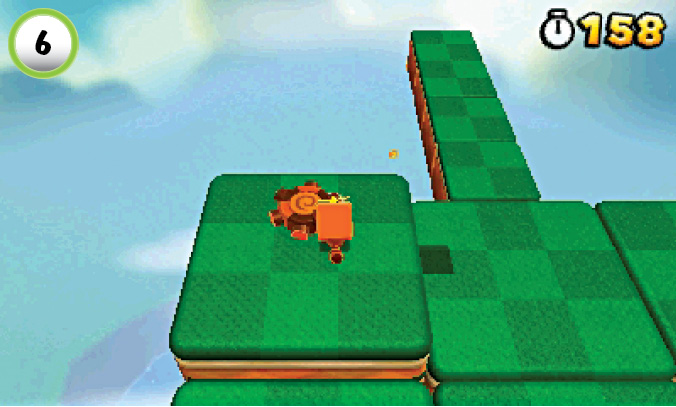
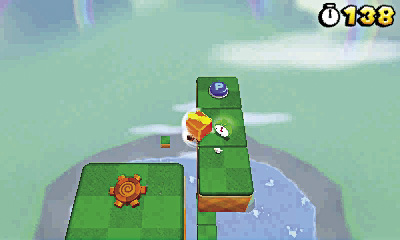
Defeat the Big Tail Goombas at Point 6 to collect a Super Leaf, then smash the nearby Block to reveal a Tail Wheel. Jump up to find the Flying ? Block above the platform—with the help of a Propeller Box, you shouldn’t have any trouble reaching it. After you collect the 1-Up Mushroom, use the Tail Wheel to reach the platform high above you. Grab the green + Clock, then step on the P Switch to reveal a trail of coin rings.
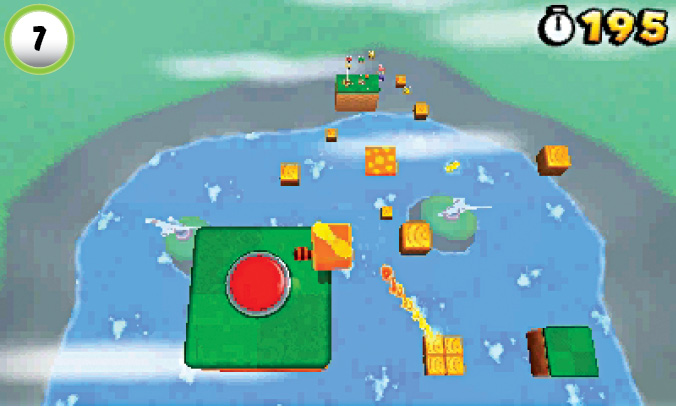
Step on the P Switch at Point 7 to reveal a trail of musical notes. Hop off of the platform and steer your fall through the notes. The trail leads you up to the next platform, so don’t hit the jump button until you reach the turn. Collect all of the notes before they vanish to collect another power-up.
Star Medal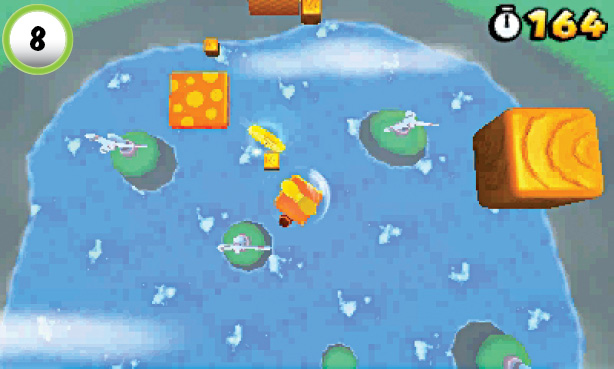 To collect the Star Medal at Point 8, try to land on the nearby Block. Simply jump over to the Star Medal, then use the Propeller Box to reach the rubber platform |
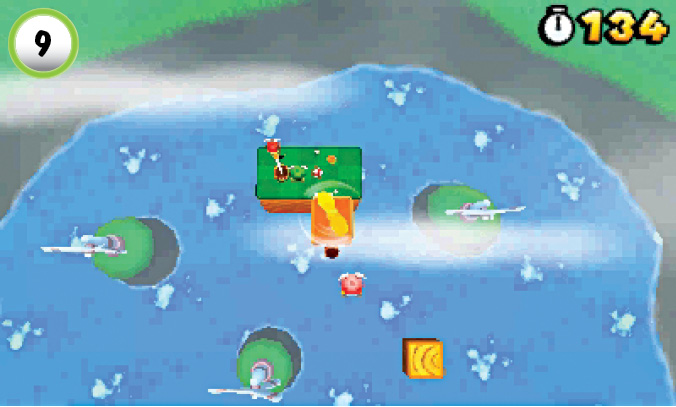
As you approach the Goal Pole, touch down on each of the Para-Biddybuds along the way to collect two extra lives. Drop to the platform and collect the Super Mushroom near Toad, then use the Propeller Box to reach the top of the Goal Pole.
World 5—Castle
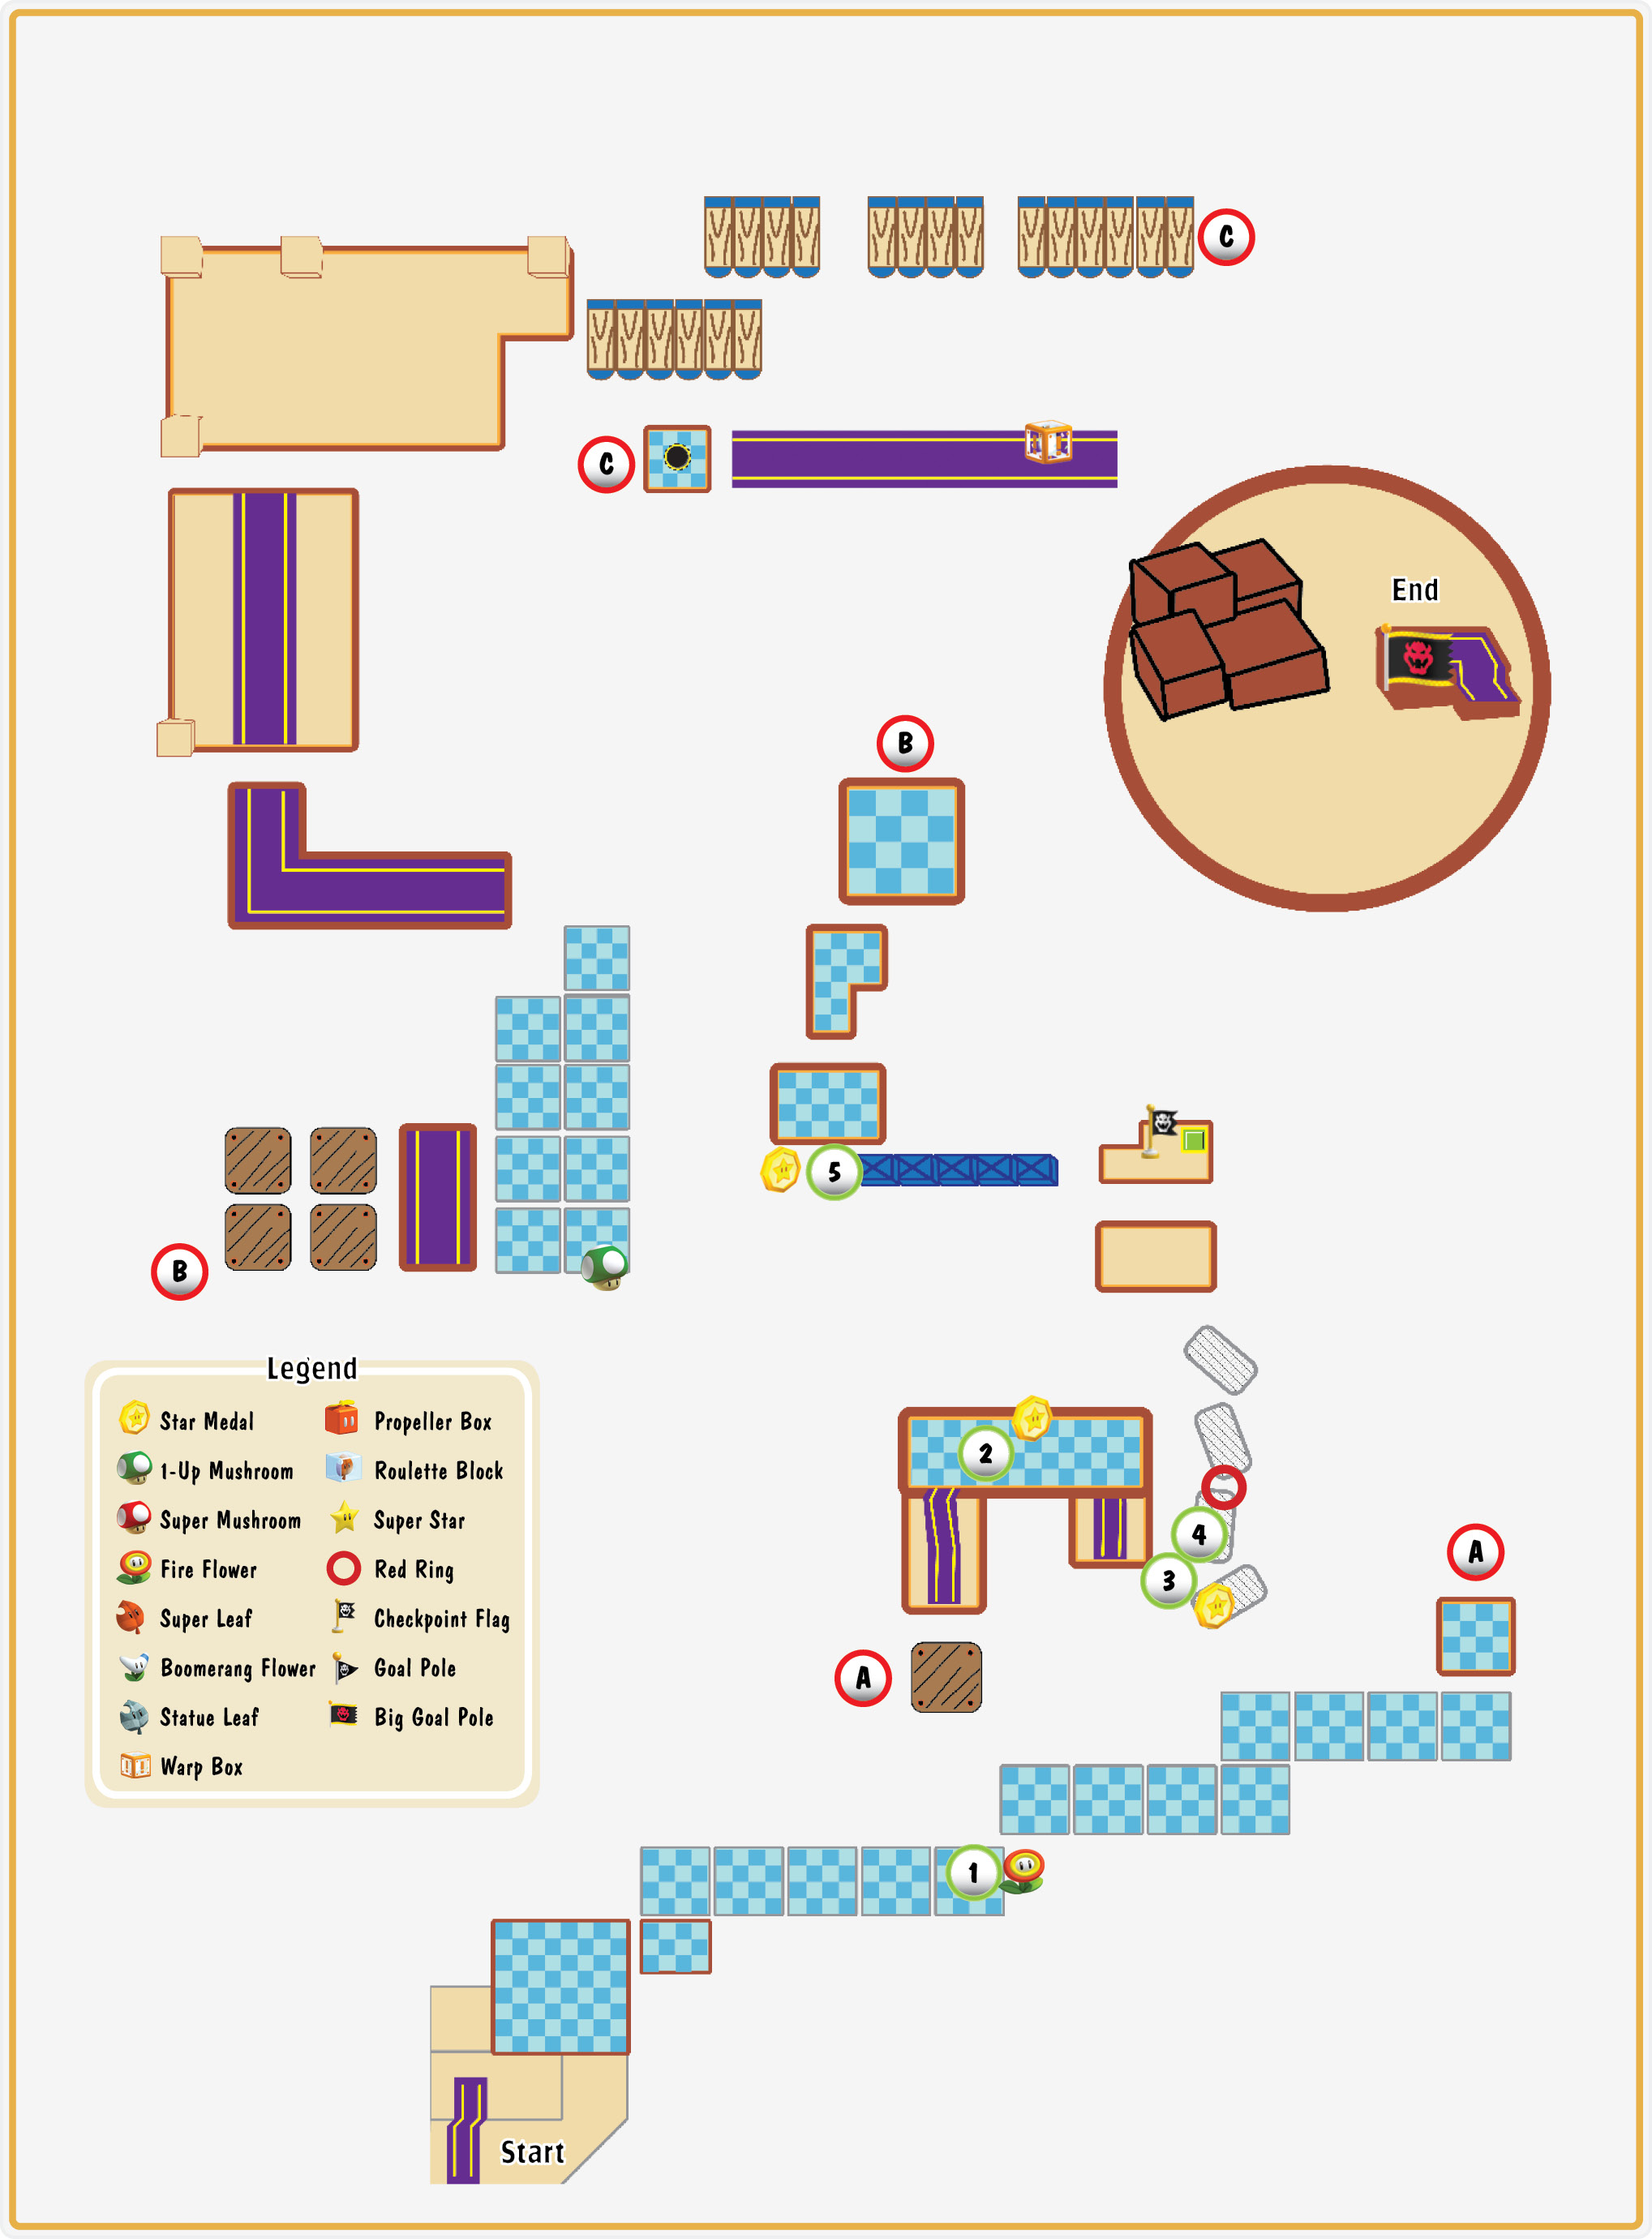
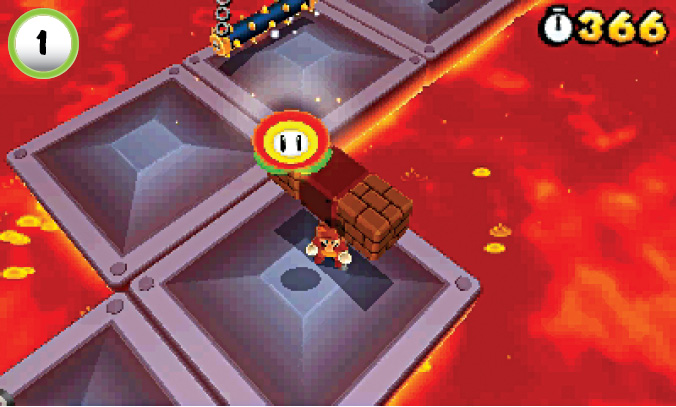
The spiked obstacles and submerging platforms can be tough to navigate. Wait for a new platform to rise out of the lava, then dash in and search the ? Block to collect a Fire Flower.
Star Medal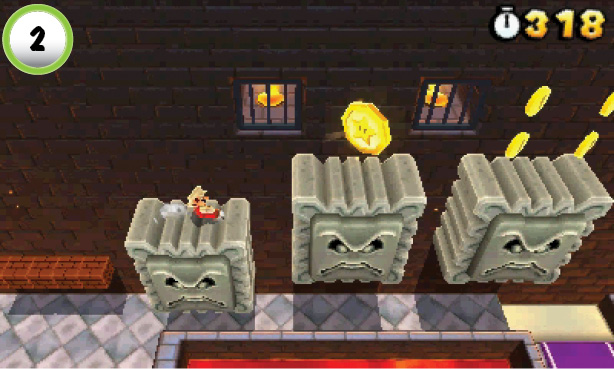 Use the Blocks along the wall to jump onto the Thwomps at Point 2. Move across the Thwomps to collect the Star Medal, then drop back down to the walkway. There’s a Draglet waiting for you past the Thwomps, so be prepared to defend yourself as you land. |
Star Medal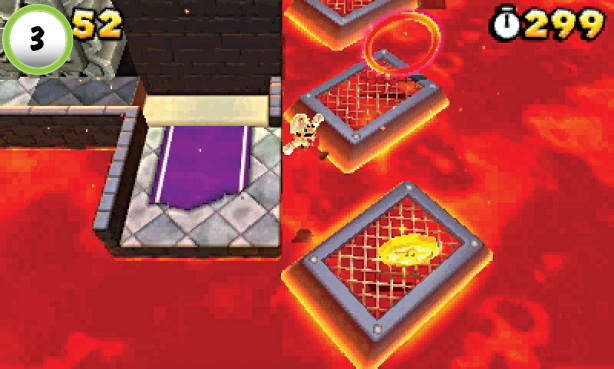 To collect the Star Medal at Point 3, wait for a platform to emerge from the lava. Jump across to grab the Star Medal, then ride the platform toward the next walkway. |
Red Ring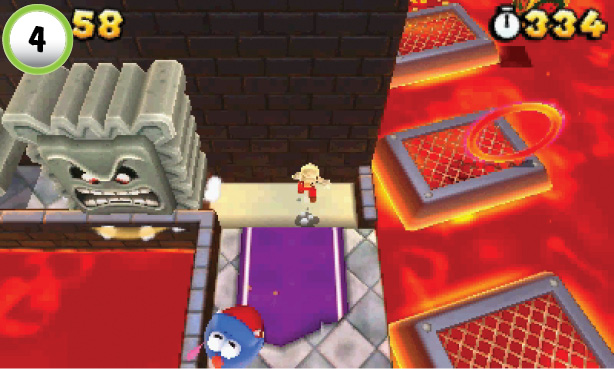 After you clear out the Draglet at Point 4, hop onto the nearby moving platforms. Pass through the Red Ring, then collect the Red Coins as you ride across the lava. A Dry Bones emerges from the Baddie Box along the path, so be ready to avoid it. Collect all of the Red Coins before they disappear to collect another Fire Flower. |
Star Medal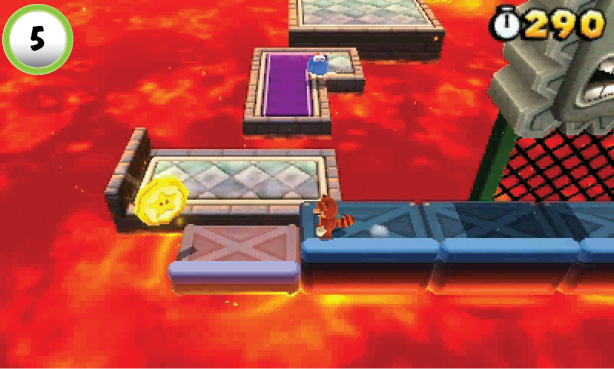 At Point 5, the moving platforms sink into the lava. Stay on the platforms until you collect the Star Medal, then jump to safety before you’re lowered into the lava. |
Boss Battle: Tail Bowser
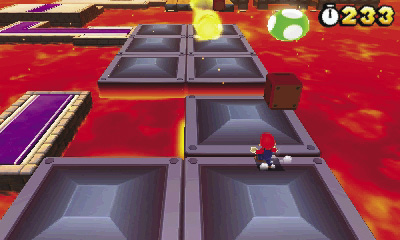
Bowser begins his fire attacks as soon as he appears. Check the Blocks above the moving platforms to find a 1-Up Mushroom. Dodge Bowser’s fireballs, and keep pace with the platforms to avoid sinking into the lava. When you’re ready, jump along the platforms and follow the walkway to Bowser.
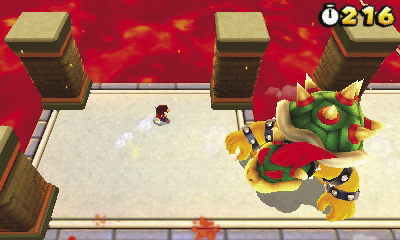
As in your first battle with Bowser, you must slip past him and trigger the switch at the end of the bridge. Bowser still has his fireballs and jumps, but he’s added a powerful tail whip to his arsenal. Try to stay close to Bowser as you dodge his fireballs, and jump over his tail each time he spins around. Bowser’s first tail whip should destroy the columns along the back of the platform. Slip behind Bowser and jump over the gap in the walkway to continue toward the bridge.
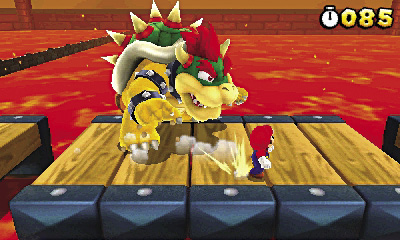
Along the path’s wider sections, you should be able to get past Bowser without much trouble, but the comparatively narrow bridge makes things a little more difficult. Stay close to Bowser and dodge his attacks until he moves from the center of the path. If Bowser attempts a tail whip as you run past him, you should be able to make it all the way to the switch before he completes his attack. When you successfully cross the bridge, jump on the switch to end the encounter.