
Super Mario 3D Land Guide Walkthrough Specials
Special Two
Special 2-1
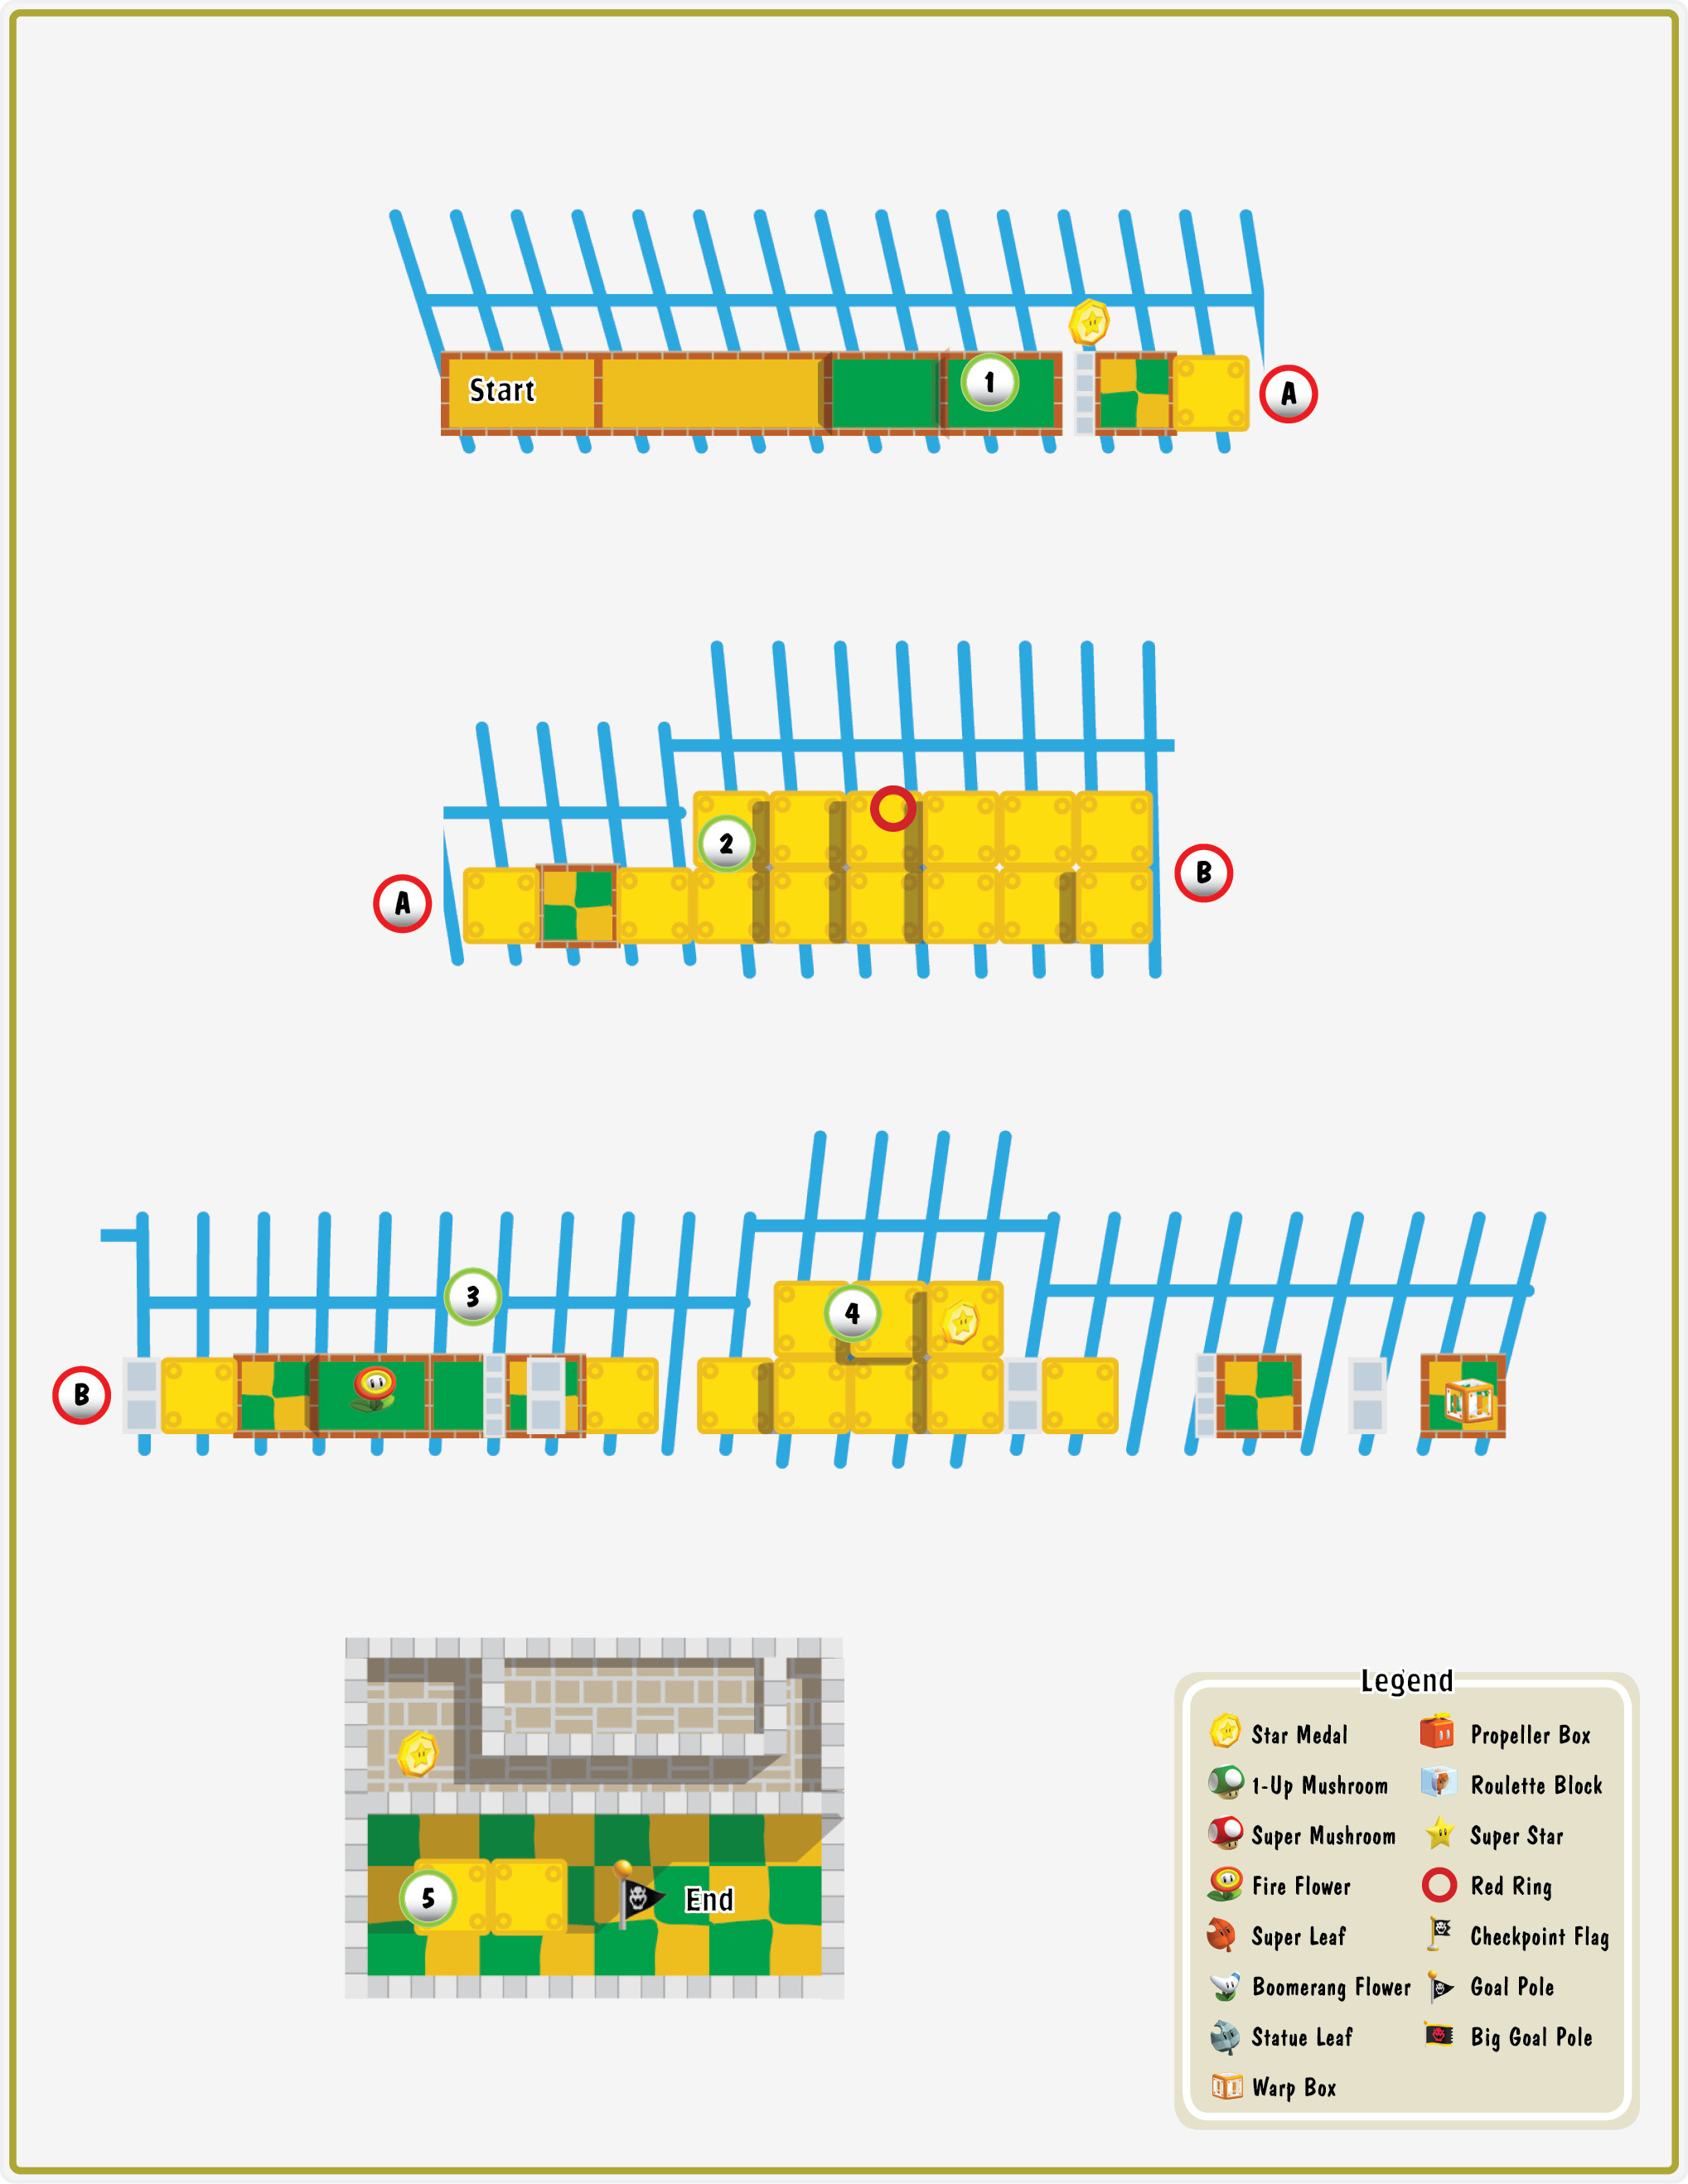
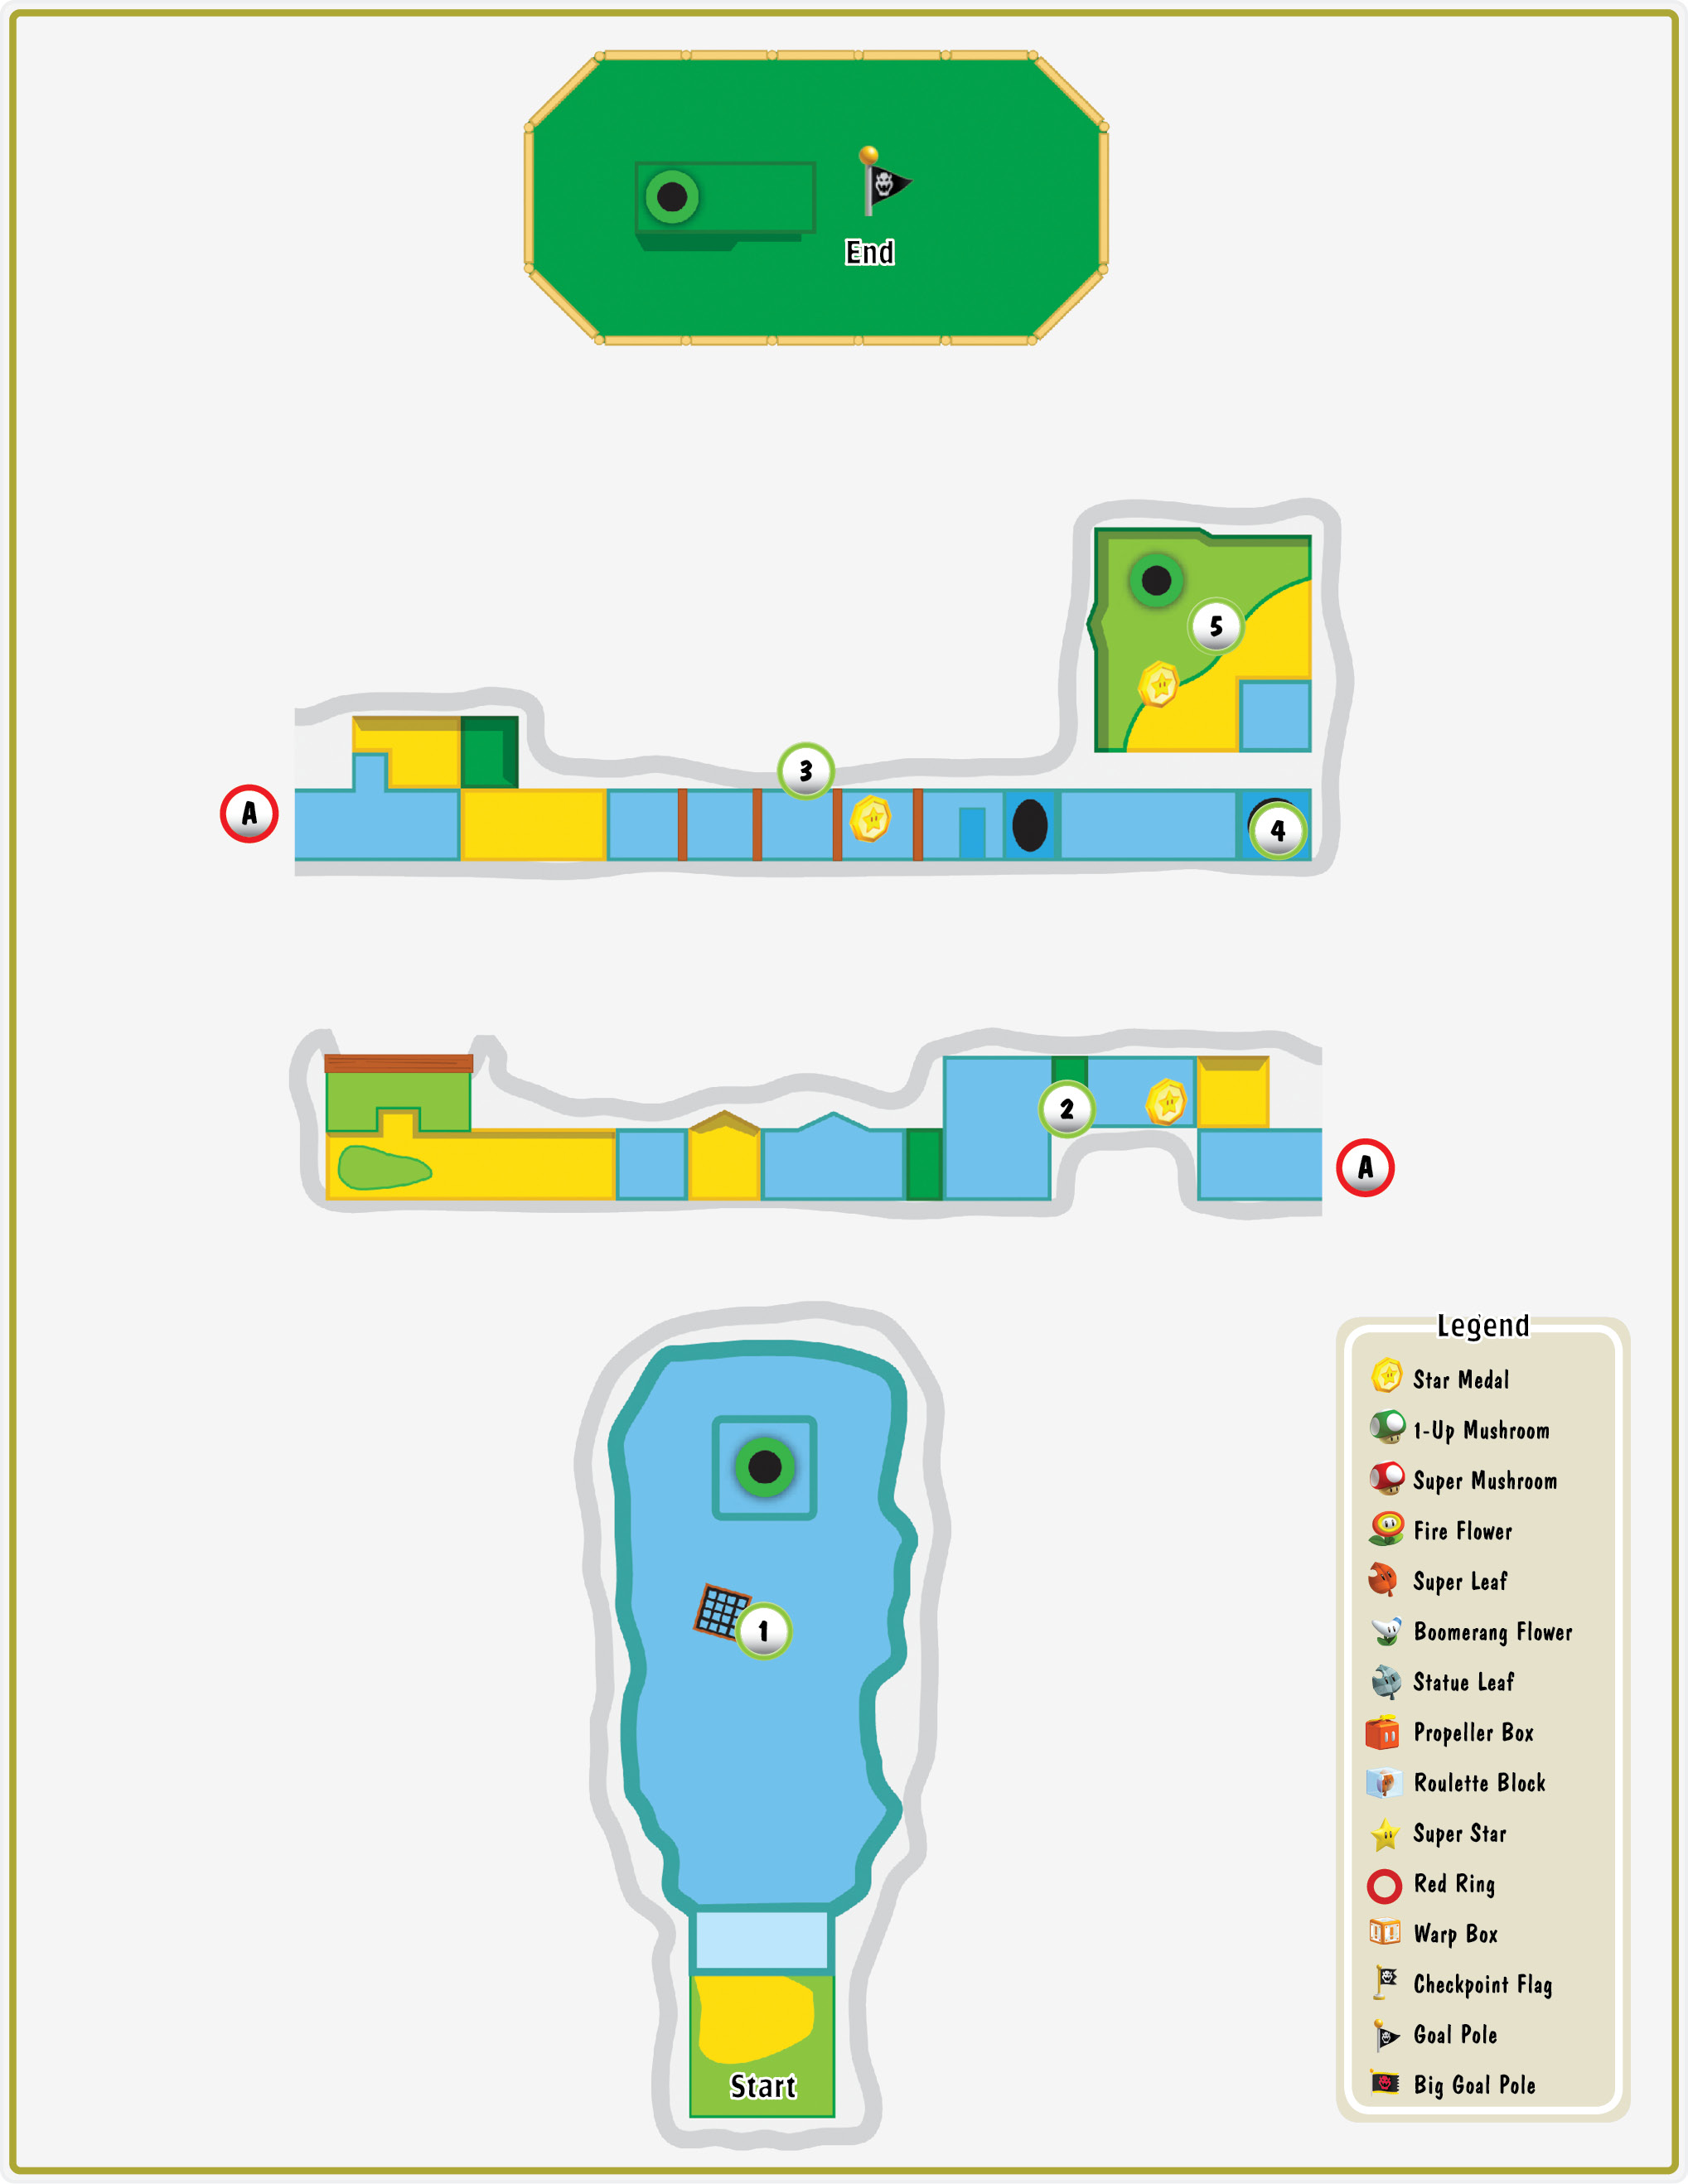
Star Medal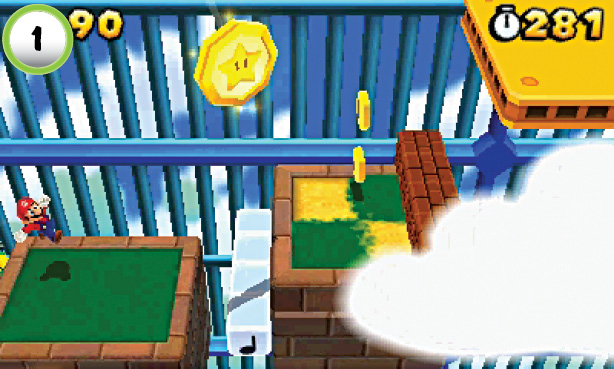 When you reach the Note Blocks at Point 1, bounce up to grab the level’s first Star Medal. |
Red Ring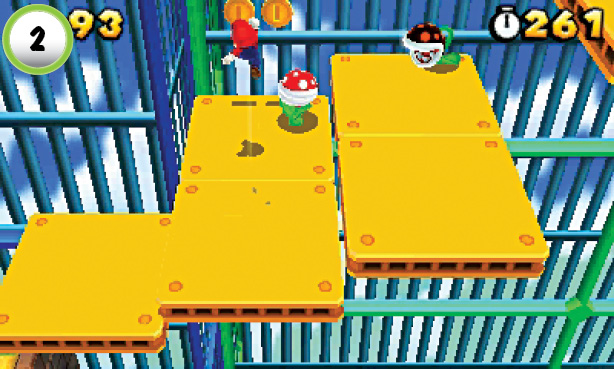 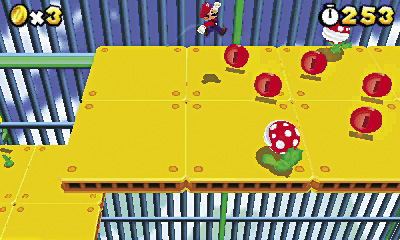 Take out the Piranha Plant and Fire Piranha Plant at Point 2, then stay near the back wall as you continue to the right. After you pass through the Red Ring, collect the Red Coins from the platforms ahead of you. Stay clear of the Piranha Plants and collect all of the Red Coins to earn a Fire Flower. |
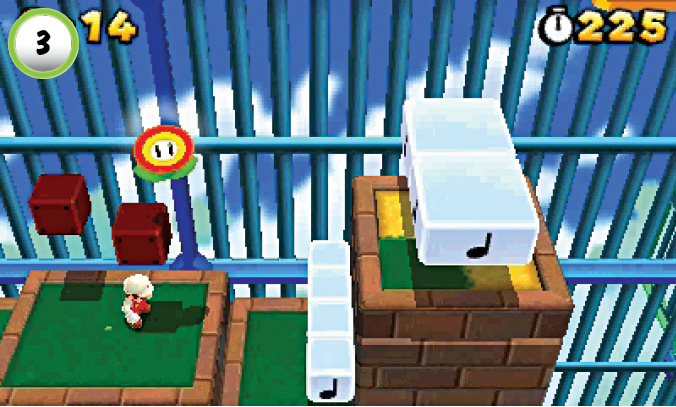
Hit the ? Block at Point 3 to collect another Fire Flower, then use the Note Blocks to bounce up to the next platform.
Star Medal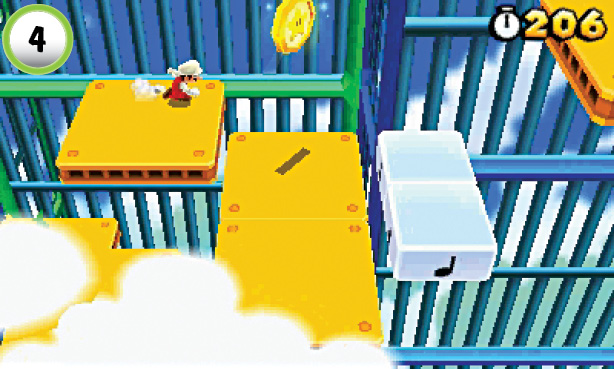 The second Star Medal is floating near the back wall at Point 4, so make sure you’re in position to grab it. As you jump along the moving platform, look for the Star Medal’s shadow to pinpoint its location. |
Star Medal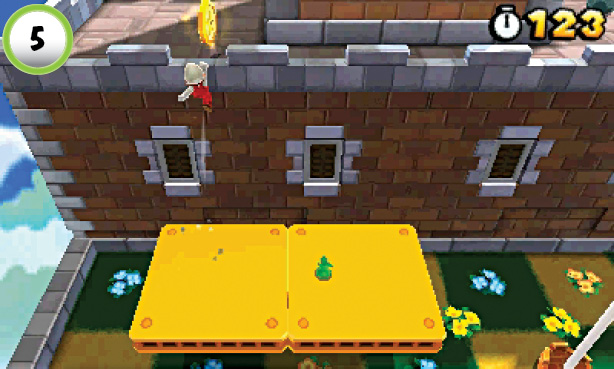 When you reach the end of the level, use the moving platforms to reach the level’s last Star Medal. As the platforms reach the top of their path, make a running leap to the building in the background. After you collect the Star Medal, hop back down to the platforms and make a running leap for the Goal Pole. |
Special 2-2
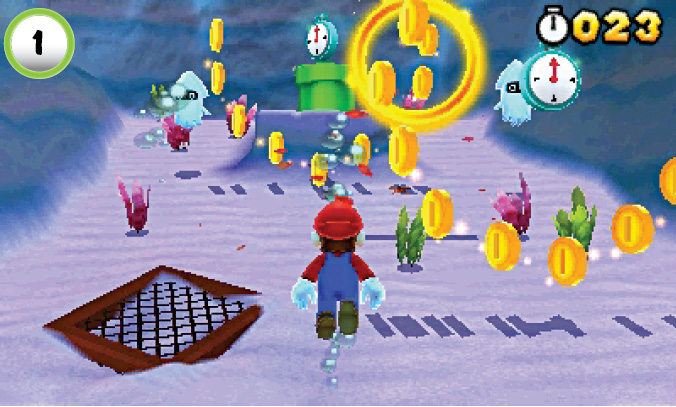
This level’s underwater areas make it particularly difficult to stay ahead of the clock. Swimming is much slower than running on dry ground, and the unpredictable Bloopers can force you off course. You’ll find several blue + Clocks in each area, and you’ll need to collect nearly all of them to reach the end of the level.
Star Medal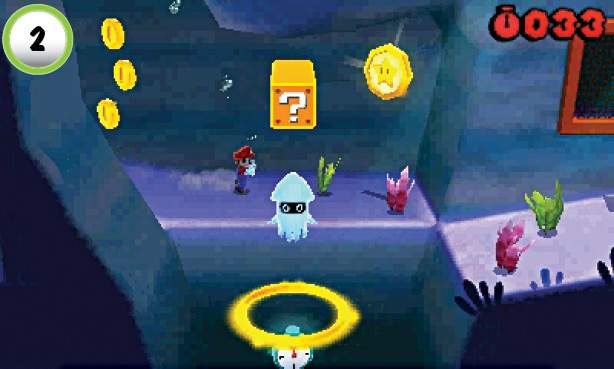 Collect the Star Medal at Point 2, then slip under the nearby Blooper to collect the + Clock below the coin ring. |
Star Medal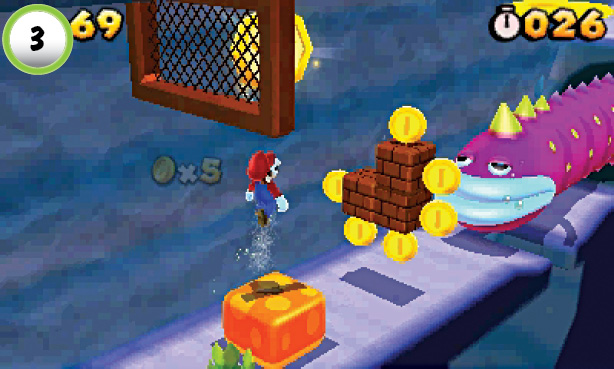 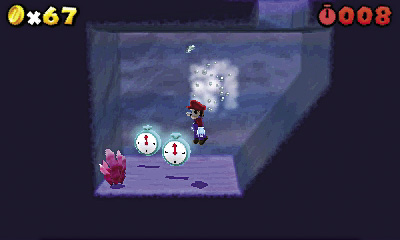 Touch down on the rubber pad at Point 3 to launch yourself through the Star Medal above you. Wait for the nearby Spike Eel to pull back into its den, then drop down through the opening in the tunnel floor. Ground-pound the Blooper and collect the two blue + Clocks. |
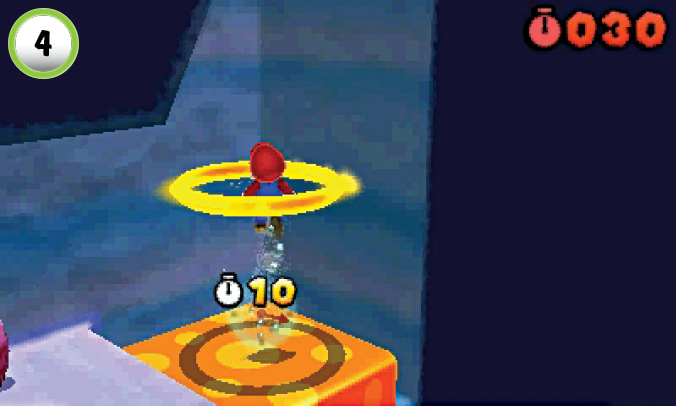
When you reach Point 4, touch down onto the rubber pad to bounce through the coin rings and return to the surface.
Star Medal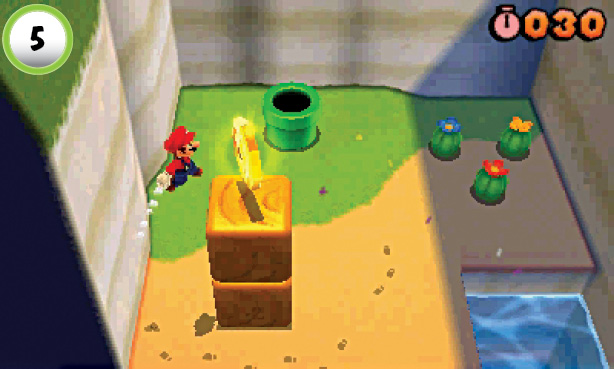 After you hop out of the water, run to the left and wall-jump up to the level’s last Star Medal. If you have enough time, stand on the Pipe and jump straight up to reveal an Invisible Block containing five coins. When you’re ready to leave, enter the Pipe to travel to the Goal Pole. |
Special 2-3
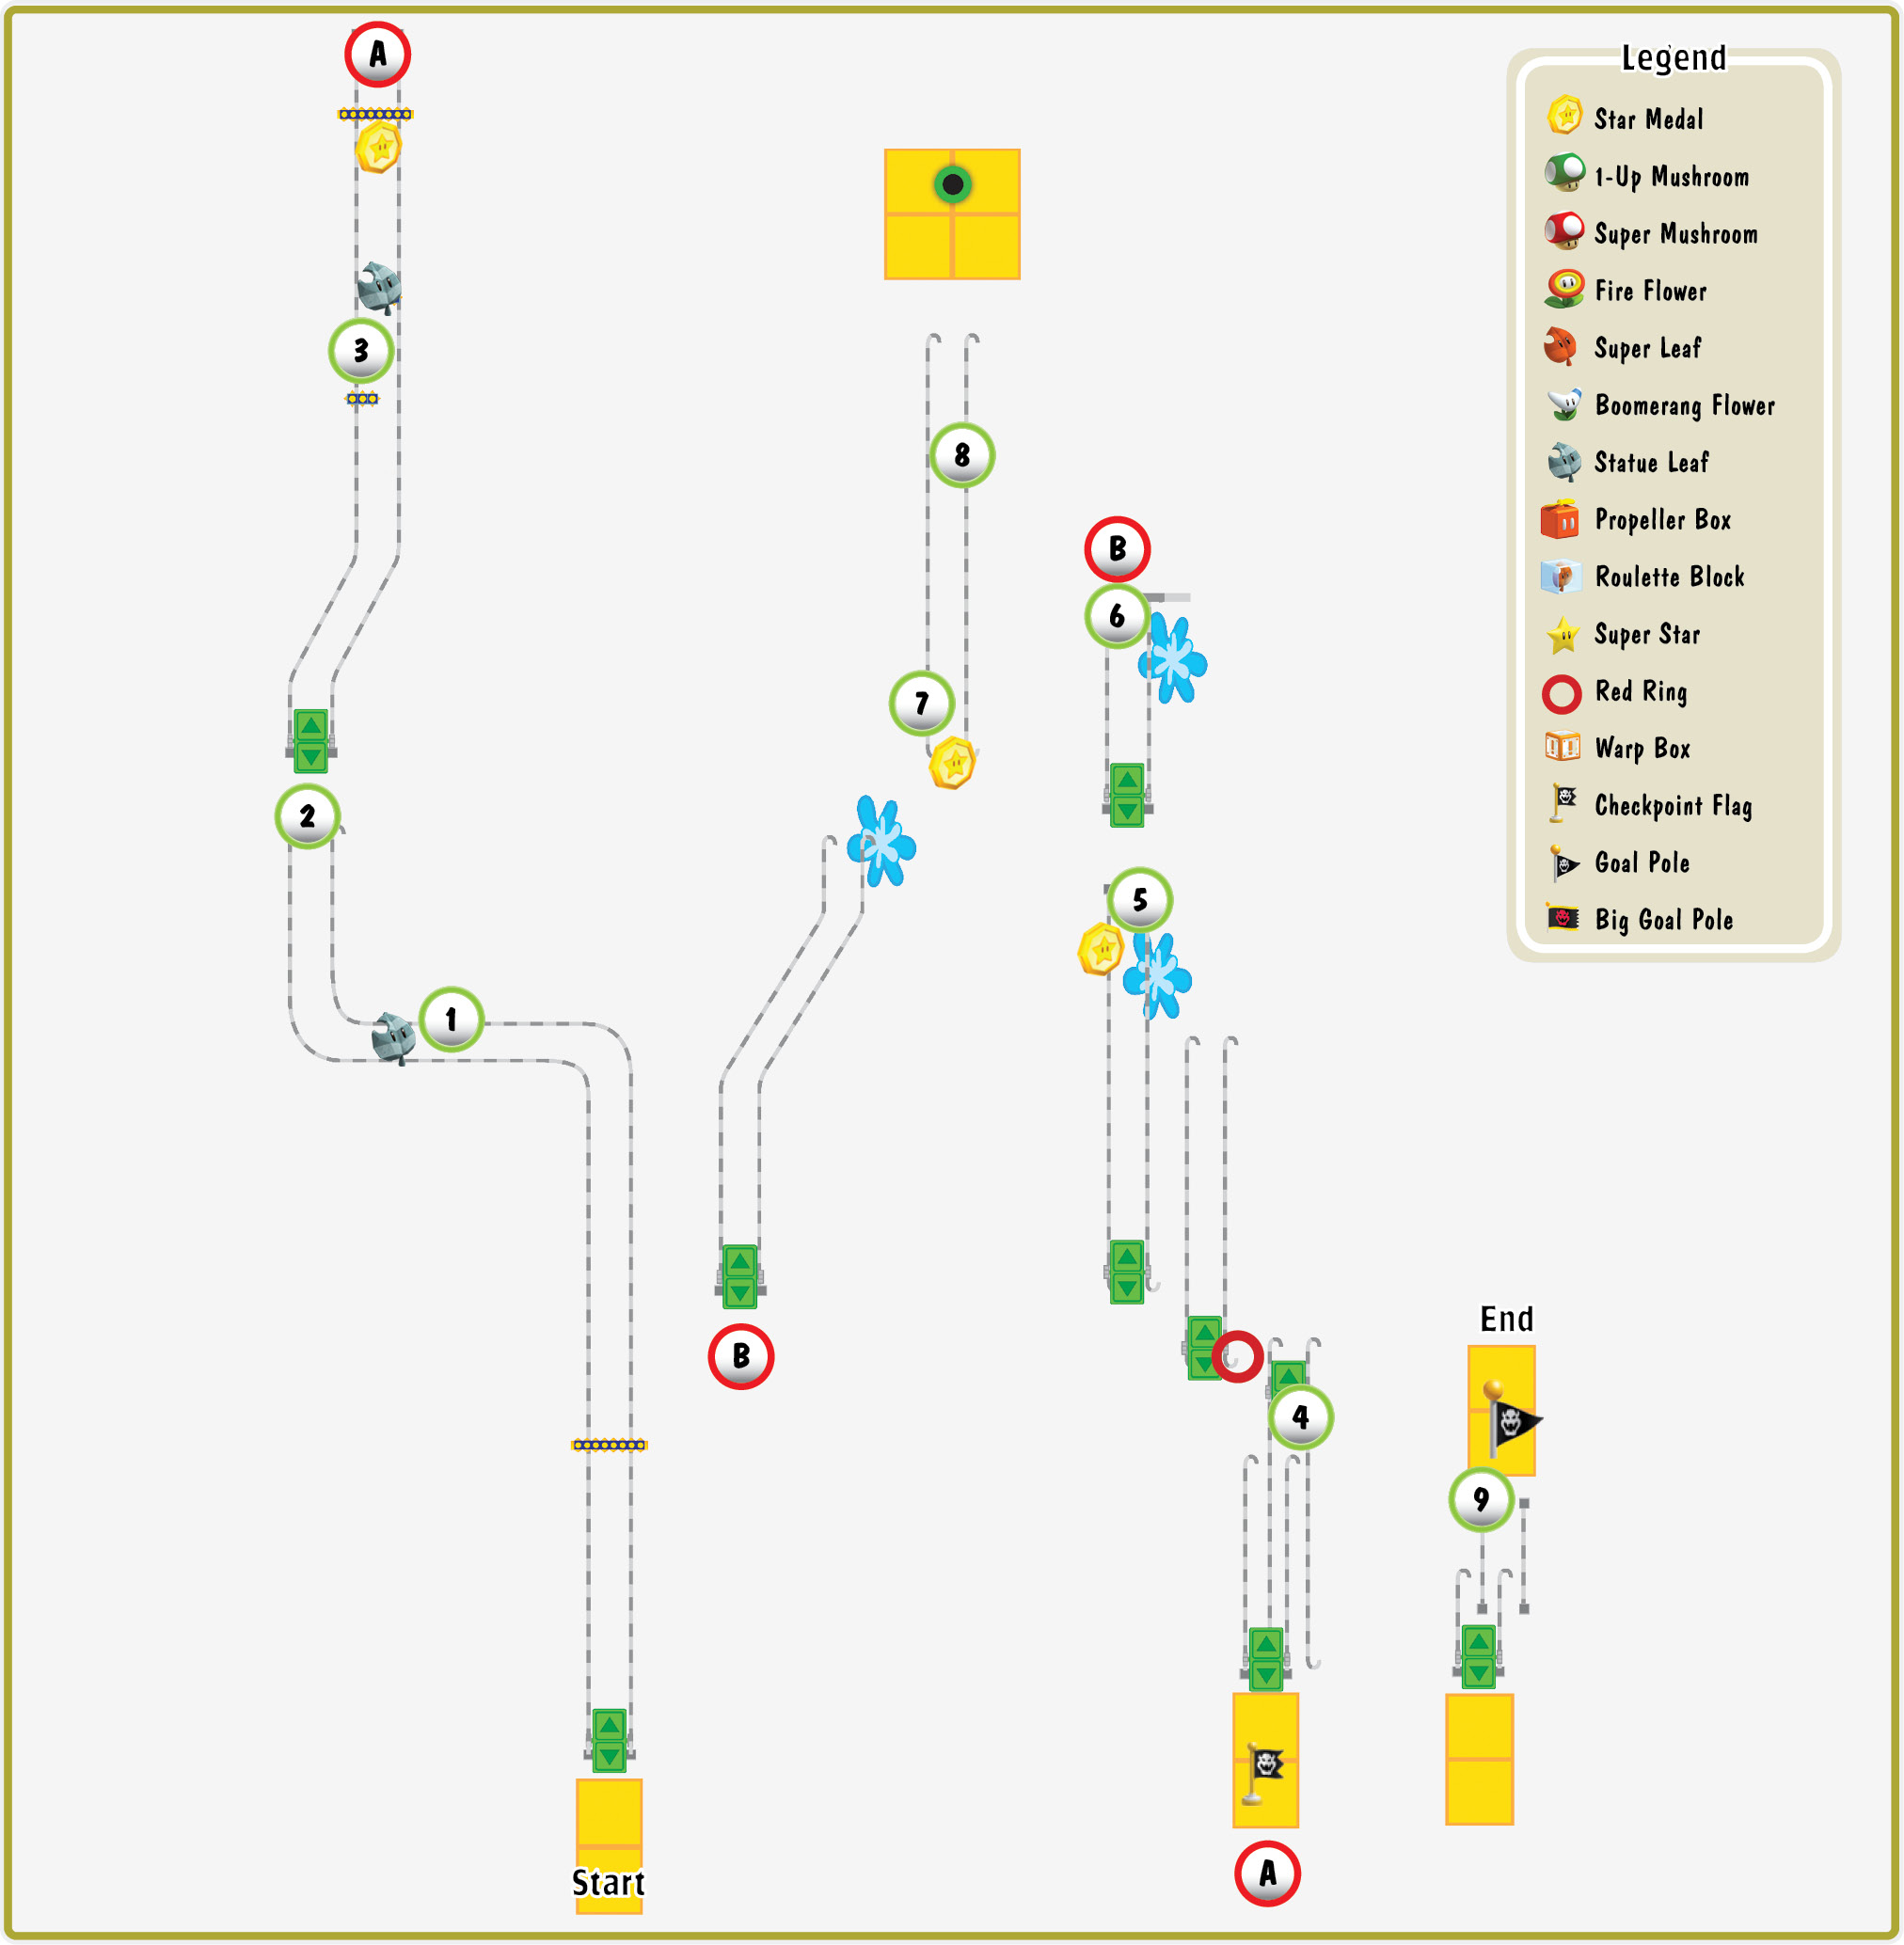
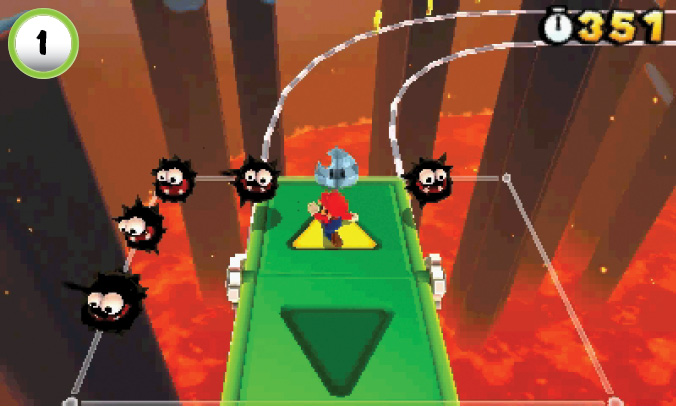
As you slip through the Fuzzies near the start of the level, keep an eye out for the Statue Leaf at Point 1. The power-up moves in and out of reach, so you may have to delay your approach to collect it.
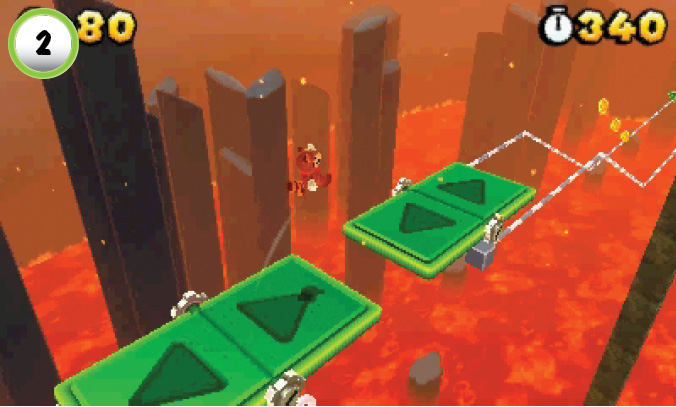
There’s a gap in the tracks at Point 2. As you begin to drop, make a running leap to the next Switchboard. As you continue along the tracks, you’ll encounter several dangerous drops. Depending on the situation, you may need to reverse direction or jump to safety.
Star Medal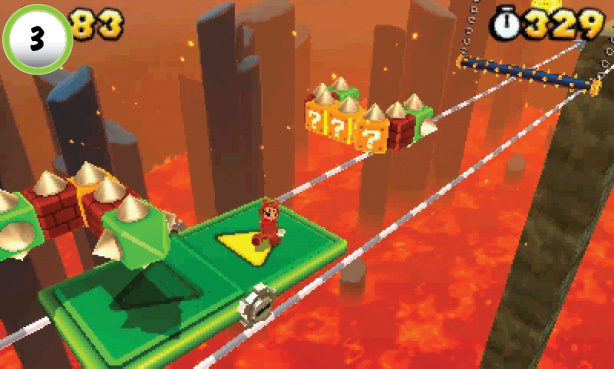 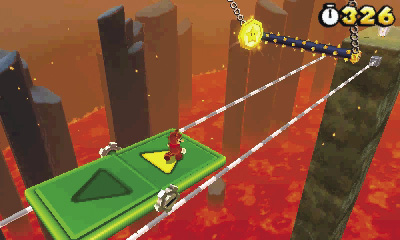 Defeat the second Blokkablok at Point 3 to collect another Statue Leaf, then continue along the tracks. As you approach the Star Medal, jump over the spikes and collect it. If you’re having trouble avoiding the spikes, ground-pound into your statue form and allow them to swing right into you. After you destroy the hazard, simply jump up to grab the Star Medal. |
Red Ring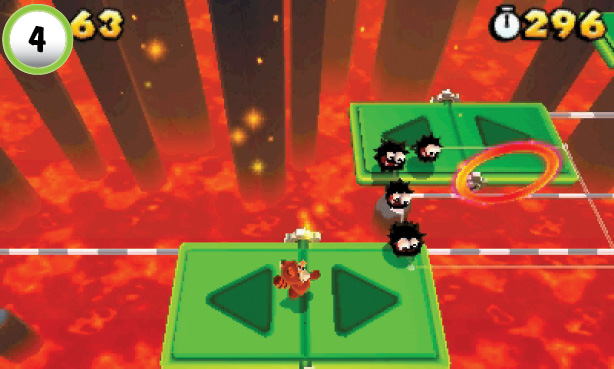 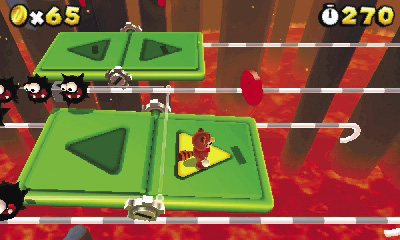 When you drop down to Point 4, watch out for the Fuzzies patrolling the tracks. The ? Block to the left contains a Poison Mushroom, so it’s best to skip it. Jump through the Red Ring, and use the next Switchboard to collect the first three coins. Hop over to the next track and collect the remaining Red Coins to earn a Statue Leaf. |
Star Medal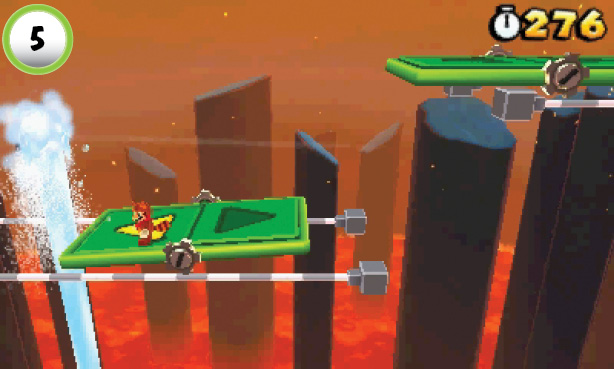 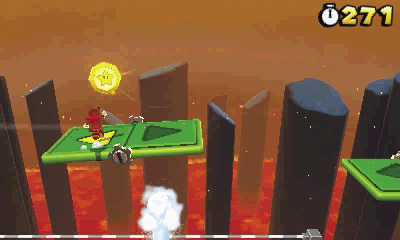 Pass over the geyser at Point 5, then reverse direction to approach it from the right. When you’re launched into the air, look for the Star Medal floating high above the tracks. Jump up to grab the Star Medal before you drop back down to the tracks. Pass over the geyser once more and jump to the next Switchboard. |
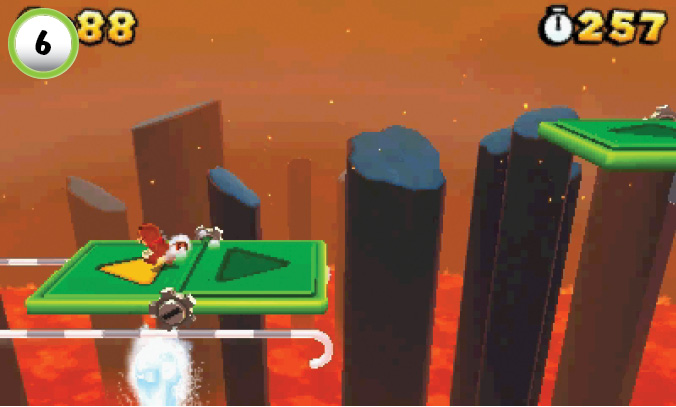
The geyser at Point 6 doesn’t fire off when you first pass over it. Move the Switchboard just past the geyser, then reverse direction before you fall off of the tracks. When the geyser launches you into the air, make a running leap to the next Switchboard.
Star Medal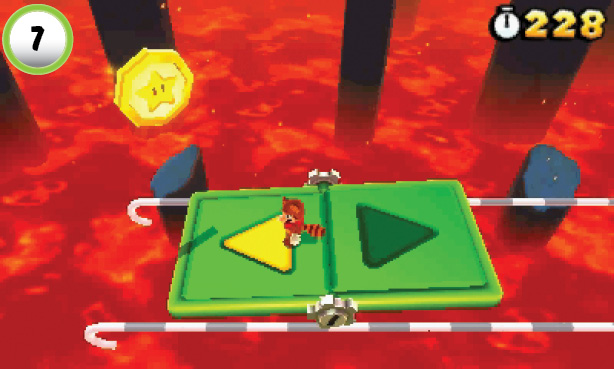 Before you enter the Pipe at the end of the tracks, use the Switchboard to collect the Star Medal at Point 7. Stop the Switchboard before it falls off the tracks, then grab the Star Medal and head back to the right. |
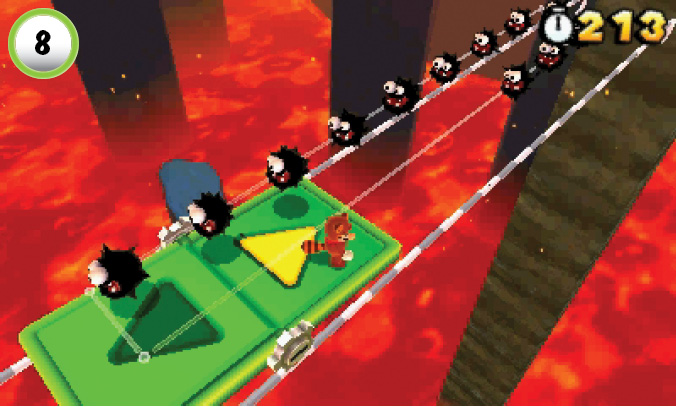
As you approach the Fuzzies at Point 8, jump up to slow down the Switchboard. Wait for a chance to slip past the patrolling enemies, or use your Statue form to ride straight through them. Continue to the end of the tracks, then jump to safety as the Switchboard falls through the gap.
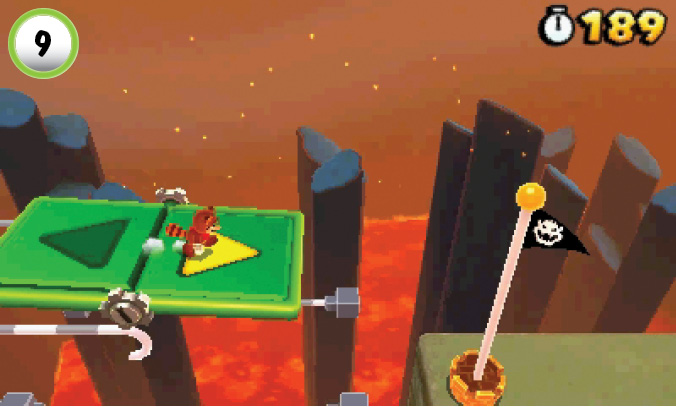
After you pass through the Pipe, use the ! Block to create a temporary path to the Switchboard. To reach the top of the Goal Pole, you must jump from the Switchboard before it drops down to the lower tracks.
Special 2-4
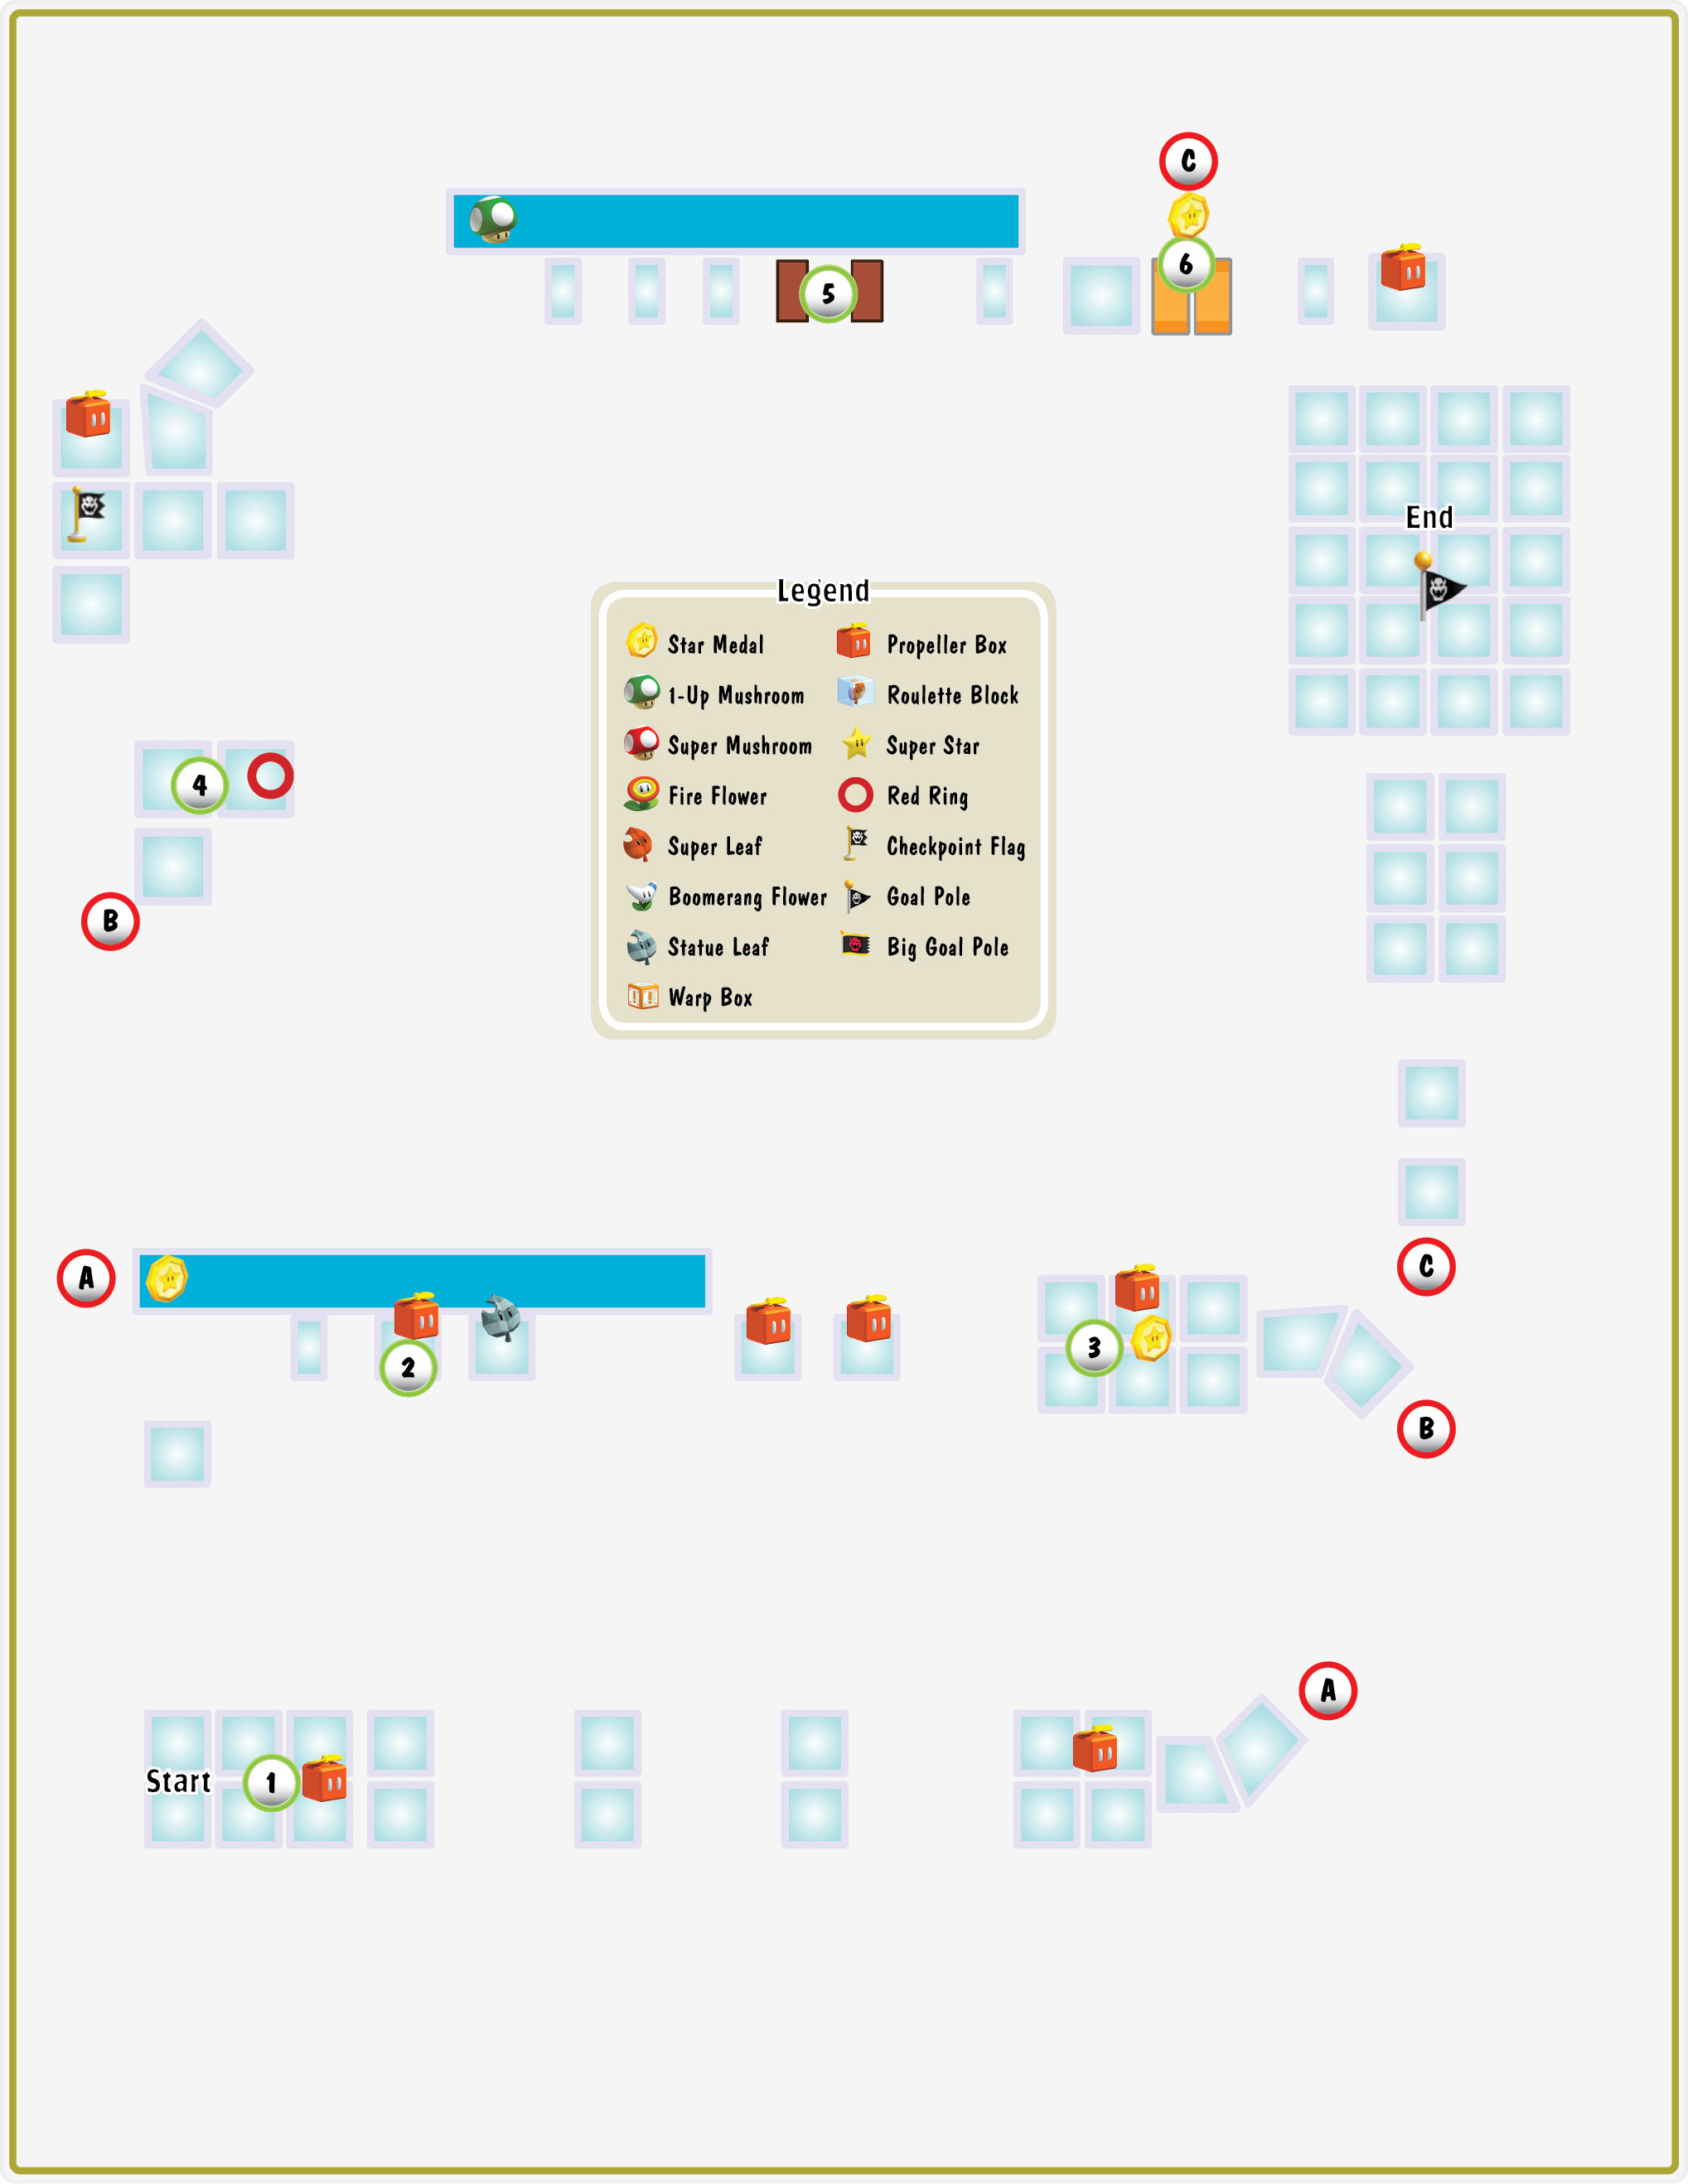
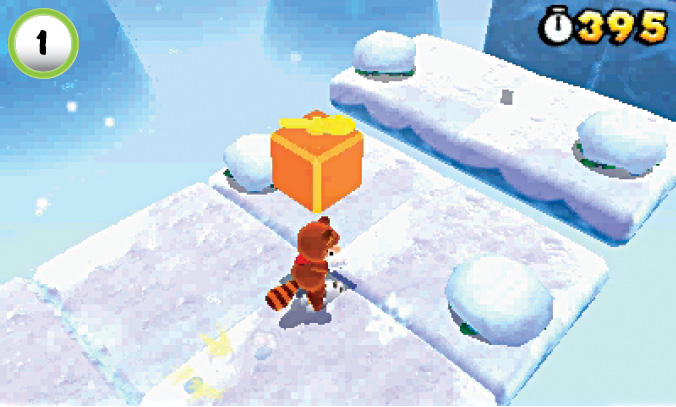
Grab the Propeller Box at the start of the level, and use it to climb up along the platforms. The Propeller Box is required to move between areas, so there are more of them located throughout the level. If you lose this essential power-up, check nearby ? Blocks to find a replacement.
Star Medal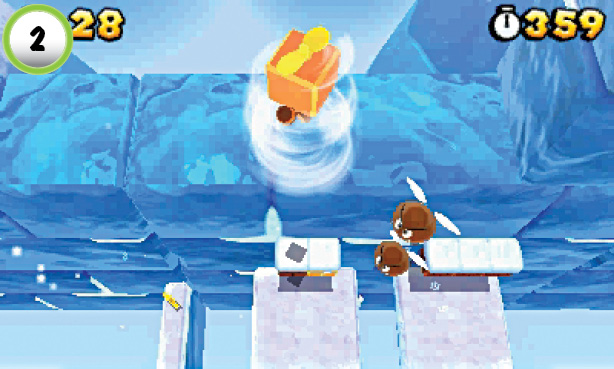 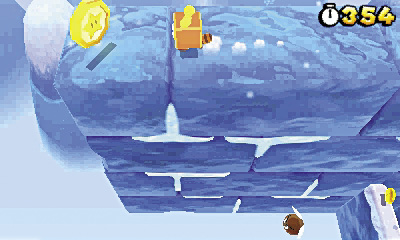 When you reach the Blocks at Point 2, fly up to the ledge above you. Run to the left until you find the Star Medal, then head back to the right and drop down to the main path. Before you move on, search the nearby Blocks to find a Statue Leaf. |
Star Medal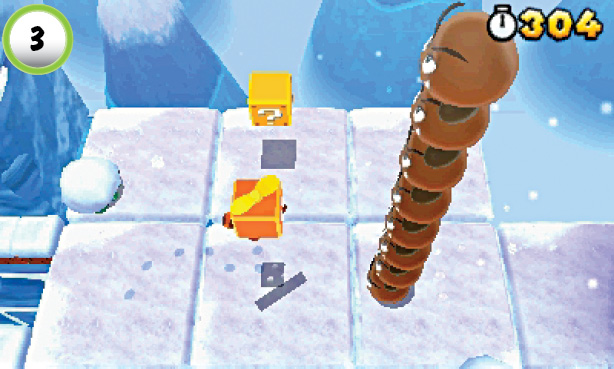 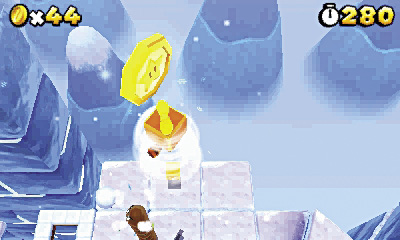 The second Star Medal is floating high above Point 3; consider using the nearby Goomba Tower to give you the extra boost you’ll need to collect it. Move toward the Goombas until they attack, then stand near the Star Medal’s shadow. When they move into range, use the Propeller Box to fly into the air. Bounce off of the Goomba at the top of the stack, and fly up to grab the Star Medal. On your way down, clear out each of the Goombas to earn some extra lives. |
Red Ring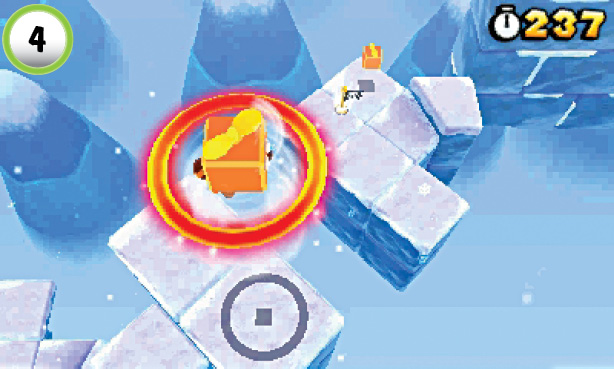 There’s a Red Ring floating above the platforms at Point 4, so look for its shadow as you approach the area. Stand at the center of the shadow, and use the Propeller Box to fly up through the Red Ring. Float down through each of the Red Coins before they vanish to earn a Statue Leaf. |
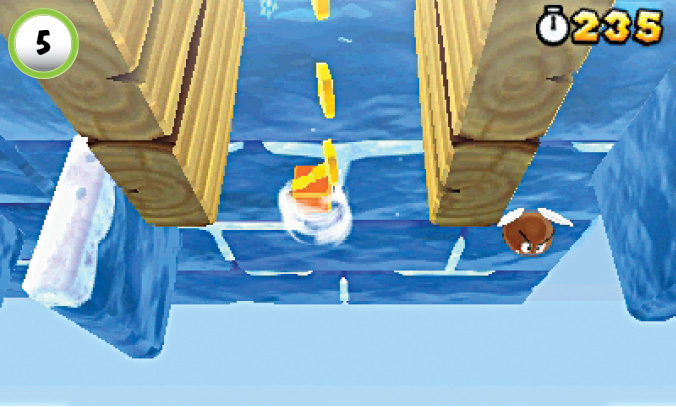
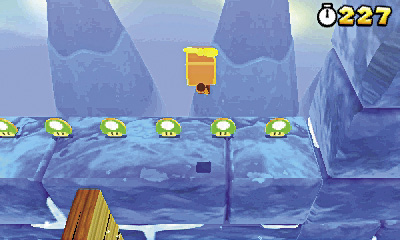
The wooden barriers at Point 5 are too high to fly over, so you must approach them from below. Hop off of the platform and pass under the first barrier, then hold the jump button to fly up between them. When you start to float back down, steer toward one of the barriers and perform a series of wall jumps to reach the next platform. When you land, use the Propeller Box to reach the ledge above you. Follow the 1-Up Mushroom Boards to the left to discover a real 1-Up Mushroom hidden among them.
Star Medal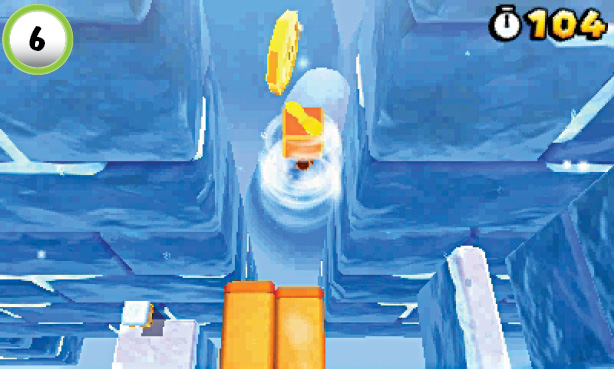 When you reach the Donut Blocks at Point 7, fly up and collect the level’s last Star Medal. Float down to ensure a safe landing as you return to the path. Clear out the Goomba Tower to collect a few more extra lives, then continue to the end of the level. |
Special 2-5
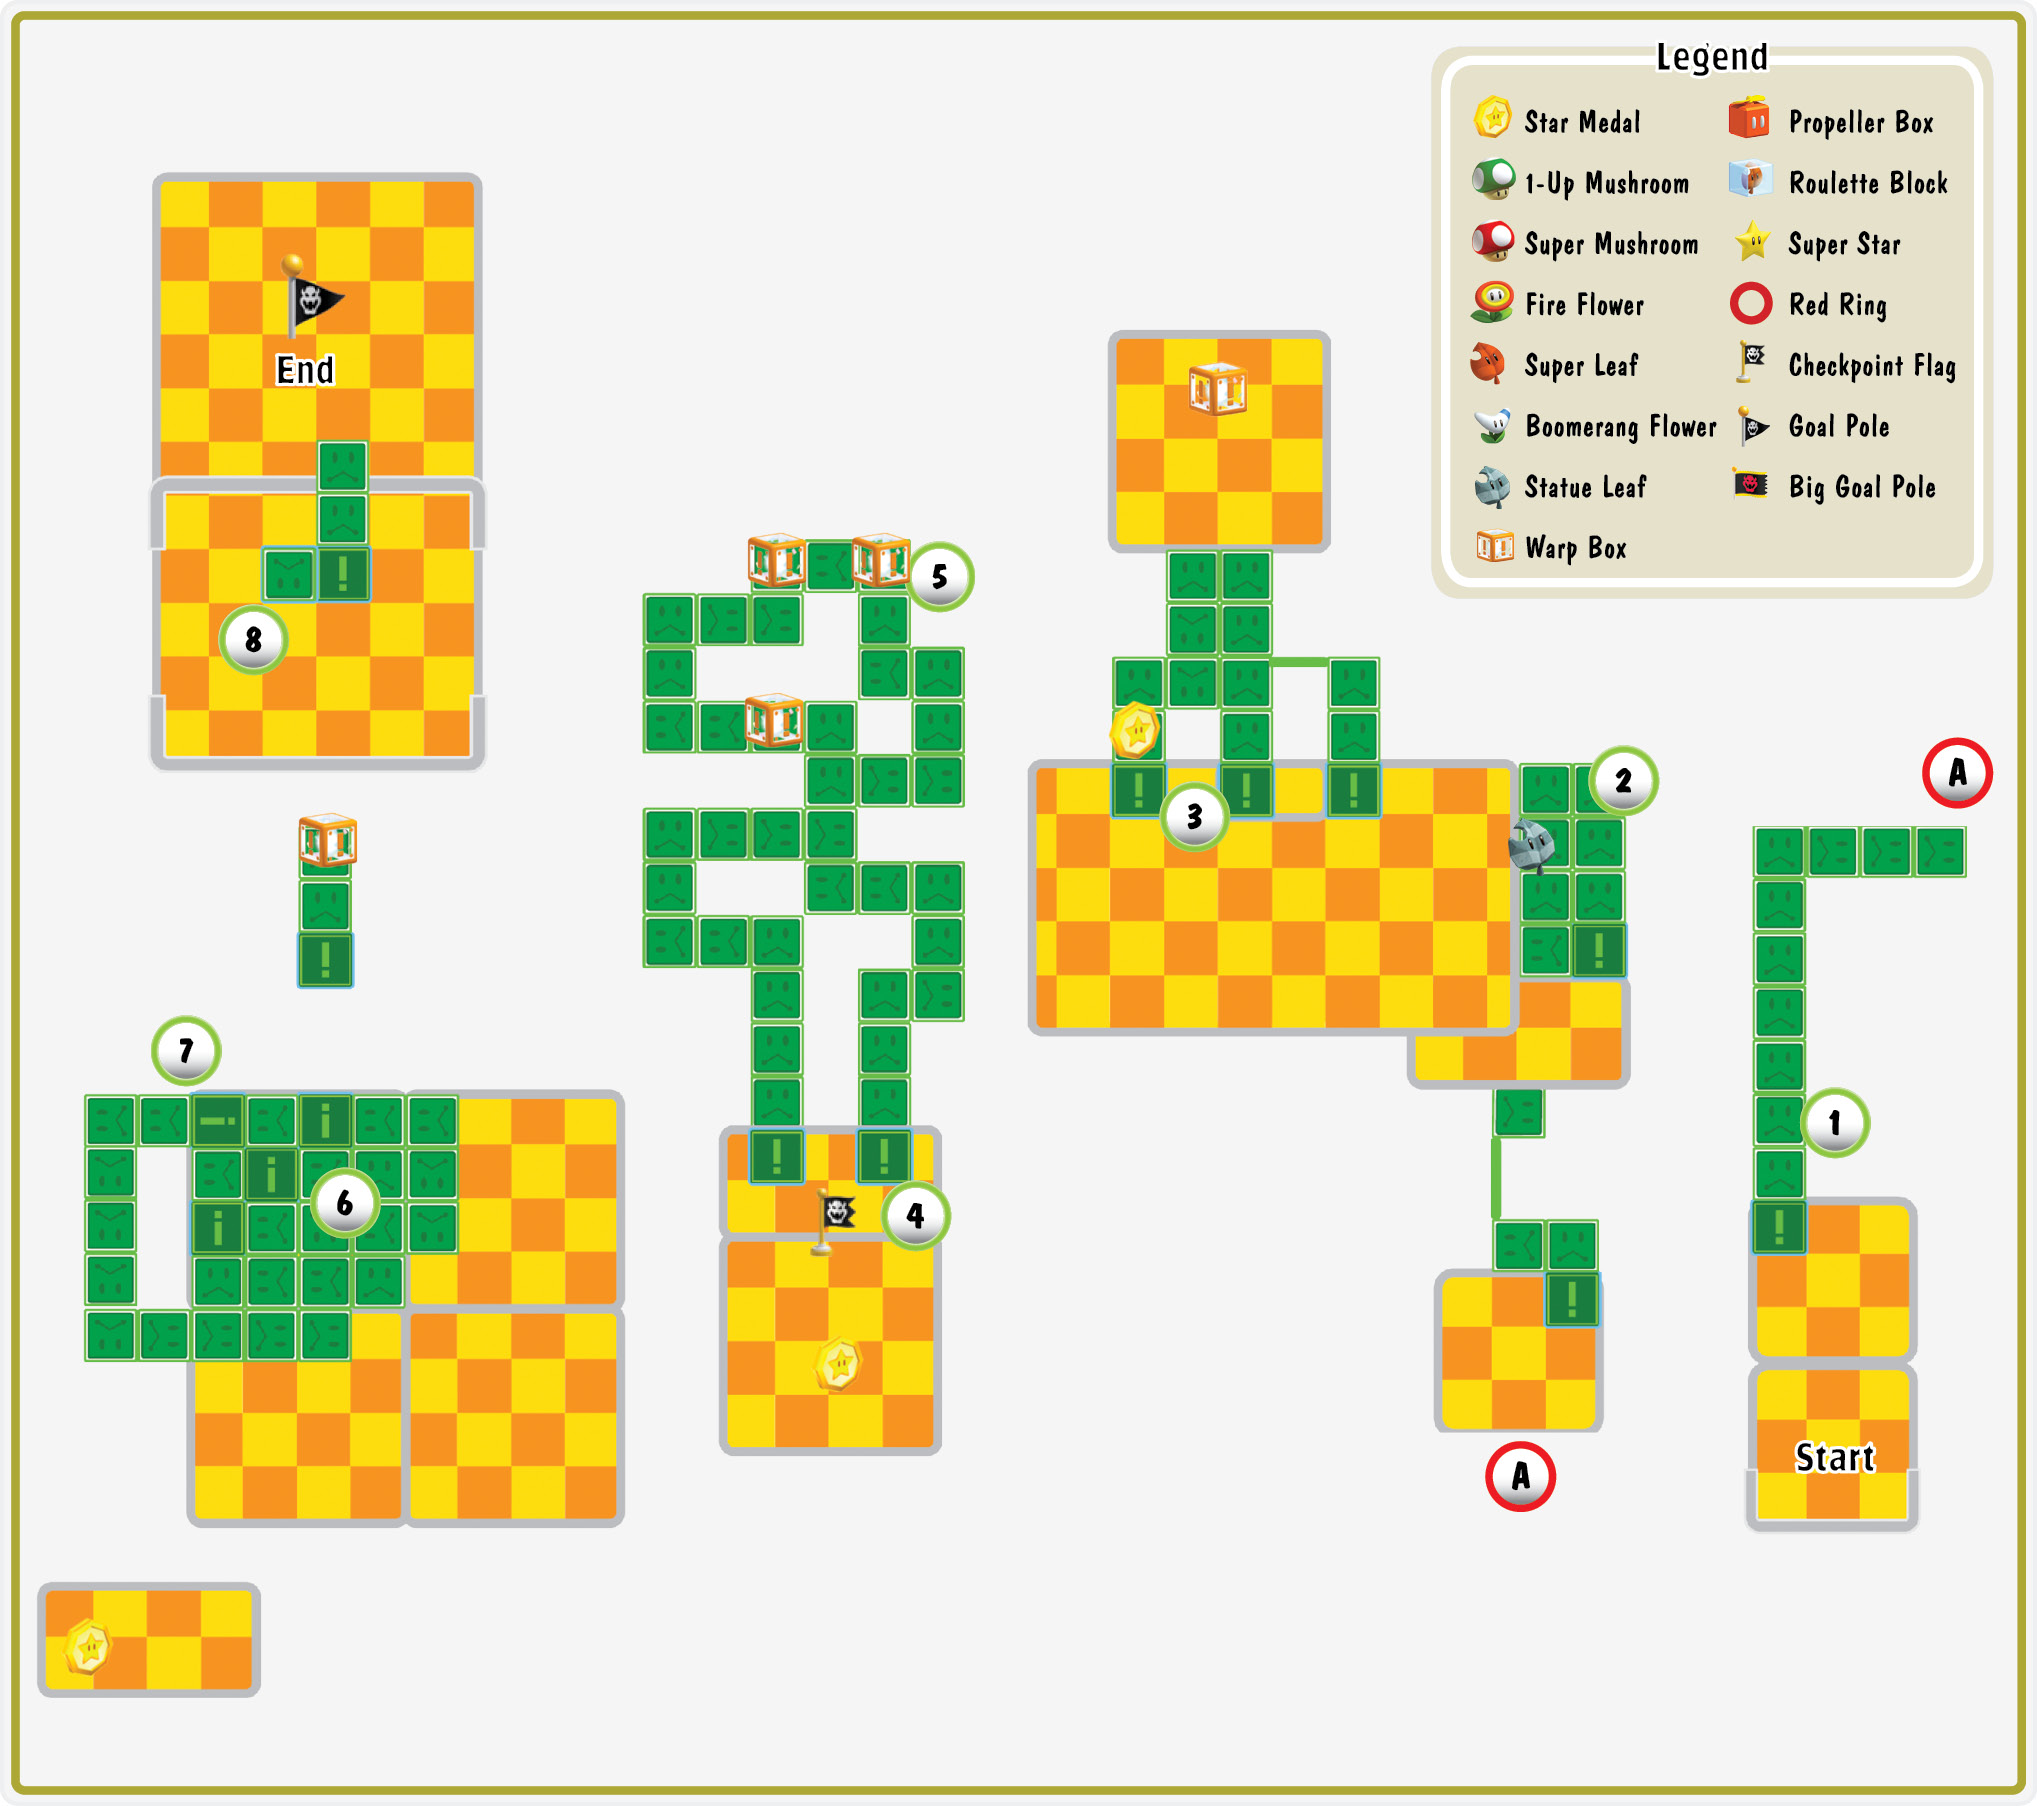
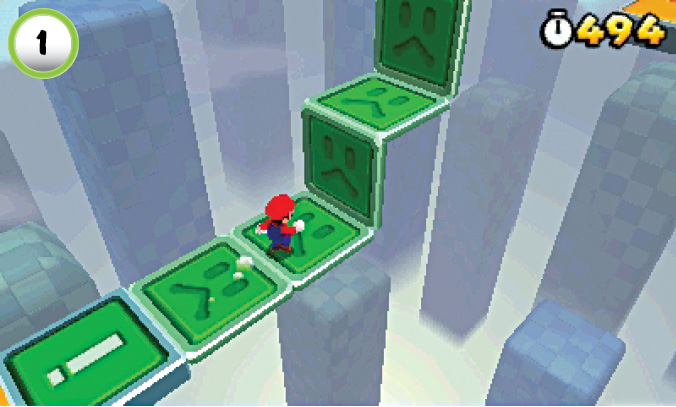
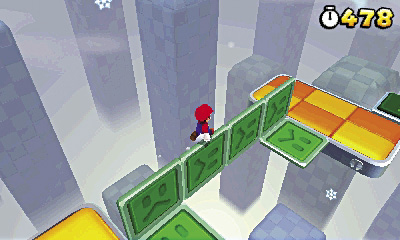
To progress through this level, you must use Flip Panels to create temporary paths. Many of these paths are longer or more complicated than those found in similar levels. Before you trigger a Flip Panel, check the area for patrolling Stingbies.
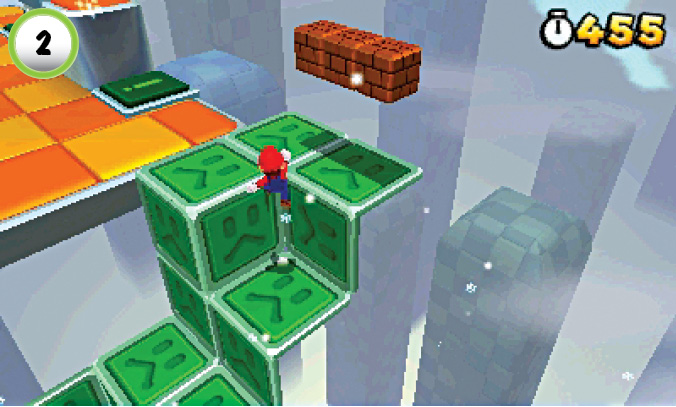
One of the Blocks at Point 2 contains a Statue Leaf. Make sure you grab it before the Flip Panel resets.
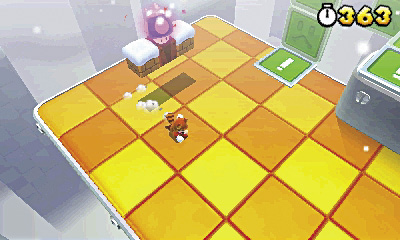
Star Medal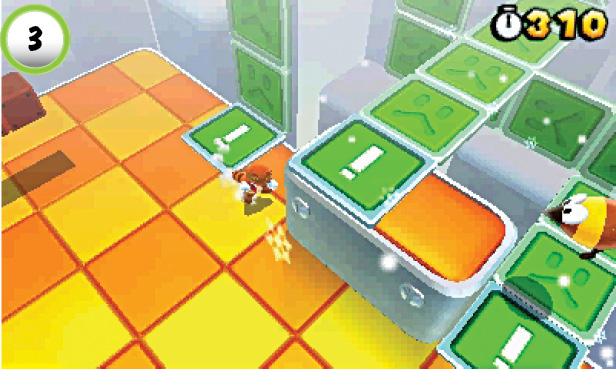 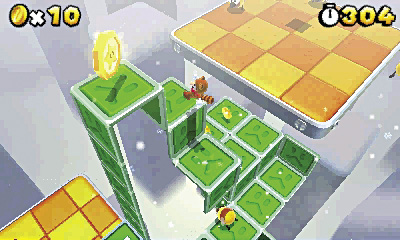 Step on each of the Flip Panels at Point 3. Start from the platform’s right edge to end with the Flip Panel on the left. As the three paths connect, follow them up to the level’s first Star Medal. Climb up along the path and grab the Star Medal, then jump over to the platform before the path collapses. |
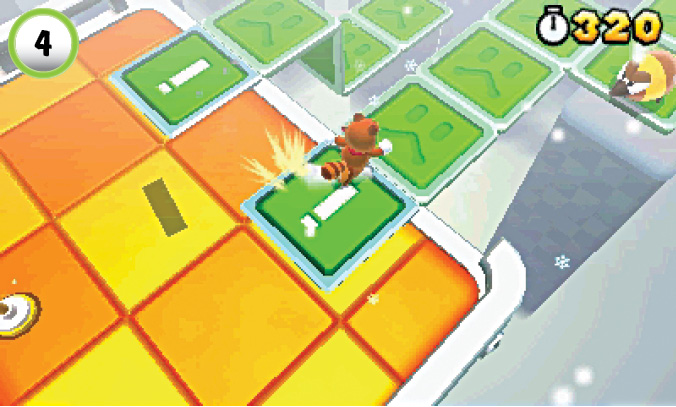
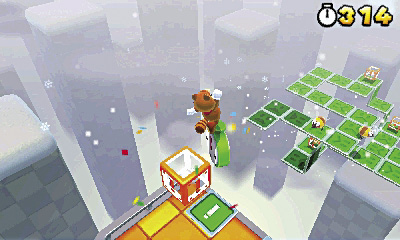
When you step on the two Flip Panels near the Checkpoint Flag, their paths combine to wind past three Warp Boxes. Enter the nearest Warp Box to collect a green + Clock floating above the Checkpoint Flag. Wait for the Flip Panels to reset, then trigger them again and run to the end of the path.
Star Medal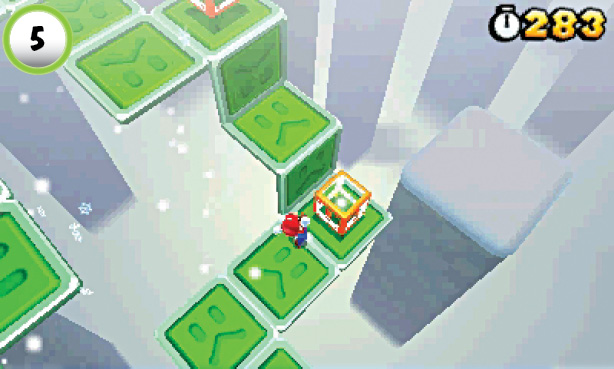 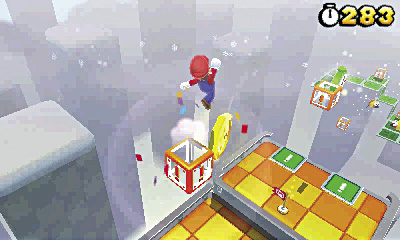 As you approach the end of the path, jump down to the lower Warp Box. When you emerge, you automatically collect the second Star Medal. Trigger the Flip Panels one more time, and run to the remaining Warp Box to move on. |
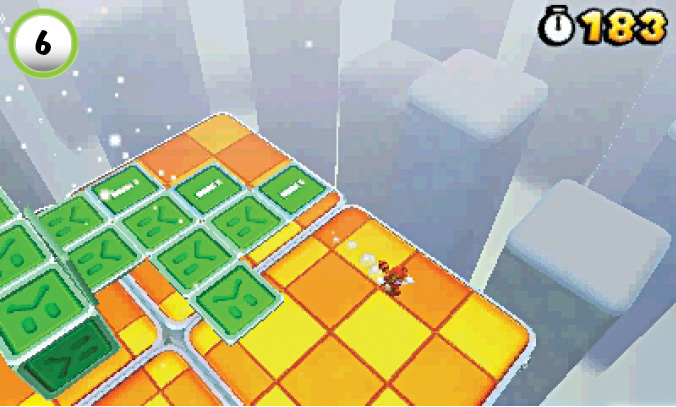
When you trigger the Flip Panels at Point 6, their paths combine to form a large structure. As the paths emerge, dash ahead of them before they trap you in the corner. Jump up along the structure to find two more Flip Panels.
Star Medal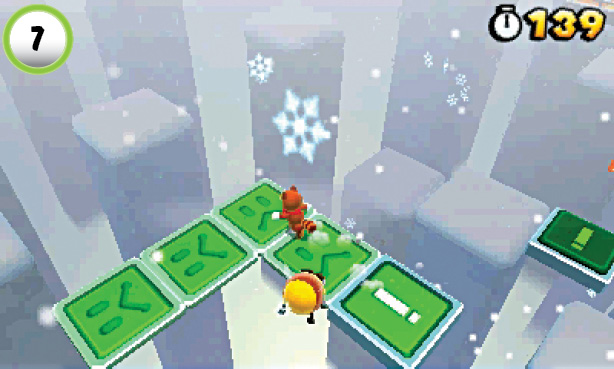 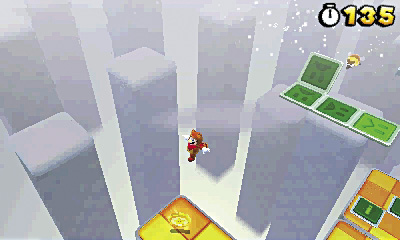 After you climb up to Point 7, jump onto the Flip Panel to the left. Follow the path through its first left turn, and dash along the straightaway. When you reach the second turn, jump straight off of the path to find the last Star Medal on a hidden platform. |
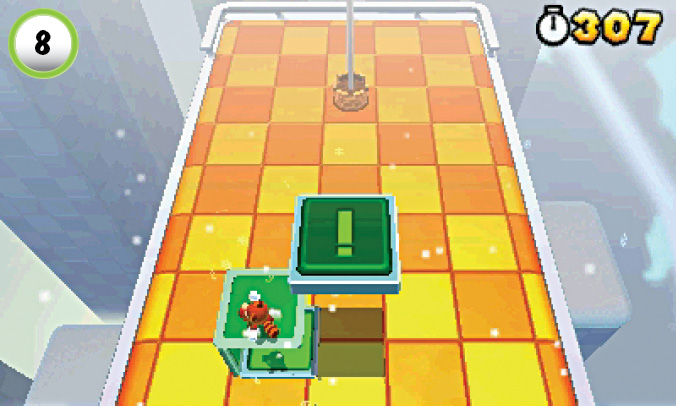
Before you can reach the top of the Goal Pole, you must reach the Flip Panel floating above the platform. When you trigger the Flip Panel on the ground, it creates a small structure. Jump up to land on each level of the structure as it unfolds. Hop up to the floating Flip Panel, then make a running leap to the top of the Goal Pole.
Special 2—Ship
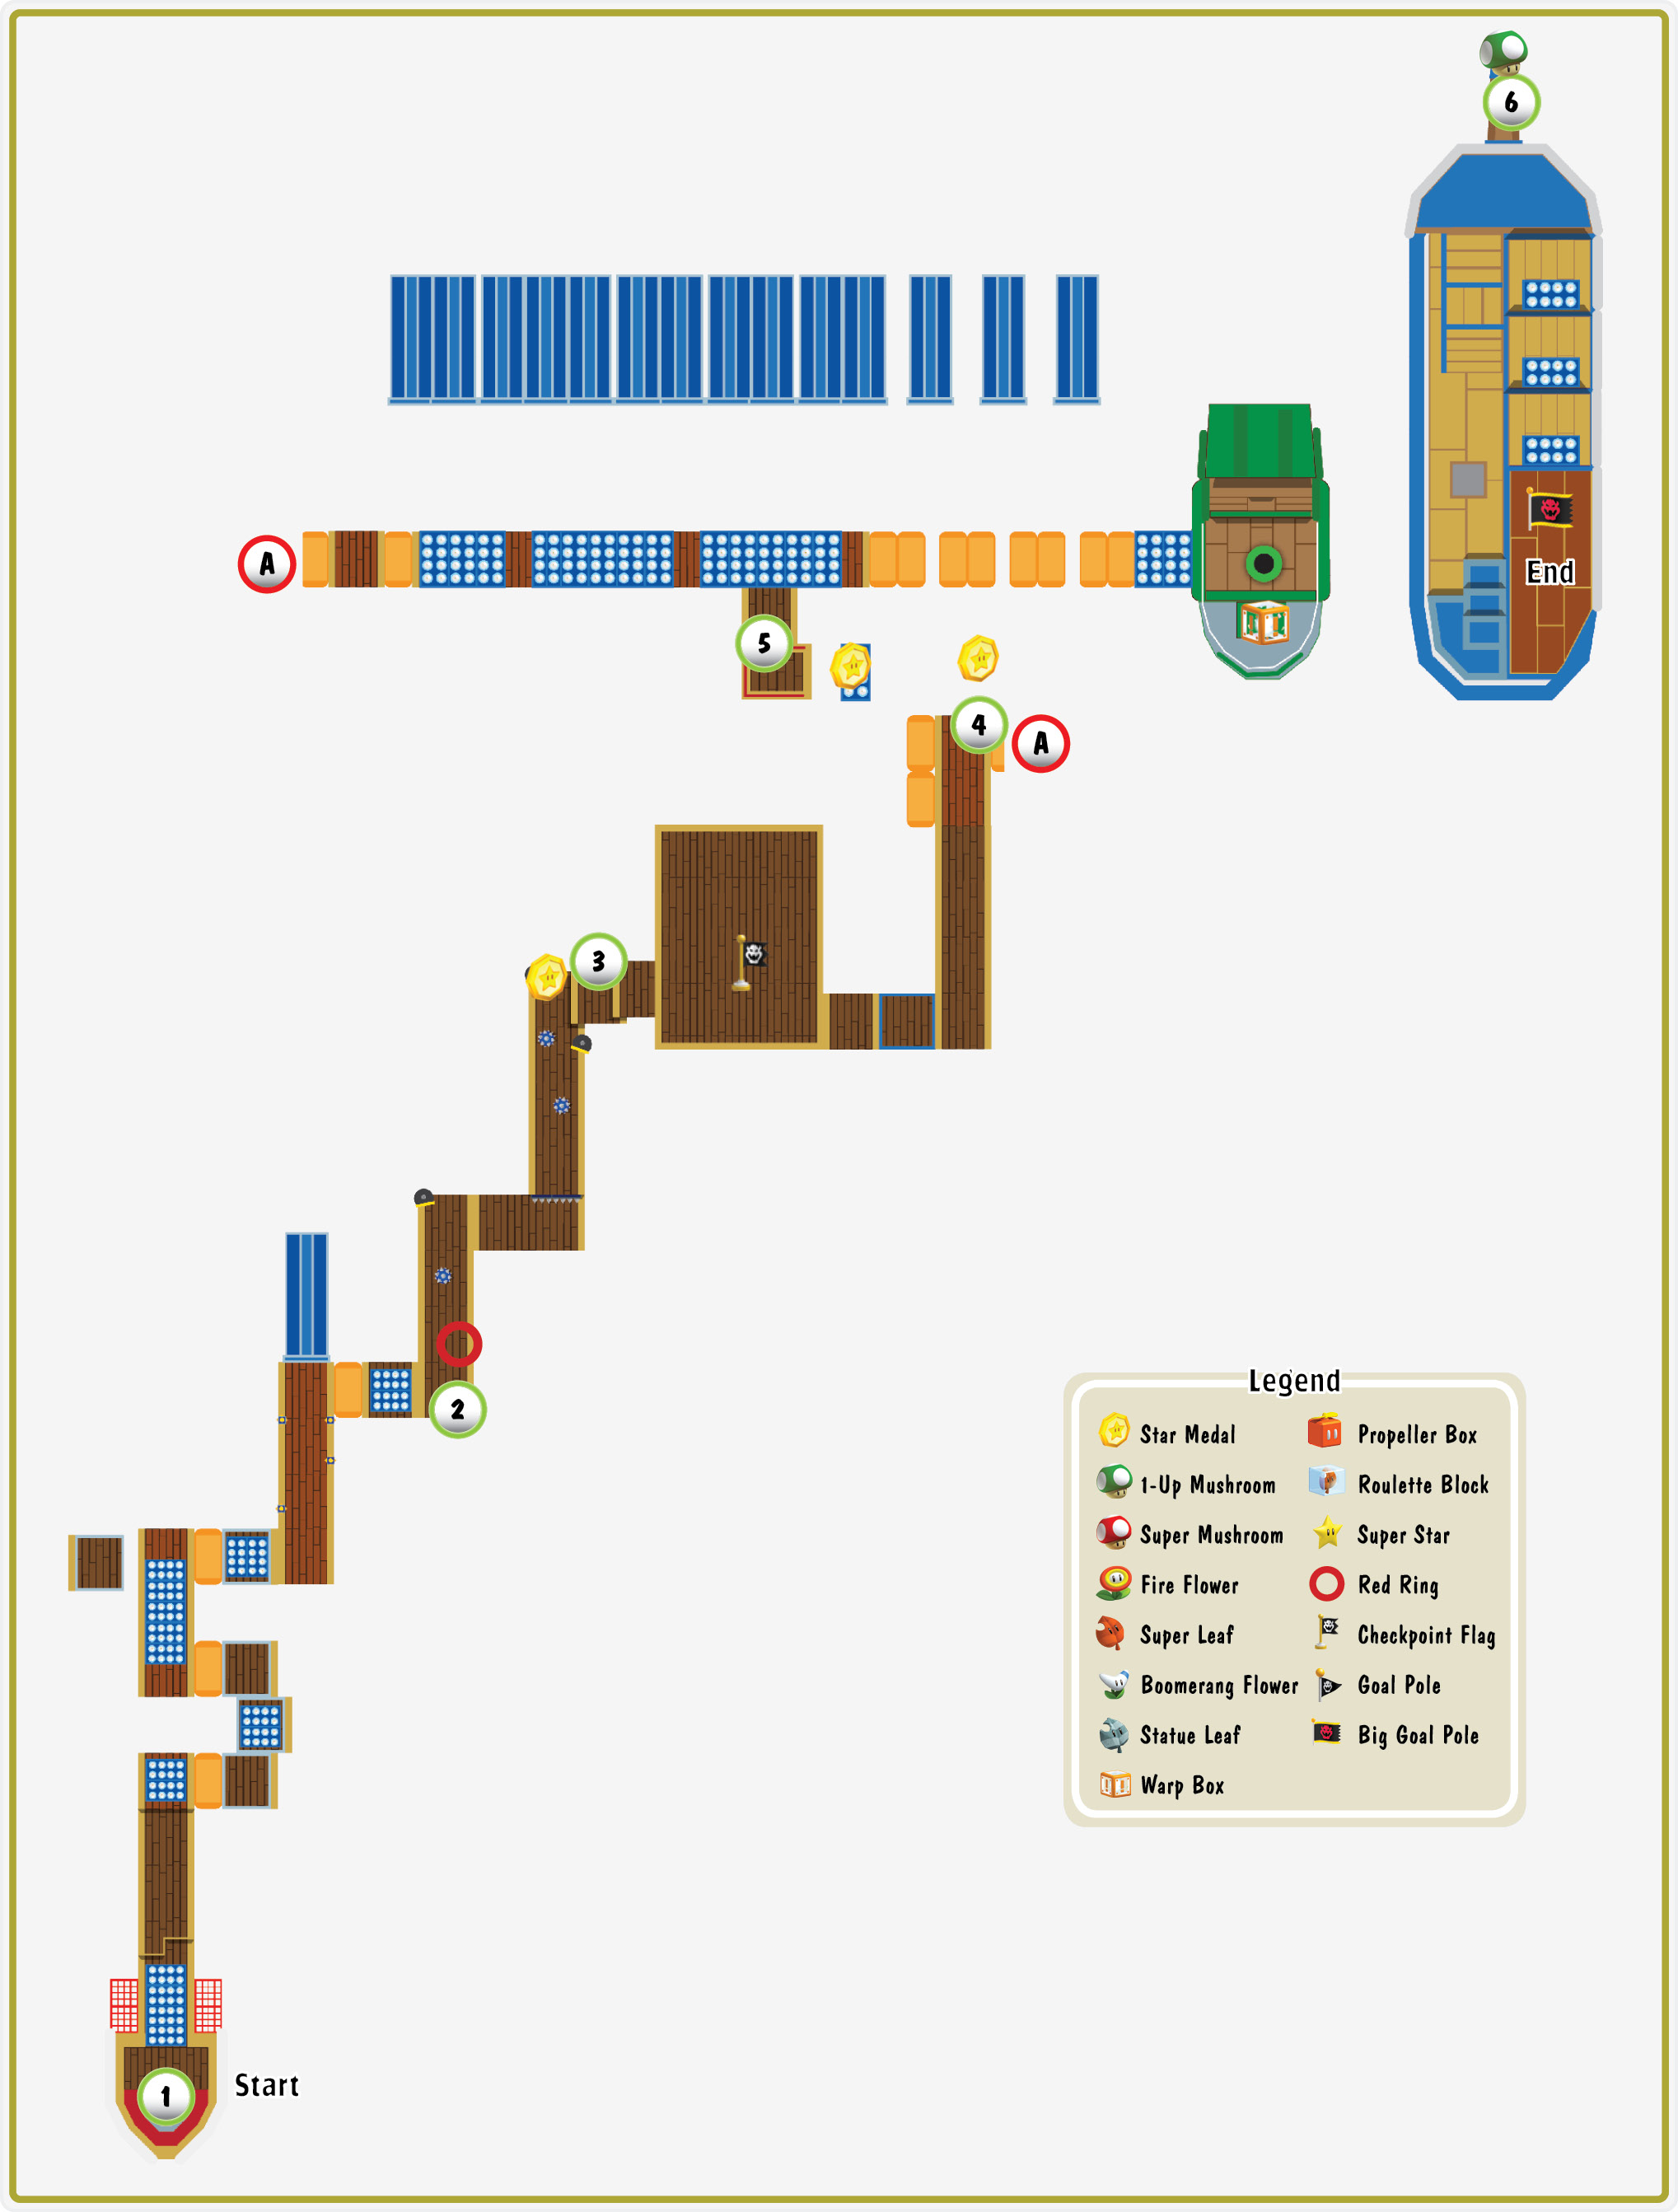
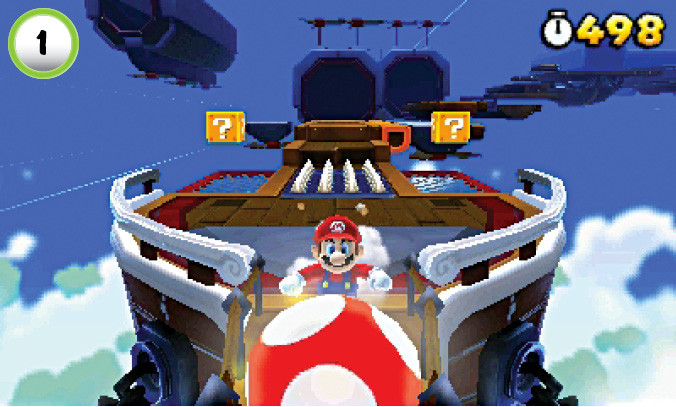
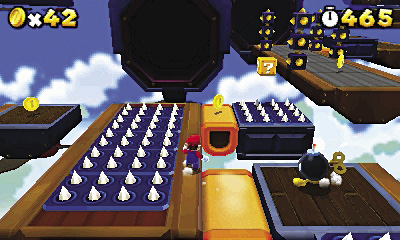
When the level starts, move toward the bottom of the screen to find a hidden Super Mushroom. When you search the nearby ? Blocks, avoid the one on the right; it contains a Poison Mushroom. As you continue along the main path, you must negotiate unstable platforms, Bob-ombs, and retractable spikes. The narrow strip of wood that runs alongside the spikes allows you to avoid most of these hazards.
Red Ring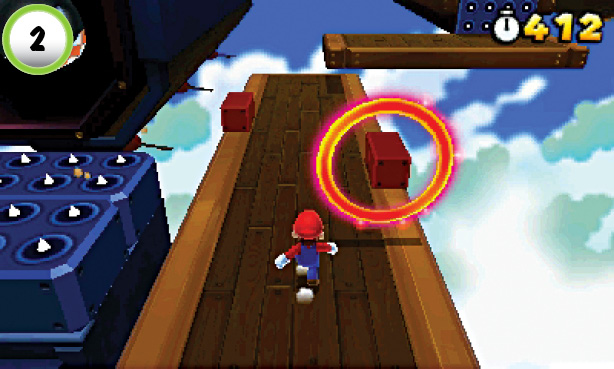 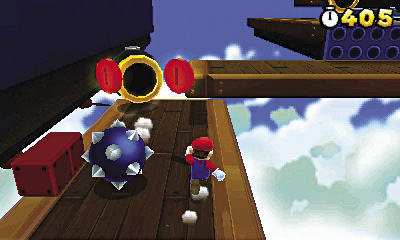 When you pass through the Red Ring at Point 2, a small Cannon appears at the end of the platform. As you collect the Red Coins, the Cannon fires spiked balls at you. Dodge the attacks, and collect all of the Red Coins to earn a Statue Leaf. |
Star Medal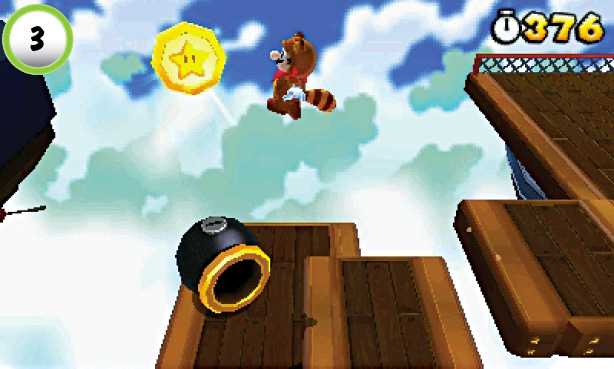 The first Star Medal is located above one of the small Cannons. As you approach the Cannons near Point 3, dodge the spiked balls they fire at you. After you make it safely past the Cannons, you’re free to collect the Star Medal. Hop on the Cannon and perform a backflip, or flutter-jump from the ledge to the right. |
Star Medal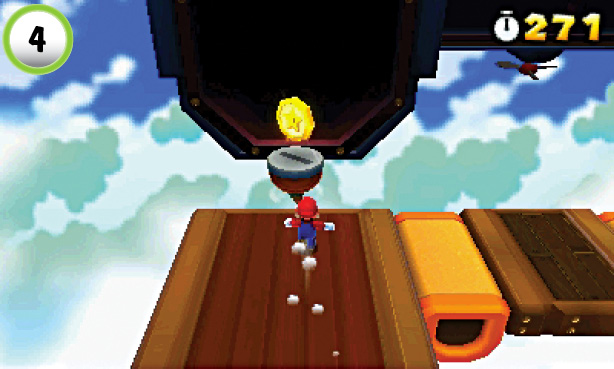 The second Star Medal is on a small platform at Point 4. When you jump over to collect it, a Banzai Bill appears right in front of you. Jump back to the walkway and get clear of the Banzai Bill before it leaves its chamber. |
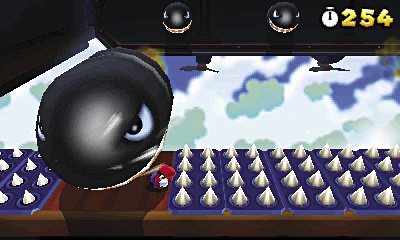
Star Medal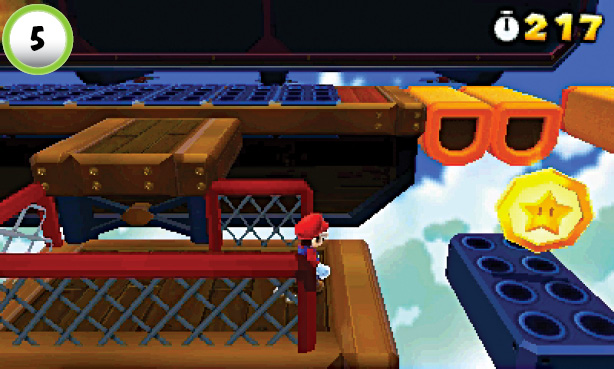 As you make your way across the walkway, look for the platforms at Point 5. Drop down to find the Star Medal floating above a set of retractable spikes. Wait for the spikes to drop down, then jump across and grab the Star Medal. Hop back to the platforms before the spikes reappear and return to the main path. |
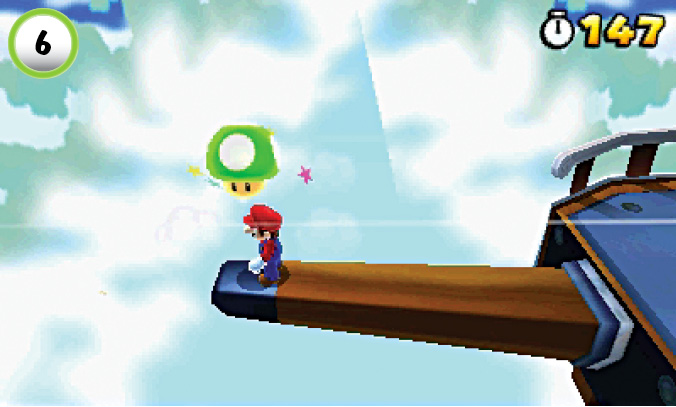
When you reach the end of the level, walk onto the ship’s bowsprit. Smash the 1-Up Mushroom Board to collect a real 1-Up Mushroom, then head to the right to attempt your Goal Pole jump.