
Super Mario 3D Land Guide Walkthrough Worlds
World Six
World 6-1
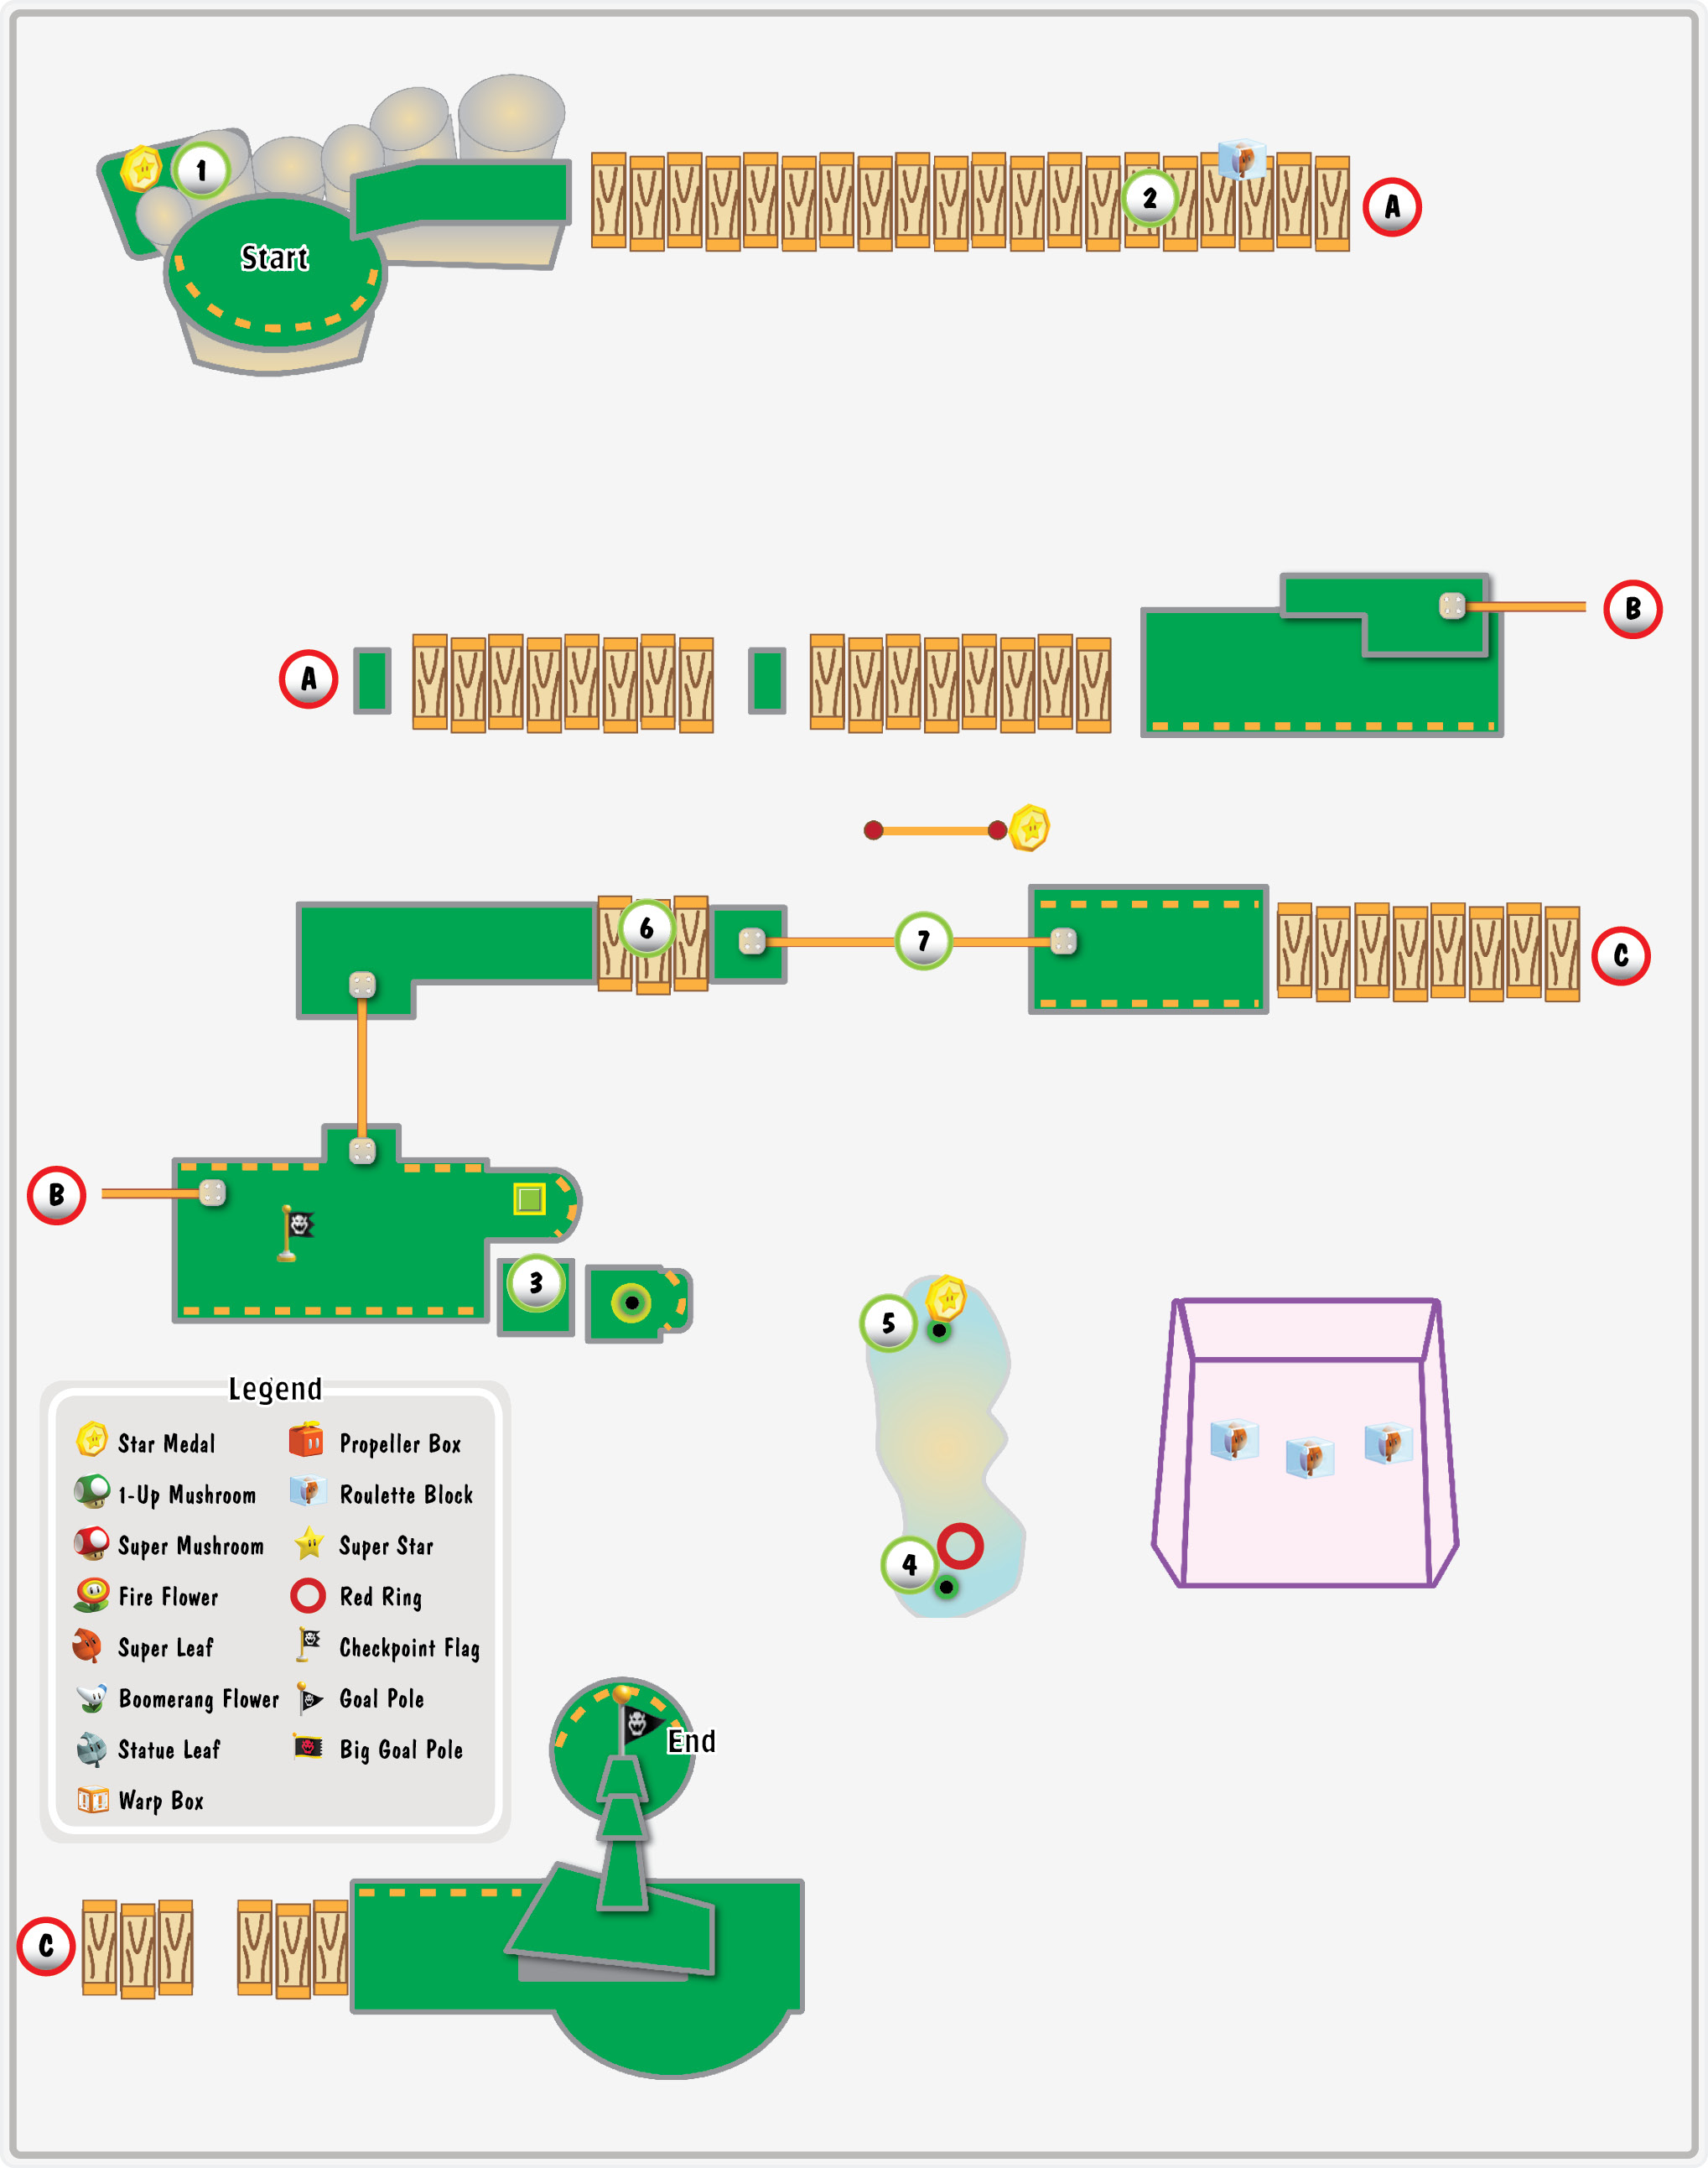
Star Medal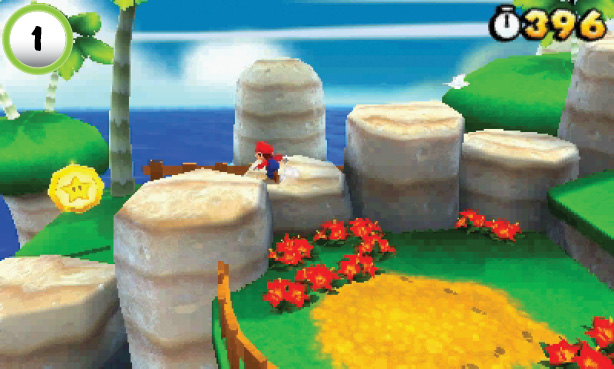 When the level starts, jump onto the stone platforms to the left. Drop down to collect the Star Medal from the hidden ledge, then return to the main path. |
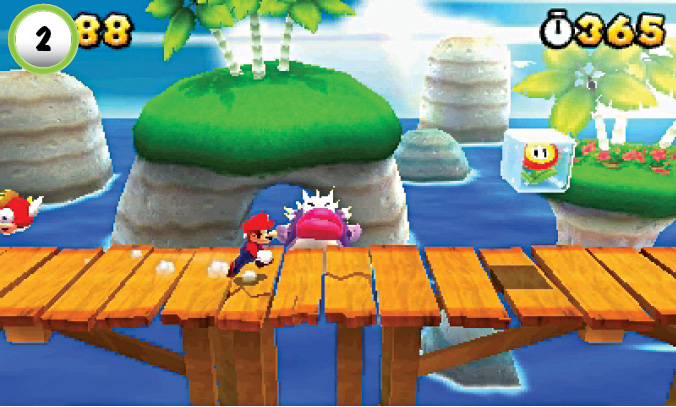
As you move between islands, check the wooden bridges for weak spots. Porcupuffers can smash through cracked planks, so be particularly cautious when you spot one of these locations. Stay back until you’re ready to cross, then dash over the cracked planks before a Porcupuffer destroys them.
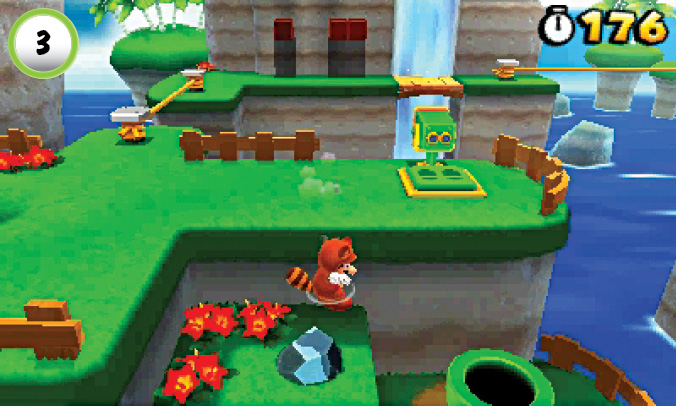
There’s a lot to do at Point 3, so take a moment to explore the area. After you trigger the Checkpoint Flag, kick the Rock into the Pipe at the edge of the island. Use the nearby Binoculars to search the ledge to the left. Zoom in on Toad, then watch him as he enters a secret area behind the nearby waterfall. Before you follow him, enter the Pipe to find an underwater area.
Red Ring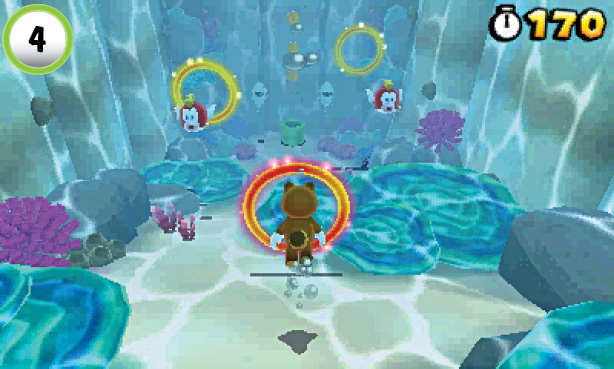 When you reach Point 4, wait for the Cheep Cheeps to swim toward you. When they turn around, dart through the Red Ring. Collect the Red Coins before they vanish to obtain another power-up. |
Star Medal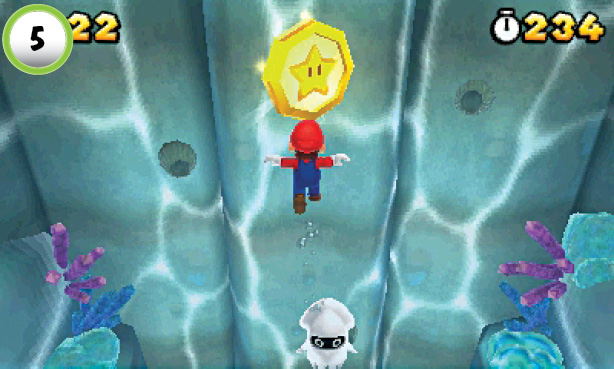 Before you leave the underwater area, swim up and collect the Star Medal above the Pipe. There are two Bloopers swimming nearby. If you don’t have a power-up capable of defeating them, draw them away from the Star Medal before you attempt to collect it. |
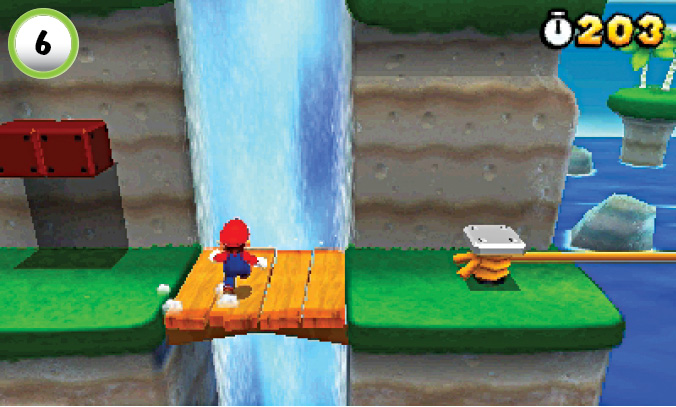
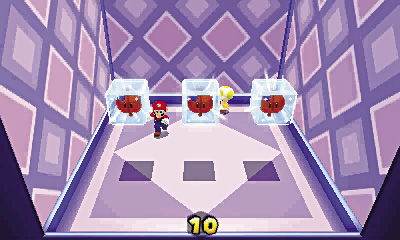
When you reach Point 6, run through the waterfall to find Toad waiting inside of a Mystery Box. Run to Toad to receive a 1-Up Mushroom, then hit each of the Roulette Blocks to collect an assortment of power-ups.
Star Medal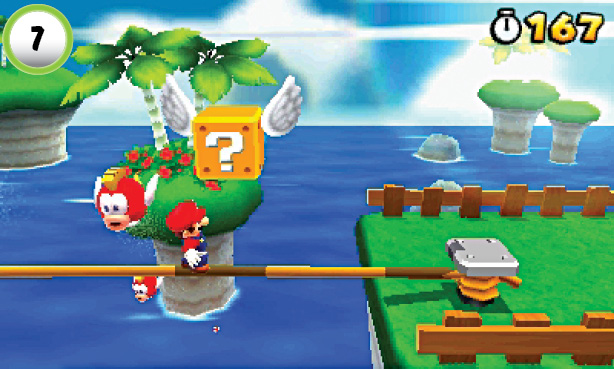 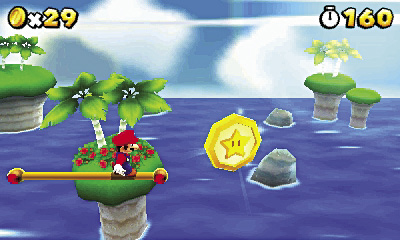 Hit the Flying ? Block at Point 7, then use it to reach the short tightrope above you. Jump from the edge of the tightrope to collect the level’s last Star Medal. |
World 6-2
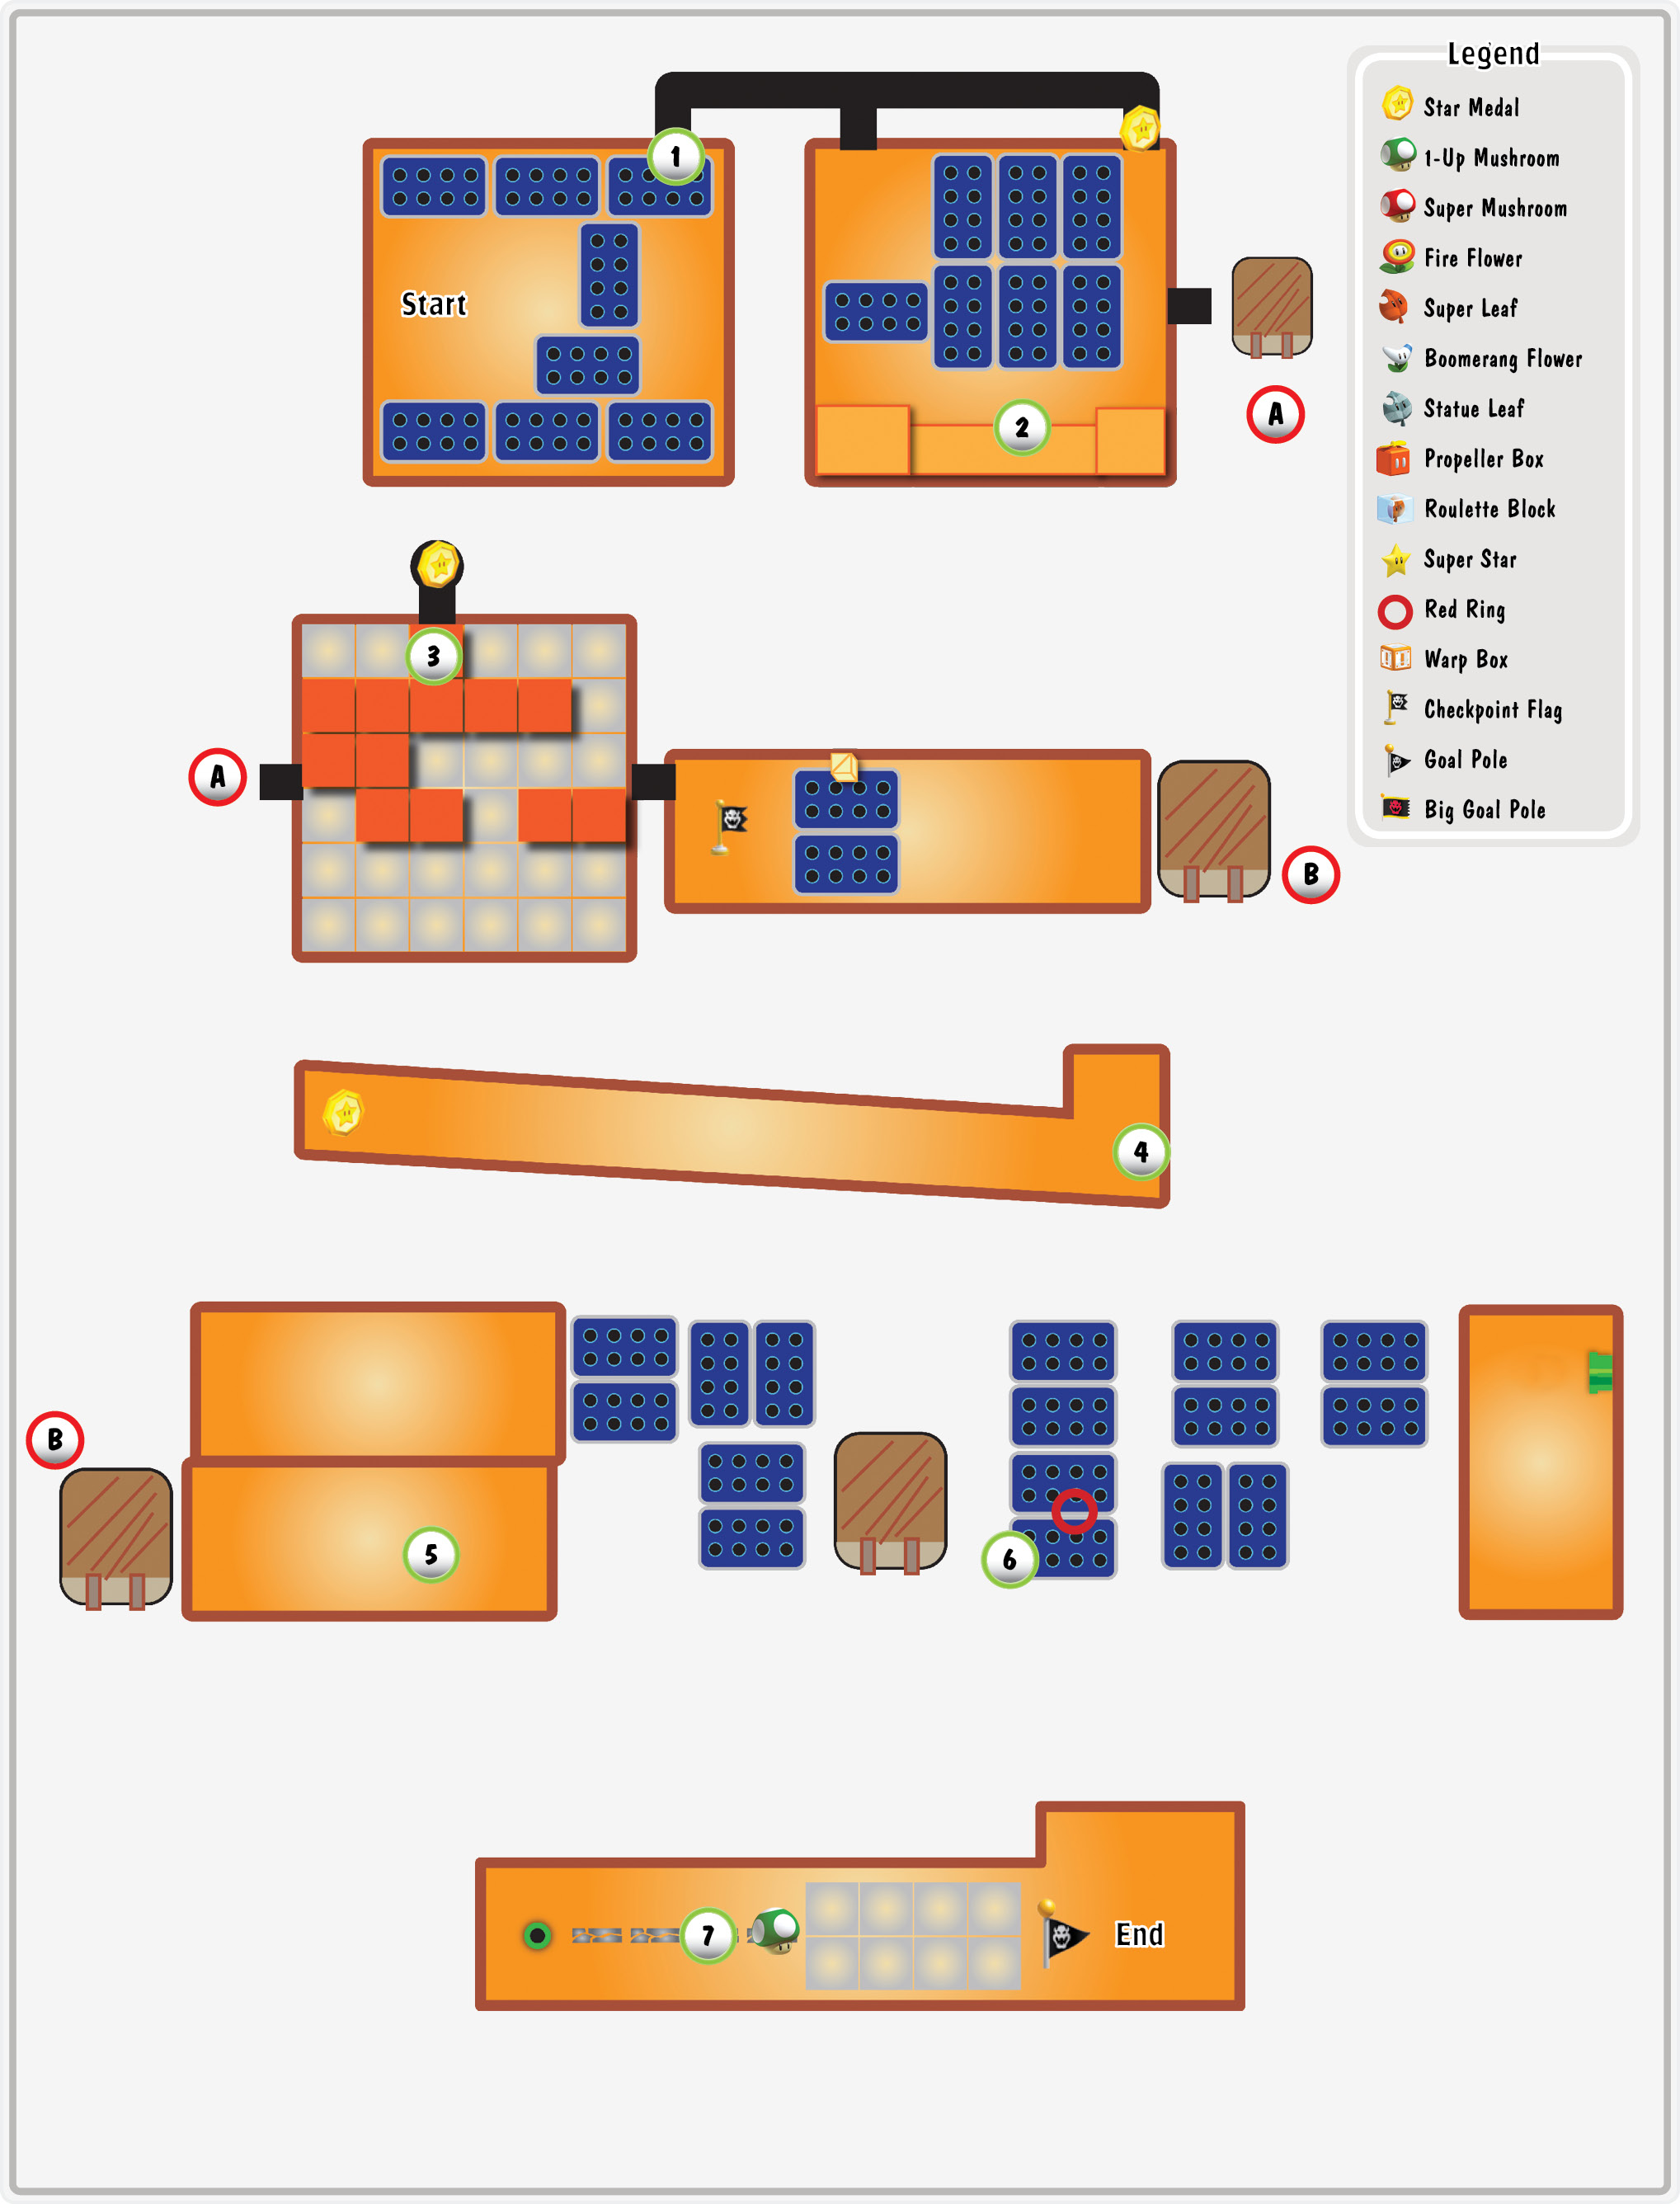
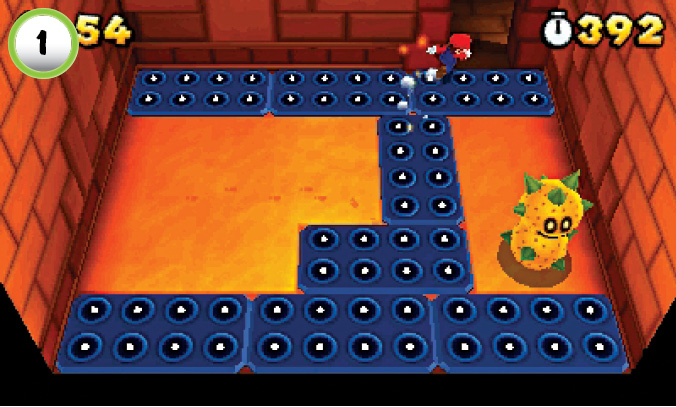
Watch your step! The blue plates at Point 1 contain retractable spikes that emerge at regular intervals. Similar hazards appear throughout the level, so learning to navigate them is essential. Wait for the spikes to drop down, then move across the plates.
Star Medal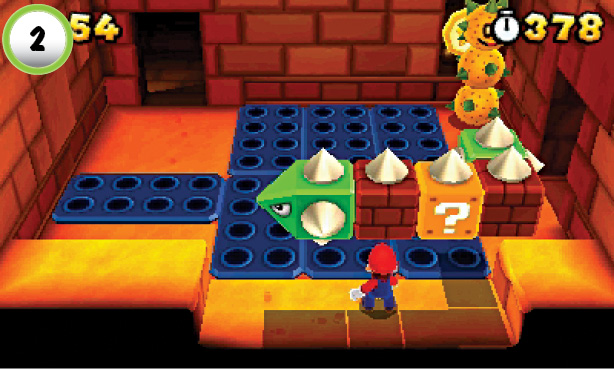 When you approach the Star Medal at Point 2, a Pokey pops out of the ground to prevent you from collecting it. Run toward the bottom of the screen and wait for the Blokkablok to pass by. Defeat the Blokkablok to collect a Fire Flower, then clear the Pokey away from the Star Medal. |
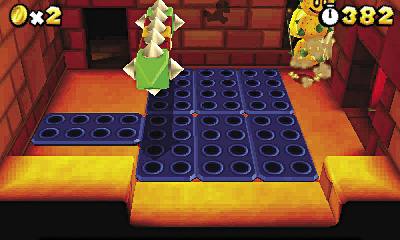
Star Medal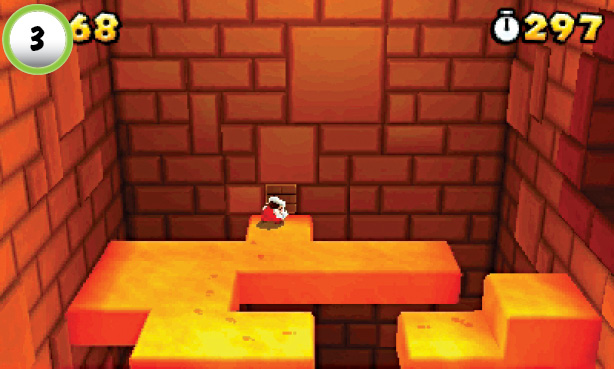 When you reach Point 3, locate the Block in the back wall. Somersault through the Block and collect the Star Medal from the secret area behind the wall. |
Star Medal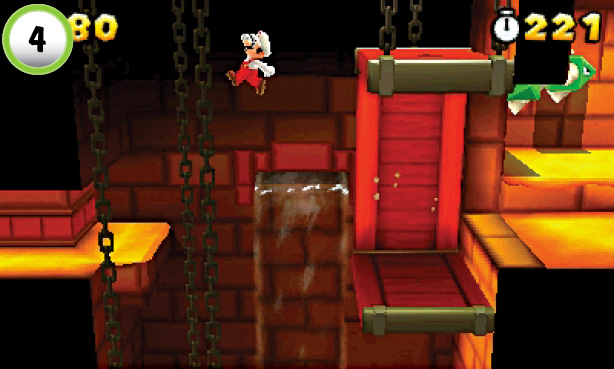 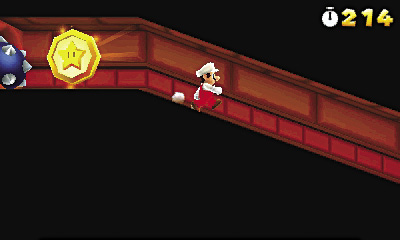 Ride up to Point 4, then make a running leap to the ledge on the left. Follow the path up to find a Star Medal near a spiked ball. When the spiked ball rolls toward you, run back to the right and use the ledge to move out of its path. When it’s safe, head back up and collect the Star Medal. |
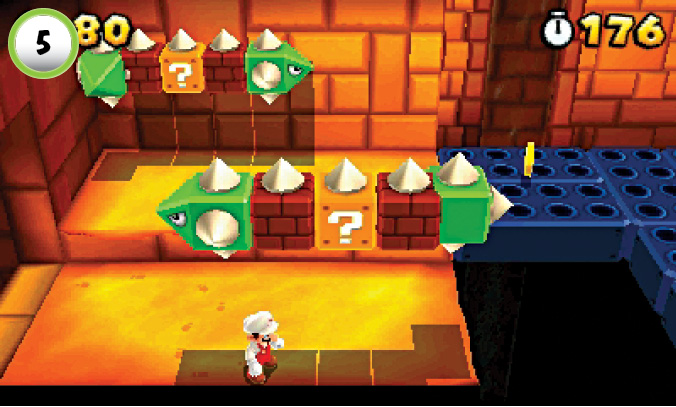
One of the Blokkabloks at Point 5 contains a Super Leaf. The Tanooki Suit makes it much easier to safely navigate the upcoming spikes, so take the time to defeat these enemies.
Red Ring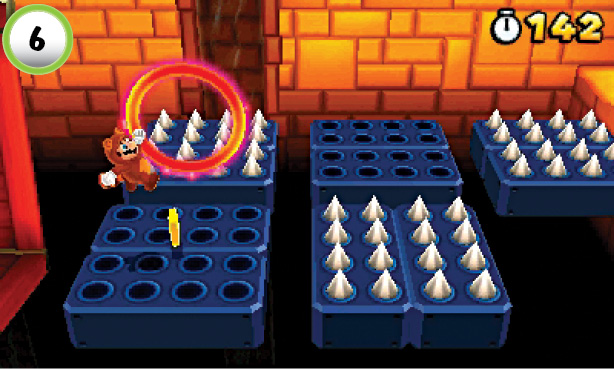 Jump through the Red Ring at Point 6, then collect the Red Coins from the nearby platforms to obtain another Super Leaf. The retracting spikes make the task a little more difficult, so plan your jumps carefully. |
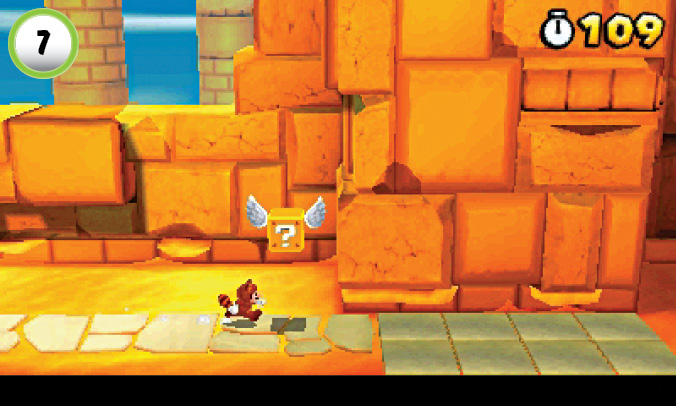
When you emerge from the Pipe, catch up to the Flying ? Block to collect a 1-Up Mushroom. If you’ve managed to hang on to a Tanooki Suit, you shouldn’t have any trouble reaching the top of the Goal Pole. If you’ve lost your power-up however, you can use the Flying ? Block to gain some extra height. Avoid hitting it until it’s near the Goal Pole, then use it as a makeshift platform.
World 6-3
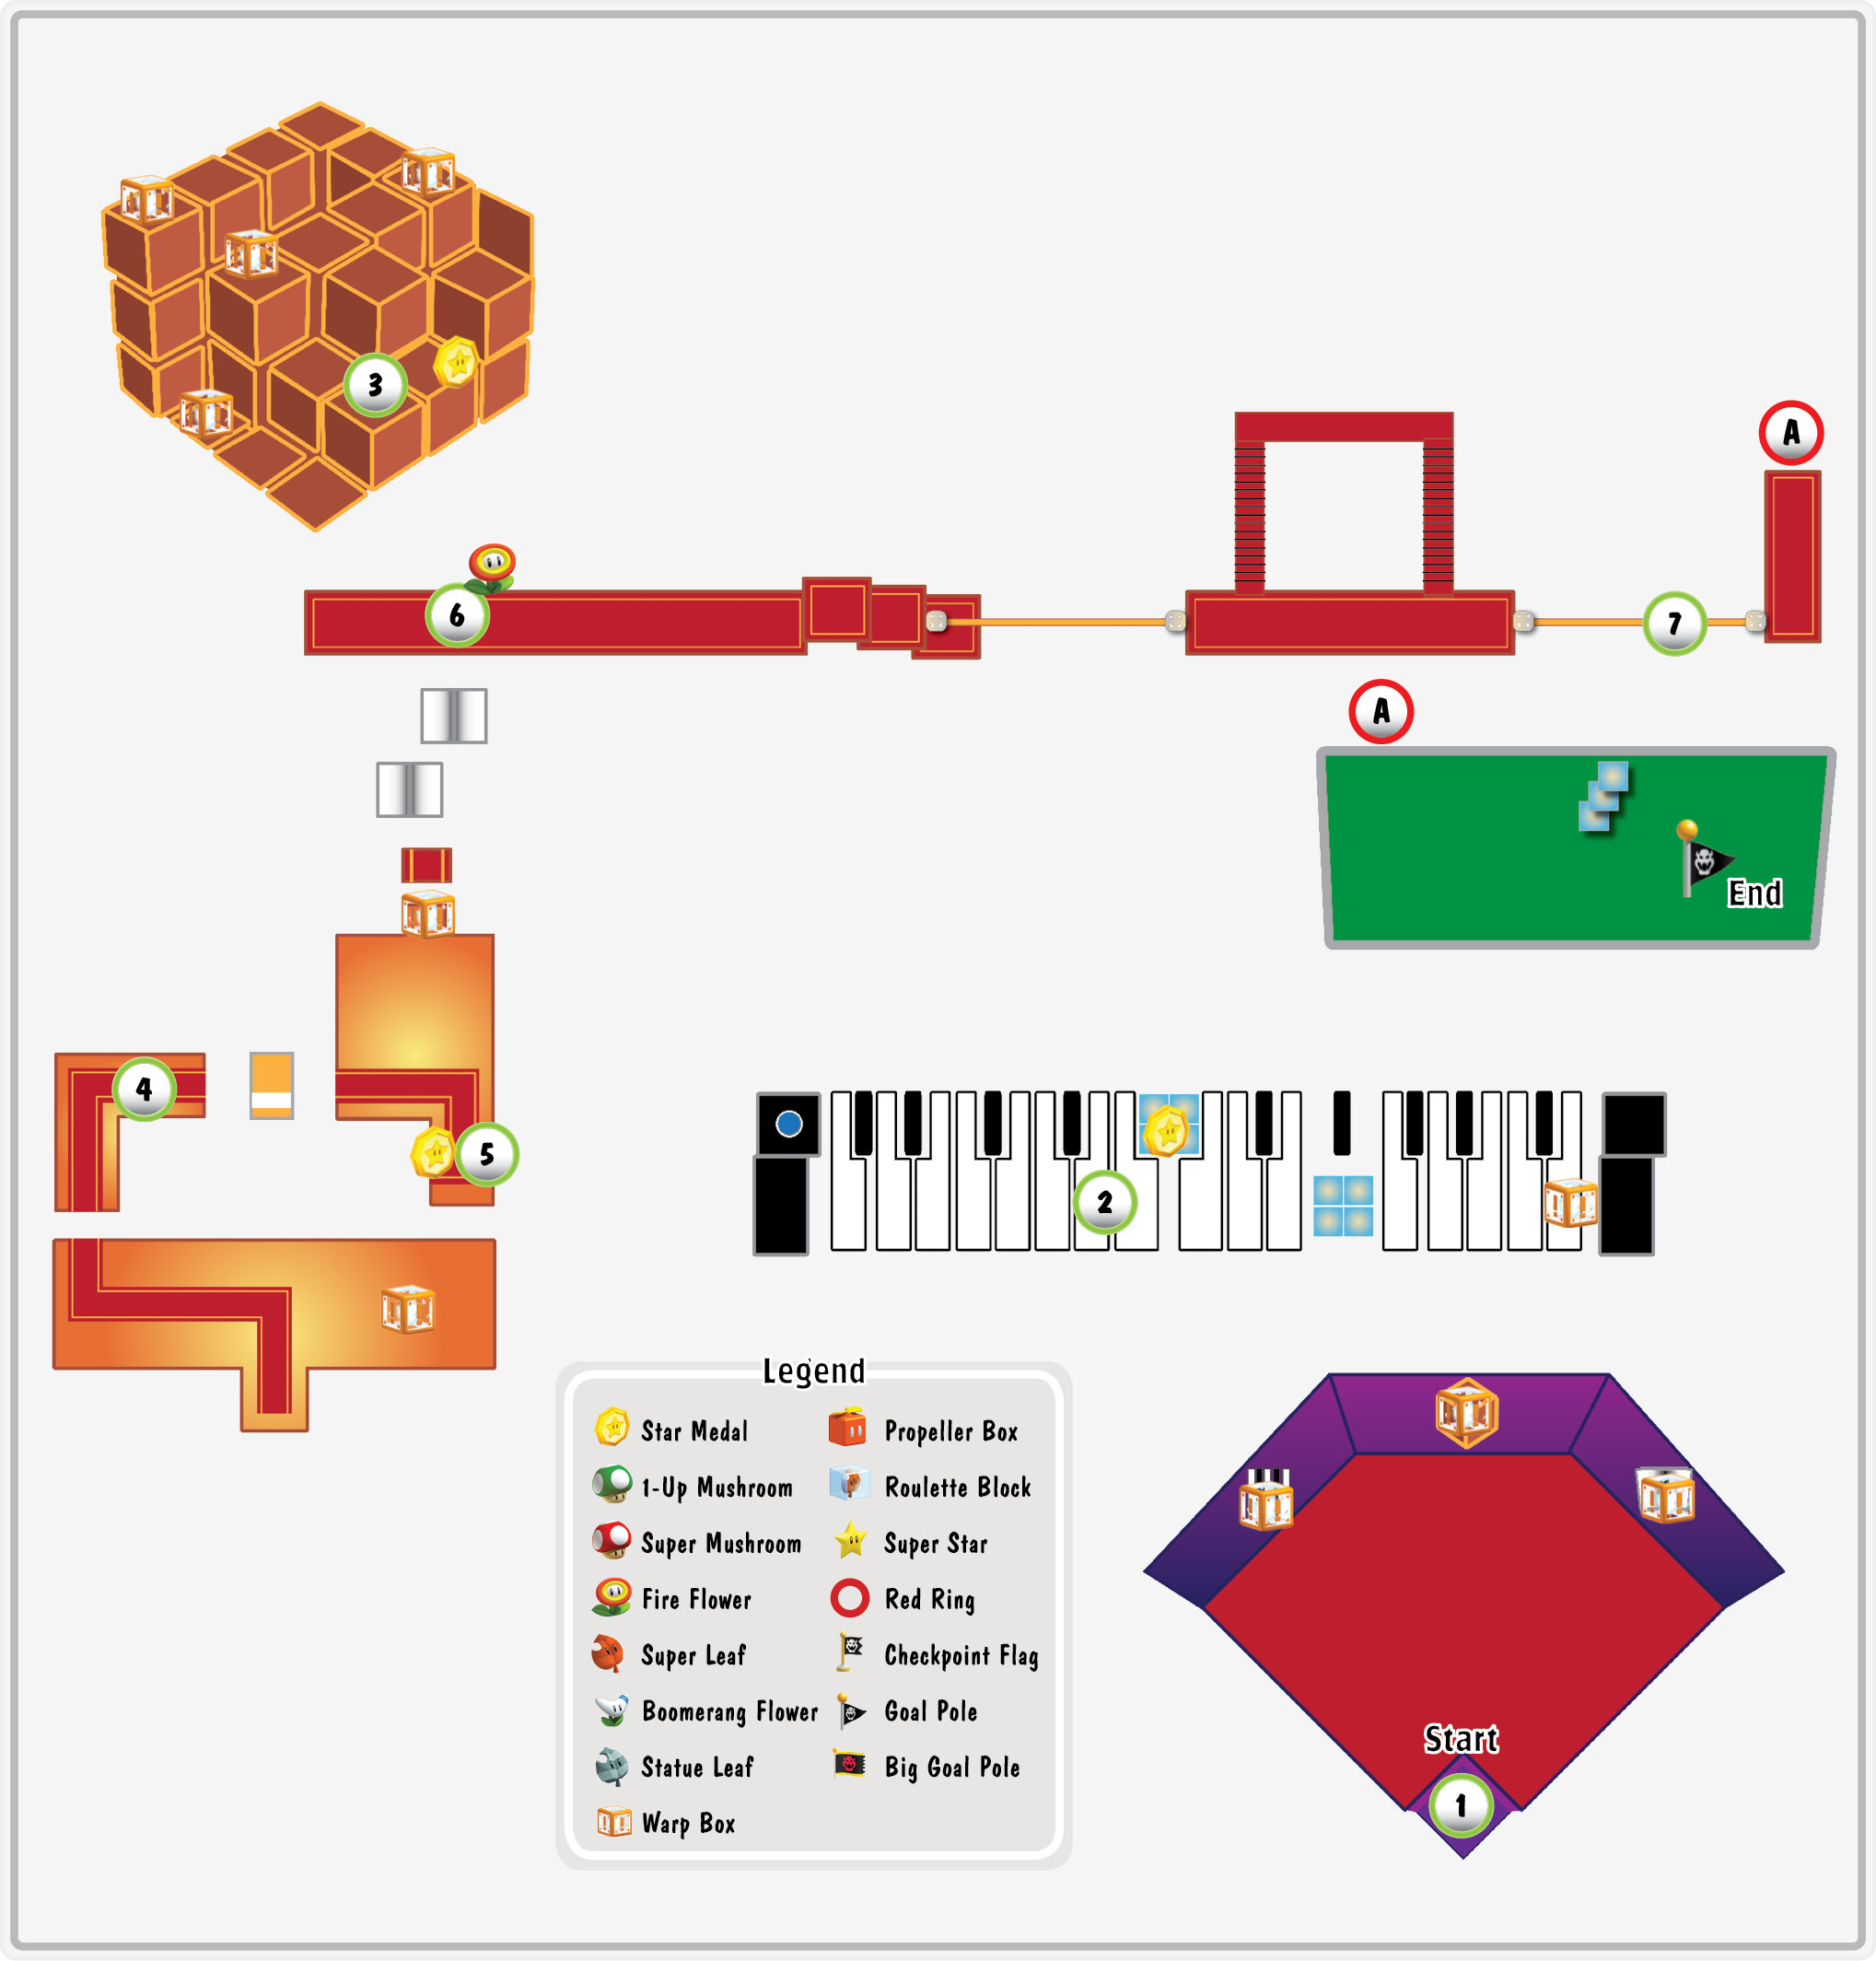
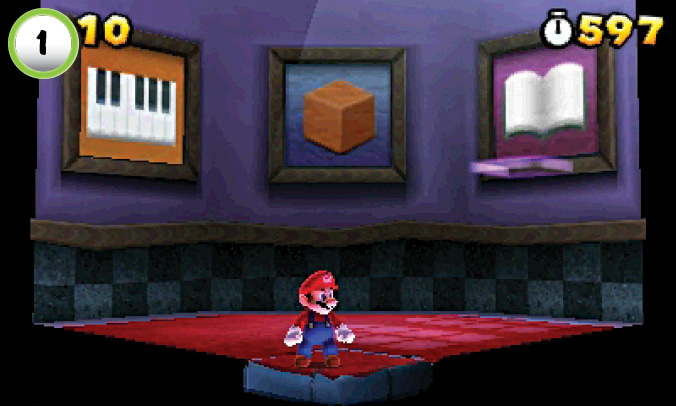
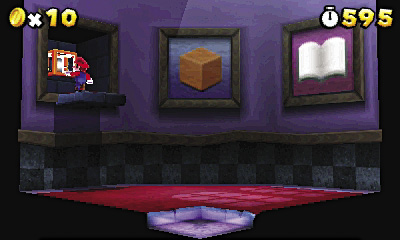
The level starts in a small room with three portraits. A platform moves between the portraits, exposing a hidden Warp Box at each location. Stand in the corner near the bottom of the screen and wait for the platform to carry you to the portrait of piano keys. Use the exposed Warp Box to enter the first area.
Star Medal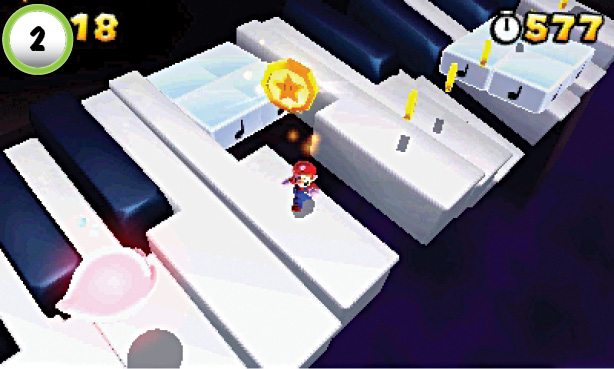 When you land on the giant piano, hit the P Switch and follow the trail of coins. The Star Medal at Point 2 follows a small path above the gap in the keys. Face the nearby Boo to keep it from moving toward you, then jump across the gap when the Star Medal moves into position. Use the Warp Box at the end of the trail to return to the portraits at the start of the level. |
Star Medal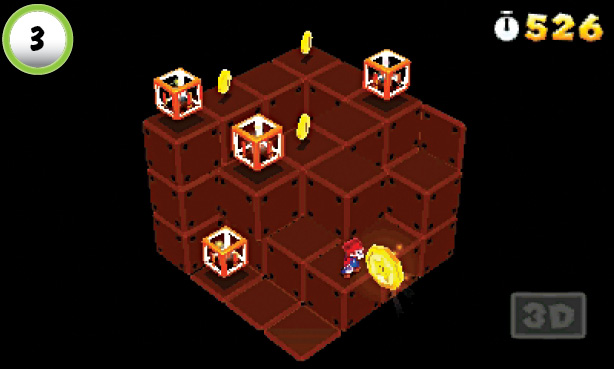 Ride the platform to the portrait of a cube and step into the exposed Warp Box. This area contains a complex arrangement of used Blocks. The level’s second Star Medal floats along a set path. Grab the Star Medal when it moves into view, then use the Warp Box on the structure’s top-left corner to leave the area. |
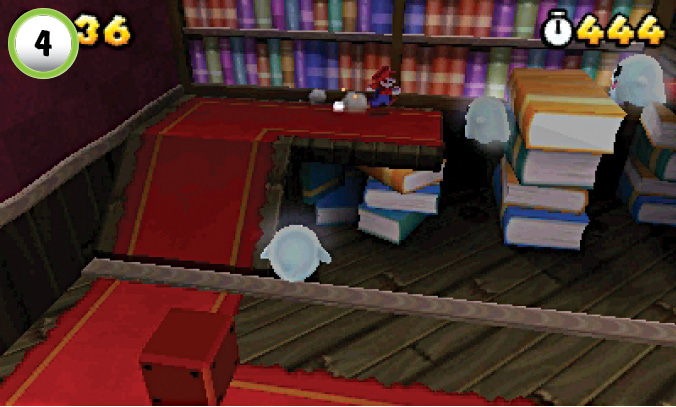
Use the Warp Box behind the remaining portrait to reach a library. When you arrive, hit the ? Block to collect some coins, then face the nearby Boo to keep it from moving toward you. At regular intervals, the bookshelves pull back to reveal a ledge. When they do, head up the ramp along the left wall and follow the ledge to the right. Avoid the Peepa in your path, and jump up to the platform along the right wall before the bookcases push you off of the ledge.
Star Medal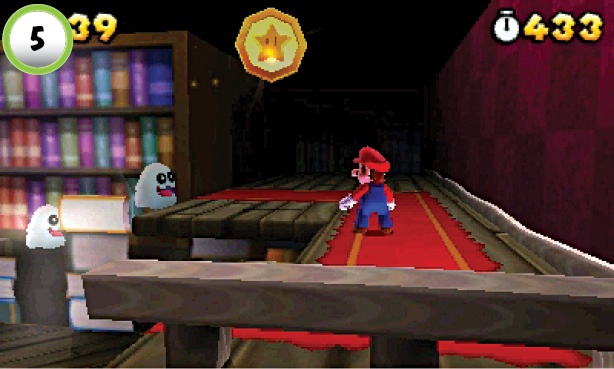 The level’s last Star Medal follows a short path on the room’s right side. Jump up to grab the Star Medal, then head into the shadows in the background. When you approach the books on the back wall, they vanish to reveal another Warp Box. |
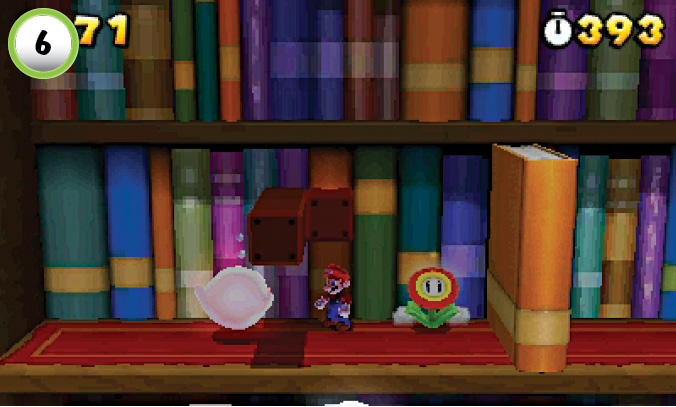
The ? Block at Point 6 contains a Fire Flower. Make sure to keep an eye on the nearby Boo while you collect the power-up.
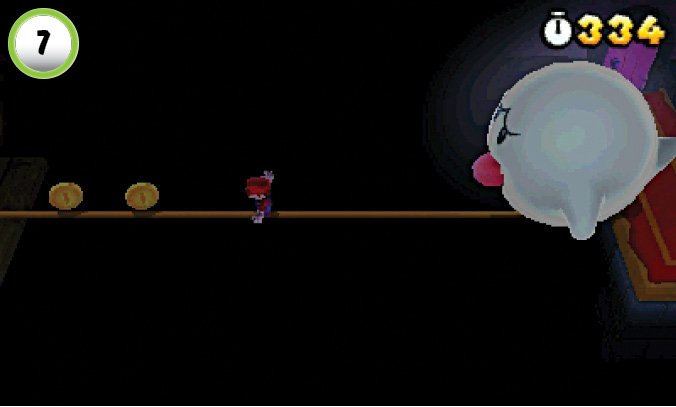
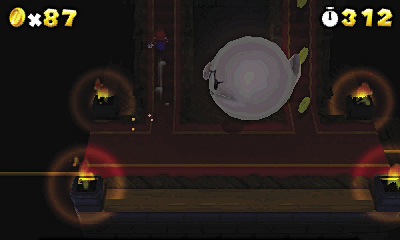
Follow the tightrope to Point 7. When the Big Boo appears, turn around and lead it to the stairs to the left. Draw the Big Boo to the center of the platform, then head up the stairs to slip past the massive enemy.
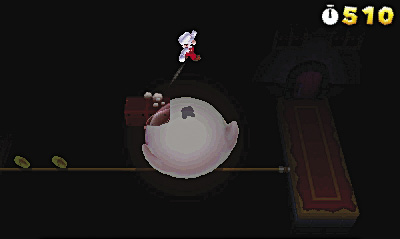
World 6—Mystery BoxAfter you complete World 6-3, you gain access to a new Mystery Box. |
World 6-4
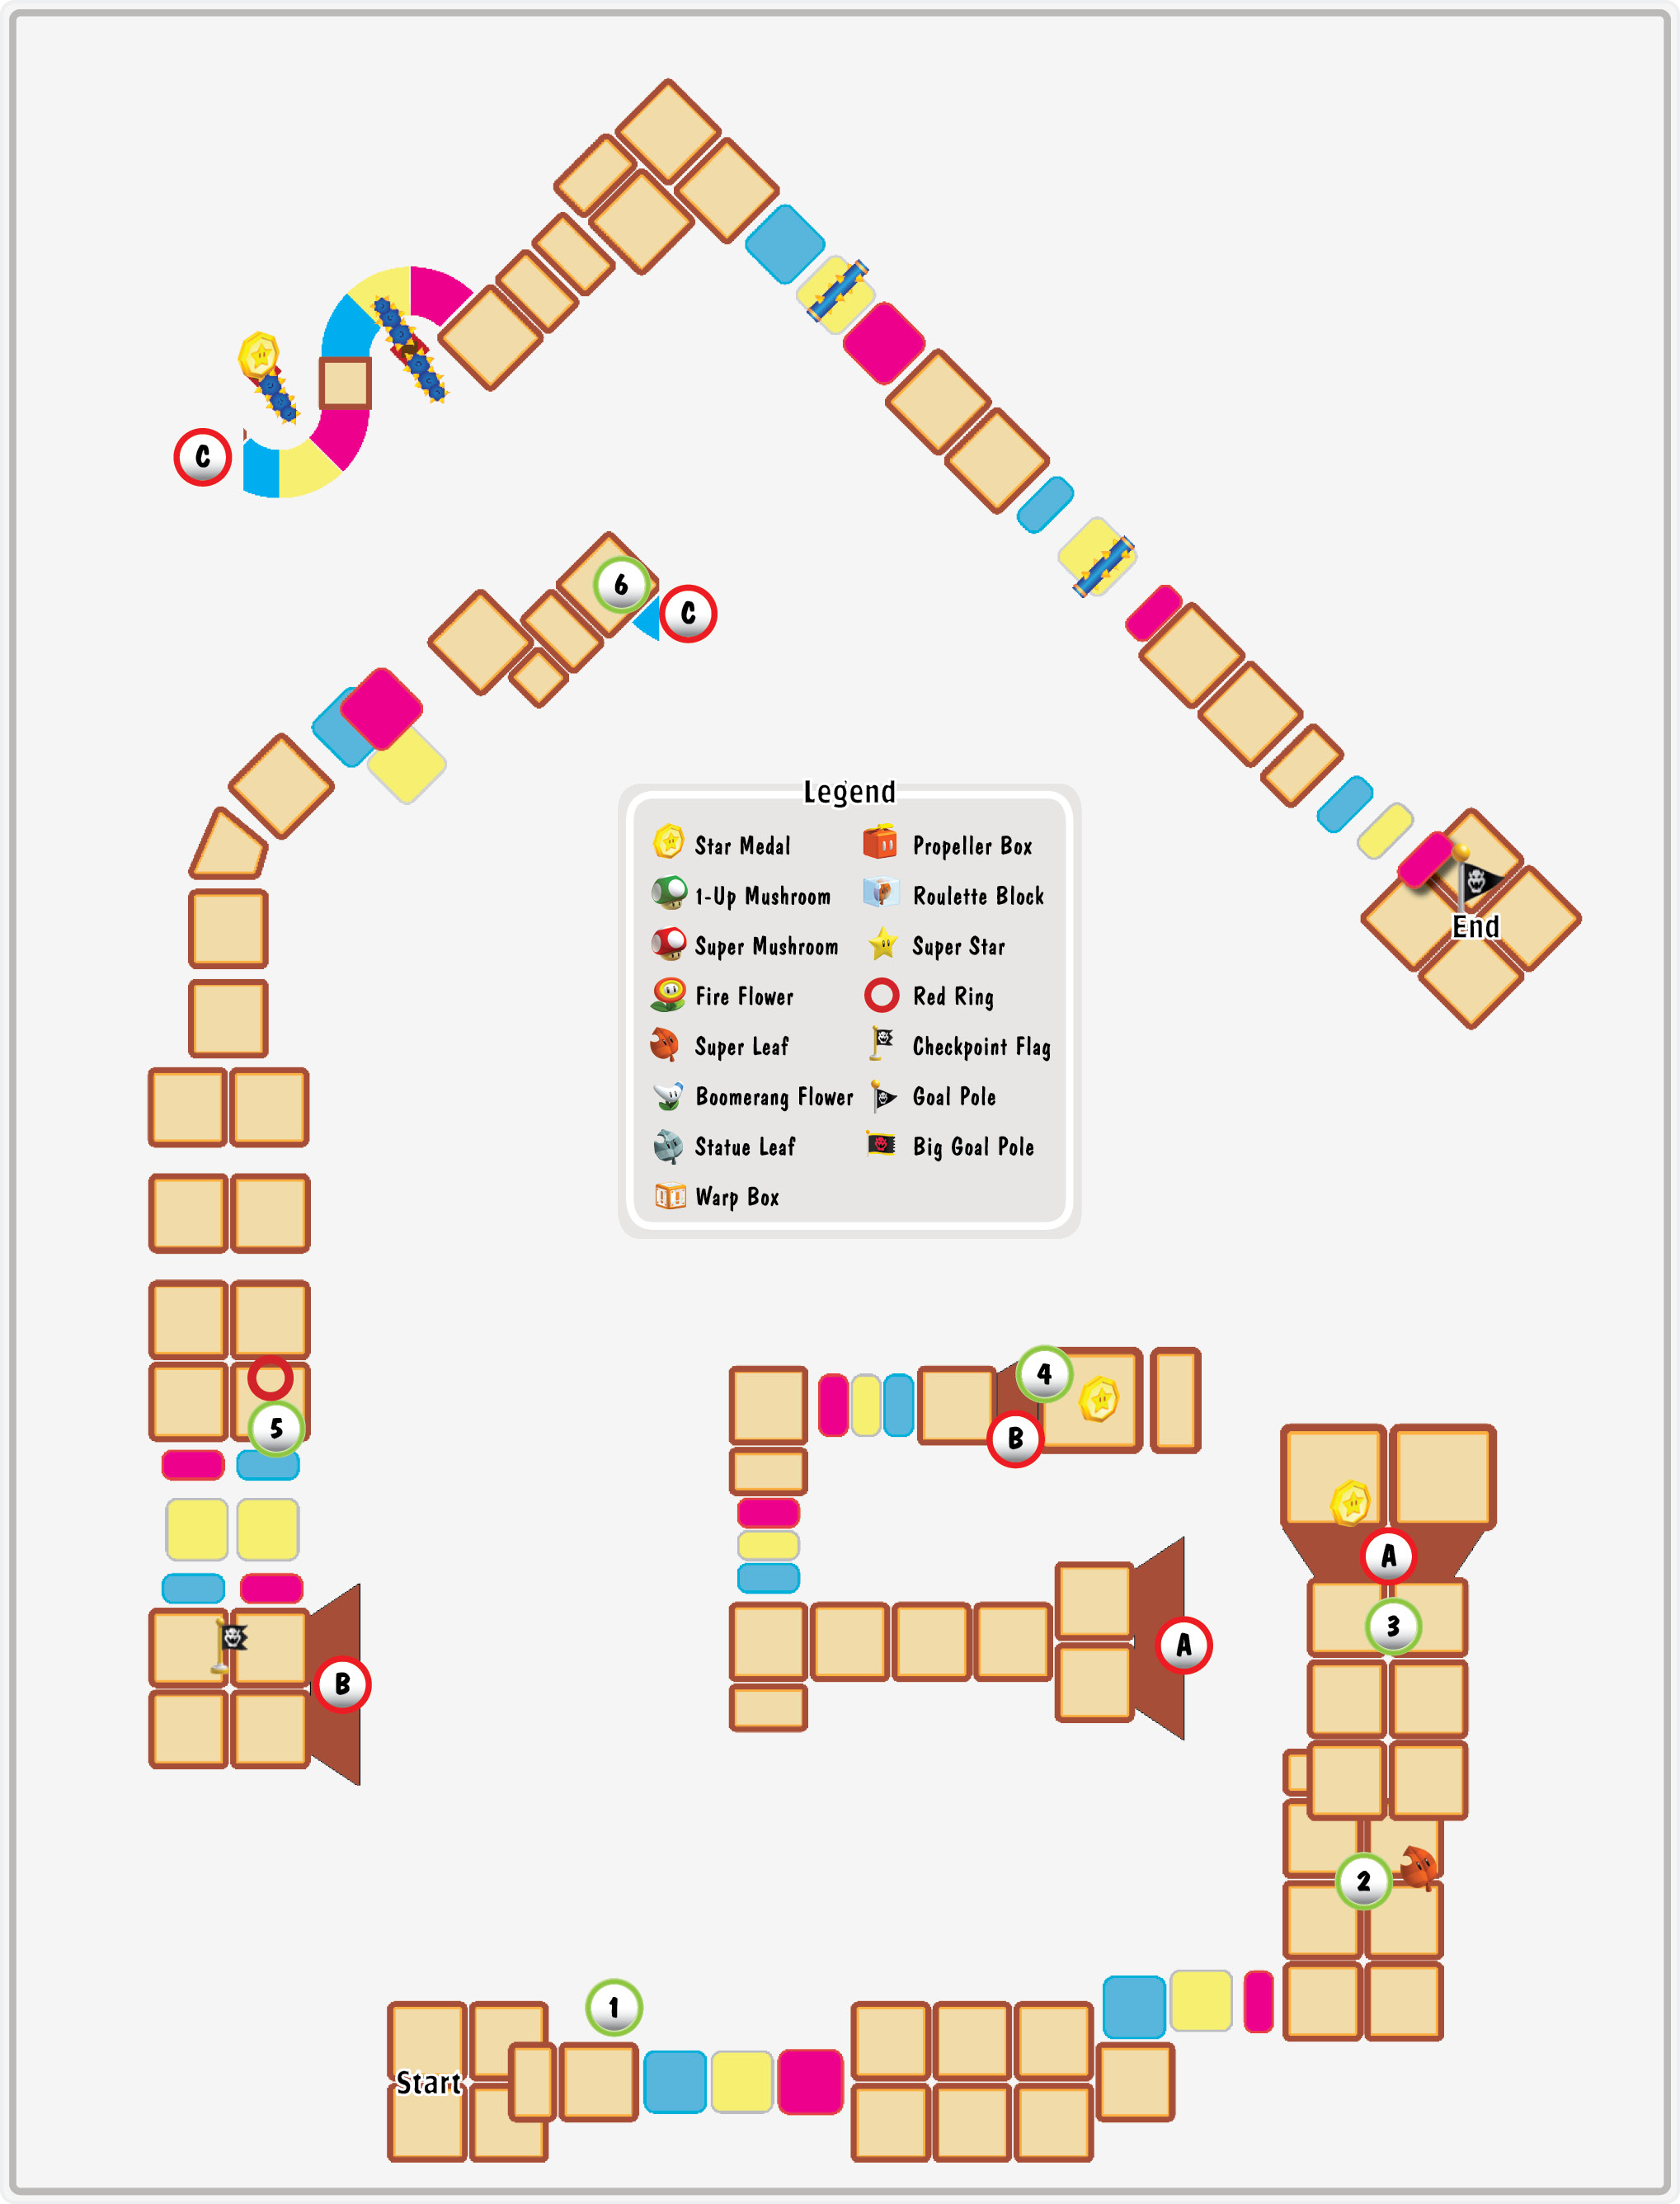
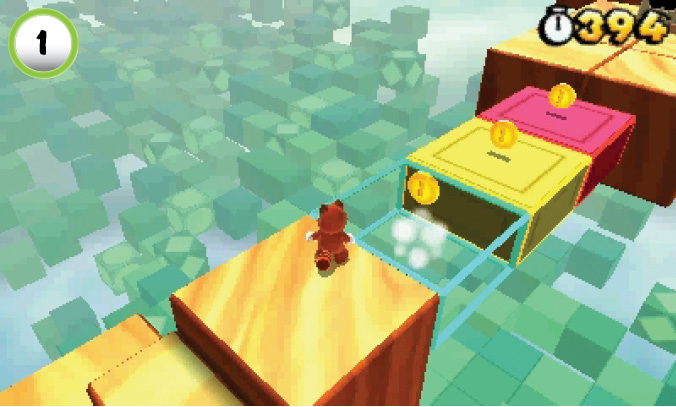
This level’s colorful platforms vanish and reappear in time with the music. Use the beat to anticipate each platform’s appearance, and time your movements accordingly.
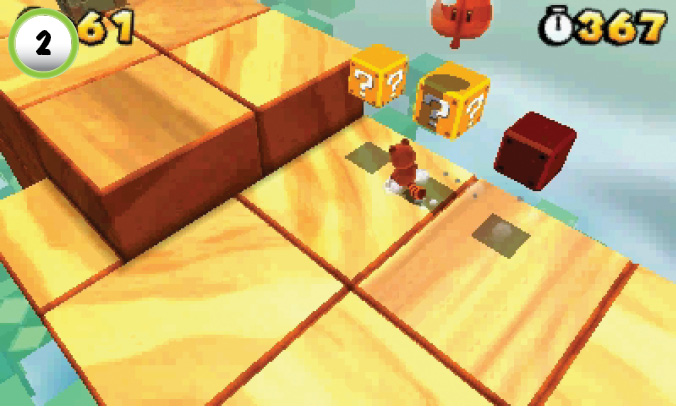
Check the ? Blocks at Point 2 to collect a Super Leaf. The Tanooki Suit’s flutter jump makes negotiating this level much easier, so make sure you grab this power-up before you move on.
Star Medal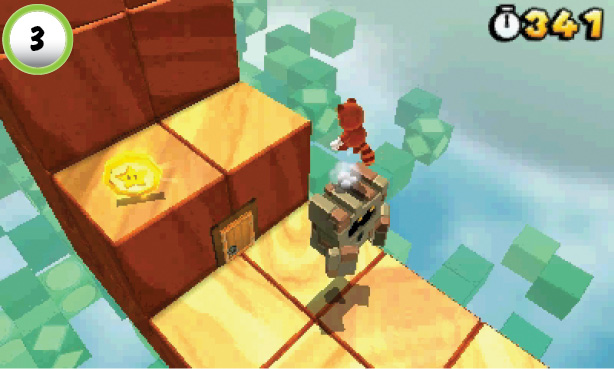 Use the Wallop at Point 3 to reach the Star Medal above the door. Jump up to coax the Wallop into doing the same, then hop onto it when it slams down. To gain some extra height, bait the Wallop into jumping again, then make a running leap to collect the Star Medal. |
Star Medal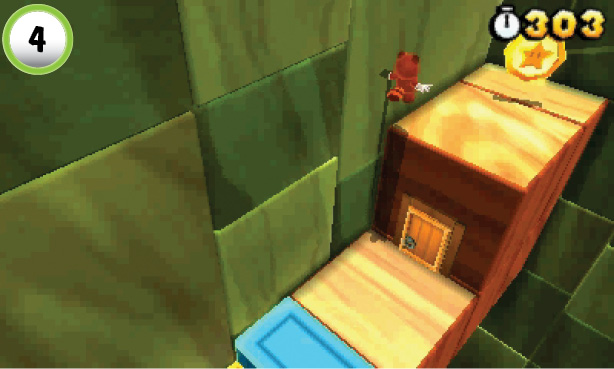 To collect the level’s second Star Medal, perform a wall jump near the door at Point 4. It’s possible to make the jump without a Tanooki Suit, but a flutter jump makes it much easier to steer your landing. |
Red Ring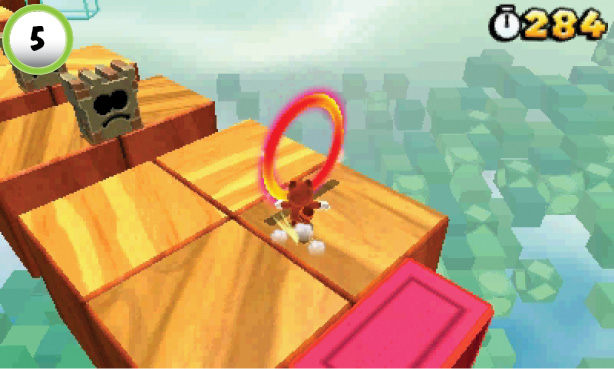 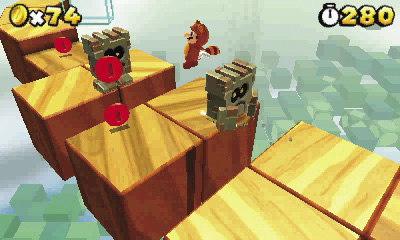 Run through the Red Ring at Point 5, then collect the Red Coins from the edge of the platform. As you jump up to collect the higher Red Coin, the Wallop across the gap mimics your movements. As the Wallop slams down, jump across the gap to collect the next two Red Coins. Repeat the process to get past the second Wallop and collect the last Red Coin before it vanishes. It takes a bit of planning to keep the Thwumps from blocking your path, but your efforts will be rewarded with a Super Leaf. |
Star Medal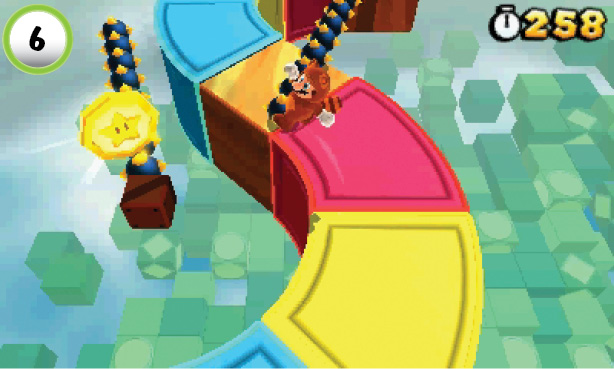 The level’s last Star Medal is floating above the rotating spikes at Point 6. The used Block makes for a very small landing spot, so the Tanooki Suit is a great help. Flutter-jump directly to the Star Medal, then jump back to the main path. If you don’t have a Super Leaf, move across the first group of colored platforms to approach the Star Medal from the other direction. |
World 6-5
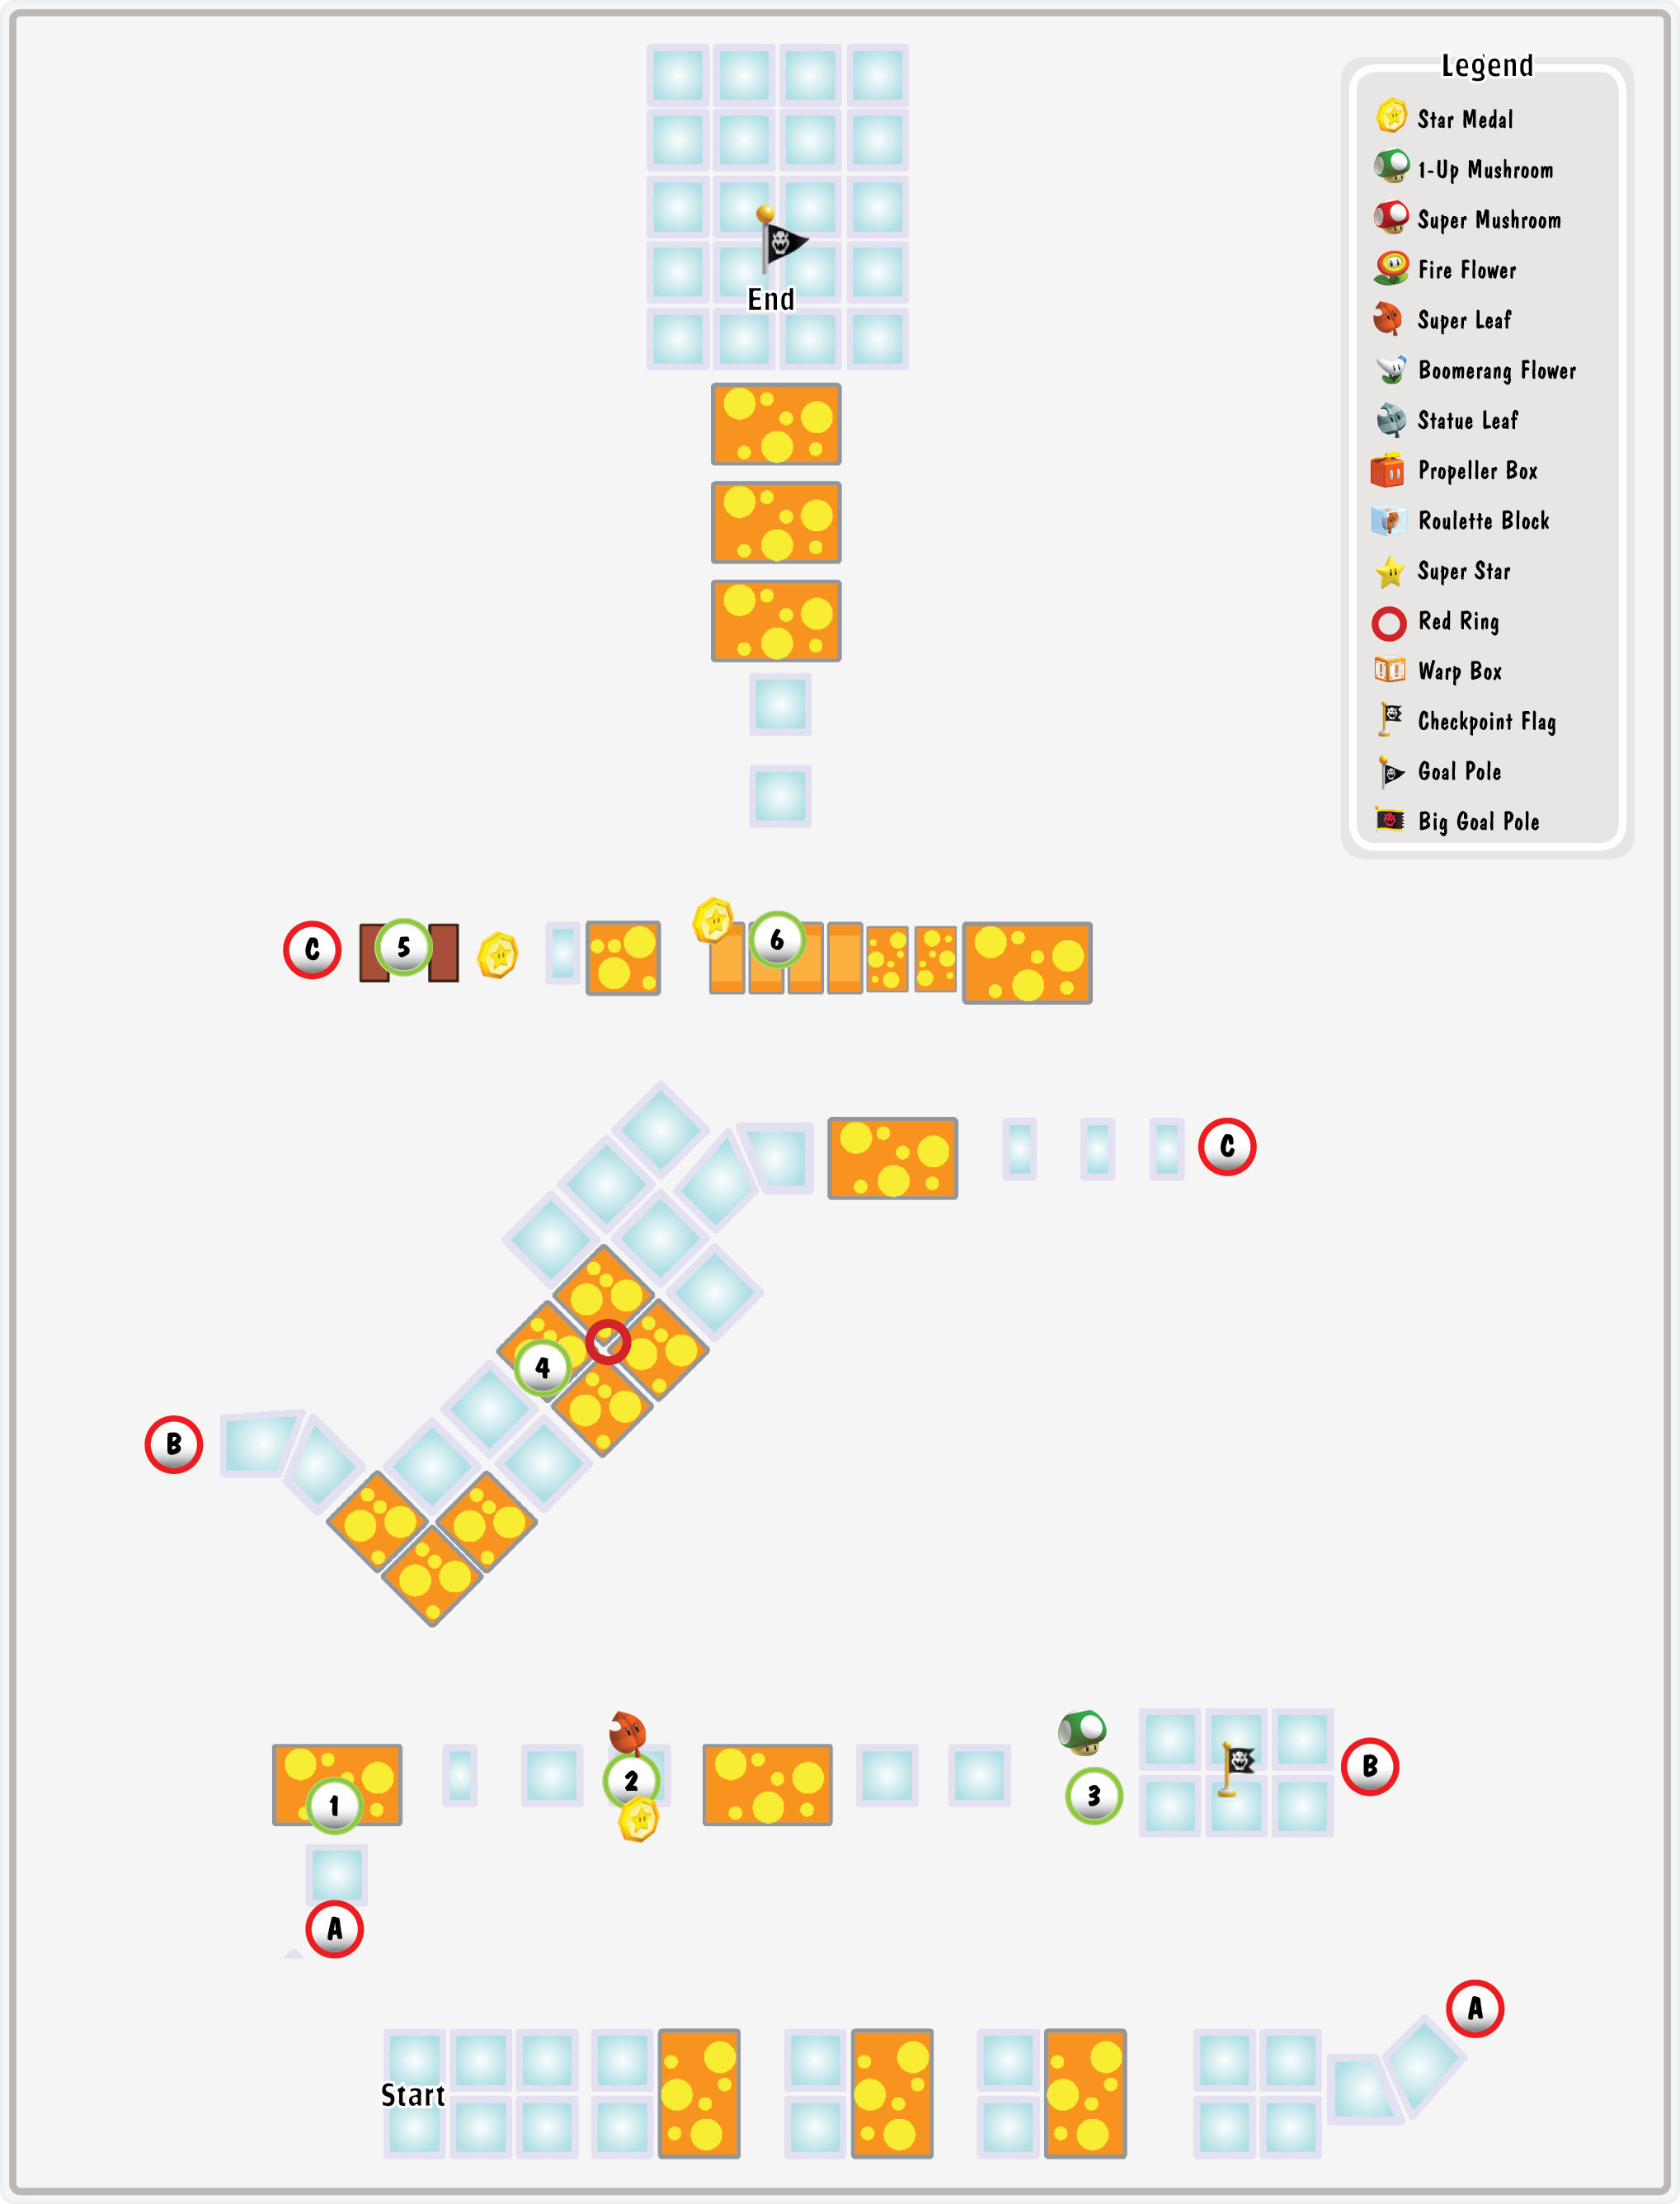
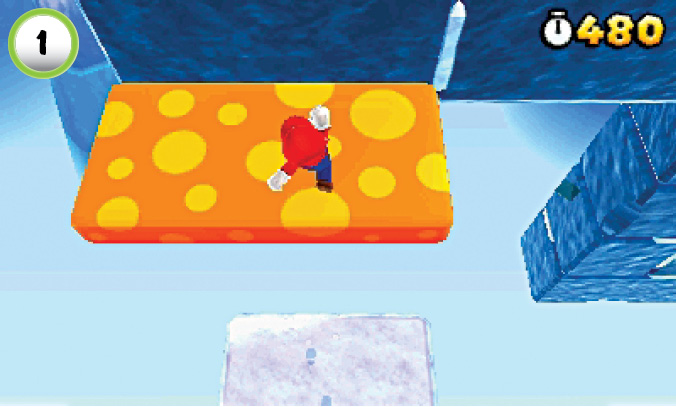
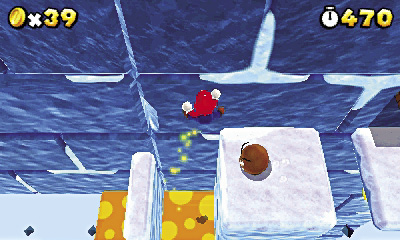
When you land on the rubber platform at Point 1, it begins moving to the right. Each time you bounce into the air, aim your landing to keep pace with the platform. There are a few obstacles along the path ahead, so make sure you bounce over them before the platform leaves you behind.
Star Medal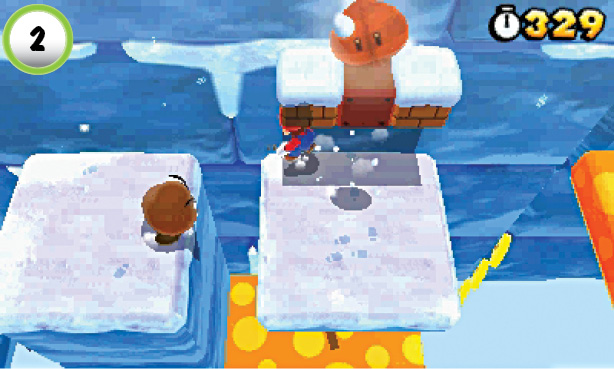 Search the Blocks at Point 2 to find a Super Leaf. The level’s first Star Medal is directly below you. Drop down to the rubber platform and use the Star Medal’s shadow to pinpoint its location. After you collect it, bounce back up to the main path and continue to the right. |
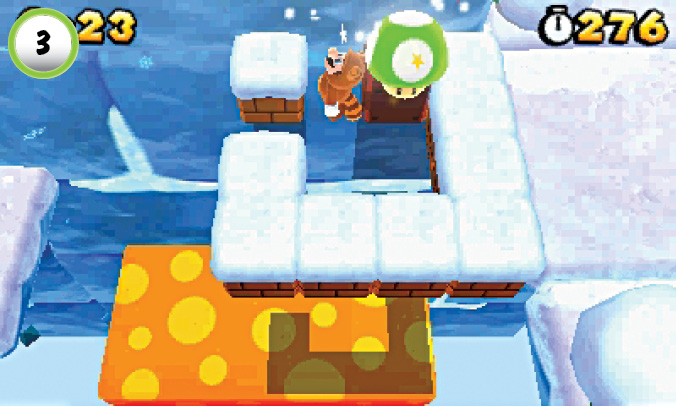
One of the Blocks at Point 3 contains a 1-Up Mushroom. Before you move on, make sure you search the Blocks along the wall.
Red Ring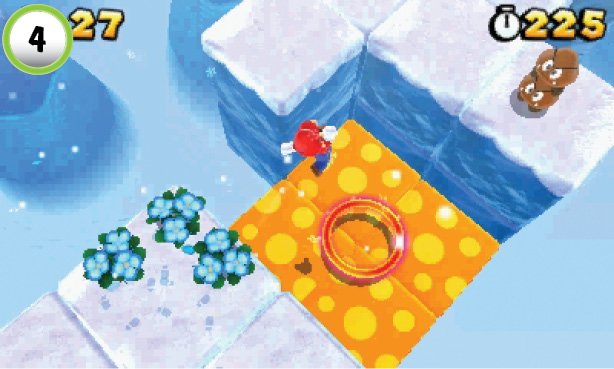 Jump down through the Red Ring at Point 4, then bounce up to grab the Red Coins above the rubber platforms. To collect all of the Red Coins quickly, try to grab at least two of them each time you’re launched into the air. When you’re ready, bounce up to the ledge and grab the last Red Coin to collect a Super Leaf. |
.
Star Medal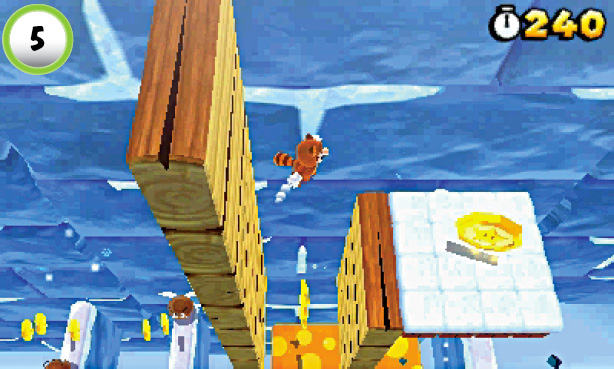 When the rubber platform passes under the wood barriers at Point 5, wall jump between them until you reach the Star Medal above the main path. The rubber platform continues along the main path, so keep moving to ensure you aren’t left behind. |
Star Medal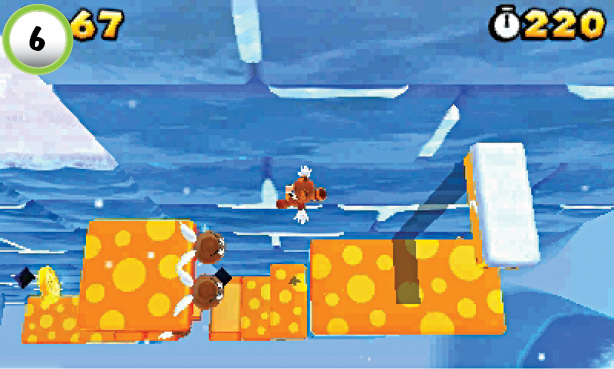 Before you collect the level’s last Star Medal, clear out the patrolling Paragoombas at Point 6. Wait for the rubber platform to move away from the Star Medal, then drop down to collect it. |
World 6—Ship
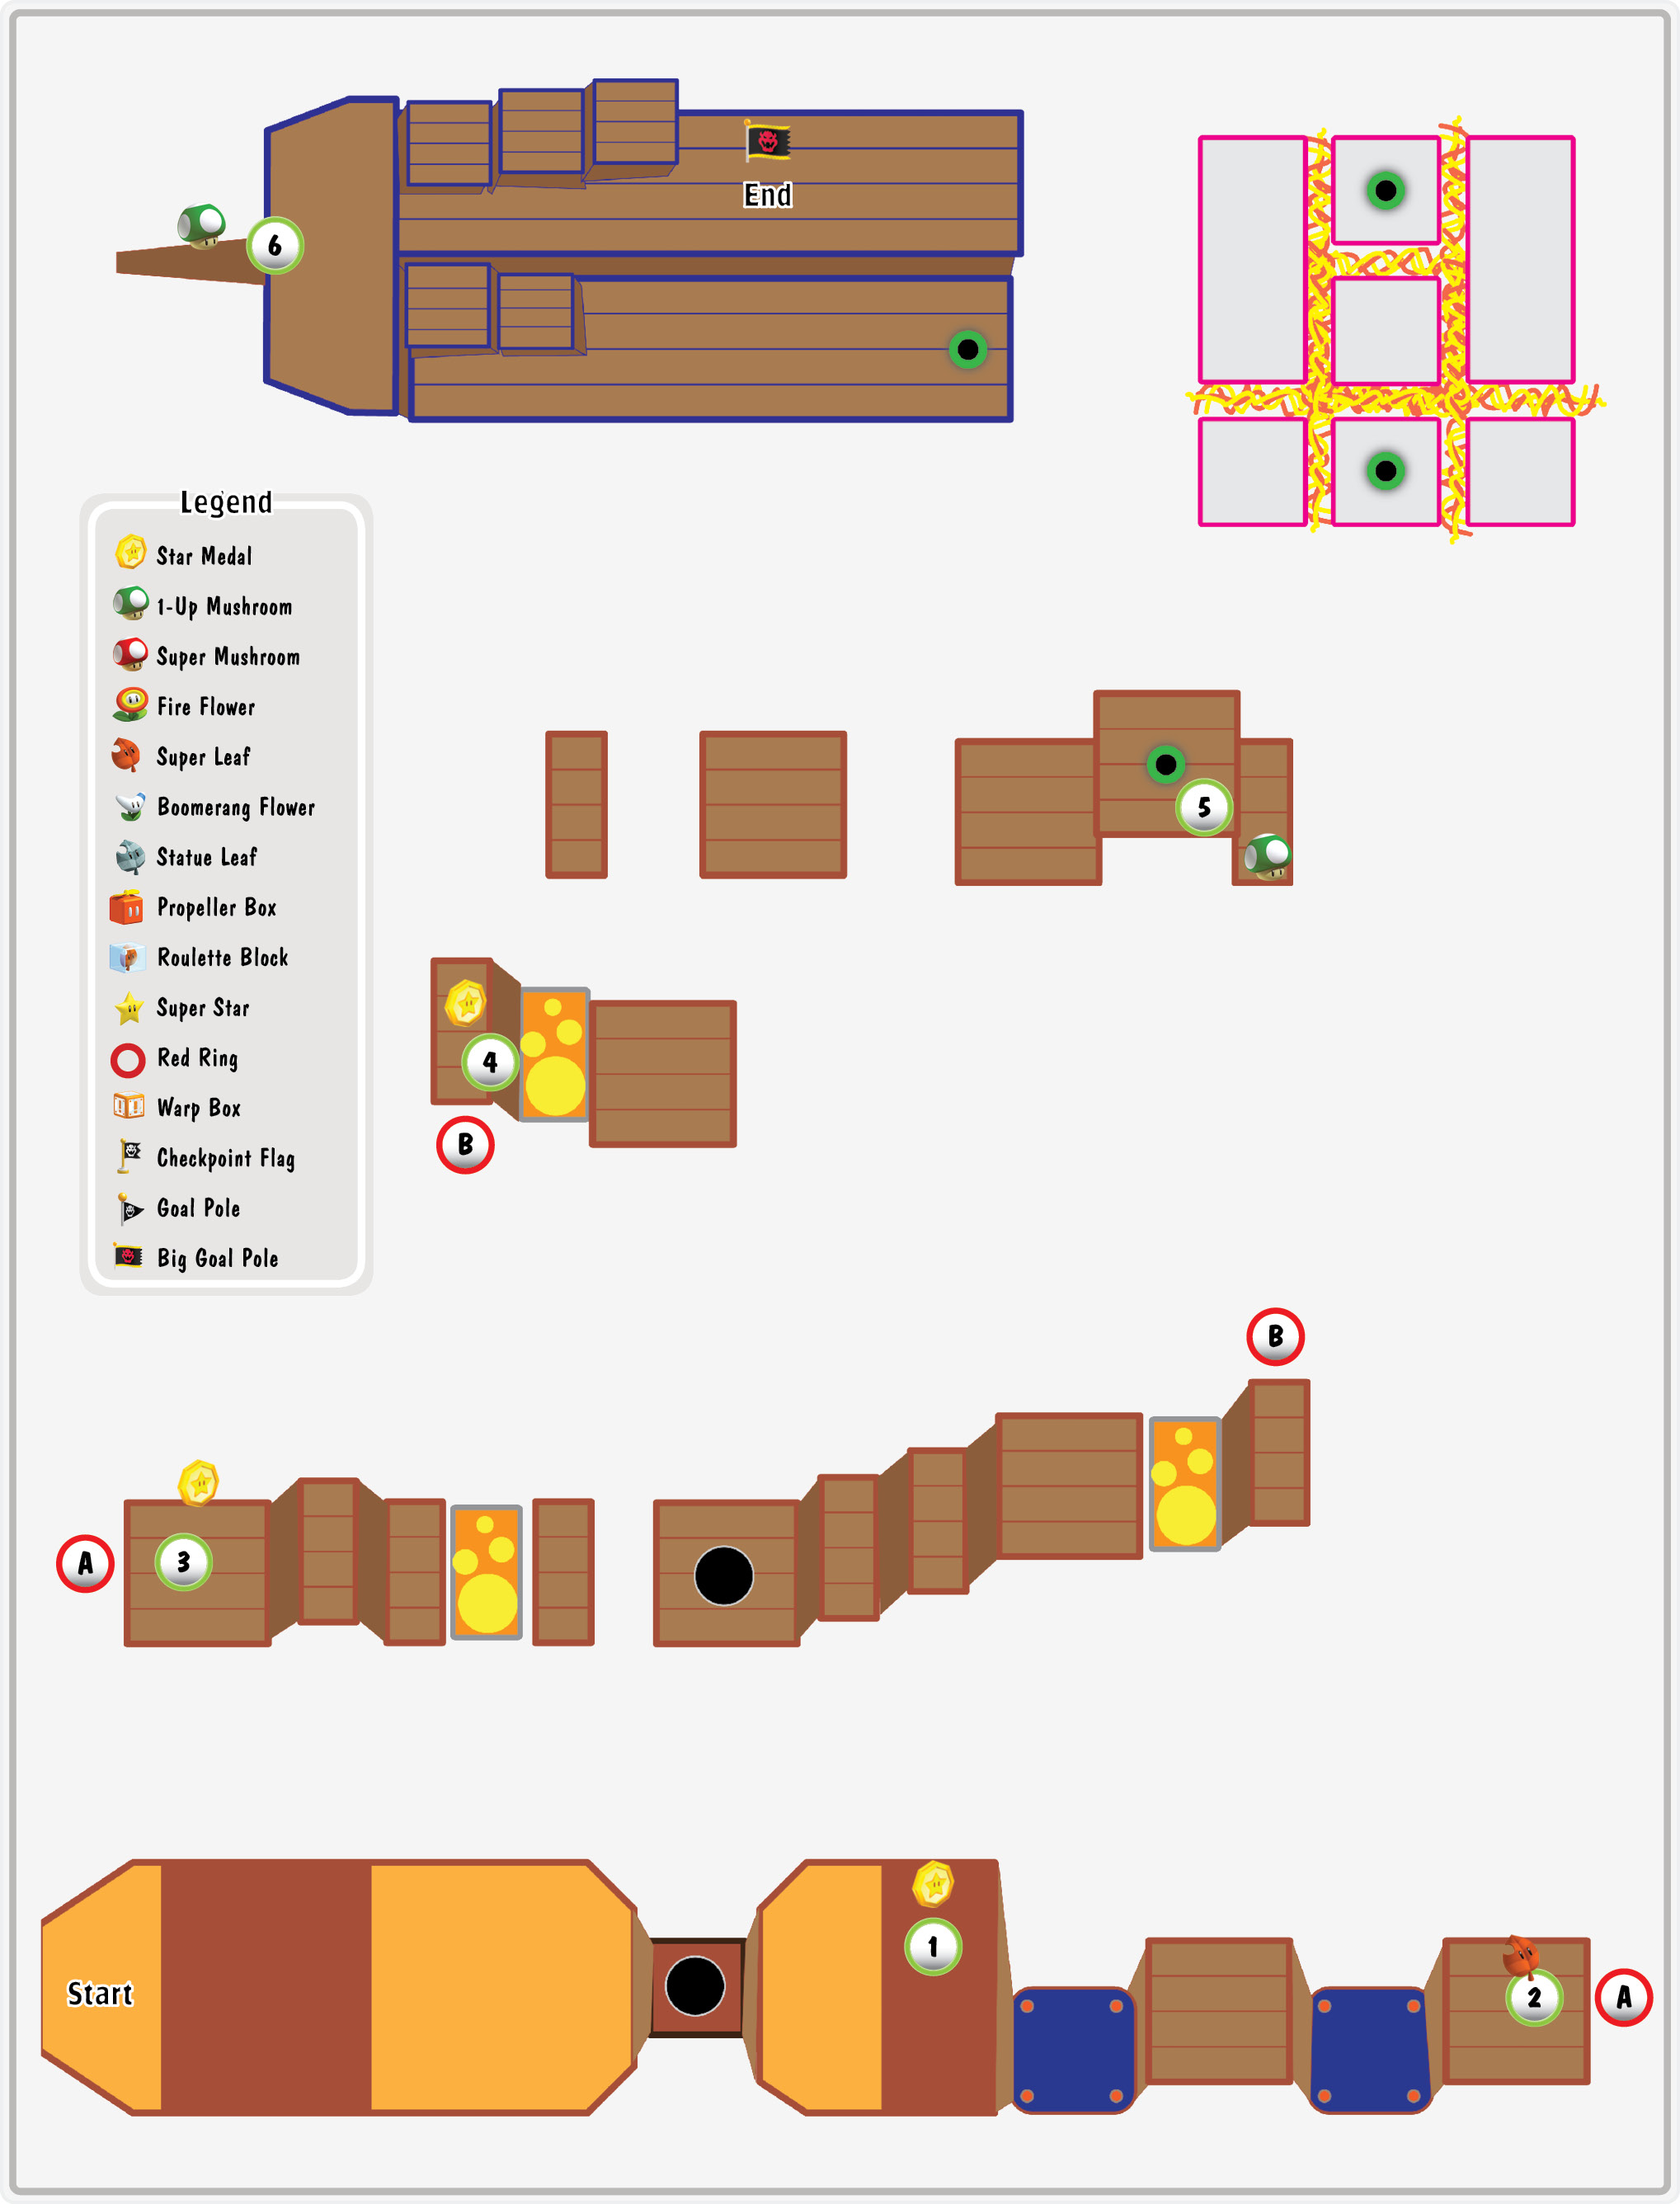
Star Medal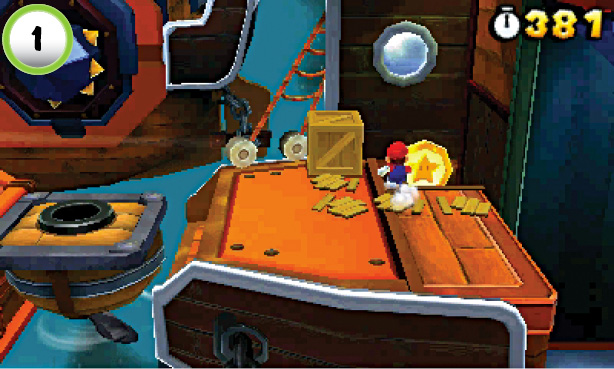 The level’s first Star Medal is located behind the crates at Point 1. Jump over the crates or somersault through them to grab the Star Medal before it moves off the screen. |
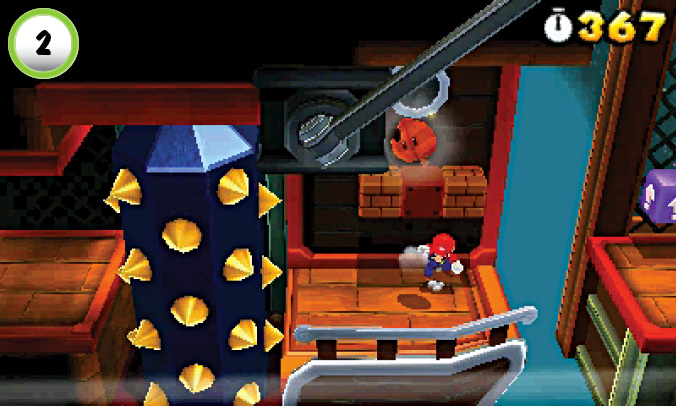
One of the Blocks at Point 2 contains a Super Leaf. As soon as you grab it, hurry to the Directional Blocks to the right.
Star Medal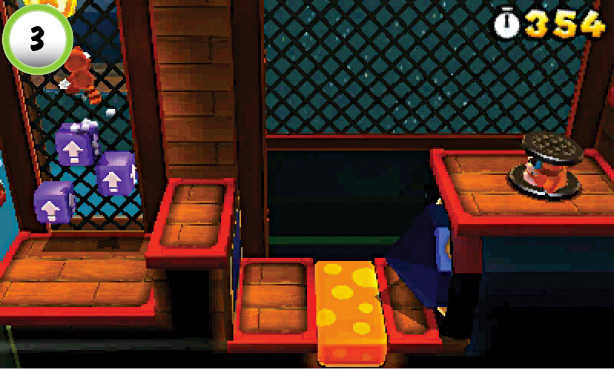 The second Star Medal is located high above the deck at Point 3. Quickly push the Directional Blocks up along the wall, then use them to reach the Star Medal before it moves off of the screen. |
Star Medal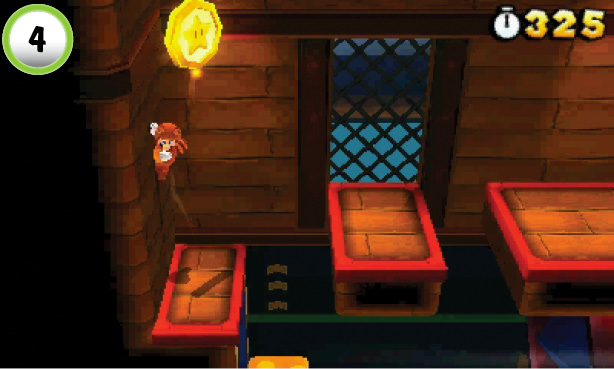 Use a wall jump to reach the Star Medal at Point 4. If you move quickly, you can grab it before it appears on the screen. Perform the wall jump as soon as you get past the nearby Spike Pillars, then head to the Pipe at the edge of the ship. |
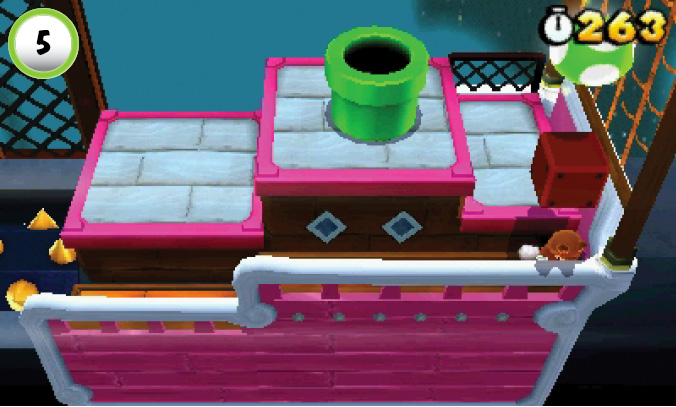
When you reach Point 5, move to the front-right corner of the ship. Jump straight up to find an Invisible Block, and grab the 1-Up Mushroom before you head in to face Pom Pom.
Boss Battle: Pom Pom
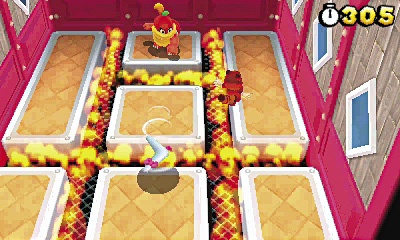
Pom Pom may not have learned any new tricks, but the hazardous environment makes things a little more difficult this time around. When the battle begins, jump clear of Pom Pom’s first attack and make your way to one of the room’s longer platforms. Dash toward the top of the screen to dodge her next attack, then make a running leap onto Pom Pom’s head. If you’re not careful, your momentum can carry you right into the flames. Try to land on Pom Pom’s platform, then jump away before she recovers.
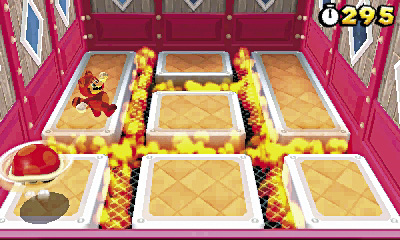
When Pom Pom tucks into her shell, simply jump between the platforms to avoid her attacks. When she reemerges, wait for her to select a new platform. When she resumes her boomerang attacks, make your way toward her and deliver another blow. Repeat the process one more time to end the encounter.
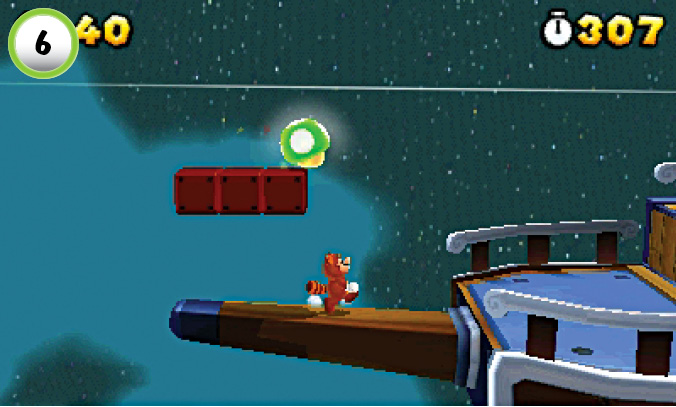
Before you jump for the Goal Pole, collect the 1-Up Mushroom at Point 6. Walk to the end of the bowsprit, then jump up to reveal the Invisible Blocks above you.