
Portal Guide Walkthrough The Escape
Part Two
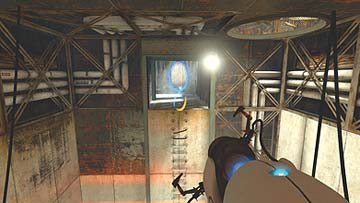
A series of enormous, vertically moving pistons populate the next room. Climb onto the one right in the center and fire your first portal into the end of the passage you see once it’s fully extended. Hop off the piston, place your second portal on the ground level, and go through it.
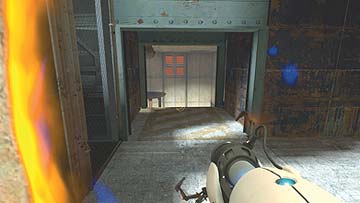
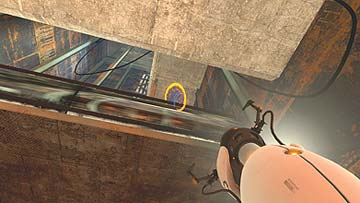
Travel down the passage and jump off the declining ledge into the next room. Above you to your left is a horizontal piston; to your right are two vertical pistons. When the horizontal piston is retracted, it reveals a small stretch of portal-friendly surface above it. Place your first portal here. Place your second where one of the vertical pistons impacts the ceiling and go through it.
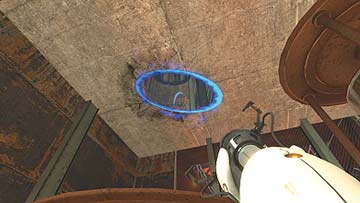
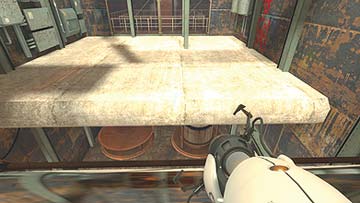
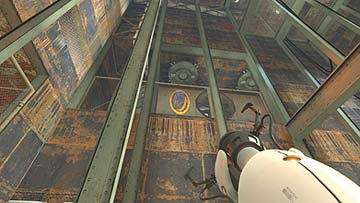
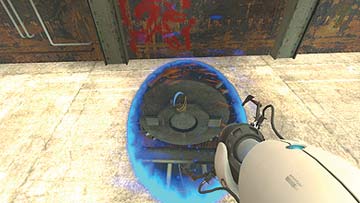
You have emerged atop the piston. Run across it toward the one adjacent, then jump to the light-colored cement surface ahead of you. There’s a portal-friendly surface above you to your right, behind the chain-link fence. Place your first portal here, and your second on the cement ground. Teleport behind the fence.
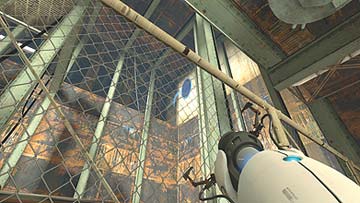
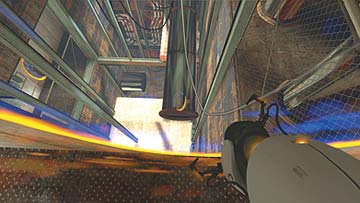
Next, place your first portal on the high wall across the fence to your right. Make sure to get it right above the horizontal piston that travels below it. Place your second anywhere accessible. Wait till you can see the piston through your second portal before jumping through.
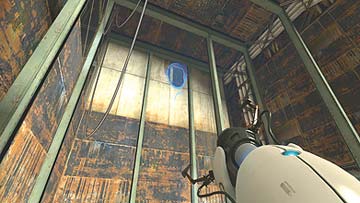
Your next step is to fling from the piston to the scaffolding that’s opposite the portal you just came out of. Replace your first portal a few yards to the right of the one you just came through. Wait till the piston you’re on reaches its end point before placing your second portal on the platform down below, then jump through. You’ve just flung onto the scaffolding.
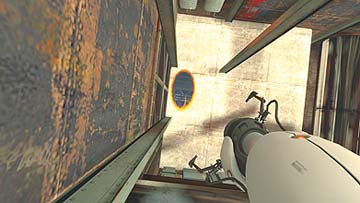
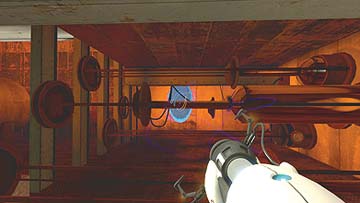
Turn left upon landing, but don’t enter the room filled with rapidly moving horizontal pistons. Instead, place a portal at the end of that room, and another on the wall behind you. Walk through to bypass that madness.
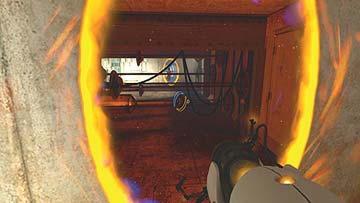
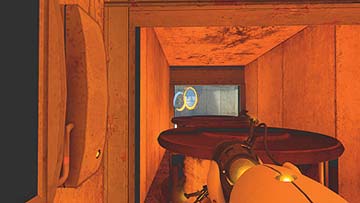
When you emerge, turn left, and wait till the two vertical pistons blocking you in the hall retract, and place a portal on the far wall. Place your second behind you and run in.
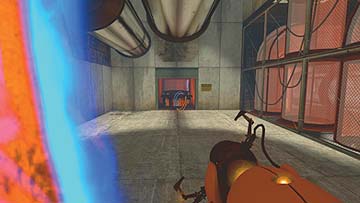
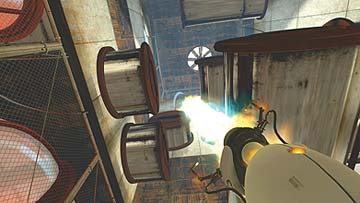
Just when you thought you’d had enough pistons for one lifetime, you walk into a room chock-full of them. It’s almost over, so hang in there. Your goal is to place a portal on the floor of the room above, which surrounds this piston-ridden pit. You’re going to have to gain some altitude to do this. Fire your first portal at the highest piston-supported point on the wall. Fire your next portal somewhere near you on the ground. Travel through.
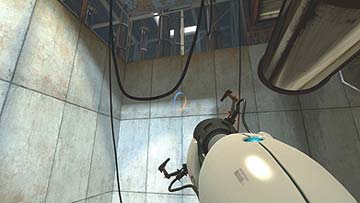
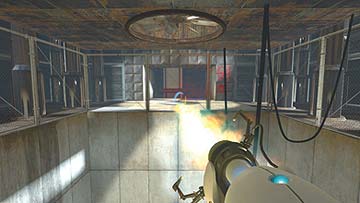
You are now able to reach the second-to-highest “layer” of pistons (the ones at the very top are too high to portal to). Replace your first portal someplace that would allow you to land on these pistons, and jump down to your second portal on the ground. Wait till the piston is fully extended before going through. Once you’re on it, replace your first portal on the exposed ground before you. Work fast once you’re on, though; when the piston fully retracts, you’ll be back to square one.
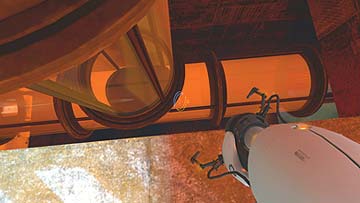
When you emerge from the ground, look for an alcove from which a vertical glass tube is visible. Run into it, drop down onto the connecting horizontal tube, and travel down till you can see yet another tube below you. Drop onto it, walk a few yards, and crouch below the horizontal piston that intersects this tube from above.
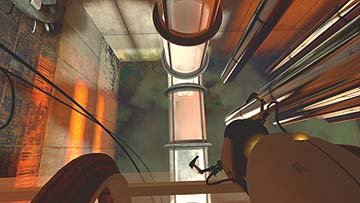
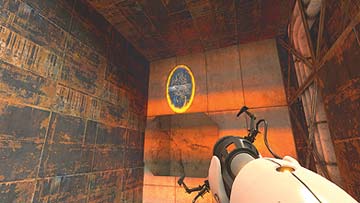
Place your first portal right above the panel where the piston hits the wall. Travel back down the glass tube and place your second portal just below you on the suitable wall, near where you dropped in. Wait till you can see the piston is fully extended before jumping through, but be careful—the tube is suspended over toxic goo, as you may have noticed!
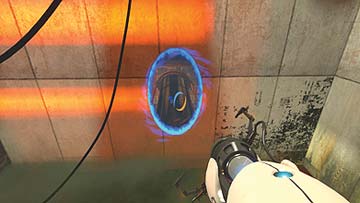
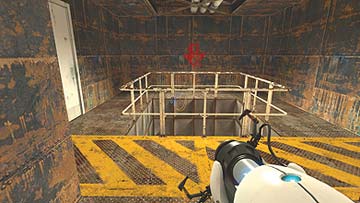
Run off the piston and down the passage ahead of you. It ends at a pit surrounded by handrails. Jump in!
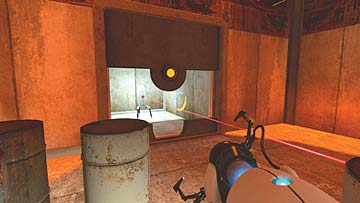
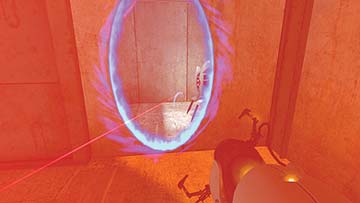
Walk through the next room and into a chamber whose ground is composed of vertical pistons. They retract from under you when you step on them, dumping you into a room with shut panels on all four walls. Momentarily, these will open one by one, revealing turrets stationed behind them. Prepare for the fray by placing your first portal on the wall nearest you. Once the first turret chamber opens, scramble to place your second portal behind it or to its flank, then run back into your first portal and tip the turret over. Repeat the process till all four turrets are disabled. The last one is held in place by a mechanical arm above it, so you must hit INTERACT to physically pick it up to neutralize it.
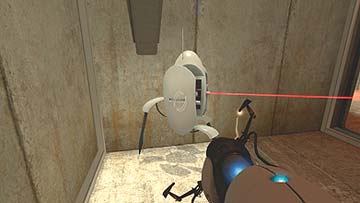
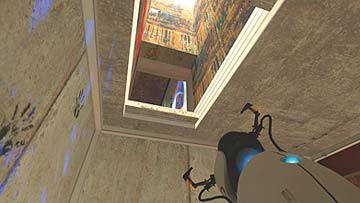
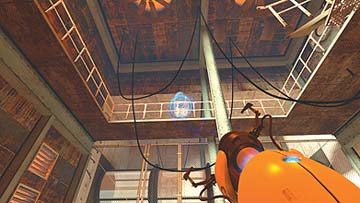
The arm retracts once the last turret has been disabled. Place a portal on the small stretch of cement wall visible from the turret alcove and travel through to it. You emerge in a room with a couple of turrets; don’t worry, they’re duds, despite the working laser sight one of them has. Ignore the turrets and place your first portal behind the catwalk above you. Travel through.
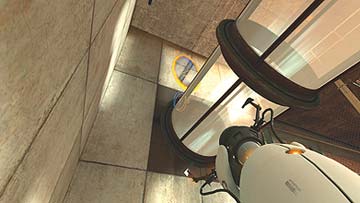
You emerge in a room with a section of glass tubing going through it. Place your first portal right above the spot where the tube meets the wall, and your second anywhere that’s accessible. Run in and across the tube, then jump onto the marked catwalk to your left.
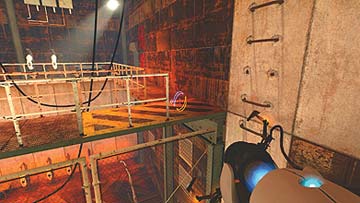
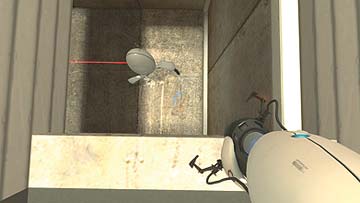
Circumnavigate the catwalk till you reach a small crawlspace. Inside it is a hole that’s large enough for you to drop through. Doing so puts you right behind a turret. Tip the turret over, and the panel before you opens out, like a reverse-drawbridge into the next chamber.
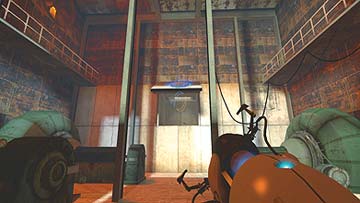
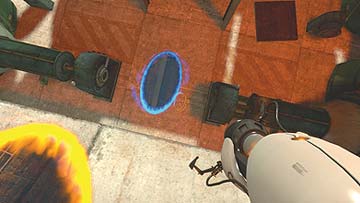
You’re going to wedge-fling onto the inclined ledge before you. First, place a portal on the panel that just opened out. Hop into your second portal to get atop the panel. From atop the panel, replace your second portal on the ground and jump through. This propels you toward the inclined ledge before you.
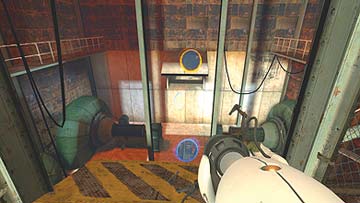
Travel down the hallway and through the Aperture Science office space. If you want a delicious cake recipe, read the information on the monitor that’s behind the first door to your right. If you want to get straight to business, though, keep going to the end of the passage, make a left at the Emancipation Grid, and go through the door.
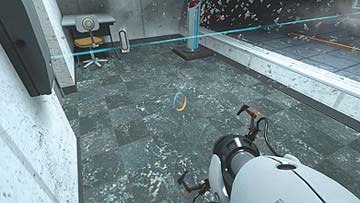
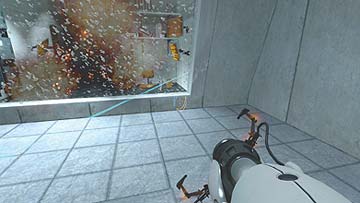
There’s a switch to your left when you enter the next room, as well as an impenetrable (for now) glass before you. Hit the switch. This summons the Rocket Turret from the inactive pod behind the glass before you. When it wakes up, let it set its sights on you. When it beeps, know that a rocket is incoming, so strafe away. The rocket has shattered the glass. Hop into the Turret’s side of the room, and repeat the process for the second glass. When your way is clear, dash through the room and exit out the door to your right.
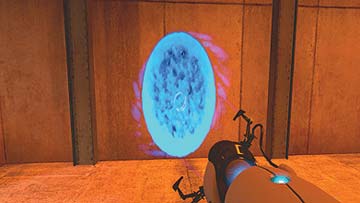
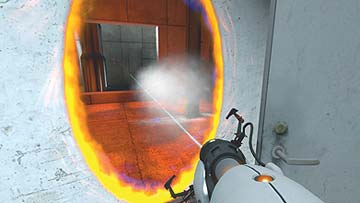
The room at the end of the next hall presents a temporary dead end: a plate glass wall. But you’ve got the remedy for that. Place your first portal on the wall opposite the glass. Next, run back into the Rocket Turret’s room, and place your second portal where its sight is aimed. Taunt it into firing, and watch the glass shatter.
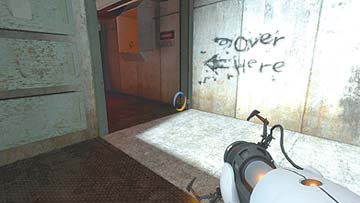
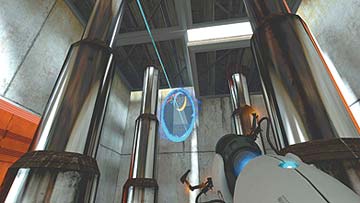
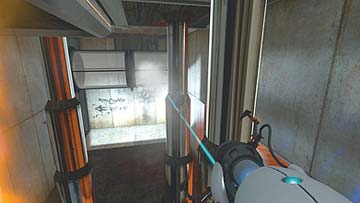
Behind the glass, you see some helpful graffiti pointing to your left, toward a crawlspace that’s just beyond your reach. Notice, though, that traveling through the glass tube above you is nothing other than a Weighted Storage Cube. You have to liberate it, and you have the means to do so. Replace your first portal behind the piston nearest the wall, opposite the glass tube. Run back to your second portal, and goad the Rocket Turret into shooting.
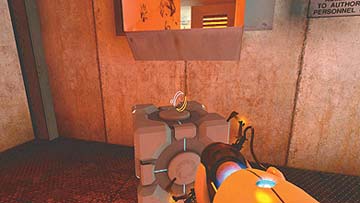
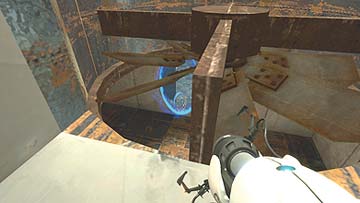
You are now in possession of a Weighted Storage Cube. Carry it to the crawlspace and use it to boost your way into the small gap. At the end of the ventilation shaft you’ve just entered, you see a fan. Aim your first portal between its blades. Travel out of the crawlspace, and place your second portal on a wall outside. Go through.
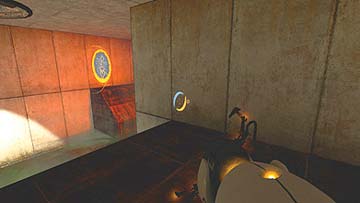
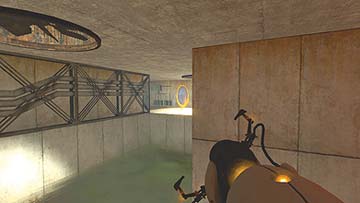
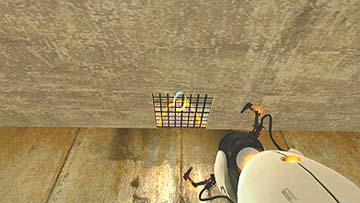
Replace your second portal next to the wedge-shaped ledge you see across from you. Walk through your first portal to reach it. Aim a portal at the wall on the far end of the chamber, to your right when you reach the end of this ledge, and travel to it. Turn right after emerging and move to the wall. A faded arrow points upward toward a tiny mesh grate on the low ceiling. Aim your first portal though this, and travel through your second into it.
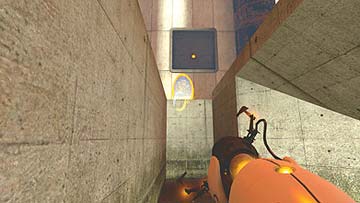
You have emerged in what may just be the Enrichment Center’s sewage drain; note the ankle-deep goo, not deep enough to be lethal, but certainly sufficient to make you feel gross. Place your first anywhere on the level above you, and run through your second. Prepare yourself for an ambush of epic proportions.