
Portal Guide Walkthrough Test Chambers
Chamber 16
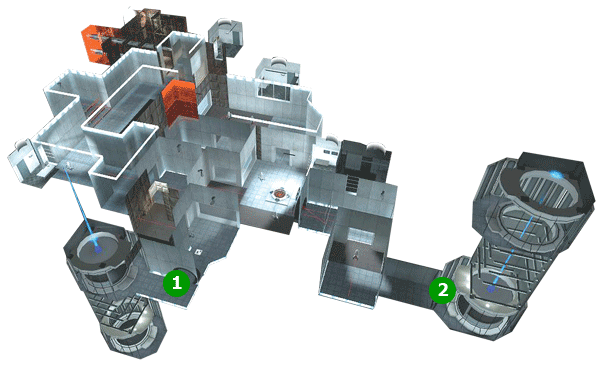
Map Legend
1.Test Chamber 16 Start Point
2.Test Chamber 16
Caution
Although they may talk sweetly, the stationary turrets you encounter in Test Chamber 16 mean serious business indeed! When they get you in their laser sights, it’s curtains for you in just a few seconds. Luckily, there are a few ways to foil them. For one, their equilibrium leaves a lot to be desired, so you can simply walk into them and tip them over. They’re also very susceptible to being knocked over by Weighted Storage Cubes. You can also pick a turret up if you manage to get behind one, so feel free to smash turrets into each other. If you simply can’t avoid them, remember that Cubes block their fire.
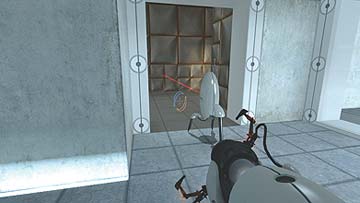
When GLaDOS is done pontificating, the blast doors leading you into Test Chamber 16 open up. The first thing you see is a stationary turret facing away from you. Don’t worry—they’re only deadly if their laser sights are pointing at you. Just walk into it to tip it over.
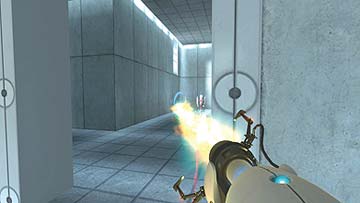
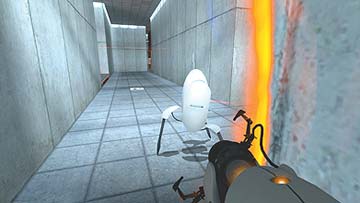
As you walk down the hall, you’re greeted with a laser sight aiming straight in your path. Cross the threshold quickly, aim your first portal right next to the turret, and take cover on the other side of the threshold. Place your second portal on the wall here, walk through, and tip over the turret.
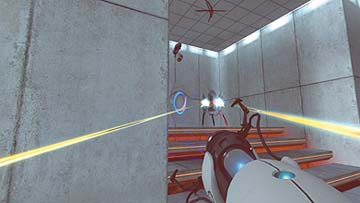
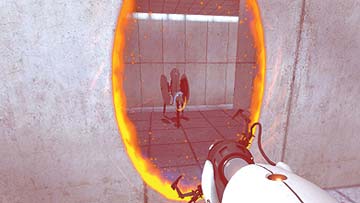
The next turret is down the hall, sitting atop some steps. Place your first portal behind it, and your second after you’re back behind cover. Walk through and neutralize the turret.
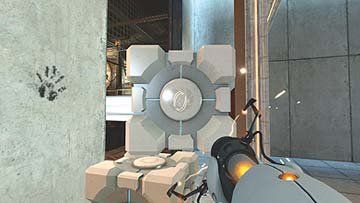
Getting rid of the next turret puts you between some nasty crossfire for a few seconds, so work fast. You see some Weighted Storage Cubes jammed between the wall and a protruding panel to your left as you approach a glass wall behind the next turret. Grab them and keep them handy.
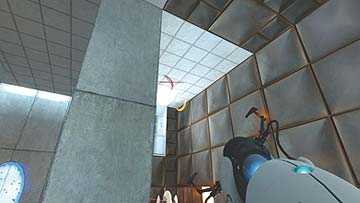
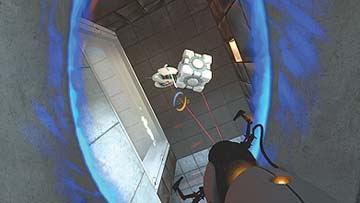
Now run quickly and turn left when you’re in the turrets’ line of sight. You can’t place portals on the walls in this alcove, so look up at the ceiling, and aim your first portal at the conveniently marked “X.” Retreat back to cover, place your second portal on a safe wall, and drop one of your Cubes on the turret’s noggin.
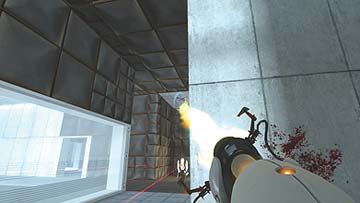
Repeat the process for the turret placed opposite the one you just dispatched. There’s another “X” on the ceiling above it; aim here, and slam a Cube on its head.
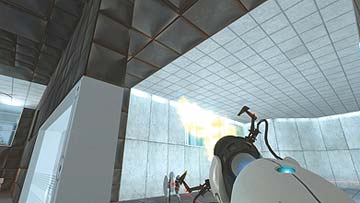
Move to the spot where the turret you just foiled stood. In the room that’s now ahead of you, two turrets need taking out. There’s no “X” marking the spot this time, though, so try your best to aim above their heads. When your first portal is open, retreat to the disabled turret’s alcove, retrieve the Cube you used to kill it, and run somewhere safe. Open your second portal and drop the Cube on the first of the two active turrets.
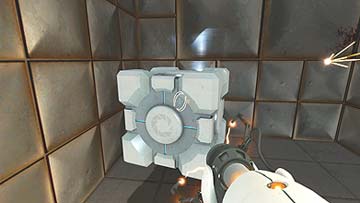
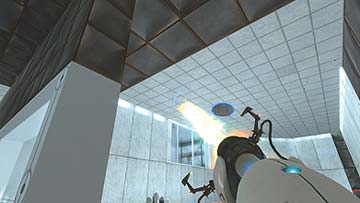
Another Cube is just opposite the room where the disabled turret lies. Run there, retrieve the Cube, and bring it back with you to the safe alcove. Aim your first portal above the second turret, run back before you’re under too much fire, and drop the Cube on its head. You now have a little room to breathe.
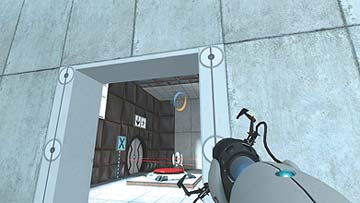
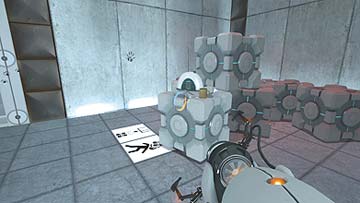
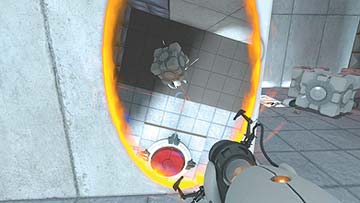
The now-empty chamber leads into two other rooms—one with a red button and three turrets, and another with a bunch of Cubes stacked upon each other, plus a radio that plays Portal’s infectiously upbeat theme. Only one turret can harm you from the entrance to the button room, so take care of it first. Place your first portal above its head (note the “X” on the ceiling), and place your second on a safe wall. Seize a Cube, and bombs away!
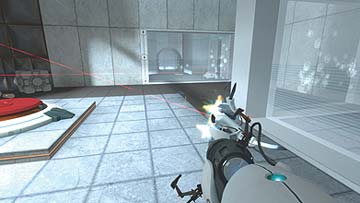
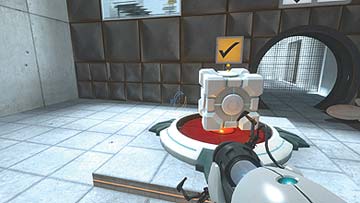
The next turret, aiming squarely at the wall to your left, poses no threat. Simply tip it over. If you’re feeling brave, you can do the same to the next one, but since its stationed back in an alcove, you’re going to take some fire. If you want to play it safe, place your first portal on the “X” above it, and drop a Cube through your second portal back in the previous chamber. Now that the room is turret-free, place a Cube on the red button, and immediately take cover behind the wall adjacent to the blast doors—the open doors put you dead in the sights of the turret behind them.
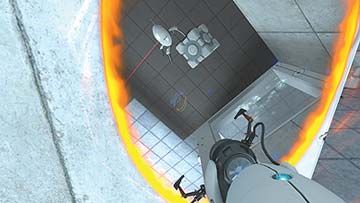
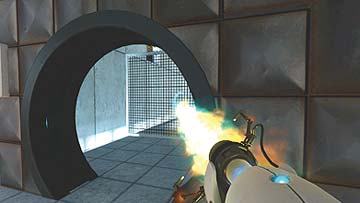
The turret is behind a mesh partition, so just get in its sights for a second, and a fire a portal next to it. Place your second portal from behind cover, walk through, and tip the turret over.
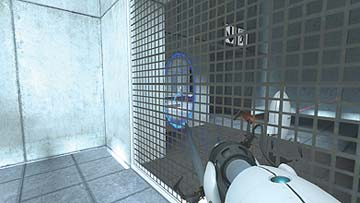
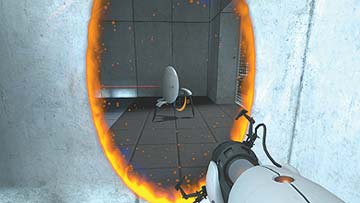
The last turret is visible from here. Repeat the process: Place your first portal beside the turret, your second in the current room, walk through, and eliminate the turret. You are now free to exit Test Chamber 16.
Remember to try the advanced and portal challenge strategy sections of this chamber