
Portal Guide Walkthrough Advanced
Advanced Chamber 16
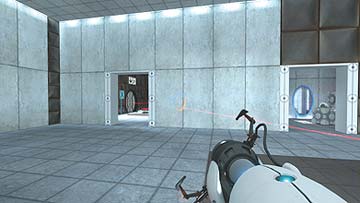
The turrets in this room, fortunately, can be avoided pretty easily, but you have to work carefully once you’re in there, or they’ll quite literally bite you in the rear. Aim your first portal on the far wall opposite the glass partition. Place your second on the wall behind you and hop through. You’ve just emerged flanking the farthest turret, well outside of their V-shaped fire zone.
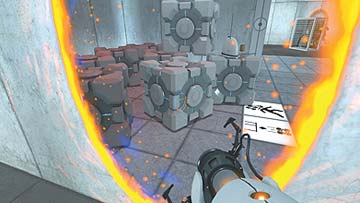
Next, place your first portal inside of the smaller room to your right—the one with all the Cubes. Place your second behind you and go through. You are now in close proximity to a bounty of Cubes.
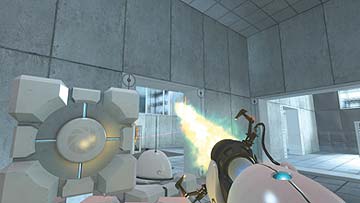
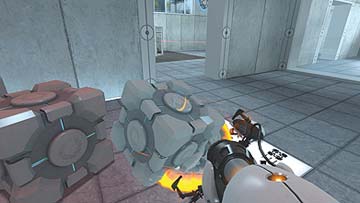
Your goal is to get all those Cubes into the room you were just in. Fire your first portal outside of the nearest turret’s line of sight; aim to the right of the observation window. Use your second portal to vacuum all the Cubes through your first by repeatedly firing it below them. Collect all the Cubes in this manner. When you have, follow them out through your portal on the ground.
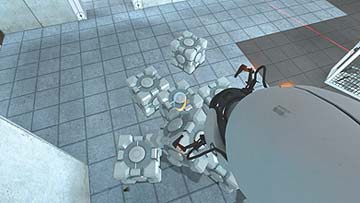
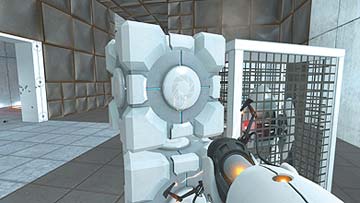
Now stack two Cubes in front of the turret closest to you in your current room. You take a few shots in the process, but the cover you’ve created should keep you from dying. This allows you to build an ever-so-elaborate fort in the small room to your left without taking fire.
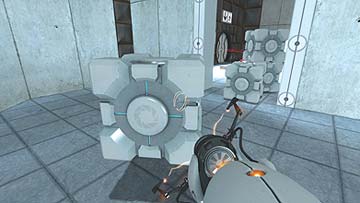
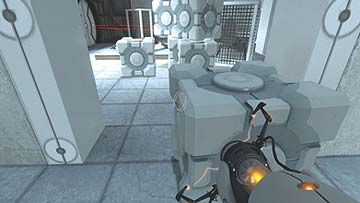
Place four Cubes, stacked two-by-two, on the entry to the small room to your left. Push all four toward the turret closest to you in that room. Grab two more and inch them close to the red button on the ground. You want them right at its base.
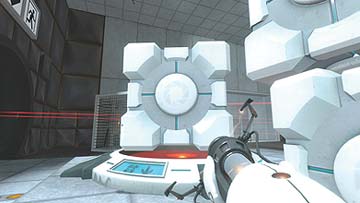
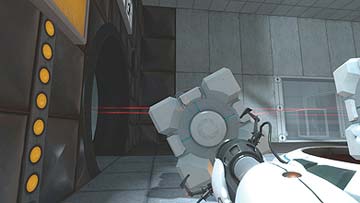
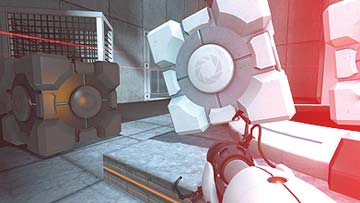
Now that you’re relatively fortified, grab one of the Cubes that’s blocking the first turret in the button room—one off the top, if you value your life—and place it on the button. Crouch while doing so to make yourself a smaller target. With the door now open, take a couple more Cubes and arrange them around the base of the button in a manner that will shield you from the second turret’s fire. Remember to crouch while doing so.
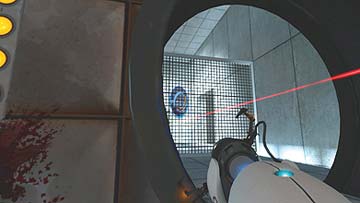
Now fire your first portal through the open blast doors. While crouching, you have a vantage that allows you to work without coming into contact with the turret on the other side. Fire your second portal on the wall to your left. The turret opposite the one you’re about to bypass has you in its laser sights through this portal, so move quickly and carefully. Make your way into it, and take cover behind the turret in front of you as soon as you emerge.
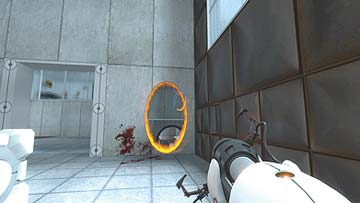
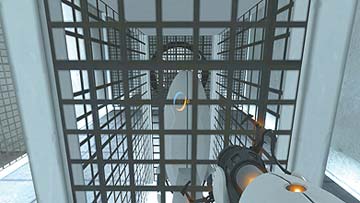
Turn a few degrees to your left, and fire a portal through the mesh. Fire your second one behind you, and back into it. You’ll emerge flanking the last turret. Simply go around it from behind and evacuate the Test Chamber.