Portal Guide Walkthrough Test Chambers
Chamber 10
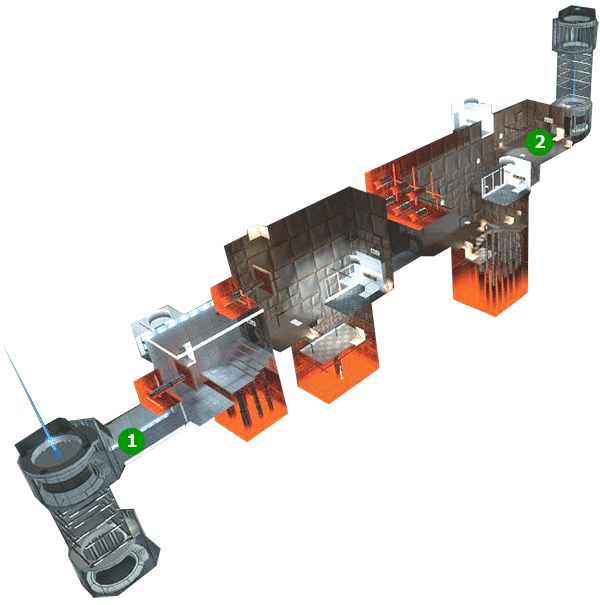
Map Legend
1.Test Chamber 10 Start Point
2.Test Chamber 10 End Point
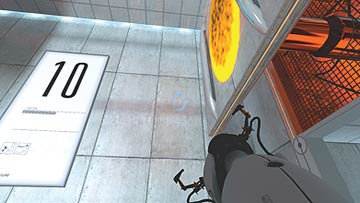
The first thing you see upon entering is a series of steps leading up. Problem is, the first step is too high for you to climb. But that’s OK—you have a portal gun. Fire a portal on either wall. Turn around and check out the orange portal that’s directly behind you. Now walk through the blue portal you’ve just fired and fly out of this orange one onto the previously unreachable bottom step. Keep this technique in mind: You’re going to employ it a whole lot more really soon. Move into the next room.
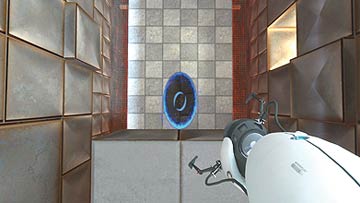
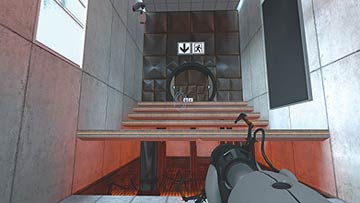
Don’t be discouraged by the lack of portal-friendly surfaces in this room. Just walk to the ledge, and place a blue portal down in the pit. Just like in the previous room, there’s an orange portal directly above the entrance, right behind you when you come in. Jump through your blue portal. Your downward momentum turns into forward momentum when you emerge from the orange portal. This technique is called “Flinging,” and in this instance it has generated more than enough momentum to propel you across the chasm.
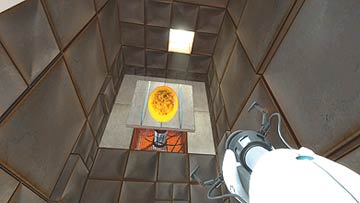
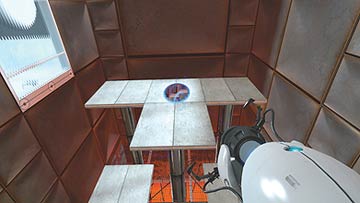
The next room is merely an extension of this exercise, albeit a very fun one. This time around, there’s an orange portal in the pit. Turn 180 degrees from the entrance, and fire a blue portal at the top of the T-shaped, piston-driven panel after it fully extends. Jump through the orange portal in the pit and fling yourself to the next ledge.
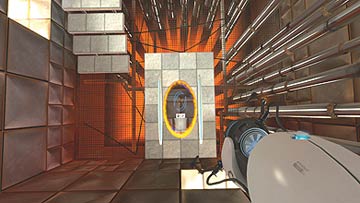
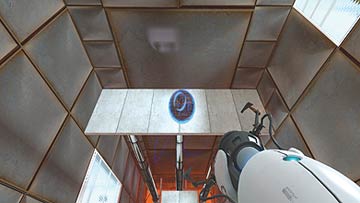
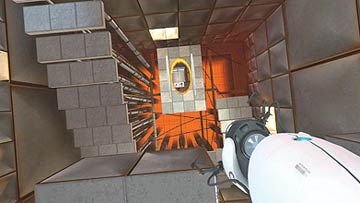
On this ledge, there’s a second piston-driven panel extending even farther out behind you. Aim a blue portal at its center, jump through the orange portal in the pit, and revel in the farthest, fastest fling you’ve yet experienced. The exit is right before you.