
Portal Guide Walkthrough The Escape
Part One
If you felt like the previous exercises were nothing more than deathtraps poorly disguised as scientific experiments, then prepare to be vindicated by Test Chamber 19. Do you smell something burning? You will soon.
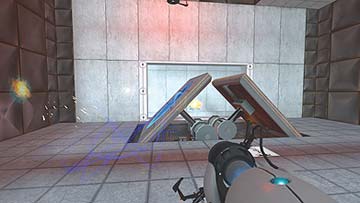
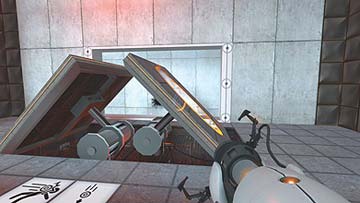
First, you have to feed the Ball Catcher that you see upon entering the Test Chamber. Place your first portal on the inclined panel to the left, and your second on the one to your right. After the ball passes through your second portal, replace it anywhere that won’t cause the ball to go in it again. The ball rebounds off the wall, onto the panel, and into the Catcher. This activates the lift you saw to your left when you entered the chamber.
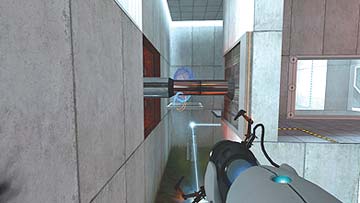
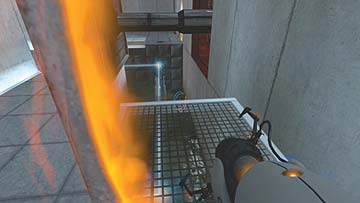
Move to the lift’s start point, and place your first portal behind the mesh ledge you see behind the piston. Place your second anywhere that’s accessible and cross through.
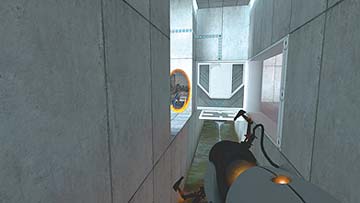
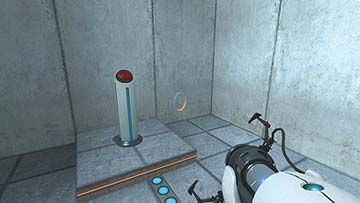
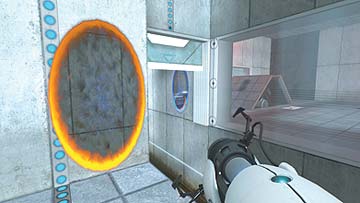
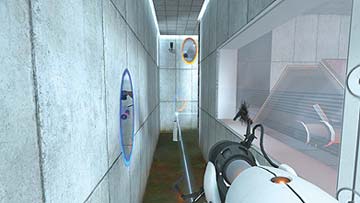
There’s an alcove visible before you, next to a shut panel. Portal to it, and activate the switch that’s inside it. This opens the panel blocking the lift’s path. Place your first portal behind it, and your second in your alcove. You are now able to access the passage while the panel is shut. Wait till you can see the lift from your second portal and hop on.
If you felt like the previous exercises were nothing more than deathtraps poorly disguised as scientific experiments, then prepare to be vindicated by Test Chamber 19. Do you smell something burning? You will soon.
First, you have to feed the Ball Catcher that you see upon entering the Test Chamber. Place your first portal on the inclined panel to the left, and your second on the one to your right. After the ball passes through your second portal, replace it anywhere that won’t cause the ball to go in it again. The ball rebounds off the wall, onto the panel, and into the Catcher. This activates the lift you saw to your left when you entered the chamber.
Move to the lift’s start point, and place your first portal behind the mesh ledge you see behind the piston. Place your second anywhere that’s accessible and cross through.
There’s an alcove visible before you, next to a shut panel. Portal to it, and activate the switch that’s inside it. This opens the panel blocking the lift’s path. Place your first portal behind it, and your second in your alcove. You are now able to access the passage while the panel is shut. Wait till you can see the lift from your second portal and hop on.
Once on the lift, it only takes a second before you’re carried into hazardous proximity of a live energy ball. Place your first portal on the charred spot where it hits the cement wall, and your second portal anywhere that won’t bring the ball into contact with you—the highest point on the wall ahead of you is a good choice.
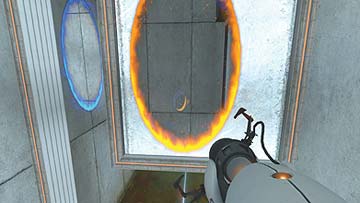
Yet another hazard greets you around the next bend: a panel right smack in your path. In all her efforts to end your life, though, GLaDOS must have forgotten that you have a portal gun. Cheat death a second time by placing your first portal on the face of the panel, and your second just behind it. As you approach your first portal, inch backward till you’re confident you can leap through it onto the lift as it passes by your second portal.
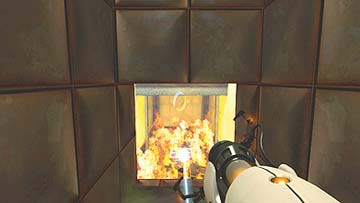
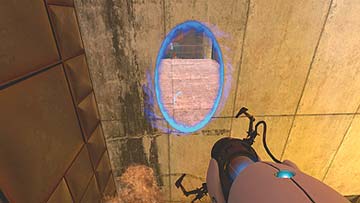
Finally, the true purpose of the Aperture Science Computer-Aided Enrichment Center is laid bare: a pit of fire designed to dispose of both the unstable piece of hardware, and the test subject who’s gleaned all its secrets. You didn’t come this far to allow GLaDOS to incinerate you, however. When you get close enough to see the ledge behind the fire pit, aim your first portal at the wall behind it. Place your second just below on either the right or left walls, and jump through. Don’t worry—your hydraulic knees can withstand the heat.
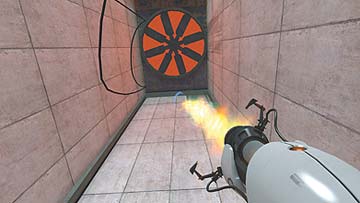
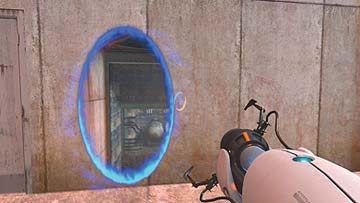
Pay no attention to GLaDOS’s distraught ramblings. You’re on your way out of this rat maze. Place your first portal on the highest point on the wall behind the ledge, and your second anywhere that’s accessible. Replace your second portal as you’re falling through your first to double-fling to the ledge across from the fire pit.
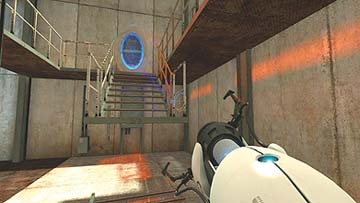
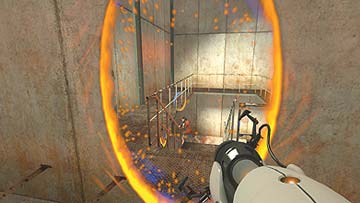
Take a second to look around your new environment. You’re about to leave the sterile environs of the Test Chambers behind and delve deep into the rusty bowels of the Enrichment Center. The rules haven’t changed, though—you’re able to exploit space here just as effectively as you were in the Test Chambers. As luck would have it, though, the first set of stairs you encounter crumble as you set foot on them. No matter. Portal to the catwalk above you and proceed through the door.
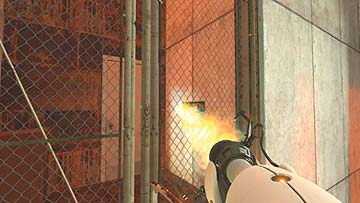
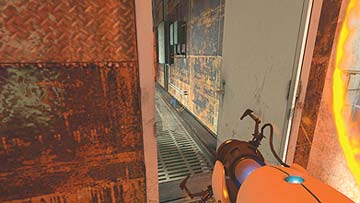
At the end of the passage that’s beyond the door, you encounter a locked chain-link fence. Portal through it and open the door behind it.
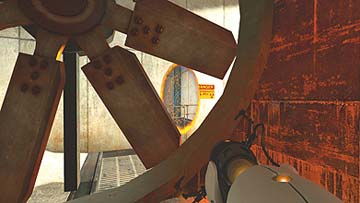
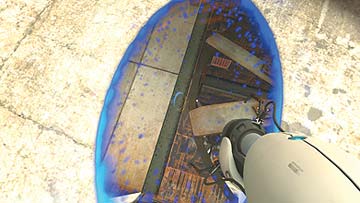
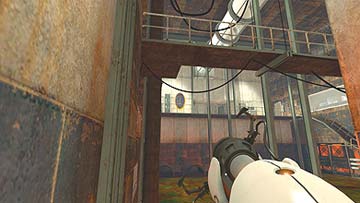
You’ve arrived at a room sandwiched between two enormous fans. Aim your first portal between the blades of either one, and your second down at your feet. Travel down the sloping passageway behind the fan and aim a portal on the wall behind the handrail ledge on the far end of the room. Place your second anywhere that’s accessible and hop through.
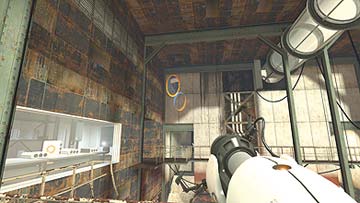
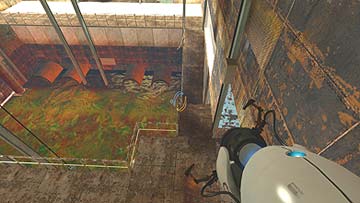
Turn and face the direction from which you came. You see a narrow catwalk close to the other end of the room. That is where you want to go. Place a portal on the wall above its ample landing—use the fan’s sloping passage as a guide. Place your second portal someplace that would allow you a decent running start and jump through. Turn left when you land and proceed down the catwalk. You can turn right and go through the door before you if you want to take a brief walking tour of a real Aperture Science office space. Some funny tidbits are there to be enjoyed.
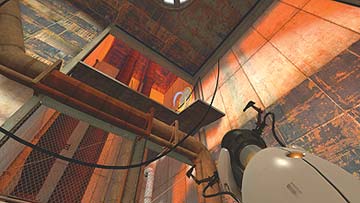
Once on the lift, it only takes a second before you’re carried into hazardous proximity of a live energy ball. Place your first portal on the charred spot where it hits the cement wall, and your second portal anywhere that won’t bring the ball into contact with you—the highest point on the wall ahead of you is a good choice.
Yet another hazard greets you around the next bend: a panel right smack in your path. In all her efforts to end your life, though, GLaDOS must have forgotten that you have a portal gun. Cheat death a second time by placing your first portal on the face of the panel, and your second just behind it. As you approach your first portal, inch backward till you’re confident you can leap through it onto the lift as it passes by your second portal.
Finally, the true purpose of the Aperture Science Computer-Aided Enrichment Center is laid bare: a pit of fire designed to dispose of both the unstable piece of hardware, and the test subject who’s gleaned all its secrets. You didn’t come this far to allow GLaDOS to incinerate you, however. When you get close enough to see the ledge behind the fire pit, aim your first portal at the wall behind it. Place your second just below on either the right or left walls, and jump through. Don’t worry—your hydraulic knees can withstand the heat.
Pay no attention to GLaDOS’s distraught ramblings. You’re on your way out of this rat maze. Place your first portal on the highest point on the wall behind the ledge, and your second anywhere that’s accessible. Replace your second portal as you’re falling through your first to double-fling to the ledge across from the fire pit.
Take a second to look around your new environment. You’re about to leave the sterile environs of the Test Chambers behind and delve deep into the rusty bowels of the Enrichment Center. The rules haven’t changed, though—you’re able to exploit space here just as effectively as you were in the Test Chambers. As luck would have it, though, the first set of stairs you encounter crumble as you set foot on them. No matter. Portal to the catwalk above you and proceed through the door.
At the end of the passage that’s beyond the door, you encounter a locked chain-link fence. Portal through it and open the door behind it.
You’ve arrived at a room sandwiched between two enormous fans. Aim your first portal between the blades of either one, and your second down at your feet. Travel down the sloping passageway behind the fan and aim a portal on the wall behind the handrail ledge on the far end of the room. Place your second anywhere that’s accessible and hop through.
Turn and face the direction from which you came. You see a narrow catwalk close to the other end of the room. That is where you want to go. Place a portal on the wall above its ample landing—use the fan’s sloping passage as a guide. Place your second portal someplace that would allow you a decent running start and jump through. Turn left when you land and proceed down the catwalk. You can turn right and go through the door before you if you want to take a brief walking tour of a real Aperture Science office space. Some funny tidbits are there to be enjoyed.