
Portal Guide Walkthrough The Escape
Part Three
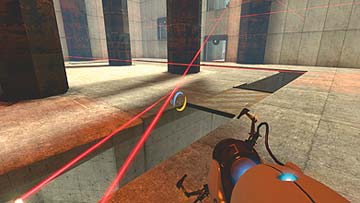
The moment you set foot on the top level of this enormous chamber, you know that something is amiss. From all sides, shut panels open to reveal a multitude of stationary turrets hidden behind them. If you don’t take cover soon, you’re going to be filled with holes. Retreat to the nearest corner and gather your wits. Lucky for you, the situation isn’t as bad as it seems. You’re only in danger at first, when they take you by surprise. Simply take them out one by one. It’s a cakewalk.
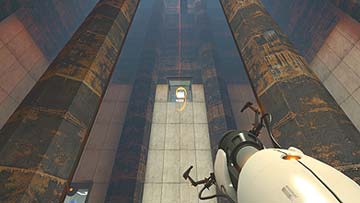
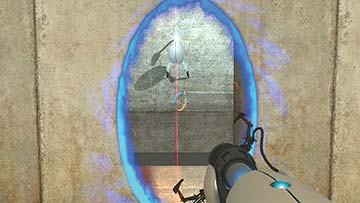
The last one you take out will most likely be the highest one. This is perfect: You need to get up to that room anyway. Simply place your first portal above its head, and your second anywhere near it. Drop in and say goodbye.
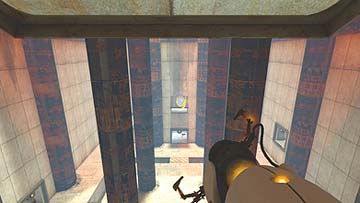
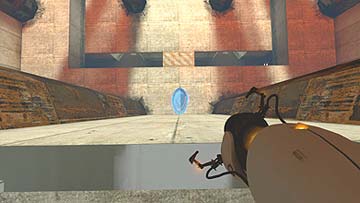
When you face out of that room, you’re directly in front of a downward-sloping panel. Place your first portal here, and your second straight down on the ground beneath you. Jump in. As you travel out of your first portal, you have a direct shot at another downward-sloping panel—the one right above the alcove you were just in, in fact. Replace your first portal here, right as you’re about to collide with it. This double Wedge Fling will propel you way up where you need to go.
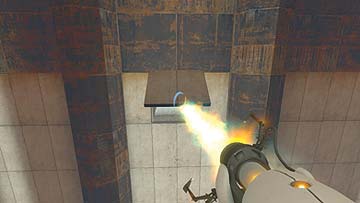
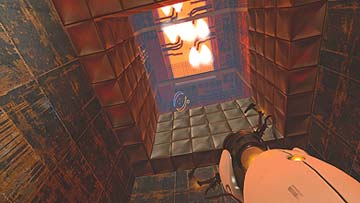
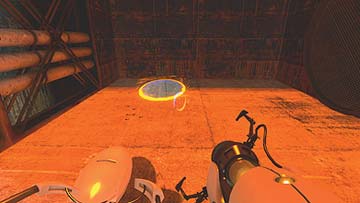
You’re now in a room that is way above the turret chamber. When you reach the back of this room, a pair of mechanical arms deploy two turrets directly before you. Run back behind some cover and place portals beneath their legs to foil them. Once they’re disabled, place your first portal on the ground behind where they stood. Place your second way down on the ground level, where the turrets ambushed you. This insane Floor-to-Floor jump jettisons you to the room above the one you’re in. Finally, place a portal behind the handrail you see high up ahead of you, and travel to it. You’re about to have a nice, long talk with GLaDOS.
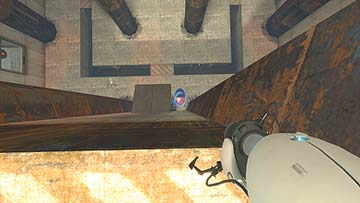
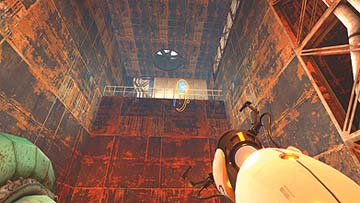
A series of long hallways and narrow catwalks leads you to your ultimate destination: GLaDOS’s nest. She resides in the center of a circular room with an incinerator directly behind her, and the switch that activates it housed in an emplacement to her left.
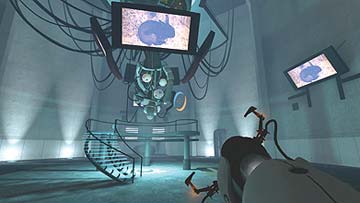
GLaDOS is mounted to a fixture on the ceiling, and surrounding her are a host of monitors displaying what you can presume to be the contents of her unhinged silicon brain. As you know, you’re here to “kill” her. She’s going to plead for her “life,” but give her no quarter after what she’s put you through!
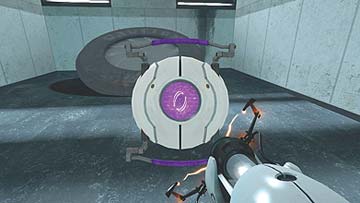
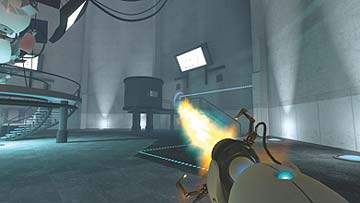
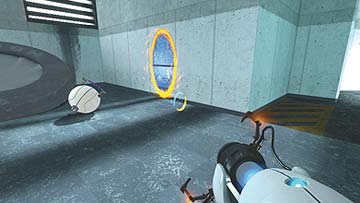
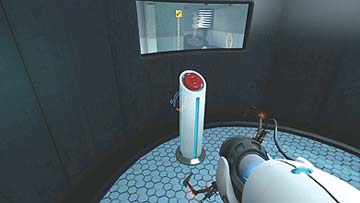
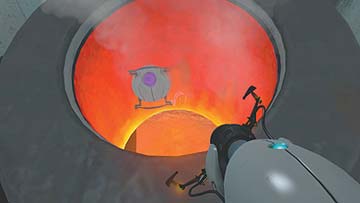
GLaDOS immediately begins to spaz out when you approach her, dropping a spherical object on the ground near her. This is a singular component of the intricate system that makes up GLaDOS’s damaged psyche. This means, of course, that you must incinerate it. Carry it to the incinerator behind GLaDOS’s fixture, aim your first portal at the top of the stairs leading into the incinerator switch’s emplacement, and your second on the wall next to you. Travel through, hit the switch, travel back, and dunk one quarter of GLaDOS’s processing core into the flames below. You’ve just made her mad.
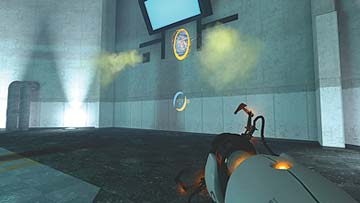
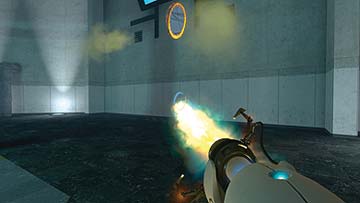
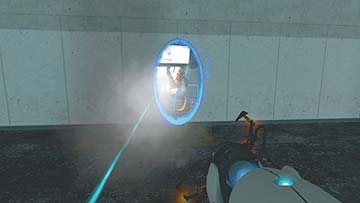
As a result, she’s just begun to flood the room with a deadly neurotoxin. Don’t worry—it’s not enough to kill you, but it does make you wonder what happened to Aperture Science’s human staff, doesn’t it? In any case, she’s also enabled a Rocket Turret, so you have no choice but to use it against her. Aim your first portal just beneath one of the computer monitors, and your second a couple of yards beneath your first, near the ground. Goad the Rocket Turret to shoot into your second portal: This sends its projectile careening into GLaDOS.
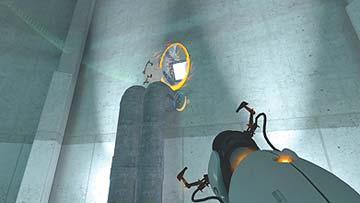
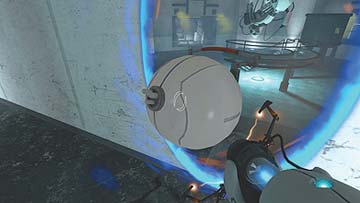
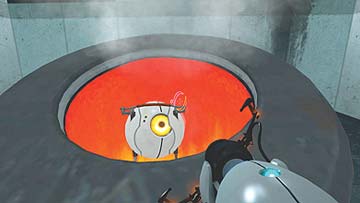
The shock and horror has caused GLaDOS to expel a second piece of her core. It’s landed right above a piece of piping. Retrieve it with your portals, and give it to the incinerator.
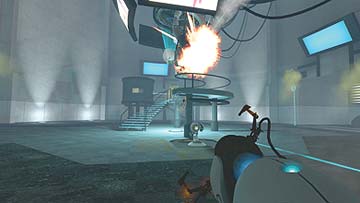
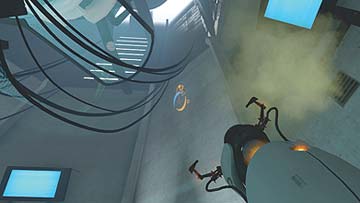
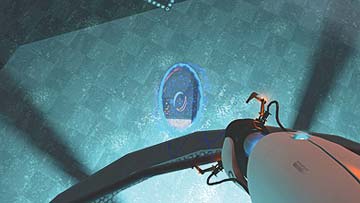
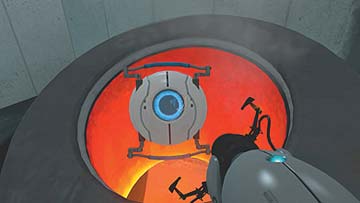
The Rocket Turret is back. Fool it into blasting GLaDOS again. The third piece of her core lands on her fixture, on what looks like a mesh net. Place your first portal on the wall opposite it. Next, run up the stairs onto the catwalk below GLaDOS’s fixture, stand on the handrail, and fire your portal on the ground. Jump through, and fling to the net where her core is. Jump off and torch it.
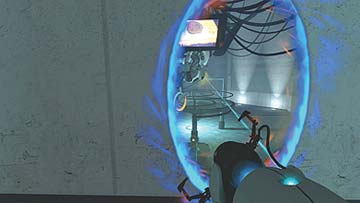
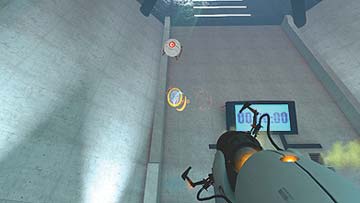
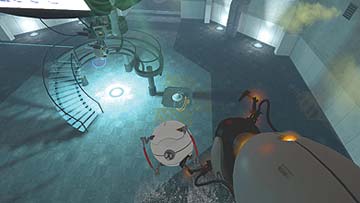
Yet again the Rocket Turret emerges. Portal its missile to GLaDOS one last time. This last core is suspended in midair, held in place by what looks like a sort of tractor beam. Place a portal above and behind it, and another under GLaDOS’s catwalk. Fling to the core and collide with it to bring it down. Whereas the other cores seemed somewhat personable (or at least informative, as with the previous one’s cake recipe), this one is downright vile, grunting and snarling like a caged beast. Who knew GLaDOS was so multifaceted? Oh well. To the incinerator with it.
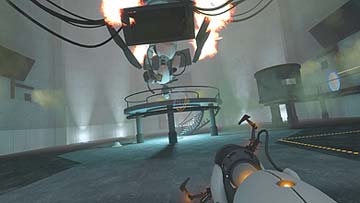
The deranged artificial intelligence is dead. For now, at least. After listening to the end theme, one could suspect that GLaDOS’s personality was backed up somewhere. For now, though, you’ve earned a bit of a break from her.
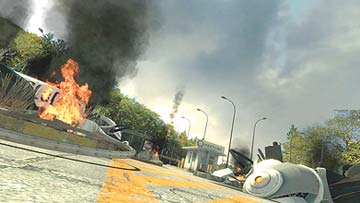
After the pyrotechnics settle, you come out beneath a clear, blue sky. You’re lying prone amid a suitable amount of wreckage, mind you, but never has the air felt so invigorating. From the looks of it, Aperture Science has been vacant for a while. In what state will you find the world once you’ve mustered the energy to rise from your groggy repose? Only time will tell.