Portal Guide Walkthrough Advanced
Advanced Chamber 14
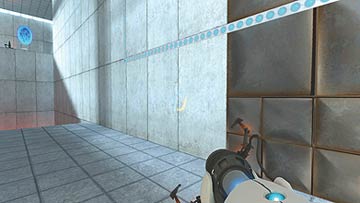
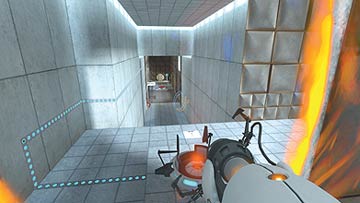
The advanced version of Test Chamber 14 starts out the same: Simply walk up the stairs to your left after you enter the first room, or portal to it if you’re in a hurry. The fun begins now.
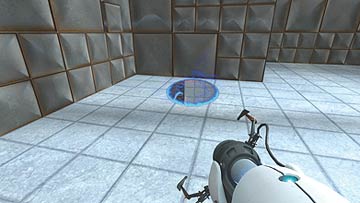
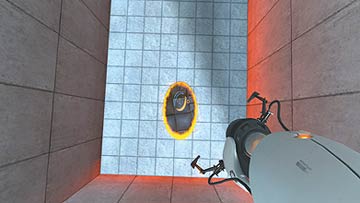
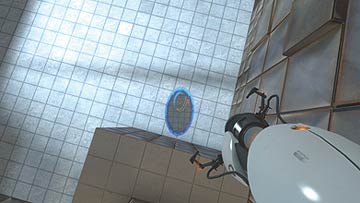
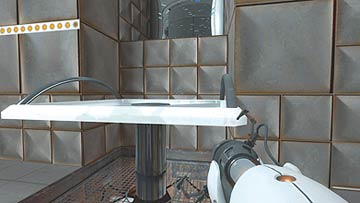
Notice that you can’t place portals on the surface opposite the Weighted Storage Cube. Fortunately, there’s a much more fun way to get up to the ledge. Place your first portal at the foot of the Cube’s ledge, and your second on the bottom of the pit that the stairs create when they retract. Jump through your second portal, and revel as your downward momentum propels you upward onto the Cube’s ledge when you emerge through your first portal. This technique is called “Floor-to-Floor,” in case you’re taking notes. Grab the Cube, and run back to the first room.
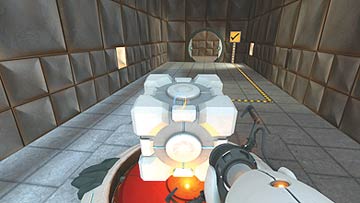
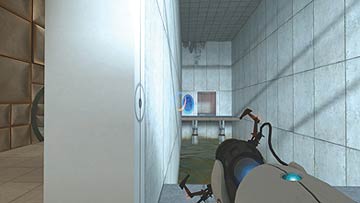
Place the Cube on the red button and enter the blast doors. If you remember the normal version of Test Chamber 14, you know there was a series of platforms in the goo-filled hallway beyond the doors. This isn’t so in advanced. Cross the hallway as you did in the normal version: Place your first portal at the end of the hall and your second opposite it on your end. It’s important that you leave this second portal right where it is—it’s going to be your only way back after you’re done with this hallway. Now, walk through it and enter the Ball Launcher’s room, being careful to avoid the energy ball.
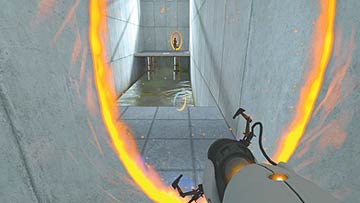
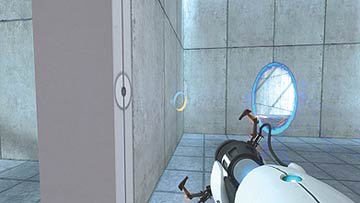
Place your first portal on the charred spot where the ball makes contact with the wall. Since you can’t hop on the platforms over the goo to get back to the main chamber (because they don’t exist in this advanced version of the map), wait until the energy ball travels through the portal you just placed, and follow it through. You emerge at the portal you placed at the end of the hall.
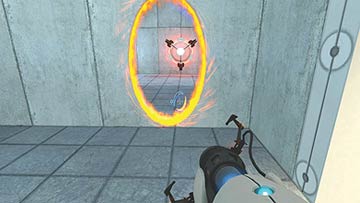
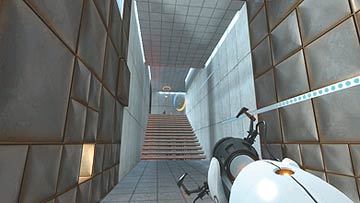
Hustle back to the Ball Catcher near the Cube’s original location. Place your second portal over it, making sure that it isn’t the one you placed in the launcher’s room. When the Catcher activates the victory lift, you’re good to go.