
Portal Guide Walkthrough Test Chambers
Chamber 18
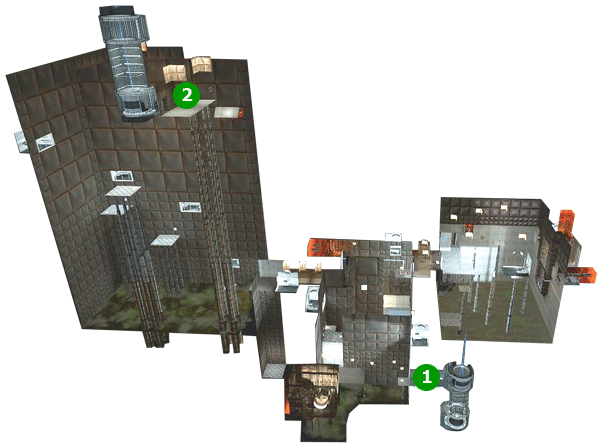
Map Legend
1.Test Chamber 18 Start Point
2.Test Chamber 2 End Point
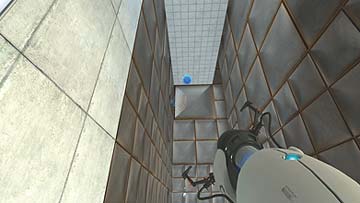
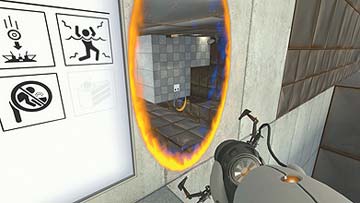
Test Chamber 18 is all about vast spaces. This is immediately evident when you exit the elevator. Time to get started: Place your first portal on the far end of the ceiling ahead of you, and then place your second anywhere that’s suitable. Hop through and enjoy the fall.
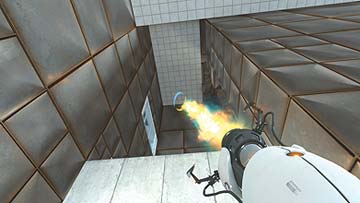
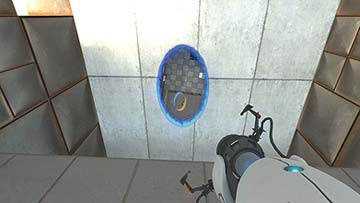
Turn left when you land and fire your first portal on the high ceiling above the ledge before you. The second one goes on the wall of the goo-filled pit. Don’t be scared to jump through.
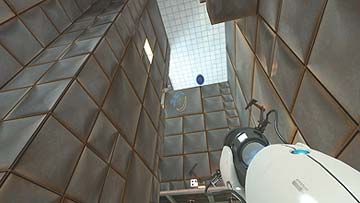
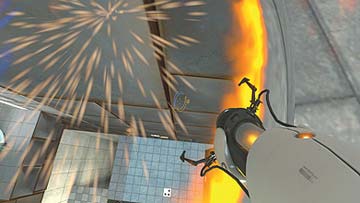
Still more falling: Place your first portal on the tall ceiling above the elevated platform and the second down below your feet.
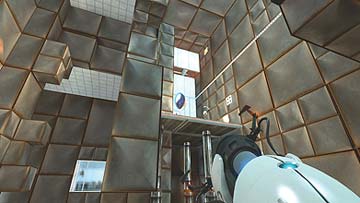
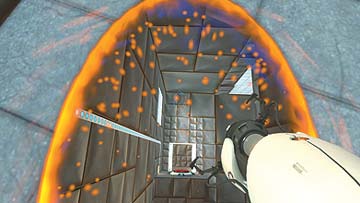
Do it again, but this time, aim your first portal at the stretch of wall below the protruding platform—fire level with the surveillance camera, if you need a guide. Place your second portal at your feet. You’re used to this by now, right?
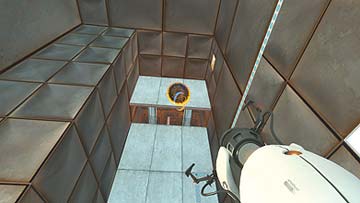
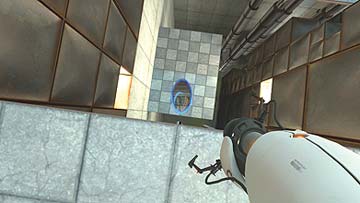
Next, reach the red button you see on the ledge ahead of you. This requires a Fling: Place your first portal on the protruding platform, and the next between it and the button ledge. Hop through and fly. Forget about the button for now, though—you’ve got some trials to endure before you can get through those blast doors. Hit the switch to power the piston holding the panel behind it and get into the next room.
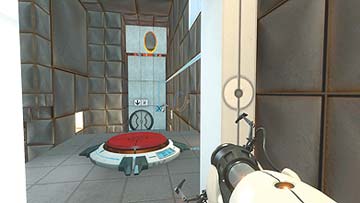
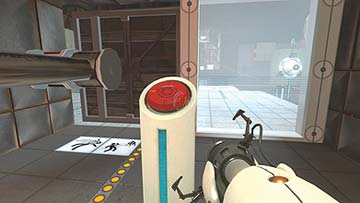
In front of you are a whole bunch of turrets set precariously on a series of elevated platforms. They’re only deadly if you come into contact with them, though, and you won’t. The rotating Ball Launcher in the room’s center is the key to getting rid of the turrets.
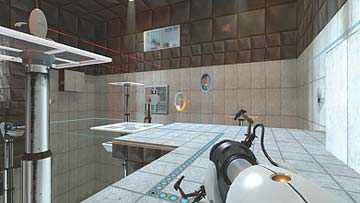
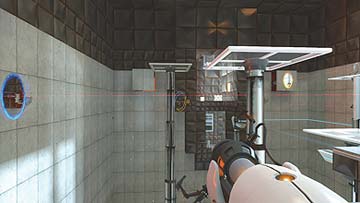
The turrets were thoughtful enough to mark the precise locations where you must place your portals to neutralize them: Just look at where their laser sights hit the walls. Take the turrets out systematically by placing a portal on each of these spots, and another where the energy ball makes contact with the wall—look for the four charred spots.
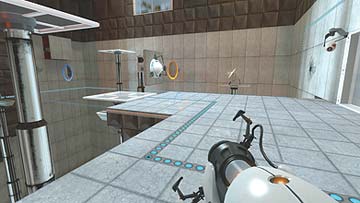
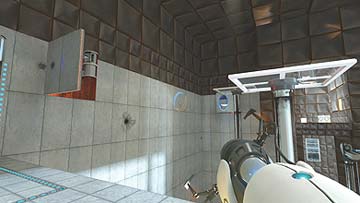
Bask in the tranquility of a turret-free chamber for a moment before turning your attention to the inactive lift. To power it, you’re going to feed the Ball Catcher that’s shut in by a panel on the wall behind you and to your left. First, place portal number one on the protruding panel at the far end of the room, directly opposite the Catcher. Place your second portal on the energy ball’s next destination.
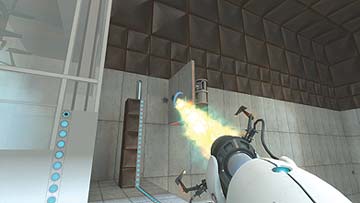
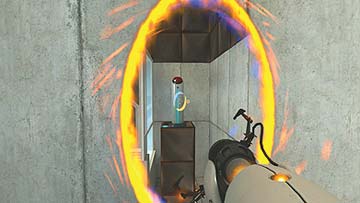
The moment the energy ball emerges from your first portal, replace it on the closer protruding panel—the one with the switch pinnacle in between it and the Catcher. Immediately place your second portal on the wall between the switch’s pinnacle and the Catcher’s housing. You should now see the switch through your second portal; run through and flick it. You have just activated the horizontal lift that runs through the chamber’s center. Hop on it.
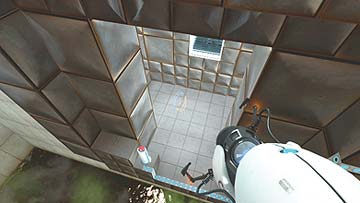
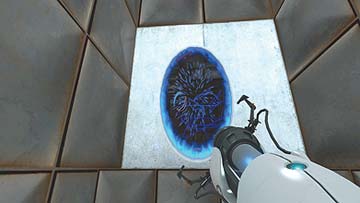
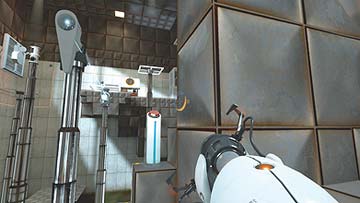
When it reaches the end of its line, jump off into the lower room. You’ve got some portal placement to do before you hit the switch at the room’s threshold, though. Place your first portal on the left inside wall of the room. Now hit the switch and place your second portal on the protruding panel that’s just been activated at the chamber’s far end. Hop through your first portal and get ready for some quick movement.
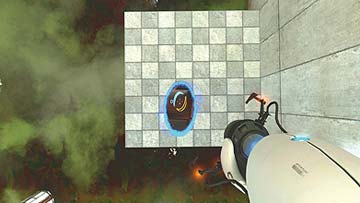
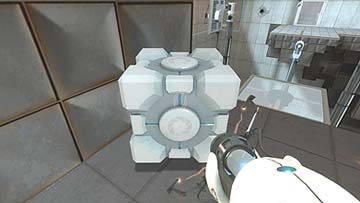
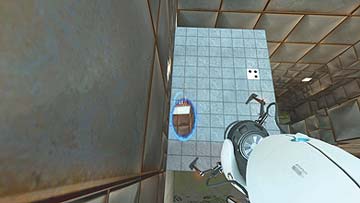
When you emerge through the portal on the inclined panel, immediately bolt to your right and look down: Floating above the goo is a small square of portal-friendly real estate. Replace your first portal here and jump through. You are now flying high to your destination: The room above the one you were in a moment ago. Pick up the Weighted Storage Cube and hop on the lift. Get back to where you entered the chamber and leave the Cube somewhere safe.
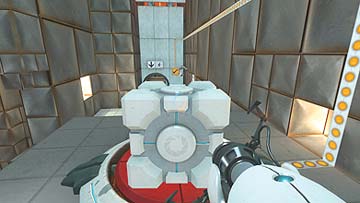
You’re done with this chamber now, so just take the lift back to the room below the one where you just got the Cube, hit the switch, and portal back to the entrance. The panel that the switch activates is the very same one that lets you out. When you’re out, place the Cube on the red button, fire a portal on the ground before the blast doors and another on the platform below you, and hop through. Now proceed through the blast doors.
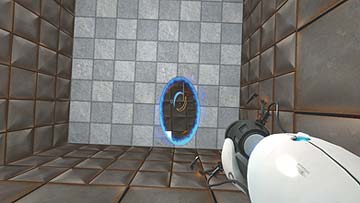
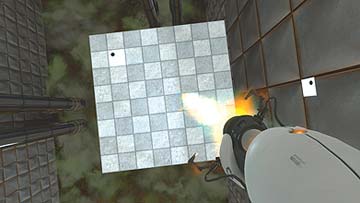
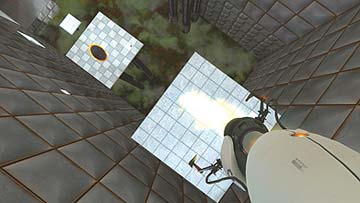
As you emerge from your second portal, you should be in range of the next-highest platform. Place your first portal on the next platform, and your second where you’d land if you weren’t going to continue bouncing.
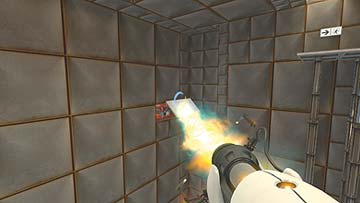
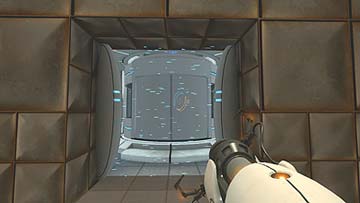
After your third yo-yo, you see an inclined surface aimed at the exit. Place your first portal here, and your second where you’d land. Careen triumphantly into the exit.
Remember to try the Advanced and Portal Challenge Strategy for this Chamber