
Portal Guide Walkthrough Test Chambers
Chamber 15
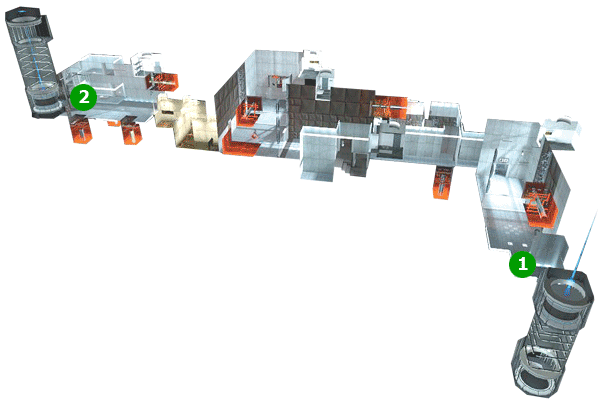
Map Legend
1.Test Chamber 15 Start Point
2.Test Chamber 15 End Point
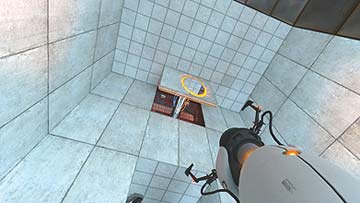
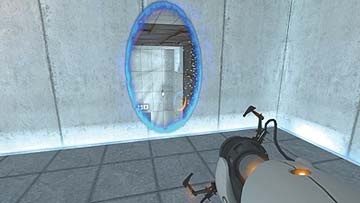
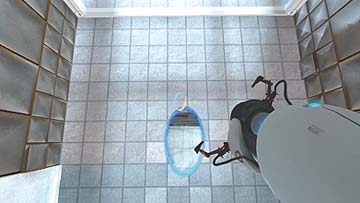
After you emerge from the entrance hallway, the first thing you see is a big old Material Emancipation Grid issuing from a wall that’s too tall to jump over. No matter—you’re going to execute a Double Fling over it! Turn 180-degrees and place your first portal on the protruding panel that’s high up on the wall. Place your second portal anywhere that’s accessible. Turn through it and replace it with another portal where you suspect you’re going to land. You have just generated enough momentum to fly through the grid.
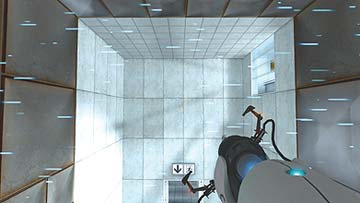
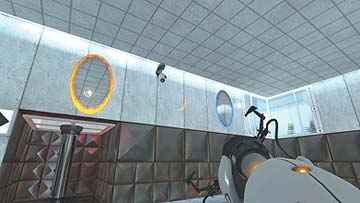
Two Material Emancipation Grids lie side by side in the next room, separated by a wall. Behind grid number one is a Ball Launcher; behind number two is a ball-hungry Catcher. Here’s how you feed it: Place your first portal on the charred spot where ball makes an impact, and place your second portal about three wall panels to the left of it; use the inactive lift as a guide. The energy ball is now on its way through the grid containing the Catcher. Follow it in.
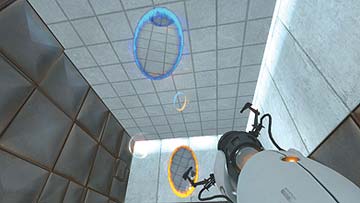
Once beyond the grid, fire your first portal on the far wall, and the second above the Catcher. This has just activated the lift. You are free to leave the room.
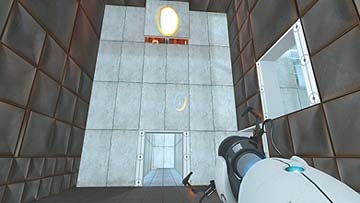
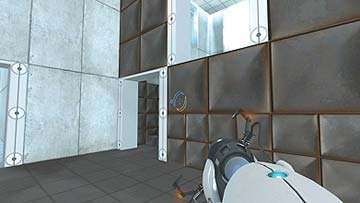
You are required to double-fling yet again in this next room. Place your first portal on the protruding panel directly above the entrance, then go into the room next to it and up the stairs. You have arrived before a small pit. Place your second portal here and jump through.
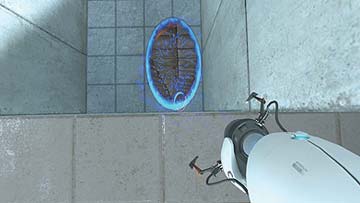
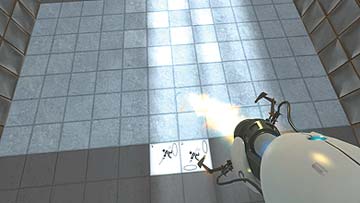
As you’re falling through your first portal, replace your second portal where you’re going to land. Your second trip through the first portal gives you enough momentum to clear the grid.
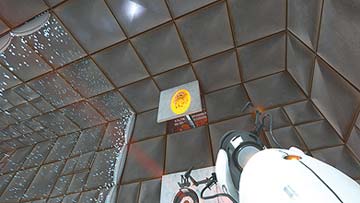
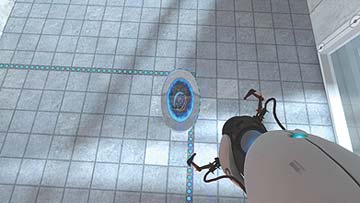
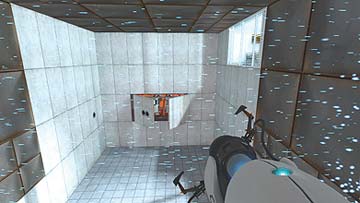
Repeat this process in the next room: Place your first portal on the protruding panel that’s above the Ball Catcher, and place your second one nearby. As you fly out of that high panel, replace your second portal where you’re going to land. Fly through the first and over the grid.
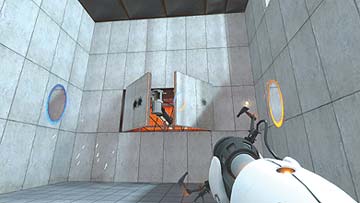
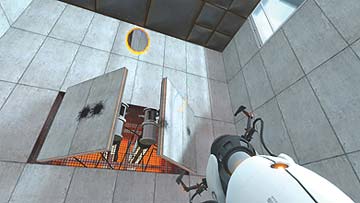
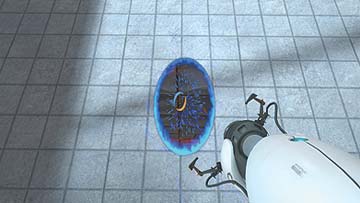
Dead center on the far wall of the next room are two protruding panels forming a sort of wedge. You want the energy ball that’s coming from the previous room behind the grid to hit the panel on the right at just the correct angle to send it flying directly into the Ball Catcher. Here’s how you do it: Place your first portal on the charred spot where the ball meets the wall, just opposite the left panel. Place your second portal on the exact same spot near the right panel. This will make it ricochet in the correct trajectory. To get out of this room you’re going to have to double-fling again, so place your first portal at the highest point on the wall, right above the wedge panels. Place your second portal anywhere, jump through it, and replace it where you’re going to land. You’re now back in the previous room.
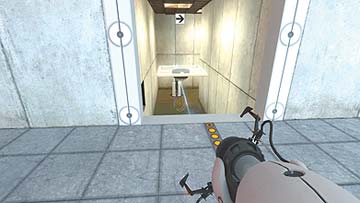
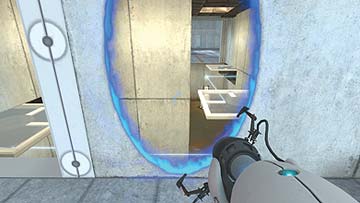
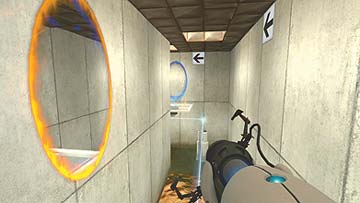
The Catcher activated the series of lifts that travel over the zigzagging goo-filled passage. To get to the other end, place your first portal on the first wall of the passage, as far as you can into the bend on the right. Place your second portal on the wall next to the entrance to the tunnel.
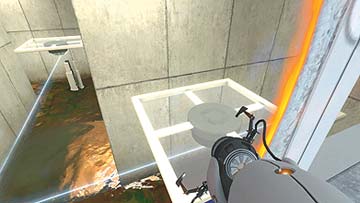
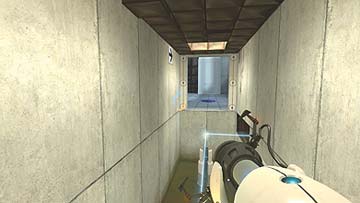
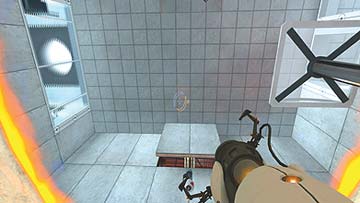
When you can see the lift through your second portal, hop on and replace your second portal farther down the passage way. When the lift carries you back to the passage entrance, repeat the process, placing portals farther down the passage until you can aim at the ground of the room at the other end. Once it’s visible, fire a portal there and jump through when it’s safe—remember, the goo is highly toxic.
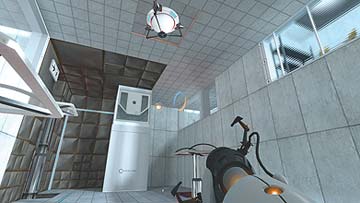
You are now in the last room of the chamber. Activating the lift that leads to the exit will require some split-second timing, so it may take a few tries before you get it right. Basically, you need to hit both of the switches in the elevated rooms to open the panel that’s blocking the Ball Catcher. After it’s open, you have to employ some portal tricks to get the energy ball into it.
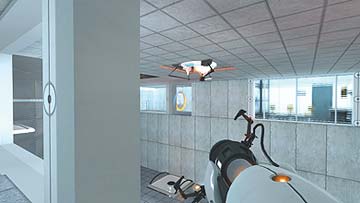
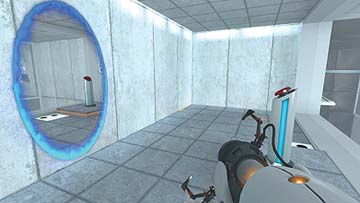
Your first order of business is to hop on one of the lifts that lead to either of the switch rooms. You’re going to have to activate both of them to open the panel that’s blocking the Catcher. Once you’re up, place your first portal in the other room, and your second portal opposite the switch in the room you’re currently in. You should be able to see both switches from where you’re standing. To buy yourself as much time as possible, wait until the energy ball dissipates before initiating the next step.
When you have a fresh ball, quickly hit both switches, and fire your first portal onto the protruding panel opposite the exposed Catcher. Aim your second at the charred spot where the energy ball touches ground. If your timing is right, the ball meets the Catcher before the Catcher snaps shut. The lift now descends and takes you to the next chamber.
Remember to play through our Advanced and portal challenge sections for this Chamber