Portal Guide Walkthrough Advanced
Advanced Chamber 18
Advanced Chambers are modified versions of Test Chambers 13 through 18 that become available after you've completed the game. They've been tweaked to be much more difficult than their normal counterparts, so pay heed to the precise strategies provided here!
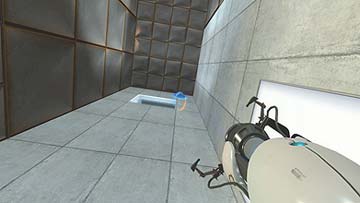
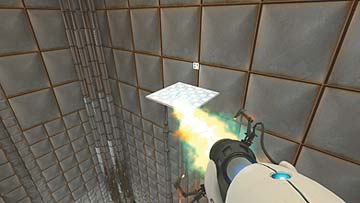
This first section of Test Chamber 18 got a whole lot more complex in its transition to advanced mode, primarily due to the disheartening lack of portal-friendly surfaces. But don’t let that deter you. To get started on your journey, place your first portal on the highest point on the entry point’s wall. Place your second on the ground beneath your feet to fling across the first goo-filled chasm.
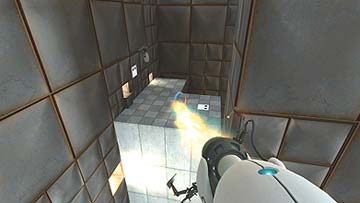
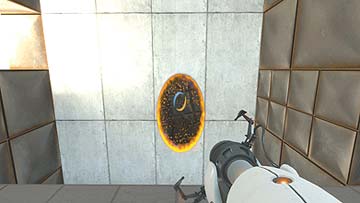
While you’re in the air, quickly replace your first portal atop the second ledge—you have only a moment to do it, so be quick. When you land, fire your second portal on the wall before you and jump into it over the goo.
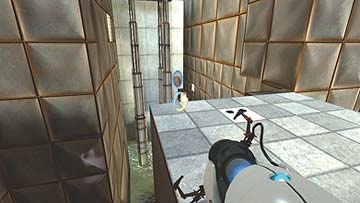
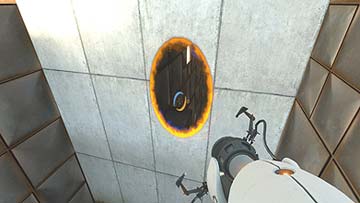
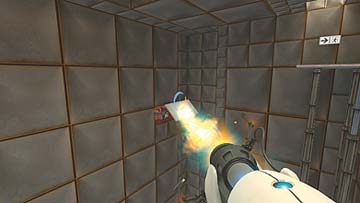
Things get real tricky now. Since all the surfaces above the next platform are off-limits to portals, you have to get creative. To the right of the pistons is a small protrusion that’s only really visible if you look for it. Aim your first portal there. Place your second anywhere accessible and travel through it.
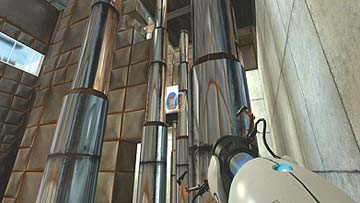
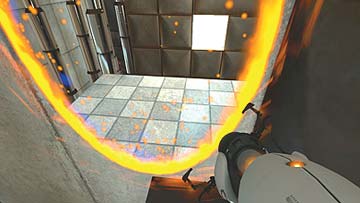
From the small protrusion, aim your first portal carefully to the tiny spot above the next ledge, visible in between the pistons that are holding up the platform. Place your next portal on the wall behind you and walk through.
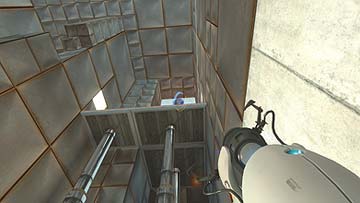
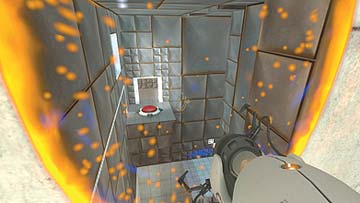
The protruding panel above the next platform is just visible from where you emerge. Fire your first portal there and walk through your second, which you can place anywhere accessible.
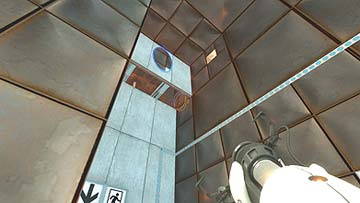
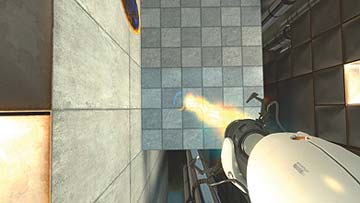
Leave your first portal on that protruding panel, and replace your second on the ground of the platform you just left. Jump through it and fling onto the next platform. Walk past the button, hit the switch that’s beyond the threshold, and walk into the next chamber.
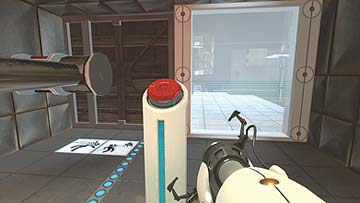
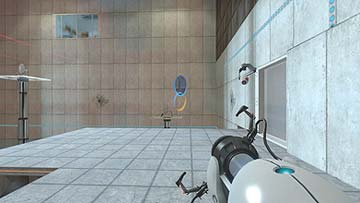
The advanced version of Test Chamber 18 is missing the rotating Ball Launcher in the room’s center. The lift is active by default. Let the implications of this sink in for one moment, then get to work on the Herculean tasks ahead of you.
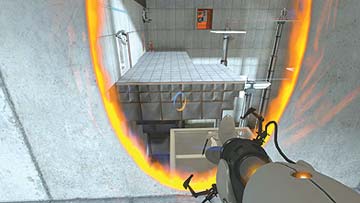
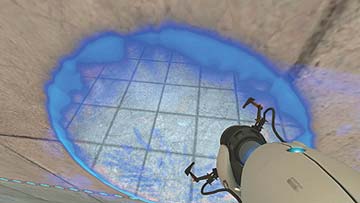
If you’re assuming that you’re going to have to physically tackle all those turrets in the absences of an exploitable energy ball, then you’ve guessed correctly. It’s going to be very difficult, too. Start by taking out the easiest one—it’s on the shortest platform in the room, to your right when you enter the chamber. Place your first portal high above its right flank, your second on a nearby wall, run through, and tip the turret over. Replace your first portal to swiftly split the scene before the fallen turret’s brethren lay into you.
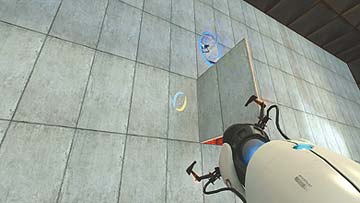
Next on your hit list is the farthest left turret—it’s the one that’s standing closest to the inward-facing protruding panel that you used to flip the Ball Catcher switch in the normal version of Test Chamber 18. Place your first portal right above said panel so as to be able to teeter on it when you emerge through your second portal, which you place anywhere accessible.
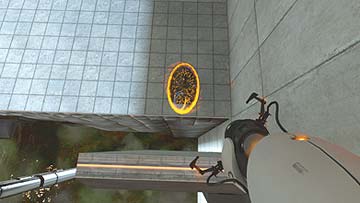
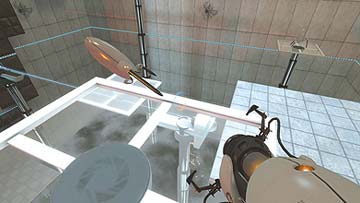
Once you’re on the panel, replace your second portal at the border of the ledge below you—you want to leave the first where it is, since you’re going to fling onto the turret’s platform. When you’ve gathered the nerve, jump through. Your body’s impact sends the turret careening into the goo.
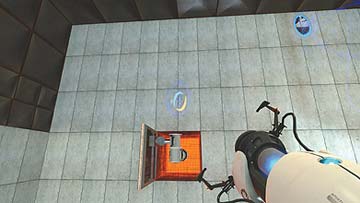
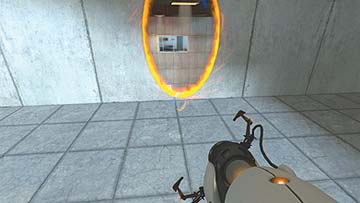
Now eliminate the turret to your left atop the taller platform. Place your first portal as high as you can on the wall above it. Place your second portal somewhere where you can get a couple yards’ running start—you need some momentum to make this tricky jump. Now leap in and plow through the turret, preferably without slipping into the goo in the process. Don’t feel bad if you fail a couple of times, though. This is not an easy jump.
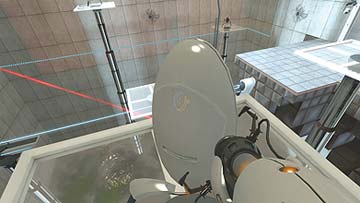
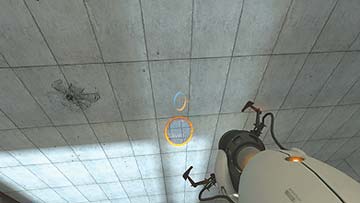
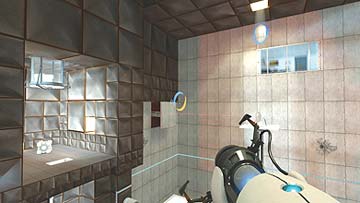
This last turret, as you probably realize, is extremely tricky. Place your first portal on the wall behind you, low enough that you can safely jump into it from your current platform. Aim your second high above the final turret—try to get it in between the light source on the ceiling and the observation glass.
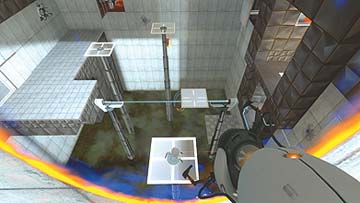
Now, jump off of the platform, but don’t aim to jump through your first portal; instead, try to land on it. More specifically, envision the portal as an extremely narrow ledge and attempt to stop the moment your feet make contact with it. It helps if you hit the wall and slide the last couple of feet.
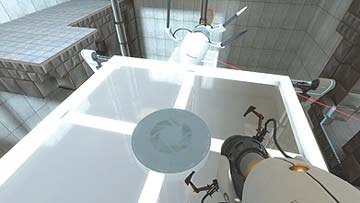
From your artificial “ledge,” you are now free to dive-bomb on the hapless turret. Thank your lucky stars that you’re nearly done with this crazy chamber. Portal back to the entrance, and get ready for some Flinging.
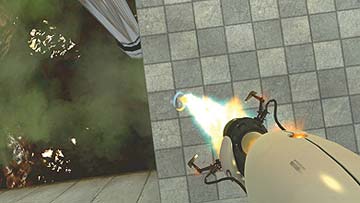
Hop on the horizontal lift and ride it to the low room at the end of its line. Hit the switch when you arrive, and fire your first portal on the slanted, protruding panel that it activates. Fire your second portal on the surface floating above the goo, below the room you’re in. Jump through.
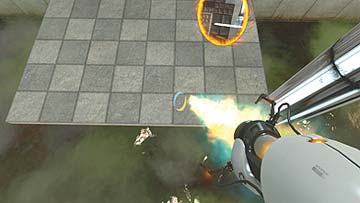
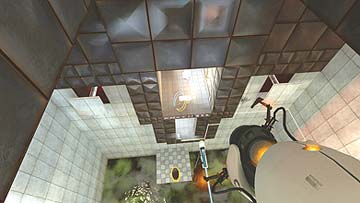
You’re now Flinging quite the distance. Your trajectory takes you back to the surface that initiated the Fling; replace your second portal before impact, and fling yet again, this time to a high room containing the Weighted Storage Cube. Grab the Cube and set it on the lift. Hop down to the lower room, activate the switch to let yourself out of the chamber, and portal back to the entrance. Retrieve the Cube from the lift before leaving this chamber forever.
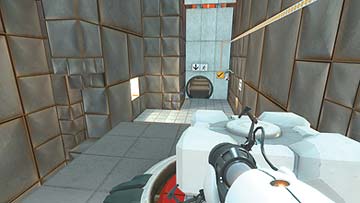
When you’re outside, place the Cube on the button and portal to the blast doors. Take a breather—that last room was a monster!
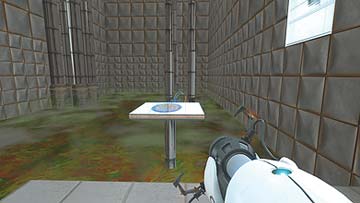
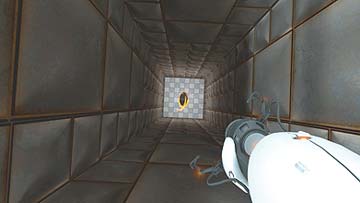
The Floor-to-Floor bonanza that is Test Chamber 18’s final room has changed considerably in its transition to advanced mode. The key difference is that the elevated platforms periodically recede into the goo as you Floor-to-Floor from them, so your timing has to be spot-on. Place your first portal onto the shortest one, then place your second deep in the pit. Jump into it and begin the yo-yoing!
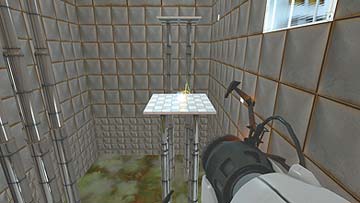
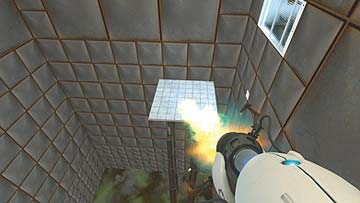
Proceed as normal by alternately placing new portals as you reach the higher platforms, and replacing old ones as you land on the ones you flew up through. Notice, however, that the platforms you leave behind sink into the goo after you emerge through the new ones. This means you have to get the puzzle right in a single try. After you fly through the final, inclined panel, you’re home free! Congratulations! You have just finished the final Advanced Chamber!