Portal Guide Walkthrough Advanced
Advanced Chamber 17
Advanced Chambers are modified versions of Test Chambers 13 through 18 that become available after you've completed the game. They've been tweaked to be much more difficult than their normal counterparts, so pay heed to the precise strategies provided here!

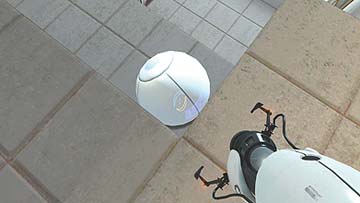
You notice a big difference upon first setting foot in the advanced version of Test Chamber 17: the Weighted Companion Cube is, in fact, a Sphere, which presents some complications, the least of which is that it doesn’t stay put when you set it down. Seize the Sphere after the Vital Apparatus Vent dispenses it, and use it to climb the unjumpable steps.

Use the Sphere to shield yourself from the energy balls as you traverse the twin hallways to the main chamber. Notice it deflects the energy balls in a much more erratic pattern than the Cube did. This will cause you a couple of headaches later.
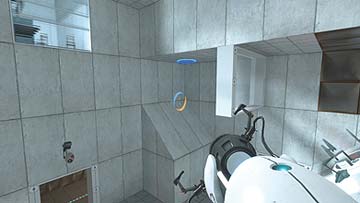

When you get to the main chamber, it’s time to activate the first lift. The order is different from what you remember from normal mode, however. First, set the Companion Sphere aside somewhere you’re fairly certain it won’t roll away. Then place your first portal on the ceiling above the slanted protrusion opposite the Ball Catcher in front of the button room. Place your second portal where the energy ball makes contact with the wall in the hallway nearest to you. This activates the first lift.
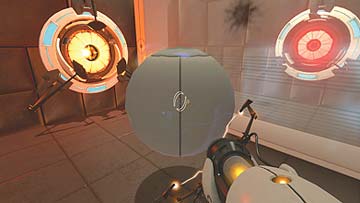
Next, retrieve your Companion Sphere and go to the room below you to your left. There’s a glass wall in between the Launcher and Catcher. This, compounded with the fact that your Cube is now a Sphere, makes solving this puzzle quite tricky. It ultimately boils down to trial and error (and possibly a few deaths), but it helps to crouch a few degrees to the left of the Launcher, and hold your Sphere at the point where the Launcher and Catcher meet at a right angle. Play with your positioning until you get it right. No one said advanced mode was going to be easy!

After you get the ball in the Catcher, make your way to the button room. It has changed quite a bit as well. There’s no button near the entrance; instead, both of the buttons you need to depress to feed the Catcher are on either side of the second shuttered door. Place your Sphere on the right button (when your back is to the entrance) and exit the room.
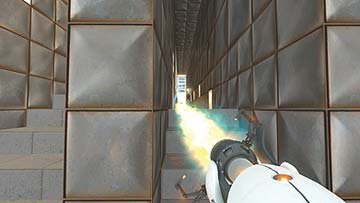

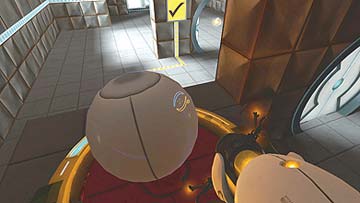
Portal your way back to the first hallway leading into the main chamber, then aim your first portal where the energy ball impacts the wall. Place your second on the protruding panel facing the button room, same as you did in the normal version. Now go back to the button room and wait until the energy ball passes through the first open doorway. It helps to give yourself a good vantage from behind the right-hand button. When it’s clear, remove the Sphere from the button; this traps the ball between both shuttered doors. Next, quickly place the Sphere on the left button to open the second door and allow the energy ball to reach the Catcher. You’ve just activated the third and final lift.

Exit the button room, portal yourself to the ledge on the main chamber, and don’t forget your Sphere. Traverse the platforms created by the activated lifts, and proceed to the next chamber. You won’t be incinerating your dear friend just yet, though; there’s an all-new puzzle in Test Chamber 17’s advanced version, and it’s a killer.
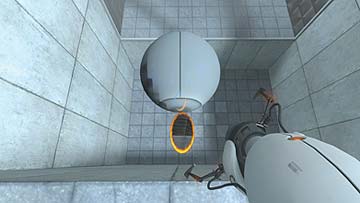

Before you is a deep pit whose far wall is made of glass, with a rectangular chunk cut out of its center. Get ready to shoot some hoops, as it were. Place your first portal on the high on the wall above the entrance, then place your second in the pit, about a floor tile’s width near your edge. Hurl the Sphere through, then dive in after it. Both you and your Sphere have flung to the other side of the pit.
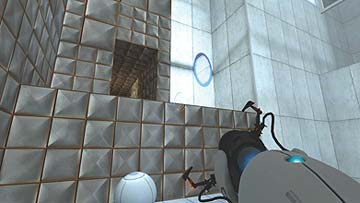

Place your first portal on the suitable stretch of wall next to the threshold on the ledge, and tow your Sphere through your second. It is now time for the incinerator.
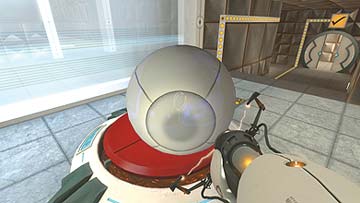

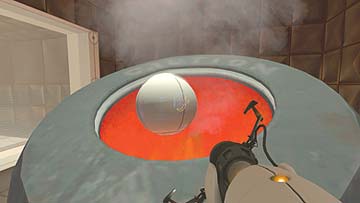
The Sphere’s final service to you is to hold down the button that facilitates its annihilation. Set it down, hit the switch behind the door, and do your dirty deed. Although you know that the Companion Sphere’s demise was not in vain, this doesn’t make it any easier to take. However, you may find solace in the fact that you have just completed the penultimate advanced chamber.