
Portal Guide Walkthrough Test Chambers
Chamber 17
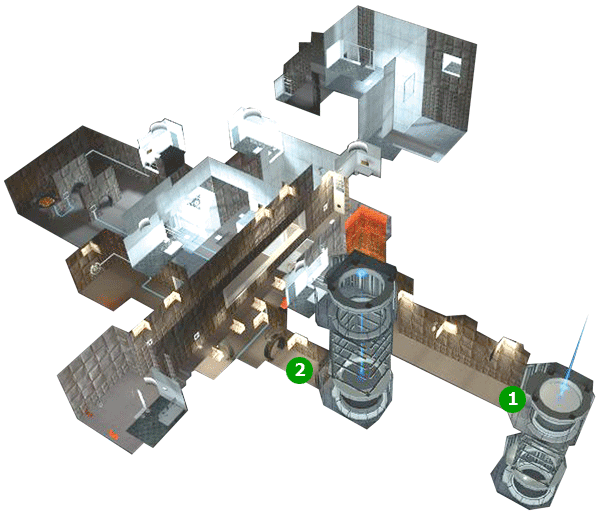
Map Legend
1. Test Chamber 17 Start Point
2. TEst Chamber 17 End Point
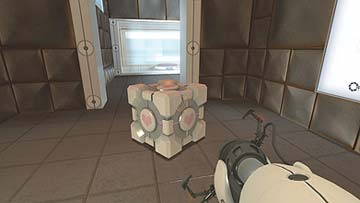
As you exit the elevator into Test Chamber 17, you see a Vital Apparatus Vent before you. When you approach it, it spits out a Weighted Companion Cube. For all intents and purposes, the Companion Cube is identical to any regular old Storage Cube, except for the hearts stamped onto every side. These indicate that you must nurture it; indeed, it’s you’re only friend in this cold, impersonal world. Pick it up and carry it with you. Just don’t get too attached to it; some harsh realities await.
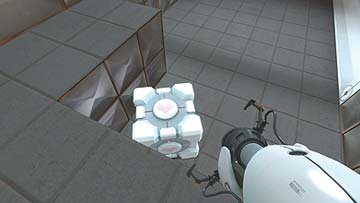
Proceed to the next chamber and use the Cube as a step to get you up the unreachable ledges. Don’t forget to retrieve the Companion Cube when you’re up top.
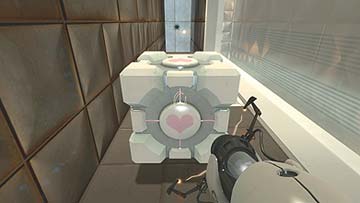
Walk down the long hallway with a Ball Launcher at the end of it, and hold the Cube in front of you—it deflects the energy ball that’s flying on a collision course. Turn right, after you emerge from that hallway, and wait until the second Launcher shoots its ball. Follow it down the second hallway, again, holding your Cube in front of you to deflect the energy ball when it rebounds off the far wall.
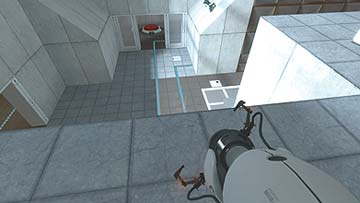
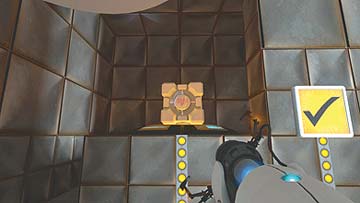
When you exit the hallway, you see a room to your right with red button on the ground. Jump down there with the Companion Cube in tow. Skip that first button for now and place the Cube on the button that’s elevated on a short pedestal at the rear of the room. Exit the room.
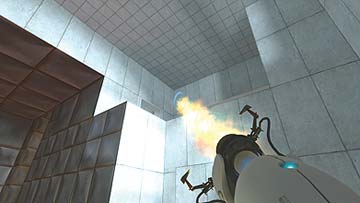
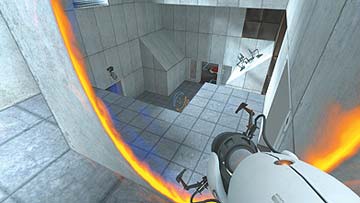
Get back up to the ledge that you dropped off of a moment ago by placing your first portal near the exit to the hallway, and your second on the protruding panel that’s opposite the button room.


Go to the spot at the end of the hallway where the energy ball makes impact. Place your first portal on the charred surface. Next, run out of the tunnel, jump off the ledge, and place your second portal on the protruding panel facing the button room. Run into the room and stand on the button nearest the entrance. The energy ball whizzes past you as it comes out of your second portal, so give it a wide berth. This activates the first of the three lifts in this main chamber.


To activate the second lift, get back up the ledge and run back to the first hallway. Aim your first portal at the hallway’s far end, where the energy ball fired from the first Catcher you passed on your way in makes an impact. Make sure that the Launcher doesn’t blast you from behind! Once the portal is set, run back to main the main chamber and place your second portal on the inclined surface opposite the Catcher near the button room. Once it emerges through your second portal, the ball ricochets off the ceiling and into the Catcher’s maws. This activates the second lift.

Go back into the button room and retrieve your Companion Cube. As you exit the room, you see another room to your right. Go in and prepare yourself for some risky business. A Launcher is very close to a Catcher in this room. The only way to complete the puzzle is to deflect the energy ball with your Cube. To do so, simply stand in energy ball’s path, facing the Catcher. After some trial and error, the ball goes where it needs to. The Weighted Companion Cube won’t be hurt, but you may be.

Solving the ball puzzle has activated the third lift. Portal back up to the top of the chamber and don’t forget your Cube. With all three lifts activated, you’re now able to get into the final chamber. Prepare yourself for a tearful farewell.
When you travel down the hall and up the steps, you see a red button on the ground. Depress it with the Cube and travel beyond the blast doors.


That thing you just passed en route to the switch you see at the end of the hall is an incinerator. Bet you can guess what’s coming. Hit the switch. The incinerator’s grate is now open. You know what you have to do.

Don’t worry, nothing will happen if you retrieve the Cube from the button and drop it into the incinerator. Nothing, except murder! Just kidding. Remember: It’s just a Cube. On the bright side, you’ll have plenty more chances to incinerate deserving inanimate objects in due time. Incinerating the Weighted Companion Cube unlocks the exit doors leading out of Test Chamber 17.
Remember to try the Advanced and Portal Challenge Strategy Sections