
Portal Guide Walkthrough Advanced
Advanced Chamber 15
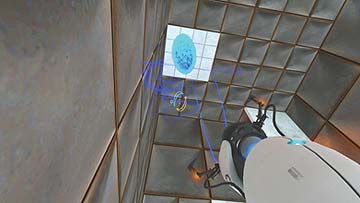
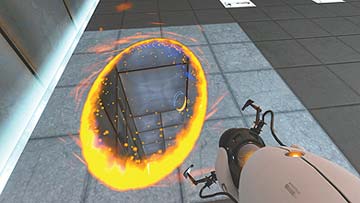
The first room in Test Chamber 15’s advanced version has fewer surfaces on which you can place portals. You’ll see one on the ground when you enter, and one on the ceiling directly above it. Fire your first portal on the patch on the ceiling and your second on the ground. Before jumping, take note of protruding panel right above the entrance. This is where you aim as you’re falling through the infinite portal system you’ve just created. Jump in, and fire your first portal wildly until you hit the protruding panel—you have all the time in the world.
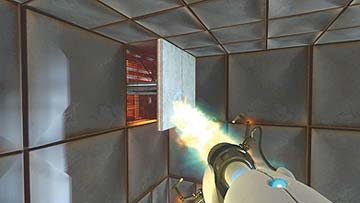
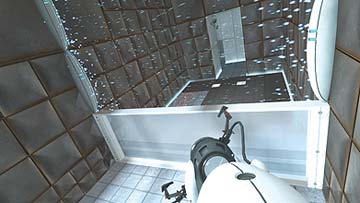
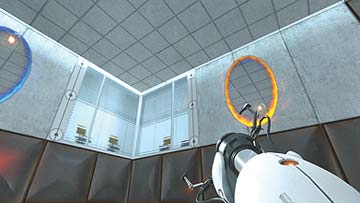
There’s an extra Material Emancipation Grid in this next room that wasn’t in its normal-mode counterpart—it emanates from the wall that separates the two that you’re used to. Solving the Ball Catcher puzzle is a little trickier as a result: Place your first portal on the spot where the ball makes impact, and your second on the wall to the right of it, right beside the observation window. Follow the ball en route through the grid.
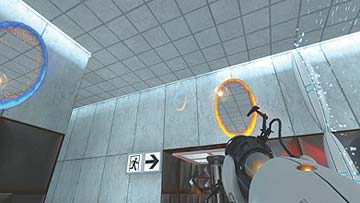
When you pass through the grid, fire your first portal on the wall directly ahead of you, and the second right above the inactive lift. It is now traveling toward the wall adjacent to the Catcher. Follow it behind the grid.
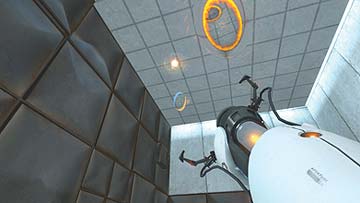
Now place your first portal on the ceiling above the Catcher, and your second on the wall ahead of you. This triggers the Catcher and activates the lift. Exit the room.
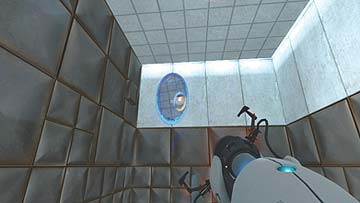
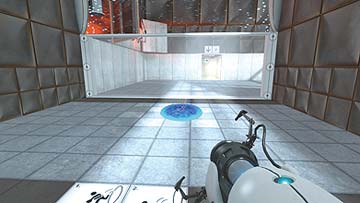
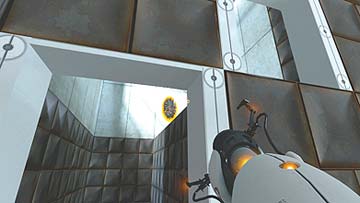
In the next room, place your first portal on the ground near the grid and your second in the alcove to the left of the entrance. There are no steps in that alcove on advanced mode, so you must use portal science. Be sure your second portal is positioned in a place that can get you atop the ledge. Now jump through your first portal.
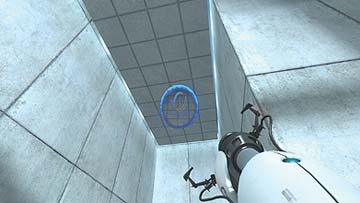
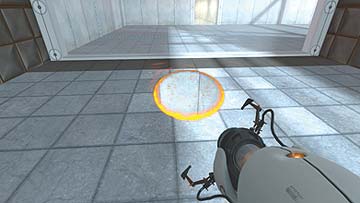
You’re now on the ledge. Position your first portal on the ceiling above the small pit, then jump out of the alcove and place your second portal at the base of the grid. You’re about to do some fancy floor-jumping.
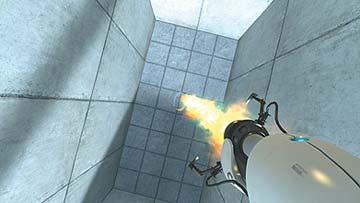
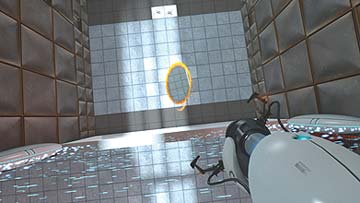
Jump through your second portal. As you emerge, replace your first portal on the ground where you’re about to land—it helps if you keep aiming down. Since your first portal was originally positioned on the ceiling, the momentum should be enough to carry you through the grid as you fall through the ground. Don’t think about it too much: Just be glad it works.
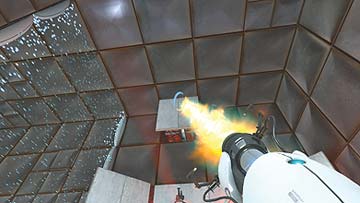
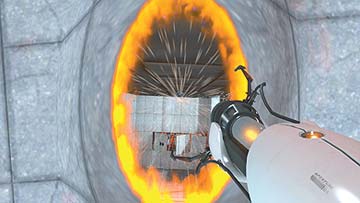
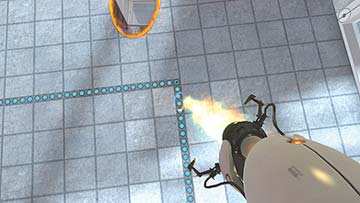
The Ball Catcher puzzle in this room is a whole lot trickier in advanced mode, but let’s tackle first things first: Place your first portal on the protruding panel above the Catcher. Place your second right beneath your feet, and replace it on the ground right before you land after falling through. That was a most triumphant Double Fling!
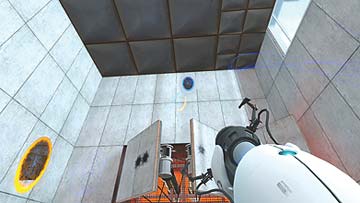
The headache-inducing wedge-panel puzzle can be surmounted very simply by the following instructions: Place your first portal on the panel facing the wedge to your left, where the ball bounces to after hitting the wedge. Place your second on the wall to the left of the wedge panel. Marvel as the Catcher puzzle effortlessly fulfills itself.
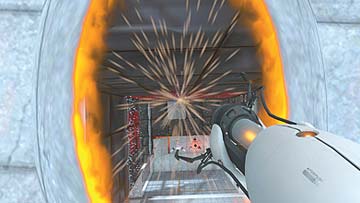
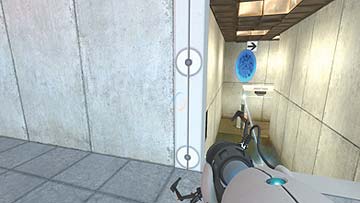
When you’re done marveling, place your first portal directly above the wedge panels. Place the second at your feet, and replace it after you fall through to double-fling across the grid. Turn your attention to the newly activated lifts moving over the zigzagging goo-filled passage.
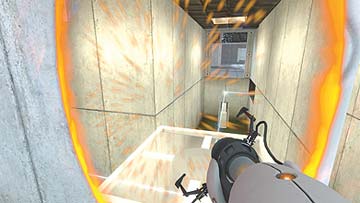
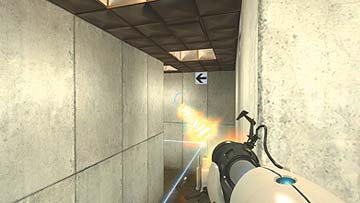
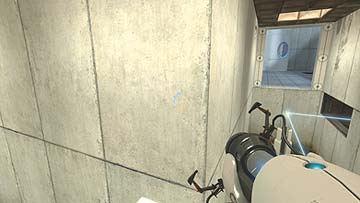
Treat this portion of the exercise just like you did in the normal version of Test Chamber 15: Place your first portal on the wall directly ahead of you when you’re looking into the passage, and place your second just outside the entrance. Wait until the lift is accessible, then repeat the process until you can fire a portal at the wall in the next room. Take a break if you’re getting agitated, as this next room is one of the most trying that you’ll encounter.
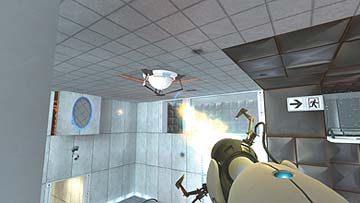
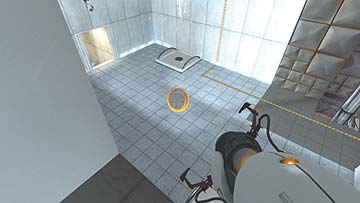
In advanced mode, you can only place portals on the ceilings of the switch rooms, which makes solving the Catcher puzzle here much more challenging. Pick one of the switch rooms and get into it. You actually want the energy ball traveling toward the shut Catcher before you hit the switches, though, so place your first portal on the protruding panel opposite the Catcher and your second where the ball hits the ground. It helps to wait until the Ball Launcher spits out a fresh energy ball.
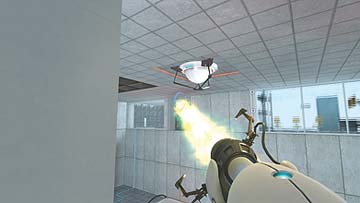
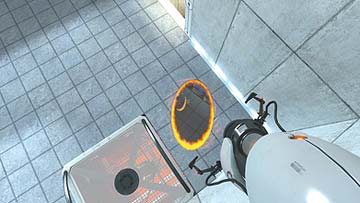
Now aim a portal at the ceiling of switch room you aren’t currently in. Once it’s there, hit the switch in your room, aim a portal on the ground where you’ll fall, and hit the second switch as quickly as you can. Precise timing rewards you with a descending exit lift.
Note
Portal Challenges become available after you've completed the game, and they allow you to tackle Test Chambers 13 through 18 with a host of daunting restrictions. There are three types:
- Portals: Use the fewest portals possible to complete a Test Chamber.
- Steps: Take the fewest steps possible when completing a Test Chamber.
- Time: Complete a Test Chamber as quickly as possible.
While these challenges are strictly for the hardest of the hard core, we've provided strategies straight from the creators themselves to give you a boost. Apart from practice, discipline, dexterity, and timing, this is the most significant advantage you could hope for!