Portal Guide Walkthrough Test Chambers
Chamber 13
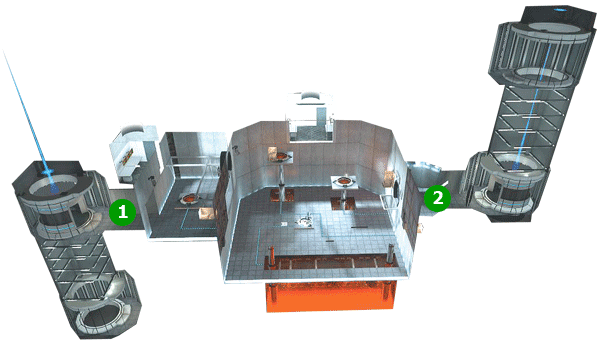
Map Legend
1. Start Point
2. End Point
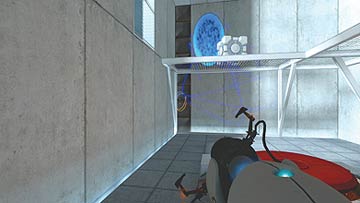
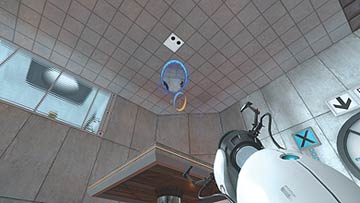
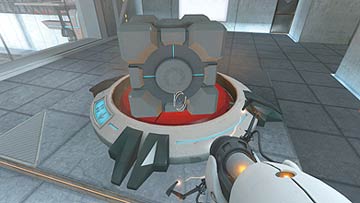
When you enter Test Chamber 13, immediately place your first portal on the ledge above you to your left, near the Weighted Storage Cube. Place your second one anywhere that is accessible and walk through it. Grab the Cube, exit your second portal or drop down, and place the Cube on the button. The blast door on the ledge is now open; proceed through it.
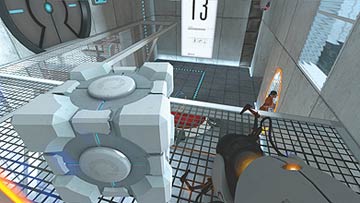
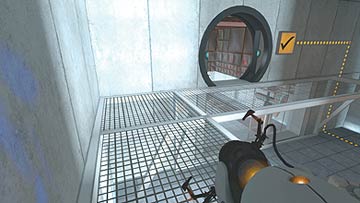
The first thing you notice in the next room is a Ball Launcher on the far wall. The Catcher is on the ground right below you. Place your first portal right above the Catcher, and your second on the blackened spot to your left where the energy ball hits the wall. The Catcher has been fed, and the horizontal lift to your right has been activated.
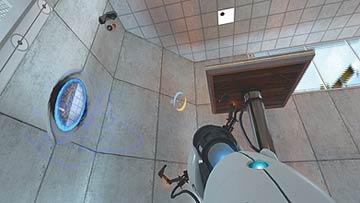
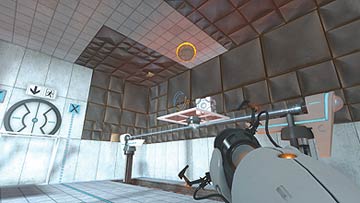
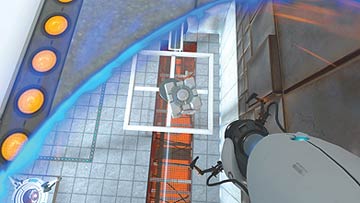
Place your first portal on the small stretch of suitable real estate midway through the lift’s path. Your second portal can go anywhere, though it helps if you can peek through it. When you see the lift traveling below your first portal, jump through, grab the Weighted Storage Cube that’s on it, and jump off with it in tow.
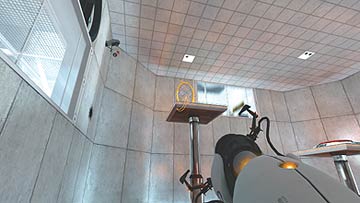
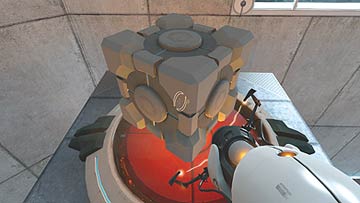
Now, place your first portal above the second, shorter platform. Go in your second portal and land atop the red button. With your weight depressing the button, you don’t need to go back into the first room to retrieve the Cube; simply place your first portal behind the open blast doors, retreat through your second, and you’re at the exit grid.